Showing posts with label Tags. Show all posts

Friday, May 9, 2014

Cheery Gifts for Mom.. And a Contest Winner!


One of my favorite people to make things for is my mom.  She appreciates hand-crafted gifts and home-made treats!  She keeps every card.  Is your mom like that too?  

Because my mom is a diabetic, I wanted to make something made in kitchen and sweet but without affecting her diet. A sugar scrub is perfect!  

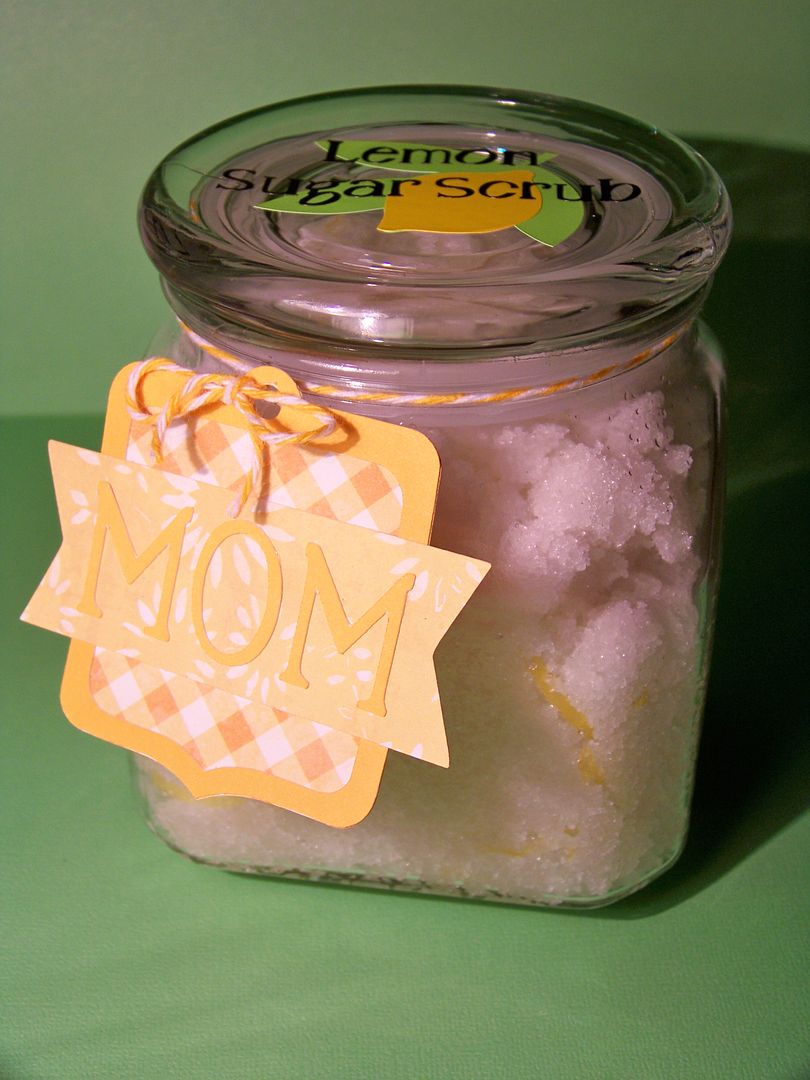
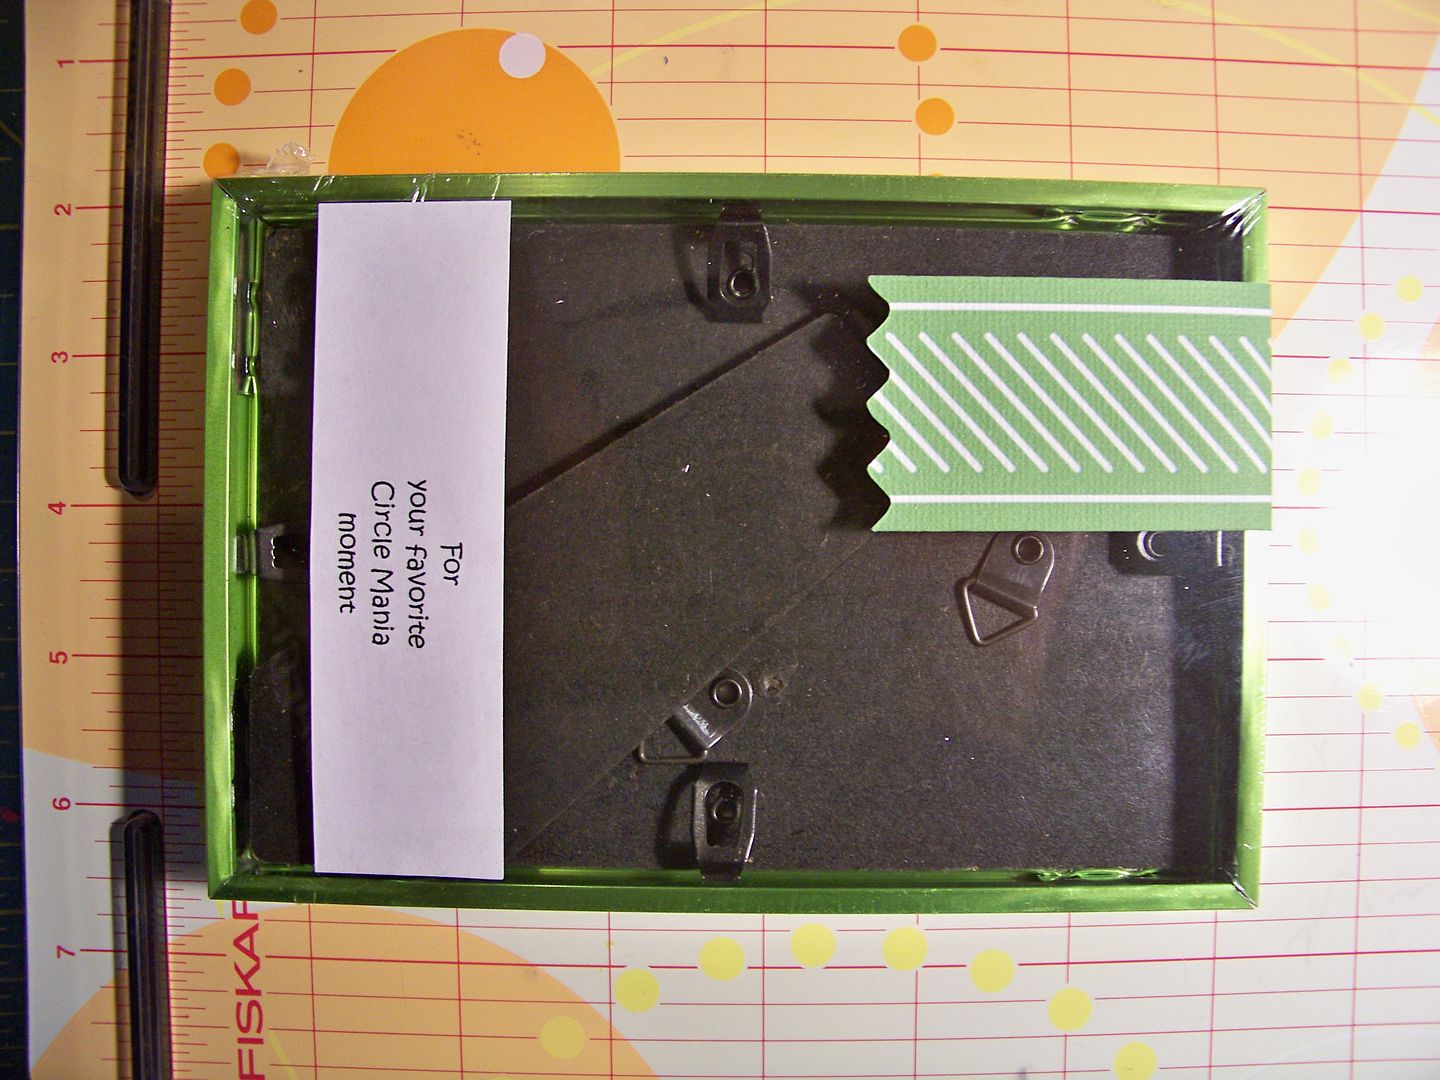
This gift set features a lemon sugar body scrub in a decorated glass canister, a dimensional card that holds a store gift card, and a large tag that will go on fresh flowers to be picked up the day before Mother's Day.

I started by contacting a fellow crafter, who you might remember from the Sweet Sassy Diva blog, Bobbi Jo Henke.  A long time ago, I was a guest designer on that blog a couple of times.  She is also a distributor for Young Living Essential Oils.  Bobbi Jo suggested a scrub recipe that I altered a small bit for my gift.  If you are looking for a trust-worthy person to buy essential oils from for home spa projects or dietary uses, contact Bobbi Jo at bobbijo@thelemondroppers.com or (262)498-3107.  

This is the recipe I used for my scrub.  
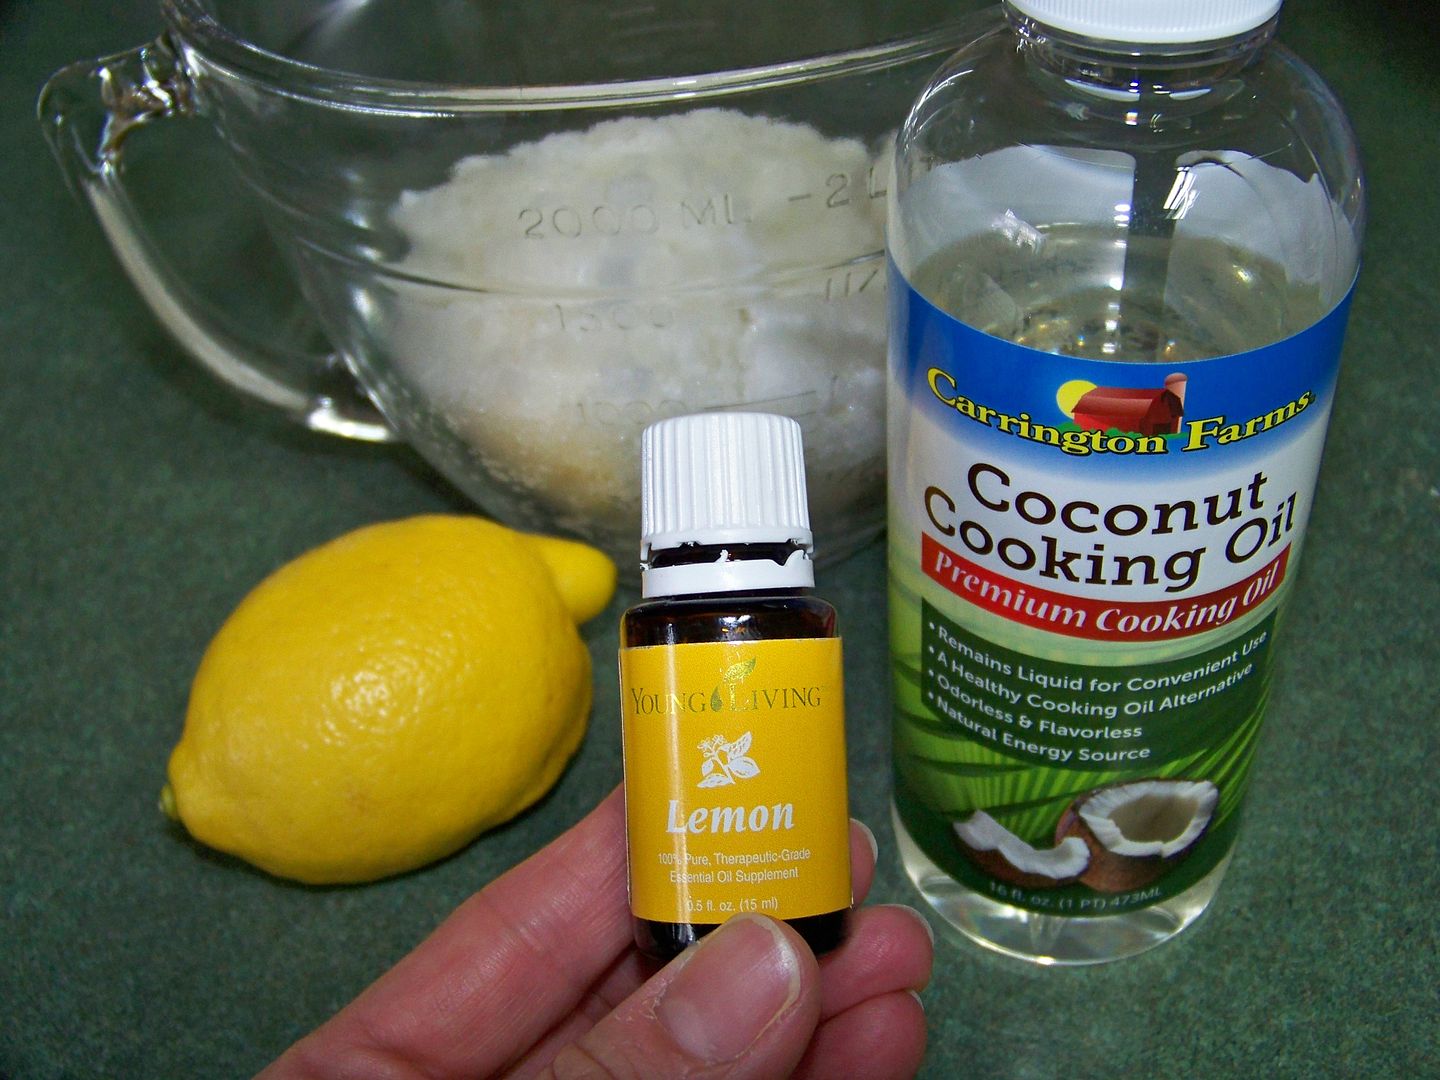

Lemon Sugar Scrub

1/4 cup  plus 2 tablespoons liquid coconut oil (found in the baking section of the grocery store)
2-1/2 cups granulated sugar
2 tablespoons fresh lemon juice
16 drops lemon oil
zest of one lemon

Mix thoroughly by hand in a glass bowl and place in a clean and dry glass jar to store.

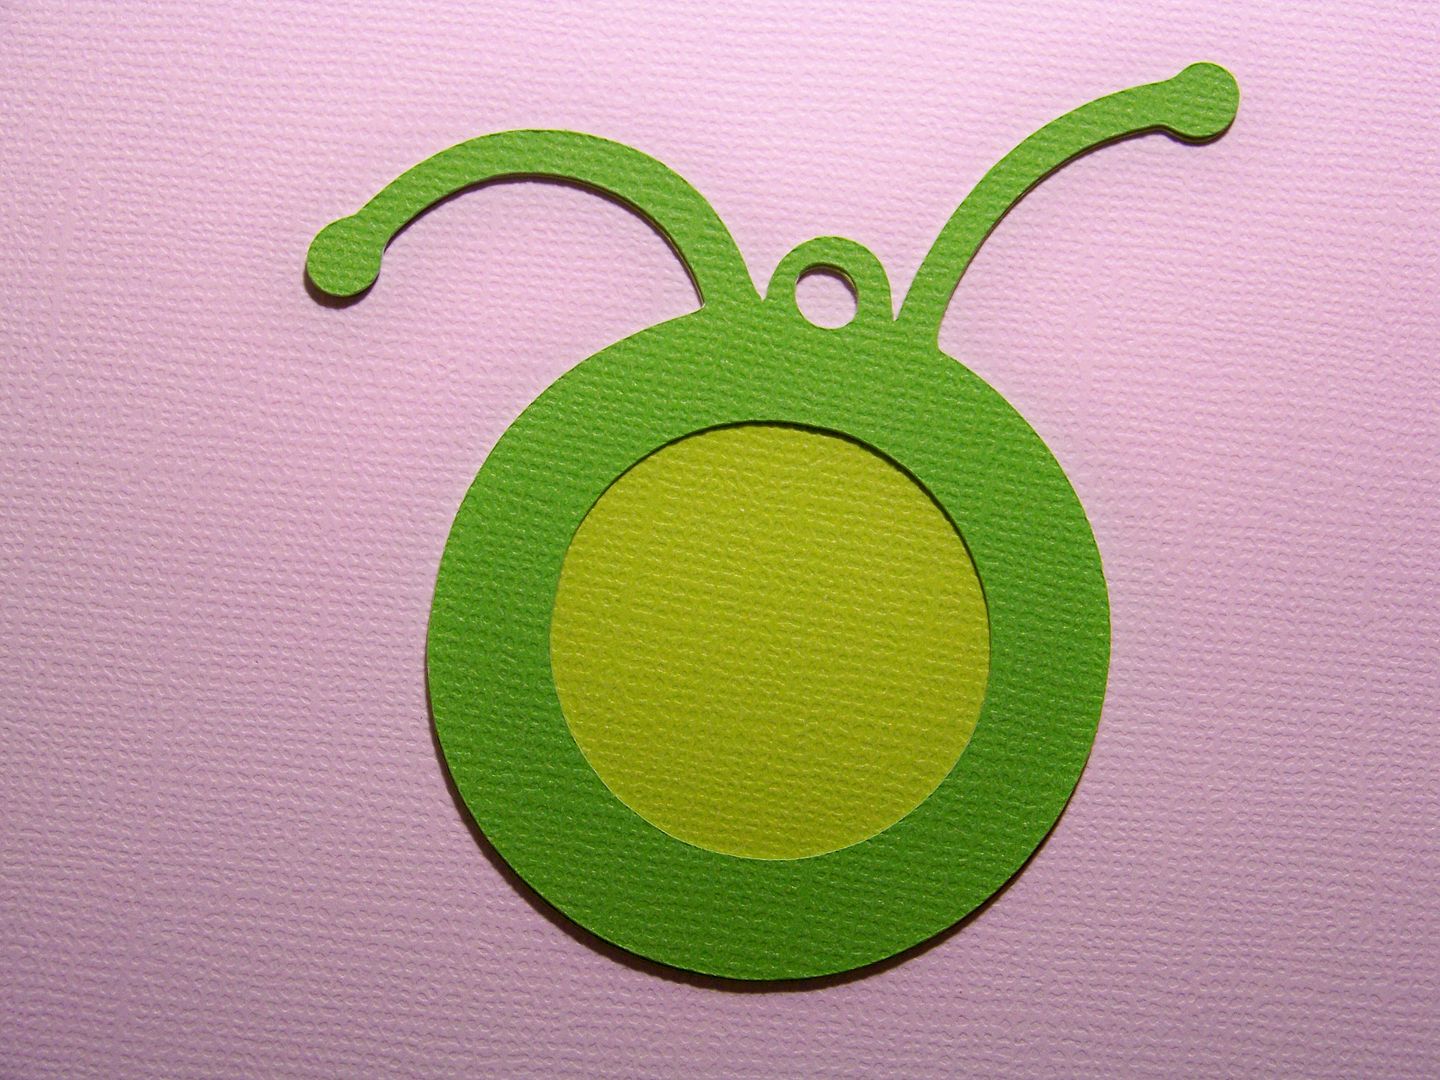
I used small scraps of vinyl and cut a decorative lid design.   


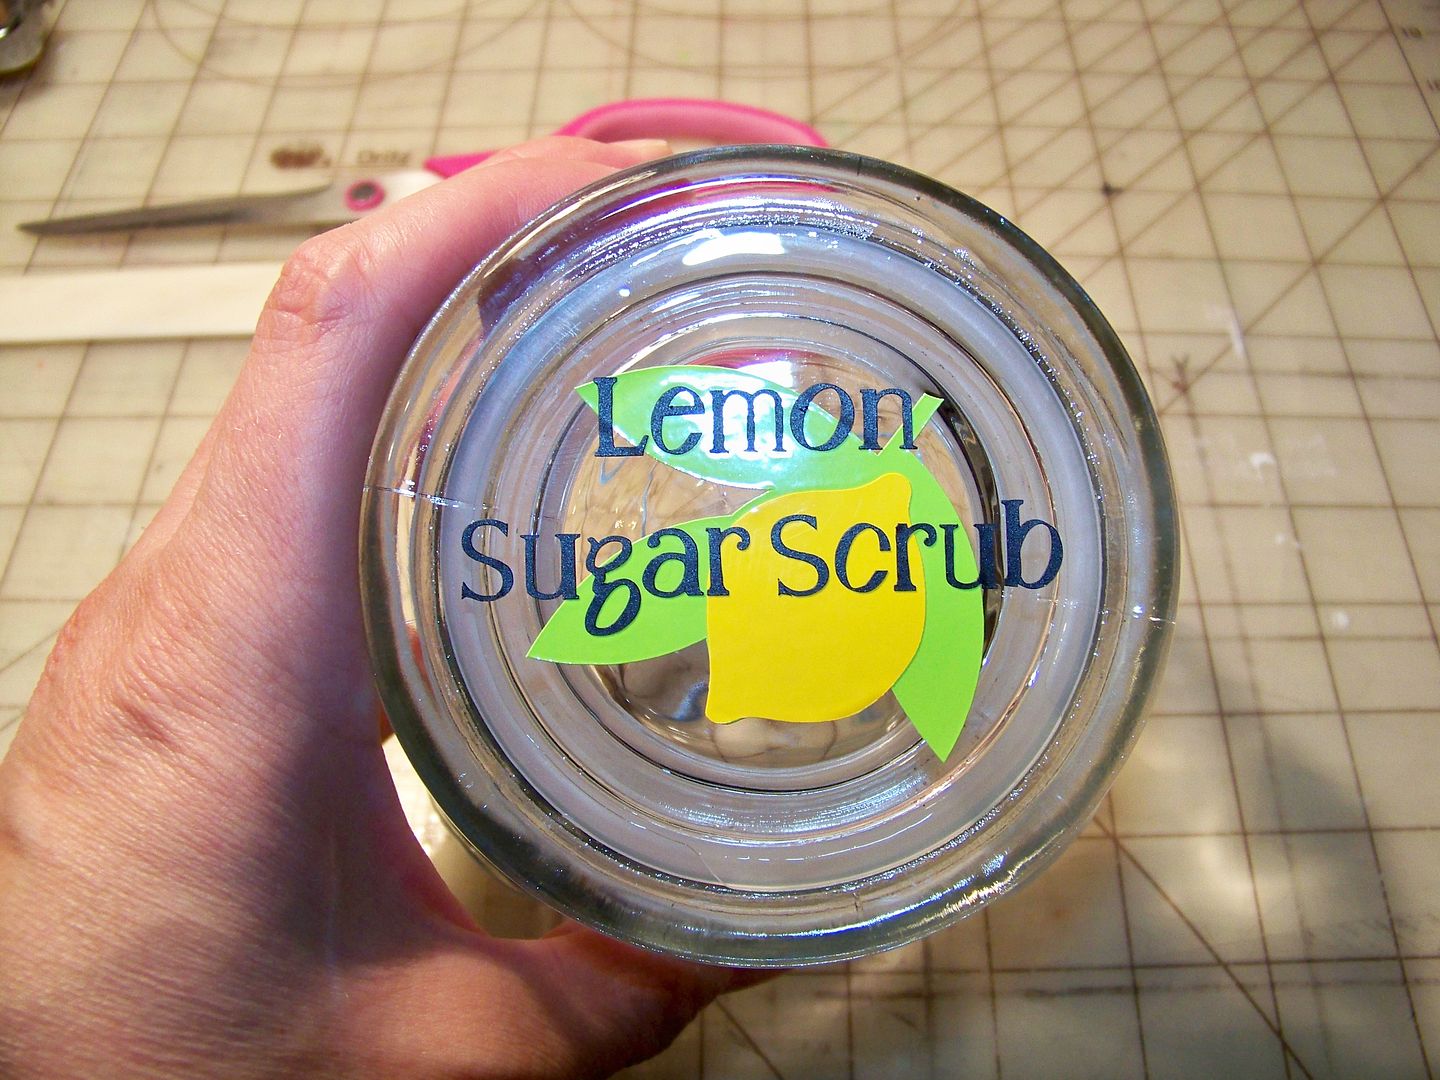
I made this on my Cricut Explore.  The design uses Paisley for the lemon motif and A Child's Year font for the text.  This is my Design Space file for this part of this project:  https://www.cricut.com/design#/canvas/project/17114410  


The small tag for this was made with  Cricut cartridge Holiday Frames and Tags (page 67, cut at 2.5"). "MOM" was cut using Cricut cartridge A Child's Year (at 1") on my Cricut Expression while my Explore was cutting vinyl.


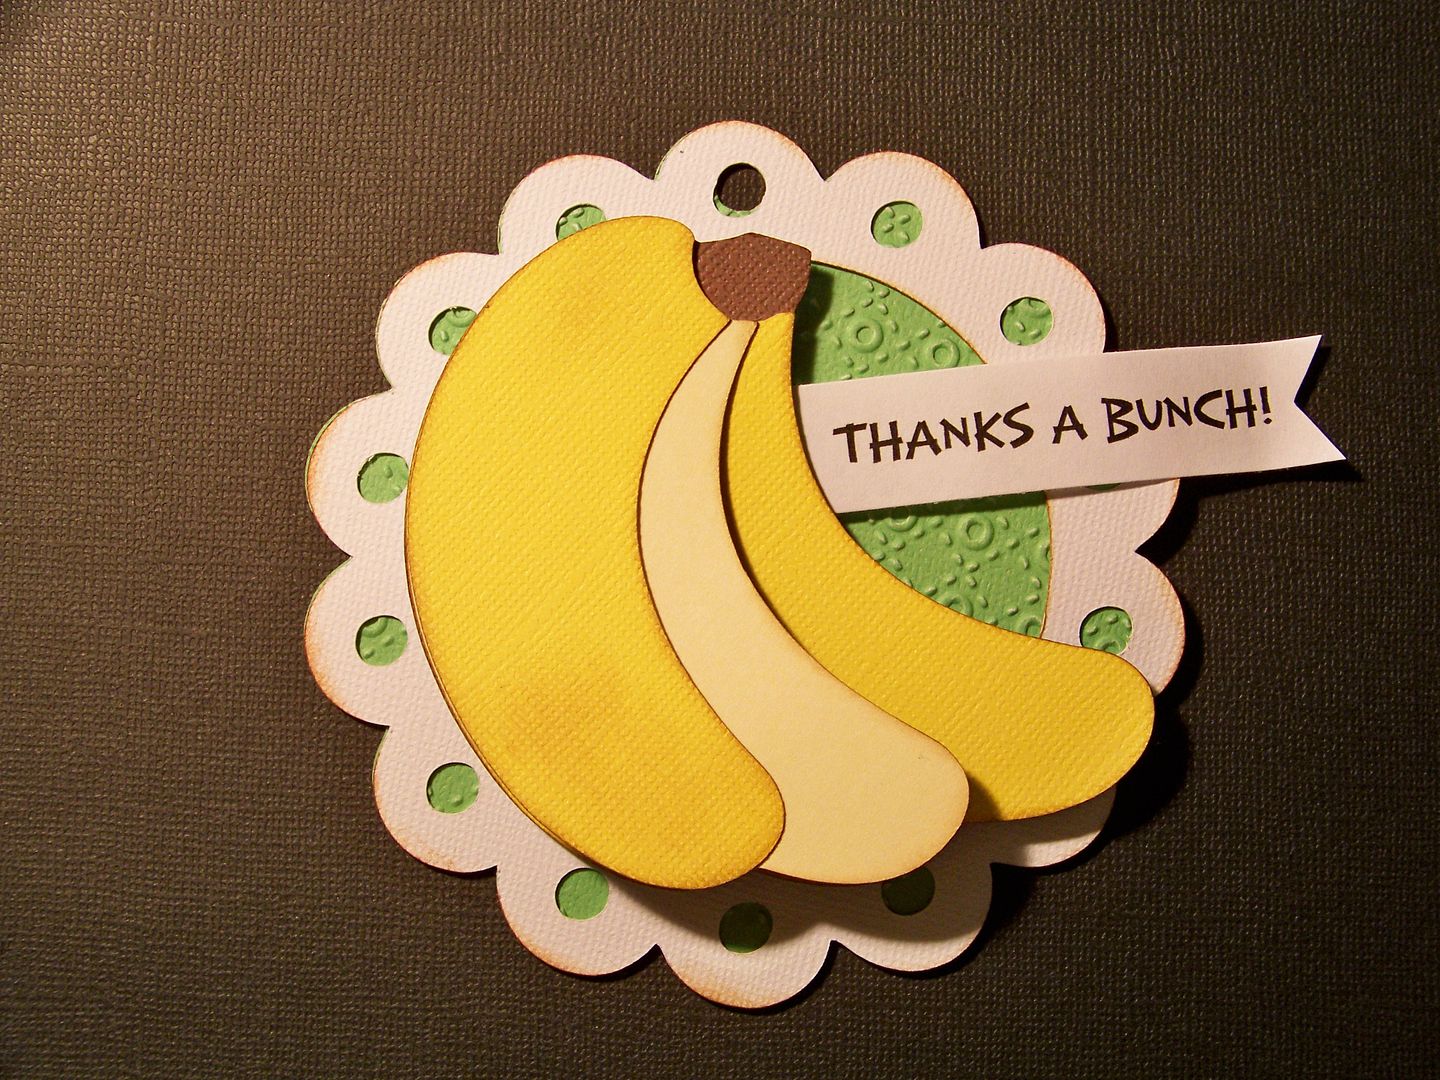
I made a tag for flowers that will also be part of this gift.


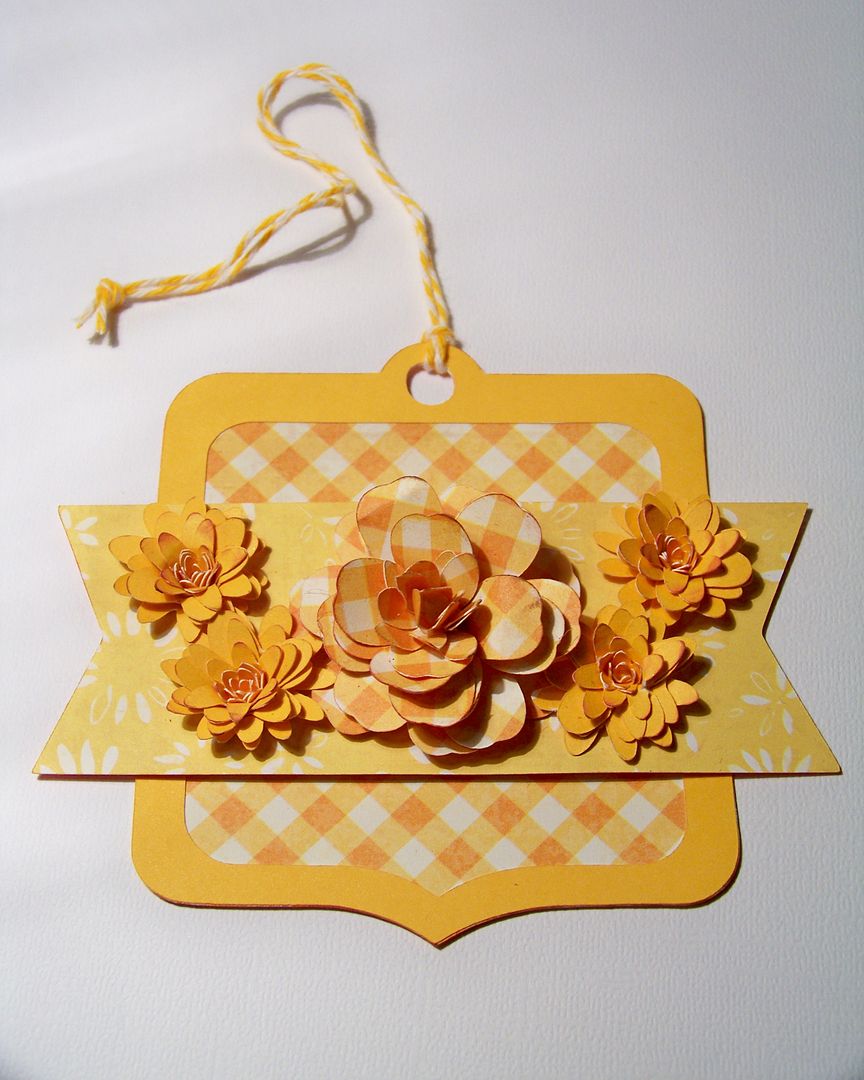
This was also made using Cricut cartridge Holiday Frames and Tags (page 67, cut at 4").  The small quilled flowers were cut from Art Philosophy at 2" (page 68).  The large gingham flower is one I learned to make when it was featured on a wreath on the old Cricut Circle Blog.  The good news:  Juliana Michaels made a construction video so you can make these too.  Here's a link to her video tutorial:  click here.    
Sizes for Juliana's rose for this tag:  
Mother's Day Bouquet key 27 cut 3 at 1" 
Mother's Day Bouquet key 8 cut 4 at 1.75"  

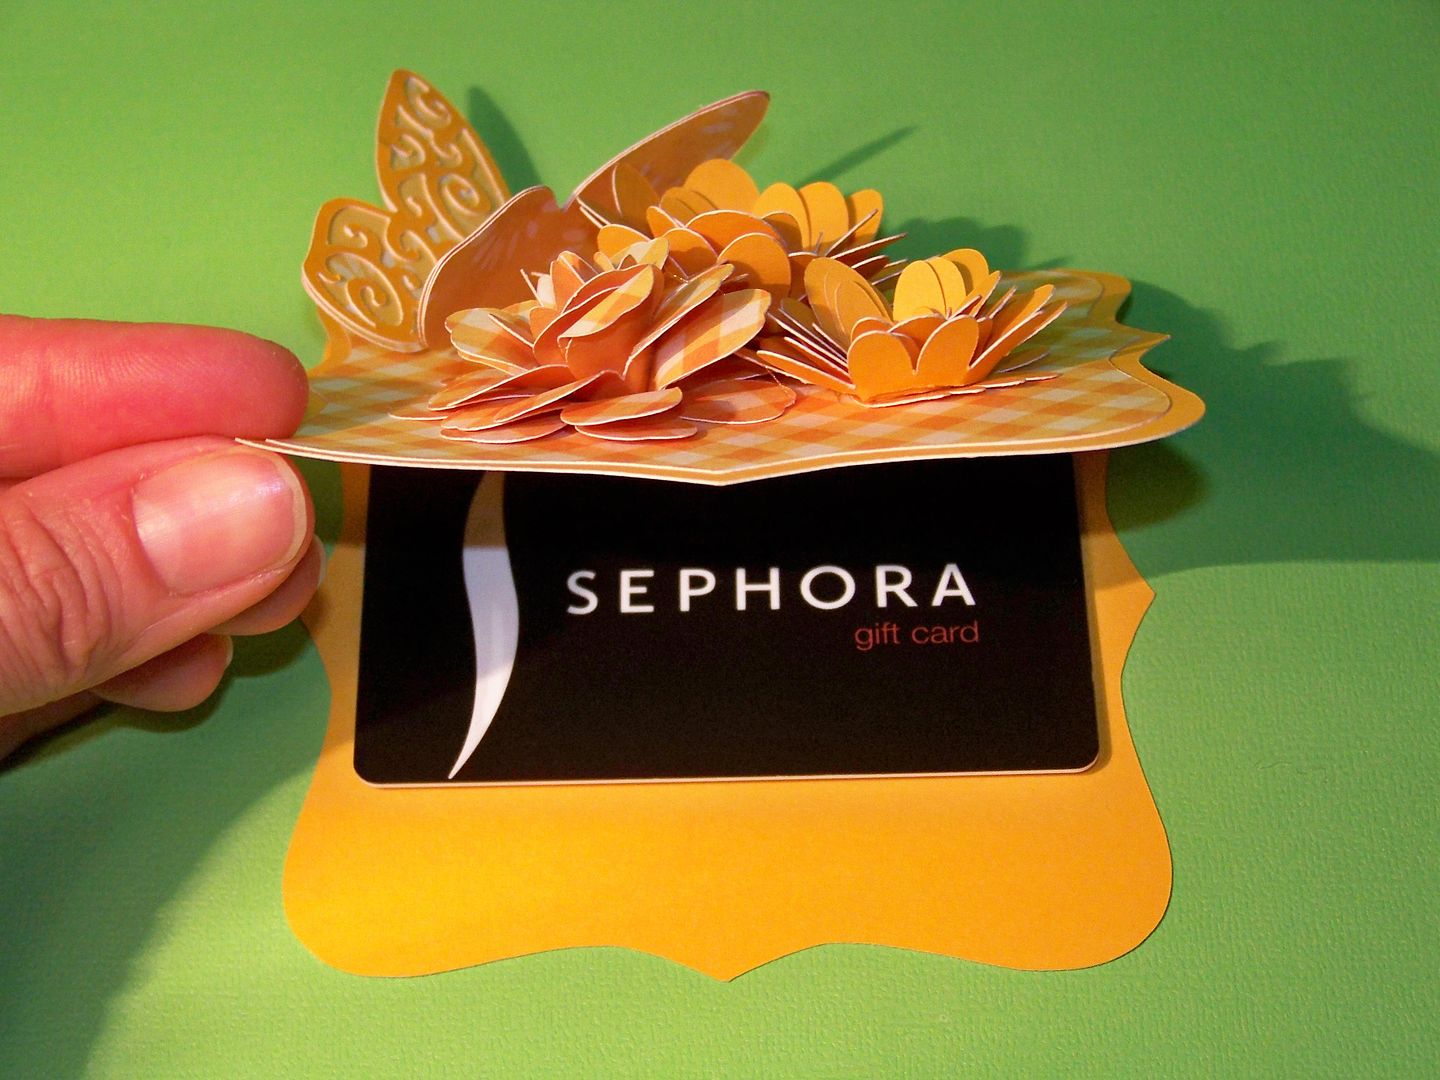
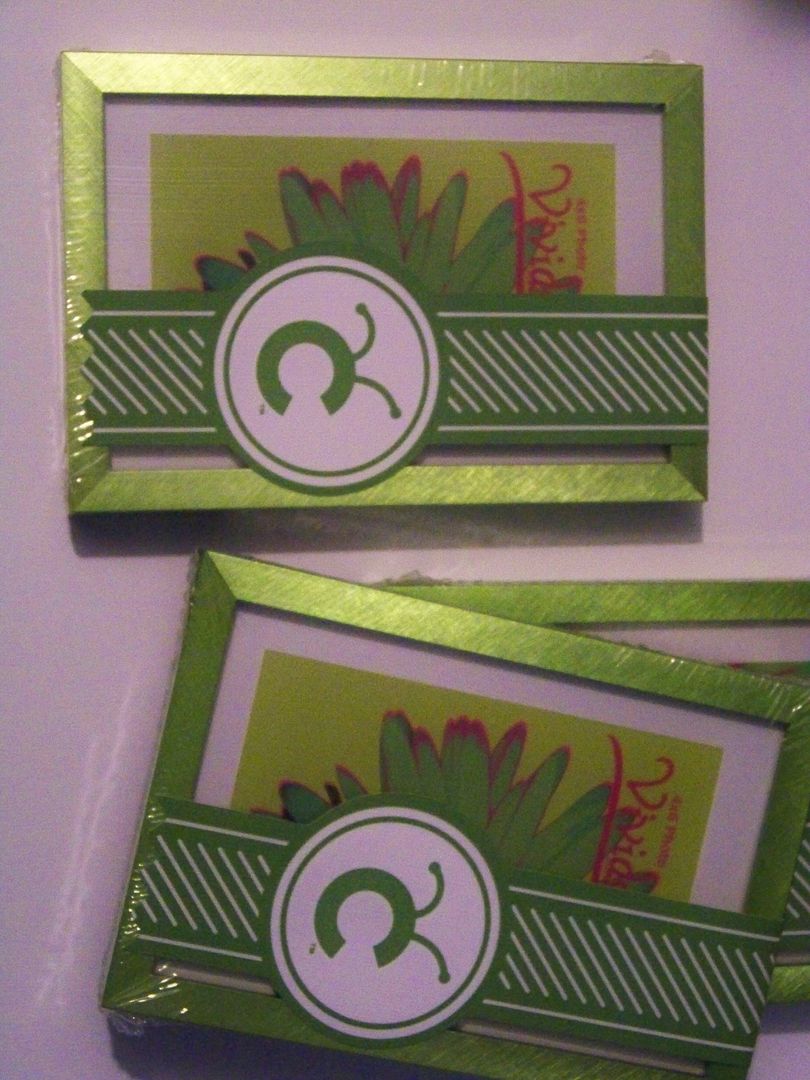
I also made a coordinating card to dress up a store gift card.  


The card base was cut from Cricut cartridge Art Philosophy (page 53 at 4").  The gingham mat was cut at 3.75".  The butterfly was cut at 2" (also from Art Philosophy, page 55).  I used the same rose from Juliana Michaels that I used on the tag above.
Sizes for Juliana's rose for this card:  
Mother's Day Bouquet key 27 cut 3 at 1.25" 
Mother's Day Bouquet key 8 cut 4 at 2.75"  


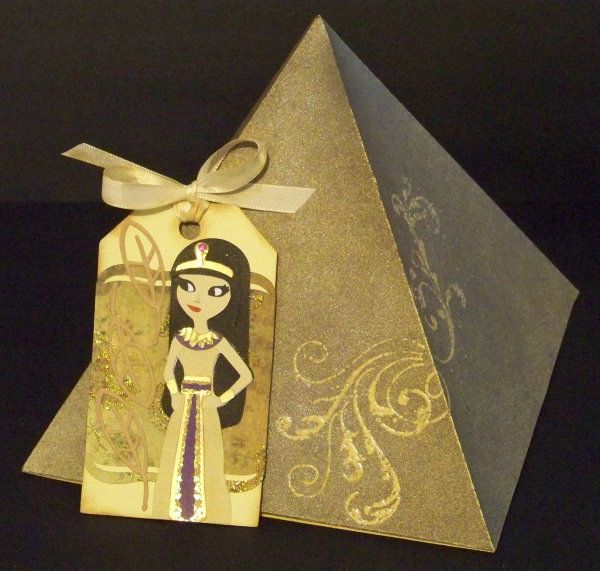
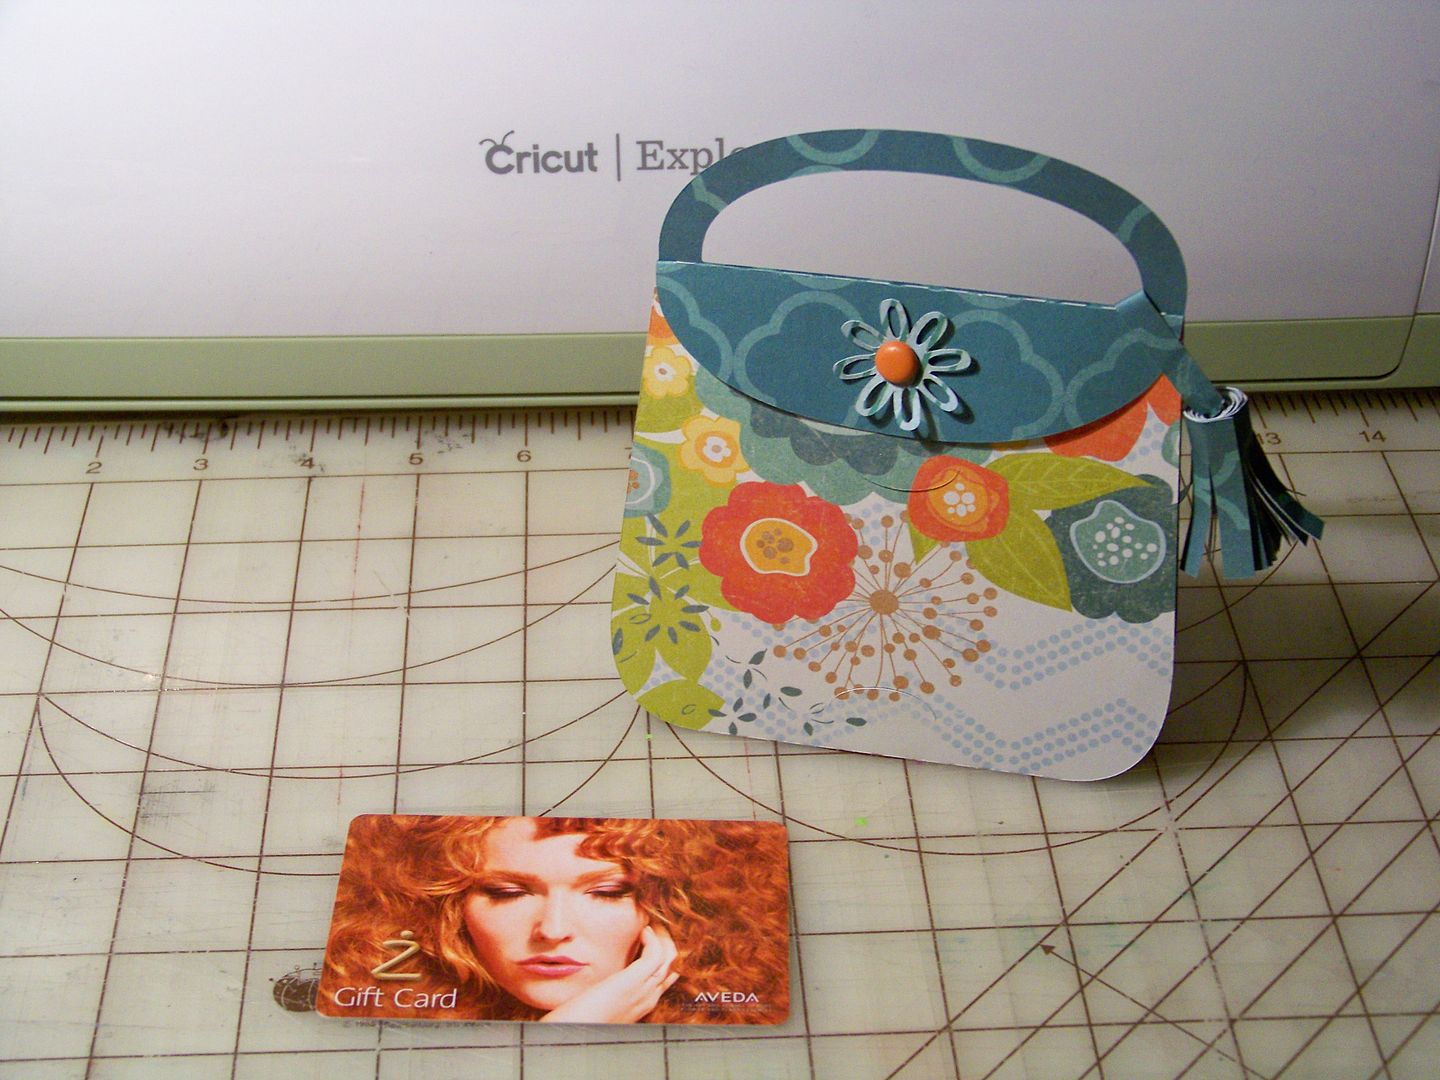
I also made a gift card holder for my mother-in-law as part of a different gift set for her.


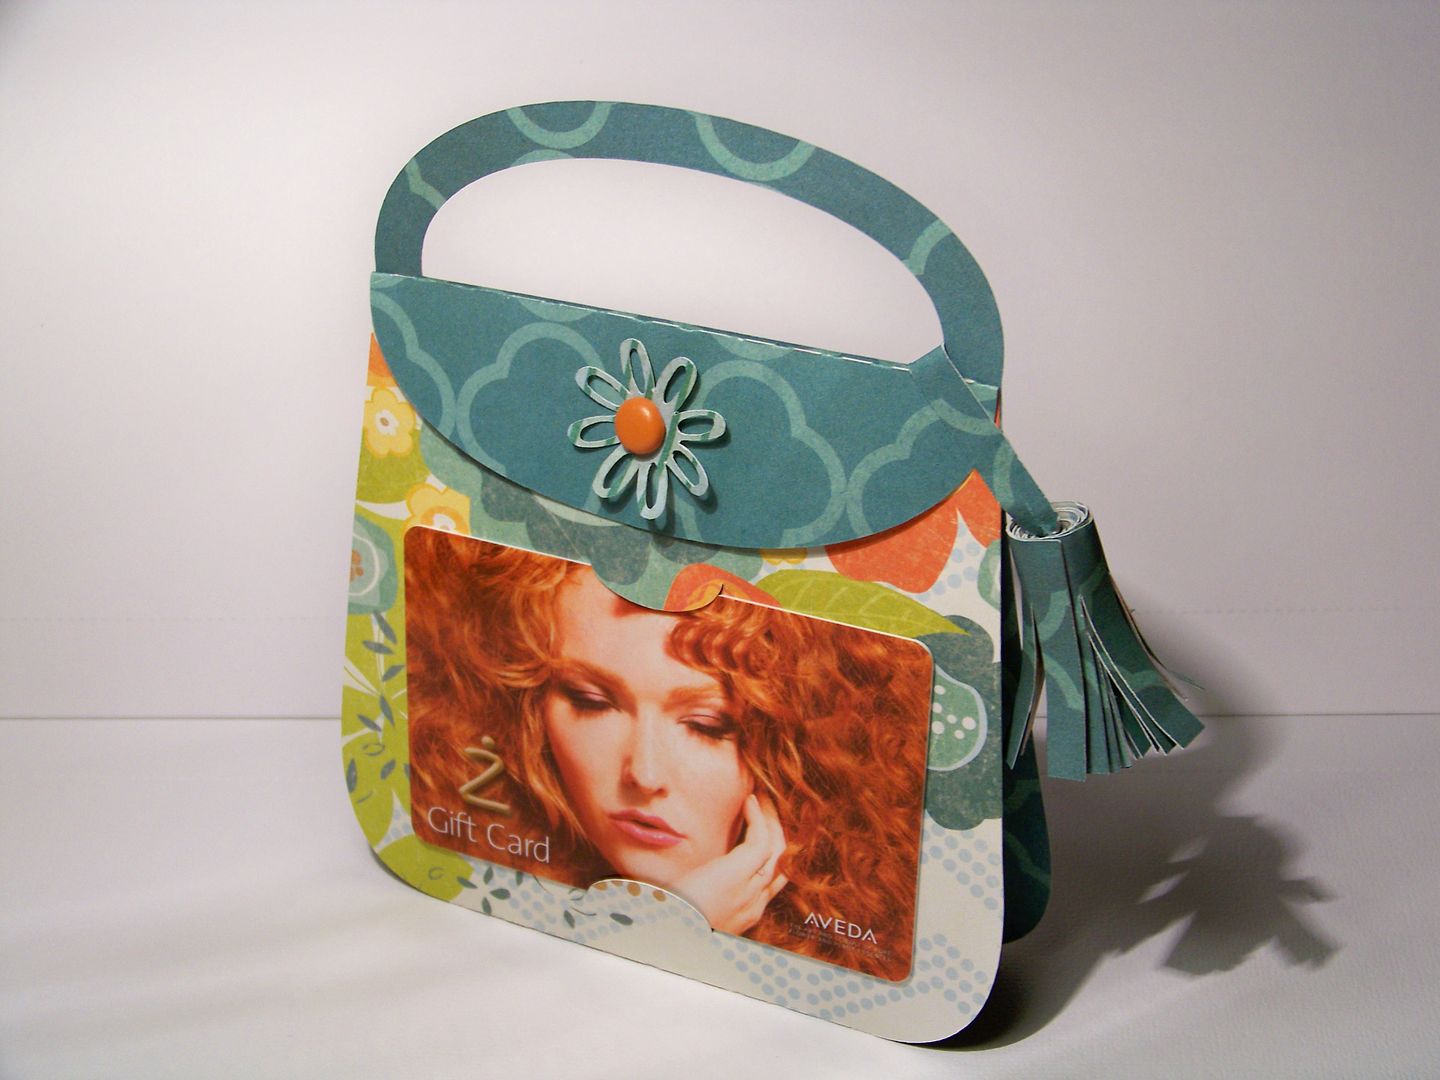
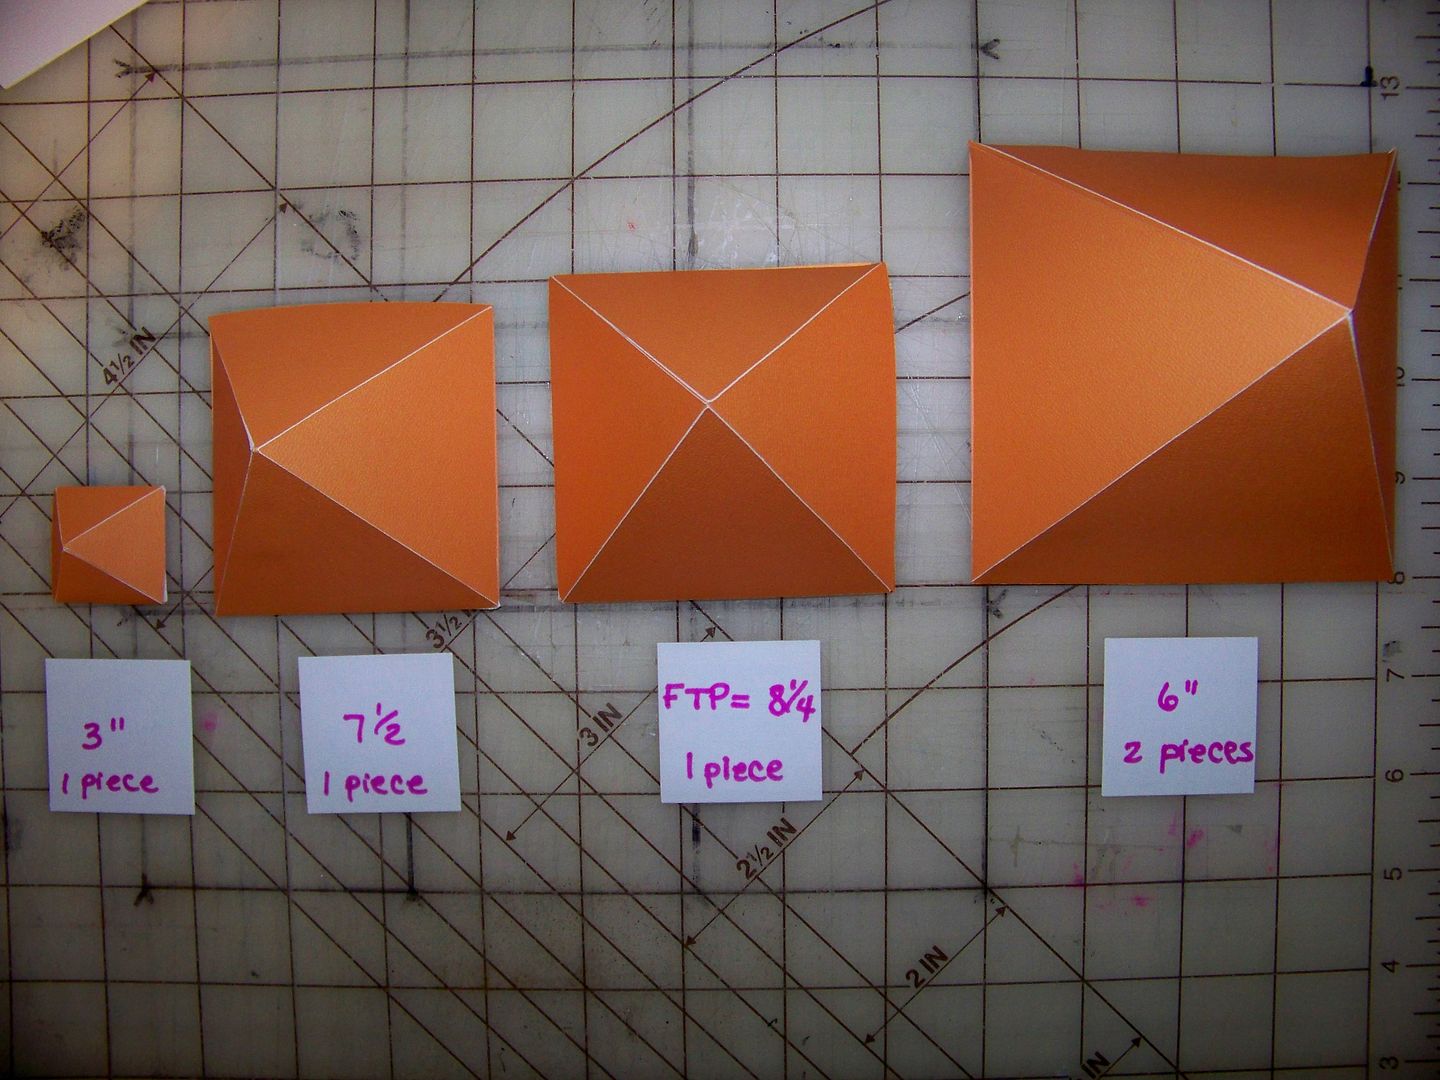
This is the easiest project ever!  The little purse is one-piece cut from SVGcuts Luxury Handbags collection. The little paper tassel is from a different purse in that same collection.  I think this is so sweet and such a pretty way to dress up a gift card!  The flower under the brad is from Mother's Day Bouquet cut at 1".  (I cut the paper tassel at 10" width, a bit smaller than the cutting menu suggests for the other purse).

I took advantage of the pattern placement when cutting the purse.


Baked goodies and a flower will accompany this gift. She is not a crafter and hand-made stuff is not her thing, but she is a wonderful person and Mom and I always invite her to our Mother's Day lunches and brunches!  (I love that they get along so well!  They usually also exchange Mother's Day gifts with one another.  Of course, my mom gives my kiddo a Mother's Day gift because she says she is the mother of her dolls.)

And... We also have a contest winner for the $25 Michael's Gift Card from my Circle NSD post (previous post on this blog).  

This is my lovely assistant, Piper. 


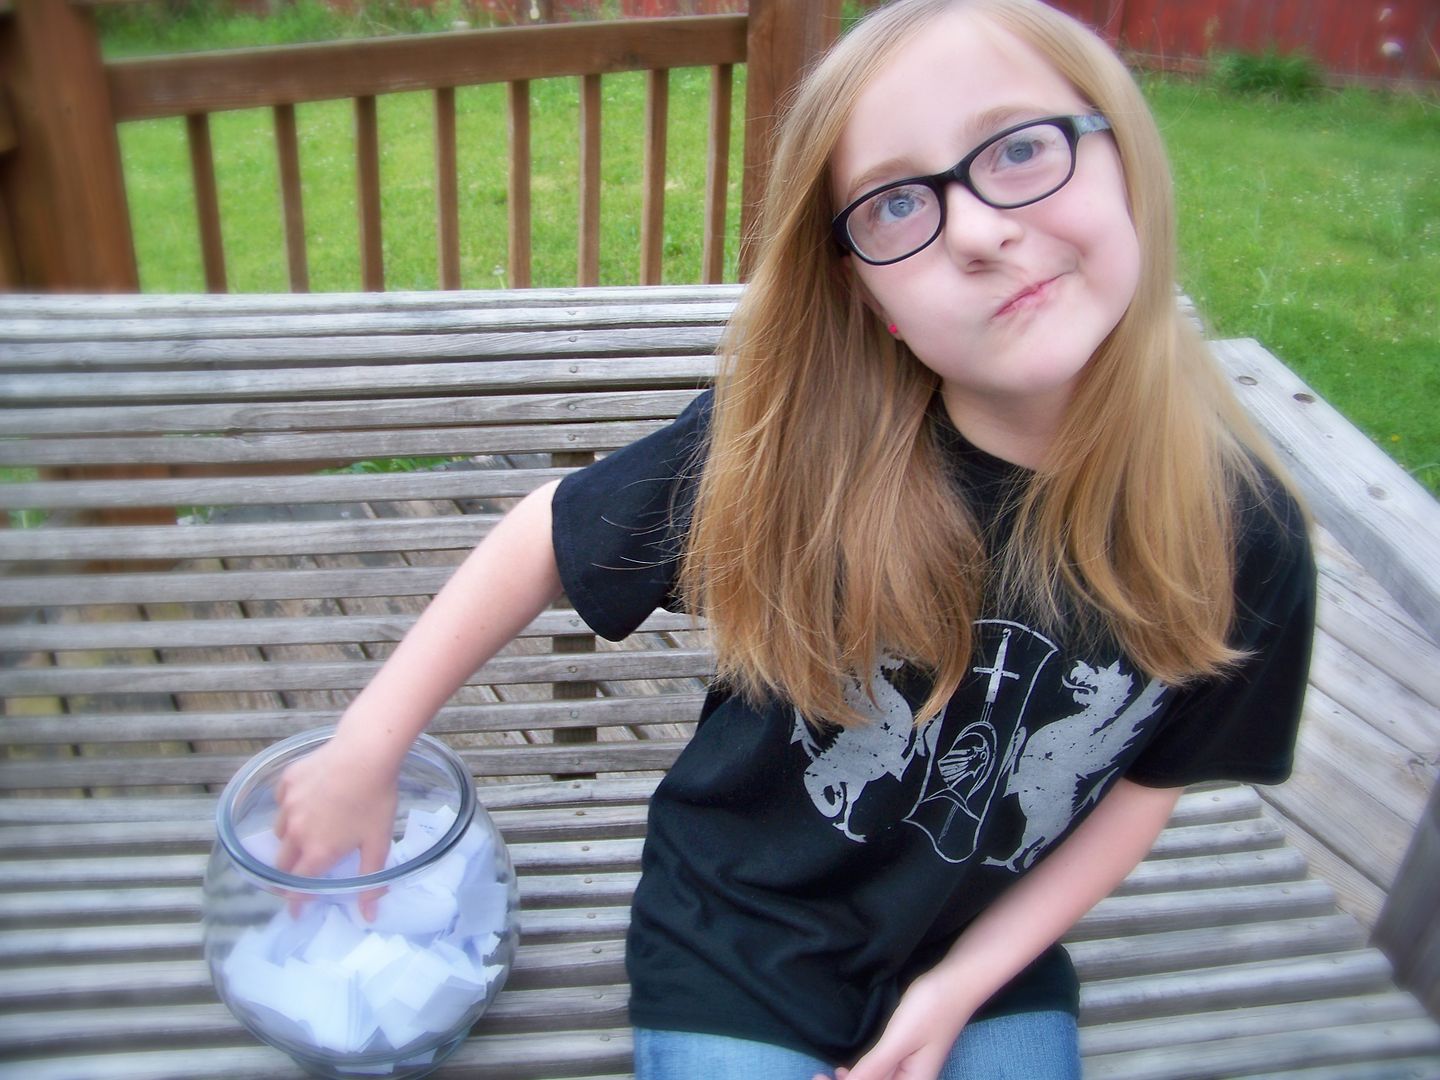
And she has drawn out a name.....


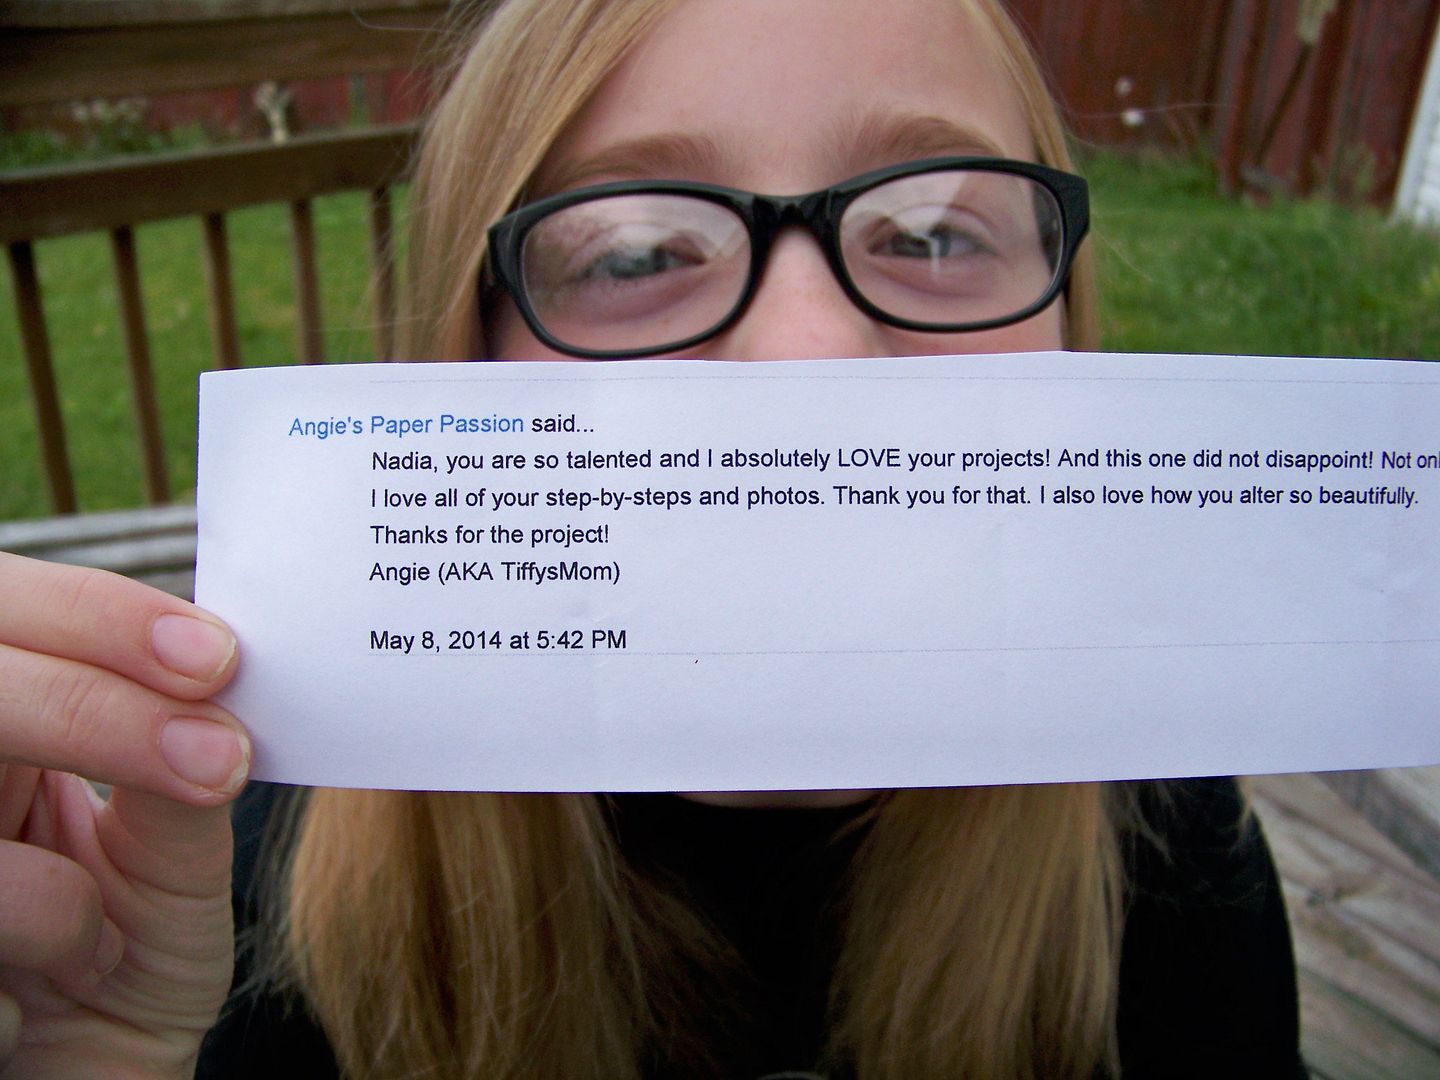
And the Winner is....

Angie (AKA TiffysMom AKA Angie's Paper Passion)


Congrats to you, Angie!  Contact me so I can mail your gift card!

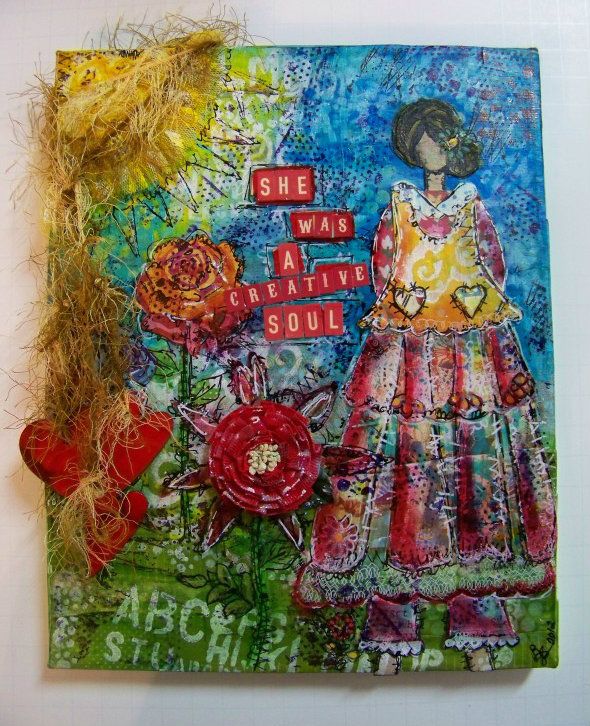
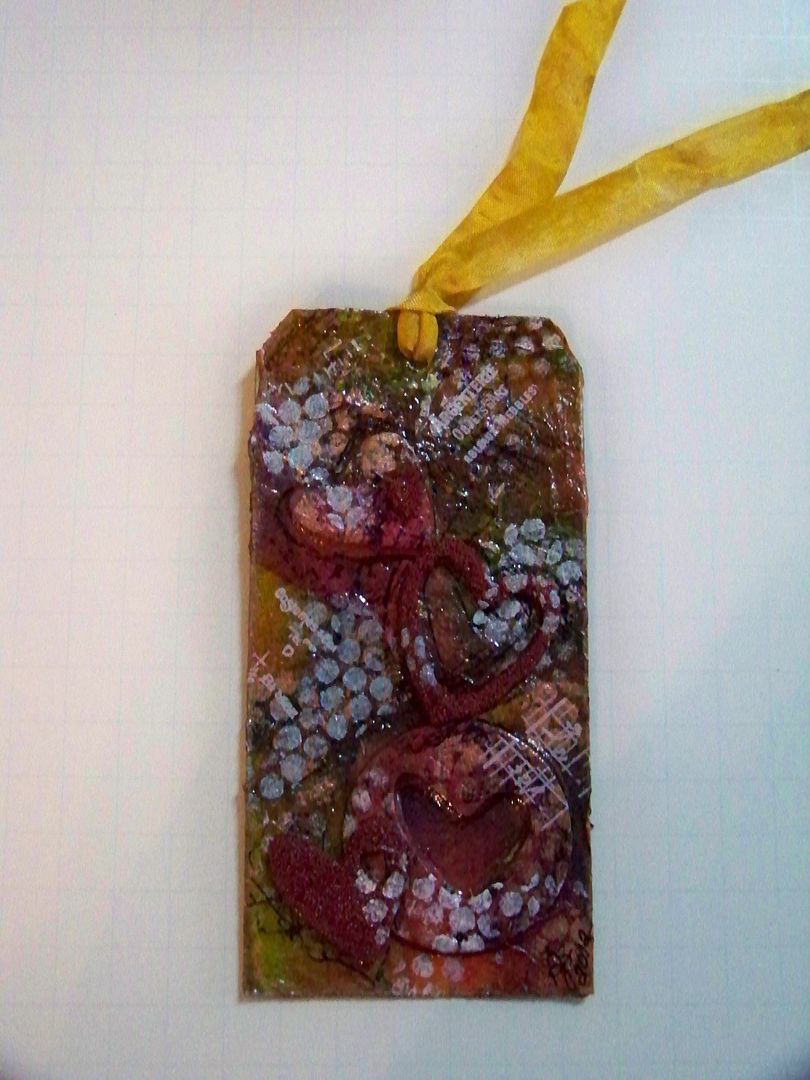
Thank you for checking my blog post today!  To see many of my previous projects, check out My Project Gallery!

Thursday, October 11, 2012

A Gift from Barbara Stewart...plus Gift Tags from a Recent Crop!

I wanted to share a gorgeous piece of artwork that Barbara Stewart gave to me at the Circle Mania crop.  It is one of her multi-media canvases.


I love the hanging hearts and dimensional flowers!  The blue sky and stylized sun have a folk art feeling that juxtaposes with the painterly surfaces perfectly.  I love the letter tiles... and the message!  It makes my heart sing!


Barbara uses Decou-page and magic to make these.  I love the lacy ruffle on the sun!  The layers of paint and pattern mystify me.  I love it and it is a beautiful piece of art that I love having in my home!  Thank you so much, Barbara, for this beautiful canvas!  (And I loved that you signed the back!)

Barbara made tags for everyone!  They were all different and perfect.  This is the one I received:


I know at least one crafter who was there who was so inspired that she worked on her own tags after getting one from Barbara.  They are truly inspiring.  I LOVE this look and it is a mystery to me how she does this!

Circle Mania was so much fun!  I thought I would share with you a few silly tags and gift wraps for Circle Mania gifties that I took....with cut info.


For the mini lunch boxes, I cut the text from vinyl using Cricut Everyday at 2-1/2".  Under the text is a Circle logo, also from Cricut Everyday, cut at 3-1/2" from vinyl.  The pink tags were cut from Artiste at 1-3/4".  I backed them in black.


This is a tag I made to go on a gift for the hostess with the mostest that weekend.  The base was cut from Wrap It Up (page 56) at 6" (tag blackout).  I cut part of a cloud from Serenade so I could use the negative space of the cloud.  Then I cut the tag again in white and backed the blue tag with it and popped it up.  The bird on the branch was cut from Live Simply at 2-1/2" and inked.  I added details by hand.  The white cloud on top was cut from Serenade at 1-3/4".  The hearts were cut from a punch.  The letters were cut from Hannah Montana at 1/2".


This tag was made for a traveler from far away who I knew would not be headed through Kentucky so I brought a bit of Kentucky to her and wanted a tag to match.  The base is from Mickey Font (page 134) cut at 5".  I cut the center from a map that I misted with Glimmer Mist and embossed with a chevron embossing folder.  Kentucky was cut cut from 50 States (page 29) at 7".  (I cut one from red and one from blue and attached them with pop dots after using a heart punch on the blue layer).  I hand-cut the banner after running the paper through my printer to add text.  The scattered hearts were cut with a punch.


The base of this tag is from Artiste (page 32), cut at 4".  The bug head was cut from Cricut Everyday at 3.5".  The body and outfit were cut from Teddy Bear Parade at 4".  The sign was something I printed from my computer.


The base of this tag is from Artiste (page 32), cut at 4".  The bug head was cut from Cricut Everyday at 3.5".  The body and outfit were cut from Teddy Bear Parade at 4". Because I think the Bug Guy is a guy, I didn't cut the shell bra, rather, I made the shell something to hold.  The base and fish body were embossed on the Cuttlebug.


These tags were cut from Everyday Cricut at 3".


These were simple picture frames that I packaged to look 'Cricut-y'.  I used Greeting Cards Inside and Out, printing and cutting on the Imagine at 9.7".  I added a little message on the back that I printed from my computer.


It was a really fun event!  So thankful that I was able to go and meet, in-person, so many of my friends that I talk to daily on the message boards.  I think this was the fourth Circle event I have traveled to.  These friendships that I have made are a blessing to me-- such an unexpected joy!  What a  fantastic group of ladies!

Thank you for visiting my blog today!  You can see many of my previous projects by visiting My Project Gallery.  My next blog post will be Sunday and I will be showcasing a Boxed Card with a tutorial.


Wednesday, July 4, 2012

Happy 4th of July!


Happy Independence Day!

For a little surprise for my daughter, I have a Fourth of July present.  We don't usually do gift-giving for this holiday, but she has been wanting something special so I thought it would be a fun time to give it to her.  For the first time in years, my husband and I are not working out-of-town on July 4th-- so that's even more reason to celebrate together as a family!

This is my challenge project for the Cricut Circle Blog Weekly Challenge #61:  Stars and Stripes.  The challenge was an easy one so I jumped on it for my gift tag!


We were required to use at least three stars and stripes and at least two Cricut cuts on a project of any type.  My tag cuts were done on the Expression using cuts and cartridges as described below:

  • Girl:  Block Party cartridge, cut at 6".  I discarded her flower so she could hold a sparkler.  I added bows and stars (see below) to her hair.  She is popped up with 1/8" pop dots on the finished tag.
  • Sparkler:  Stand and Salute, 1-1/2".  I used a mix of fine and chunky glitter for the surface.
  • I hand-cut the stripes on her shirt using a stencil as a guide made from the negative space around the same t-shirt cut.

  • USA design on t-shirt:  Stand and Salute, 1/2" (border page 63), trimming off the stars to make it fit.

  • Stars in her hair and on her t-shirt:  Stand and Salute 1/2" (border page 32).  The stars on her shirt on the negative space of the cut; the stars in her hair are from the border, cut apart.
  • Tag base:  Art Philosophy, 8" (page 60), embossed with a Cuttlebug folder from "Skyward Set."

  • Banner:  Text printed with 'Tall Paul' font at 48 point.  Banner and red stripes were cut via paper trimmer.
  • Stars for the package:  Stand and Salute, cut at 2-1/2" and 1-1/2".
I used this tag on the gift package.


And I got it all done before she woke up!!  Yippee!
Thank you for checking my blog post today.  You can see many of my previous projects by viewing My Project Gallery.  Best wishes for a happy and safe Independence Day!

Edited to add:  I am feeling a little 'linky' today so I have also linked to BBTB2, Die Cuttin Divas, Cooking with Cricut, and Exploring Cricut!

Monday, July 2, 2012

Thanks A Bunch!


Piper and I did a little baking for her grandparents this weekend.  These are Banana Bread Blondies with Browned Butter Icing --- little thank you gifts.

I found a great recipe online at Life's Simple Pleasures.  You can find it by clicking here.  Jess shows how to get the butter just right and notes in her post that she took the recipe from Christy at The Girl Who Ate Everything (click here for that one), where that blogger also gives baking times for using a regular loaf pan or mini loaf pans instead of the 10x15 jelly roll pan.  The brown butter icing is the cooked kind of icing and is perfectly paired with the banana bars (or any bar or the spoon or the bowl).  I like that wonderful brittle top quality matched with the creamy, melted-in part that lies on the very moist cake.  So easy yet all from scratch (perfect for giving), bakes in under 30 minutes... and a good one to do with a kiddo!  This makes enough bars for giving to two households as well as plenty for sampling here!


I made a quick little tag to go on them.


  • The bananas were cut from Wild Card 2 (page 41) at 3-1/2" on the Expression.  Inked in brown.  The top layer was popped up using 1/4" pop dots for the bottom of the bananas only; the top was adhered flush.
  • The scalloped circle tag base was cut from Art Philosophy (page 41) at 4-1/4".  The green base was embossed using the Cuttlebug.
  • The sentiment was printed from the computer using Microsoft font Exotic Island BTN at 18 point.  I hand-cut the little banner.

I also wanted to share a couple of fun birthday wraps from a recent birthday party for siblings.


This one is for a boy who is very obsessed with Dominoes right now.  He builds Domino rallies and requested more so this is  filled with hundreds of the black wood kind of dominoes.  I got a fast lesson in which dominoes are used for this type of application and found a great source for black, wood, double-six, "building dominoes" in bulk at EAI.  Click here for a link to their dominoes.  I used Birthday Bash for the letters and the Cuttlebug Dominoes folder to emboss dominoes on them.  I used a white acrylic paint and a dry brush to paint over the  raised areas to accentuate the pattern.


This is for his sister--one of my daughter's little friends from school.  I used their pirate pool party theme as a guide and the Imagine cart Buccaneer for the parrot, banner, and "Happy Birthday Matey" above the banner.  The child's name was cut using Cricut Blackletter.  I folded the banner according to the way it was printed and popped up the center 1/2".
Thanks for checking out my post today.   We are in the midst of a very hot, dry summer here in Kentucky!  I hope that you are keeping cool wherever you are!

Friday, April 27, 2012

Gift Wraps, Tags, and a Bag!

Don't you just love getting a gift with a fun, themed wrap!?  I do!  And I love, love, love creating those kinds of gift wraps!  These are some recent ones that I wanted to share with you.

First Communion Gift Box


 This Sunday is my daughter's First Communion and I wanted to make a special box to wrap one of her little gifts. I started with the Bride Box on Tags, Bags, Boxes, and More 2.

OK - let's talk about TBBM2:  What makes it different?  The score lines change the whole game!  And so does the two-part box option!  First the score lines --- I don't have a scoring blade/housing.  Instead, on my Expression I adjusted my blade depth to 2 and my pressure to 2.  (I found on my E2, that I had to change it to blade 3/pressure 3).  Always test this for yourself as the machines can be different!  This method actually cuts into the card stock, but not all the way through, to score it.  I used to use an X-acto knife to score and got this same kind of result, so I really like this method.  As a reminder, if you use white-core card stock (like I do) you will see the white at the folds.  That is part of what I like but for a dark box, you might prefer a card stock with the core that is the same color as the surface (or you can always ink it!)  Of course, that won't be an issue on this project!

I love the scoring done on the machine!  This is actually two pieces that are unattached--just scooted close!
Next, let's talk about the two-part box cut.  In order to cut a larger size box, this cartridge has been designed to be cut in two parts.  (I think this is brilliant!!!  It allows us to cut much larger boxes than ever before!)  I cut this in two parts at 11" each on 12x12 mats.

I decided that the best way to transform this strappy wedding gown into a First Communion Dress was to hand-cut an over-layer to make sleeves and a more modest neckline.  I was also able to emboss the over-layer, allowing me to add interest in texture on this white-on-white project!


I created the over-layer by tracing the dress front and back to make a pattern, with the front skirt cut separately as designed on the cart to allow for a velcro opening.  This effort was worth it to me because my daughter saves special boxes and I knew she would be keeping this one.  I hand-cut this shape from the same textured white card stock that I machine-cut the box pieces.

I used an edge punch on the front skirt and then embossed it with my Cuttlebug.


I embossed the other sections of the dress.  (I had to embossed the fold-over bodice and then the back of the dress separately--- where, oh where, is that 12x12 Cuttlebug that we have begged for?!?!  All of the over-layer pieces were embossed and adhered before attaching the two box pieces together.


I adhered flowers, butterflies, pearls, and an iridescent white glittered cross (at the neck) after assembling the box per the cartridge instructions.

I did cut out a bit off the side folds to make it easier for a little hand to reach inside.  Tissue paper will be wrapped around the gift, so it will still be hidden from little eyes!
Here, you can see the finished size.
How-to details (all cut on the Expression unless otherwise noted):
dress box - Bride box from TBBM2 cut at 11" using the Box Section 1 and Box Section 2 cuts
butterflies - Martha Stewart punch
flowers - Pagoda cut at 1/2"
cross - rosary on New Testament, using the cross only, cut at 1-1/2"
lace hem - Martha Stewart deep edge punch


Pyramid Gift Box


I wanted to make a fun design for one of my mom's Mother's Day gifts.  I fell in love with the idea of an Egyptian character when I saw that cut on Teen Scene.  Finding the pyramid box on Tags, Bags, Boxes, and More 2, I knew that would be my theme!  You can see my details about making the tag on my previous post, or click here.

These are a sampling of the sizes I could cut on a 12x12 mat in one and two pieces.  These were too small for my project!
For the pyramid, cutting in two parts meant that I lost a flap that I liked on the one-part cut.  That flap gave it a finished-looking opening, but it just would not work out.  To make the size I needed, I had to use the two-part cuts on a 12x24 mat at 10" and I had to cut it on the E2 so that I could turn the cut 90 degrees (a feature that is not available on the Expression).  If you use software, you can always turn it to fit that way.


To do the cuts for my large box, I followed these steps:
load 12x24 paper on 12x24 mat
select mat size for 12x24
select shape for box section 2
edit:  select 90 degree turn and size 10"
cut (I did not score-- I hand-scored later)
repeat for box section 1

I could not figure out how to make the score lines match up on the cuts when everything was turned 90 degrees on the E2.  I am guessing that the software would solve this problem!  For the big box (not the samples in orange above), I hand-scored the shapes-- and on this design, it was so, so easy!  When not turning 90 degrees, the score lines are perfect every time and have been perfect on my Expression every time too!  Getting the shapes to a bigger size, though, REQUIRES turning the shapes 90 degrees!

I use a metal-edge ruler and X-acto knife on a grid mat to hand-score, using the diagram on page 28 of the Assembly Construction booklet as a guide.
I adhered the two pieces and used a bone folder to fold along the score  lines.
After making my small orange samples, I found that the flaps with squared corners functioned better when I  trimmed them down at an angle.
I was inspired by a technique used on the Scrappy Sticky Inky Mess blog, where the artist, Maryanne, used melted embossing powder as a resist!  You can see that post by clicking here!  On her post, she created a colored base with crayons but I just wanted my original paper color to show I did not color or treat the paper in any way.

I used UTEE to create a resist so that the design would keep the color of my paper before adding color.
I tapped off all excess UTEE and then applied heat to melt the crystals.

I sprayed the paper with Glimmer Mist to add a little color.  (I wanted to match the muddled paper on the tag).  While still wet, I blotted off the Glimmer Mist from the UTEE designs with a tissue.
I adhered the sides using Terrifically Tacky Tape.  I left the bottom open so that I could fill the box with bath bombs from Lush, my mom's favorite (and mine and my daughter's too).

I have to thank the sweet Scrapalette, who took my crazy phone call as I was testing the scoring for this large box!  She has posted lots of her practice cuts for Tags, Bags, Boxes, and More2.  Click here to see that post on the Cricut message board.


Family Game Night Raffle Basket Donations


The never-ending school fundraising has brought requests from the junior class at my daughter's K-12 school.  They have requested that the second graders' families donate a gift basket for their raffle with a "Family Game Night" theme.  So... we bought a few games to donate and I put together a s'more kit.  Can't wait to see what the basket looks like with all the donations!

'S'more Fun 4 Family Game Night' tag!
How-to details (all cut on the Expression unless otherwise noted):
Tag - Art Philosophy (page 40), cut at 5-1/2"
"Family Game Night" text -  an image found on Google Images
"s'more fun" -  Art Philosophy at 3/4"
"4" was from Mickey Font at 2"
I ran the tag through my printer to add "Microwave s'more recipe on marshmallow bag!"


Boy's Birthday Gift Bag


This was kind of a recycling project because my daughter had drawn on the bag and decided she didn't like her design, so she discarded it.  When I found it in my gift wrap supplies, the bag was the perfect size for a couple of Hex Bug sets she was giving to her school friend.  Eight-year-old boys are a tough group when looking for an icon for the design-- they are too old for some cartoons, we have already used other cartoons for past birthdays, Super Heroes are 'out' (so I have been told by those mini trend-setters), and this boy doesn't like sports.  My daughter suggested an alien and I love the one from Space Party!  

How-to details (all cut on the Expression unless otherwise noted):
Alien - Space Party Cricut cartridge, cut at 7-1/4" 
Space ship - Space Party Cricut cartridge, cut at 2-1/2" (popped up 1/8")
Beam of light - hand cut
Mat - cut on paper trimmer at 7" x 8-1/2"
Purchased 8" x 10" kraft paper bag
Text on space ship - printed on using Microsoft Blade Runner Movie font at 11 point


I had so much fun with these projects!Thank you for checking my blog today!  As always, you can see many of my previous projects by visiting My Project Gallery, or just click here.


But wait! There's more! Click 'older posts' above!

But wait!  There's more!  Click 'older posts' above!