Showing posts with label Holiday - Christmas. Show all posts

Thursday, December 7, 2017

My Daughter's Christmas Craft: Fuzzy Sock Gnomes


My kiddo likes to make special gifts each year.  Past years have been pine cone birds, glitter-filled personalized ornaments, and personalized ITH hand sanitizer cases.  This year, we found a fantastic video for making gnomes from rice and fuzzy socks and that is her crafty gift project this year.  You can find the video tutorial we used on Facebook here:

I found $1 fuzzy socks at Walgreens and at Dollar Tree.  We used care not to grab the ones with rubberized non-skid dots.  


We did make a change from her tutorial in that we did not use hollowed out Styrofoam cones; we rolled up card stock cones instead and trimmed them down to 5-1/2" because I have tons of card stock.  We also used fake fur for the beards because I have tons of that stuff too! 


We used white socks from Walmart, but next time we will look for pale pink or tan.  As it is, the white socks and the beard blend too much so we used a dobber and a pink stamp pad to color the nose.  One thing we learned after our first ones:  make the nose really, really big!  

What I love most about this project is that my 13-year-old daughter and I had such a fun time learning this and making some samples together.  We laughed so hard at one point that we were in tears.  That kind of time with a teenager is precious and rare.


Happy Christmas crafting with your family!  

Thursday, November 30, 2017

Personalized Ballet Bears


For the first time, my 13-year-old daughter's ballet teacher asked her to assist with the kindergarten class and she has loved it. She comes out of there with a smile from ear to ear and stories about how cute the little dancers are.  This weekend is the annual Christmas Tea at the ballet school.  She wanted something to give each of her little dancers.  She had her second knee surgery of the calendar year about three weeks ago, so she has missed her little class and is so excited to have something to give them.

I needed an idea that wouldn't mess up my Christmas budget.  I started by going to the Dollar Tree.  I had hoped to find girl elves that I could personalize with heat transfer vinyl and my heat press, but a happy accident happened:  they had no elves.  They had bears!  I had hoped for all polar bears, but I was happy to find what I did and noticed that their cheap little raggedy scarves were barely attached.  That sold me.  I knew I could take off those scarves and make these into ballet bears for the little students.


I picked up a 25 yard spool of sparkle tulle and a 5 yard spool of 5/8" wide grosgrain ribbon at the craft store.  I use 3 yards of tulle for each bear and just under 30" of ribbon that I trim down after I tie it on the neck for each bow.  The GREAT news is that this time of year is the best time to get that for half off so that put my supply budget at $4.  That meant I could make six personalized gifts for a total $10.


For each 3 yard length of tulle, I folded it in half, making it 3" wide.  I put the fold side under the presser foot of my sewing machine and zigzagged gimp cord on top.  (Perle cotton and buttonhole twist can also be used for this.) This is the method I use to gather stuff.


It makes it really easy to gather quickly--- just make certain that the stitching clears the cord and never catches it!  I leave a short tail at the beginning and leave a short tail at the end.  The stitching doesn't even have to be perfect.  The tutu is so tightly gathered that uneven cord application will never be noticed because the cord never shows.


After stitching, I hold the cord and draw up the tulle, keeping it from twisting.


I put a tutu on each bear, using the gimp cord to tie it on.  I make several knots and trim the excess length of cord right off.  It is so full and fluffy, it stays put with no other stitching needed.

Next I am ready to stitch on my ribbon.  I think there is something really special about personalized stuff.  It is my favorite thing to take something inexpensive and transform it into something no one can buy off the shelf.  I love that the tools in my craft studio afford me that.

I opened up my Embrilliance embroidery software.  Using the list of names the ballet school owner texted me, I used a free BX font that was created by Lisa Shaw.  I originally picked it up off the CME Magazine website, but Lisa has it on her blog and that makes it easier..  One thing I know for sure:  stitching on ribbon without a basting box is a disaster... but with a basting box, it is perfect every time.  I highlighted the first name and, in the software, I clicked the utility tab and chose "Baste Design."  I continued all down the virtual hoop. That put a basting box around each word, just as I need it to keep even tension on the stitch area of each ribbon.


I printed out my design (that's just done by clicking the 'file' on the toolbar and clicking 'print').  That allowed me to put my ribbon over each word to make sure the basting box would fit inside the width of the ribbon.  For the names with the "g" and "y",  had to adjust the height of the name.  This font resizes and adjusts just fine.  I simply removed the basting box for the specific name and then used the handlebars to squish the text so it would be less tall. I highlighted the name and gave it its basting box back.  The program automatically sizes the basting box to the adjusted design size.

Next, I printed my design again because I needed the corrected copy and I went to my light box.


I hooped tearaway and marked my cross-hairs on my hoop using a pencil.  I extended the cross-hairs on my printout to make it easy to match up over the light box.  I used tape to hold the ribbon in place.  I used about 30" of ribbon for each name even though I knew 22" would be the final length.  I wanted a little wiggle room even on the end by the name.  It is much easier to trim down than to keep having to re-adjust the bow!  I pinned the ribbon out of the way and stitched.  (Little note from me on this-- make certain that your first needle prick on each basting box is going in the ribbon.  Stop your machine and move the ribbon a teeny bit if you need to because having the basting box around each name is just that important!)


Then I simply removed the basting boxes and tore the ribbon free from the stabilizer.  I tied a bow on each bear and trimmed the ends.  They each seem to have a little personality.  I guess that is the silver lining of cheap bears:  the lack of quality control means they have unintended expressions.  Ha!


This one has an attitude!  I think he's a boy and hates his outfit but don't tell Lydia.


Right now, my Dollar Tree also had Nutcracker storybooks so I also got one of those for each student.  We find out at the Christmas Tea what ballet the students will be performing in June.  We did the Wizard of Oz last year, Sleeping Beauty before that, Alice in Wonderland before that.  It is different every year and this will be the 10th one my daughter dances in and hopefully her knee will finally be healed and healthy and for that we are so excited. 

Mentioned on this post:


Thank you for checking my blog post!  Happy holiday crafting!

Monday, January 4, 2016

On the 11th Day of Christmas....My Christmas Journal

Today, January 4th, is the 11th Day of Christmas.  It is our favorite because this is Eleven Pipers Piping from the Twelve Days of Christmas song...and we are partial to pipers.  (My daughter is named Piper).


Yes, our tree is still up until the Epiphany so it is still Christmasy here, but not for much longer.  So this post is Christmasy too!

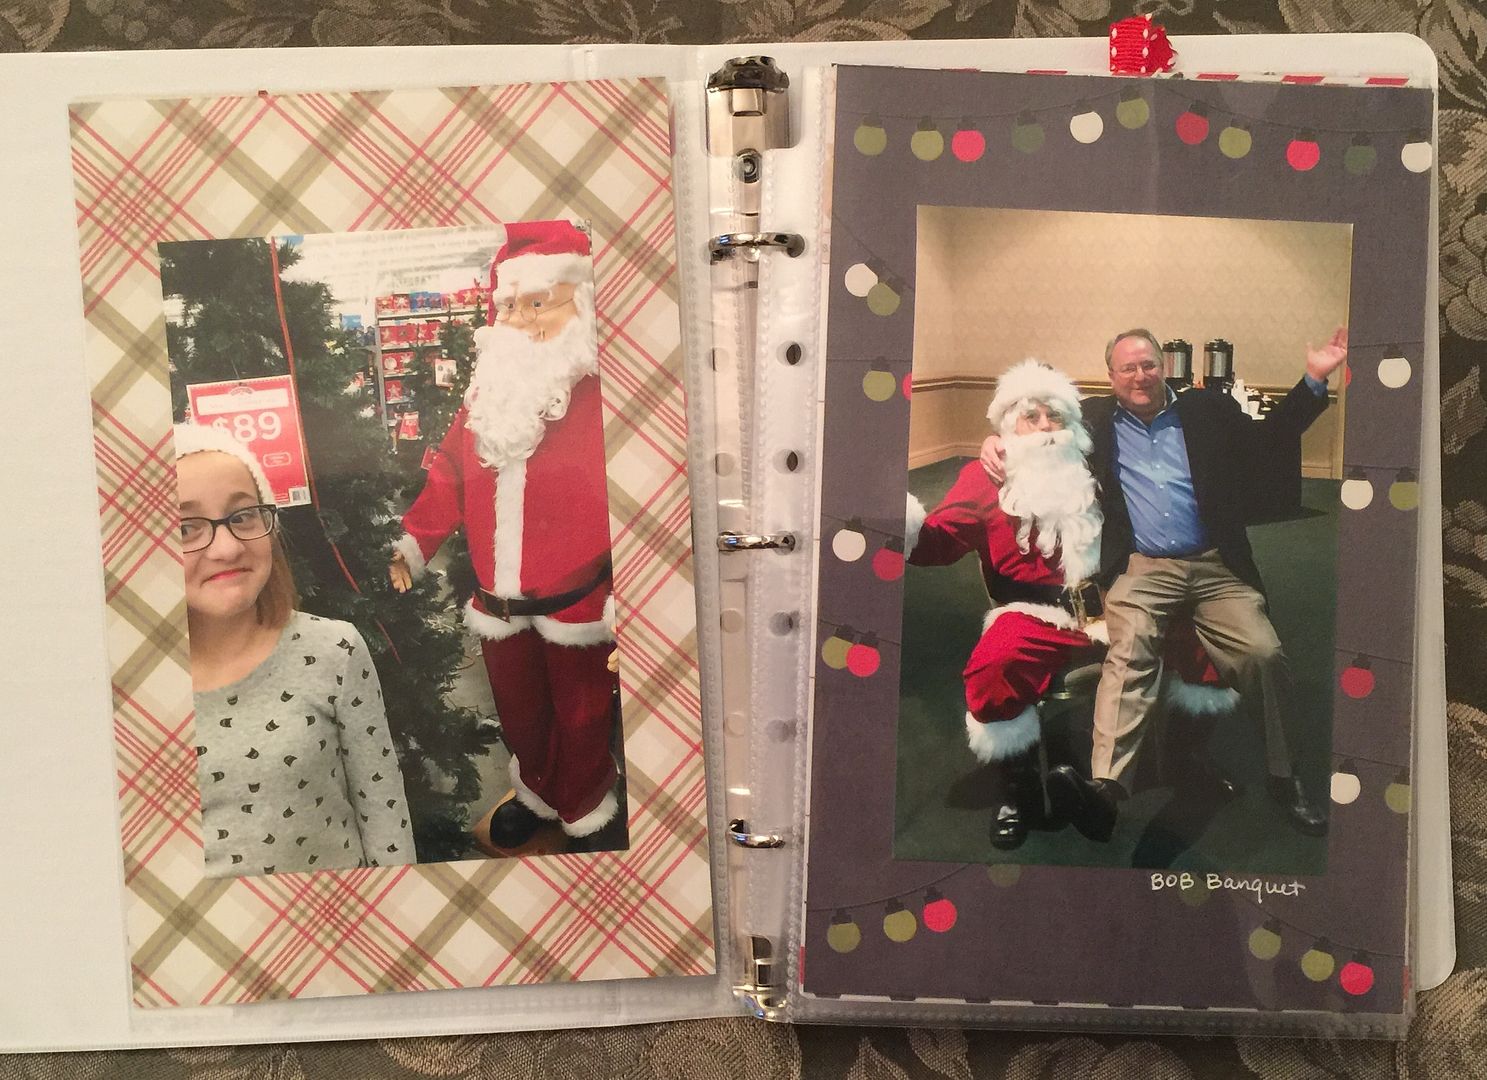
I have been so preoccupied with embroidery that I almost let December 2015 slip past without doing my annual Christmas Journal.  I have done three on previous years, all started because of some of my Cricut friends introducing me to Shimelle's JYC (Journal Your Christmas).  Mid-December, however, my crafty genius friend, Sara Andrews, in her very subtle way, helped me to remember that I need to do this.

When I say "need," I don't mean it in the way we say we "need " a piece of fabric or that we "need" a paper collection.  No, I really needed it.

My Christmas journals do several things for me.  They force me to focus on the season.  They require that I live in the moment...and document it!  They give me something to look back upon.  They give me a memento.  Past journals, all those were done meticulously day by day, have been used as a record of when we traveled.  We have referred to them to remember early snows, plans with friends. I include each year's recipes I cooked and baked for Christmas.  I wrote private letters to my future self that I hid away in secret envelopes, sometimes painful, sometimes ominous!  I kept my journals real, though celebratory; honest while festive.  My Christmas Journal is my gift to myself each year.

The day that I admitted I would not do one for 2015 was the middle of the month in December.  No way to catch up as it got closer to Christmas... until I realized that I was actually feeling sad about it. I had been moving the daily prompts that I got from Shimelle to a December Daily/JYC folder in my emails, never opening any.  I knew I would not be using the prompts this year as much as I depended on them in the past.

Later that same day, on an office supply trip to Staples, I grabbed a small binder, a tiny one, and same-size page protectors.  I was going to do one and I was going to start that day. And I did!

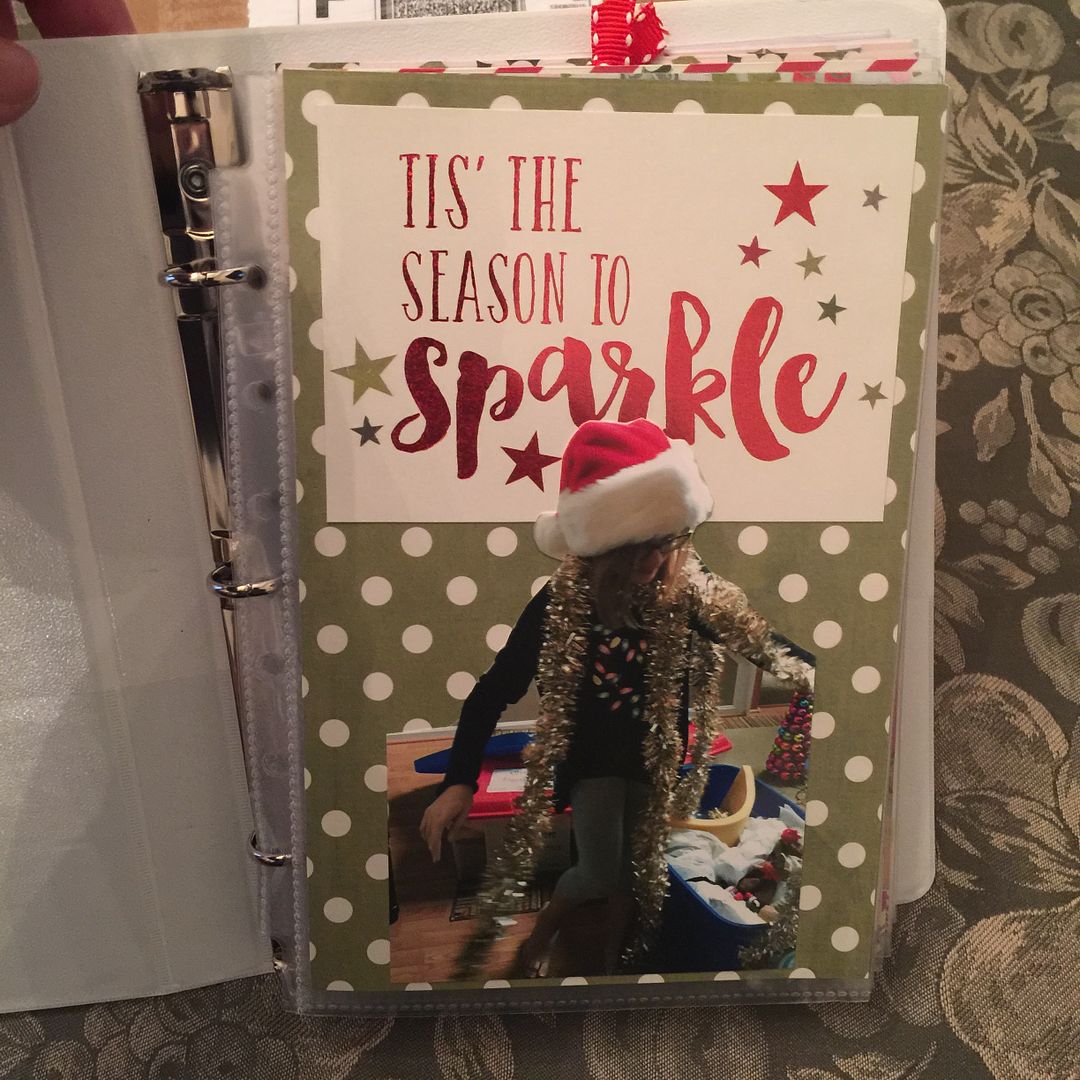
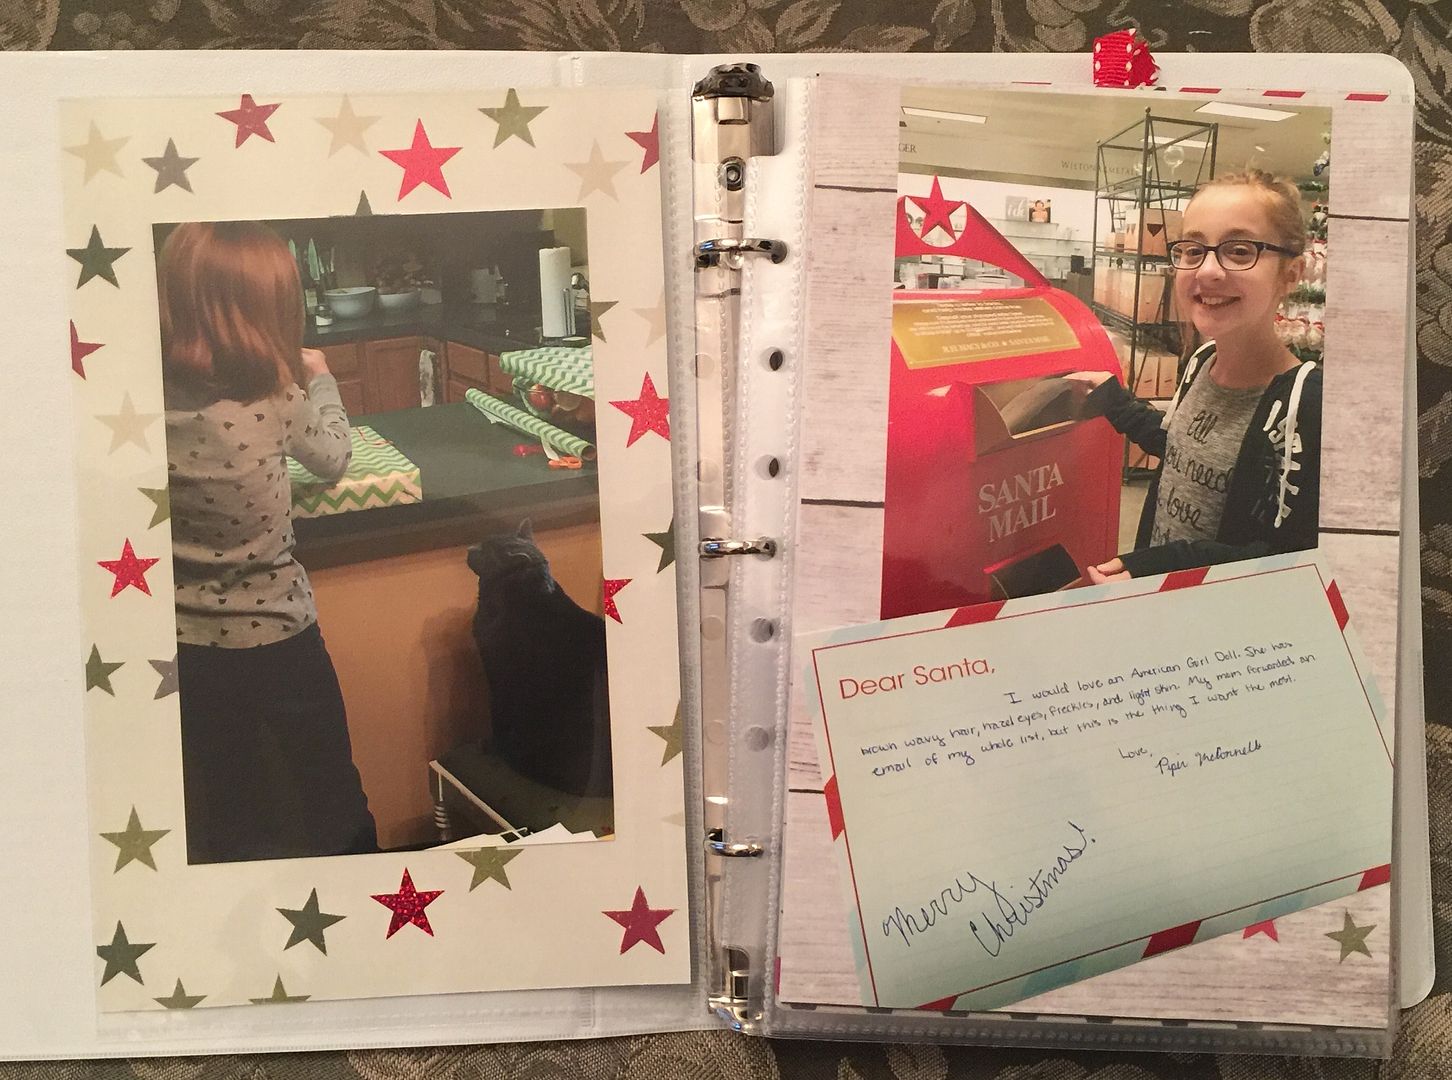
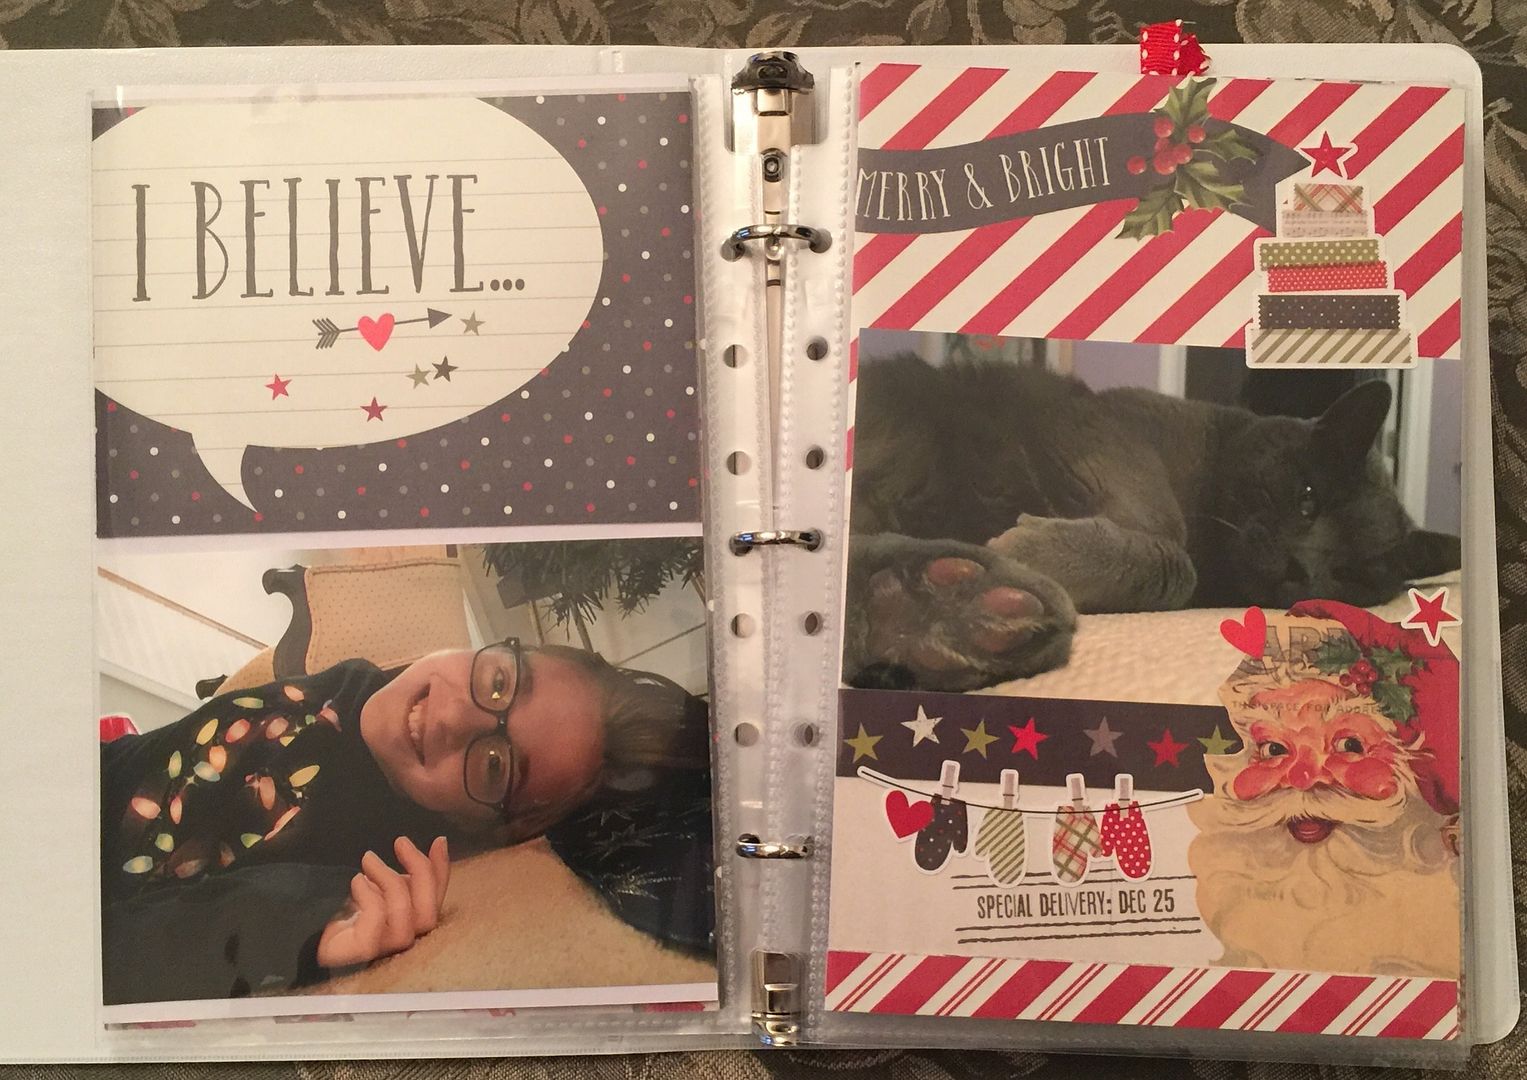
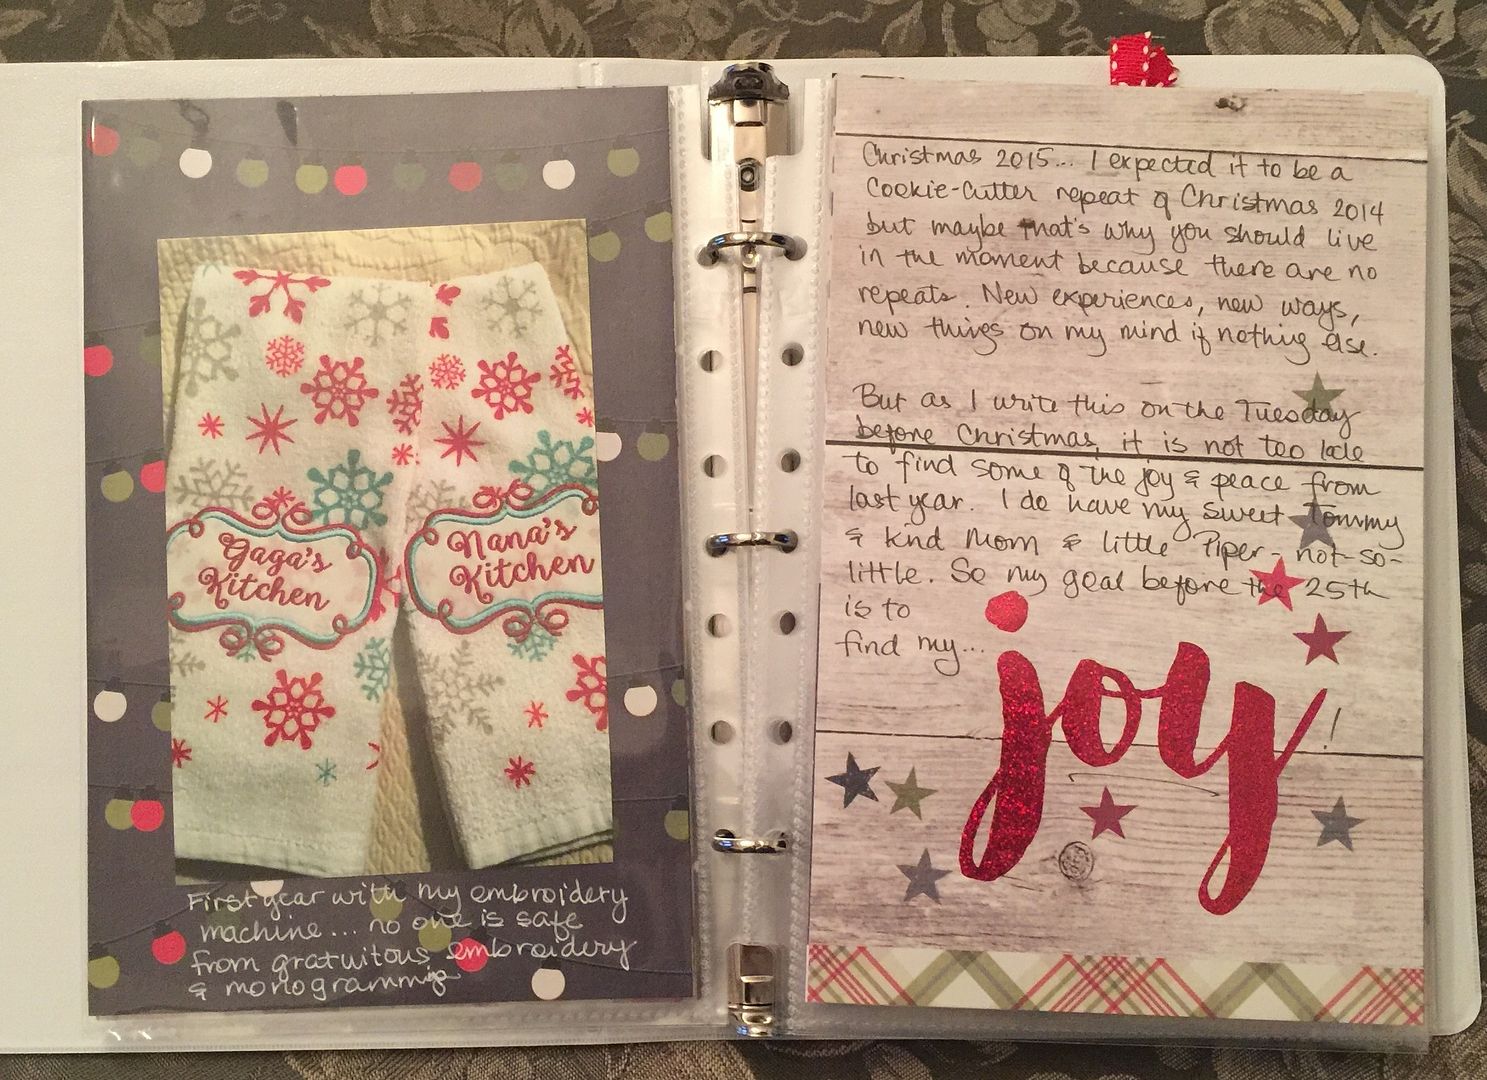
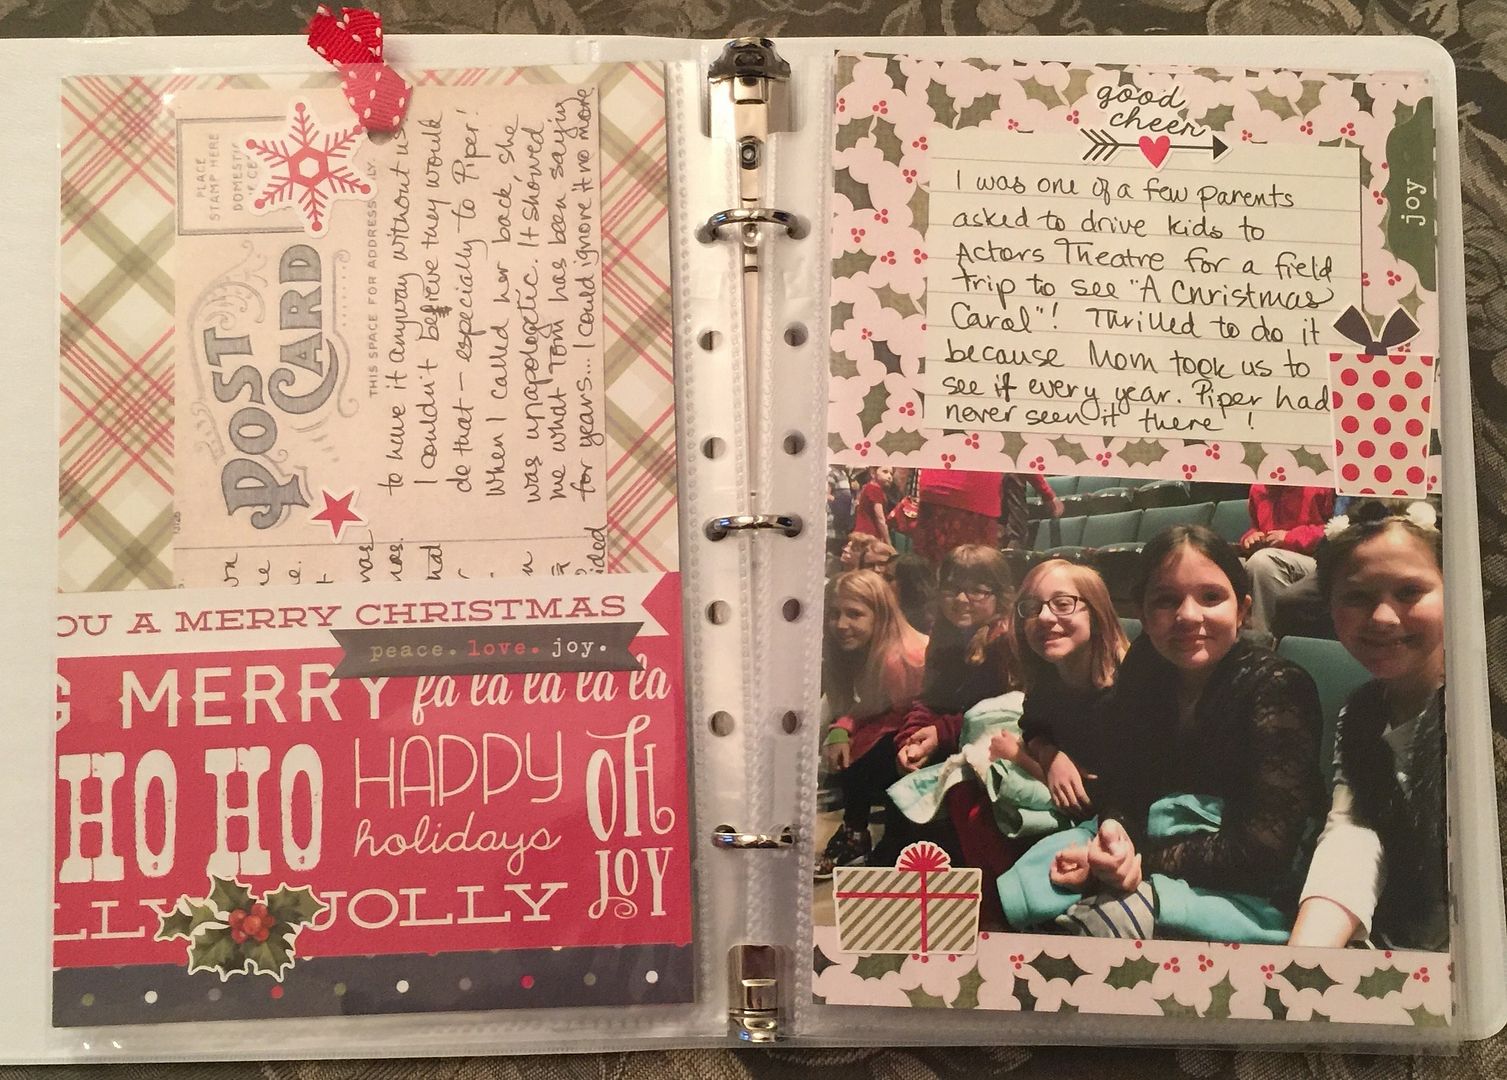
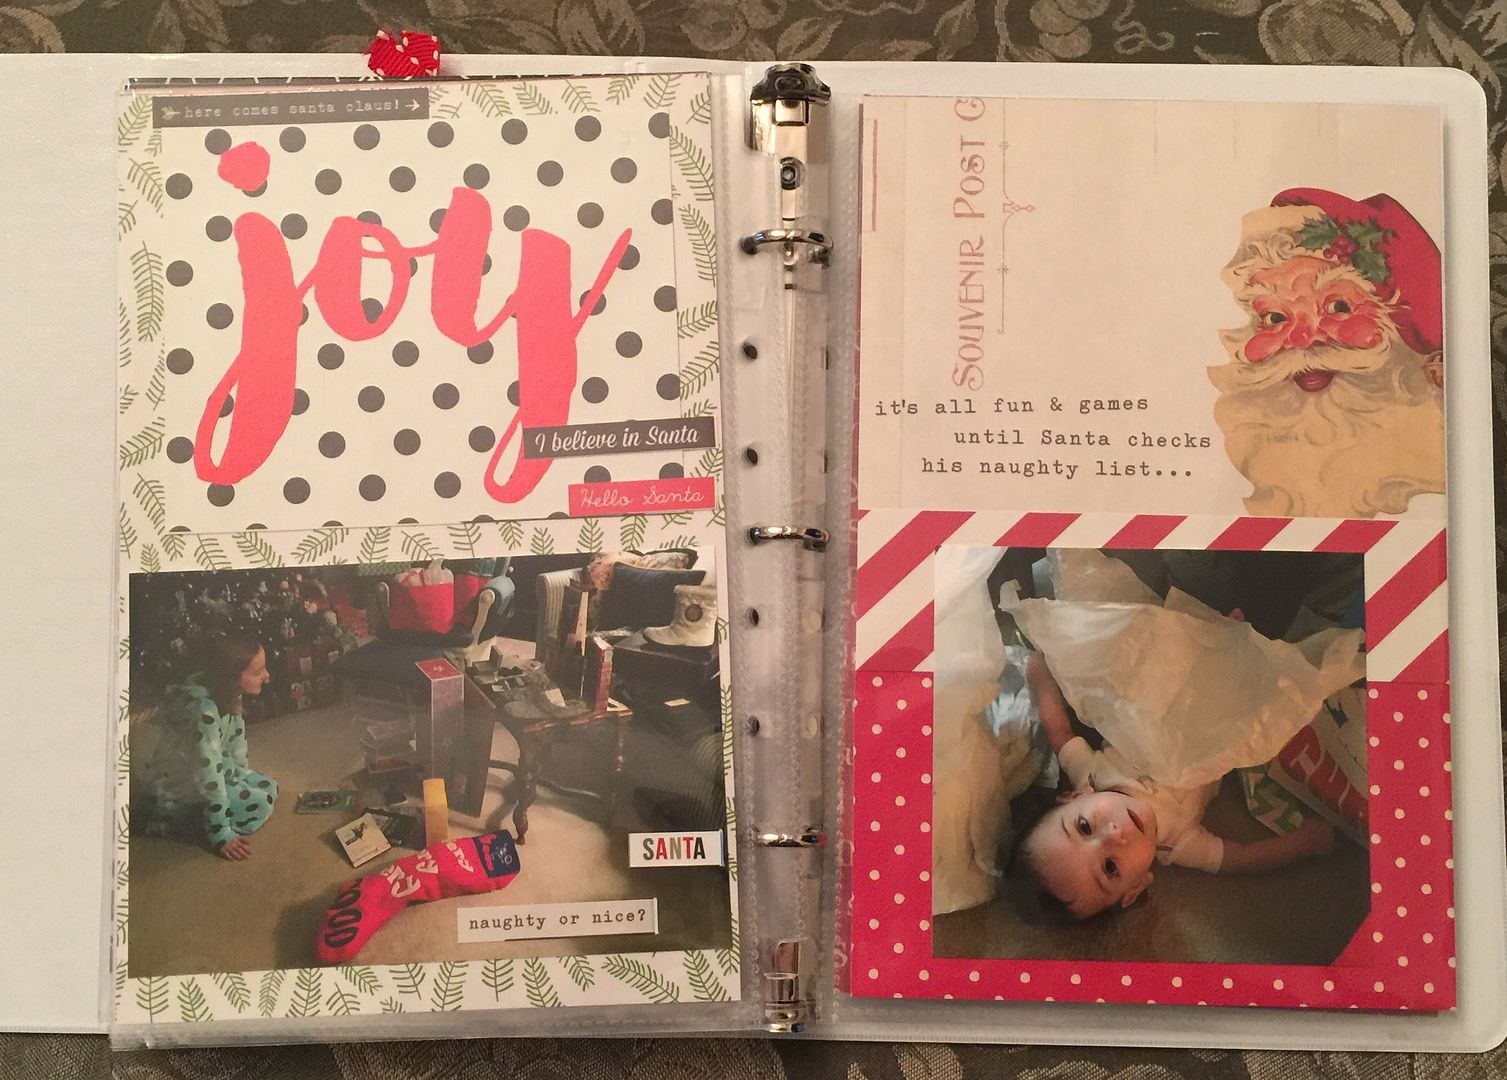
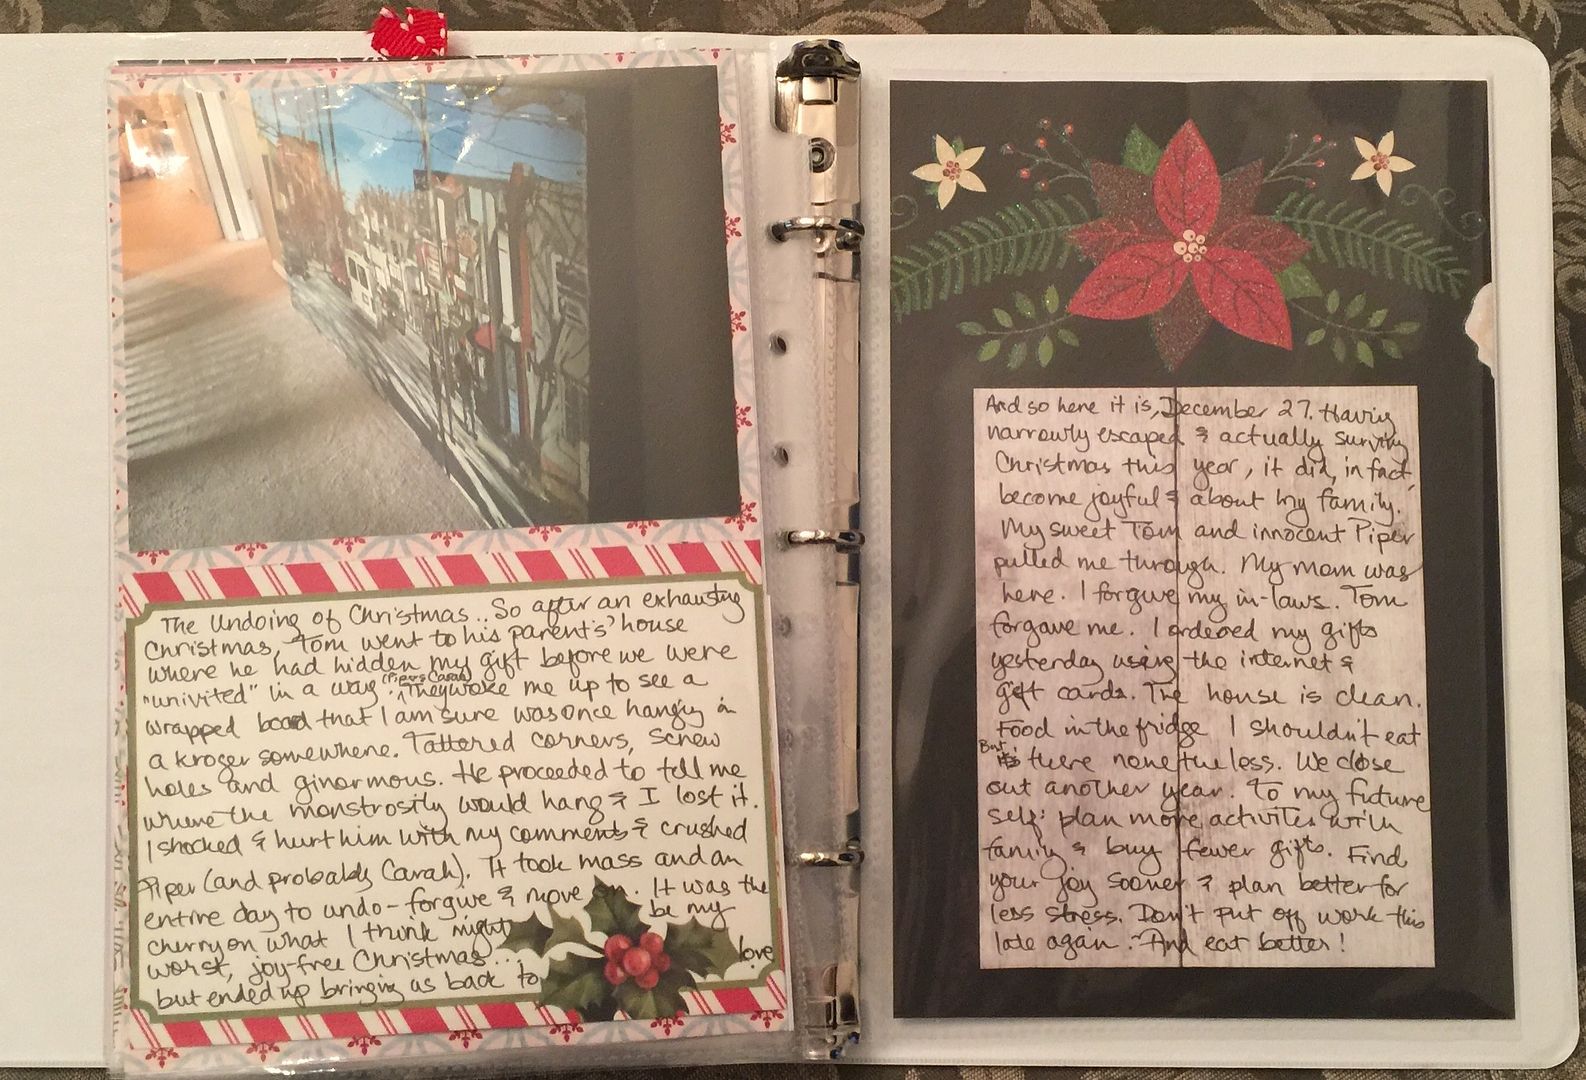
Using Christmas papers I bought at a crafting retreat in Virginia (in September!), I filled my journal with my notes, photos (I take pics constantly so that was no problem), ideas, recipes, calendar, and memories.  And I did it in record time, spending only a few days on it as opposed to the daily morning crafting ritual I did on previous ones.

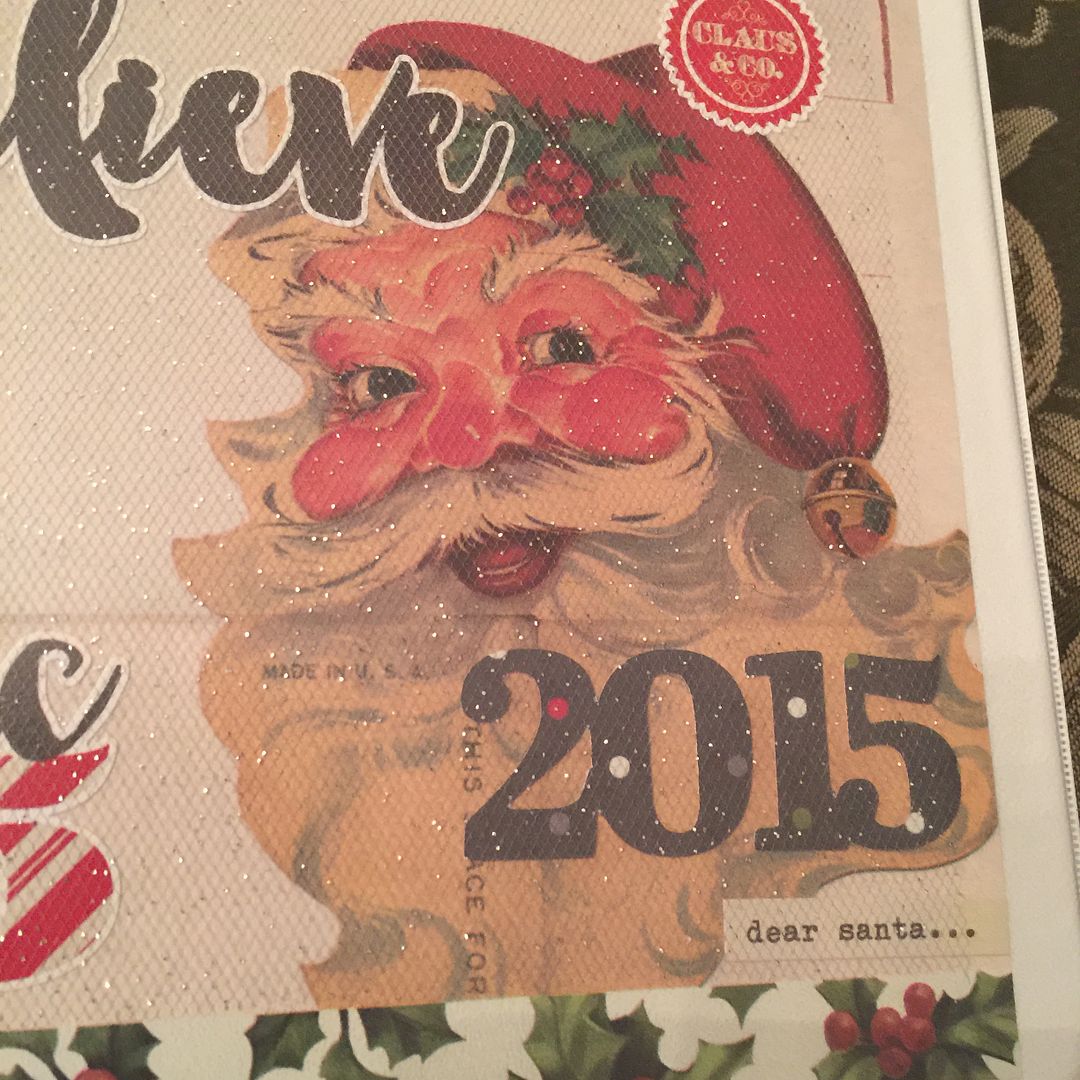
Just a silly, quick collage to fit inside the cover to make it look less like a binder and more like my journal.
I added stickers and cut outs and glitter tulle, nothing fancy, all very fast.  No die cutter used this year!  


I wasn't as good at filling in our calendar as previous years.  Instead of using one of the free printables, this year, I just used one in the paper pad I had.  My attempt to do this in record time shows, I guess!
This page included a pocket for the Christmas cookies we made this year.


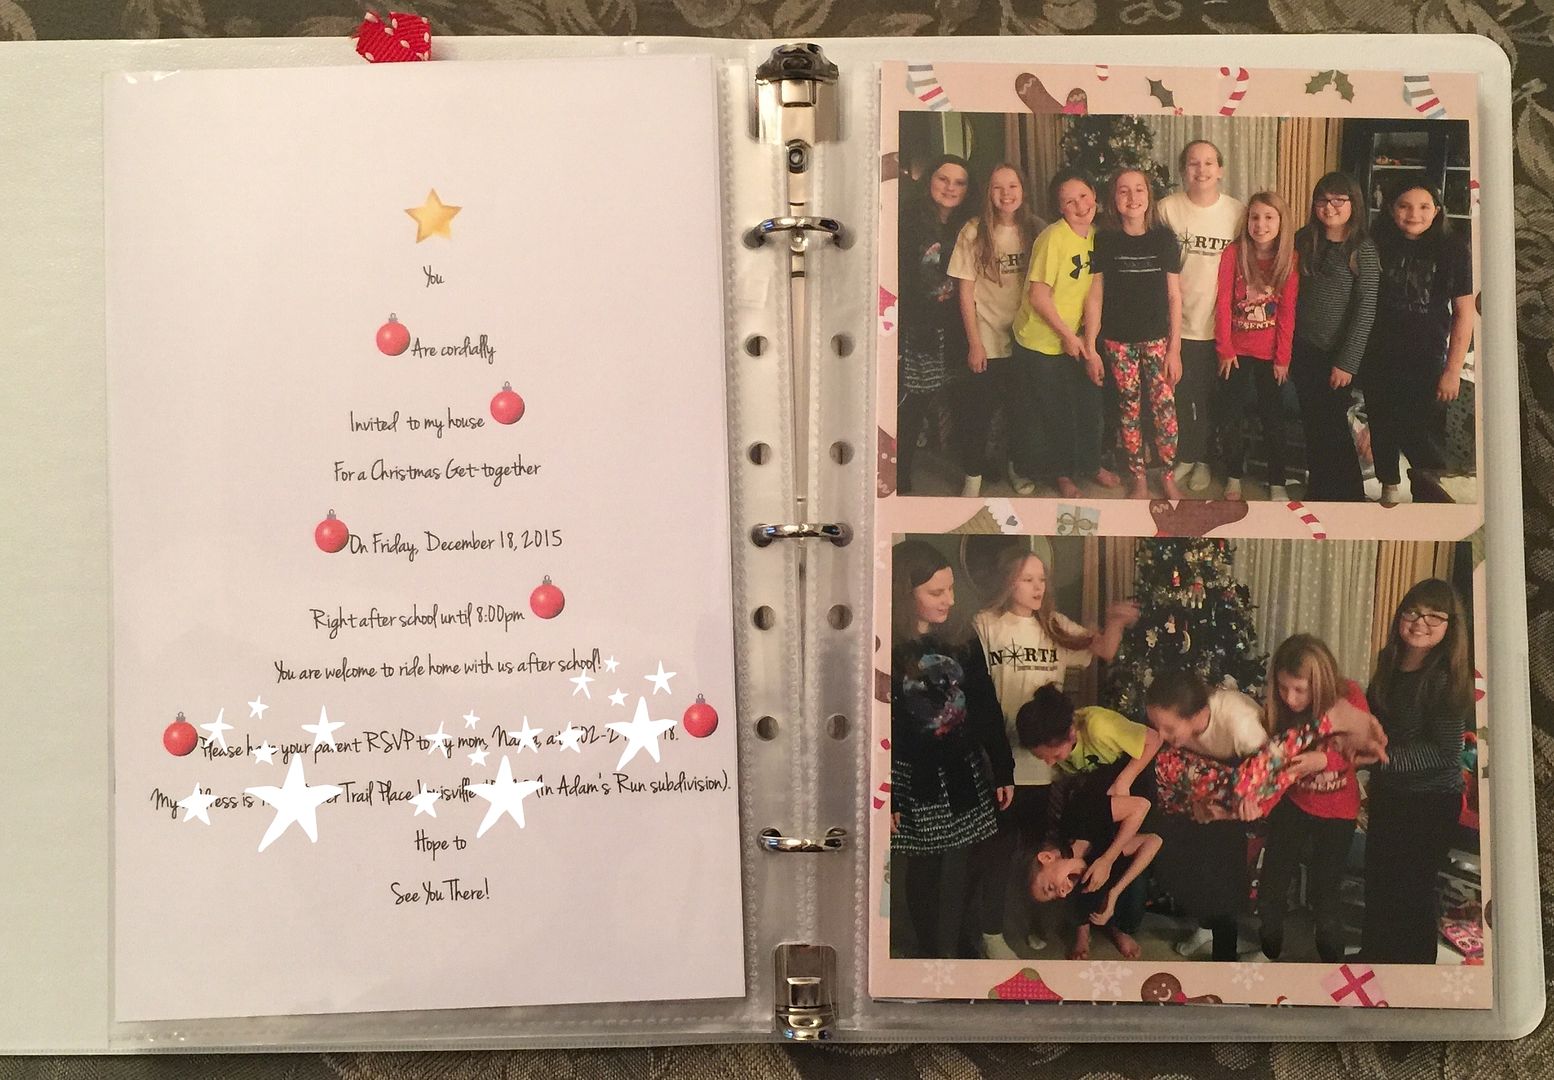
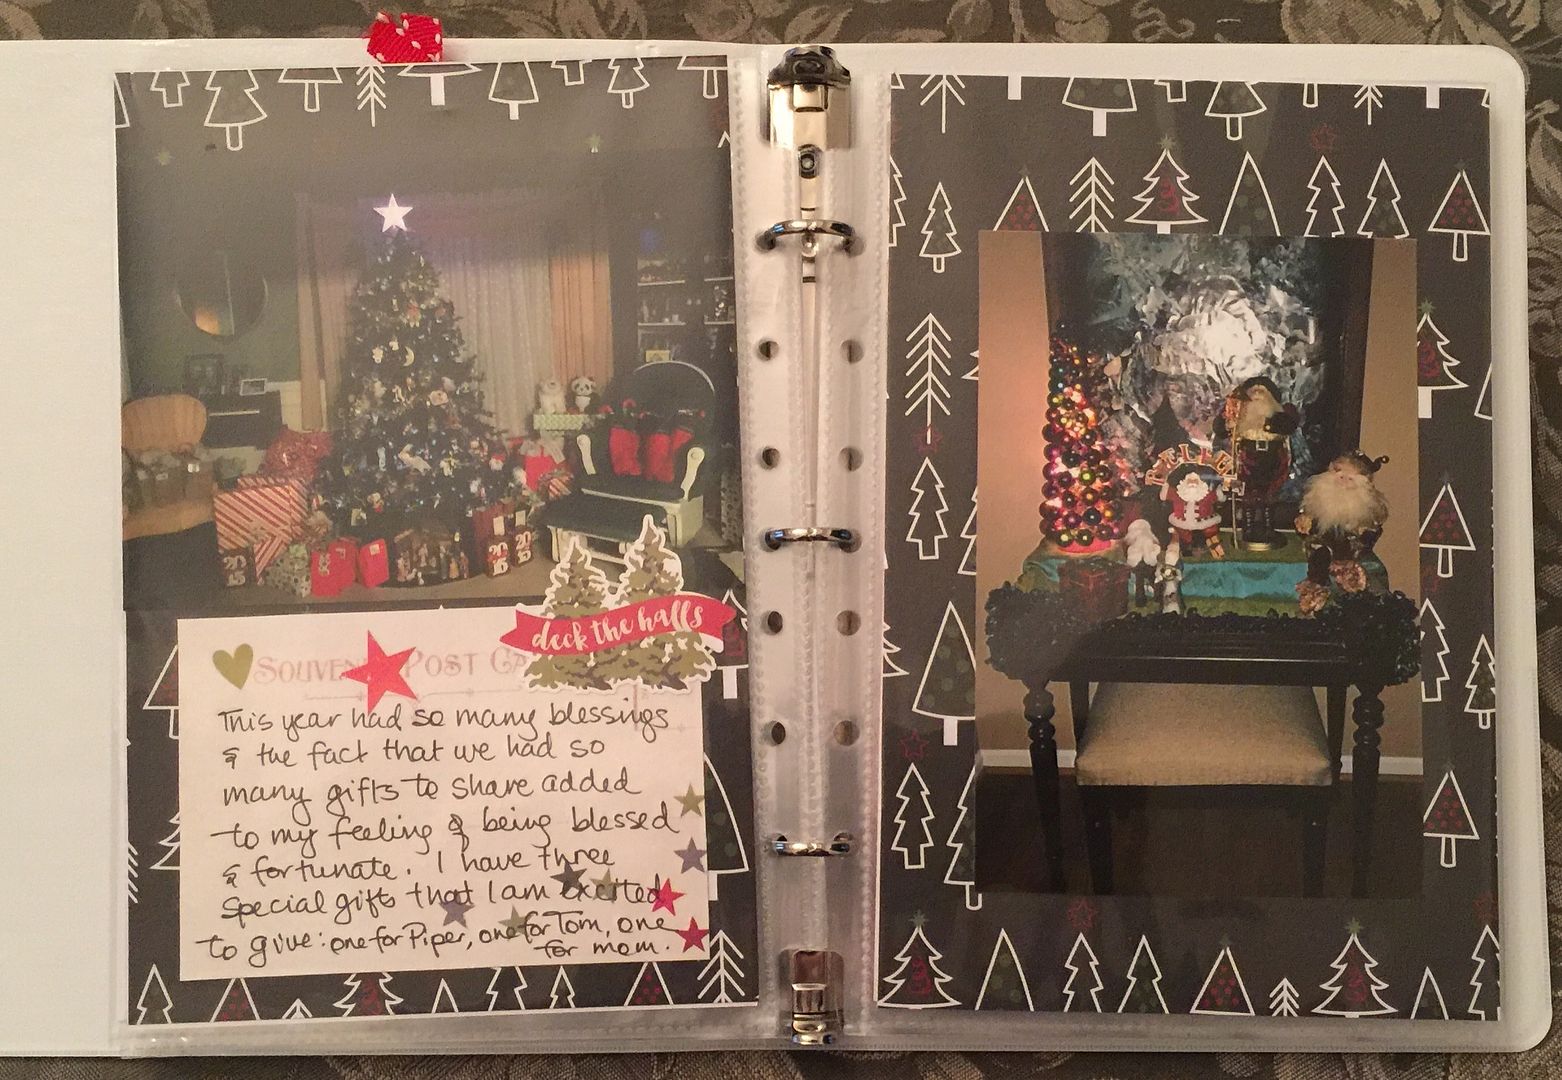
I like hand-written journaling even in my more elaborate journals so I was happy to add it to this simple one.
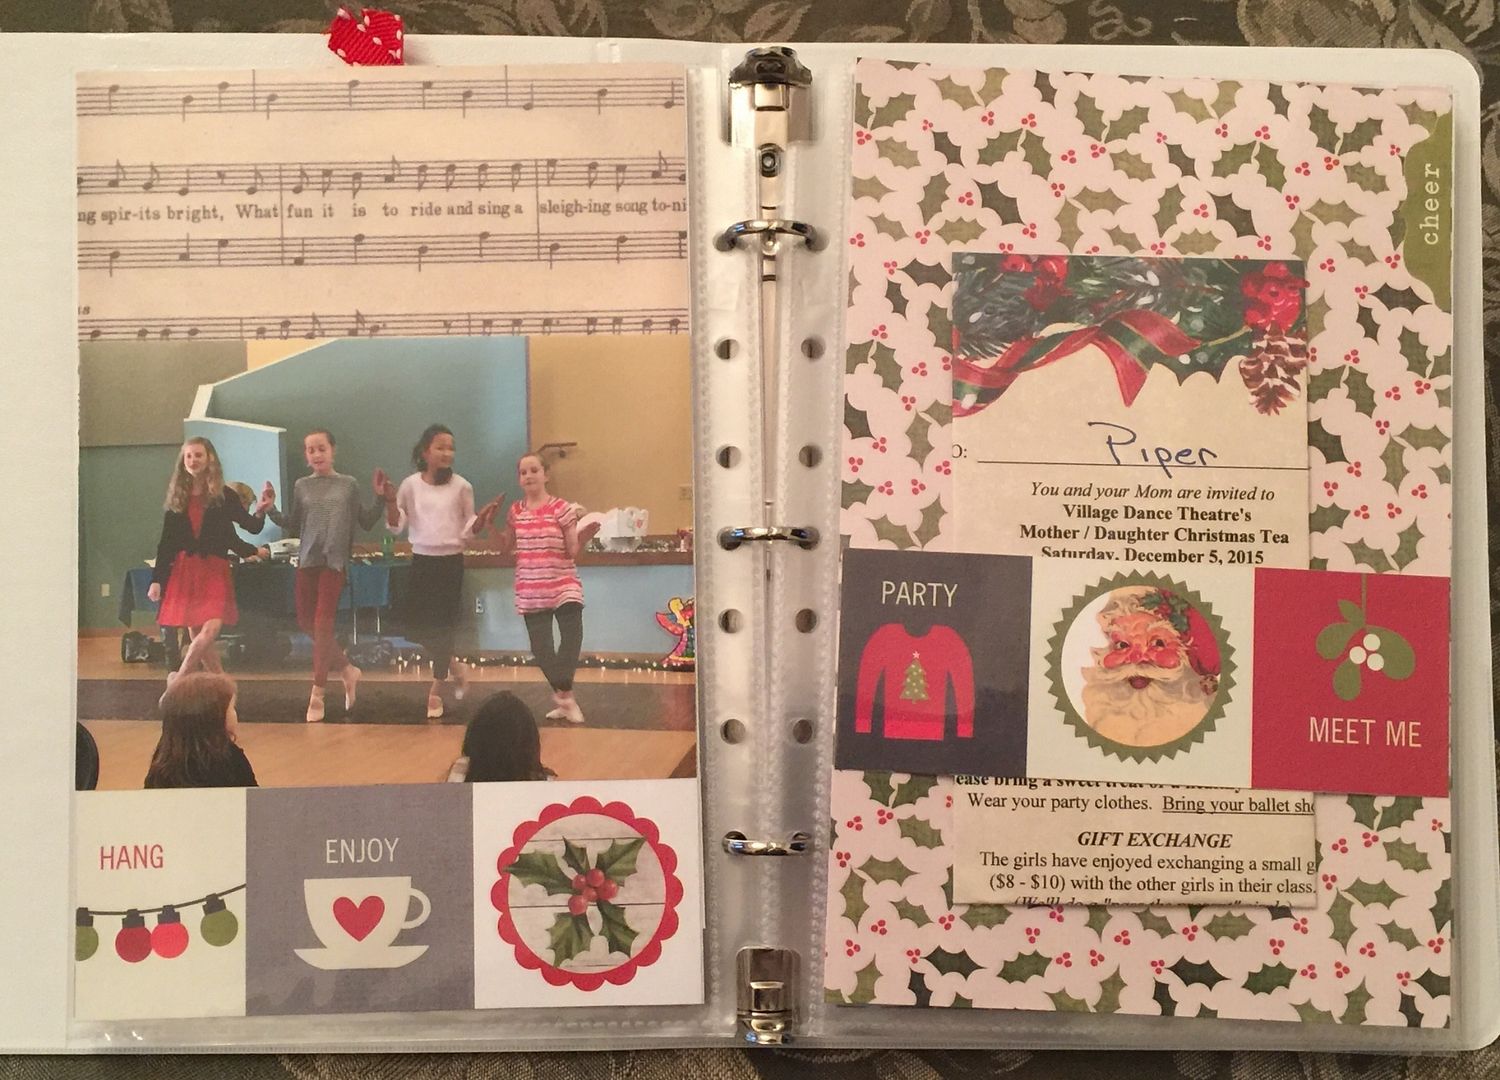
This is the first journal also that I did not do chronologically.  This page is the for the Ballet Tea that is early in the month and I have put it in near the middle of my journal.  I like the freedom I got from this format.  Less rigidity.  It is just what I needed.


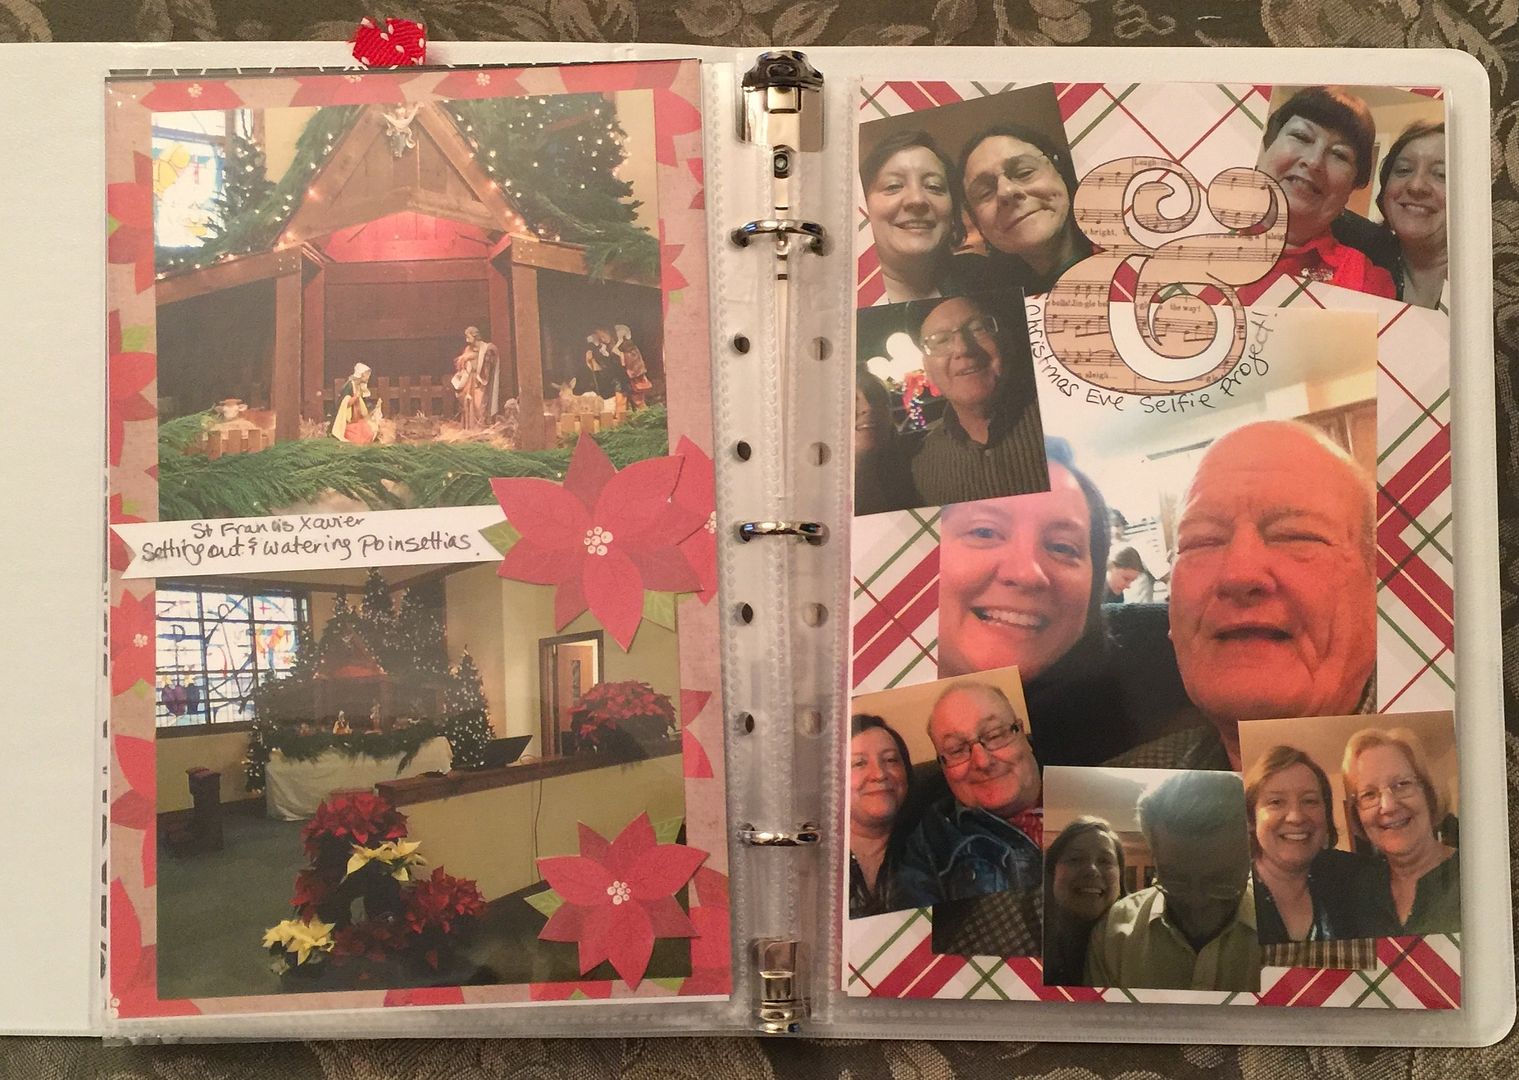
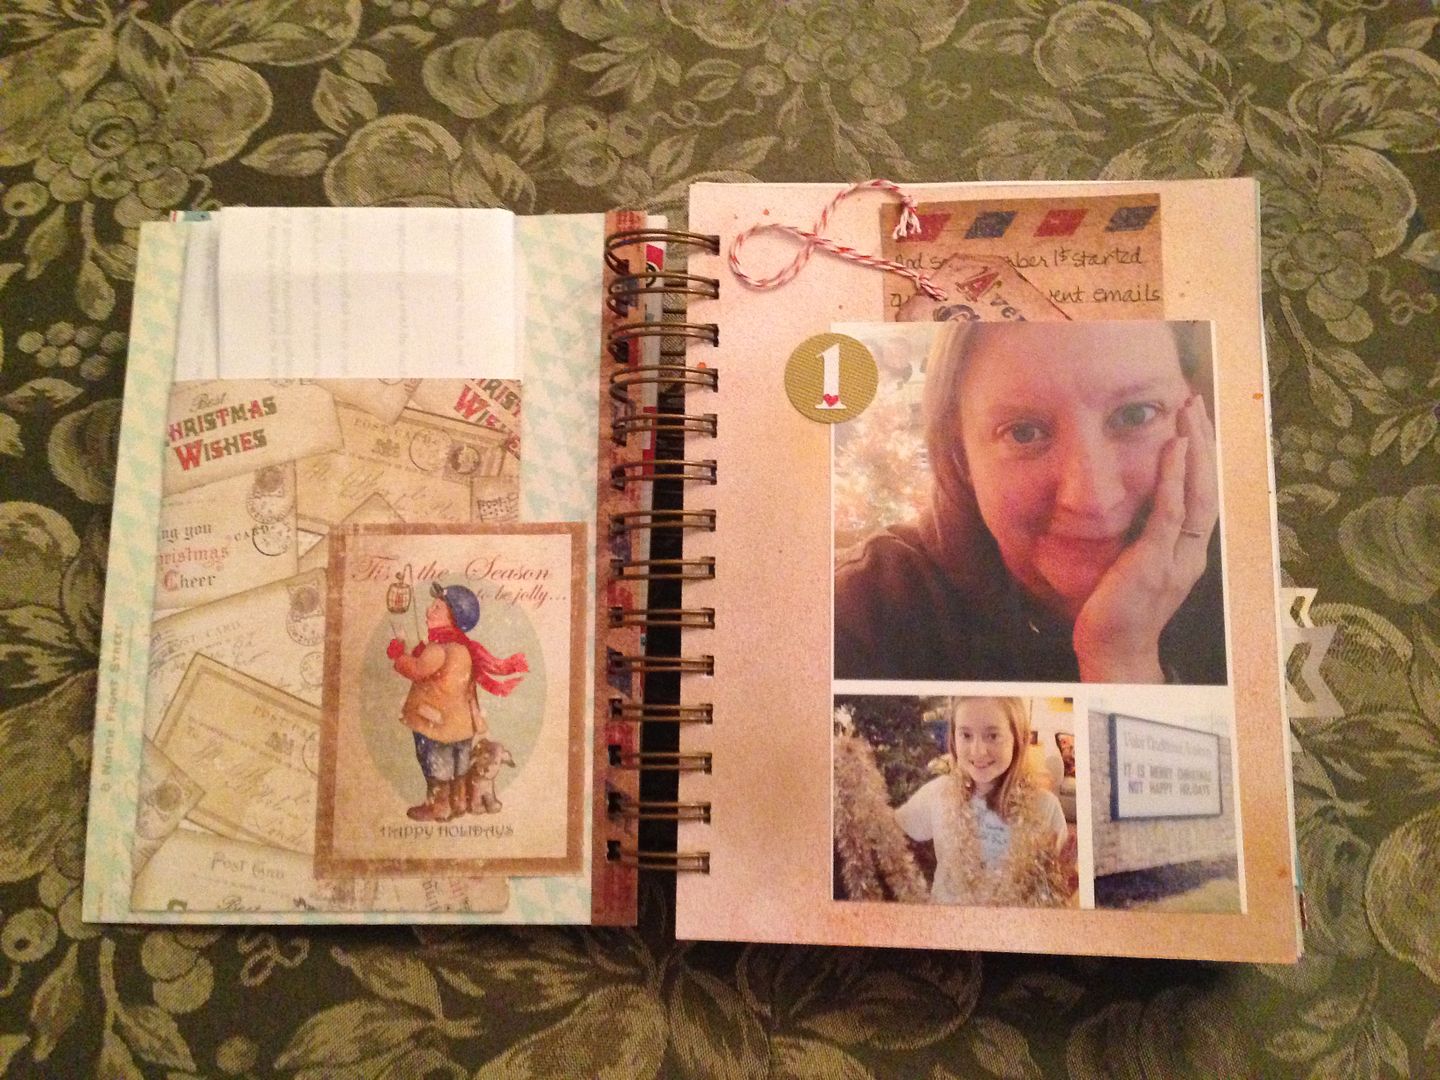
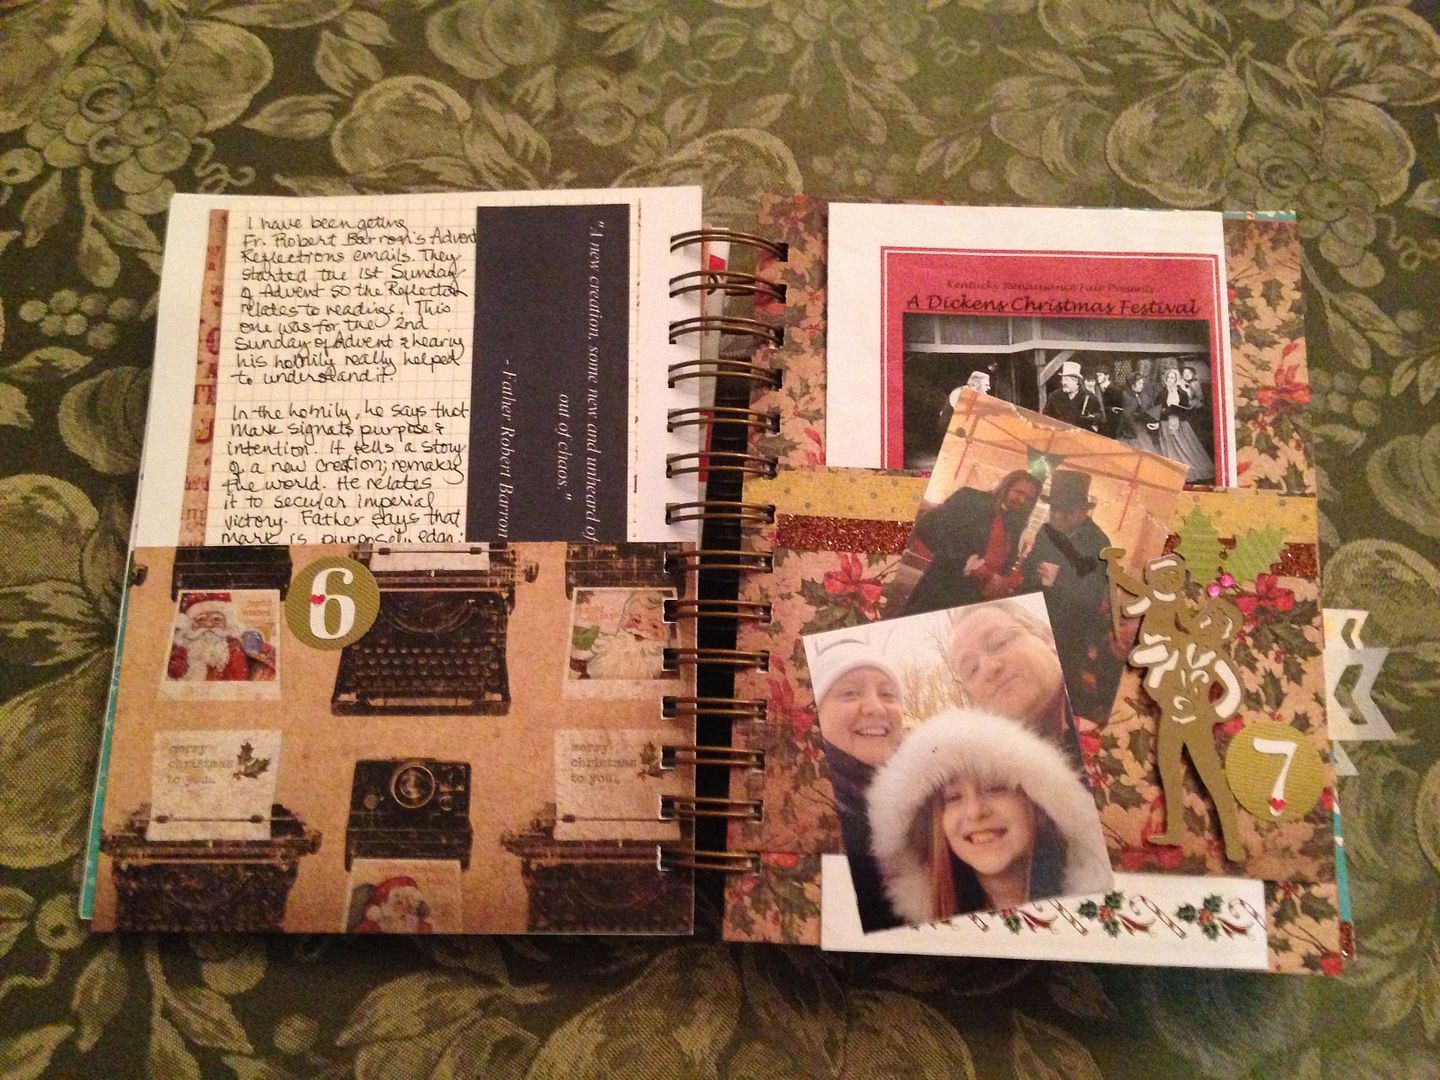
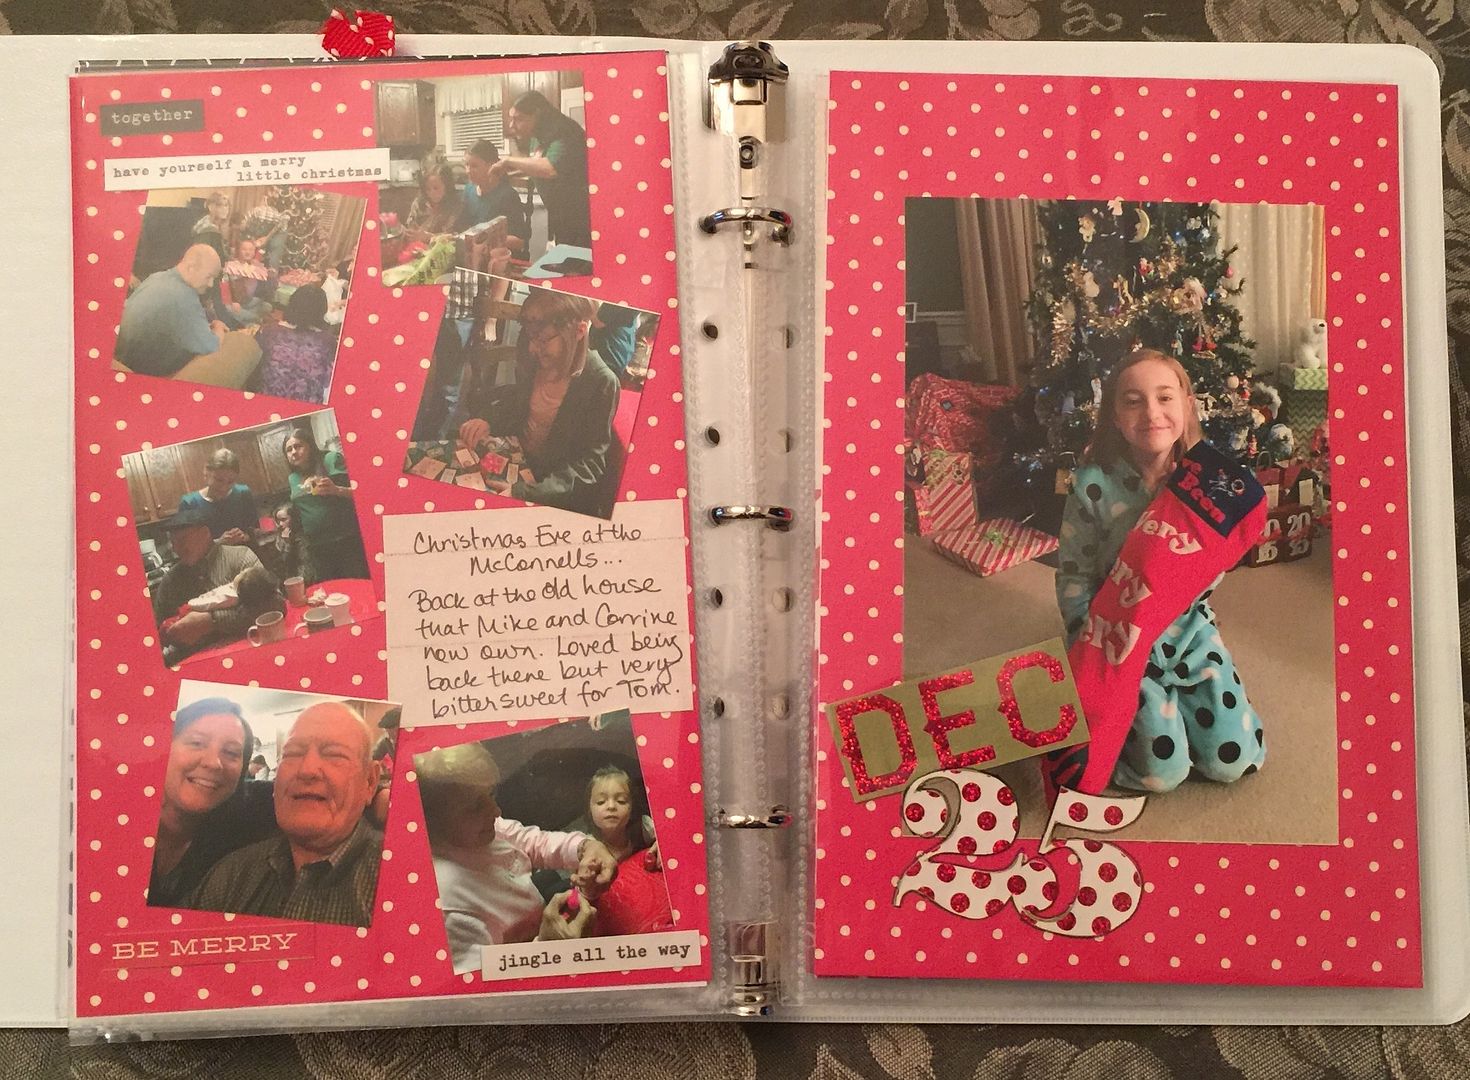
I used a collage app on my phone to get tiny photos, like this page on the right where I featured my little selfie project I did with all of my father-in-law's siblings on Christmas Eve.  If I don't think about it, I will completely omit photos of me in my journals.  My selfie project kept that from happening and using tiny photos meant that the whole journal wasn't a selfie project!


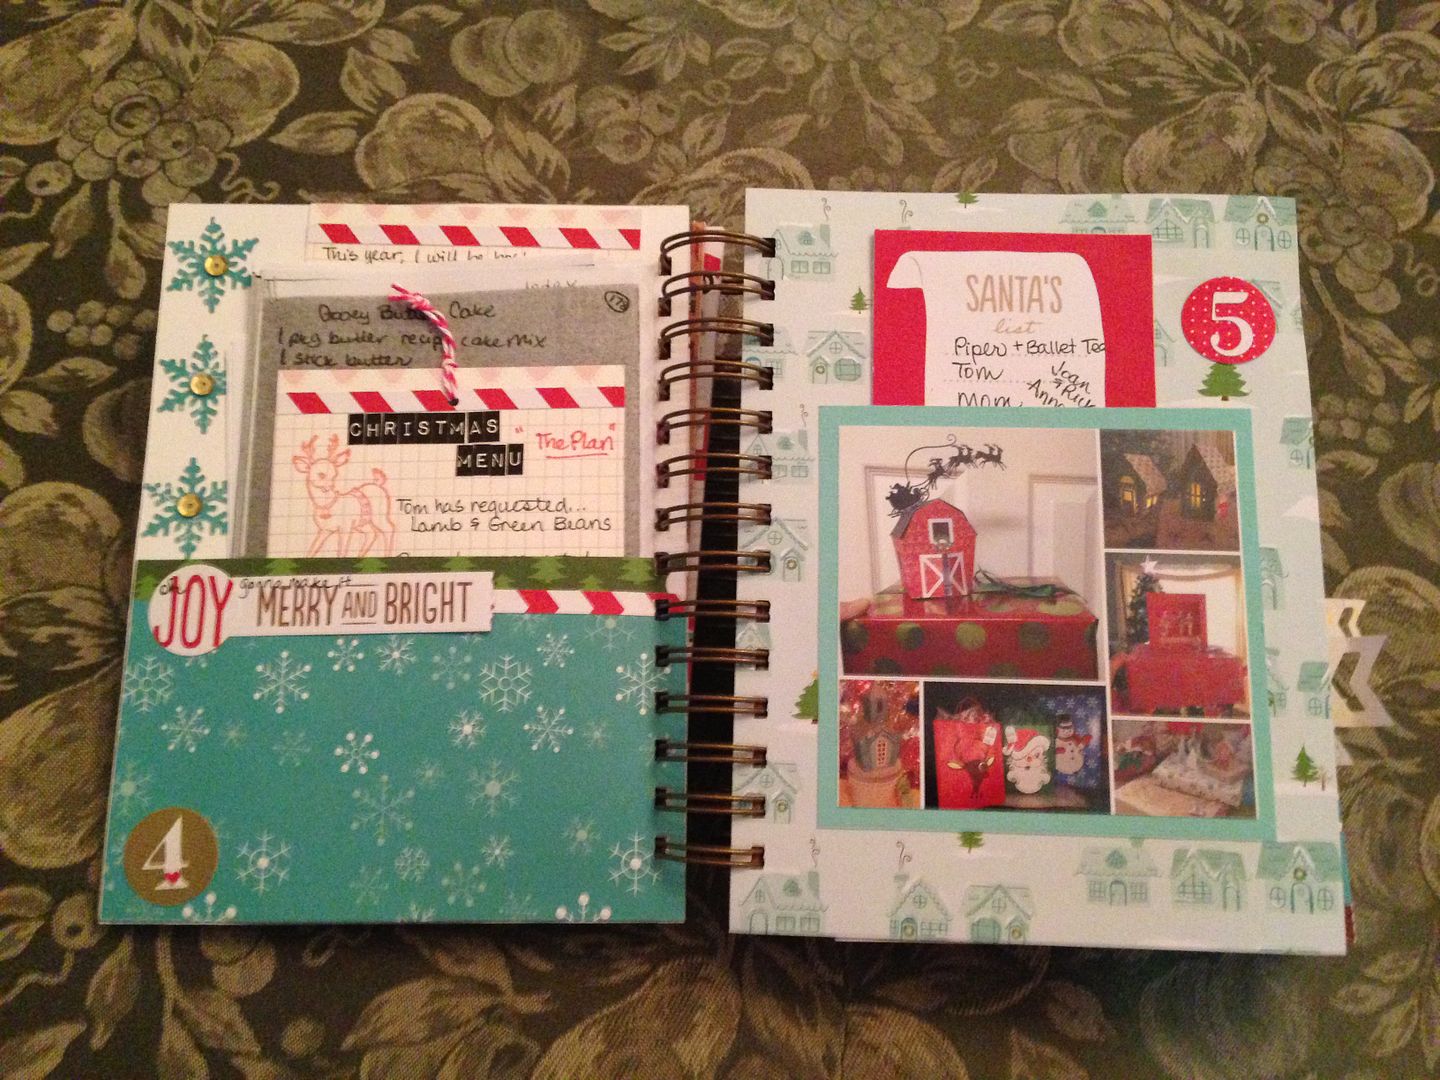
This page includes a pocket for the recipes  I made Christmas Day at my house for my whole family as well as my in-laws.  We had a couple of Moroccan dishes, a first for us, this year.  It was awesome.

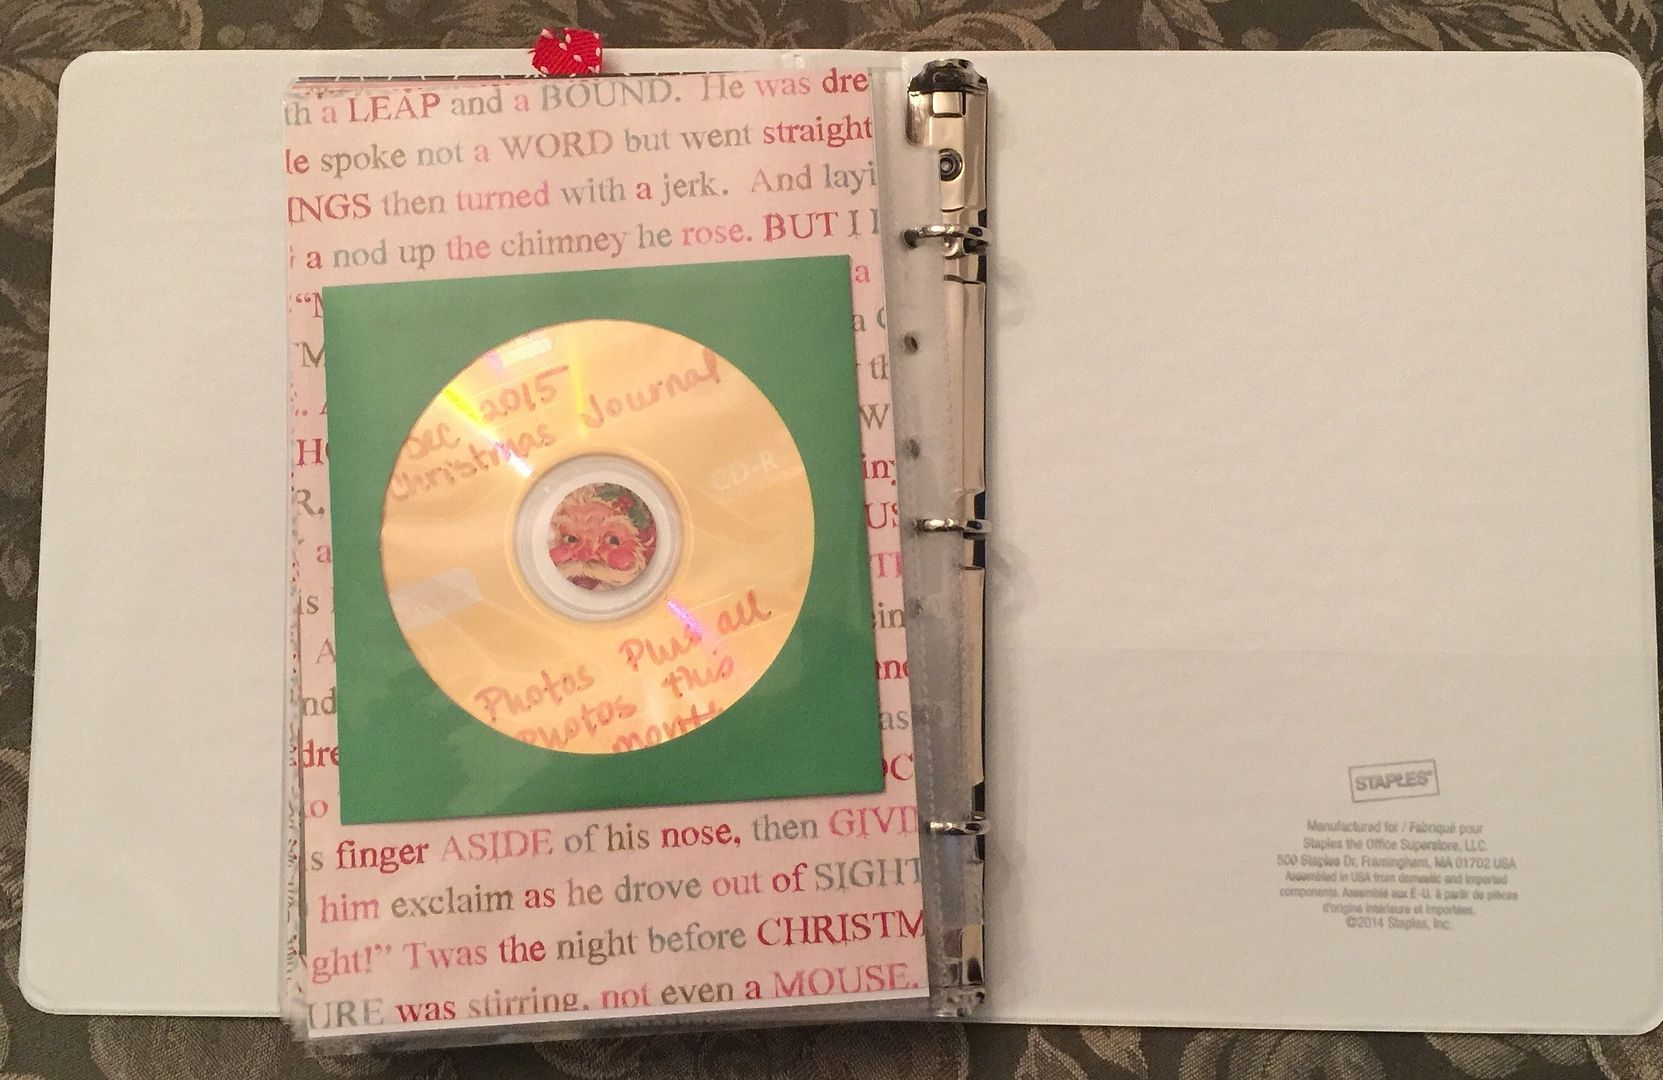
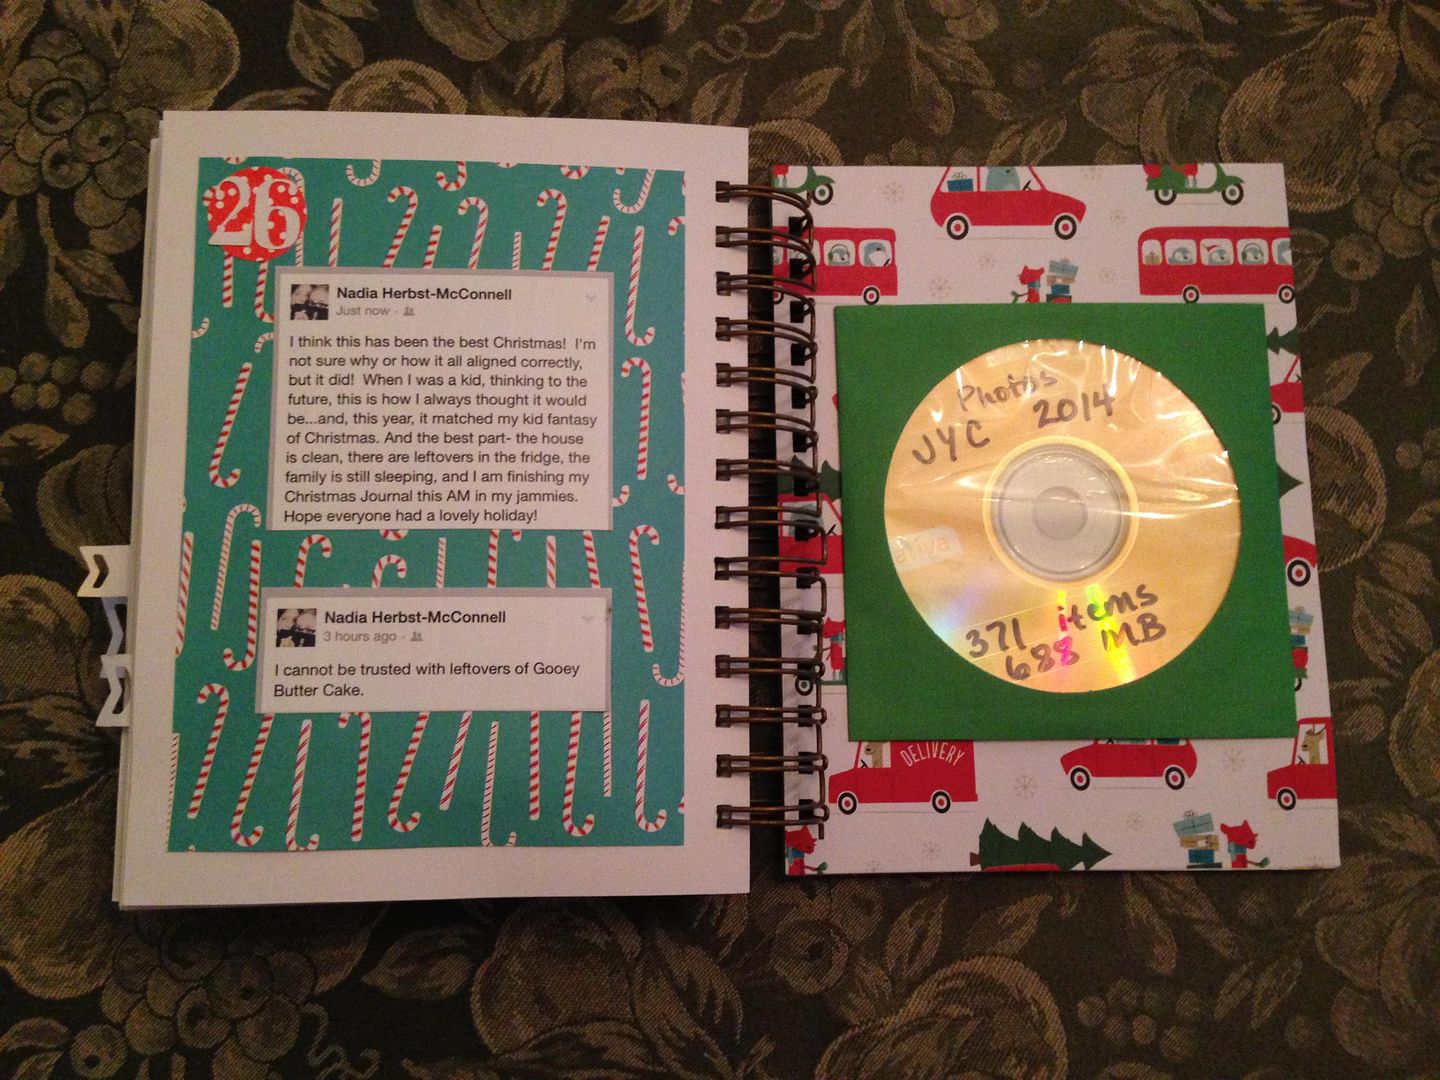
Last year I started adding a photo CD to all my albums and journals.  It allows me to find photos fast when someone sees one and wants a copy.  It also allows me to keep all the photos that didn't make the book with the ones that did.  I think that when I am gone and my daughter gets these journals to keep, the extra photos will be a little bonus treasure for her.
I plan to put the Christmas cards we received in the inside pockets of the binder!  I have always wanted to find a way to incorporate them.  Surprisingly, this is the year!

I am thrilled that I got this done this year!  And I share it with you, even though it is not as fancy as previous years' journals as a reminder that it can be done and it is not too late!


List of Links Mentioned in This Post:

  • Shimelle's Journal Your Christmas.  You pay one time for prompts and videos to guide you to make your own and then, if you want them, you will receive them every year at no additional charge:  click here.
  • Sara Andrews' blog - this is a link to her Dec 25 December Daily entry:  click here.
Additionally, you can find my previous years' journals here:
Thank you for checking my blog post today!  To see my previous paper projects, check out my Paper Gallery by clicking the tab at the top of the blog or click here.  If you are here looking for embroidery projects, you can find all of them by clicking my Embroidery page tab or just click here.

Friday, January 2, 2015

My Finished JYC 2014


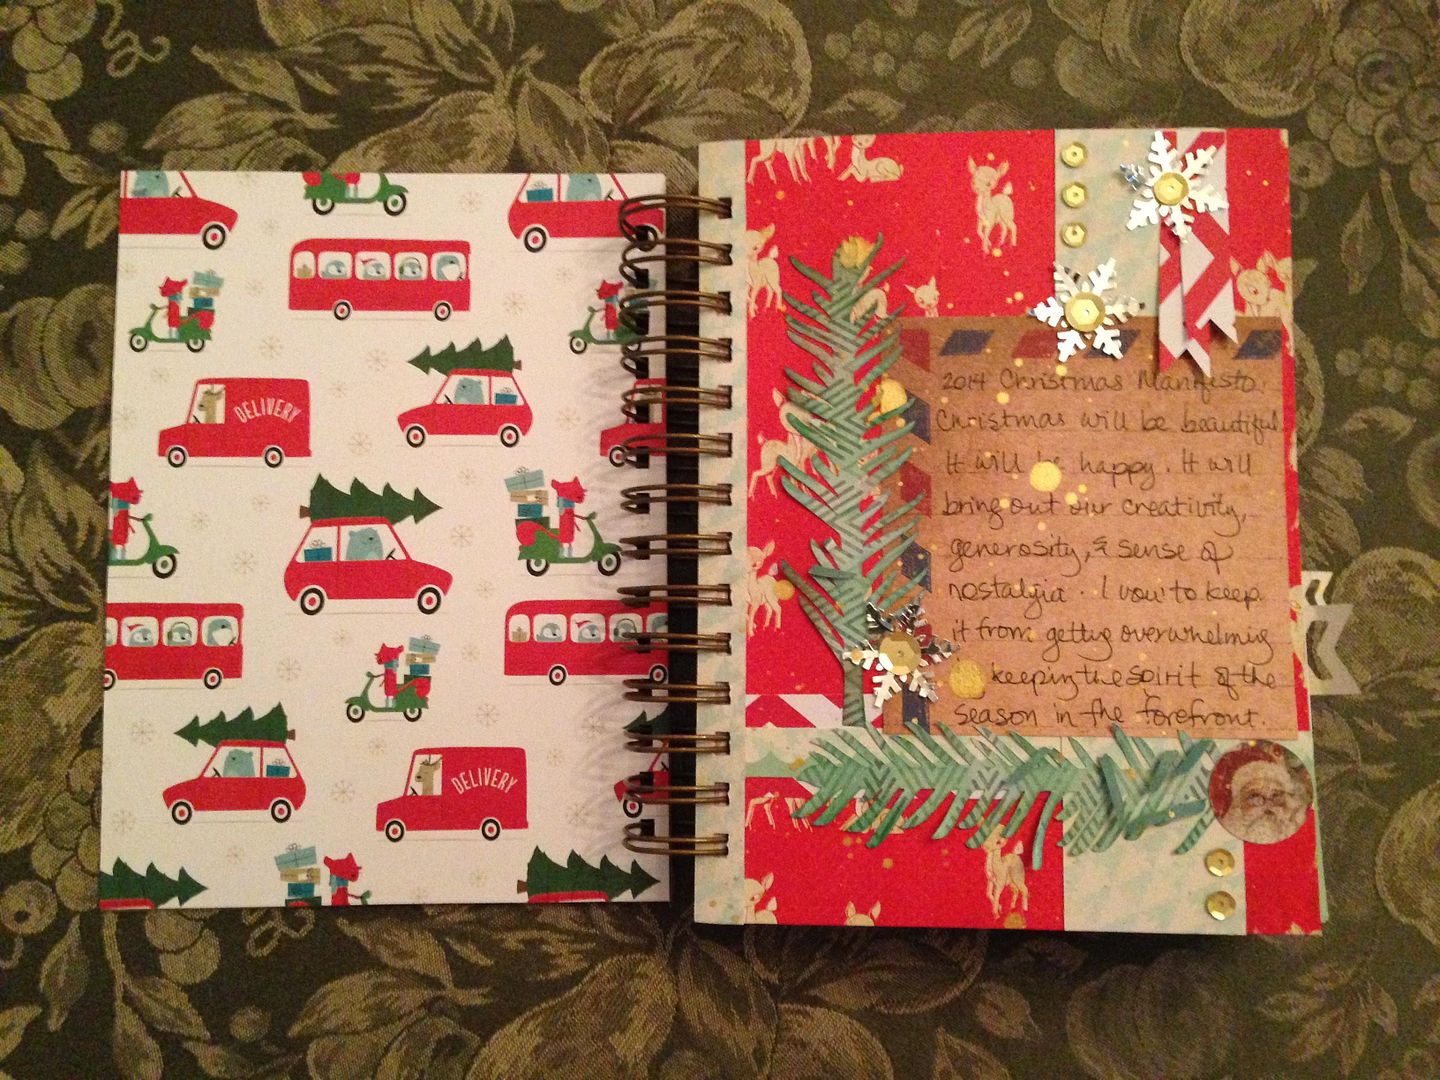
Happy New Year!  I wanted to share my completed Christmas Journal with you!

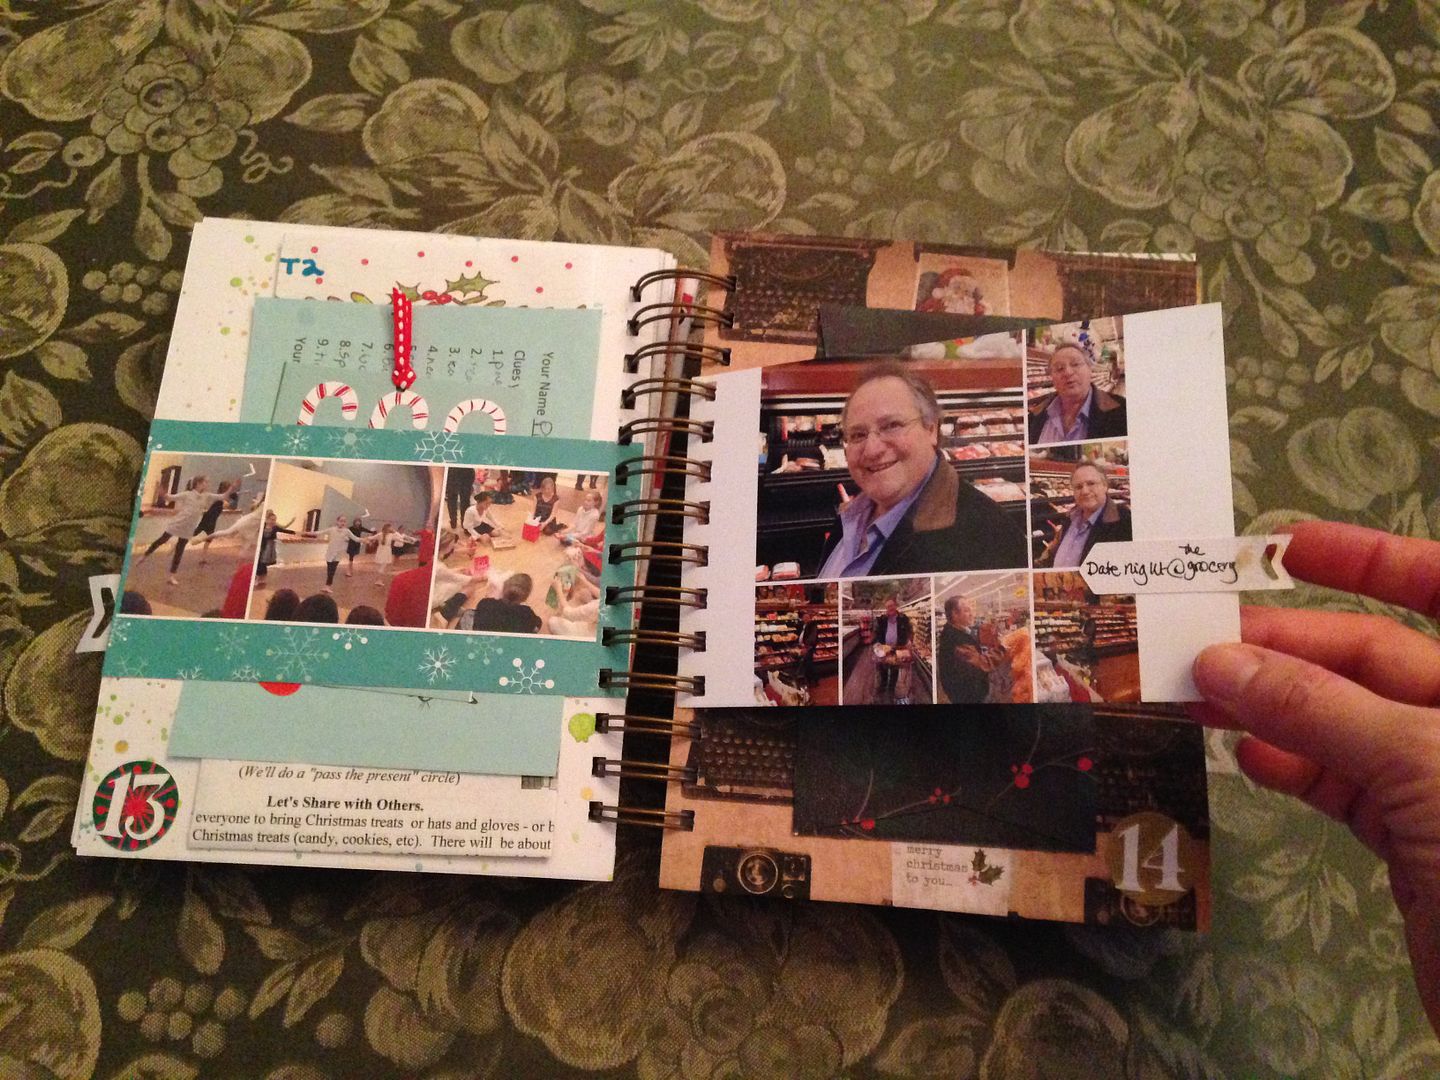
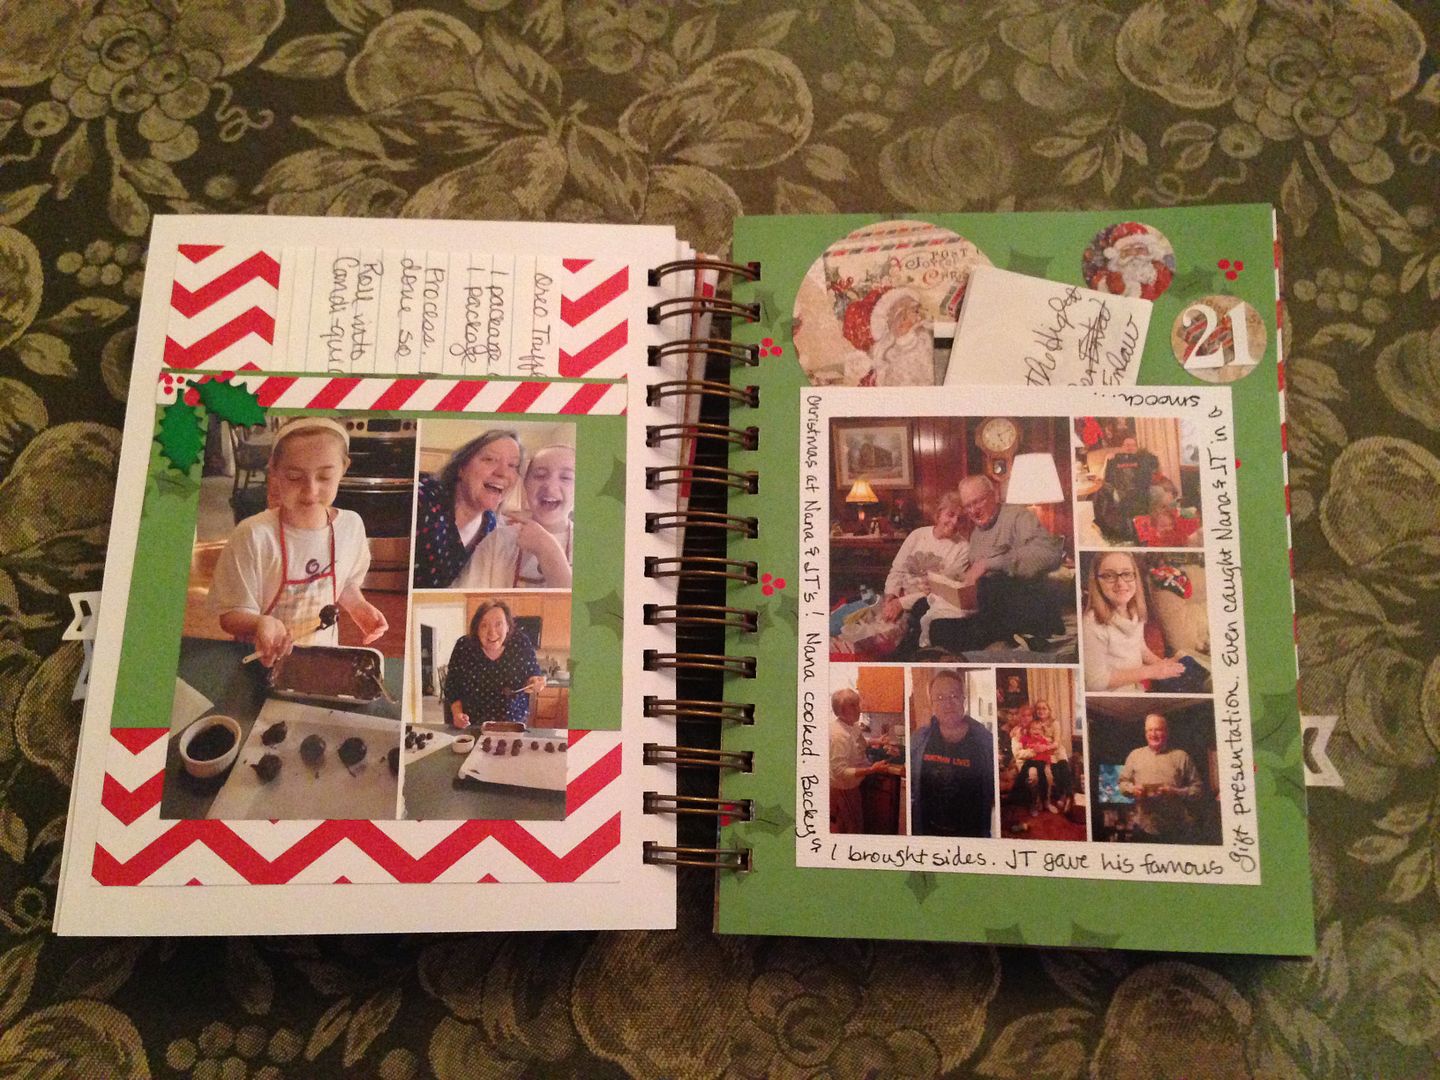
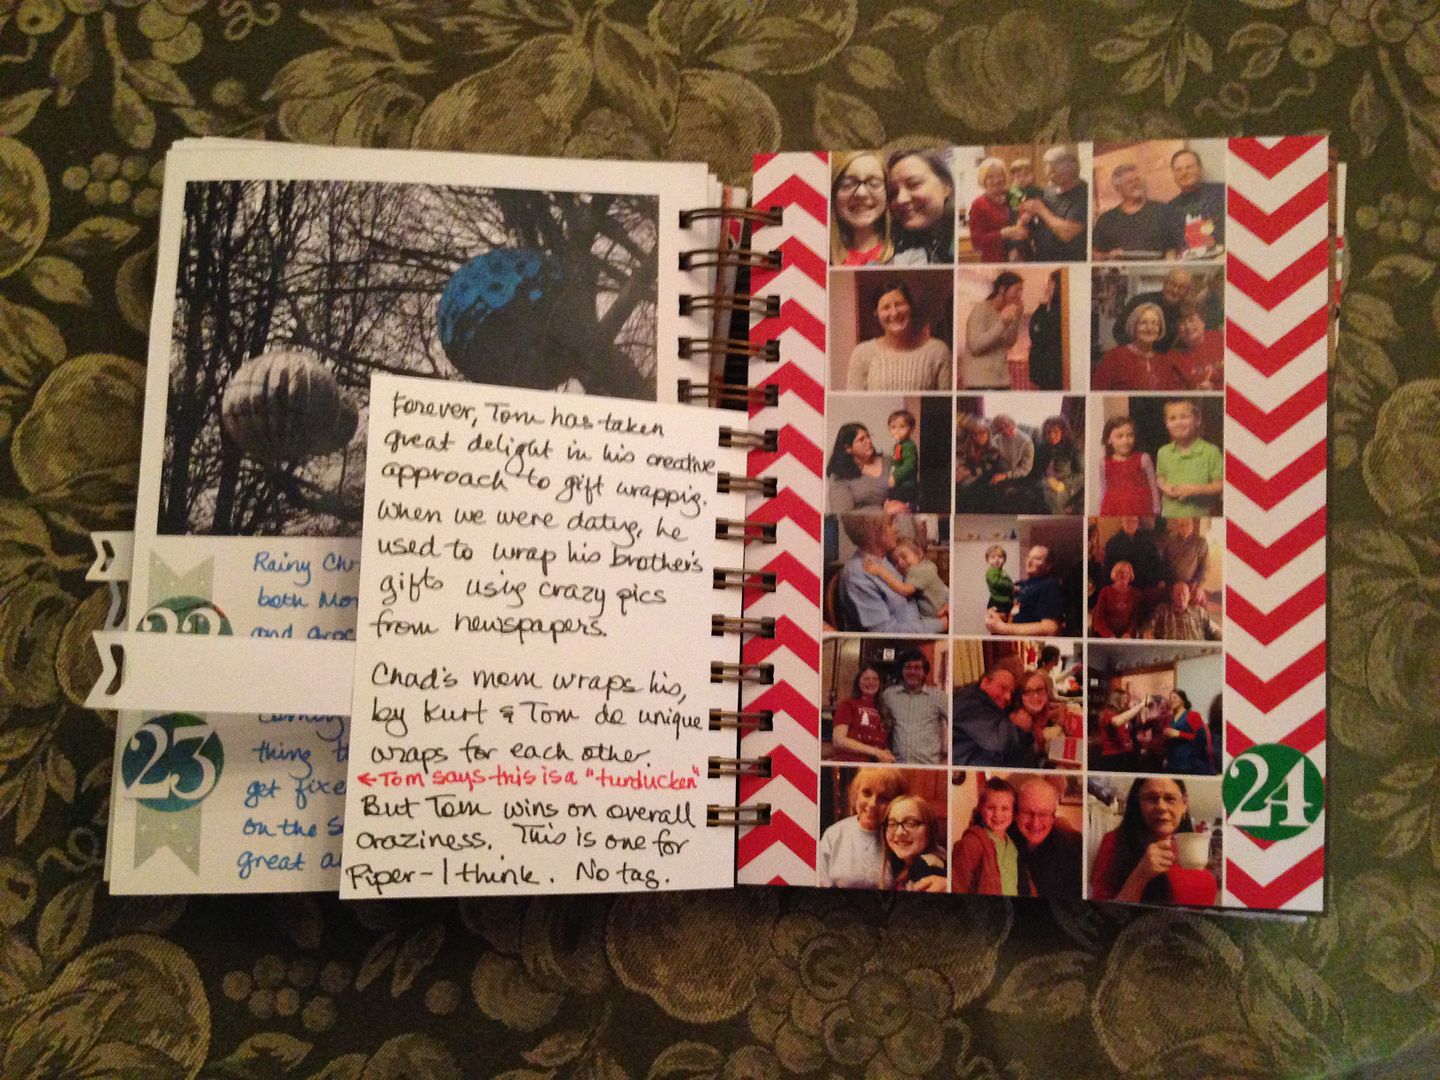
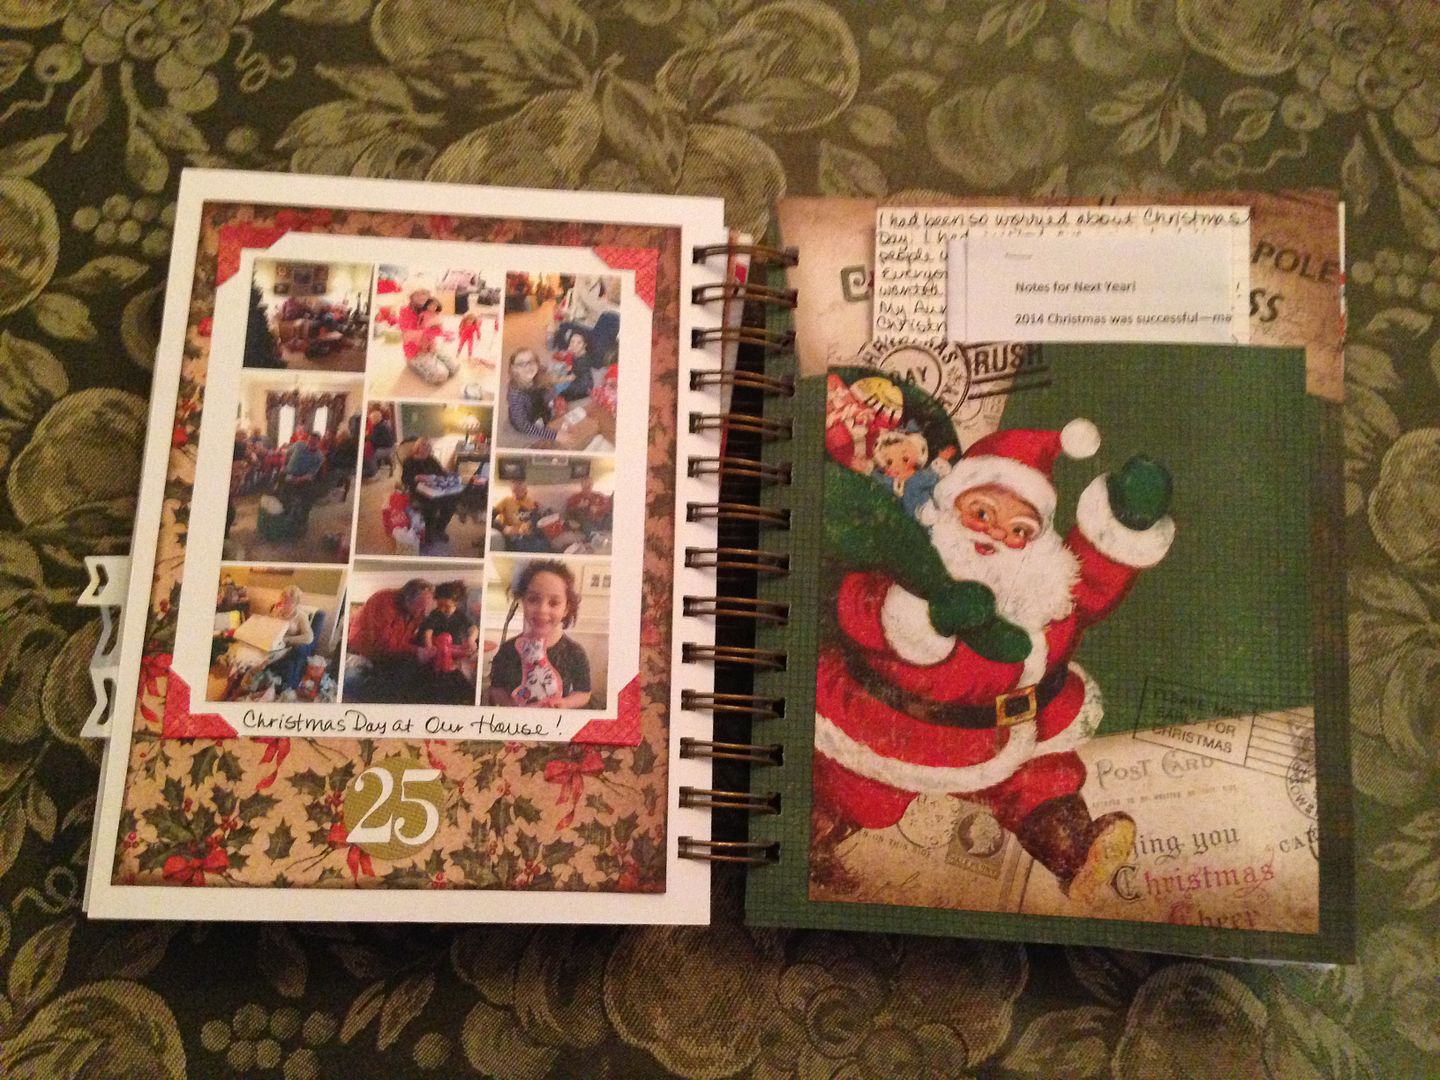
Creating a Christmas Journal each December has become one of my very favorite things each year!  It is a true snapshot of our lives and represents how our year has gone.  It forces me to find a bit of Christmas each day, to document our lives for that month, and to think about each day in context.


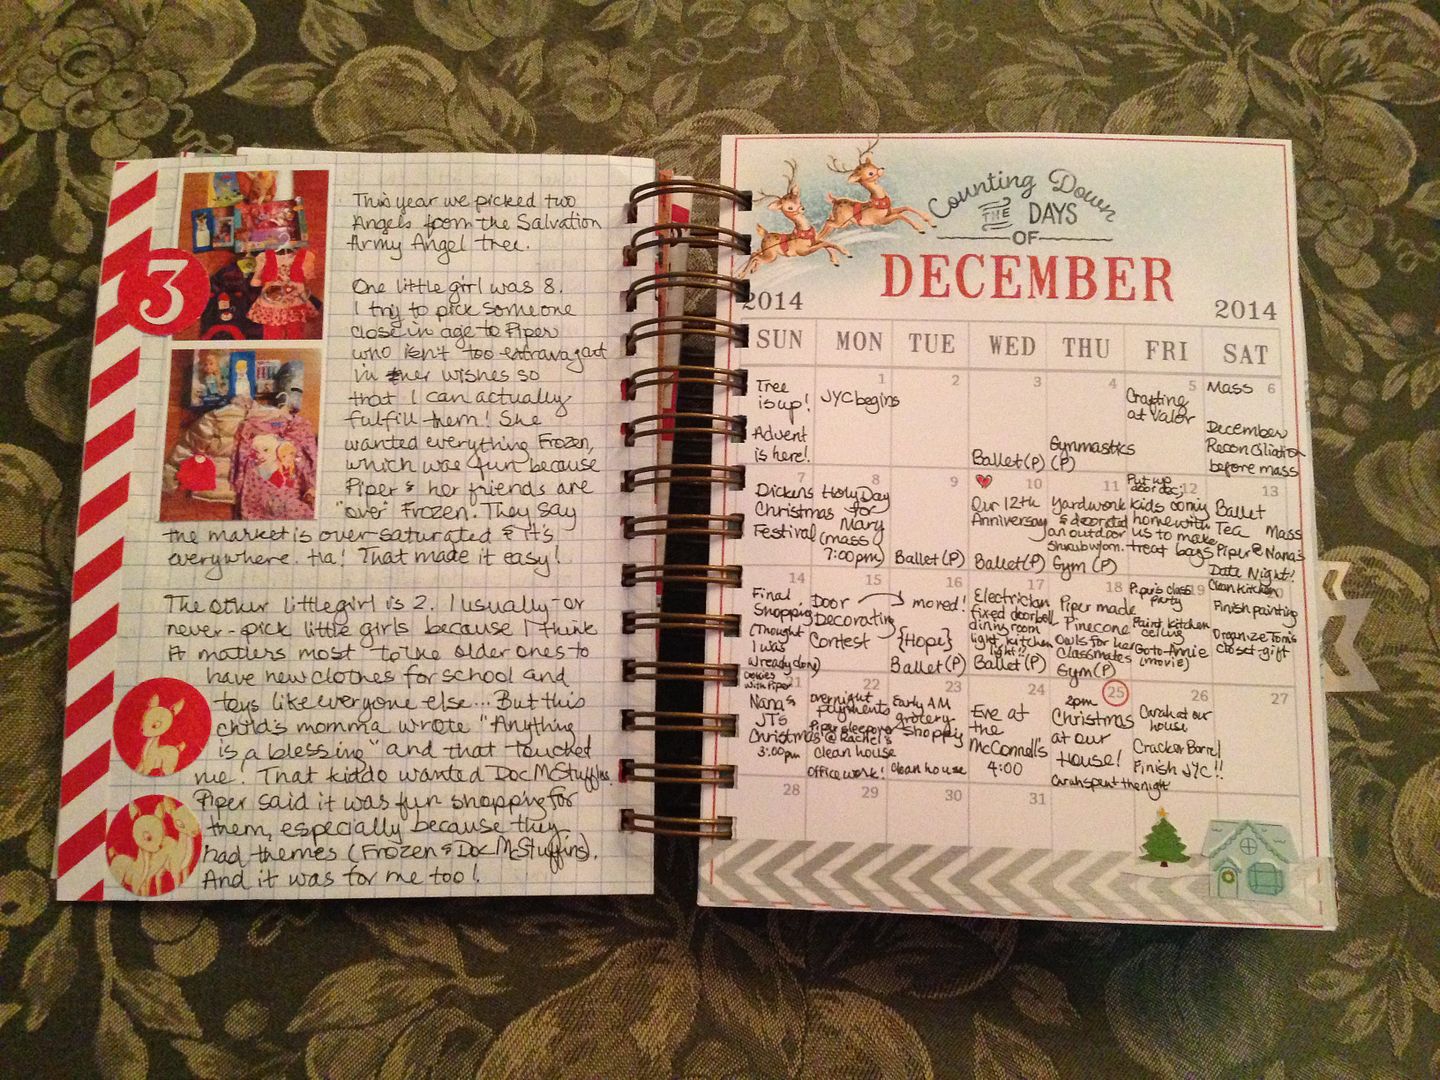
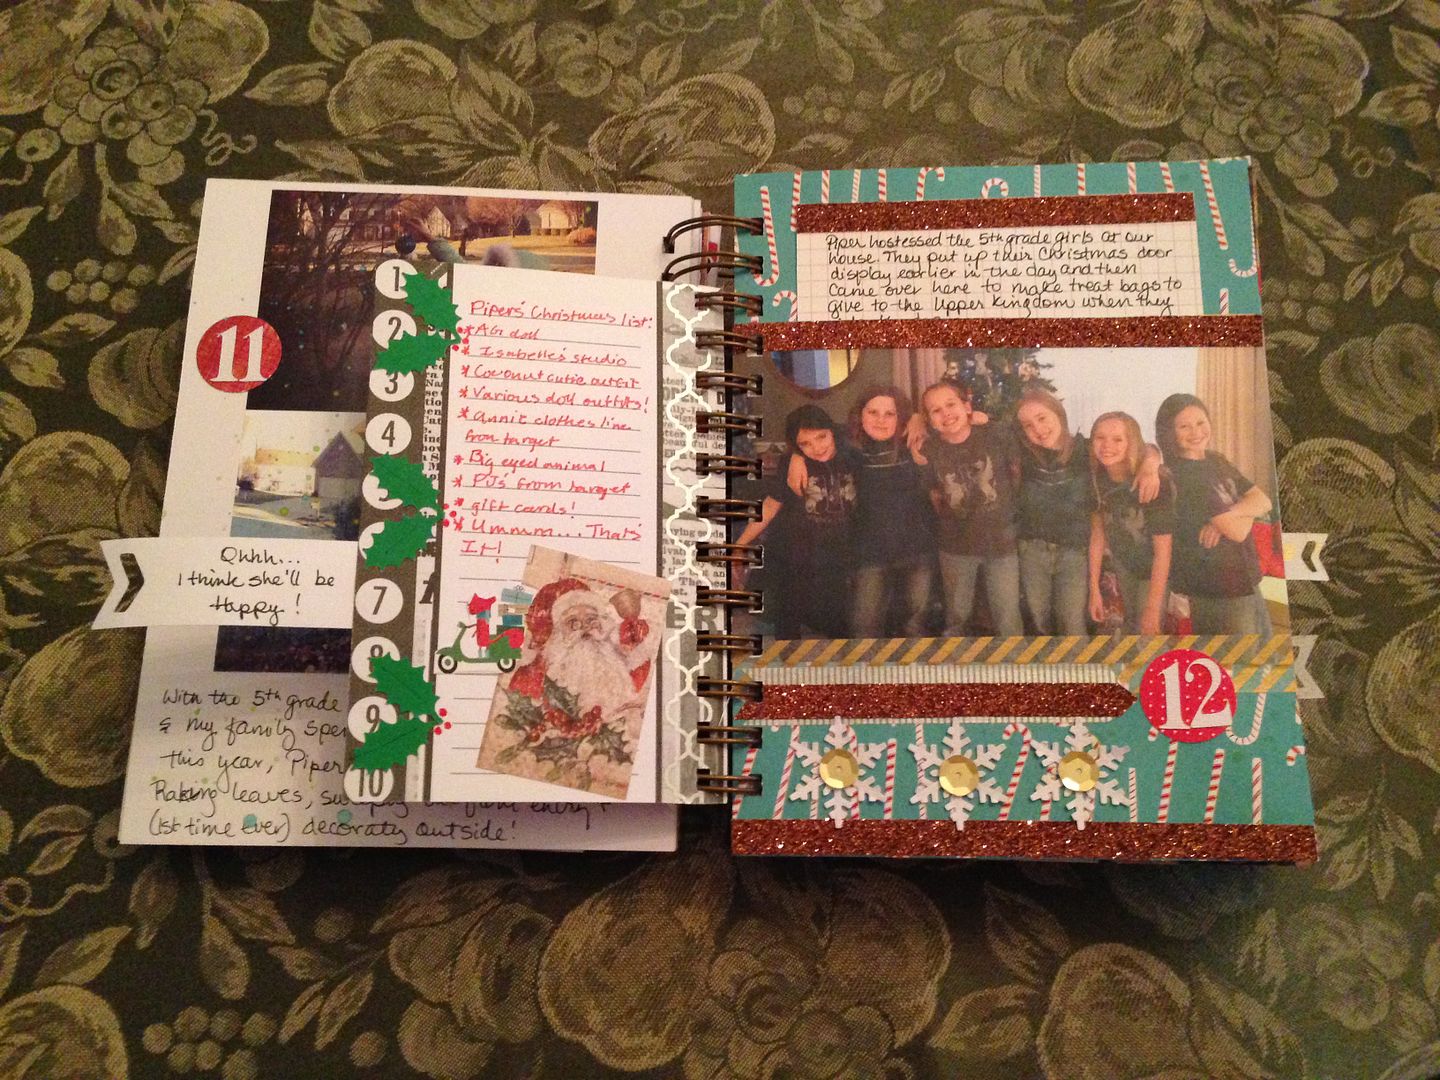
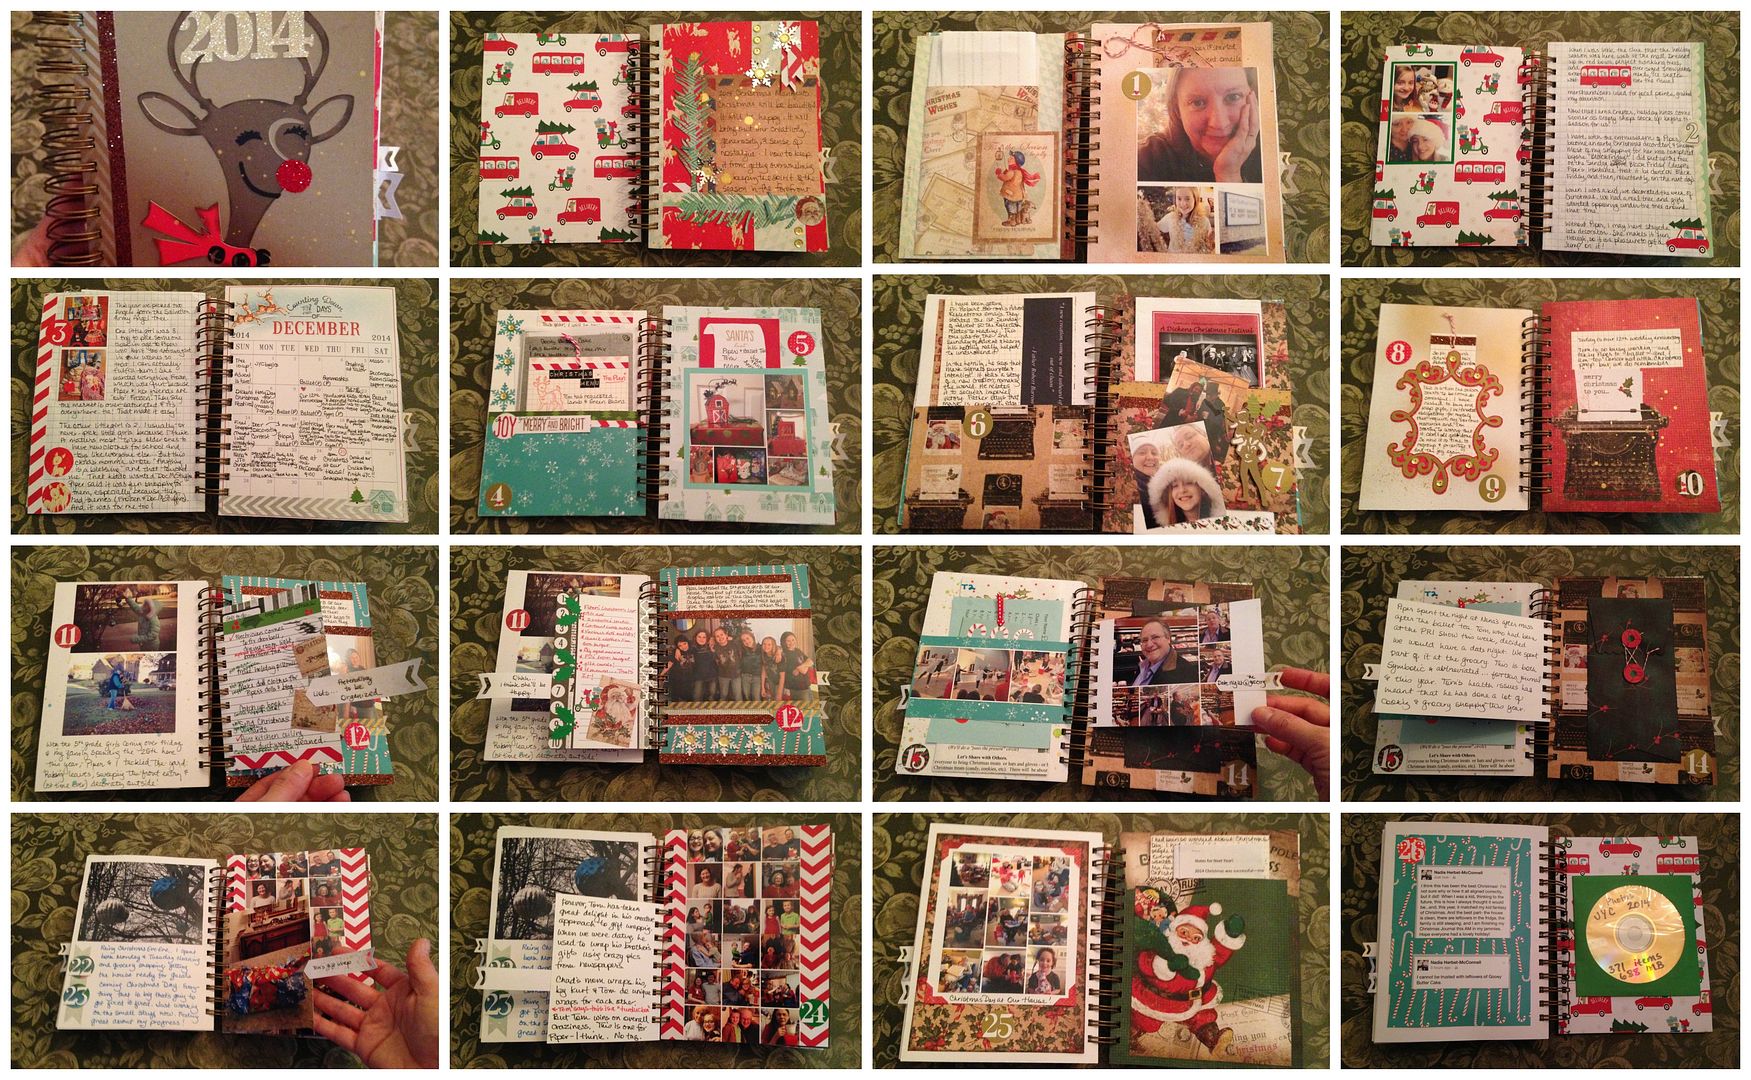
Some entries are like diary pages where I display my thoughts and photos of things that happened that day.


Others are memories of Christmases past.


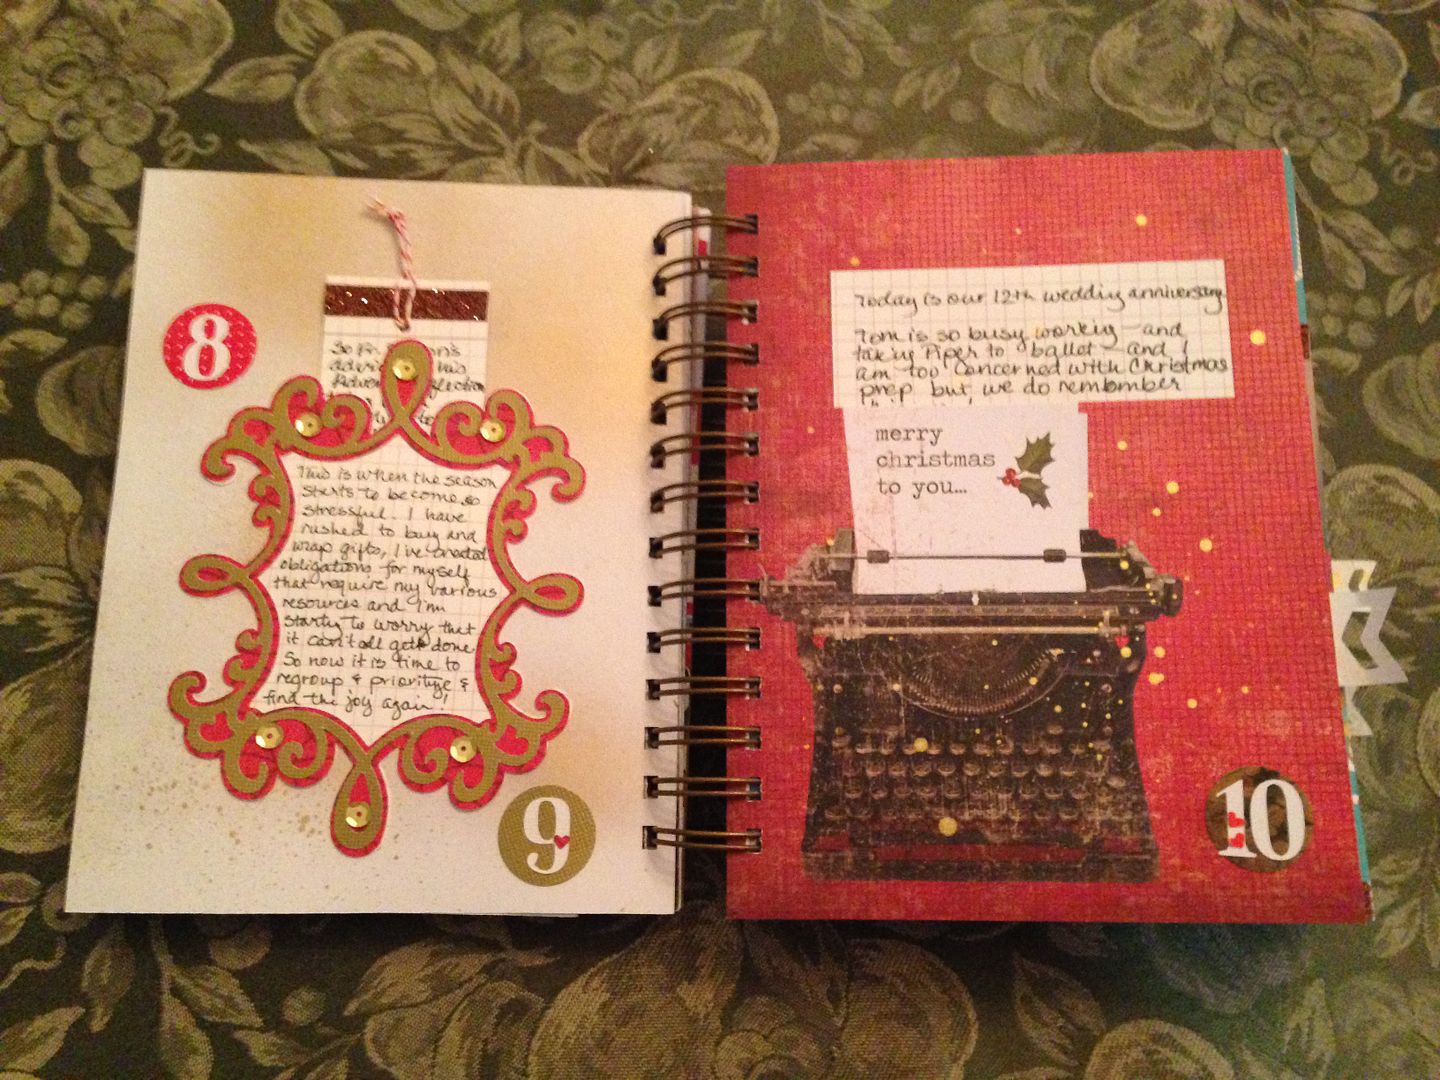
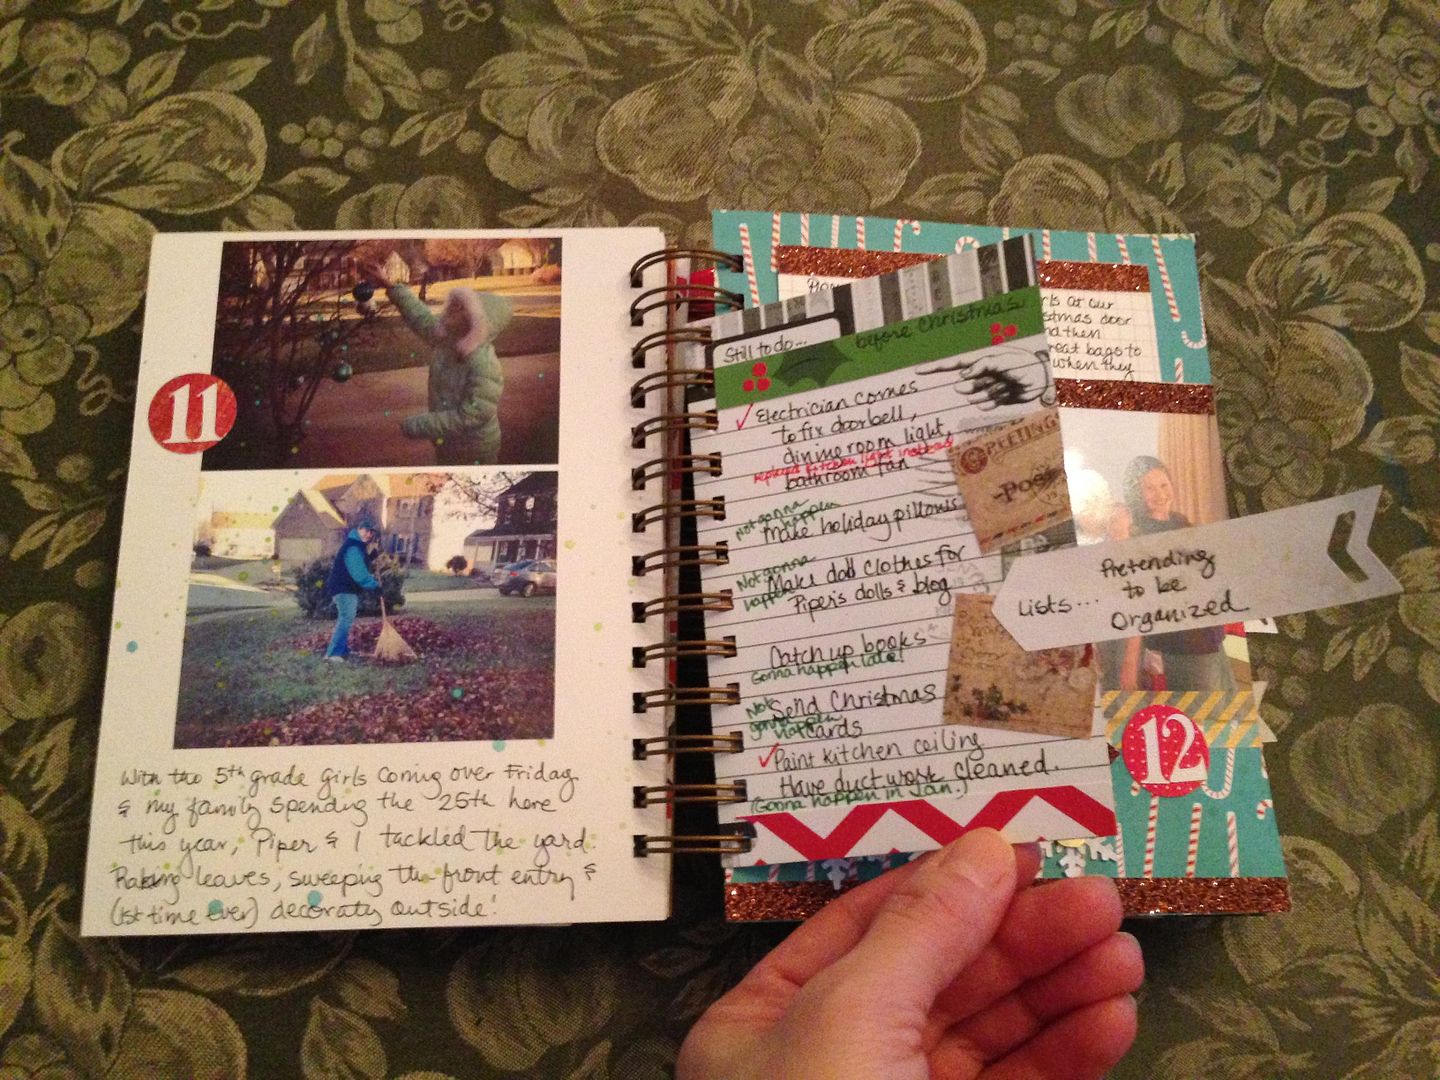
Others are my plans.  This year, I also included my recipes.


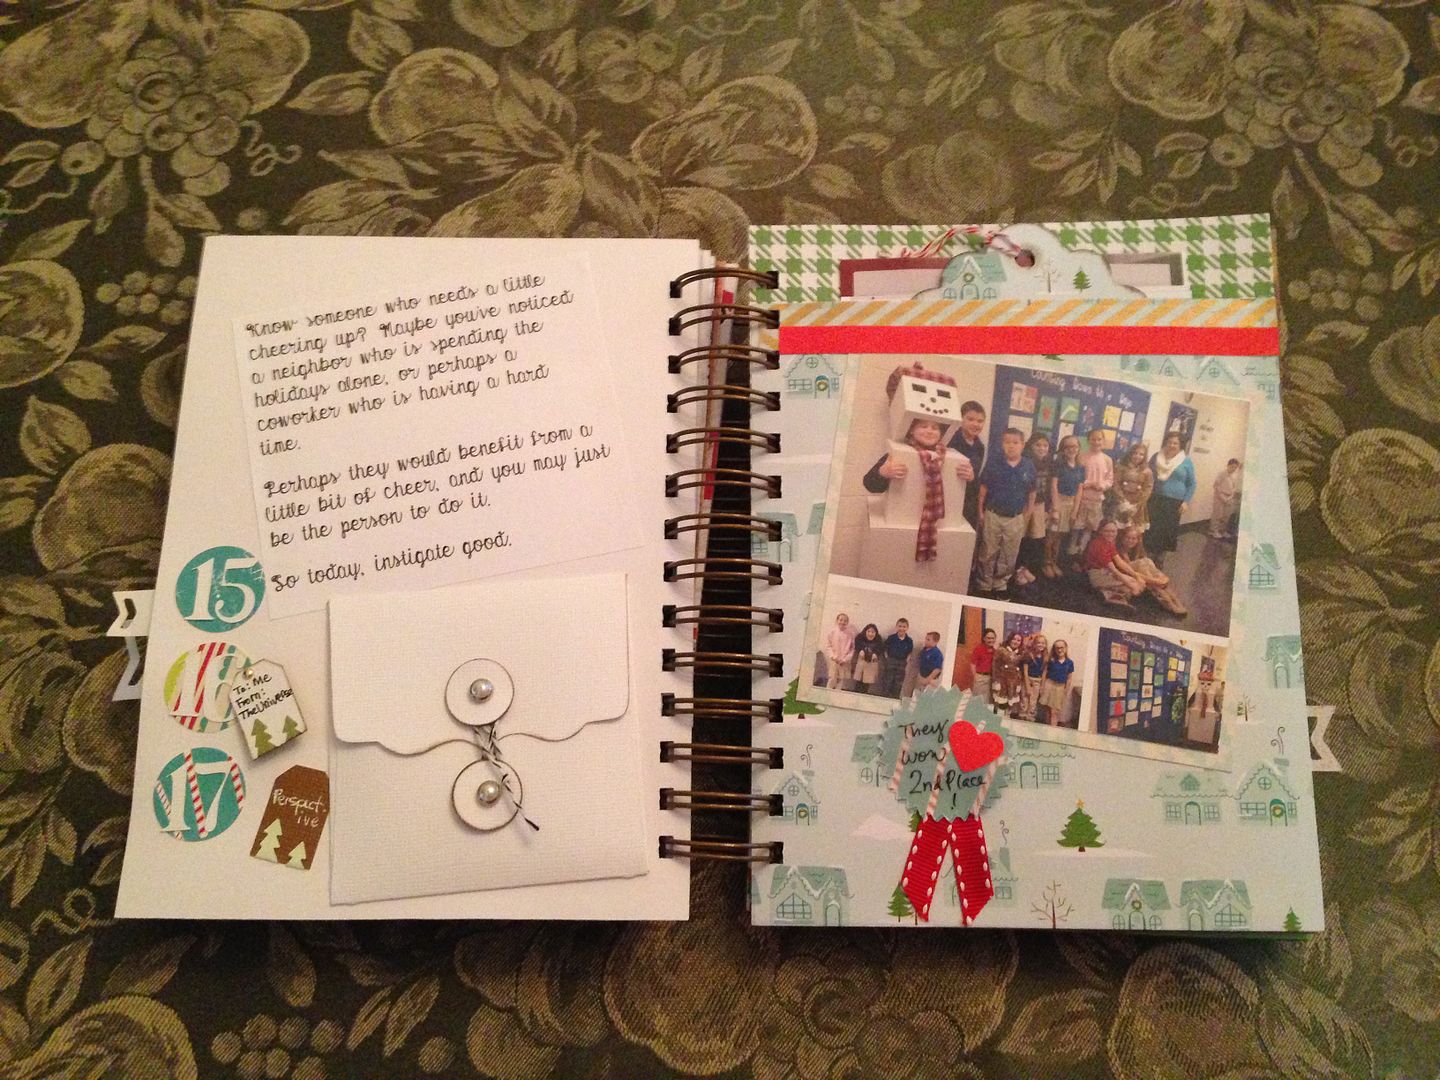
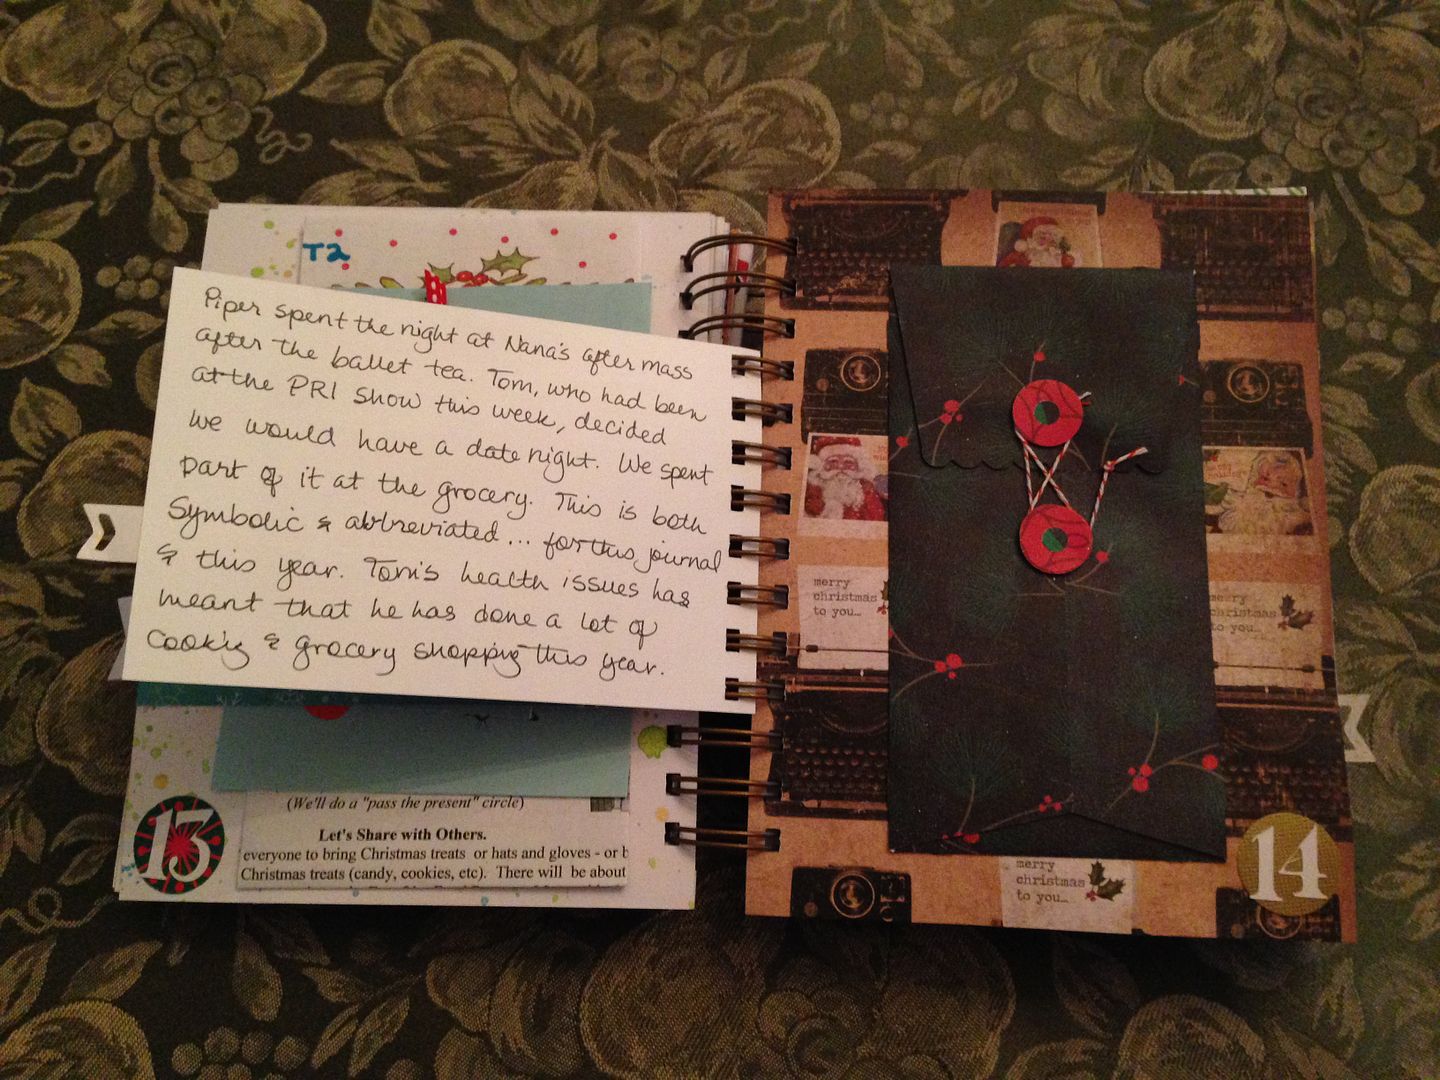
Still others include special notes that are intended only for my eyes or for someone willing to search for and open envelopes.  Looking at past Christmas Journals is like going back in time.


I try to keep my journals real.  In that, I mean I don't strive to show only the Norman Rockwell parts of our December; I think about and include everything...even the hard things.  Most of those are hidden away, but still there.  I love that because sometimes those are the most life-changing things, the things that bring us closer to each other, to God, to self-understanding.  My "letters to my future self" are some of the most meaningful entries that I treasure as much as photos of my child's face on Christmas morning.  Those things aren't the ones I showcase on my blog, but when you see a pocket with stuff inside, a closed envelope, or hints of pages behind pages, that's what they are!  If you are a Christmas journal maker, I highly suggest including these kinds of entries.


December is a busy time of year for everyone.  Decorating, several family get-togethers involving cleaning, shopping, cooking, preparing, and planning, extra masses and church events, parties for business and my daughter's extra-curricular activities, events at her school, and gift shopping and crafting all seem overwhelming on top of work and household chores.  The idea of adding a daily journaling and photography project can seem punishing but I see it a bit differently.


In 40 years, will my journals matter?  I think so!  I am not sure that a lot of the events we take part in will be remembered, but when my then-adult daughter thumbs through the journals, or her children do, I think these will matter very much!  I would have LOVED to have even one journal like this from my grandmother!  To make a Christmas Journal happen each year, I get up extra early every day and do a page for the day before.  I love starting the day this way!


The biggest problem I have every year is keeping it from getting too thick.  My only stipulation is that I need to be able to bind it!  That, largely, is why I end my journal just after Christmas Day!


This year, I also included notes for next year.  How about that for looking to the future?

A suggestion this year was to include pictures of me in my Journal, since I am usually the one behind the camera. There are eight photos of me in this one thanks to my daughter.  That is a first!  Last year, I also started adding a photo CD of all my December photos in the back of the journal.  As you can imagine, many photos I take never make it to the Journal, but this way, the pictures are there! And sometimes, after looking through my Christmas Journals, someone will want a copy of a photo and this makes it much easier to find and make a copy!  I now do this for all of my albums.


So how did I get started with Christmas Journaling?  A few years ago, several crafting friends posted about this and clued me in to Shimelle's Journal Your Christmas.  You pay for one year, and every year after that, you receive daily email prompts at no charge.  Some days I use the prompts and photography tips; some days I do my own thing. The biggest enabler in this was Sara Andrews.  Check out her blog to see her perfect and beautiful December Dailies!

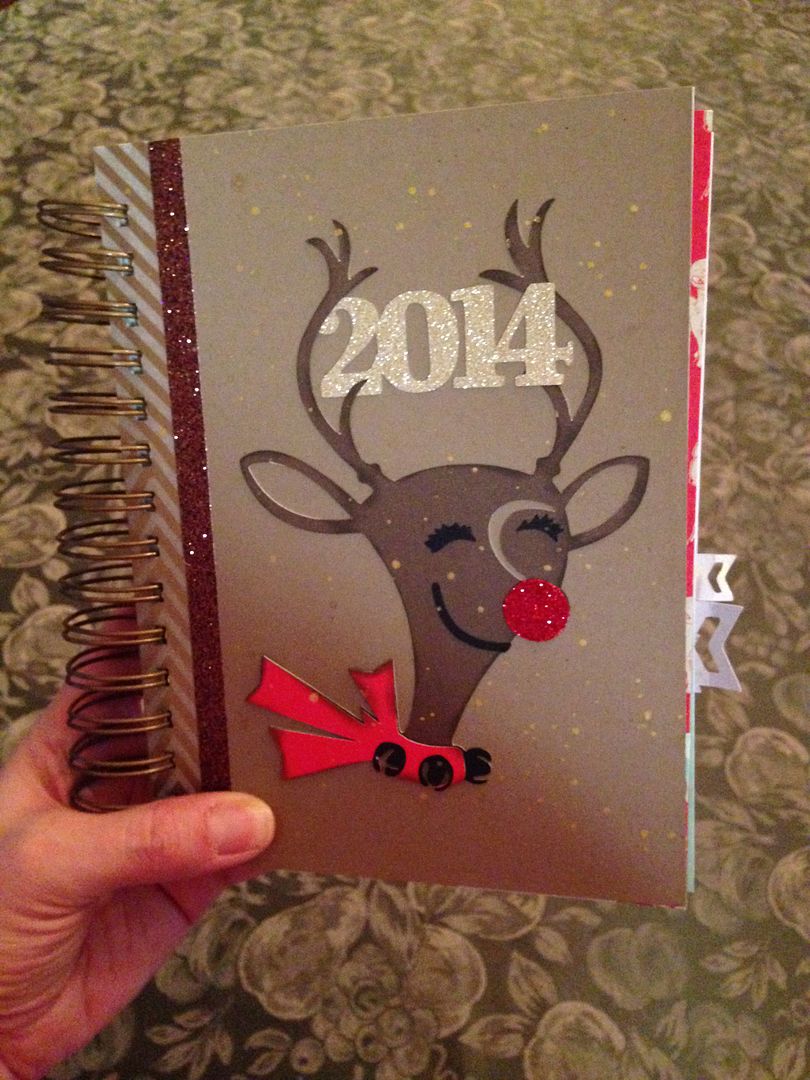
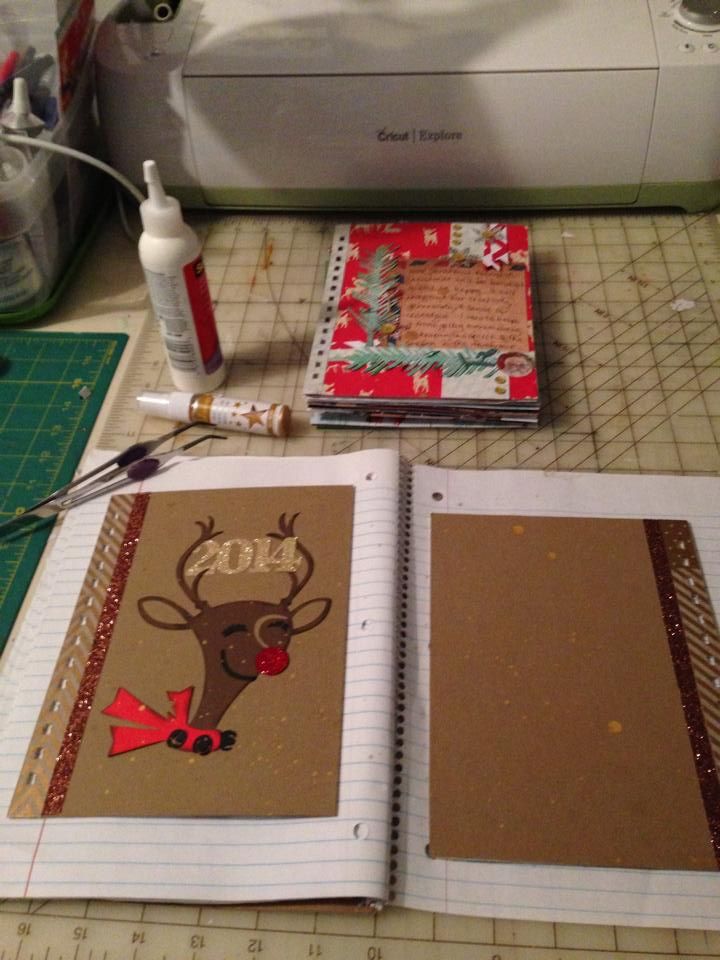
I largely use my own papers and bind with my Zutter Bind-It-All, but there are so many ways to do this and no ONE way that it should be done.  This year, I sized my journal at 6"x 8".  I used 1-1/4" o-wires to bind and created my cover with art board that I covered. I did try one new-to-me craft item this year:  Heidi Swapp's Color Shine. I loved that for spritzing and splattering gold on my pages and cover.  I find that I prefer using my Expression with cartridges and punches for my Christmas Journals because they are super fast and I am short on time.  I hand cut my pages and used a punch for my 1" circle behind each date.  The numbers for the dates were cut from Cricut Everyday Font F5 at 3/4" (H).  The arrows for my short pages were cut using Cricut Artbooking.  Tiny Tim was cut from Cricut Quilted Christmas for my Dec 7th page.  The envelopes from the 14th and 15th were cut from Cricut Artiste.  The scrolly frame on the 8th was cut from Cricut Christmas Kitsch at 5-1/2" (H).  The Rudolph on my cover was also cut from Christmas Kitsch at 6"(H).  The Calendar that I used next to my December 3rd page can be found by clicking here, at the Stitch in Time Blog.


To see my 2013 Christmas Journal, click here.
To see my 2012 Christmas Journal, click here.

Thank you for checking my blog today!  It is never too late to finish a Christmas Journal.  Best wishes that yours is underway, completed, or a future possibility!


But wait! There's more! Click 'older posts' above!
But wait!  There's more!  Click 'older posts' above!