I love the hanging hearts and dimensional flowers! The blue sky and stylized sun have a folk art feeling that juxtaposes with the painterly surfaces perfectly. I love the letter tiles... and the message! It makes my heart sing!


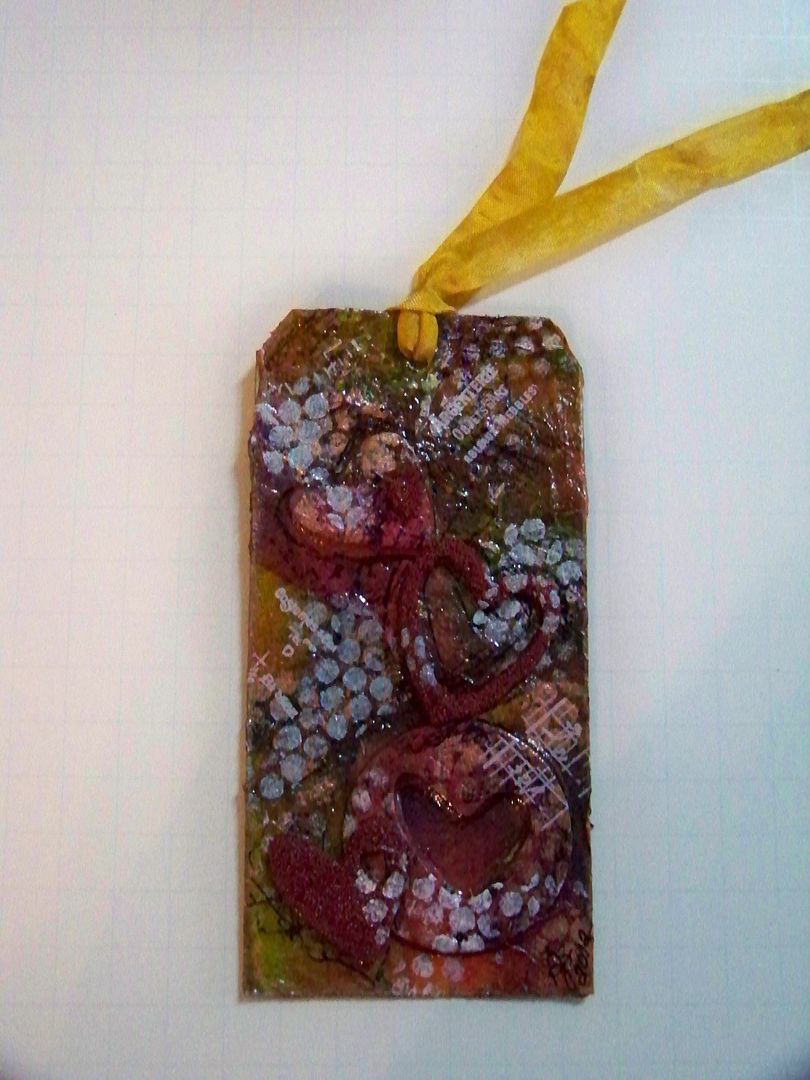
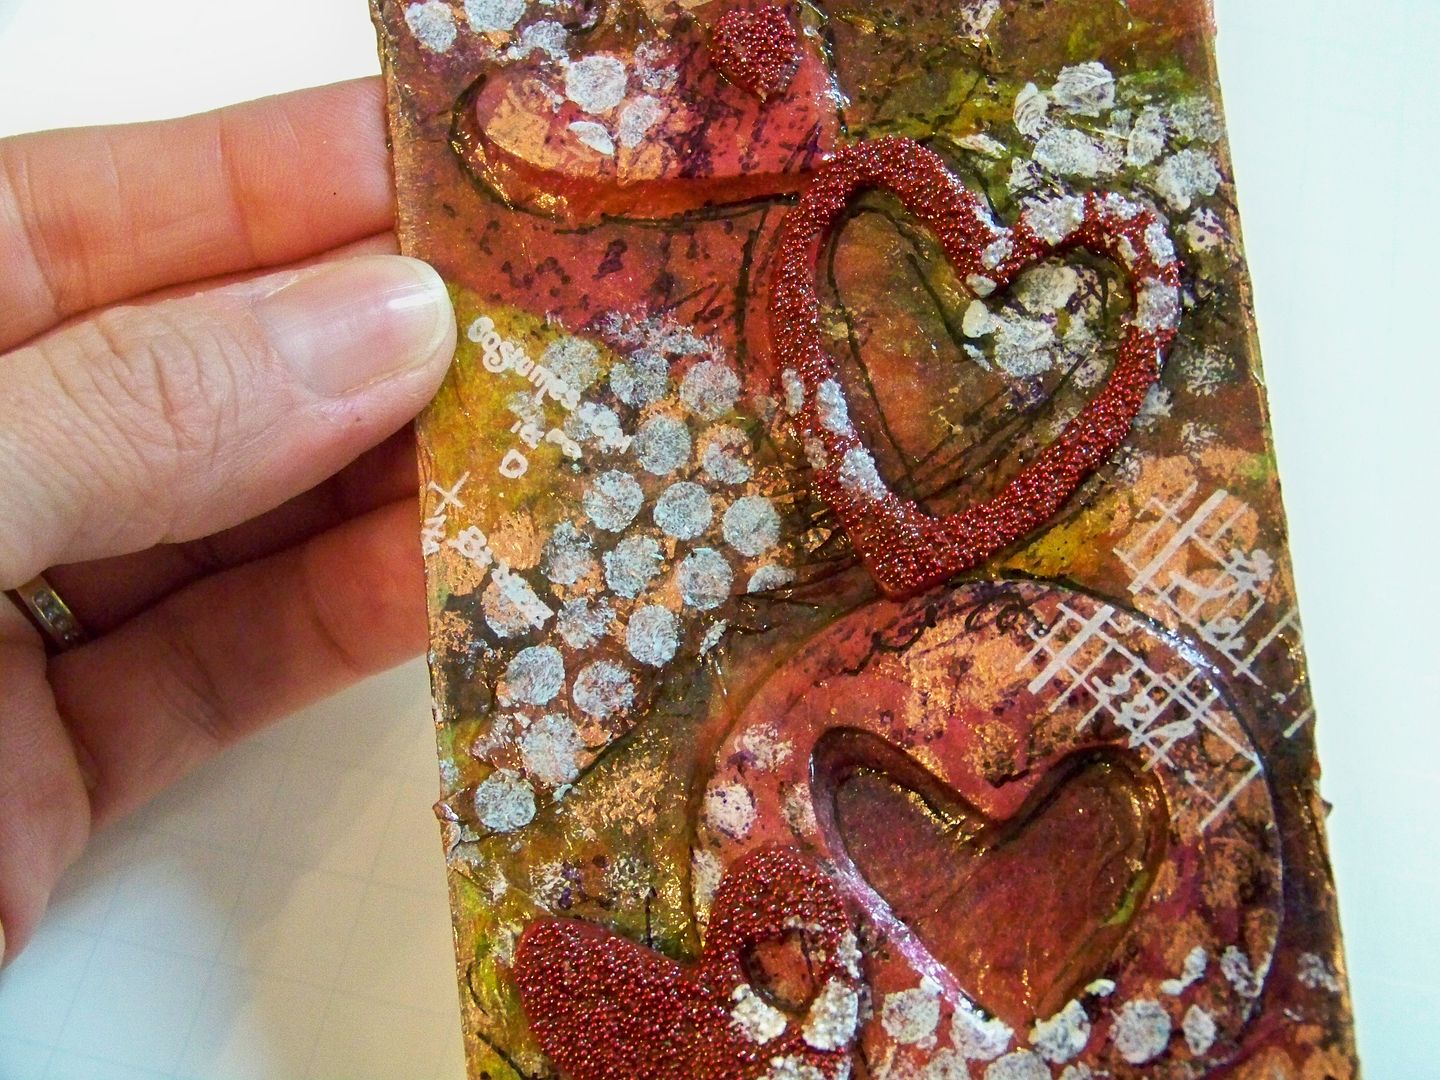
Barbara made tags for everyone! They were all different and perfect. This is the one I received:
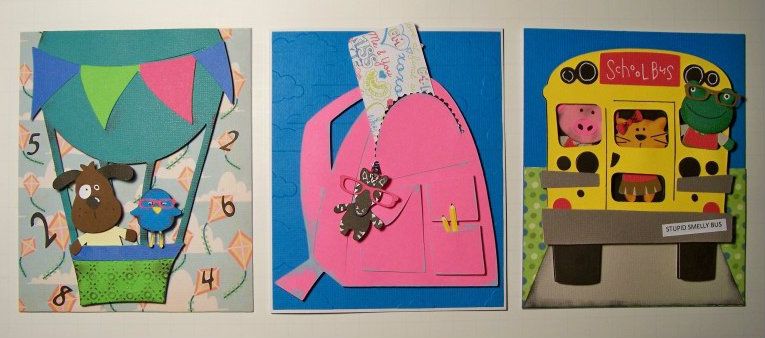
Circle Mania was so much fun! I thought I would share with you a few silly tags and gift wraps for Circle Mania gifties that I took....with cut info.
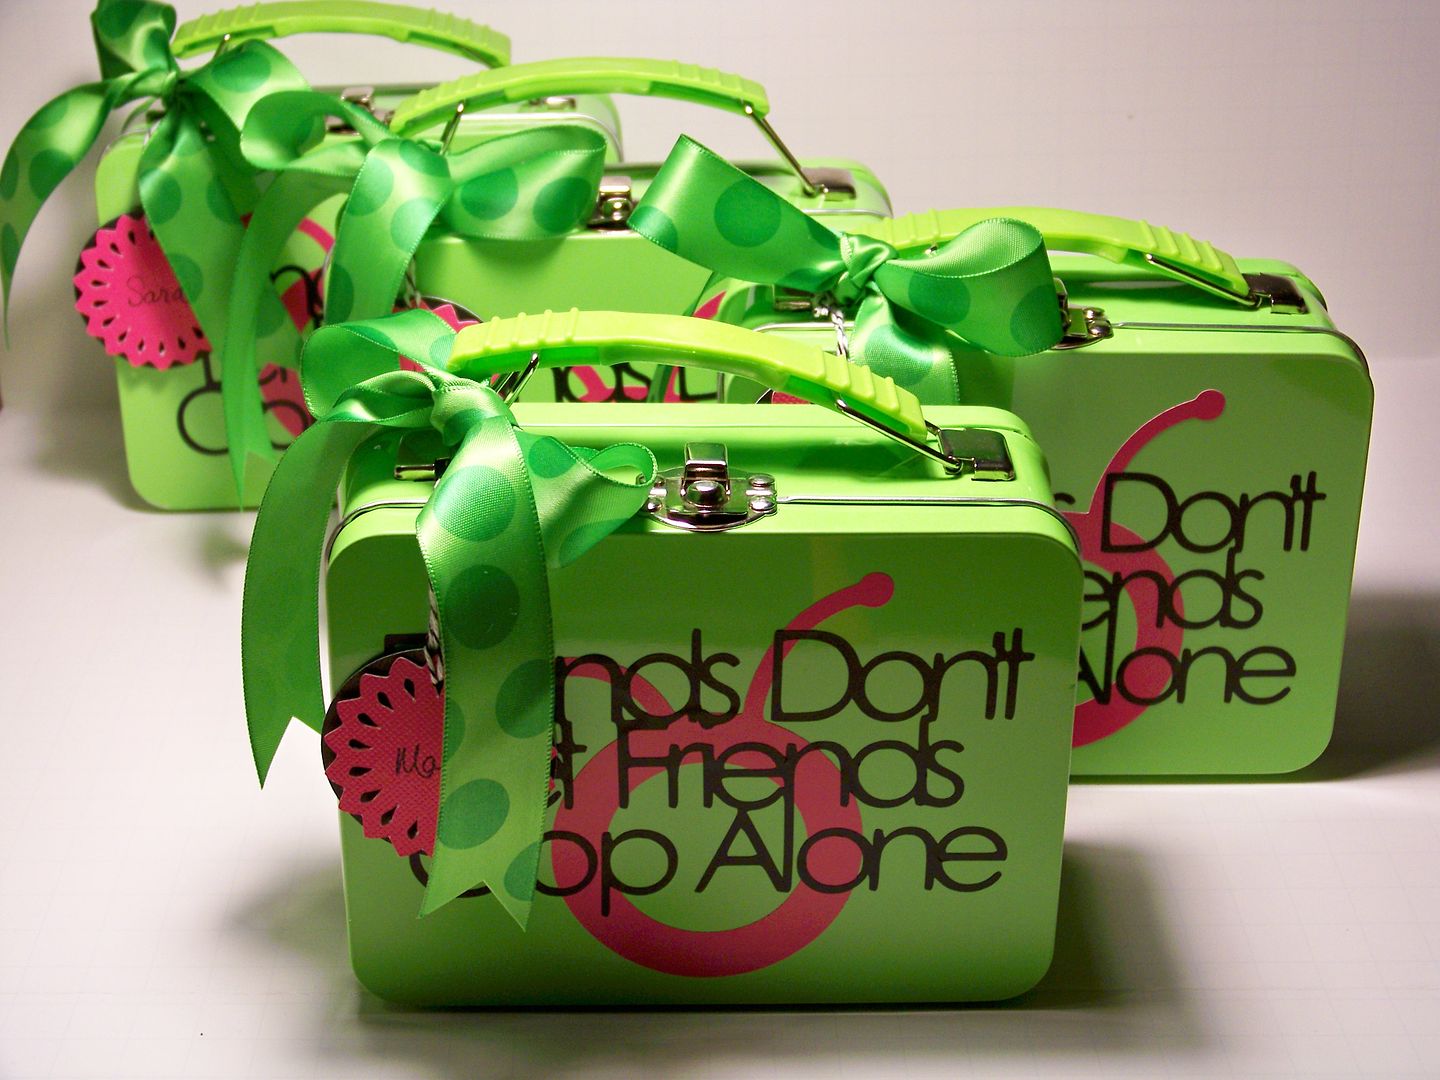
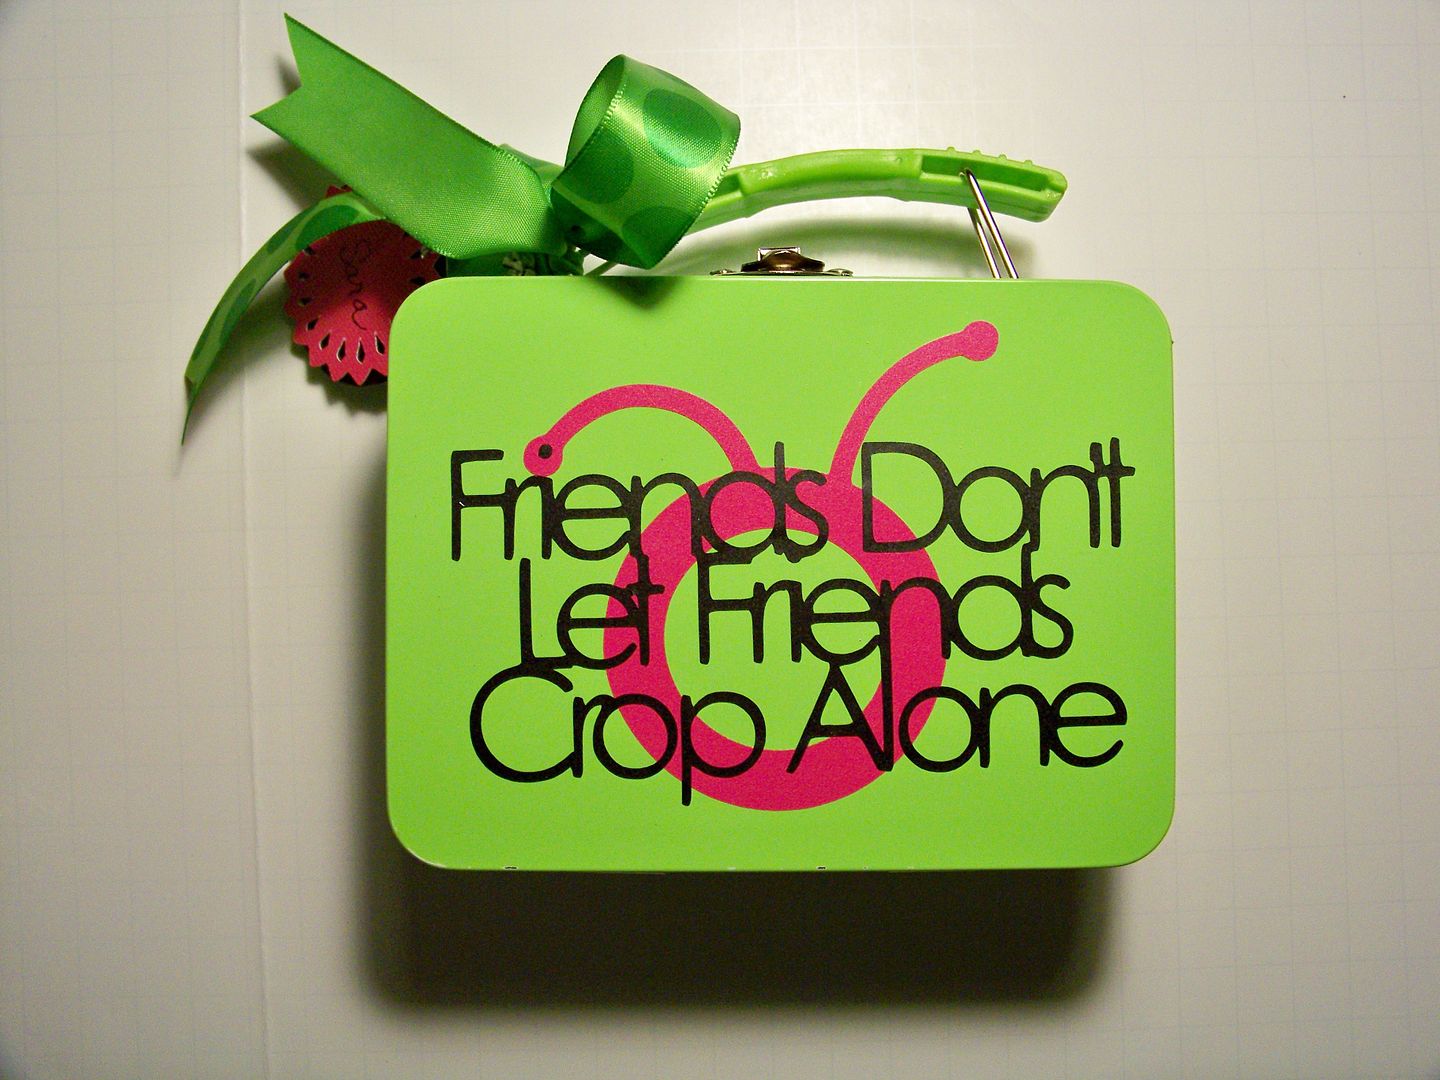
For the mini lunch boxes, I cut the text from vinyl using Cricut Everyday at 2-1/2". Under the text is a Circle logo, also from Cricut Everyday, cut at 3-1/2" from vinyl. The pink tags were cut from Artiste at 1-3/4". I backed them in black.
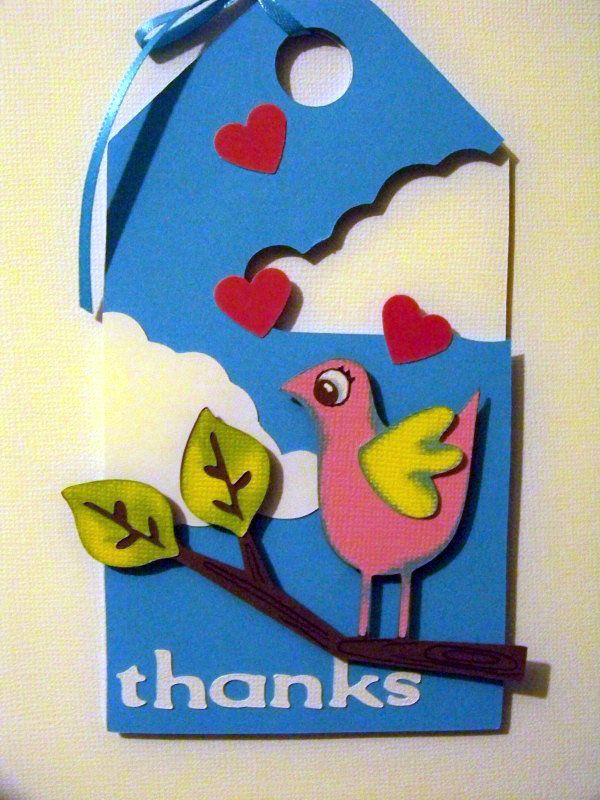
This is a tag I made to go on a gift for the hostess with the mostest that weekend. The base was cut from Wrap It Up (page 56) at 6" (tag blackout). I cut part of a cloud from Serenade so I could use the negative space of the cloud. Then I cut the tag again in white and backed the blue tag with it and popped it up. The bird on the branch was cut from Live Simply at 2-1/2" and inked. I added details by hand. The white cloud on top was cut from Serenade at 1-3/4". The hearts were cut from a punch. The letters were cut from Hannah Montana at 1/2".

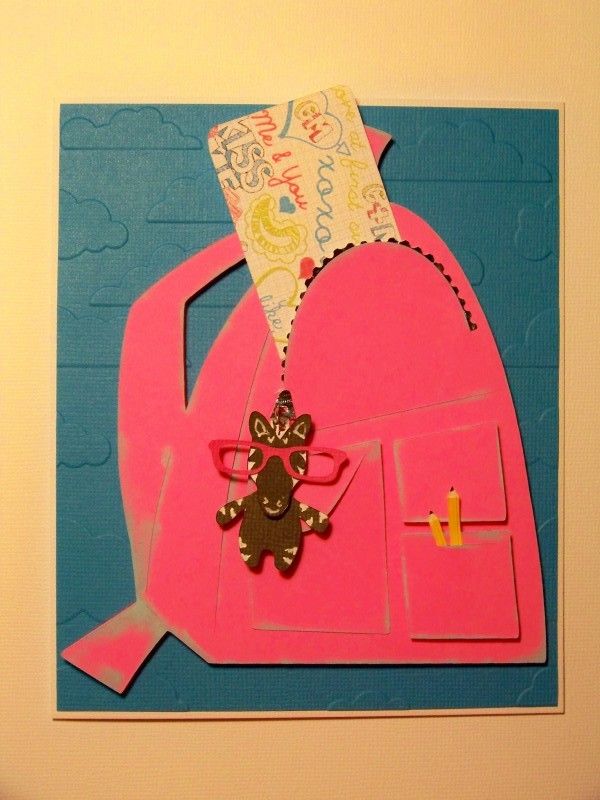
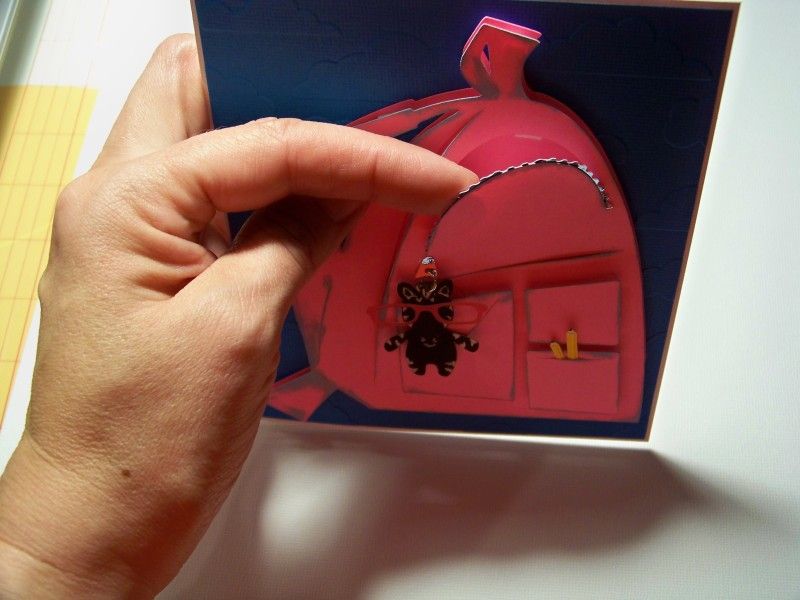
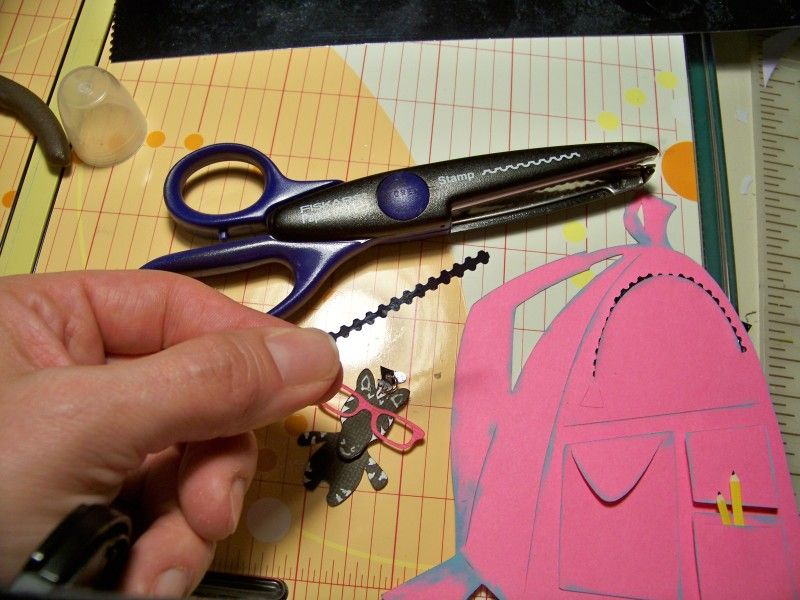
This tag was made for a traveler from far away who I knew would not be headed through Kentucky so I brought a bit of Kentucky to her and wanted a tag to match. The base is from Mickey Font (page 134) cut at 5". I cut the center from a map that I misted with Glimmer Mist and embossed with a chevron embossing folder. Kentucky was cut cut from 50 States (page 29) at 7". (I cut one from red and one from blue and attached them with pop dots after using a heart punch on the blue layer). I hand-cut the banner after running the paper through my printer to add text. The scattered hearts were cut with a punch.
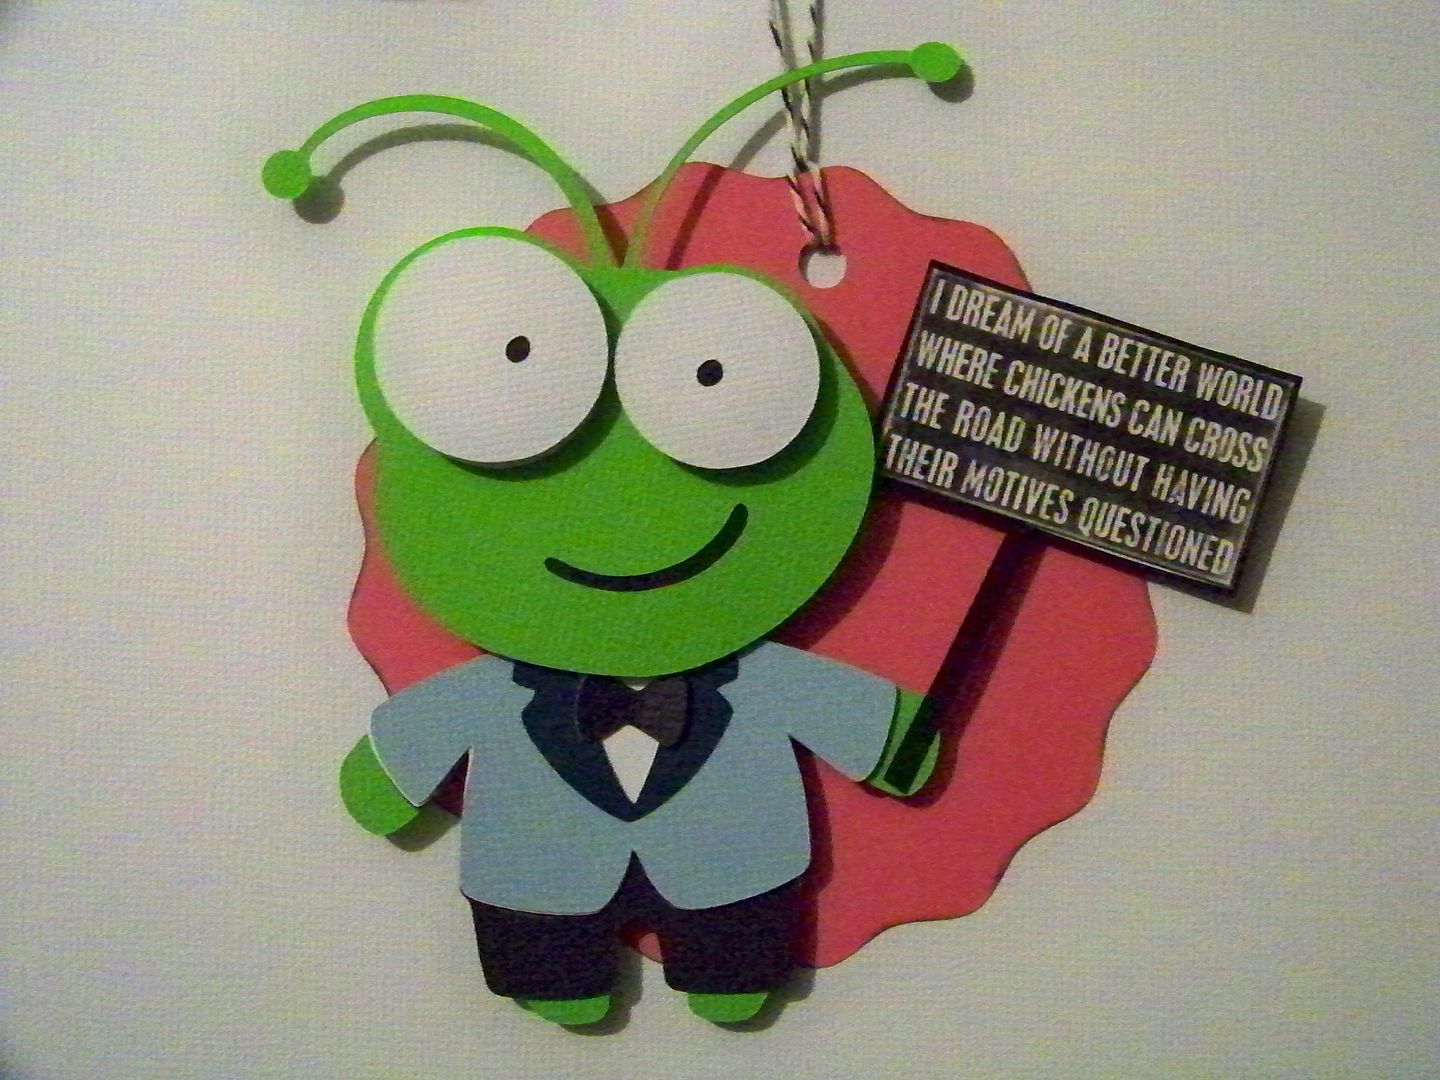
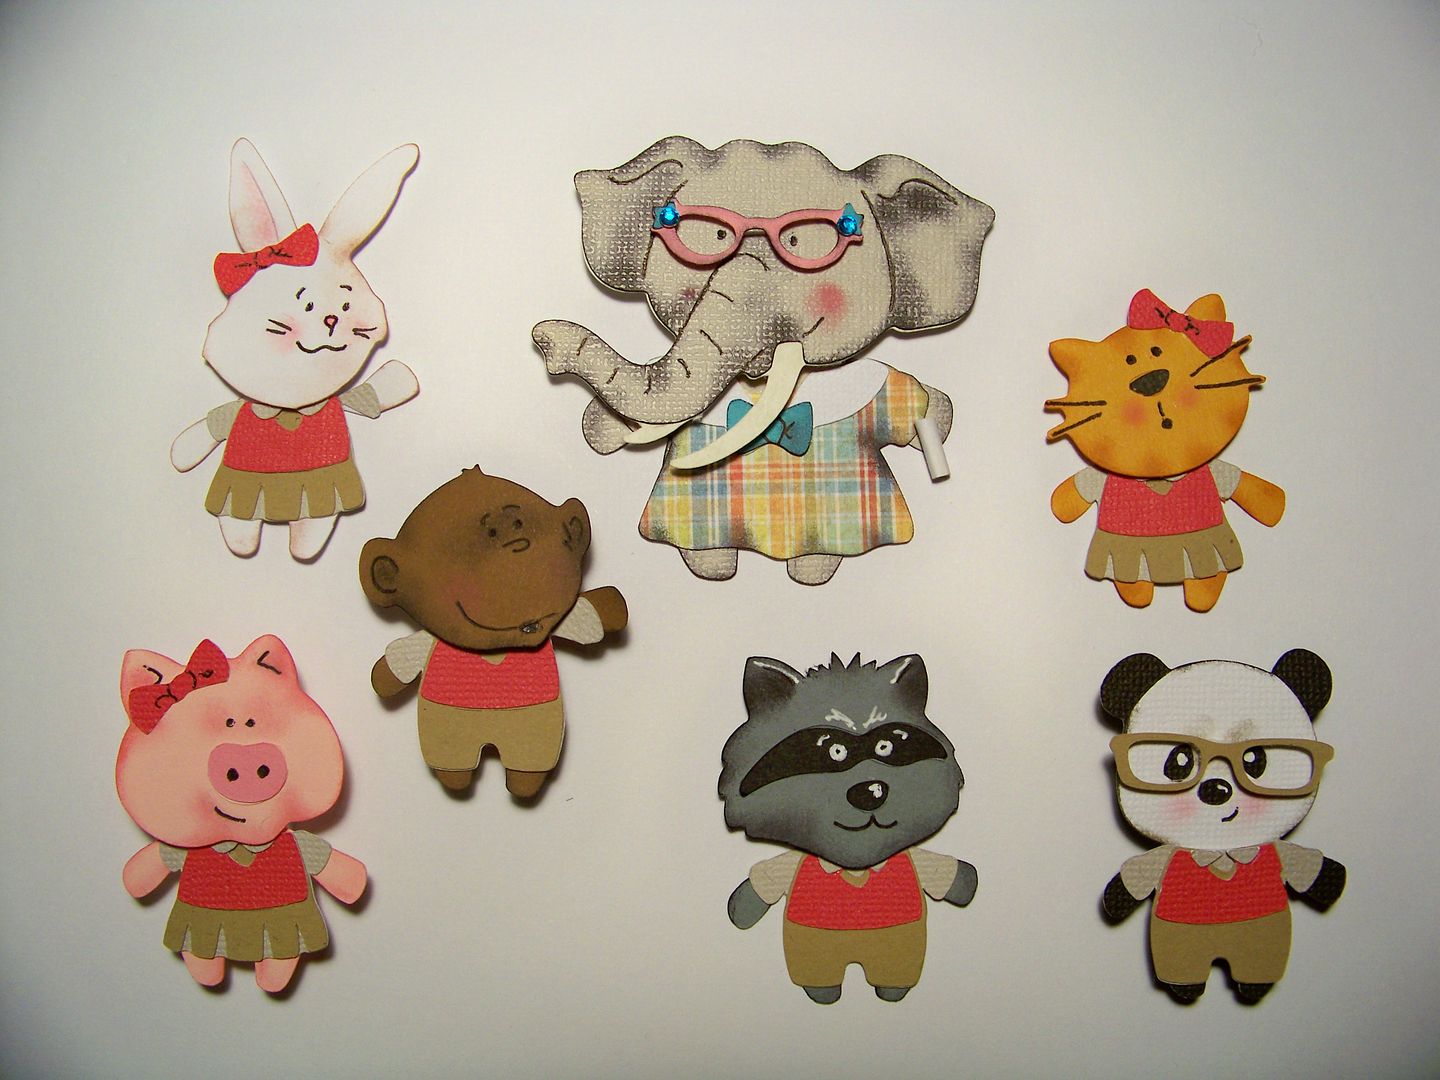
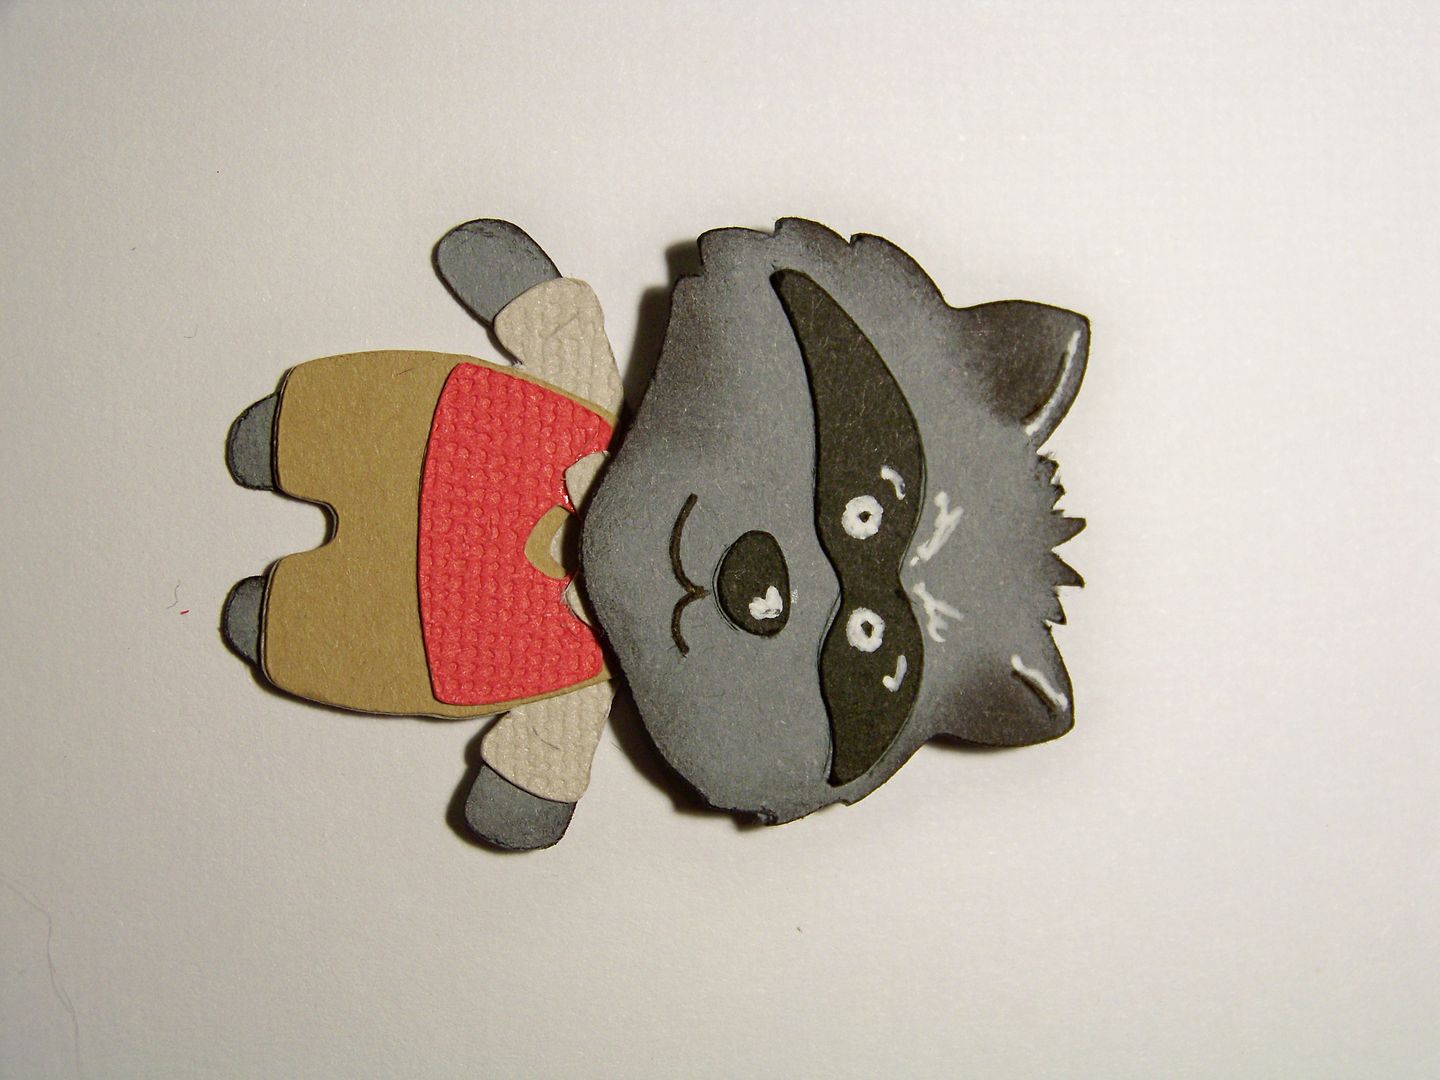
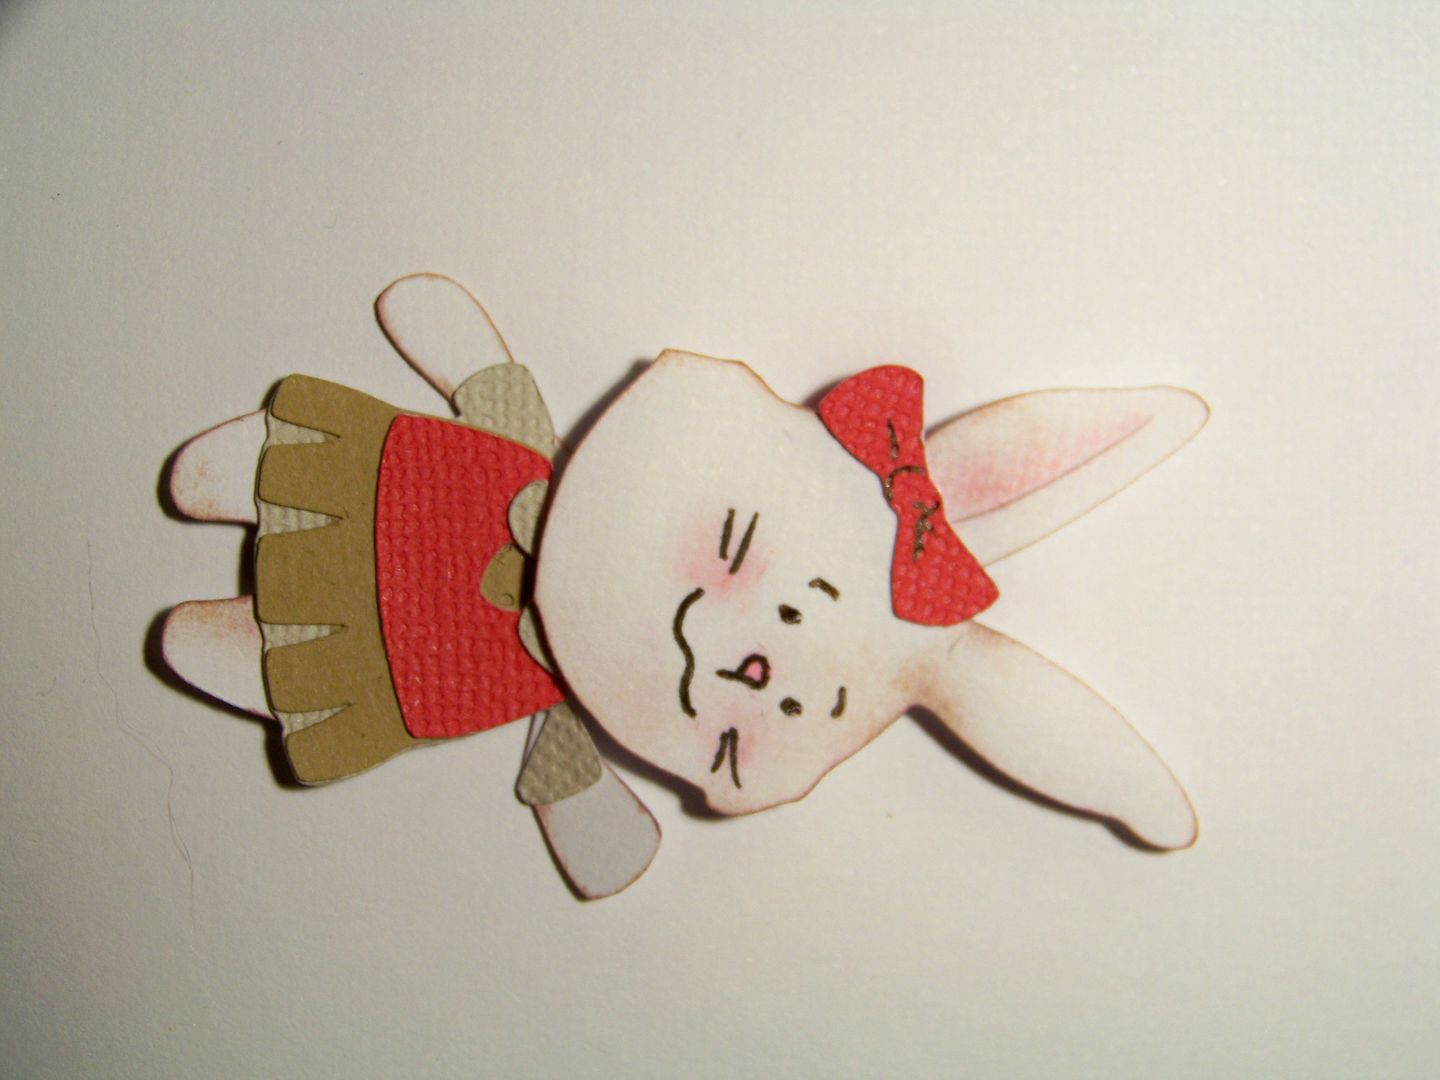
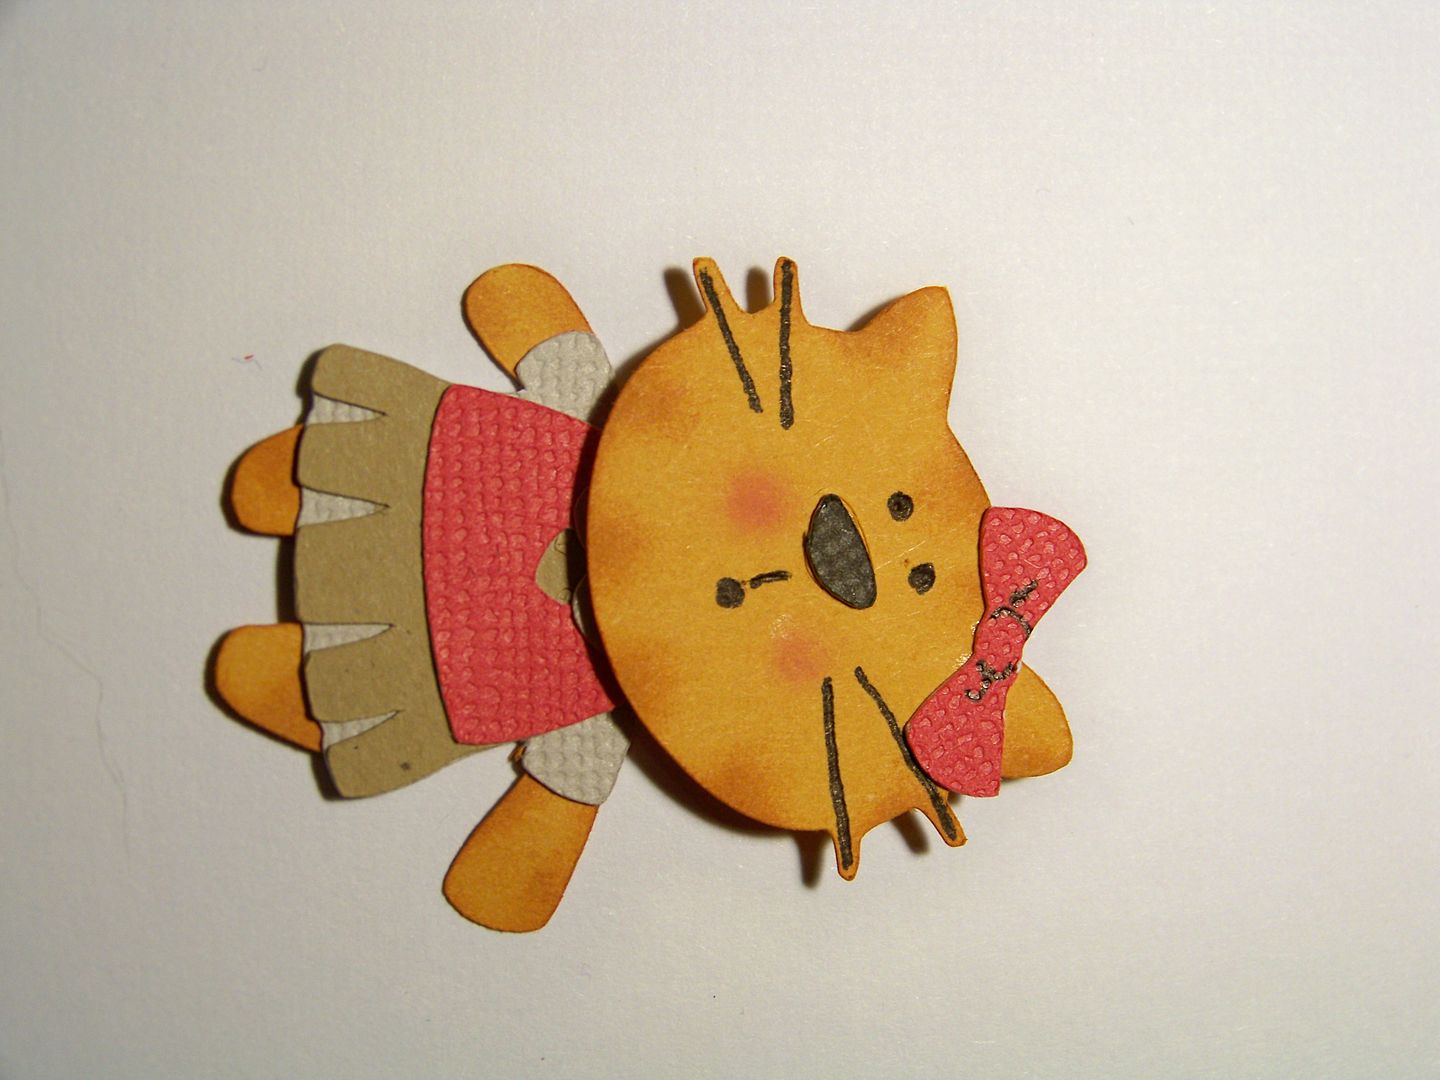
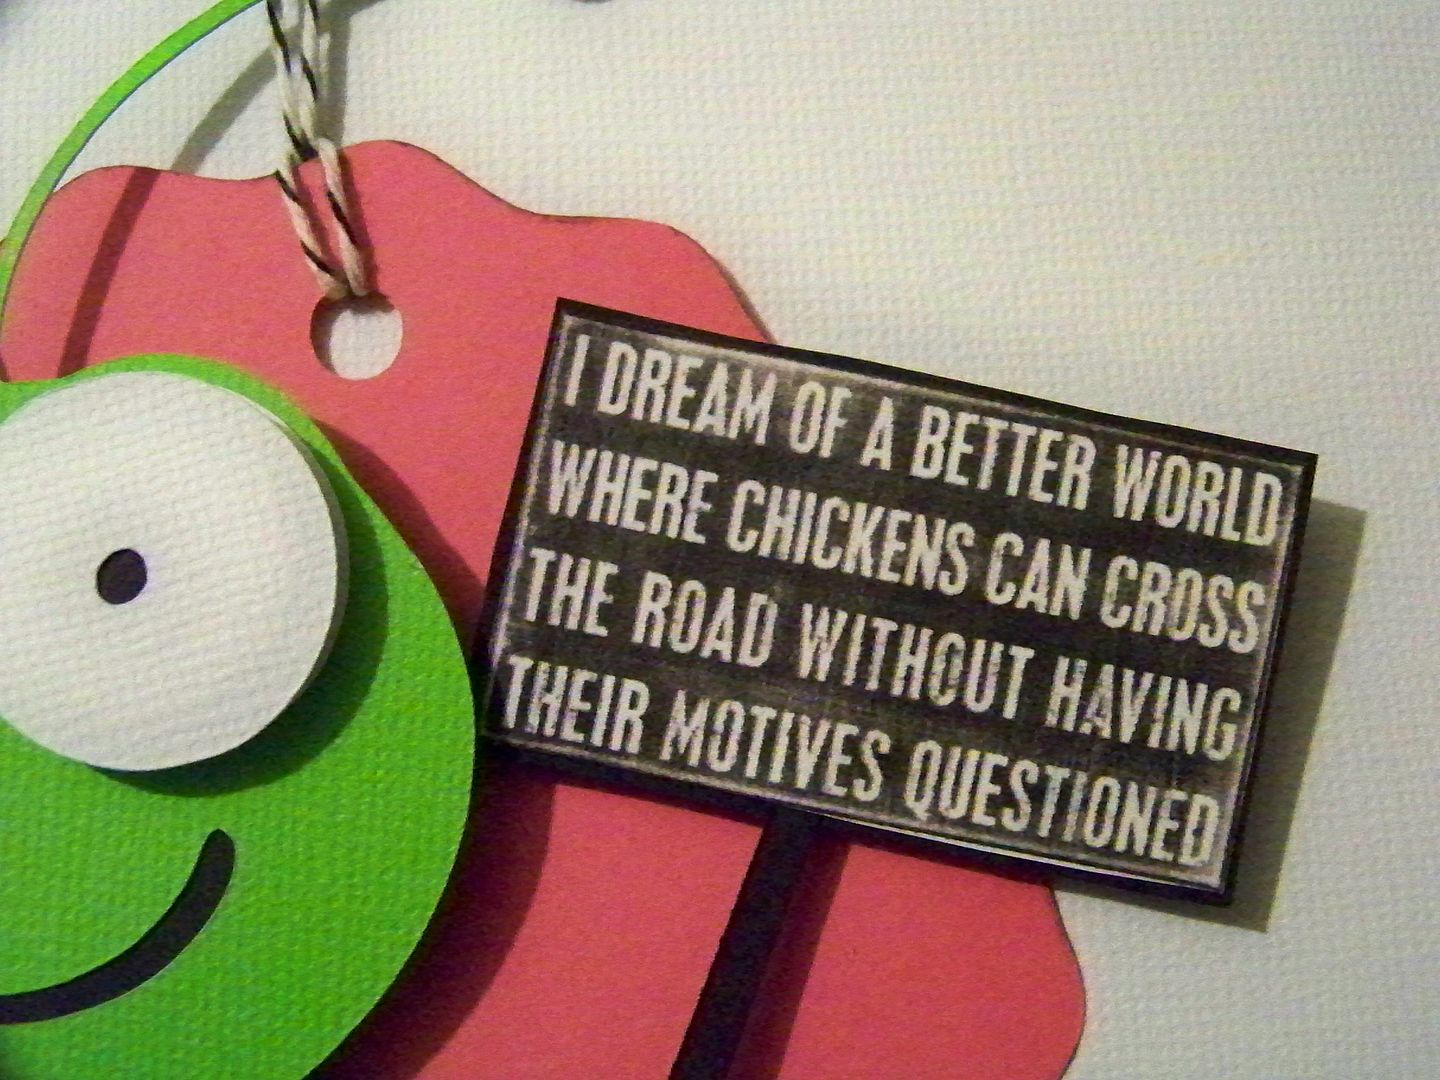
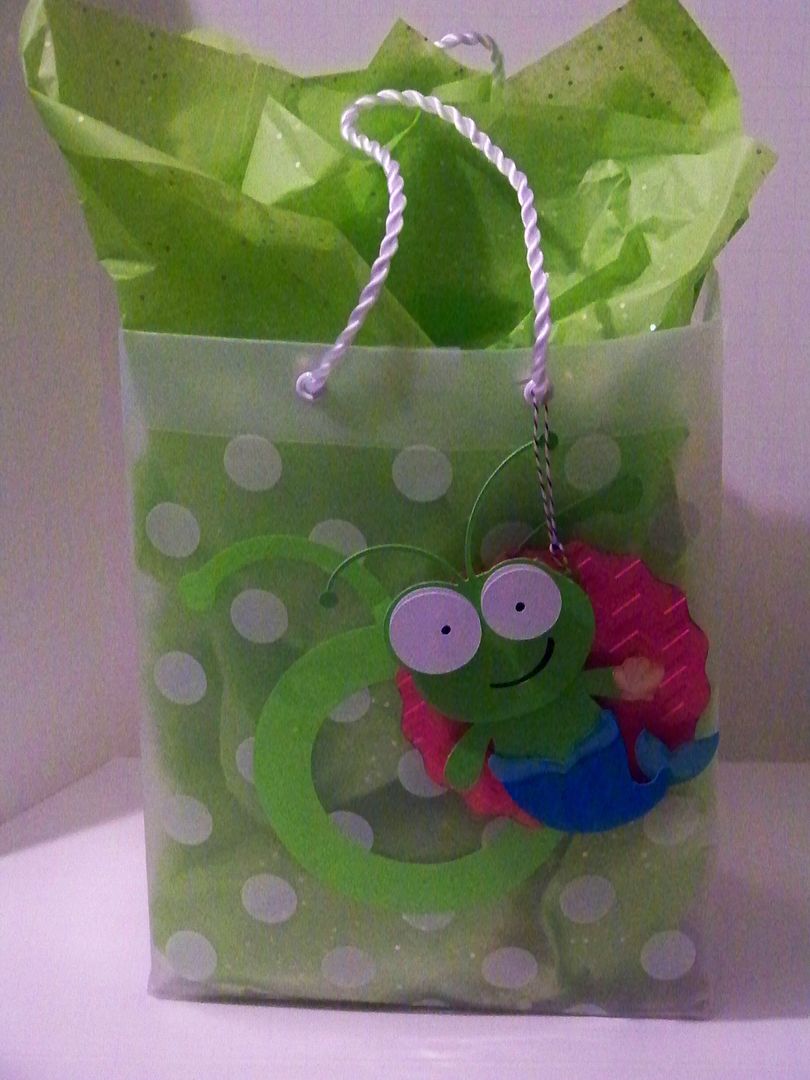
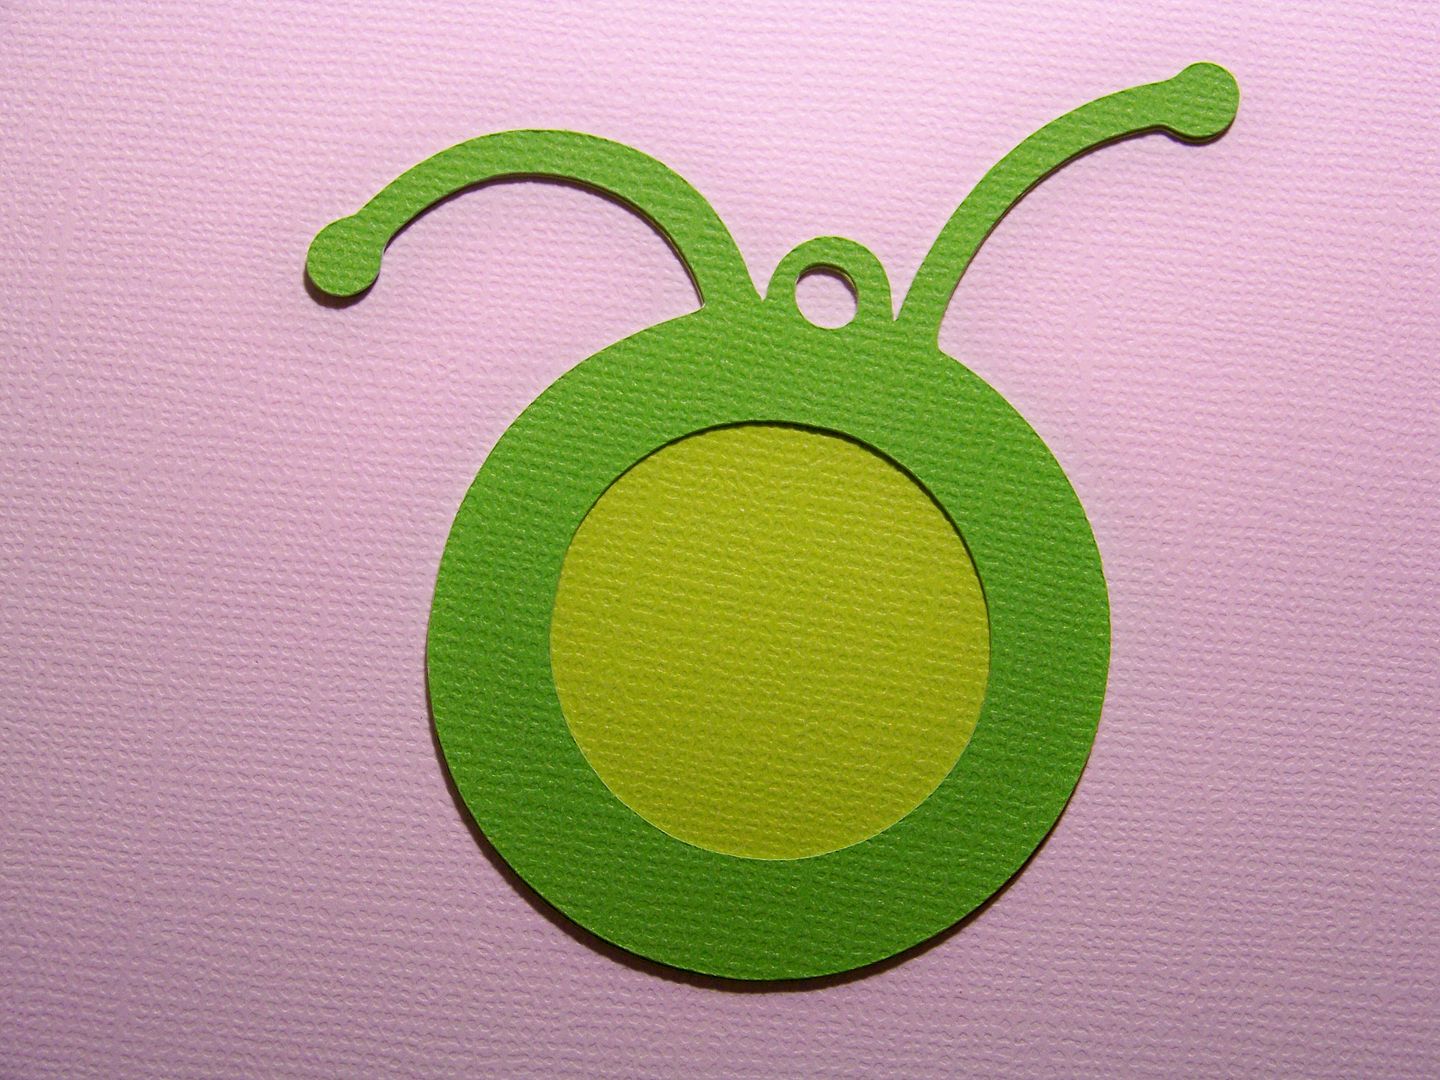
The base of this tag is from Artiste (page 32), cut at 4". The bug head was cut from Cricut Everyday at 3.5". The body and outfit were cut from Teddy Bear Parade at 4". The sign was something I printed from my computer.
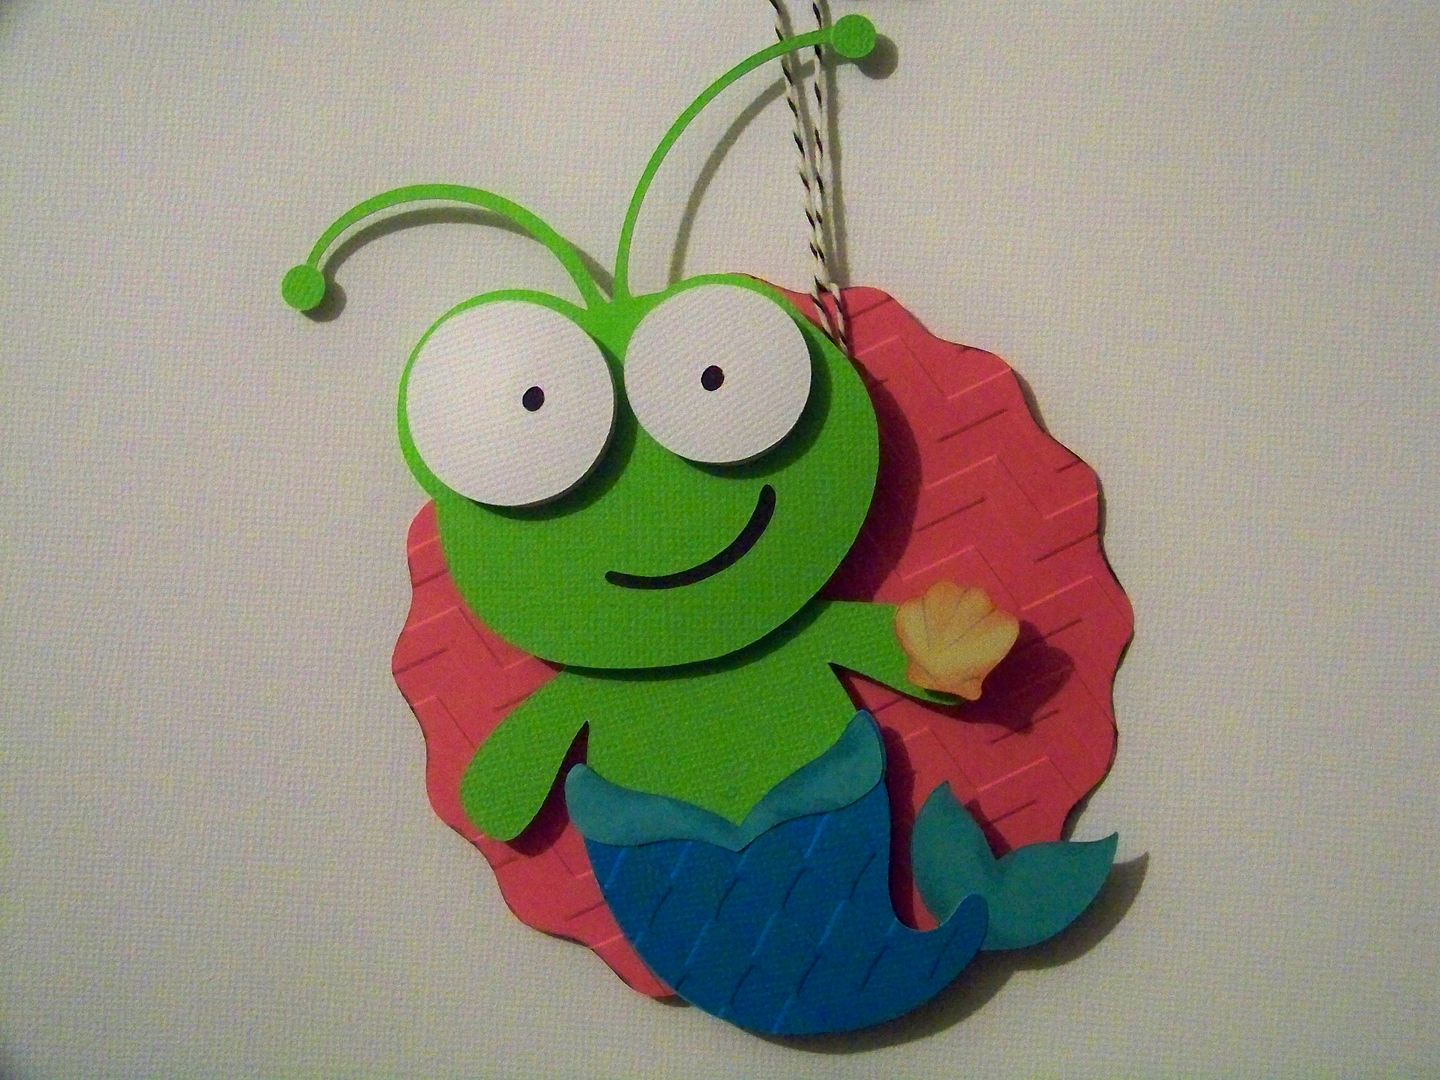
The base of this tag is from Artiste (page 32), cut at 4". The bug head was cut from Cricut Everyday at 3.5". The body and outfit were cut from Teddy Bear Parade at 4". Because I think the Bug Guy is a guy, I didn't cut the shell bra, rather, I made the shell something to hold. The base and fish body were embossed on the Cuttlebug.
These tags were cut from Everyday Cricut at 3".
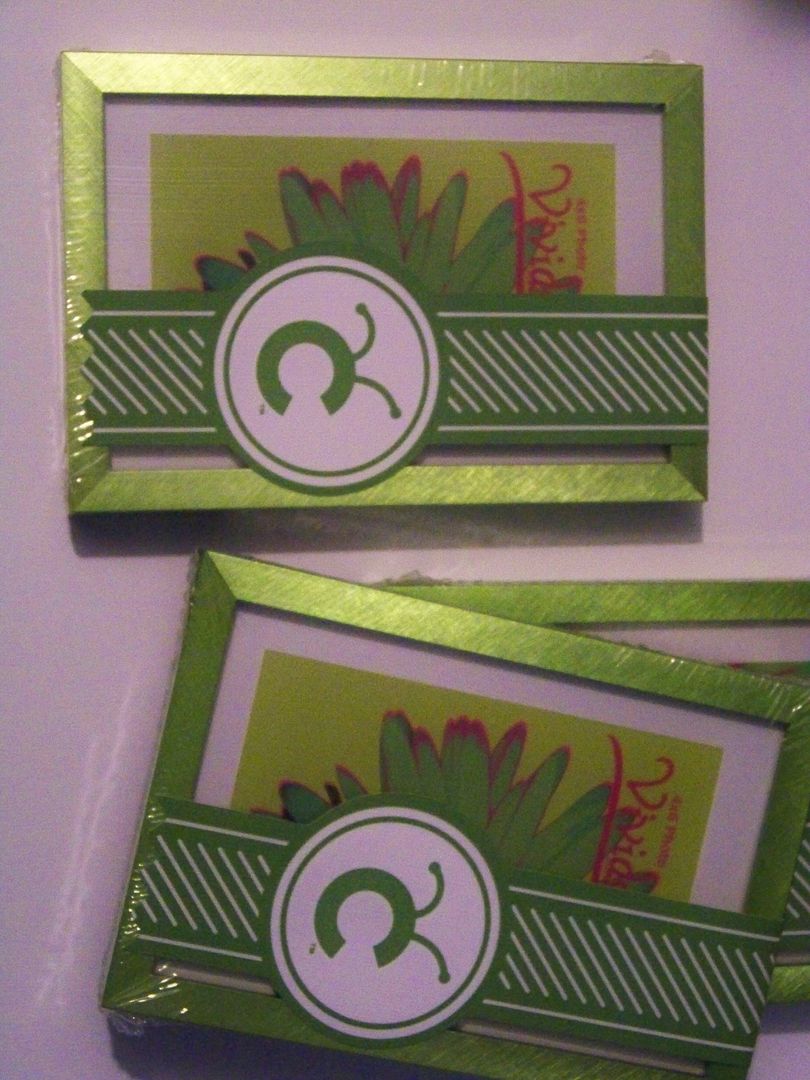
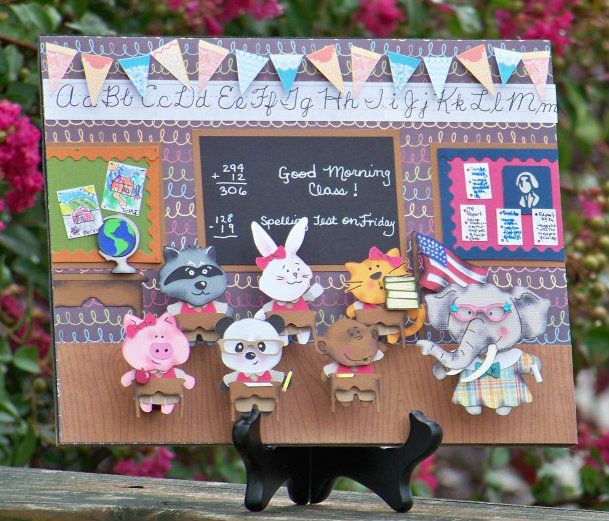
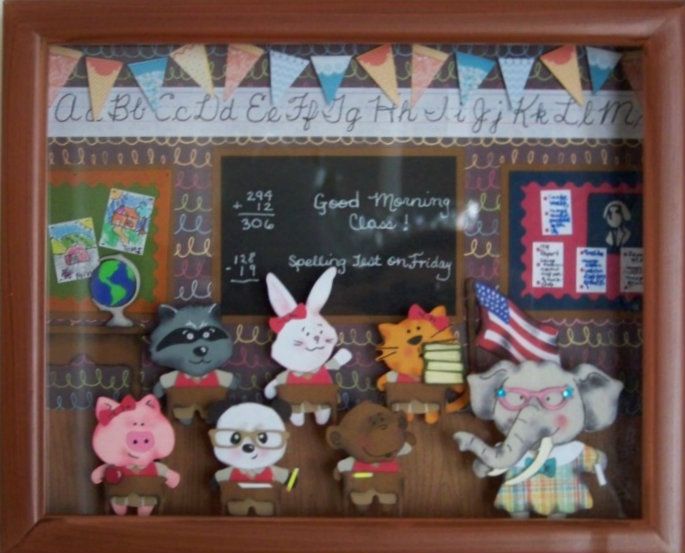
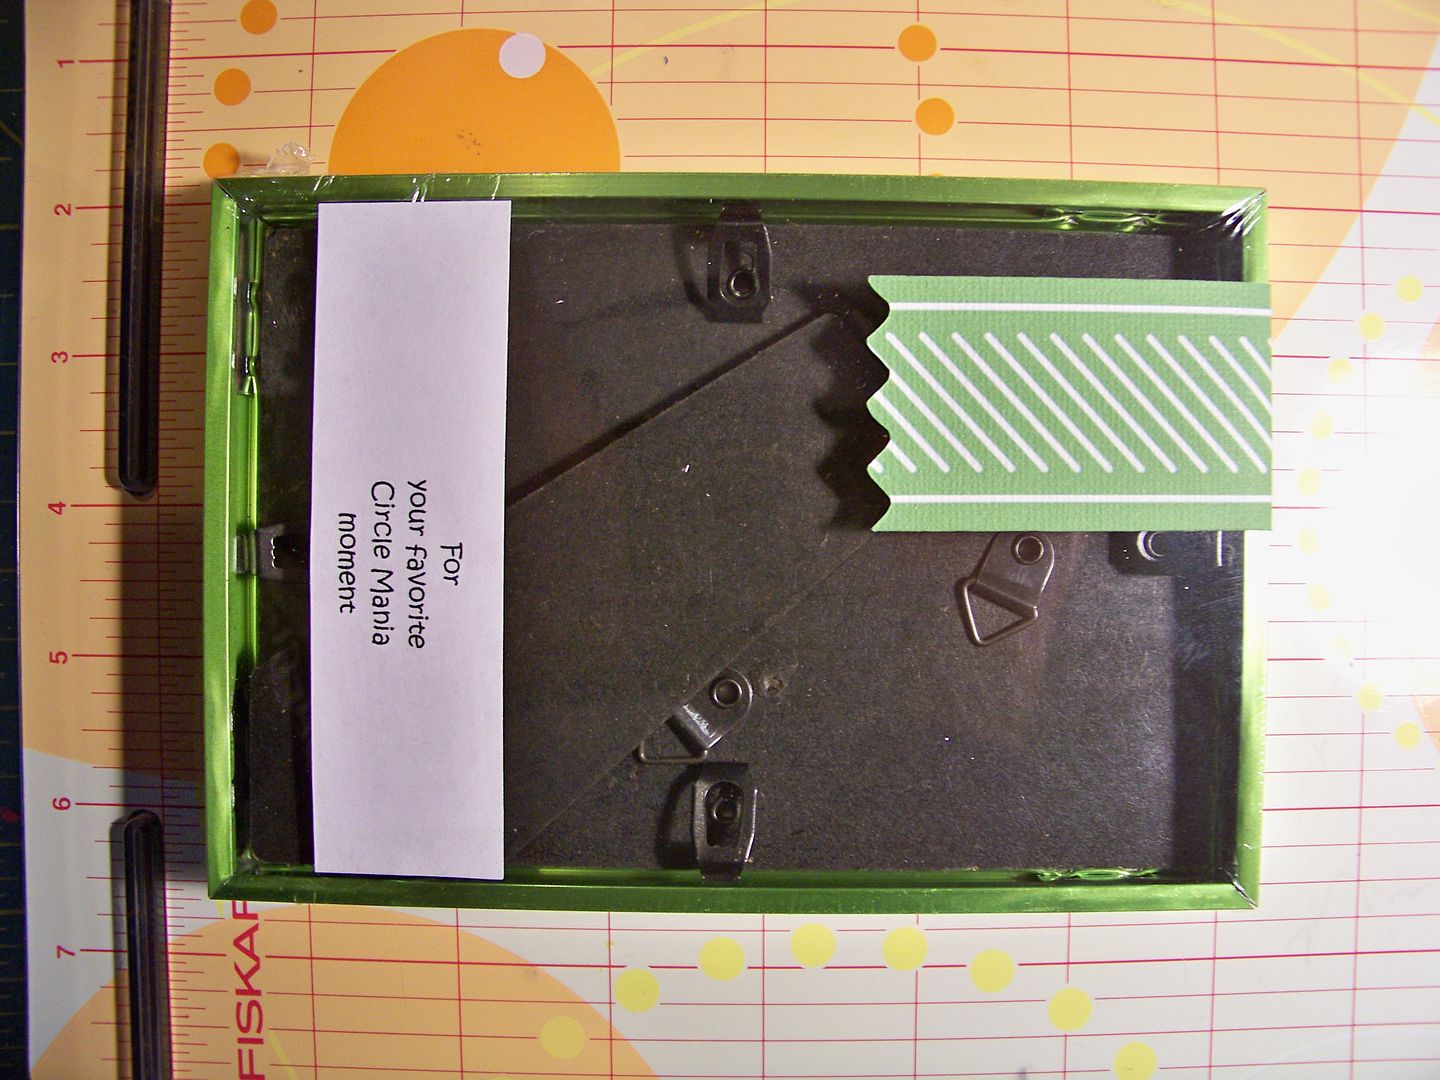
These were simple picture frames that I packaged to look 'Cricut-y'. I used Greeting Cards Inside and Out, printing and cutting on the Imagine at 9.7". I added a little message on the back that I printed from my computer.
It was a really fun event! So thankful that I was able to go and meet, in-person, so many of my friends that I talk to daily on the message boards. I think this was the fourth Circle event I have traveled to. These friendships that I have made are a blessing to me-- such an unexpected joy! What a fantastic group of ladies!
Thank you for visiting my blog today! You can see many of my previous projects by visiting My Project Gallery. My next blog post will be Sunday and I will be showcasing a Boxed Card with a tutorial.