Showing posts with label Holiday - Mother's Day. Show all posts

Friday, May 6, 2016

Happy Mother's Day! Classes and Files for Great Gifts for Mom!


I love Mother's Day!  I adore my mom and I love my mother-in-law too!  To me, Mother's Day has always been about things you make for your mom.  My daughter usually makes something for me and I usually try to include something hand-made for my mom to go with a store-bought gift.  My mother-in-law is not as keen on things that are made, but she gets something any way, along with something else that she probably appreciates a little more.  This year is no exception.

For my mom, I decided to use what I had learned from two Craftsy classes I had taken.  One class is called Finishing School: Edges & Bindings.

This was an awesome class that finally taught me how to miter my quilt binding and how to sew my ends with a diagonal seam.  So many shortcuts, but my favorite tip by instructor Mimi Dietrich was how to cut the binding using a scrap of the width of the binding in order to cut it to the exact size while sewing it in place.  (Kind of like a mathematical miracle that doesn't involve doing any math!!)  It was a class I watched on my phone while waiting for my daughter to get out of ballet and while waiting at the doctor with my husband.  The cool thing about Craftsy classes is that they don't ever 'expire' and you watch when you want to!  And when I was ready to actually use her tips in my sewing room, it was easy to watch just the part I needed on my computer.  I could watch and pause as needed, adding notes and using the '30-second replay' function when I needed to hear something again!  I have to admit:  this class started me on a Craftsy love affair.  I have watched and signed up for so many since and even became an affiliate because it has helped me so much!

The second class I used was Quilt-As-You-Go Patchwork Bags.  Another clever class by a really easy-to-follow instructor.  I signed up for it because I really wanted to know the secrets for quilt-as you-go (QAYG) on a regular sewing machine.  I have been enjoying that technique with my embroidery machine, but I wanted to get past the limits of my hoop size.  By moving to my sewing machine, I have no limits!


The sample I made, which is the first project in the class, a potholder, was the first gift I made for my mom in her gift set.  I loved instructor, Tara Rebman's style and really loved this class!  Her handy zipper trick is one I didn't use for my mom's gift, but it was my favorite of her ideas in this class! Will be using it soon!  The potholder I made set the stage for the colors of the whole gift set.


I bound the potholder from the QAYG Patchwork class using what I learned in the binding class! I added a loop and a little machine applique before I put the backing on.  That gave me my color palette for two towels for my mom.

To do the towels, I simply cut strips of pre-washed cotton fabric, sewing to each other to form a band the size I liked.  I turned under on all sides, keeping in place on the towel temporarily with 1/4" SteamASeam fuse tape before stitching in place.


The towels are bar mops from Walmart.  The "Mom" text is Ballerina from Itch2Stitch.  The teapot is a free design I got from Embroidery Library during the Happy Hour sale in April (M3893 but I think it was only available as a freebie with purchase for that promotion).  The floral is also from Embroidery Library.  The hearts on a clothesline that I embroidered on the potholder is from Lynnie Pinnie.    The fabrics are scraps and fat quarters from my stash.  I just wanted a cheery kind of look that would be fun to open and useful in the kitchen.


My mom's main gift was small in size and I thought it would be fun to make a little zipper pouch to put it in.  I love the idea of wraps that have practical uses.  This is a file from Embroidery Garden.


I took a class here in town from Reen, the owner and digitizer for Embroidery Garden.  I used some tips I learned in her class to make some changes on the way I stitched this.


First of all, I did not hoop Vilene as the directions state.  I hooped poly mesh instead.  And I cut a window out of the poly mesh where the zipper is while it was nice and easy to do just after step 4!

This is the iPhone case, but I had planned to make the 5x7 case and just cut for this size accidentally.  But it worked out and was the perfect size after all.


I liked how this whole gift came together!


Next,  I did some simple chalkboard-style stitching on dish towels for my mother-in-law.  Her real gift is store-bought but I think everyone should get something made from the heart.  I want to make a set of these for myself!


These are both designs from Embroidery Library (Good Day and Home).

For both my mom's gift and for my mother-in-law's gift, I used gift bags to wrap.


To do the watercolor photo on the fronts of the bags, using my phone, I took a photo of my daughter (she was showing me this light-up headpiece she had just gotten) and then I put it through the Waterlogue app on my phone.


Then I just printed the Waterlogue versions at Walgreen's using their phone app and picked them up an hour later.  Super simple!

For my mother-in-law's bag, I cut a 6" (length) frame from Cricut Fancy Frames.

For both gifts, I made a luggage tag from Embroidery Garden to use as a gift tag that they could reuse on their luggage!


I finally realized that I could use the fabulous Embrilliance function that creates an SVG for cutting in a Silhouette (or other cutter) to make a template that I could use to cut by hand.  Although I have used my Silhouette many times to pre-cut my appliques, for cutting two simple shapes quickly, hand-cutting was preferred.  I never connected, until now, that making and printing an SVG would make a hand-cutting pattern!  To learn how to make an svg (for cutting with an electronic die cutter OR for printing out a pattern to hand-cut), check out the video by Terri Johnson.


List of Links from this Blog Post (Craftsy classes are my affiliate links so I hope you will use them!):
  • Craftsy Class-  Finishing School Edges and Bindings:  click here.
  • Craftsy Class- Quilt As You Go (QAYG) Patchwork Bags:  click here.
  • Mom text on towel- Ballerina font from Itch2Stitch:  click here.
  • Bohemian floral embroidery design:  click here.  
  • Hearts on a clothesline embroidery design:  click here.
  • Zipper pouch:  click here.
  • It's A Good Day embroidery file:  click here.  
  • There's No Place Like Home embroidery file:  click here.
  • Waterlogue app to make photos look like watercolors:  click here.  
  • Cricut Fancy Frames:  click here.
  • Luggage tag to use as gift tag:  click here.
  • Video explaining how to use Embrilliance Essentials to make an SVG from an embroidery file for cutting in an electronic die cutter (or to print and cut by hand as I did):  click here.
I hope you are enjoying making something for your favorite mom or that you receive something handmade from your favorite kid!  I am sorry to post Mother's Day ideas so close to Mother's Day, but my mom reads my blog sometimes!  We are having an early Mother's Day this year a couple of days early so if I have planned this right, she and I will be at lunch when this posts, saving my surprises for her.

To see my previous paper projects, click the Paper Gallery tab or click here.
To see my previous embroidery projects with resources, click the Embroidery Gallery tab or click 
here.


Friday, May 9, 2014

Cheery Gifts for Mom.. And a Contest Winner!


One of my favorite people to make things for is my mom.  She appreciates hand-crafted gifts and home-made treats!  She keeps every card.  Is your mom like that too?  

Because my mom is a diabetic, I wanted to make something made in kitchen and sweet but without affecting her diet. A sugar scrub is perfect!  

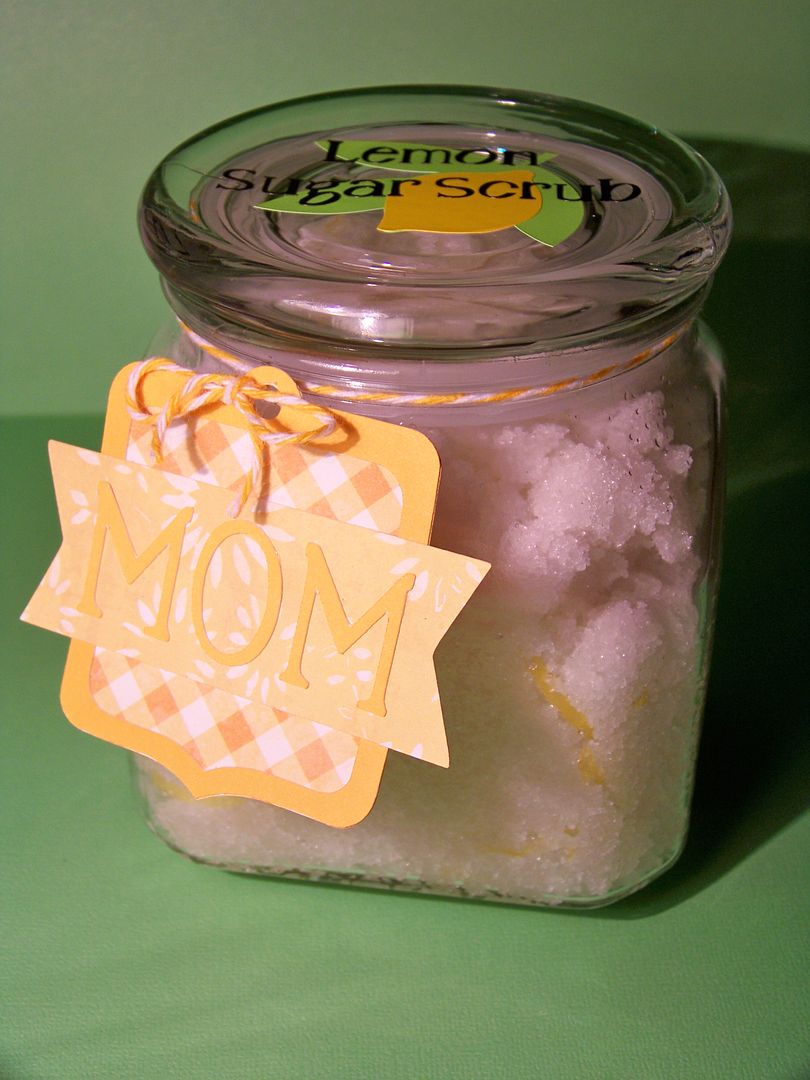
This gift set features a lemon sugar body scrub in a decorated glass canister, a dimensional card that holds a store gift card, and a large tag that will go on fresh flowers to be picked up the day before Mother's Day.

I started by contacting a fellow crafter, who you might remember from the Sweet Sassy Diva blog, Bobbi Jo Henke.  A long time ago, I was a guest designer on that blog a couple of times.  She is also a distributor for Young Living Essential Oils.  Bobbi Jo suggested a scrub recipe that I altered a small bit for my gift.  If you are looking for a trust-worthy person to buy essential oils from for home spa projects or dietary uses, contact Bobbi Jo at bobbijo@thelemondroppers.com or (262)498-3107.  

This is the recipe I used for my scrub.  


Lemon Sugar Scrub

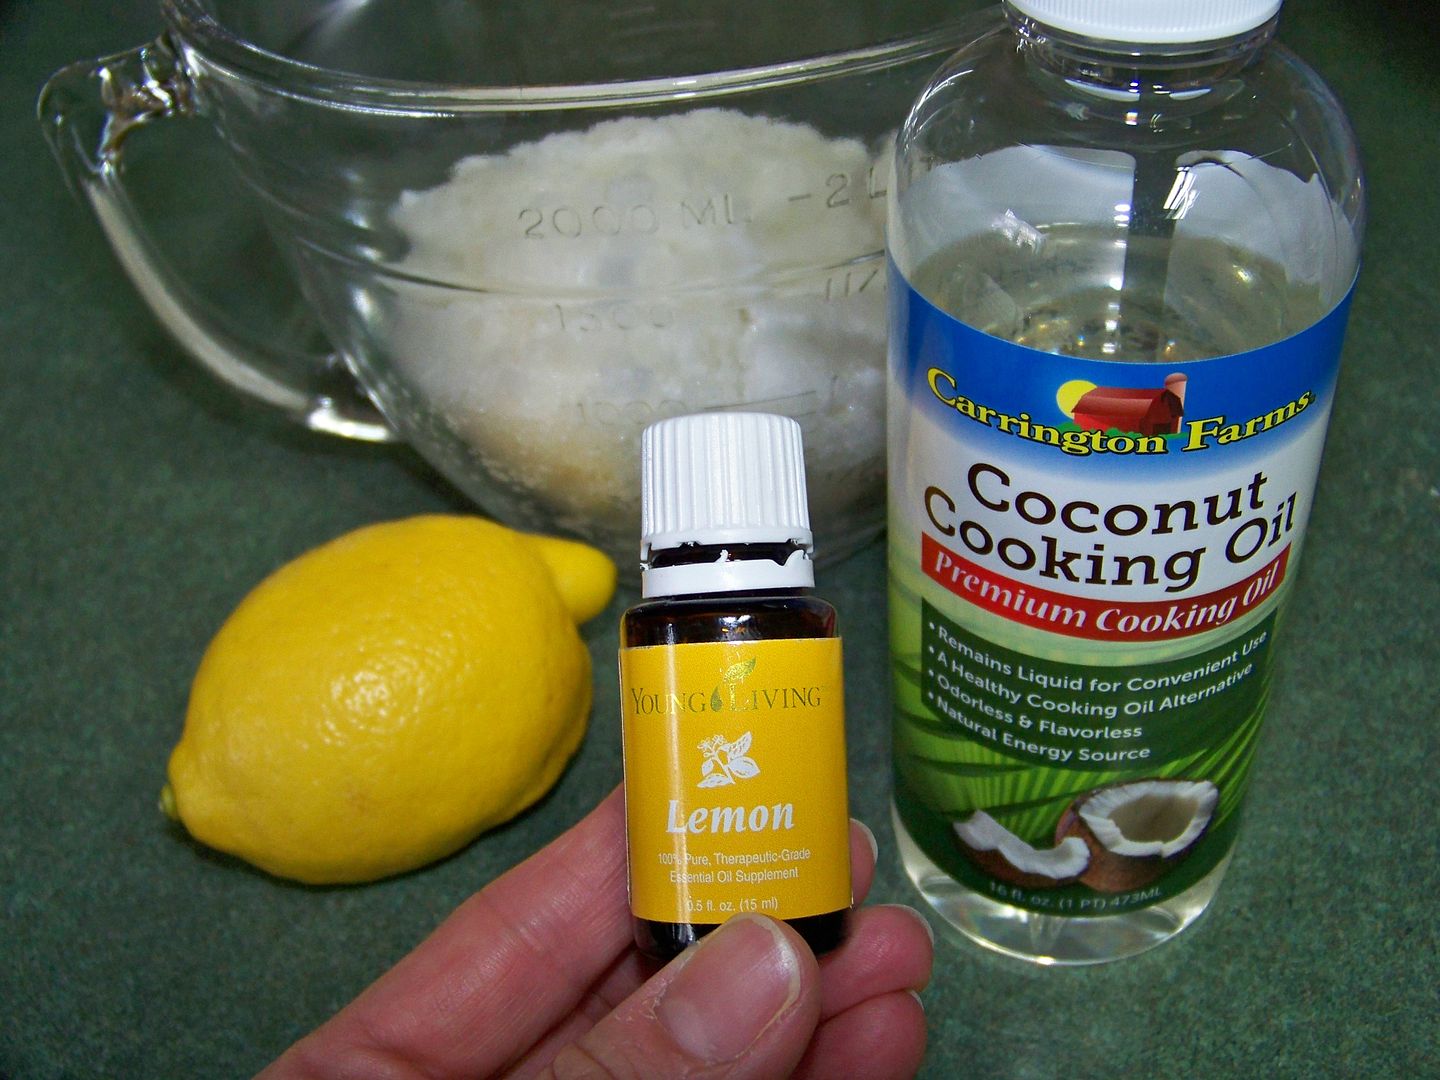
1/4 cup  plus 2 tablespoons liquid coconut oil (found in the baking section of the grocery store)
2-1/2 cups granulated sugar
2 tablespoons fresh lemon juice
16 drops lemon oil
zest of one lemon

Mix thoroughly by hand in a glass bowl and place in a clean and dry glass jar to store.

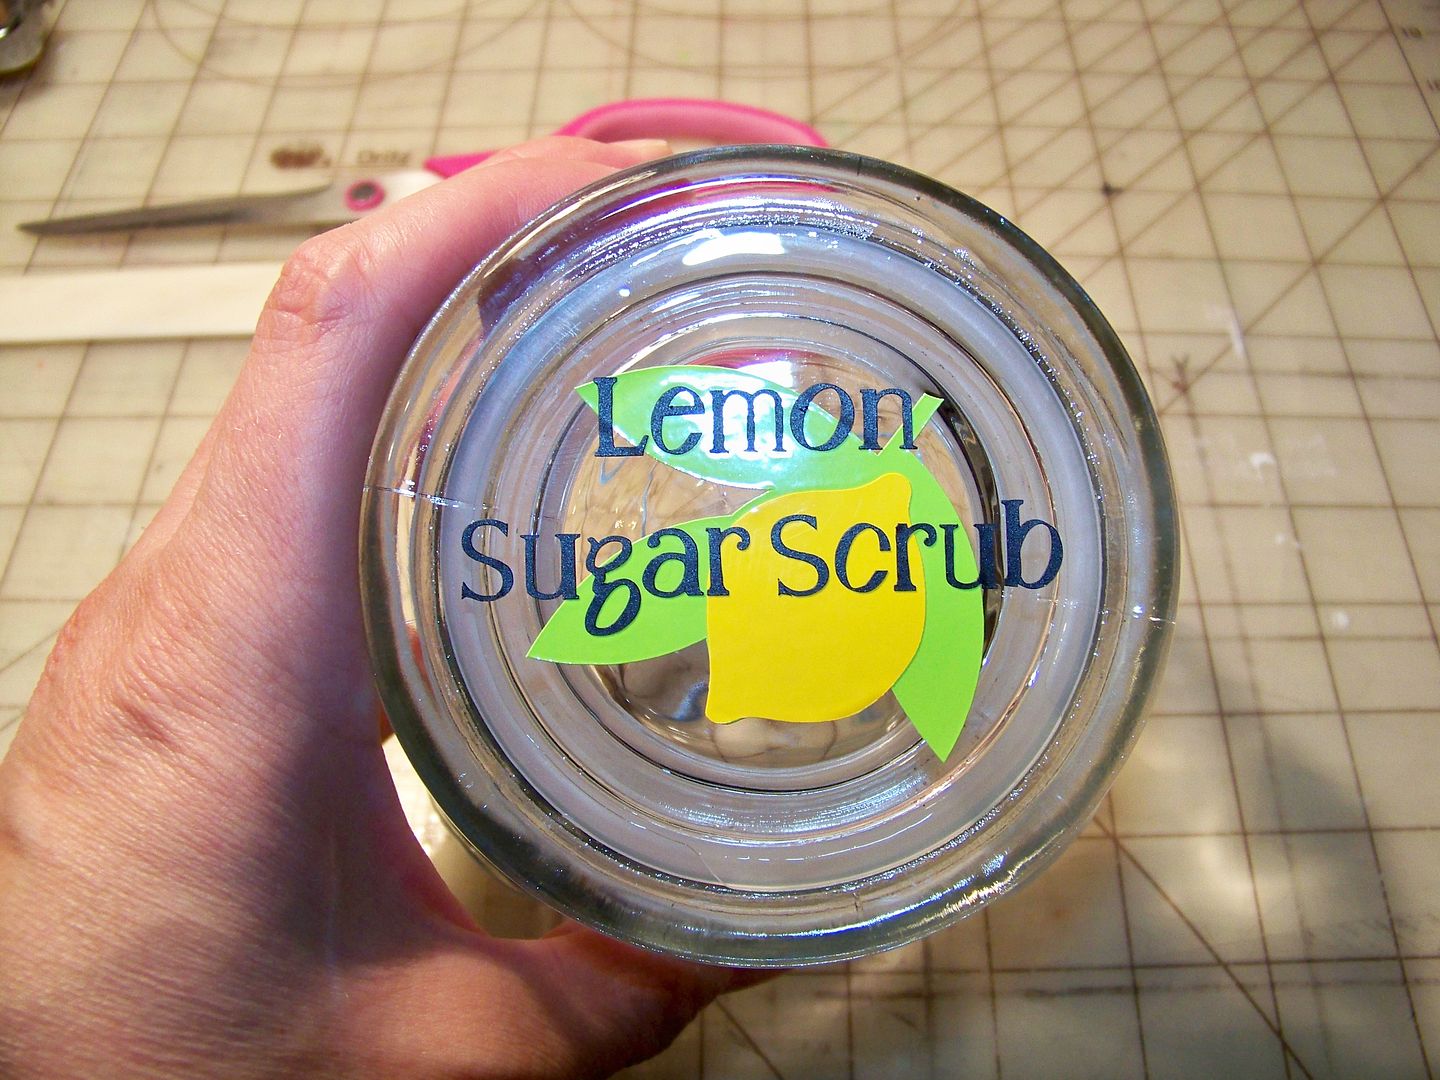
I used small scraps of vinyl and cut a decorative lid design.   


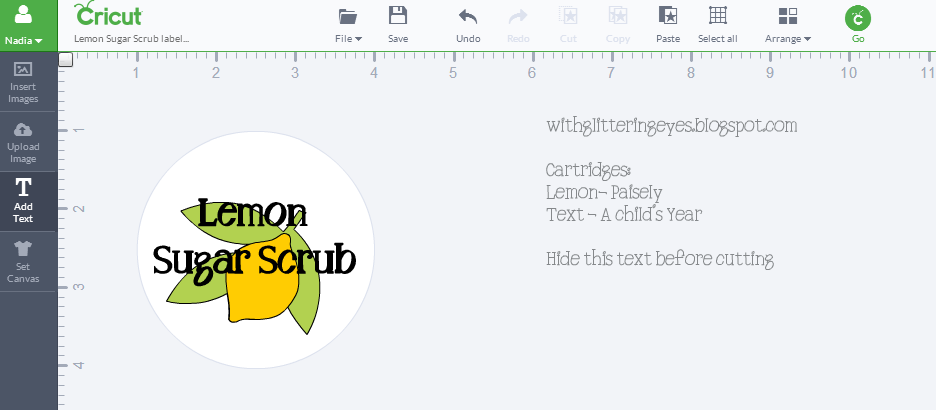
I made this on my Cricut Explore.  The design uses Paisley for the lemon motif and A Child's Year font for the text.  This is my Design Space file for this part of this project:  https://www.cricut.com/design#/canvas/project/17114410  


The small tag for this was made with  Cricut cartridge Holiday Frames and Tags (page 67, cut at 2.5"). "MOM" was cut using Cricut cartridge A Child's Year (at 1") on my Cricut Expression while my Explore was cutting vinyl.


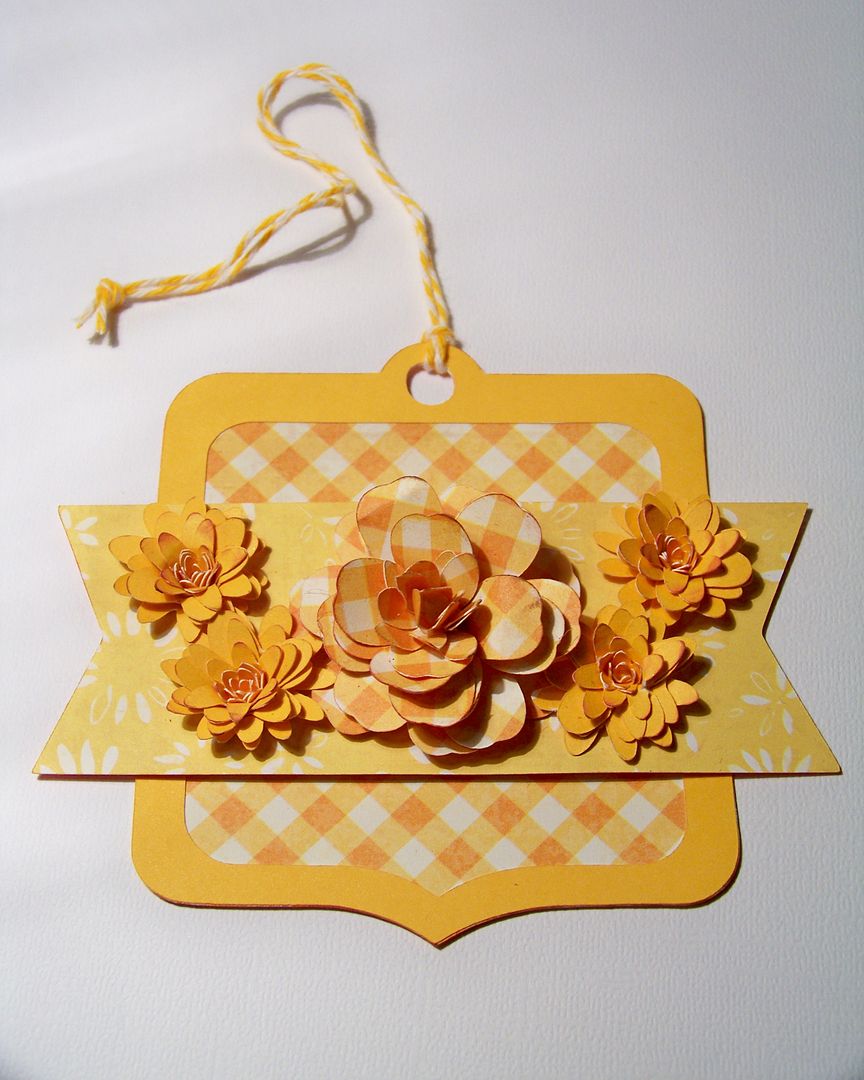
I made a tag for flowers that will also be part of this gift.


This was also made using Cricut cartridge Holiday Frames and Tags (page 67, cut at 4").  The small quilled flowers were cut from Art Philosophy at 2" (page 68).  The large gingham flower is one I learned to make when it was featured on a wreath on the old Cricut Circle Blog.  The good news:  Juliana Michaels made a construction video so you can make these too.  Here's a link to her video tutorial:  click here.    
Sizes for Juliana's rose for this tag:  
Mother's Day Bouquet key 27 cut 3 at 1" 
Mother's Day Bouquet key 8 cut 4 at 1.75"  

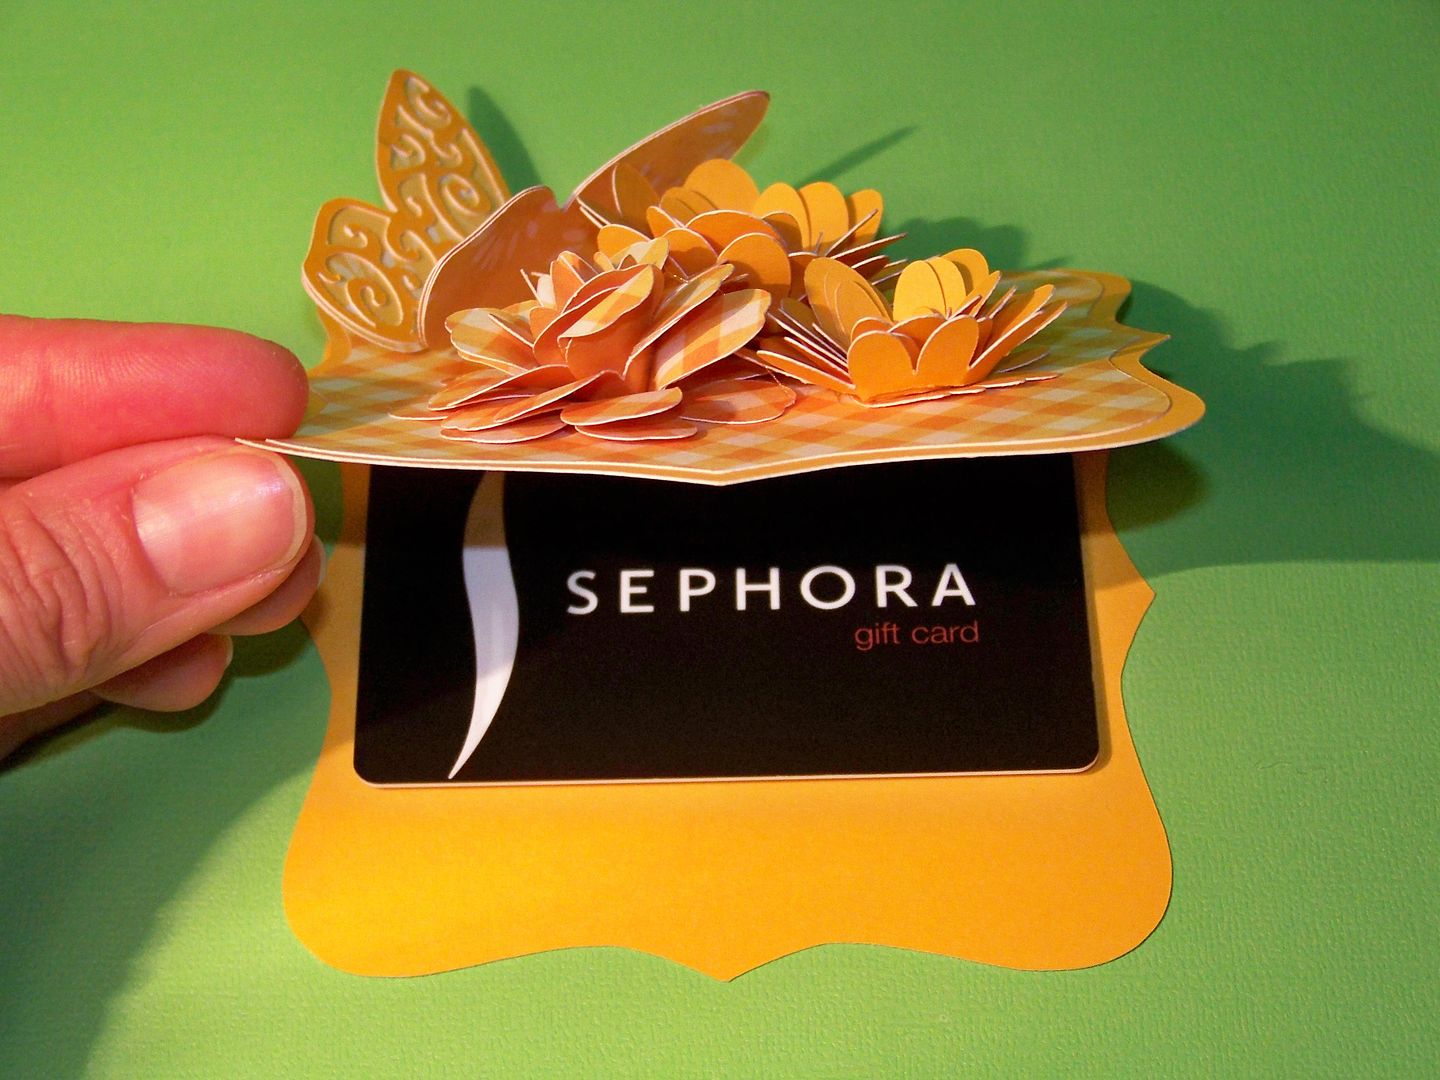
I also made a coordinating card to dress up a store gift card.  


The card base was cut from Cricut cartridge Art Philosophy (page 53 at 4").  The gingham mat was cut at 3.75".  The butterfly was cut at 2" (also from Art Philosophy, page 55).  I used the same rose from Juliana Michaels that I used on the tag above.
Sizes for Juliana's rose for this card:  
Mother's Day Bouquet key 27 cut 3 at 1.25" 
Mother's Day Bouquet key 8 cut 4 at 2.75"  


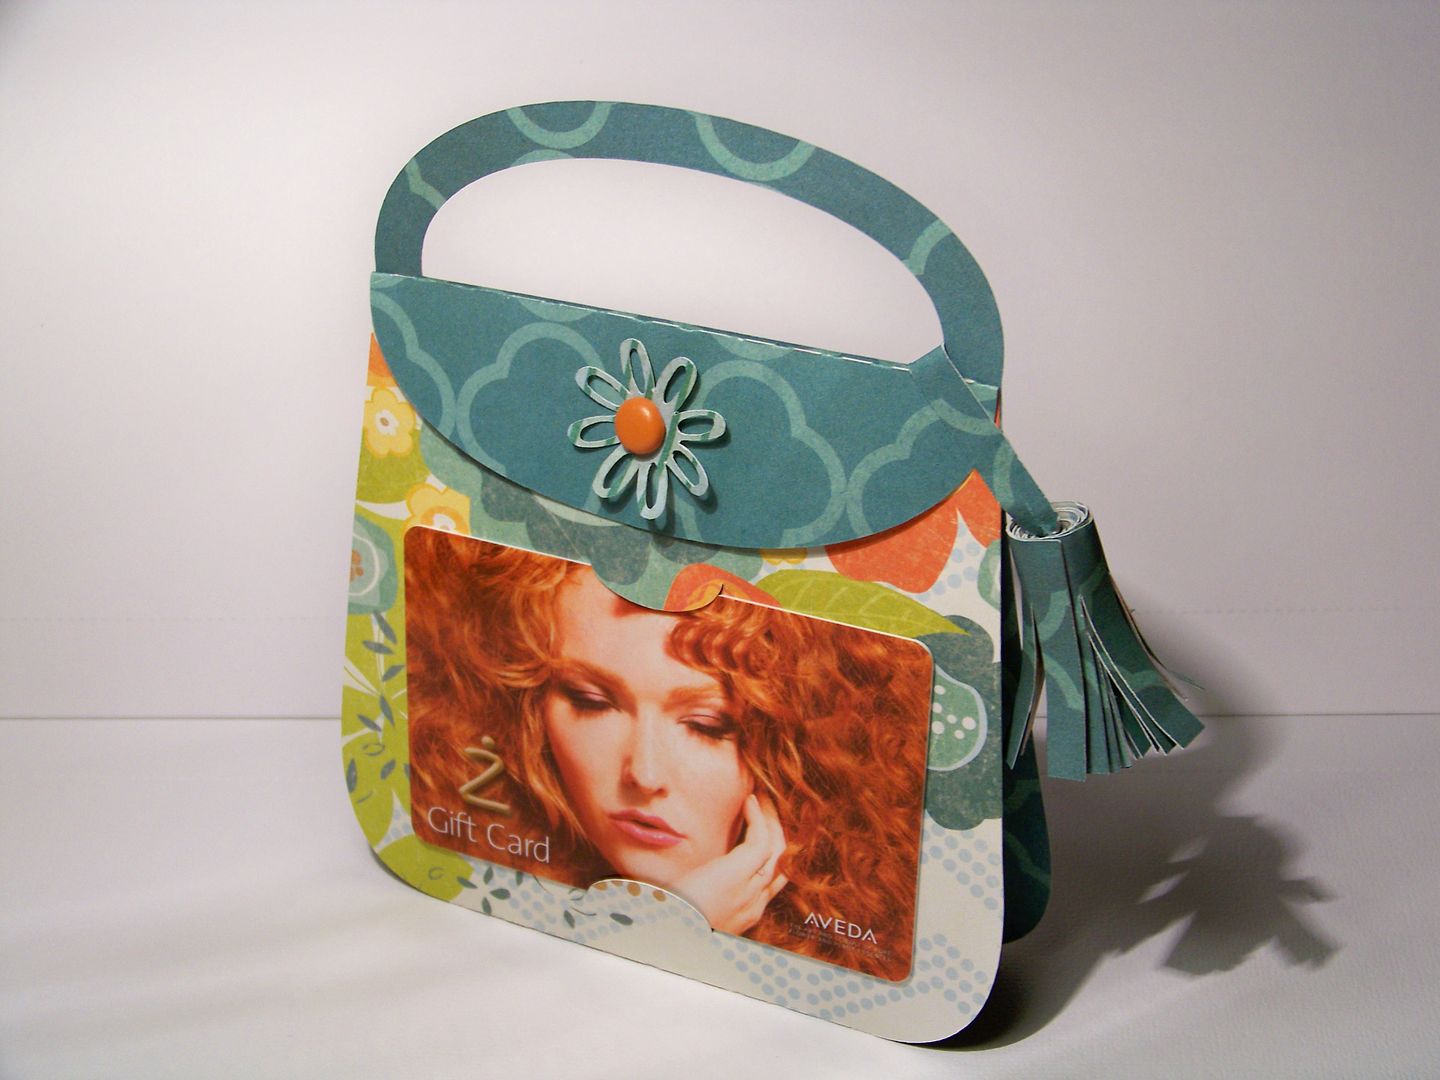
I also made a gift card holder for my mother-in-law as part of a different gift set for her.


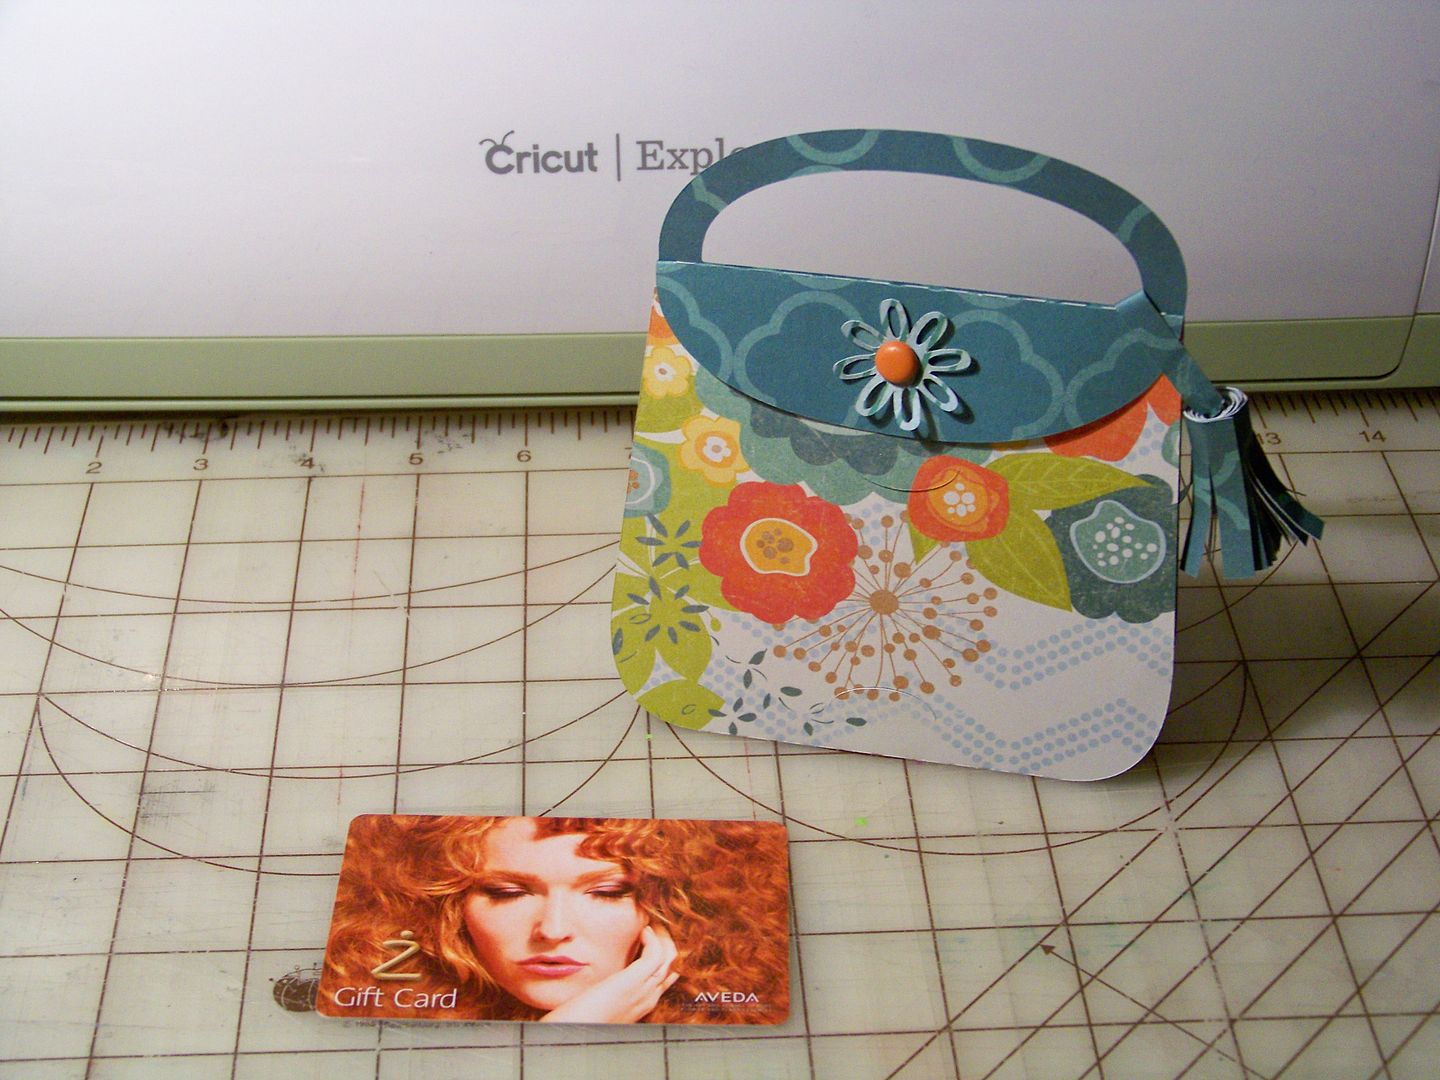
This is the easiest project ever!  The little purse is one-piece cut from SVGcuts Luxury Handbags collection. The little paper tassel is from a different purse in that same collection.  I think this is so sweet and such a pretty way to dress up a gift card!  The flower under the brad is from Mother's Day Bouquet cut at 1".  (I cut the paper tassel at 10" width, a bit smaller than the cutting menu suggests for the other purse).

I took advantage of the pattern placement when cutting the purse.


Baked goodies and a flower will accompany this gift. She is not a crafter and hand-made stuff is not her thing, but she is a wonderful person and Mom and I always invite her to our Mother's Day lunches and brunches!  (I love that they get along so well!  They usually also exchange Mother's Day gifts with one another.  Of course, my mom gives my kiddo a Mother's Day gift because she says she is the mother of her dolls.)

And... We also have a contest winner for the $25 Michael's Gift Card from my Circle NSD post (previous post on this blog).  

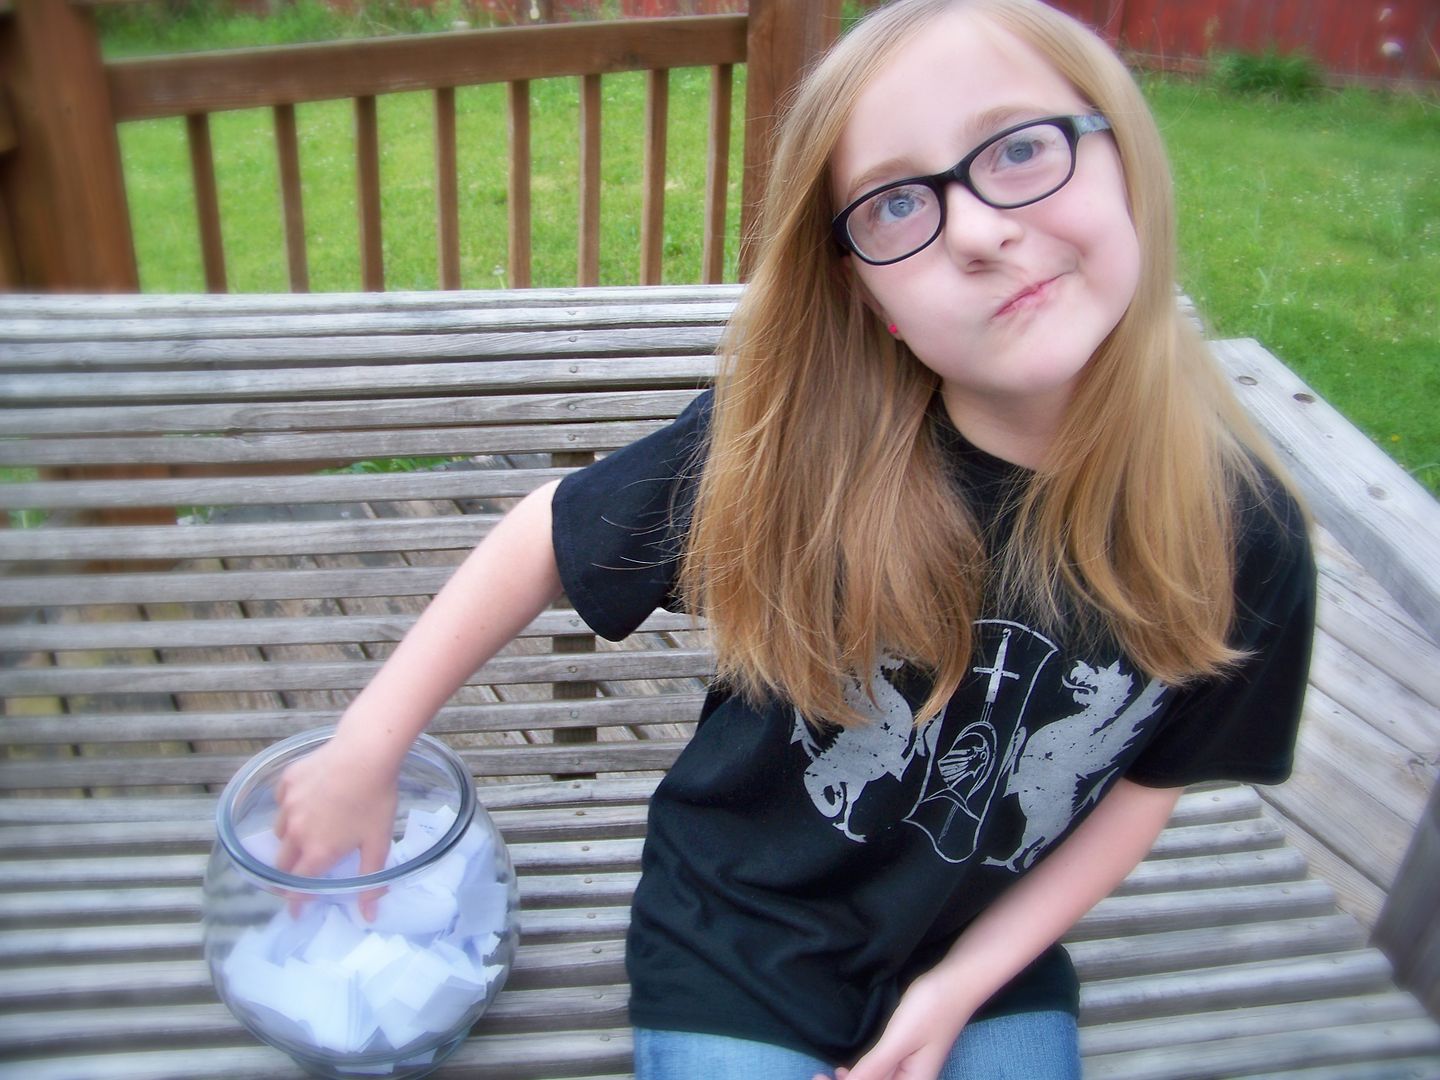
This is my lovely assistant, Piper. 


And she has drawn out a name.....


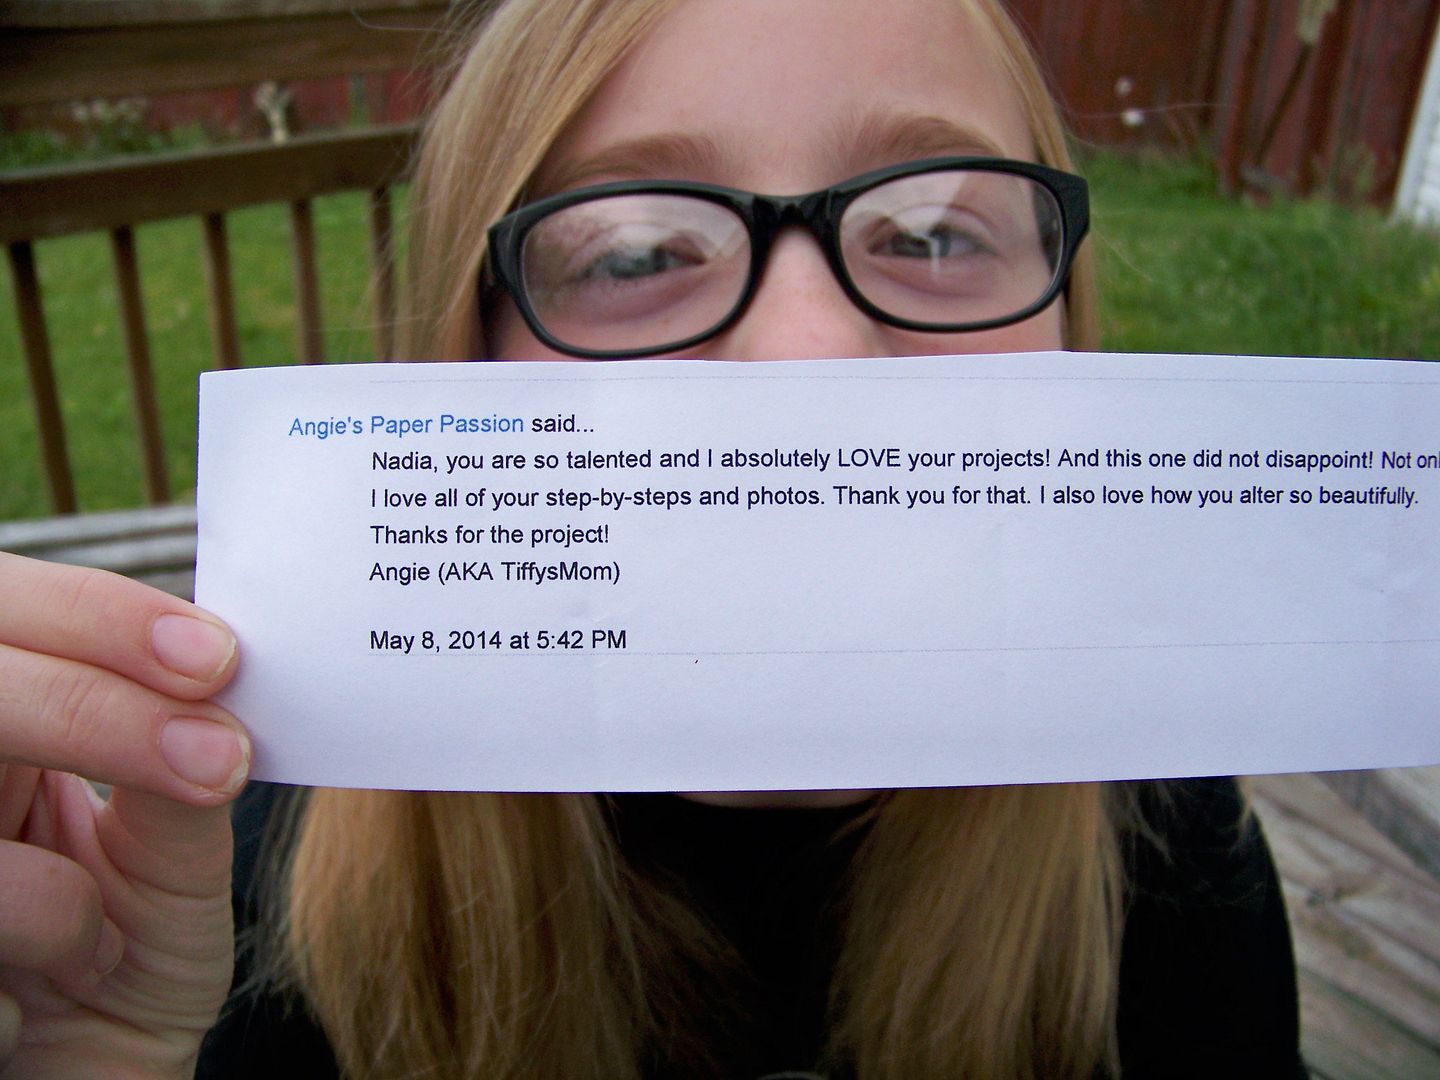
And the Winner is....

Angie (AKA TiffysMom AKA Angie's Paper Passion)


Congrats to you, Angie!  Contact me so I can mail your gift card!

Thank you for checking my blog post today!  To see many of my previous projects, check out My Project Gallery!

But wait! There's more! Click 'older posts' above!

But wait!  There's more!  Click 'older posts' above!