
My daughter, Piper, is nine this Christmas and, for the first time really, she expressed concern that she wanted to give everyone something nice for Christmas but couldn't afford to do so. When she was little, she was known to draw pictures to give away to her grandparents and cousins, but this year, she was a little upset that she had spent her summer earnings and didn't know how to come up with real gifts that were special and just from her.
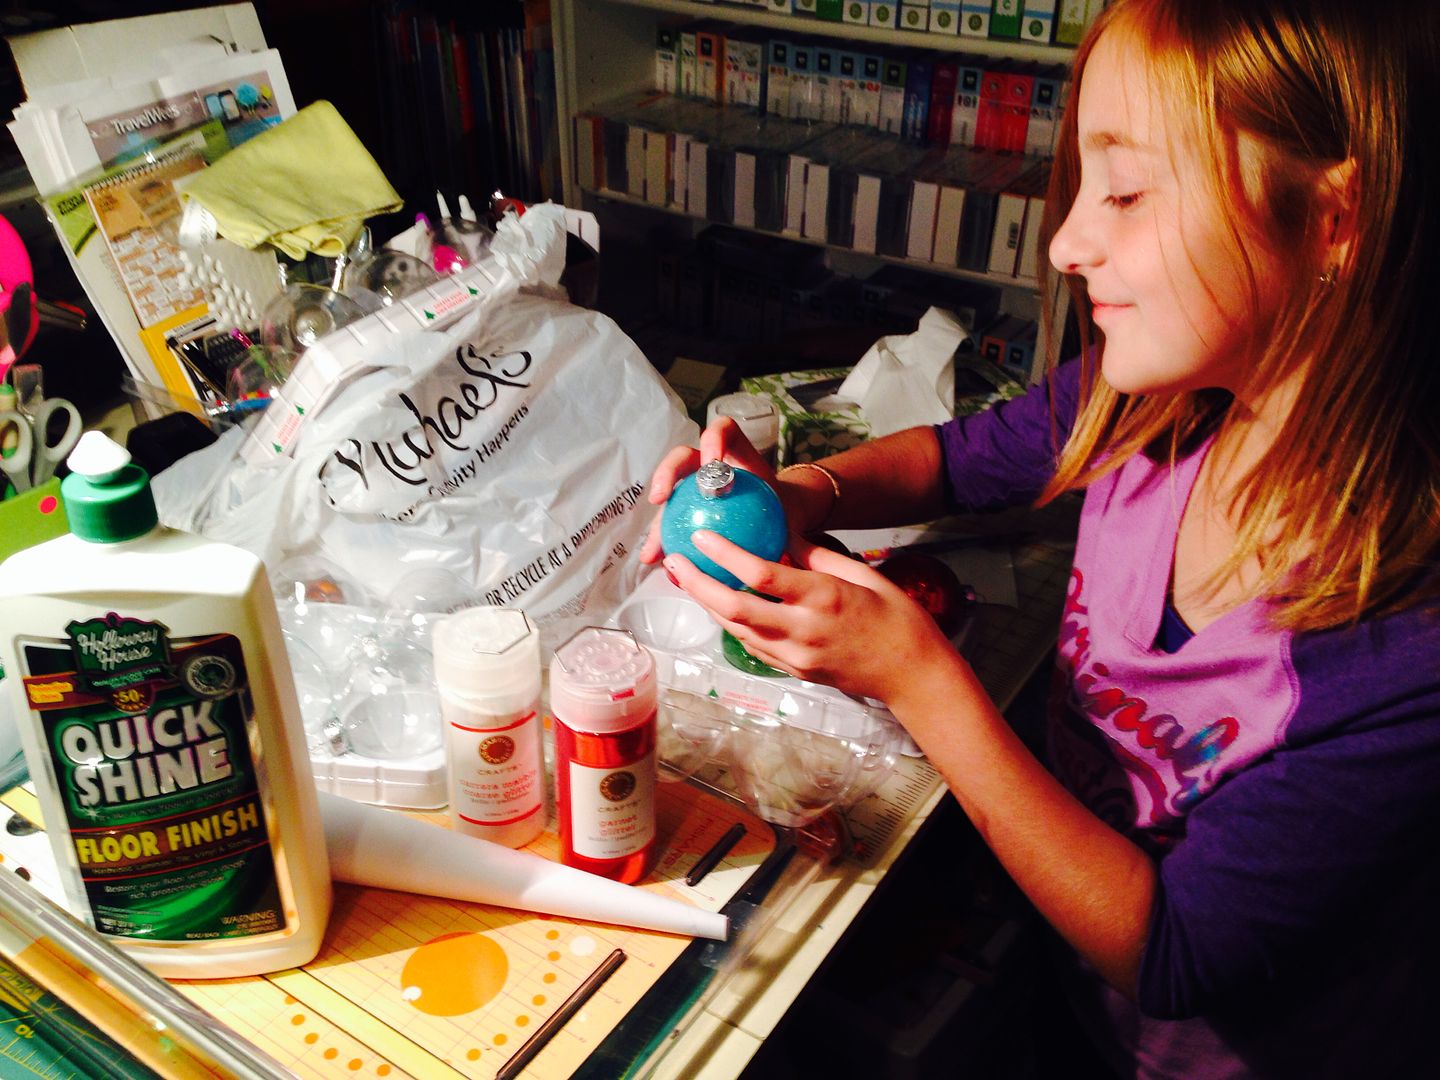
The obvious solution to any crafter is to make gifts, so I showed her how to make glitter globe ornaments. Heck, I have been storing tons of clear, glass ornaments since I bought them 70% off at Michael's a couple of years ago. I welcomed a way to move those out of my crafty space! If you have never made these with your kids, I will tell you it is a great project. No drying time for the glitter since the mess is inside and, if you have a Cricut and Sweet Tooth Boxes, you also have the perfect way to protect and wrap them!
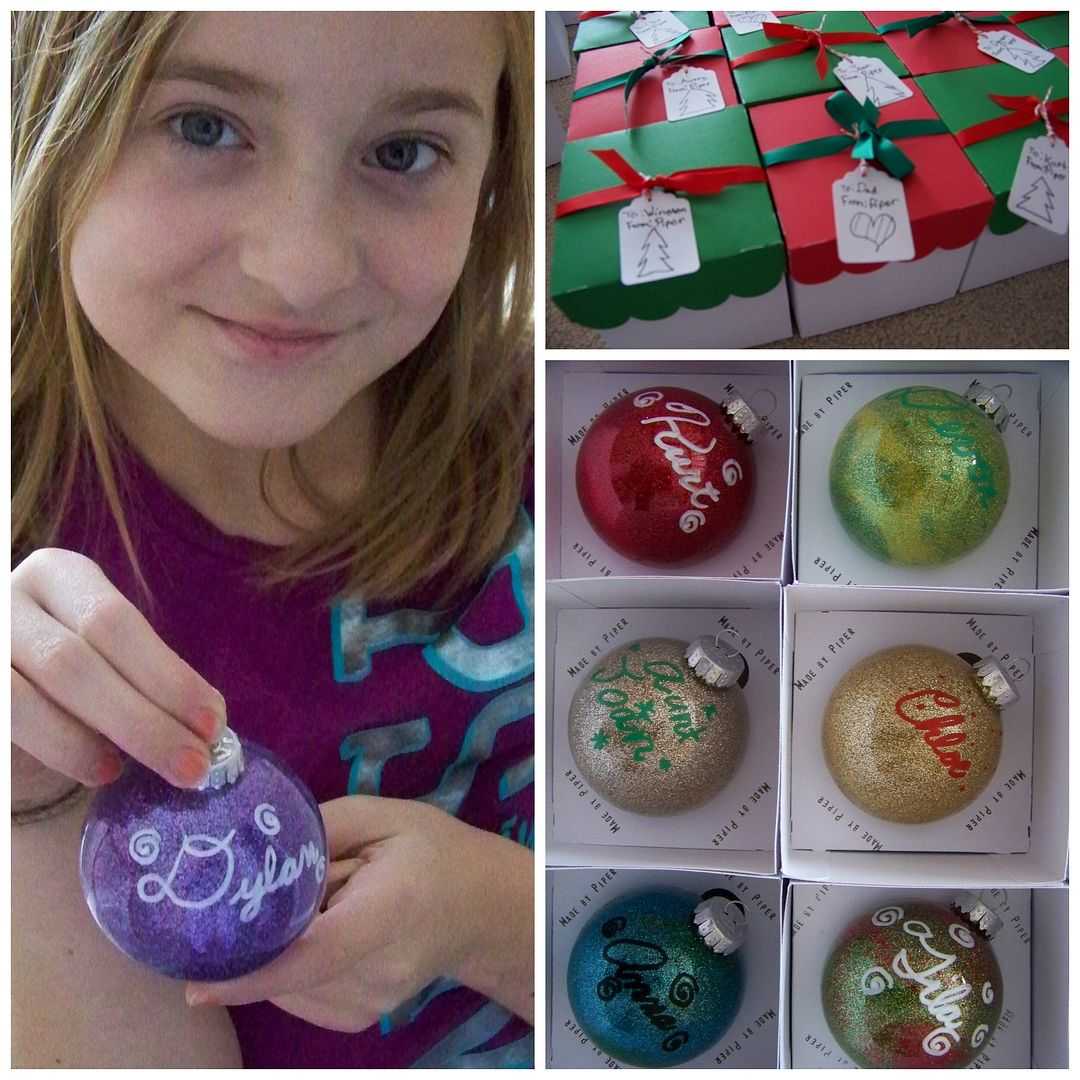
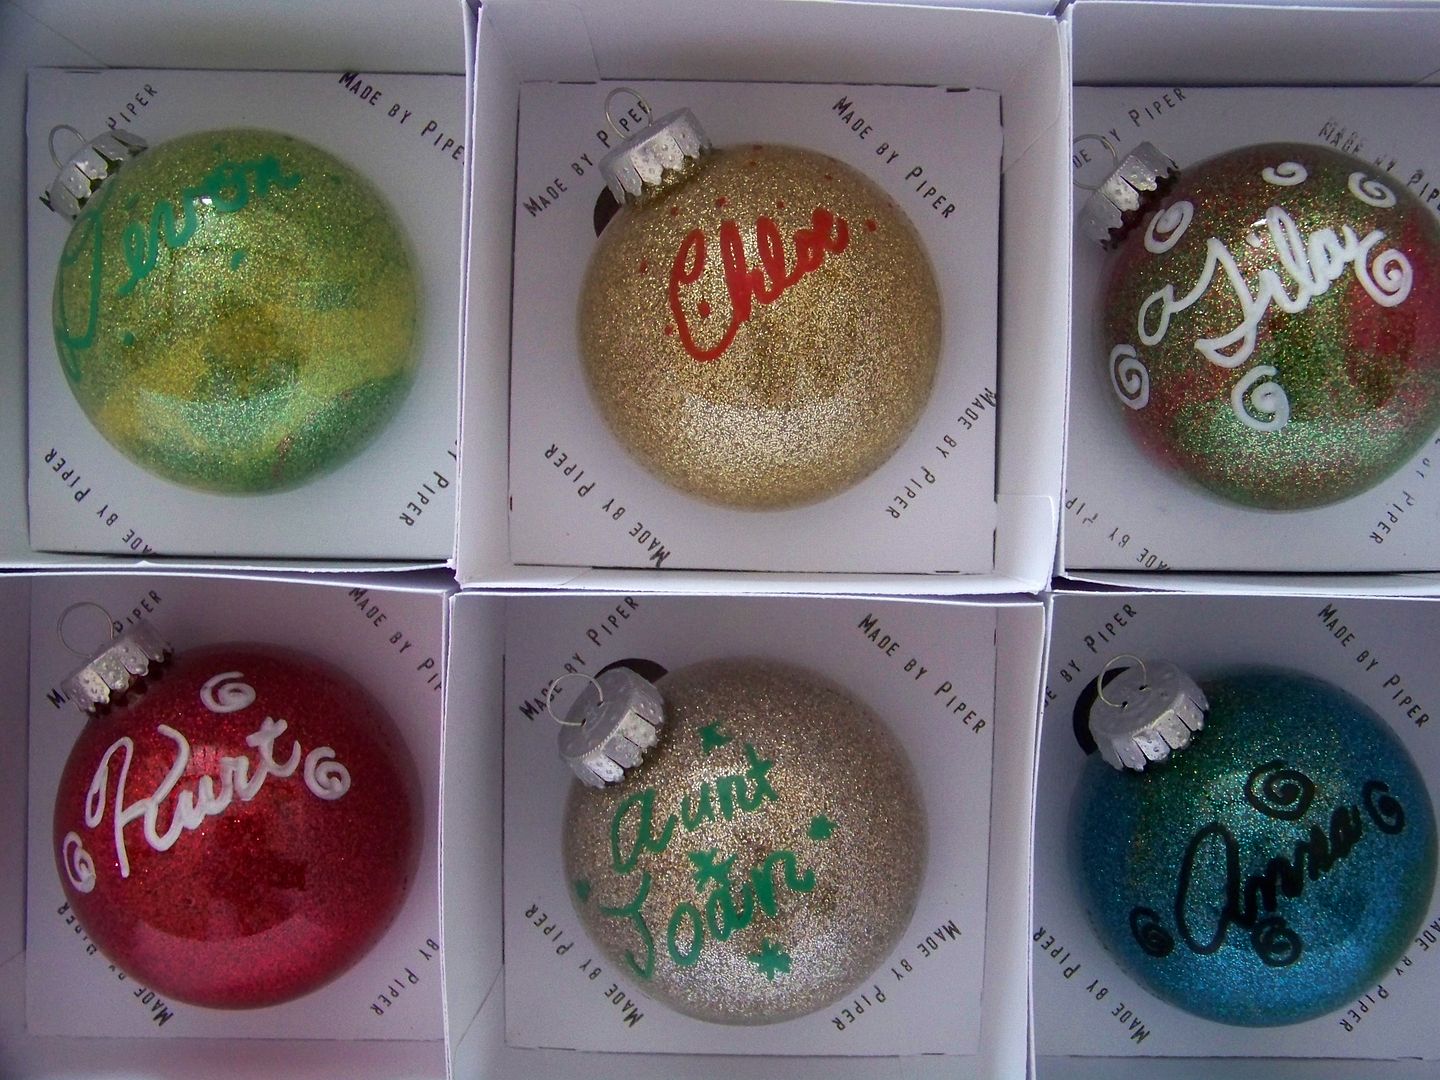
The funny thing is that last year, her teacher tried to do this craft with the class but missed the detail about the glitter going INSIDE the glass globe. It was a dangerous mess with elementary school students trying to apply Elmer's glue, glitter, and stickers to the outside of fragile glass. Bloody, cut hands, broken ornaments, and not one successful ornament in a class of 12. (There were several crafty moms available last year; still not sure why none of us was called to help!) Piper was thrilled to learn the correct way to do this project and we both thought they really looked special! She personalized them with paint pens and (with a little mom-help) made boxes to present them in.
She was pretty proud of herself! She just finished the last of them today. She told me, after the experience with her class last year, that she should present a tutorial on the correct way to do this... (Honestly, that cracked me up and really emphasized what a disaster it was with her poor teacher last year!)
Piper's Ornament Tutorial
You will need:
- Clear, glass ornaments. You don't want the plastic kind that pull apart in halves; you need continuous glass globes with metal tops that pull off.
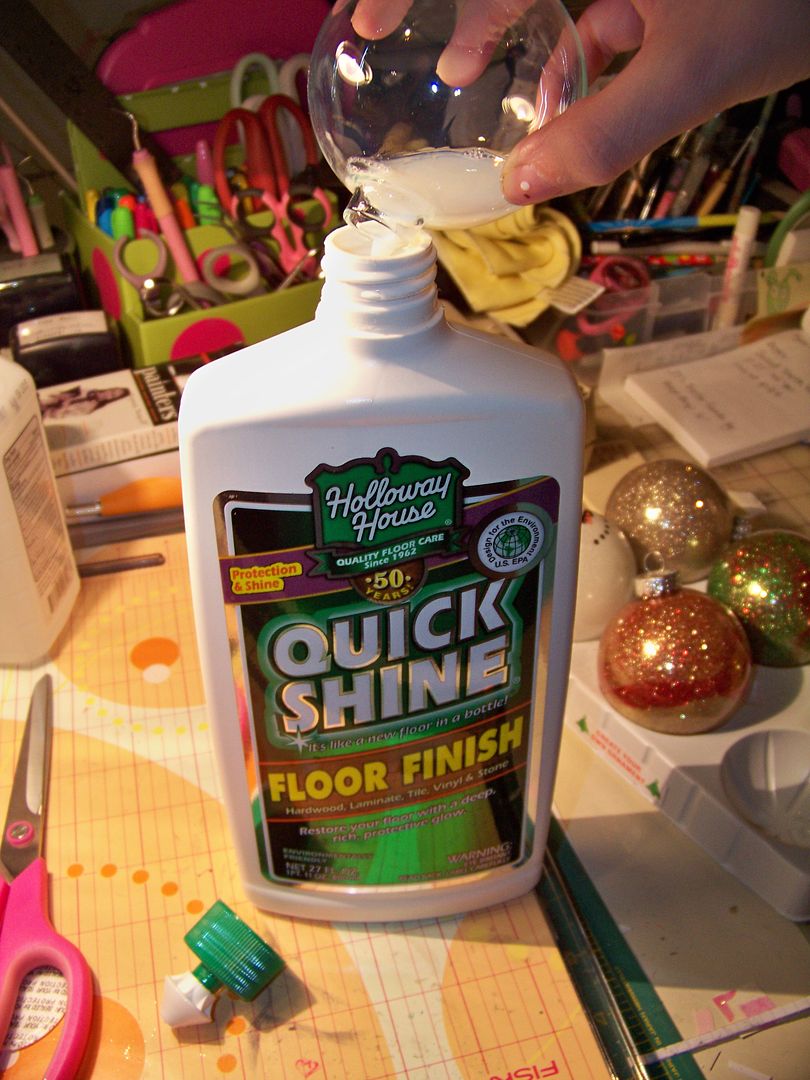
- Floor wax (I found Holloway House Quick Shine Floor Finish at Walmart).
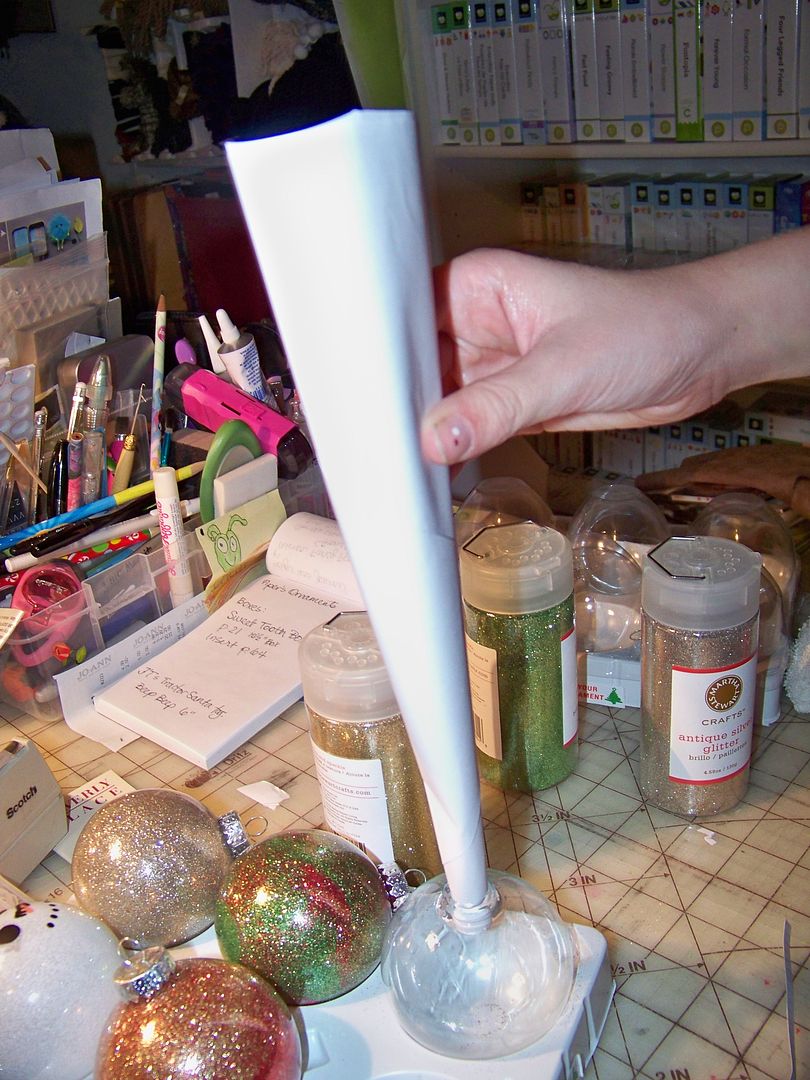
- Funnel (we made a paper one) to help the glitter neatly get inside the globes.
- Glitter (I keep Martha Stewart glitter on hand, but any kind of fine or super-fine glitter will work. We also found that darker colors and highly reflective or metallics work best for complete coverage.)
- Isopropyl Alcohol (rubbing alcohol) and paper towels.
- Damp rag for sticky fingers and floor wax drips.
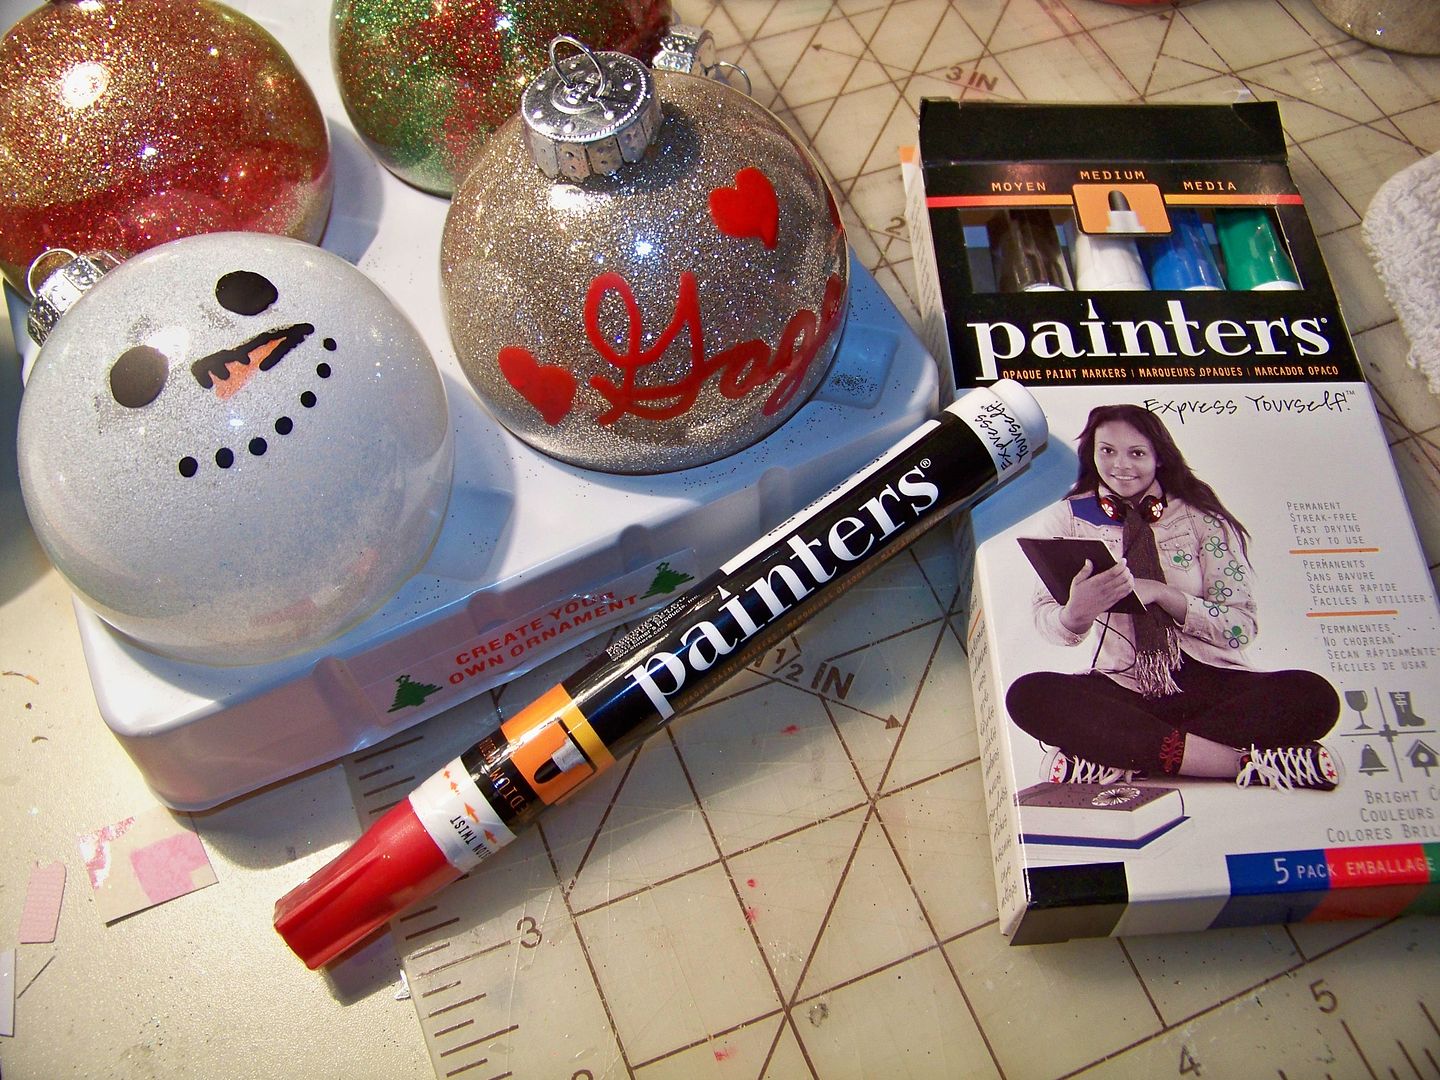
- Painters Opaque Paint Markers (I found these at Walmart. They are made for writing on glass and were about $10 for a pack that included white, black, blue, red, and green. These made it possible for Piper to personalize the ornaments super fast and mistakes can be wiped off easily when wet or rubbed off with alcohol if dry).
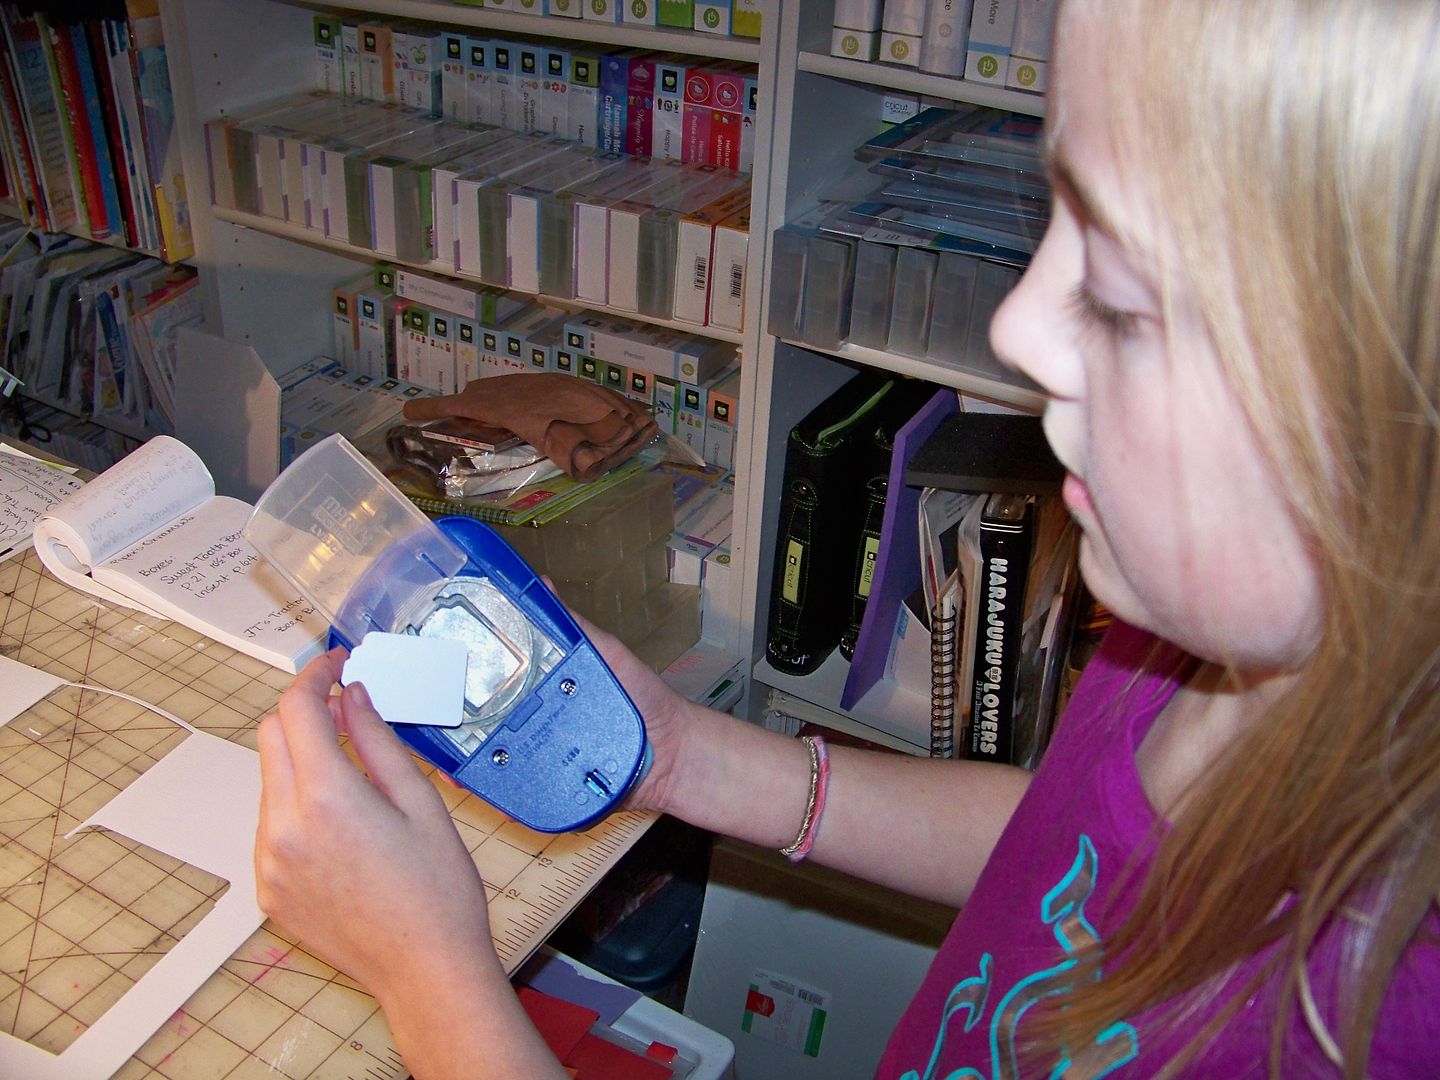
- Sweet Tooth Boxes, card stock and ribbon for wrapping. We used a punch to make the tags.
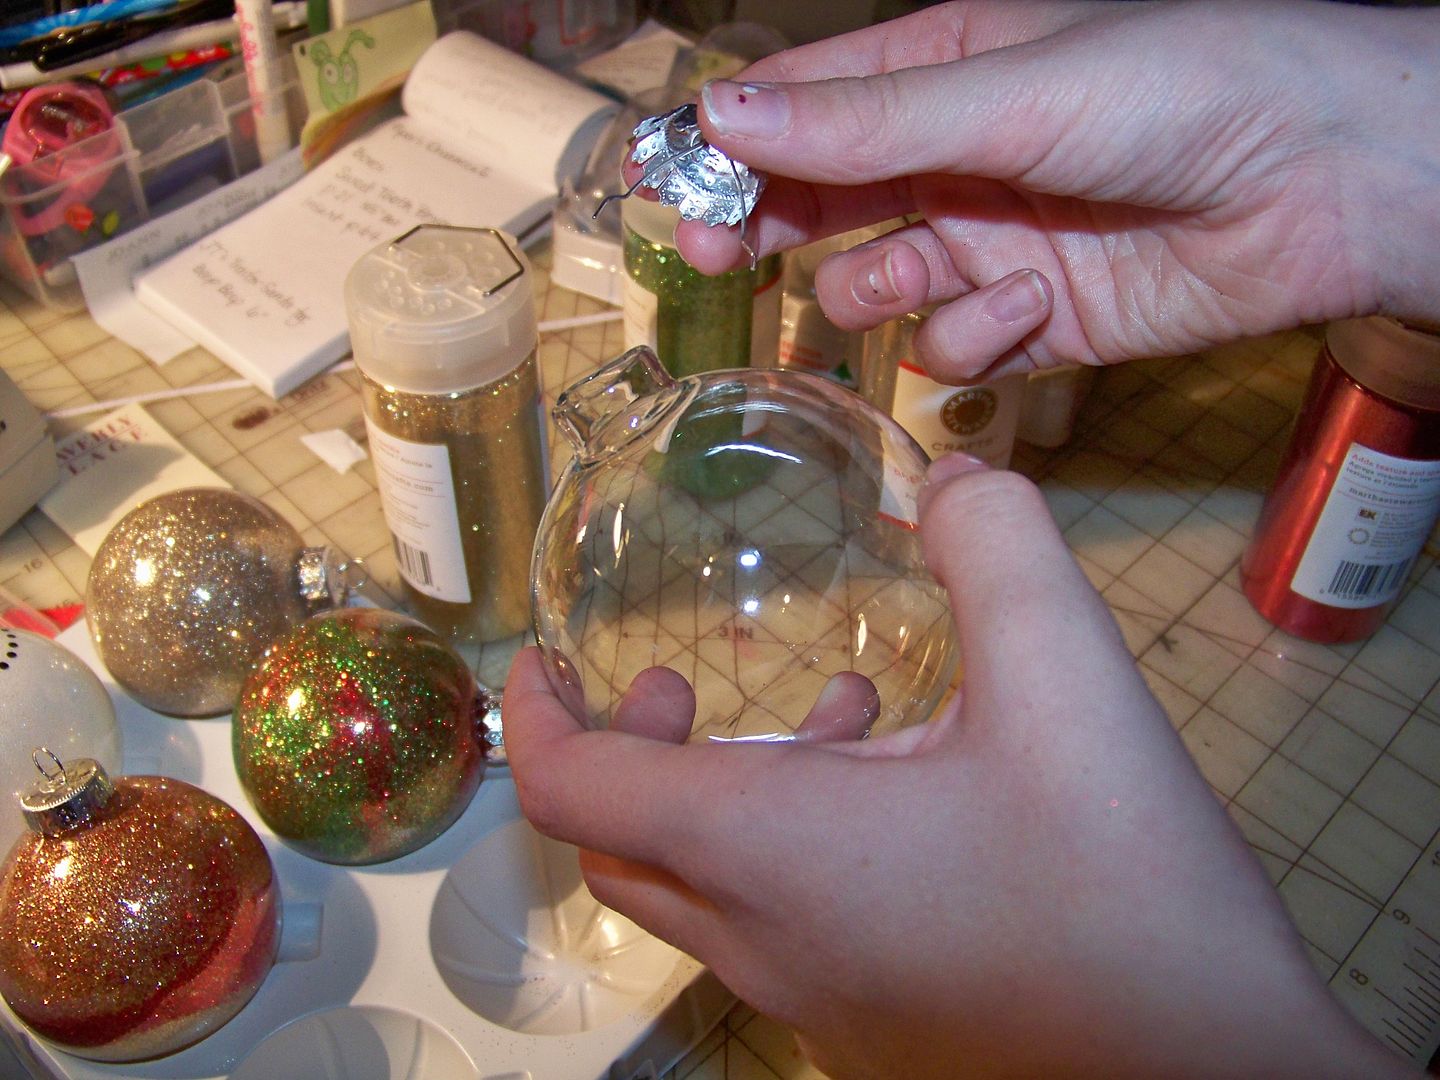
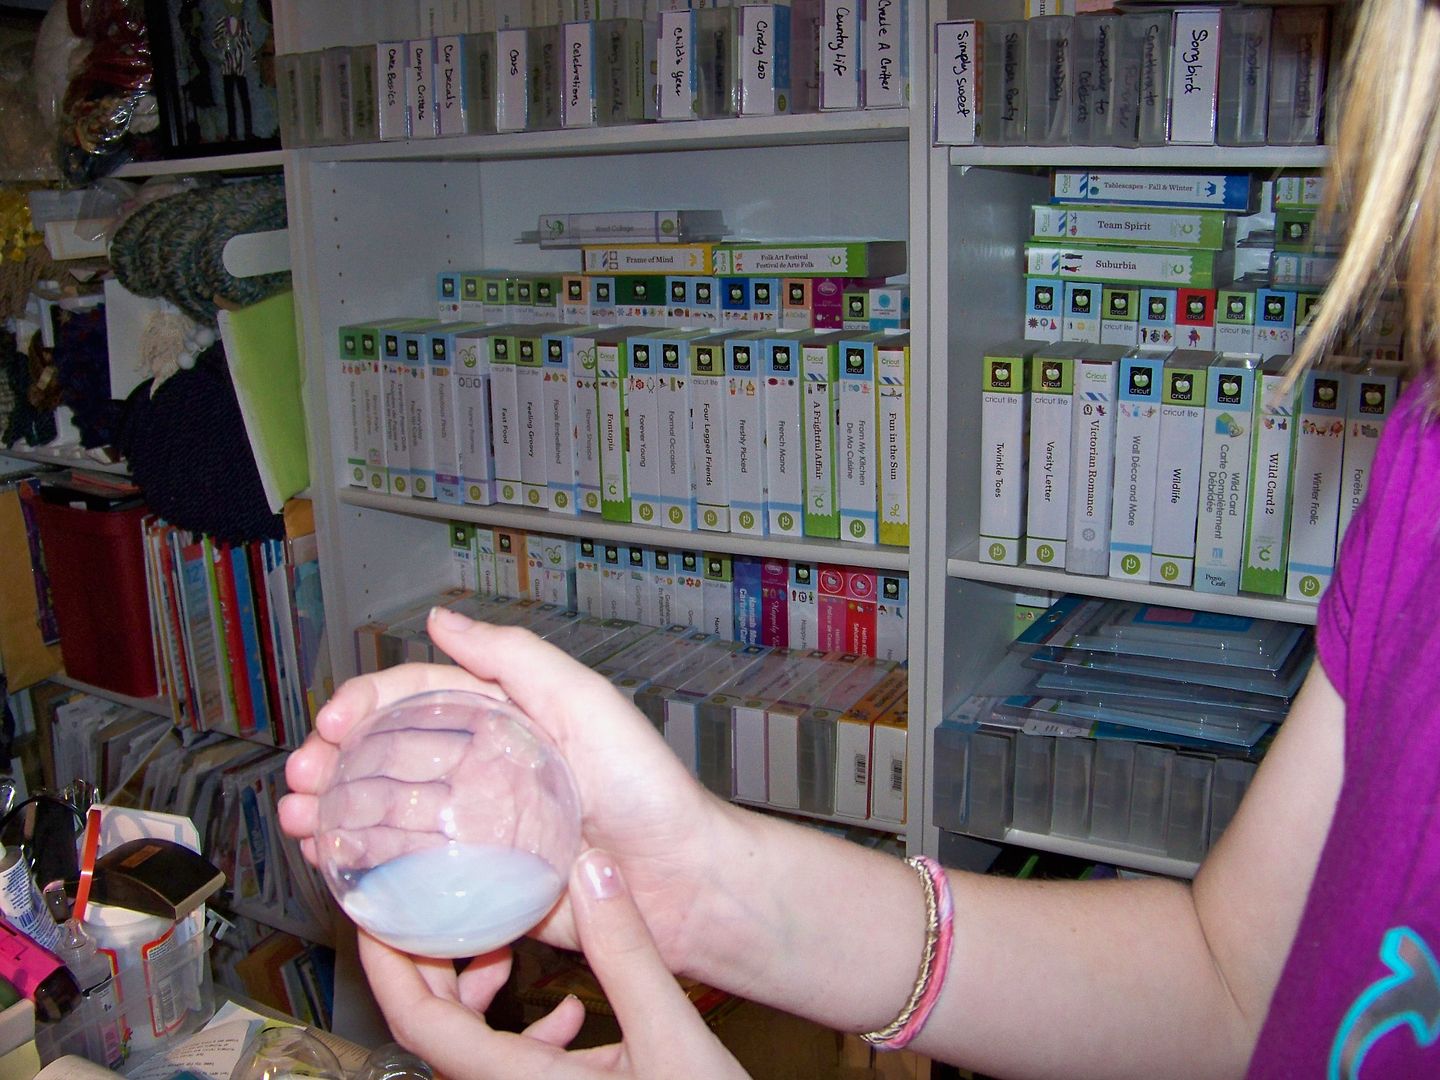
Pull the tops off your glass ornaments.
Pour in a little floor wax and swish it inside gently (to prevent bubbles from forming), covering the hole with your hand.
Pour the excess floor wax back in the bottle.
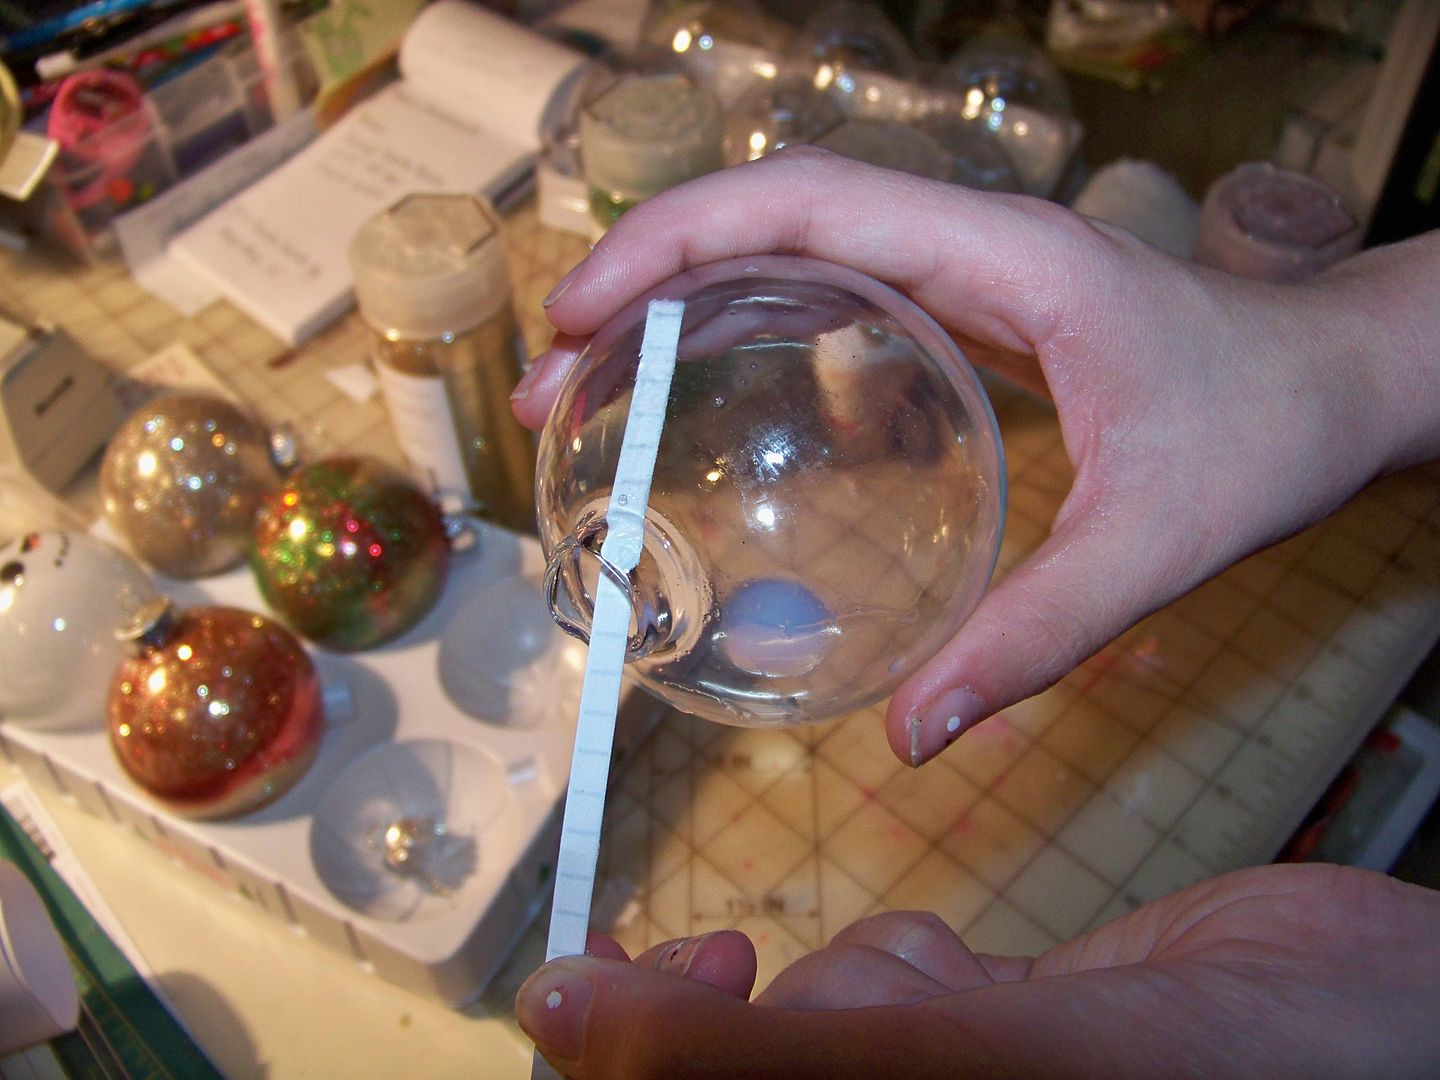
If you created bubbles, you can stick a skinny piece of paper in the hole to pop them.
Using a funnel, pour glitter in the ornaments.
Use your hand to cover the hole. Turn the glitter in the globe to coat the entire inside.

If you mix multiple colors of glitter, dump excess in the trash, otherwise you can reclaim any excess glitter back in the bottles. Resist the urge to keep the glitter in the globes. If you do, Piper says you will get the nickname Glitter Bomber. Just so you know!

Put the tops on the ornaments. Clean the outside of the ornaments with rubbing alcohol and paper towels to remove oils from your fingers and any glitter or wax. This step will ensure that your paint from the paint markers will adhere. If you miss a spot and the paint seems to act like it is over a resist, simply wipe it off and clean the glass with the alcohol again. (Piper says, you know, do a better job of it this time... not that we had that problem or anything.)

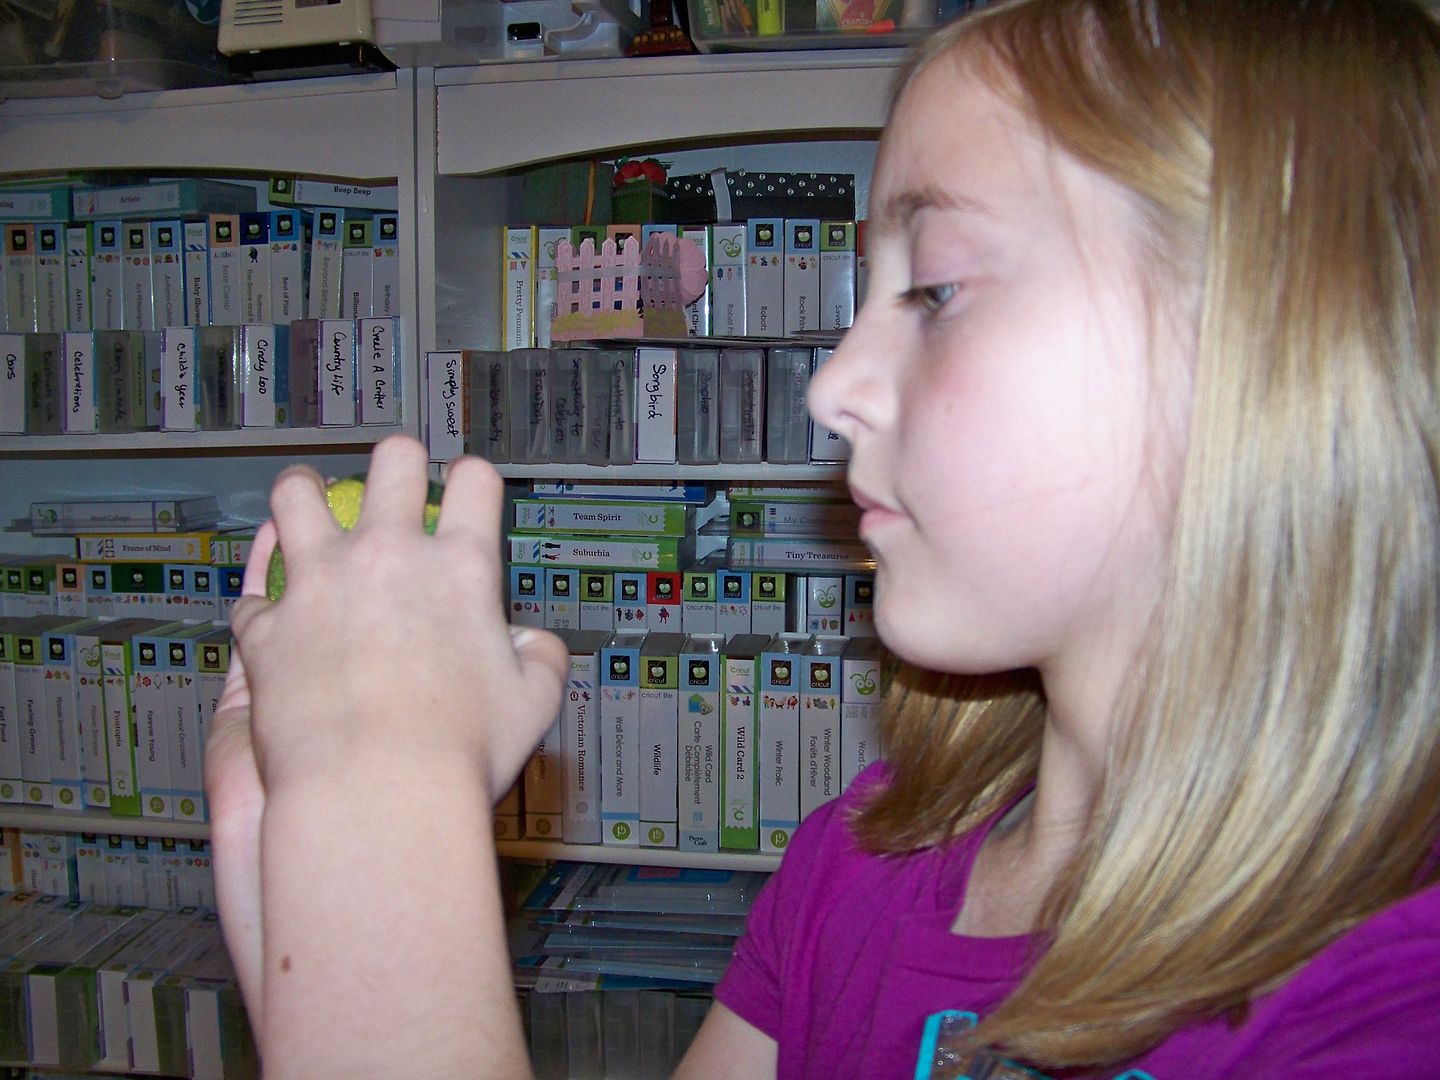
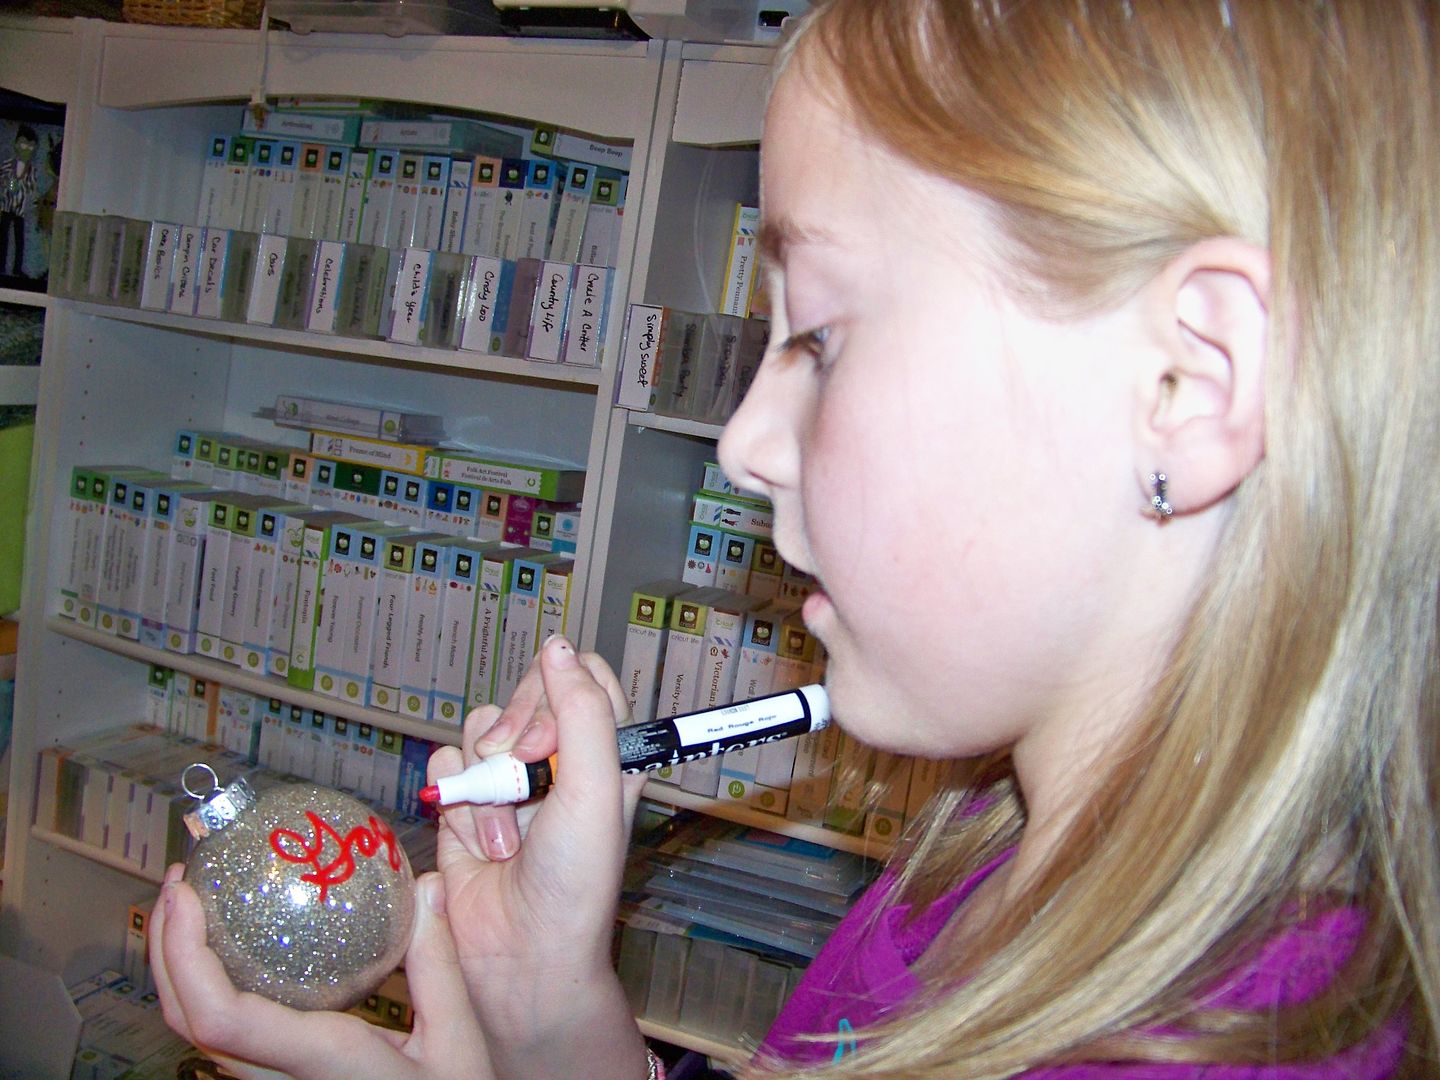
Use Painters Markers to personalize the ornaments. I considered letting her personalize them with vinyl and the Cricut, but applying vinyl on a round form can be tricky and this was so much easier for her! I wanted her to be able to do as much of this project herself since these were her gifts.
Piper loved the way that cursive looked on these and also started asking me which font she should write in. She was getting pretty fancy with it. I made a snowman with the white one-- white doesn't really do well but if you cover it up with paint, it looks okay. Ha!
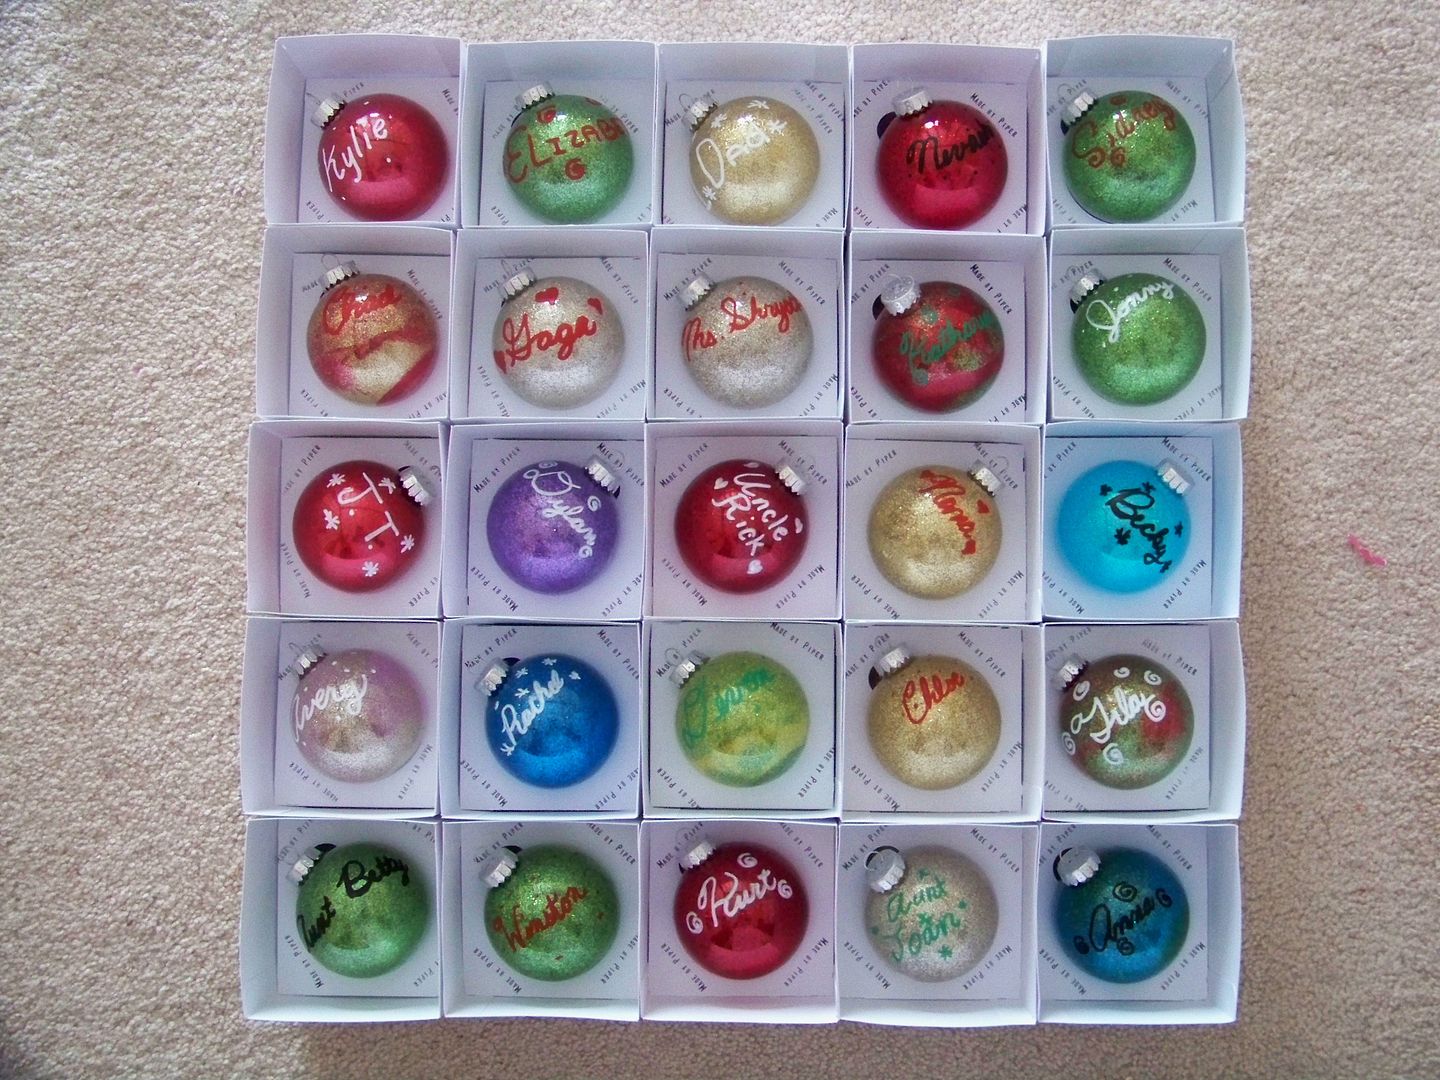
I had one of those stamps that you can customize with movable letters to make the "Made by Piper" that she stamped on the inserts while they were flat. It is important to her that her recipients know that she made them!
Piper made her tags using a punch and drew on them to make them special.
Not making bows, but rather simple knots, made it easy!


Piper's gifts are under the tree and ready for school parties, playdates, and family Christmas gift exchanges! So proud of her and so happy that she appreciates the joy of giving!
Thank you for visiting my blog. My shopping and wrapping are complete as well so I am getting to journal and craft this month! I have a felt-mouse-making factory going on here right now! Hoping to share some of those soon! What are you working on this week?
6 comments:
Piper~ You did an awesome job!
Love that you make your own gifts and impressed with your tutorial!
(Be sure to thank your assistant)
Piper- your ornaments look fantastic. Thanks so much for the tutorial.
wow these are awesome!!!
Oh my goodness!
I really appreciate this tutorial, Piper. Your directions are very clear and I love the helpful hints you provided too. Your gifts are exceptionally lovely and I know all of your friends will be so excited to get one! You totally rocked it!!!!
Great job Piper!! Your friends/family will love them! One question though...don't you have to let the floor wax dry on the inside after you put the glitter in?
Well, since she painted the outsides of them, she had to let them dry so I am guessing the floor wax dried then too. Then the boxes we made had an insert that held them upright so I supposed if they weren't dry before, they dried in the boxes? LOL! Either way, it seems to have worked.
Post a Comment