Tuesday, June 12, 2012

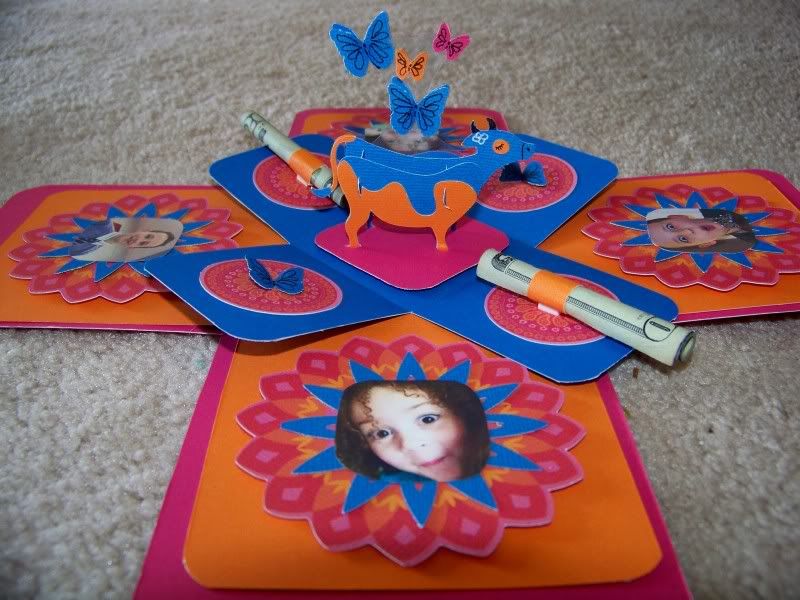
Cash Cow Exploding Gift Box

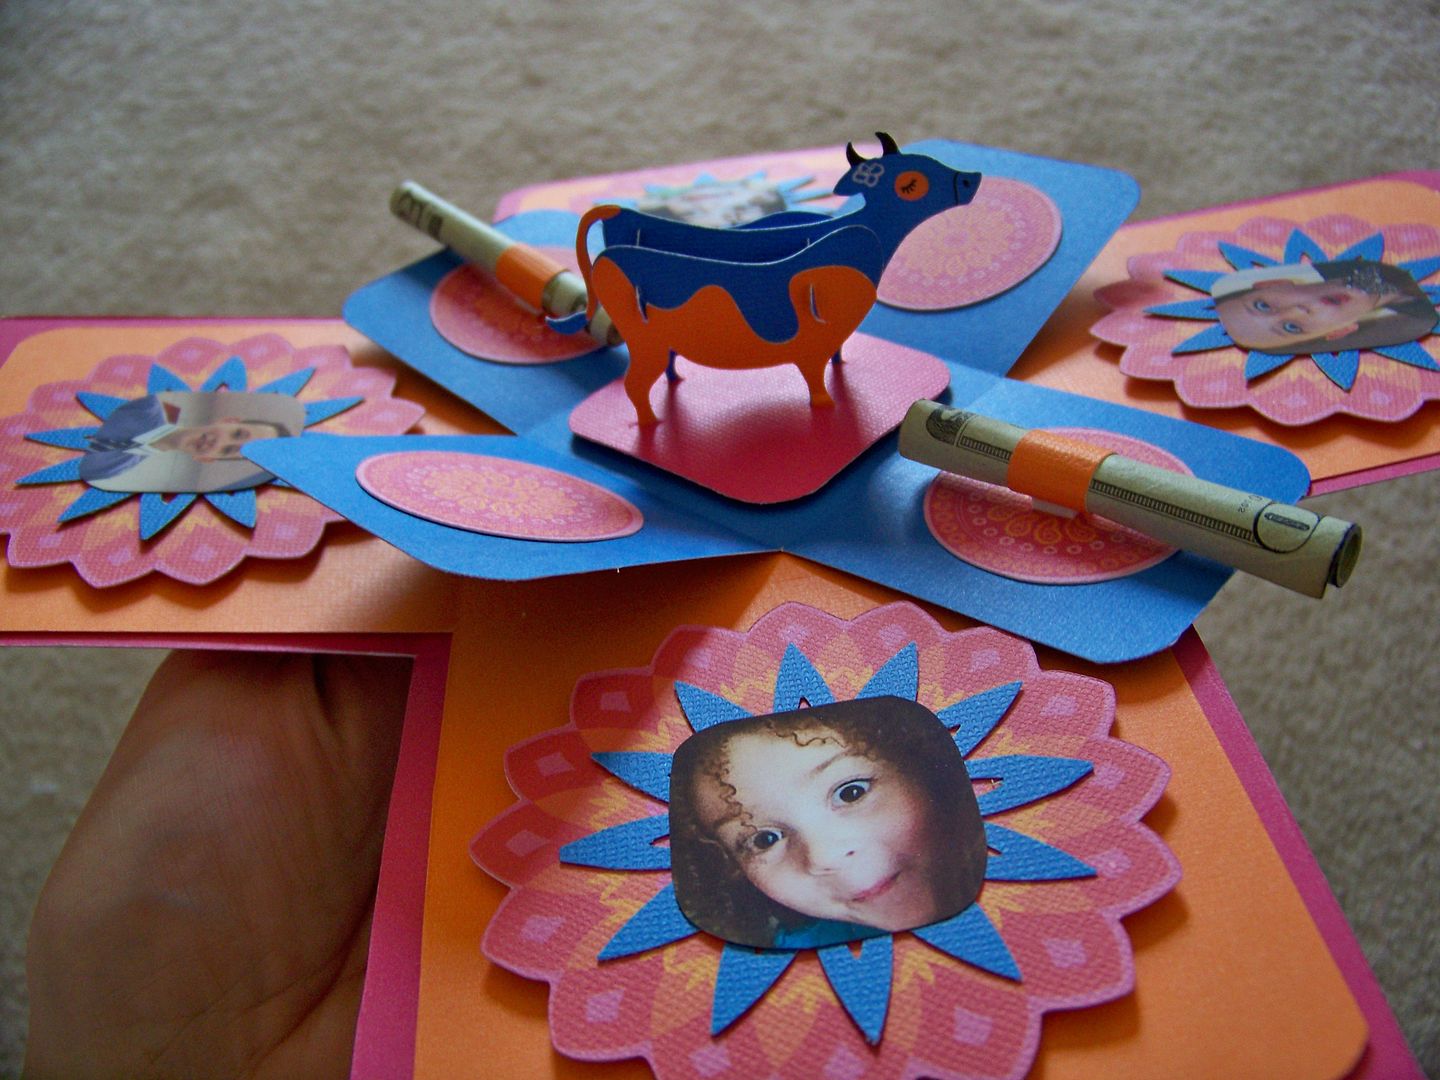
My sister, Tila, has asked for cash in lieu of gifts or even a birthday luncheon this year.  I wanted a fun way to present it.  I decided on an exploding box!


I let the crafty Renee choose my colors for me.  She is hostessing a color challenge this week on her blog, I Came, I Saw, I Created.  You can see it by clicking here!  (I cheated ever-so-slightly by also using some prints with it from All Wrapped up that added a bit of red and yellow, but the majority of colors on my project used her blue-pink-orange combo!)


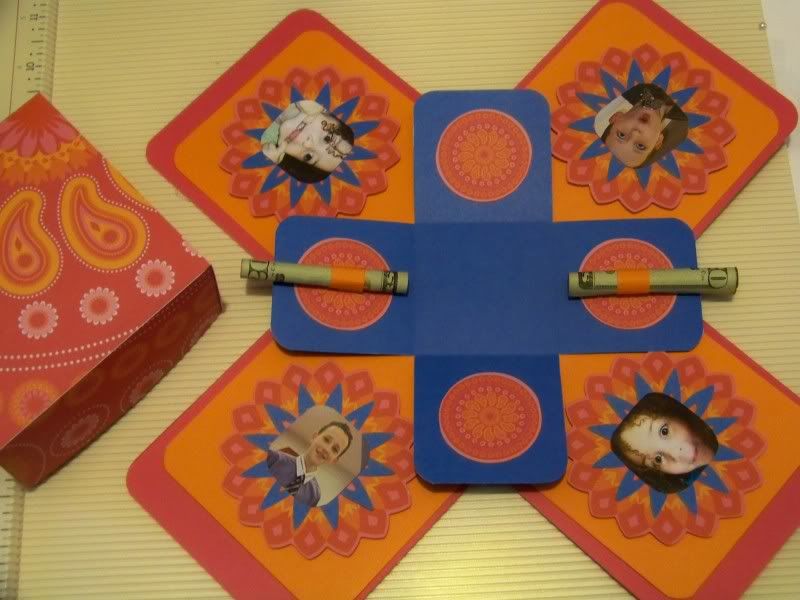
I have never made an exploding box before, but I had the idea of a tiny 'cash cow' inside with the money.  I set out to learn how to make this kind of box and found a great little tutorial on Enfy's blog, Going Buggy. You can see it by clicking here!  I followed Enfy's instructions on the box except for inner-most layer.  I wanted that layer to be diagonal so I sized it to be a 2-1/4" diamond base that would be adhered to the square bases.  For that layer, I started with a 6-3/4" square, scoring at 2-1/4" increments and cutting out the corner squares like the others.  For the lid, I cut an 8" square from All Wrapped Up and followed the directions from her tutorial to put it together.


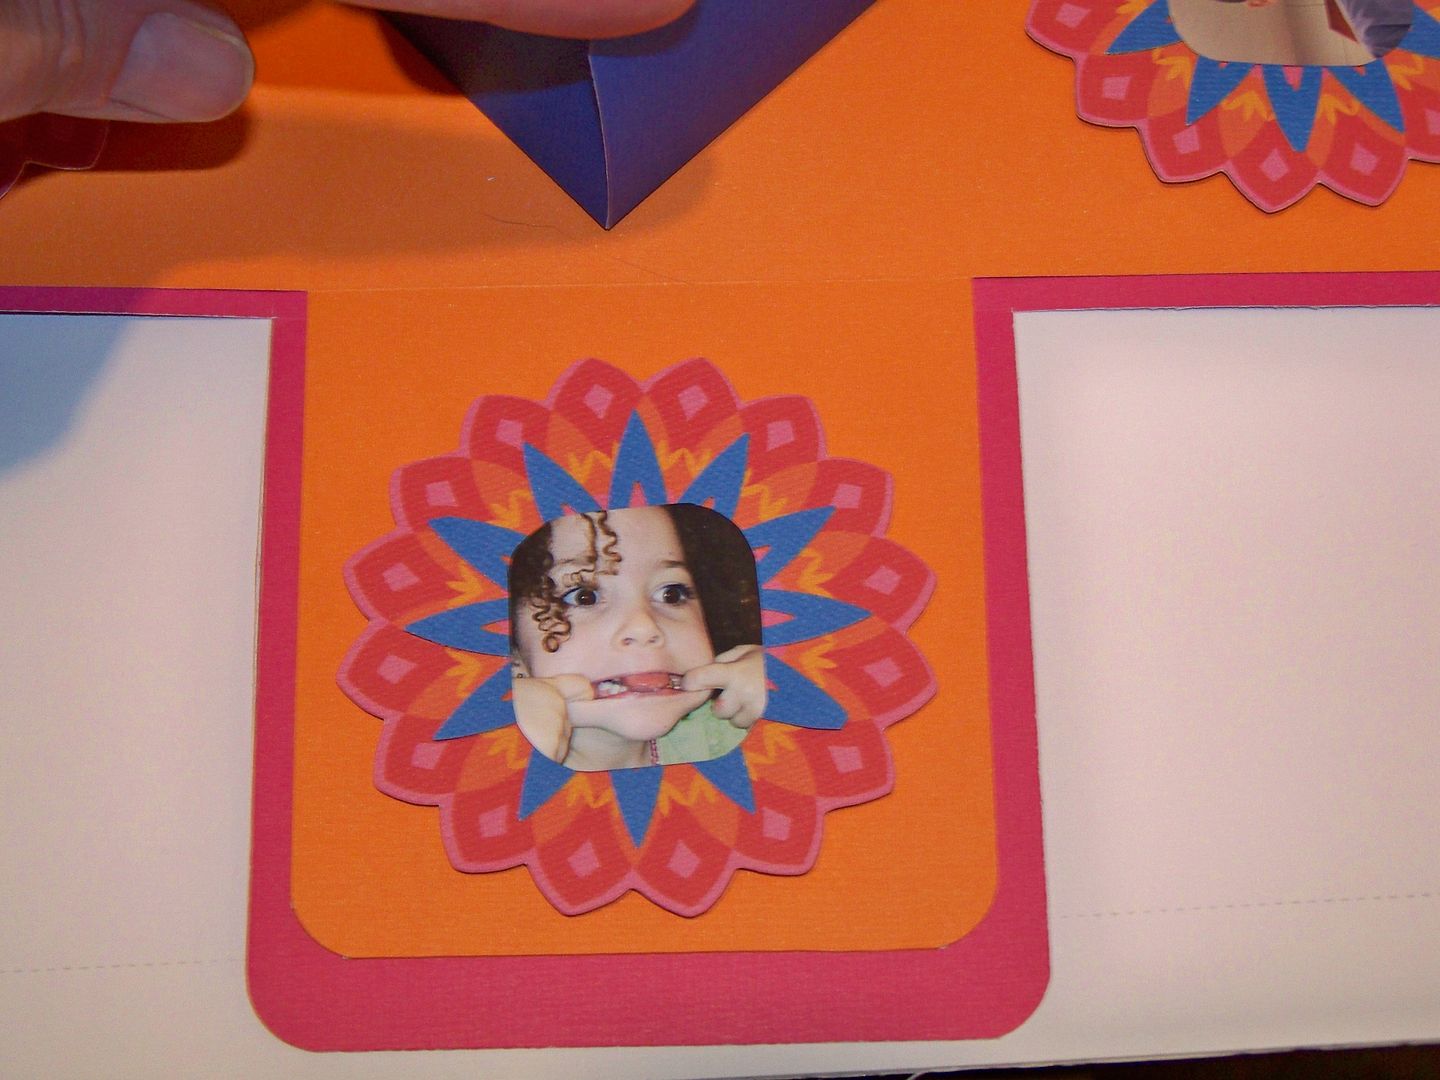
For the shapes on the inside orange flaps, I cut medallions from All Wrapped Up at 3" and topped them with blue punch cuts from the large Martha Stewart sunburst deep border punch.  (I cut on each side of a 2-1/2" strip of paper to create the sunburst).  I cut silly pictures of her kids and added them to the tops of each.


For the blue flaps, I cut medallions from All Wrapped Up at 1-1/2".  I glued rolled up money on two of them.  I wanted it to be easy to take off the money without ruining the box, so I wrapped the money in a strip of paper and attached it by putting a pop dot under the paper only.  (She can either pull off the rolled up money or scoot it out, leaving the paper strip.)  I later added butterflies to the plain medallions.

My cow is from Noah's ABC Animals, cut at 1-3/4" on the Expression.


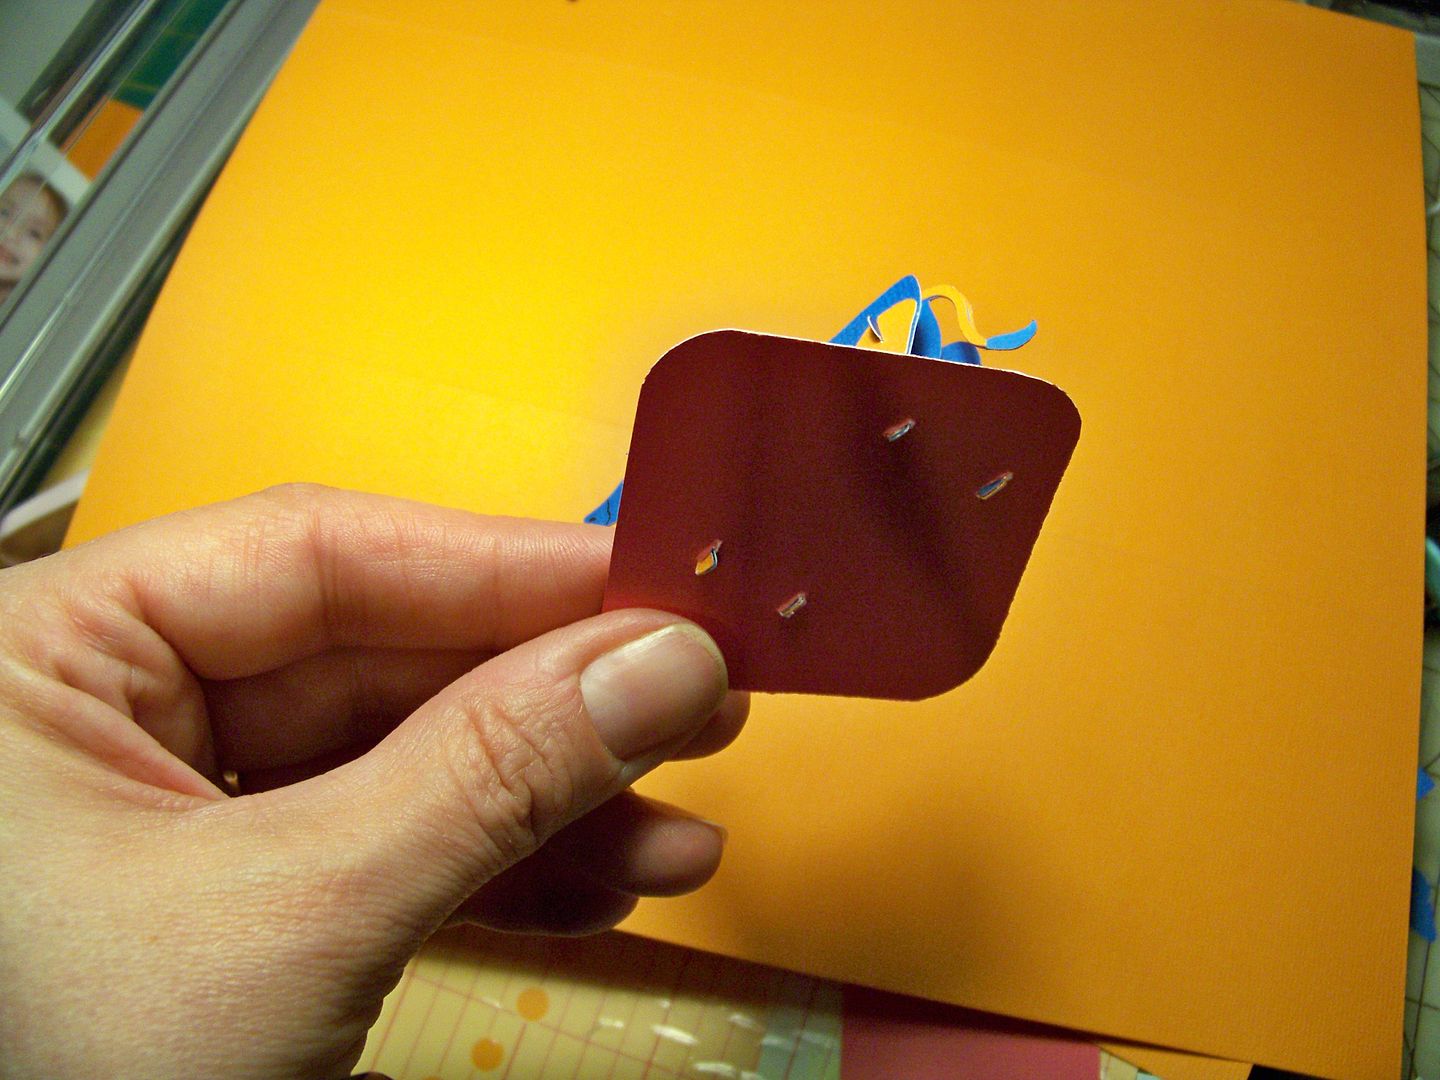
To attach it to the box, I cut a little square of paper and cut in slits under each leg.  I slipped in her little feet and glued them in place on the back.  I attached the square to the box using 1/16" pop dots since the feet poking through would prevent the square from adhering flush.

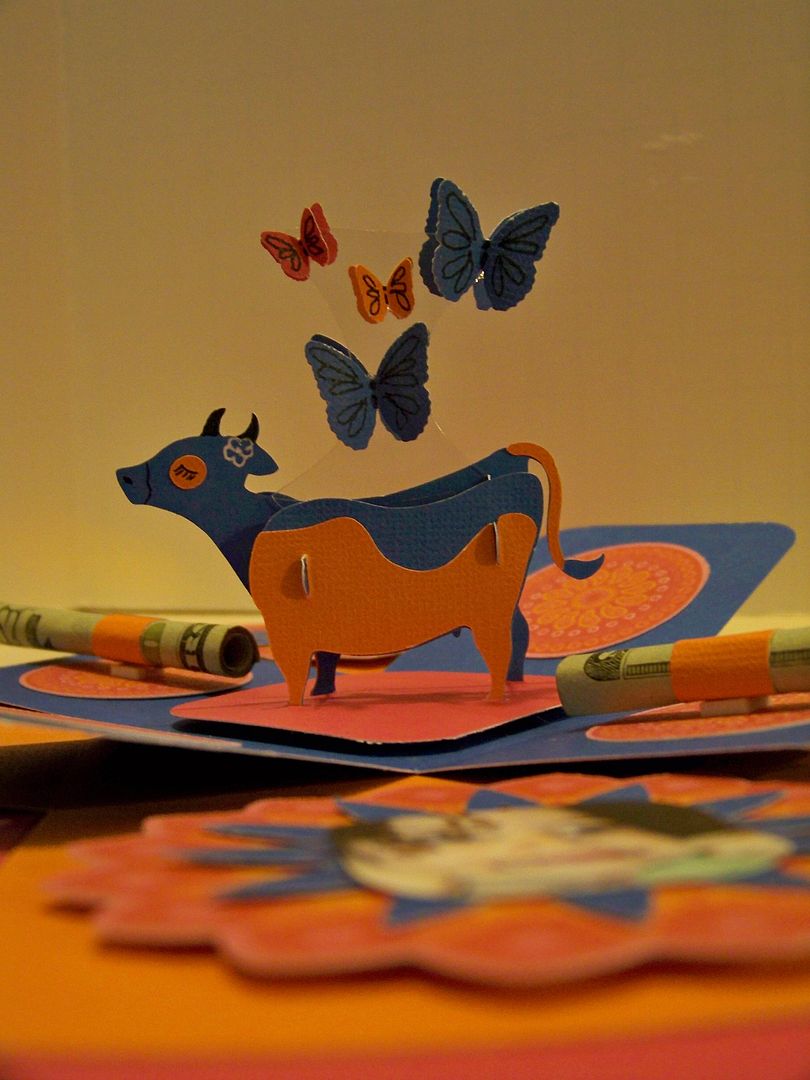
I cut a tag using a punch from a piece of Cricut clam shell acetate that I recycled.  I trimmed it down to remove any extra acetate.


To that, I adhered butterflies, cut using a Martha Stewart punch.  I used E6000 glue to attach the butterflies to each side of the acetate.  I attached the butterfly-covered acetate to the middle layer of the 3D cow using a strip of Terrifically Tacky Tape, scooting it down inside the cow to hide the tape.

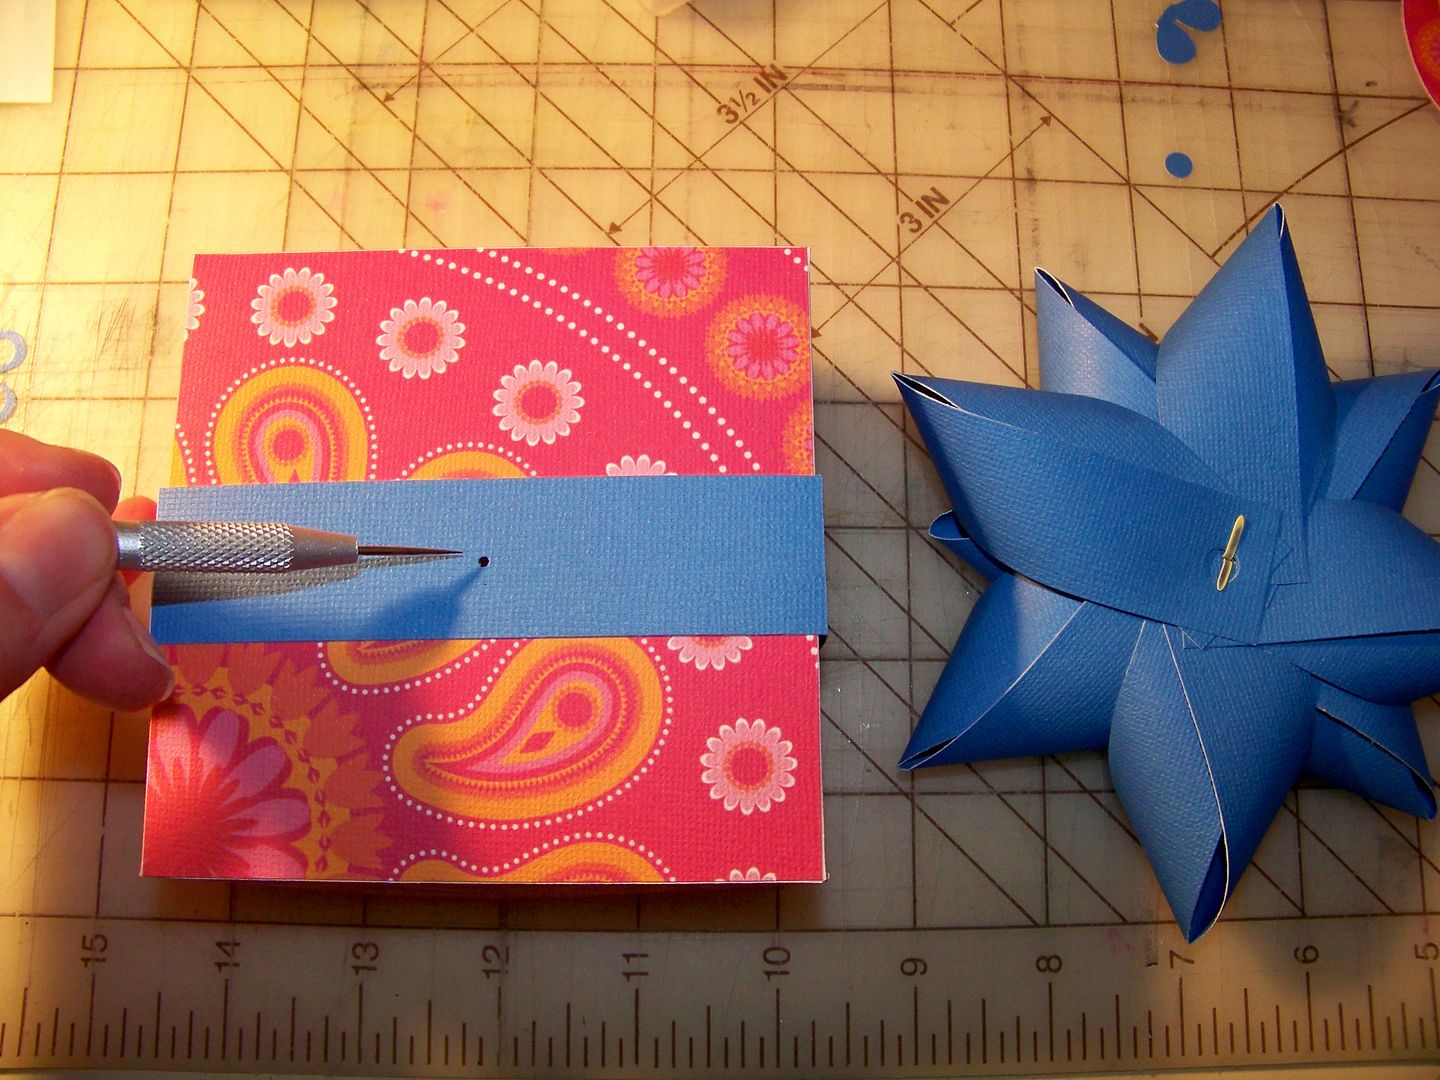
For the outside of the box, I cut 1" strips of cardstock for ribbon.  I attached the "ribbon" to the lid separately so the lid would still easily pull off of the box.


For the bow, I used the tutorial by Linda at the Paper Boutique.  You can see it by clicking here.

For the tag, I used the butterfly tag on All Wrapped Up, cut at 2".  I printed my sentiment on the reverse side so that it would make sense to her when she found a cow inside:  "For your birthday, we thought you would like a cash cow."

I attached the bow and tag to the box lid using the bow's construction brad.

This was fun, and for my first one, I liked it.  If you want to ever feel inadequate as an exploding box maker, I suggest checking out Elaine's Magic Boxes (click here).  Wow-- she is a magician with these!  So much fun to see and the main reason I had to have floating butterflies in mine.

Thank you for checking my blog today!  To see many of my previous projects, please check My Project Gallery.


Monday, June 11, 2012

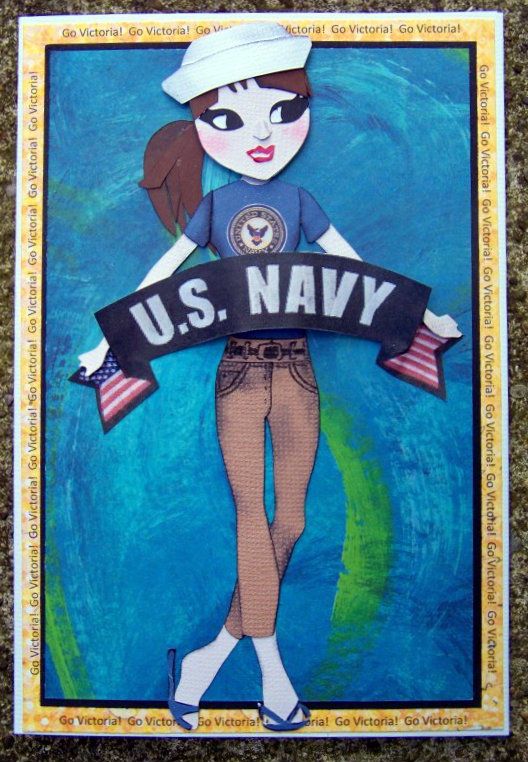
Go Victoria! Go Navy!

This is a card I made for Victoria, the daughter of a crafter from the Cricut Circle message board who is currently in Navy boot camp!


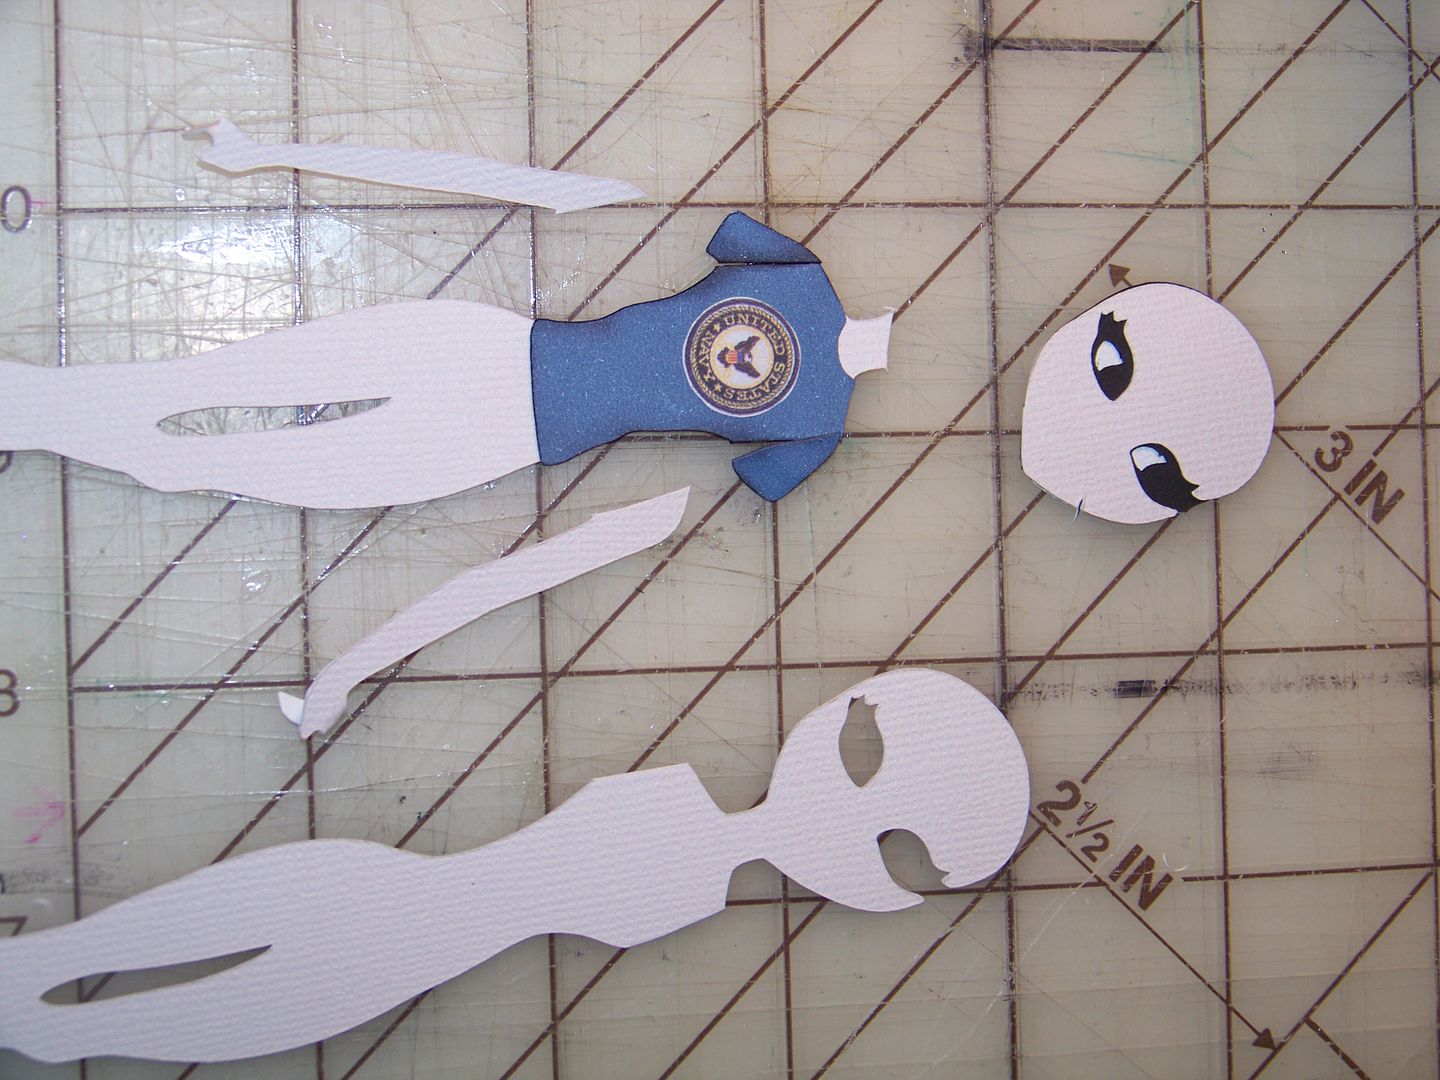
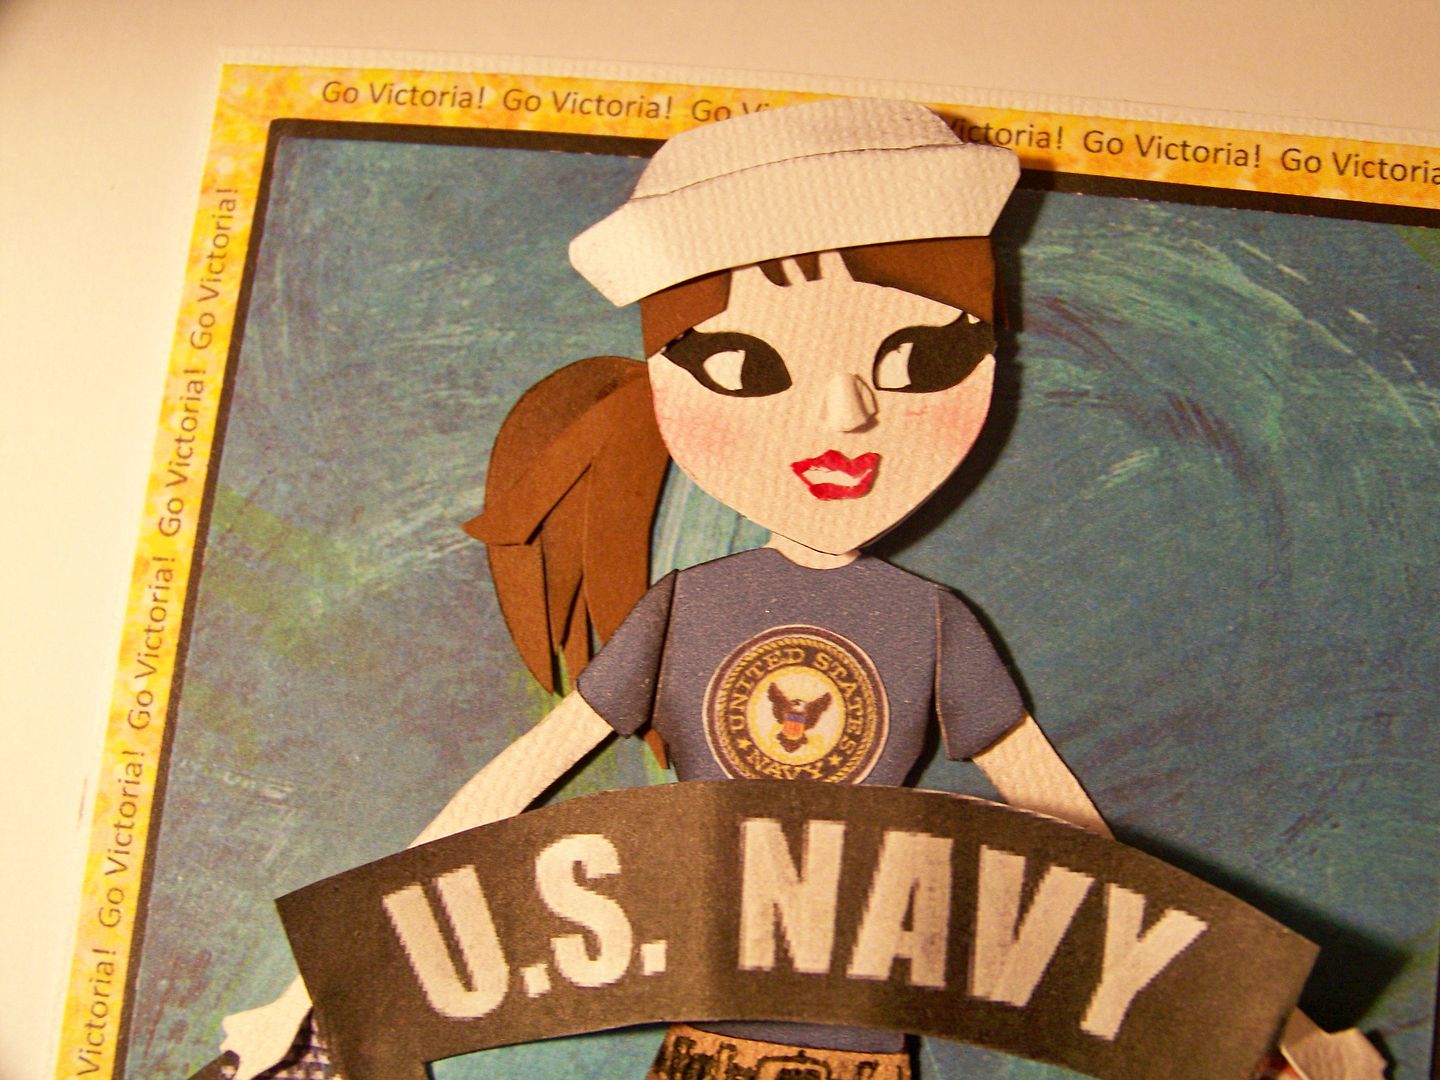
I used Paper Doll Teen Scene to create a cheerleader of sorts, cutting two at 6".  (The extra cut is for spare parts so I could figure out what was needed as I went!)  I separated the head from the body, using all layers for the head, but only the flesh-colored layer for the body.  This allows for the illusion of a chin and added dimension.  I hand-cut the nose and mouth.  I added a few more locks of hair to the ponytail and a couple of notches from the bangs.  I cut off the arms and re-adhered them from my second cut the so that they would be farther from the body and at a different angle.  I bent the hands down so they could hold a banner.


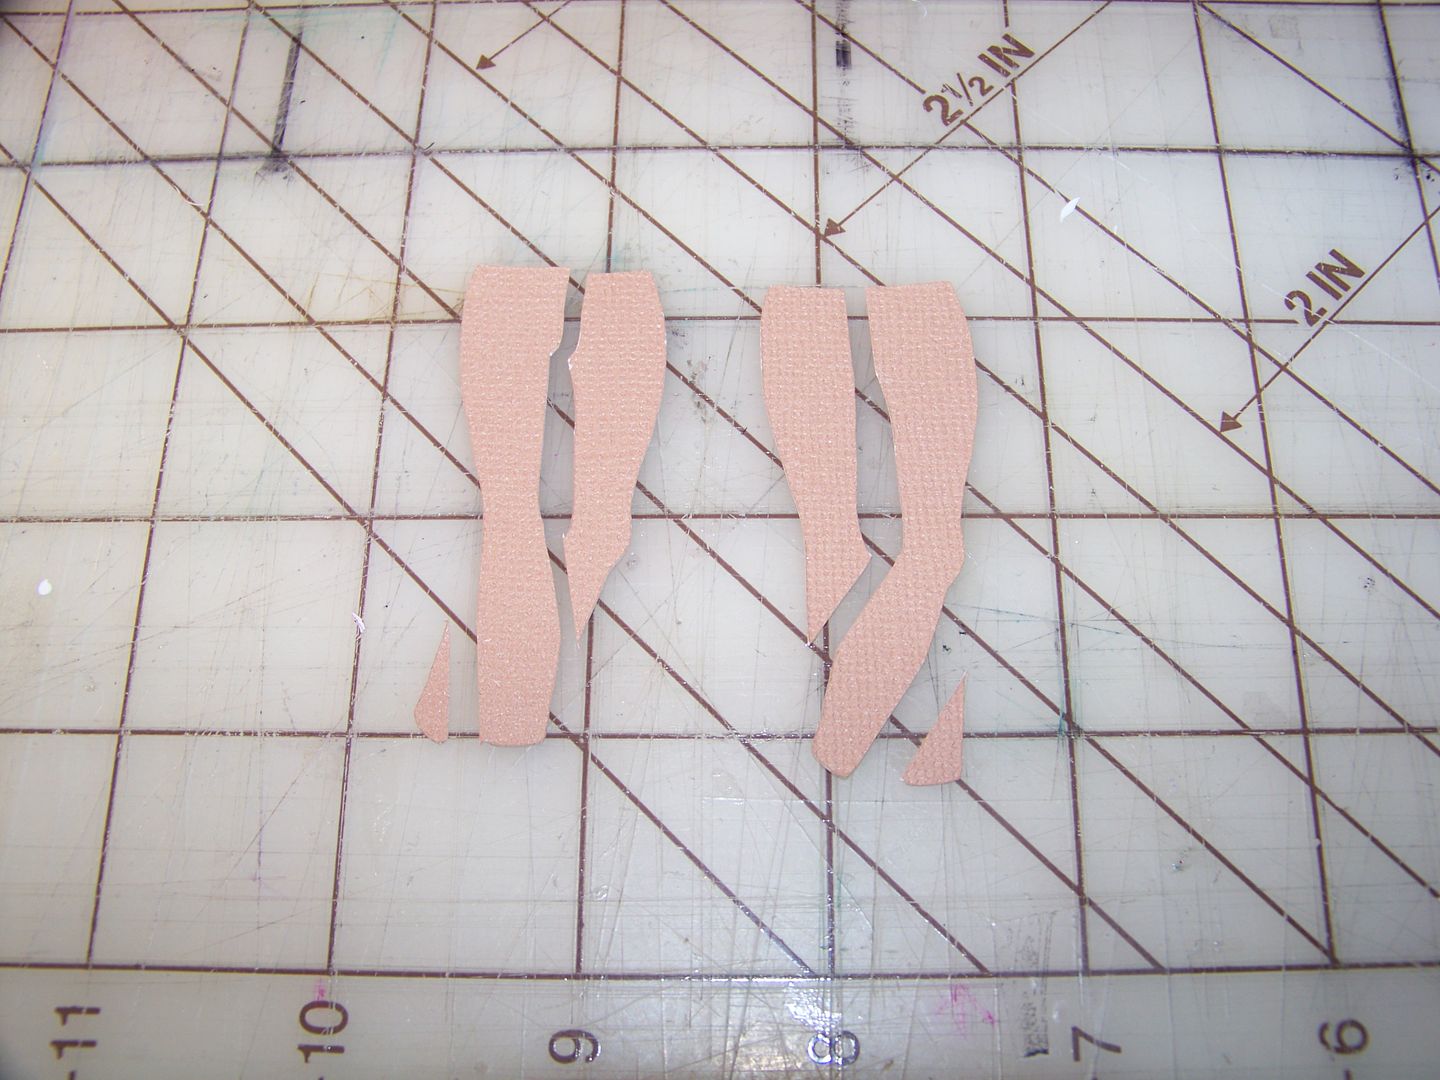
The clothing was cut from the cartridge, with a few hand-drawn details and inking.  I added a waistband to the low-hanging pants to raise the waist.  I cut the legs twice so that both legs would have edges that I could ink to give them a little dimension.


I hand-cut the flip-flops.


The Naval emblem and Navy banner were found on Google Images.  The hat was cut from Stand and Salute at 3/4" and then trimmed down a bit by hand.  The body is adhered flat, allowing the banner to pull away from the surface 1/4".  The head is raised 1/16".  I cut a series of mats from solid and printed papers, printing "Go Victoria" on the edge of the yellow mat.


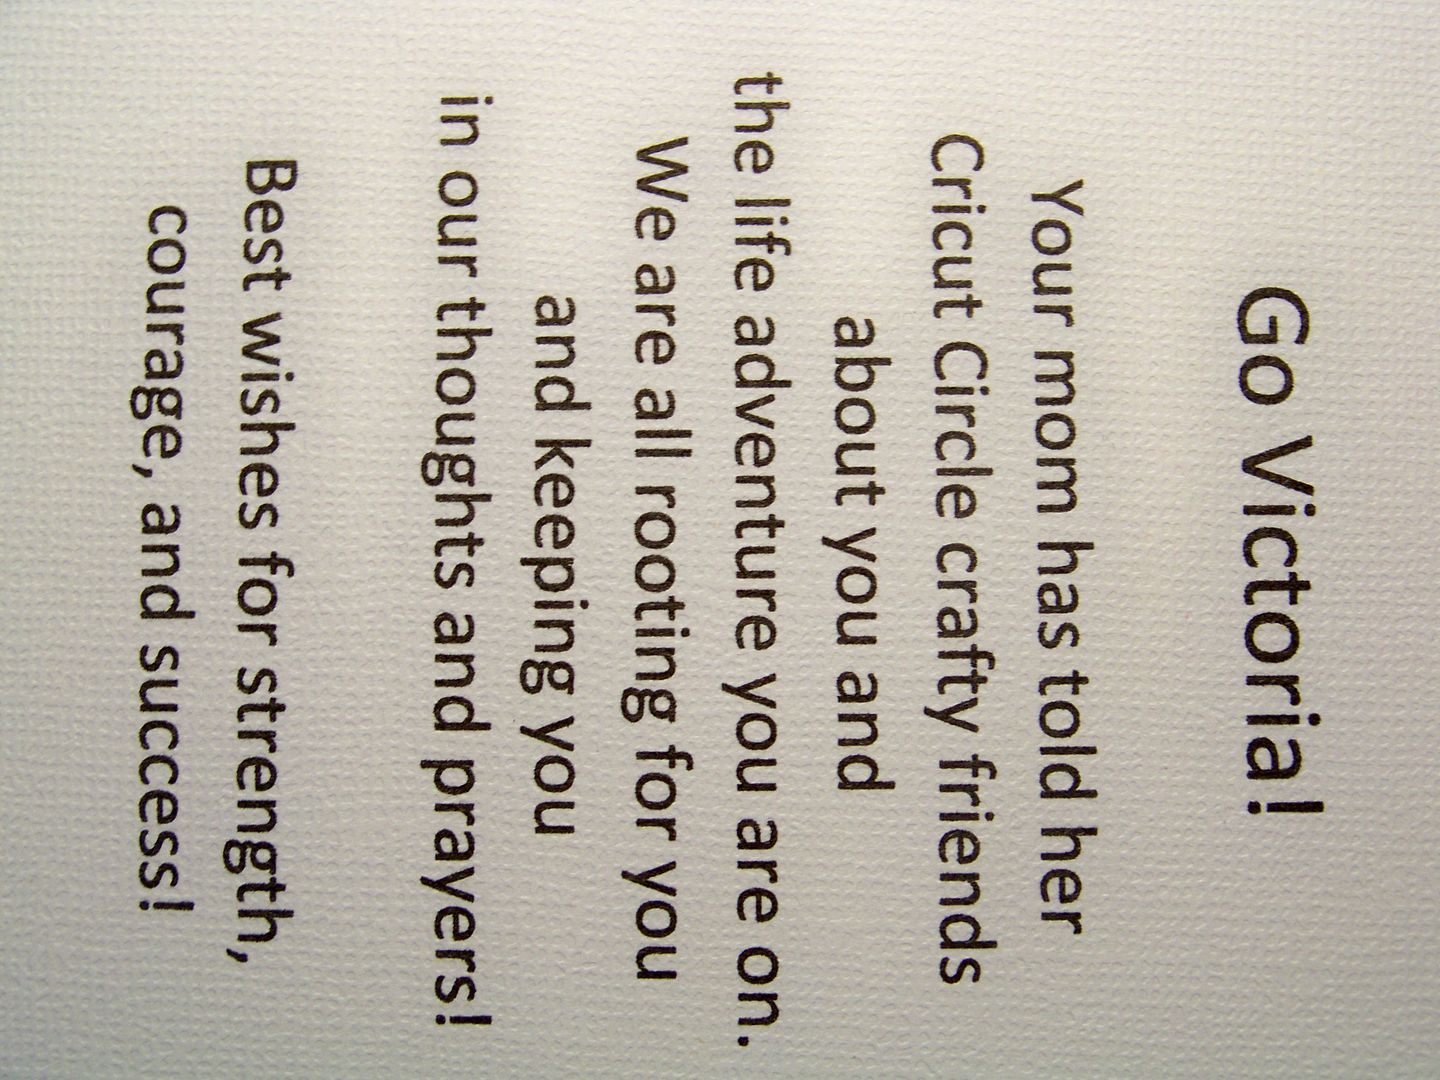
The inside sentiment was printed using my computer and printer.


I sized the card to fit in an envelope I had.  I was told that colors or decorations on the envelope would force Victoria into extra push-ups--- so this is the most bland piece of mail I have ever sent!  (The very idea of push-ups, much less EXTRA push-ups, makes me cringe!)

Thank you for checking my blog today!  To see many of my previous projects, check out my Project Gallery!

Monday, May 28, 2012

Patriotic Bug

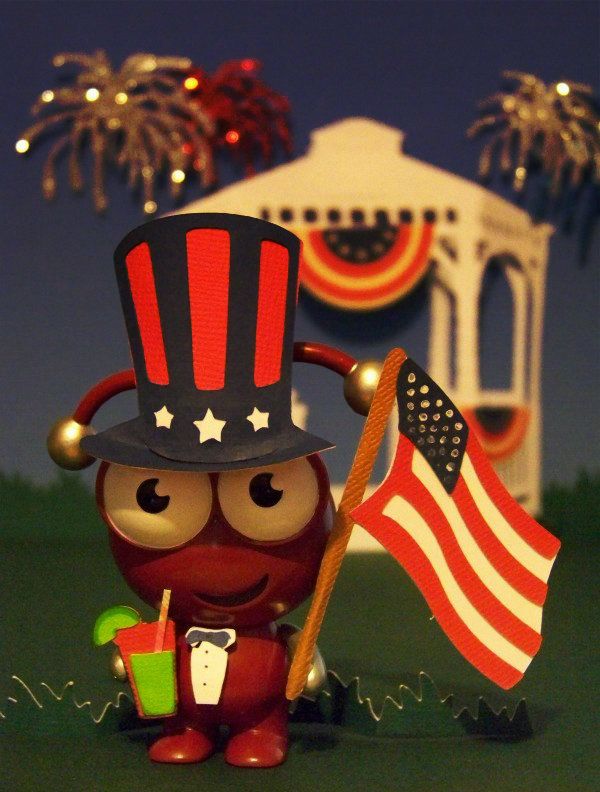
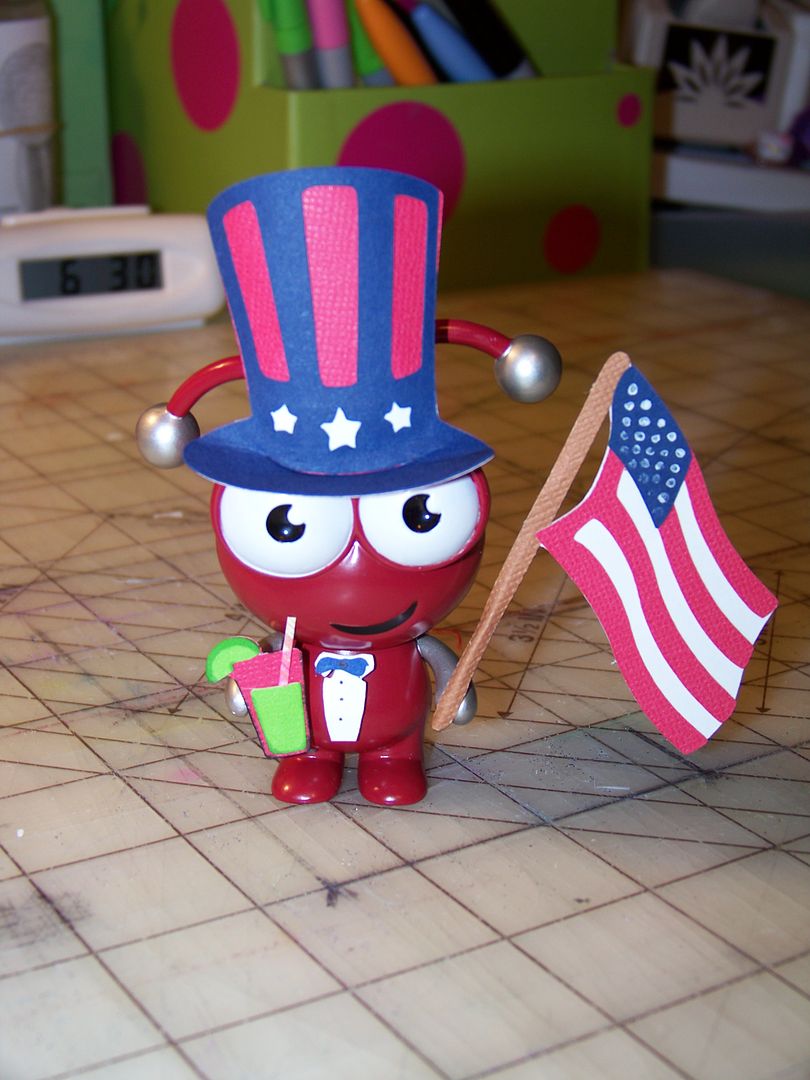
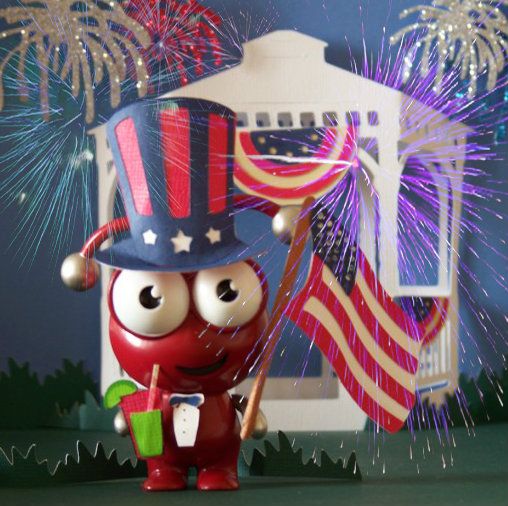
Although I prefer to buy vinyl collectibles for children, recently the Cricut Circle Magazine announced a challenge to use Cricut cuts to dress up the little Cricut Collectibles.  That, and a sale at the Cricut website, was all it took for me to buy one for myself.  These are ordered with their identities unknown.  When mine arrived, I found that I had received a red Cricut Cake collectible!  That meant one thing to me:  I had to go with a holiday theme!  Since we are so far from Christmas and Valentines Day, I went patriotic!


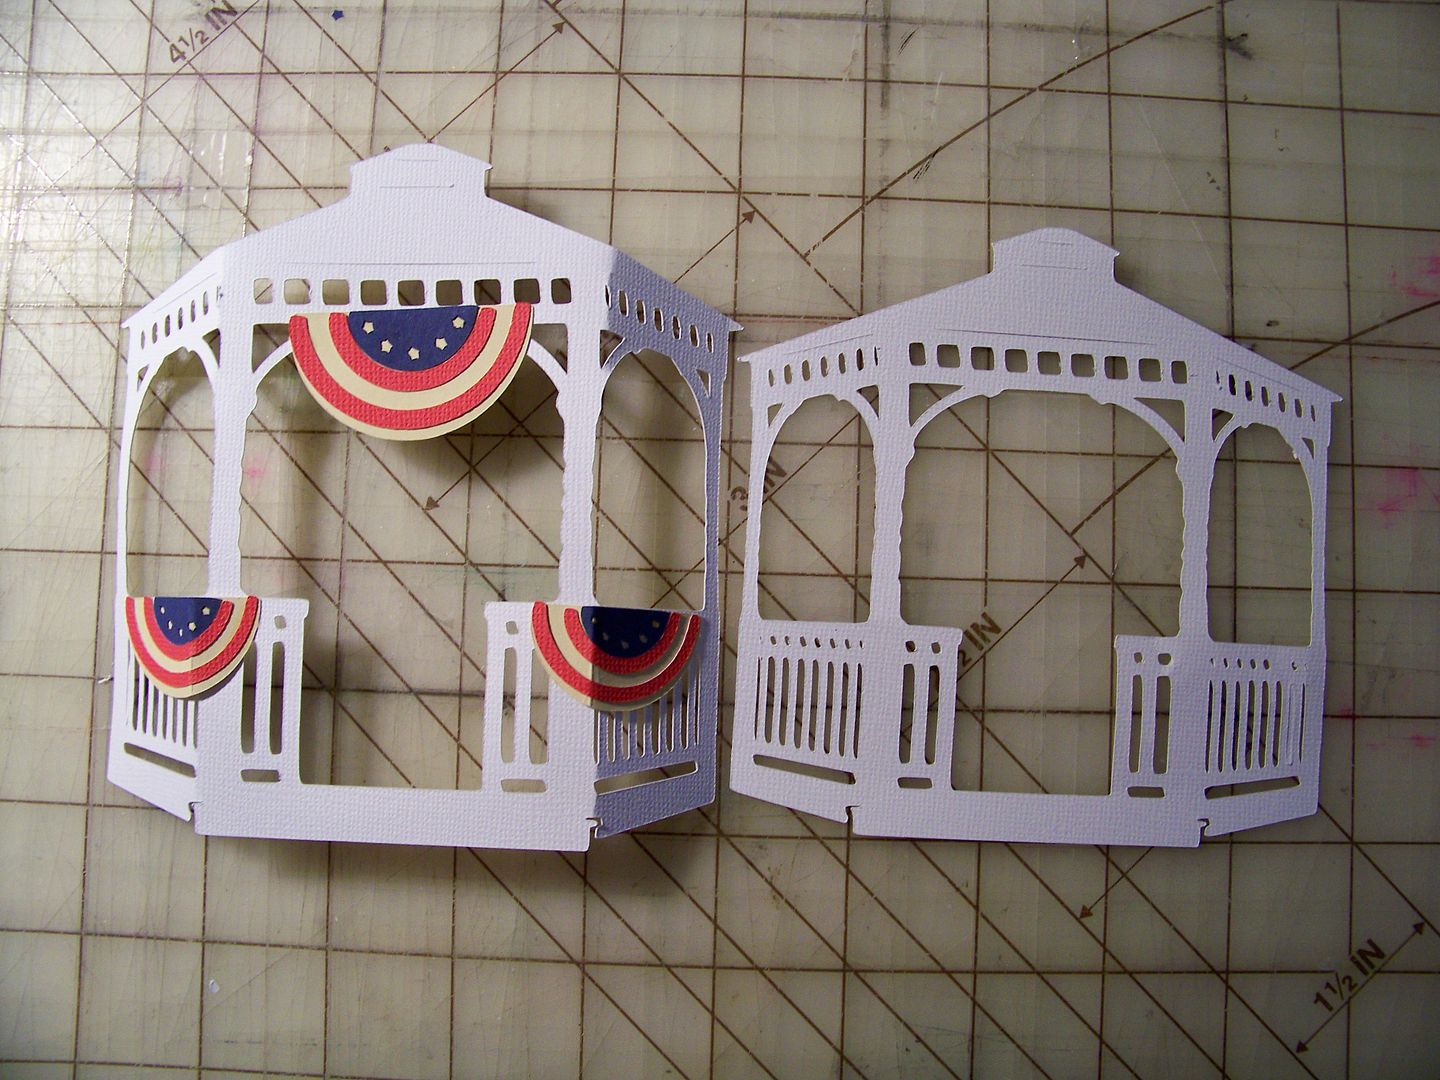
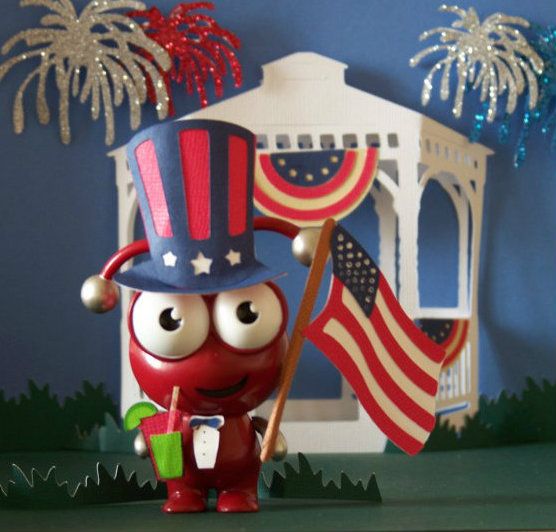
I started with the gazebo because that was an element I really wanted in the background.  I cut two from Spring Cottage; one at 5-1/4" and one at 4-3/4".  I bent the larger one and put the two together to make a 3D form.


I decorated the gazebo for the holiday with flag bunting cut from Independence Day at 1" for the upper bunting and 3/4" for the lower ones.  I folded the bunting to follow the fold of the gazebo.  The smaller gazebo cut is adhered flat.  The larger, bent cut is attached only at the very top with a 3/4" pop dot.


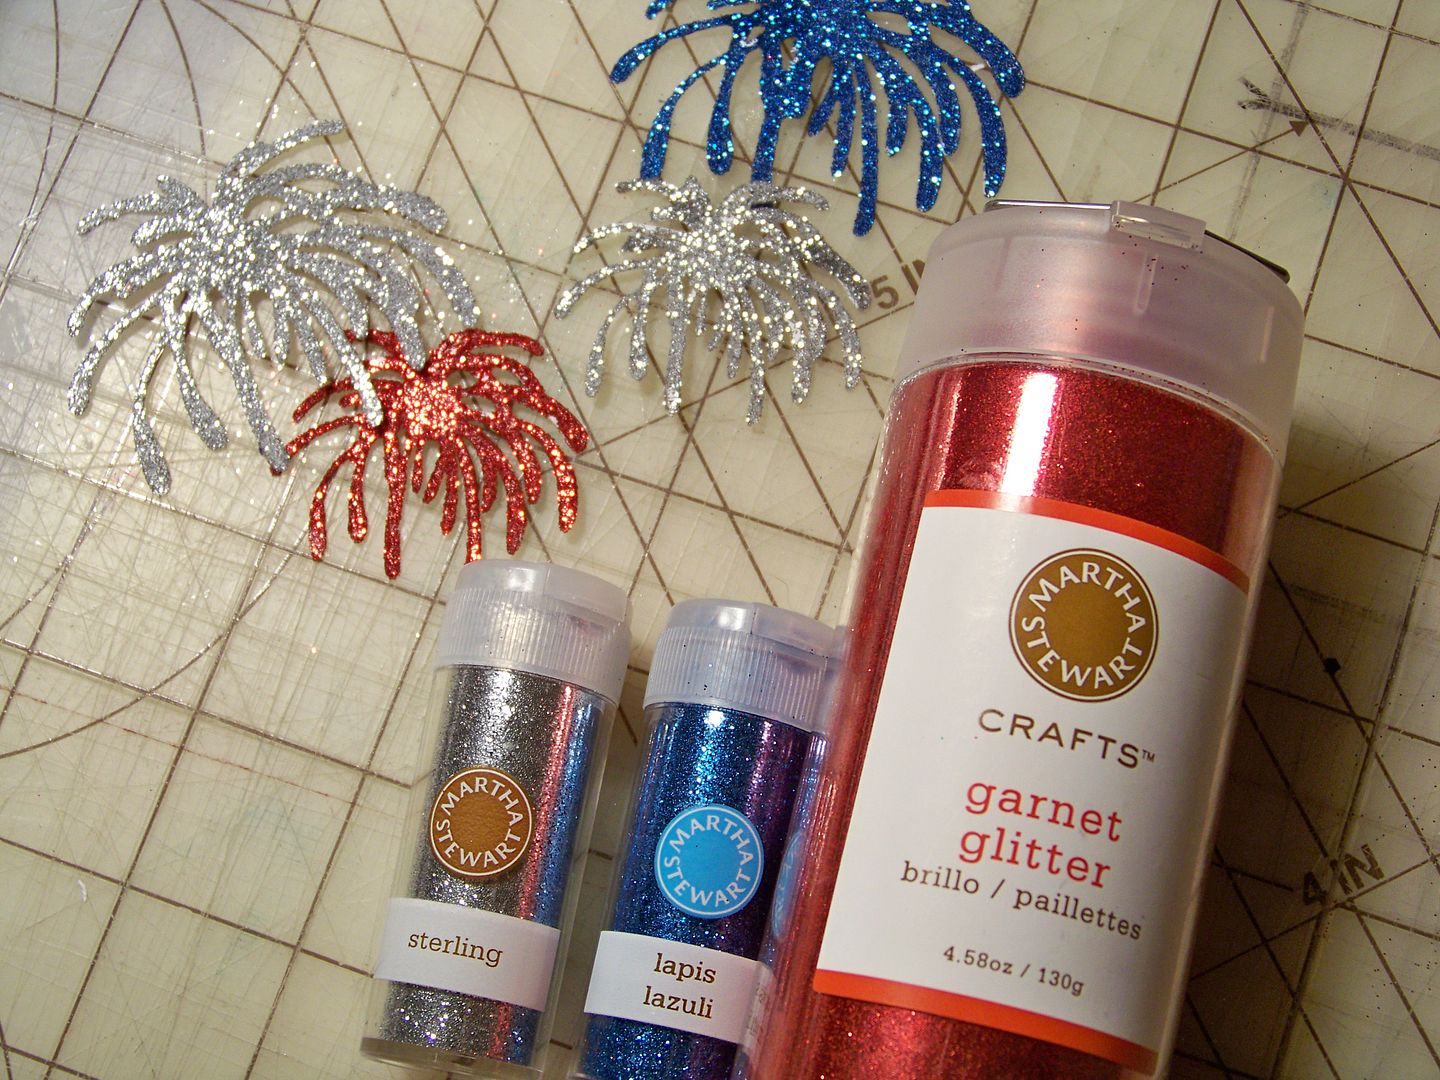
I cut fireworks using the Stand and Salute cartridge, cutting at 2" and 1-1/2".  I ran the cuts through my Xyron and applied Martha Stewart fine glitter.


Next, I worked on the Bug's accessories.


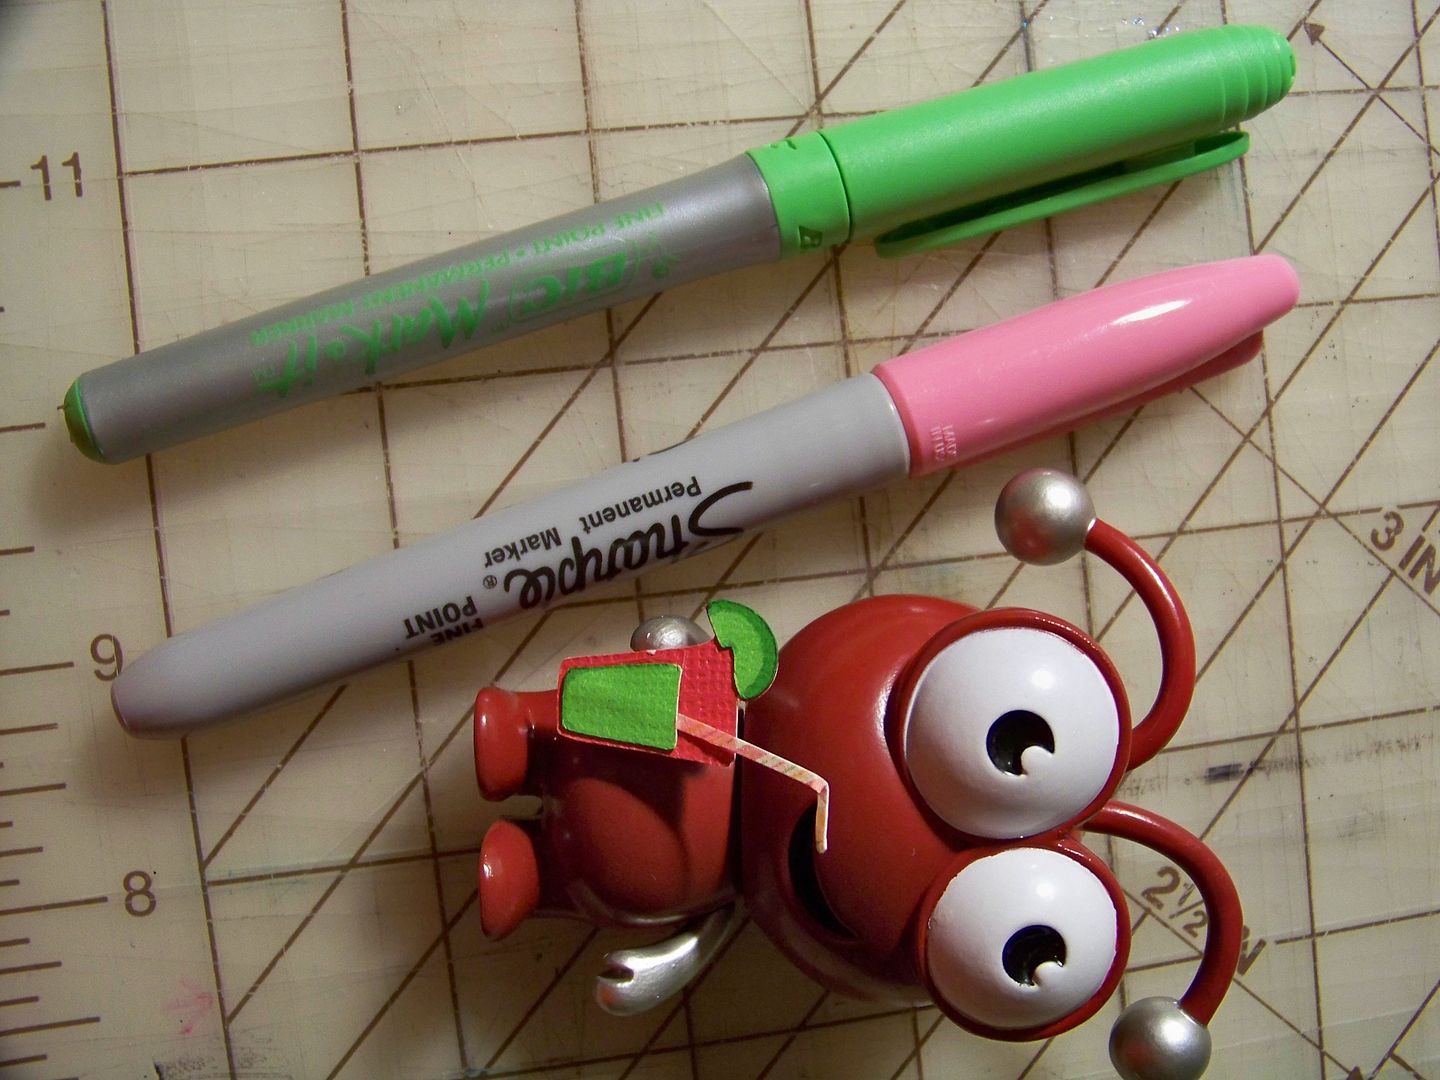
His drink was cut from Cherry Limeade at 1".  Because the cut was so small, I used markers for color instead of some of the extra tiny layers.  I ended up trimming that straw a bit in the end. 

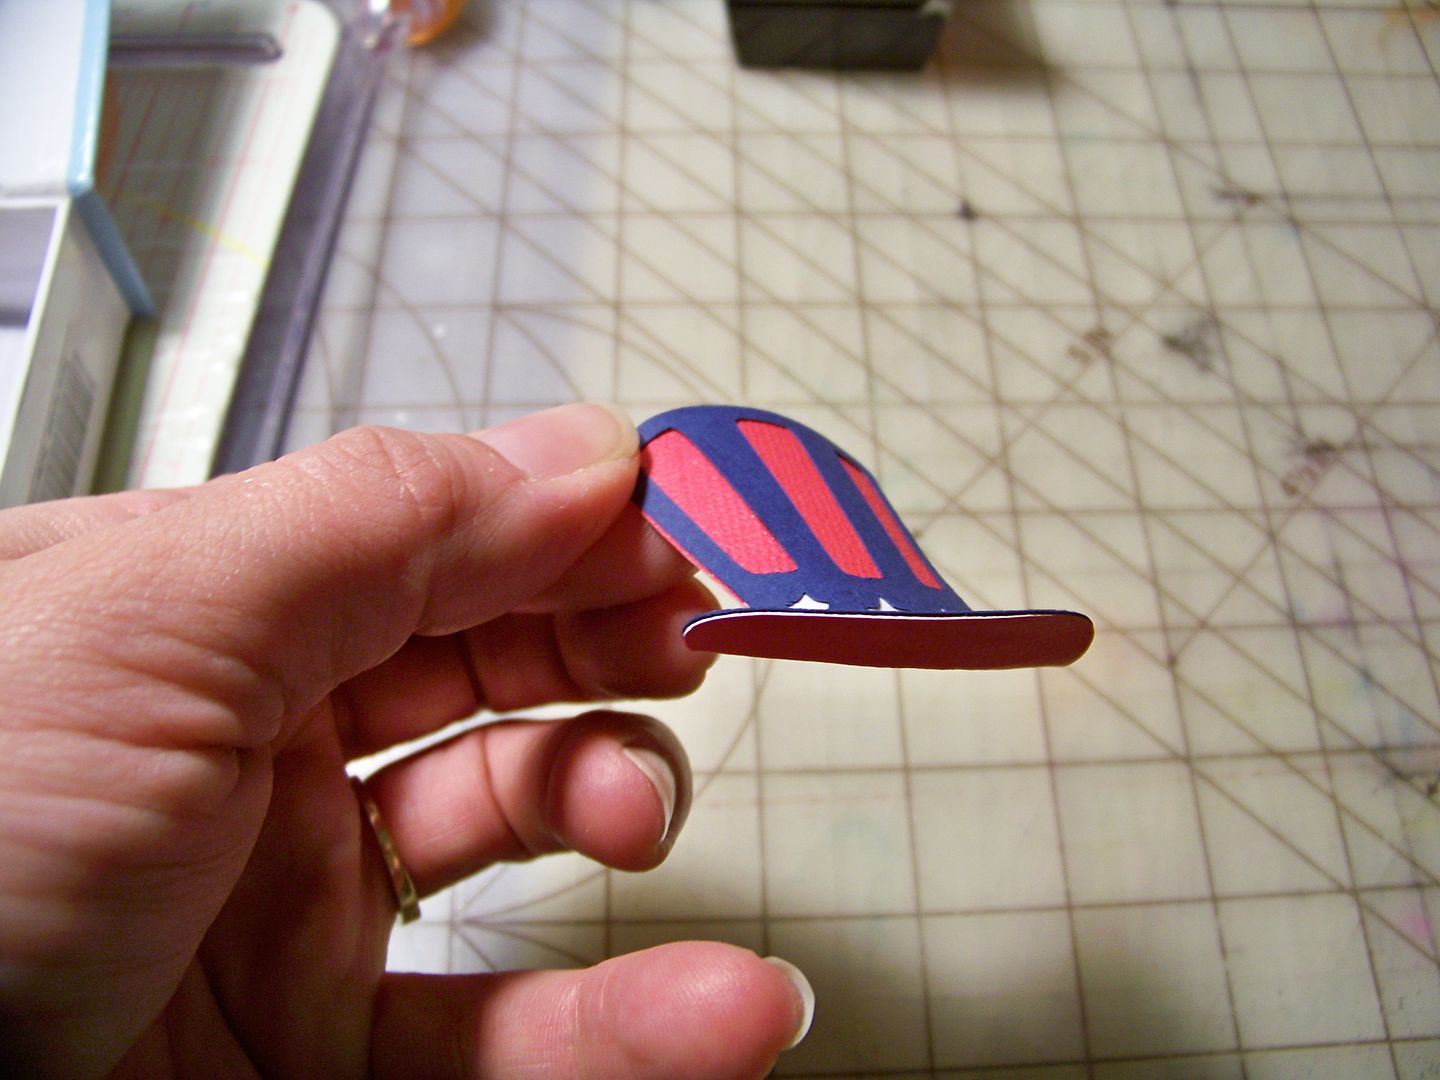
His hat was cut from Stand and Salute at 2".  I bent the brim up and curved the cut a bit to give it shape and dimension.  


His shirt and bow tie were cut from Formal Occasion (page 33).  The shirt was cut at 2" and I trimmed off the lower tip.  The bow tie was cut at 2-1/2".  

I cut his little flag from Stand and Salute at 2-1/4".


For the little scene, I cut grass from Paper Doll Dress Up at 1", trimming it down for the front pieces.


My cut summary (all were made on the Expression):
  • Gazebo- Spring Cottage cut at 5-1/4" and 4-3/4".
  • Bunting- Independence Day cut at 1" and 3/4".
  • Fireworks- Stand and Salute cut at 2" and 1-1/2".
  • Drink- Cherry Limeade cut at 1".
  • Shirt and tie- Formal Occasion.  Shirt cut at 2" and bow tie cut at 2-1/2".
  • Hat- Stand and Salute cut at 2".
  • Flag- Stand and Salute cut at 2-1/4".
  • Grass- Paper Doll Dress Up, cut at 1".
Thank you for reading my blog post today!  You can see many of my previous projects by visiting My Project Gallery.
Friday, May 18, 2012

Last Day of School!

Wow!  Today is the last day of school!  How did this happen so fast?

My daughter's school has a half-day today, flocked with events like Crazy Teacher Olympics (where the teachers do things like Egg Toss and other games intended to make them messy kid entertainment) and Hallway Sock Races (the one day they are allowed to run in the hall).  They do make it really fun and, this year, they have added Crazy Hair to the day... more about that later!

As always, I made little treats for the kids and I have a gift for her fantastic teacher, Mr. Workman!  I must have regressed last night, because I pulled a late-nighter getting these treats done... And for a little nostalgia, my husband yammered at me, asking why I waited until the last minute and "didn't you know for some time that this was the last day of school."  Mom would have been proud of his lecturing!

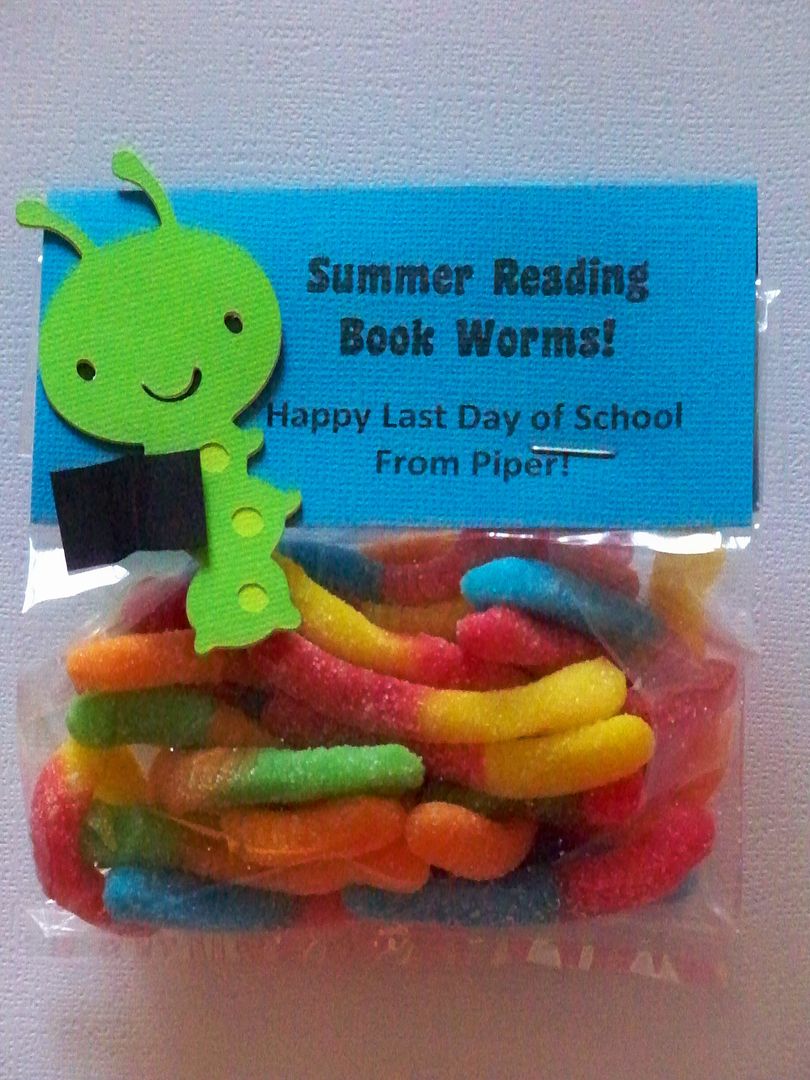
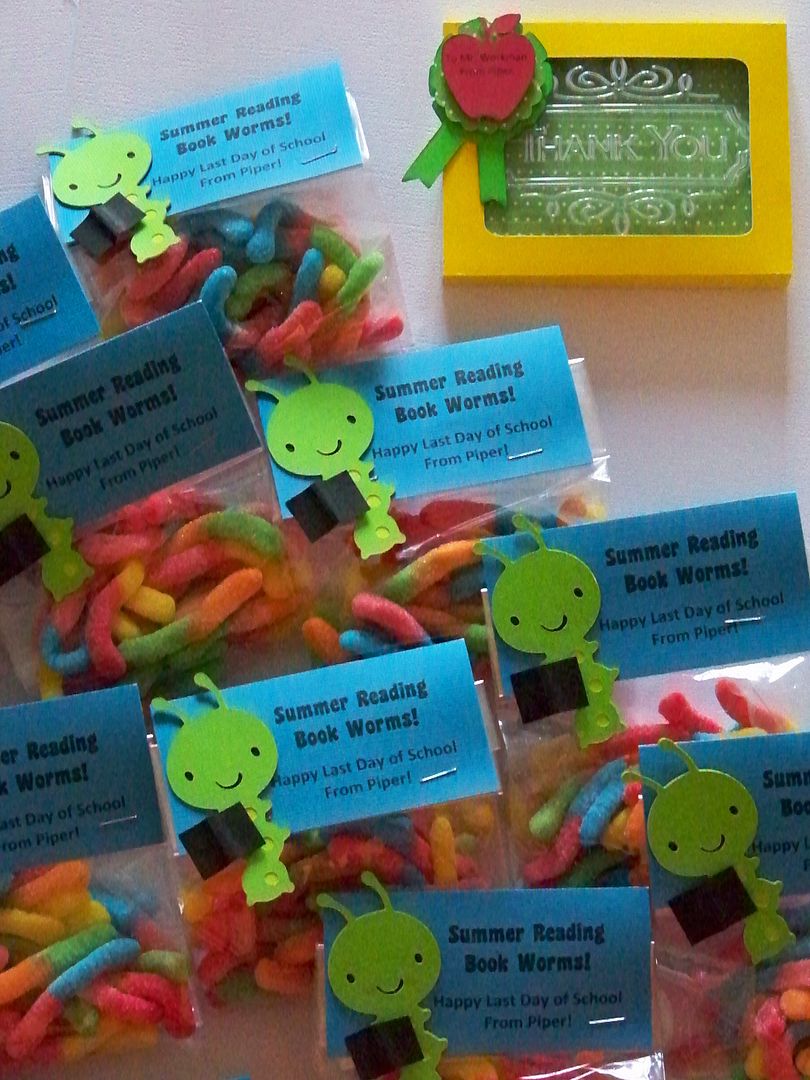
Despite that, I had a blast making these Book Worm treats!  


I got the idea from my Pinterest boards which lead me to the post on the Sweet Serendipity blog.  (Click here to see her version.)  I picked a 'book worm' theme because Piper's teacher has been stressing to the kids this past week to do summer reading!  I thought this was a fun tie-in.

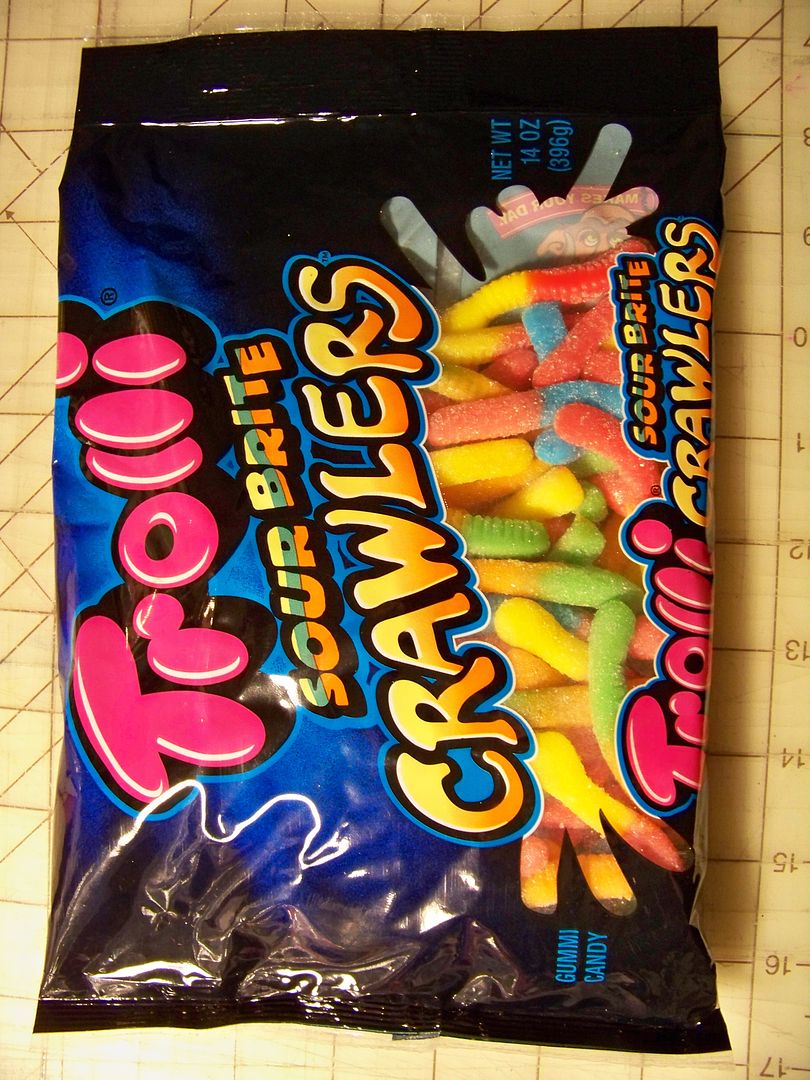
As disgusting as I find gummy worms to be, I kind of liked these because they were rainbow-colored and smelled great!  I used four packages for 15 treat bags.  (These are from Walmart).


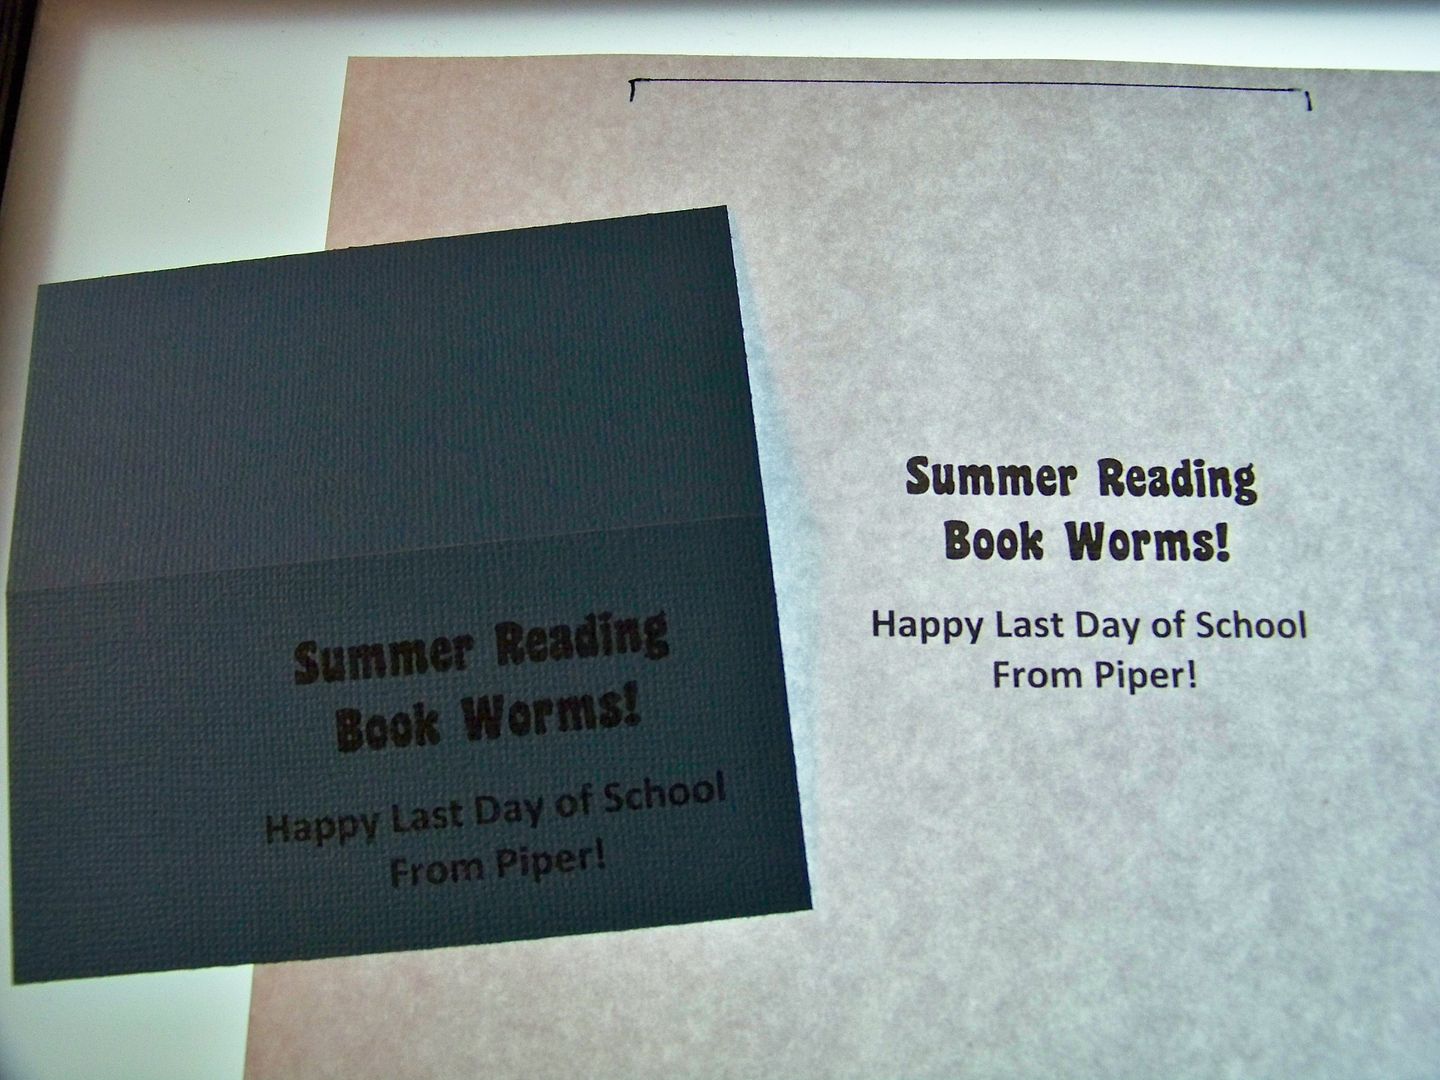
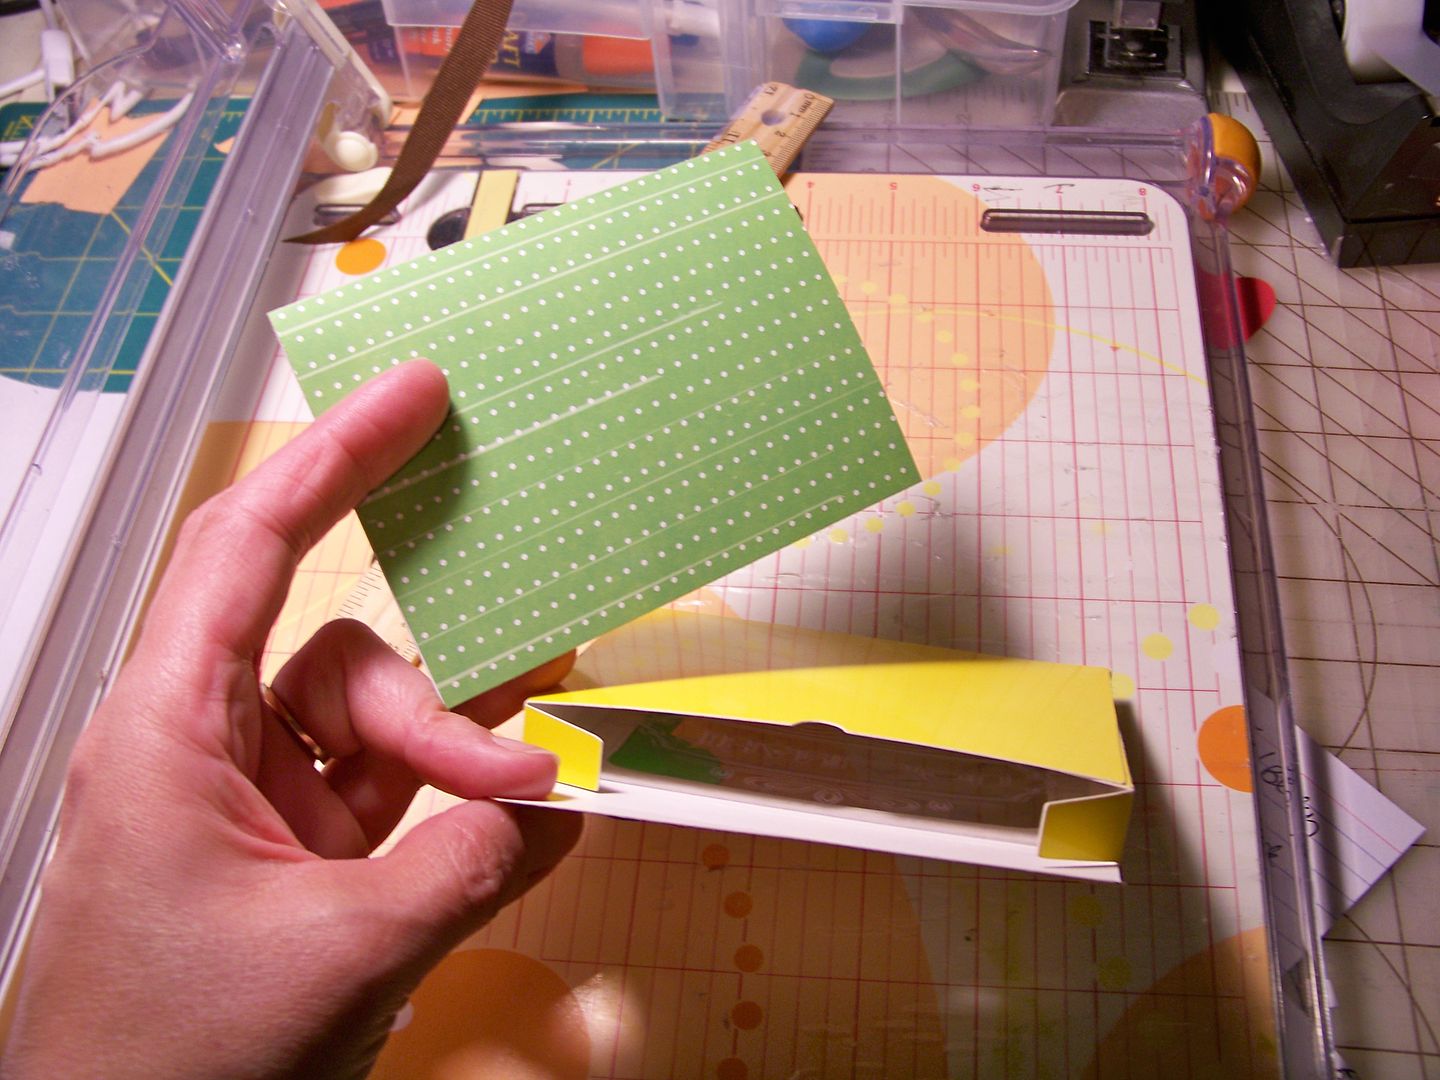
The toppers were cut to 4"x4".  (I sized them for 9"x4" pleated treat bags).   I printed the sentiment on my printer using Microsoft Coaster at 20 point for the top text and Calibri at 16 for the lower text.  I figured out a little trick for lining up the toppers:  I printed off the text onto white paper, lining up the first topper with my light box.  Then I marked the top and top corners.  All the remaining toppers were simply placed on the sheet using the marks and taped in place.  I saved a lot of time and they all matched exactly!


The caterpillar was cut from Create-A-Critter at 3" on my Expression.   For the books, I hand-cut little 7/8" x 5/8" rectangles and folded them into book shapes.  The books were applied with a 1/16" pop dot; the caterpillars were applied with 1/4" Terrifically Tacky Tape for a strong hold!


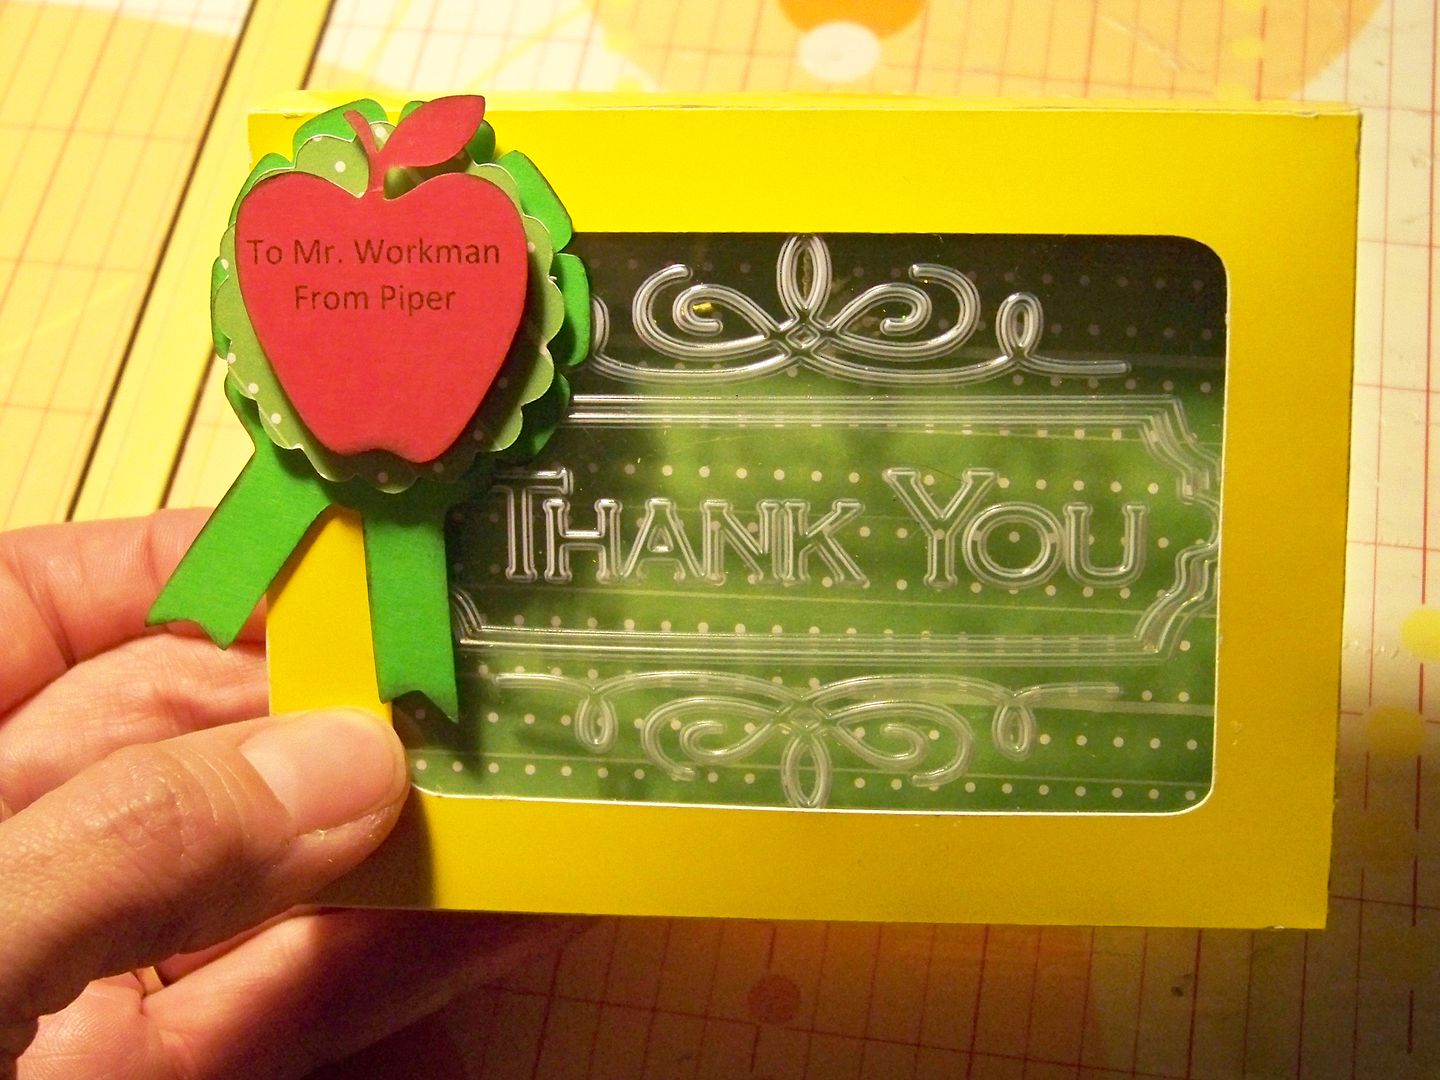
Yesterday,  I worked on a gift card box for a teacher gift.  


You can see my tutorial on making these by clicking here!  (Cart, cut, and plastic embossing details are all on that post!)  This one was made by embossing on the Cuttlebug with a Sizzix folder and cutting the box from high-gloss card stock.  The apple and ribbon are from Makin the Grade; the scalloped circle in between the apple and ribbon is from Mini Monograms.  I popped up each layer with an 1/8" pop dot and adhered to the box with E6000 glue.

I created a little card to go inside to hold the gift card.  My daughter wrote a sweet little message of appreciation inside to her teacher.


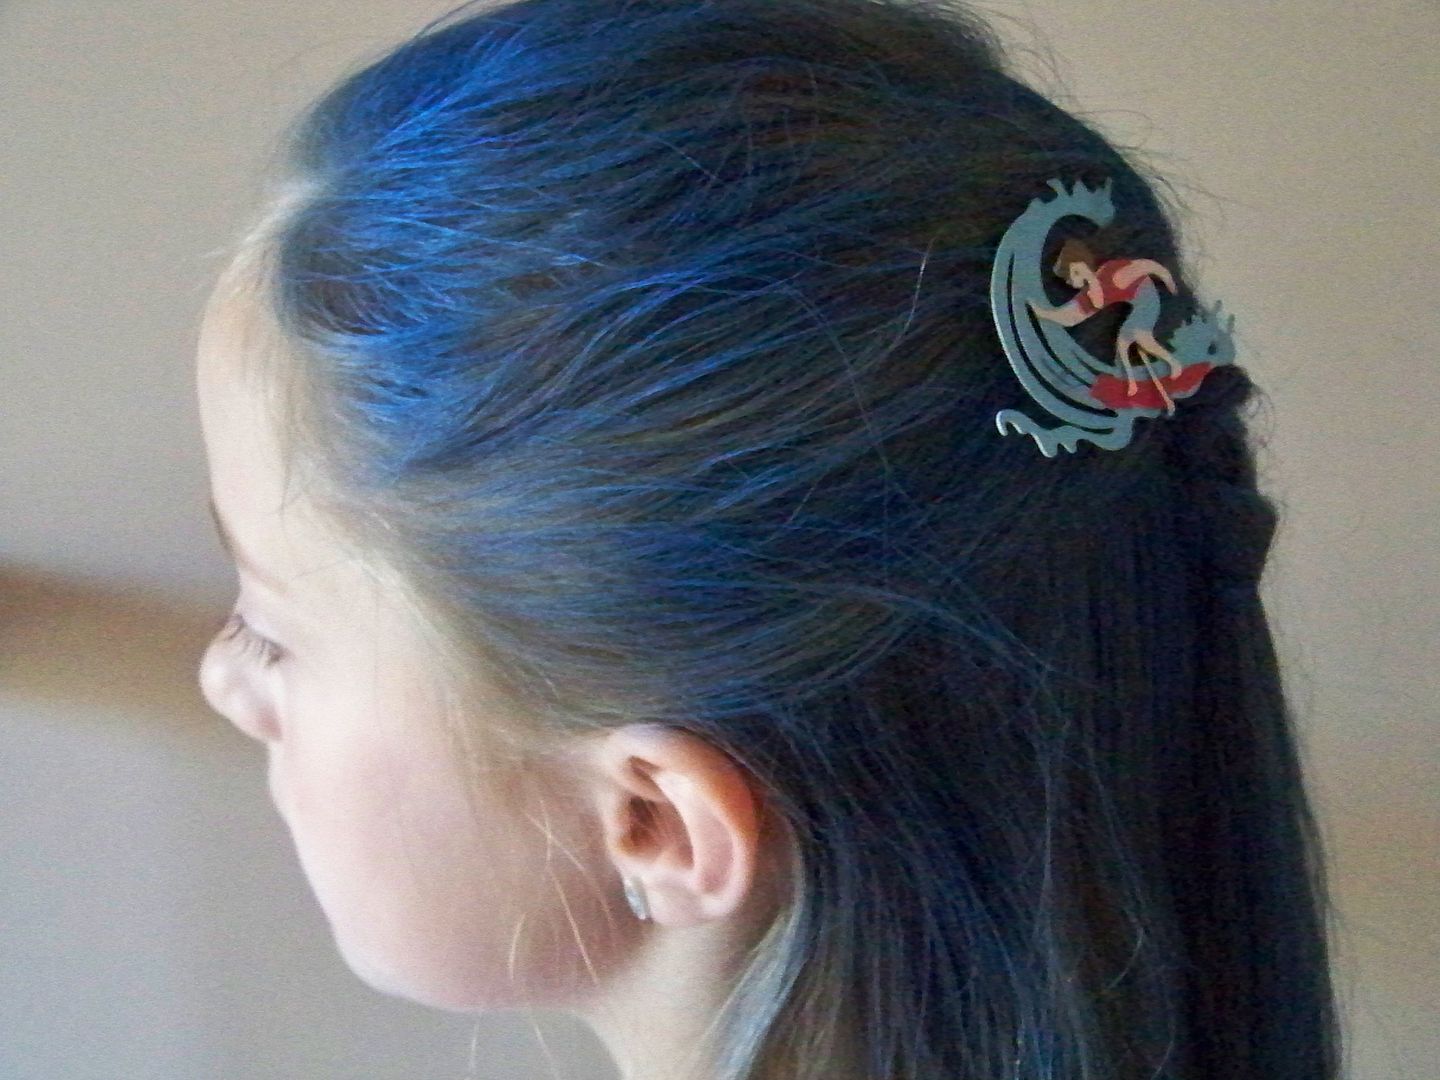
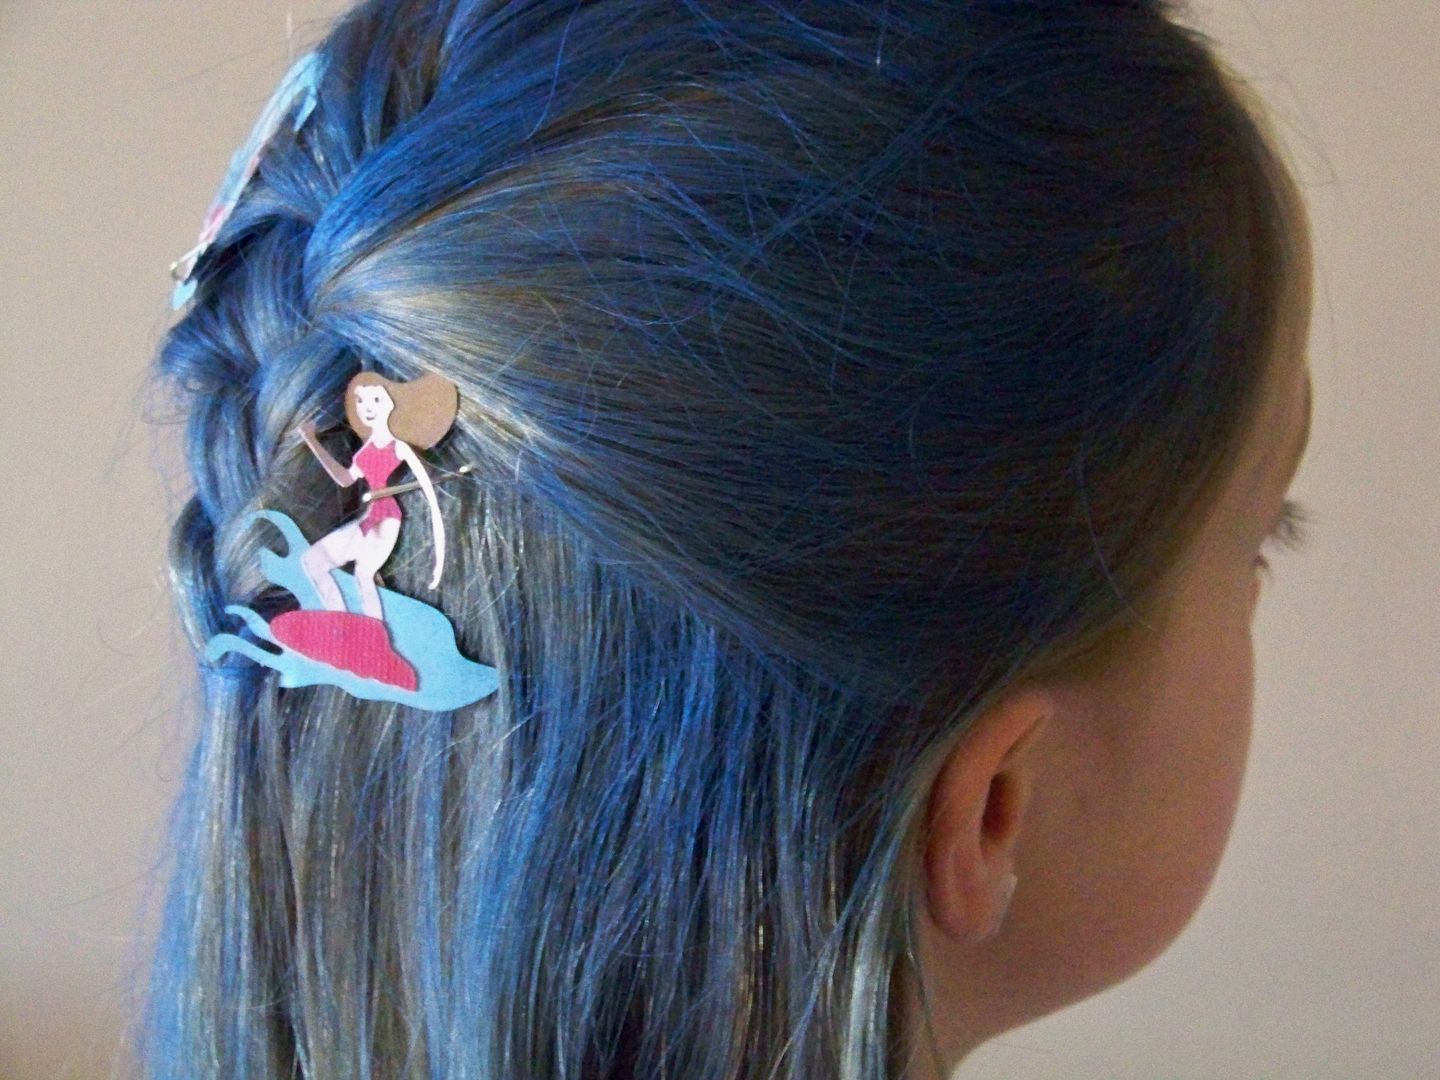
And lastly.... what almost made us late for this last day of school... a quick, crazy hair-do featuring blue hair spray and some surfers from Fun In the Sun (the girl was cut at 2-1/4"; the boy was 1-3/4").  Luckily, these cuts layered pretty fast this morning!  


Dropping her off this morning, I saw a rainbow of kid hair flooding into the school.  Woohoo!  We made it on time and... another summer is just beginning!  

Thank you for checking out my blog post today!  Happy Last Day of School!

To see last year's End of School S'mores Kits, click here.  
To see last year's Teacher Appreciation gift set, click here.  
To see the flower garden Crazy Hair we did earlier in the year, click here.
To see many of my previous projects, click here  for My Project Gallery.

Wednesday, May 16, 2012

A Gift from Sis Patterson ..plus Crafty Piper

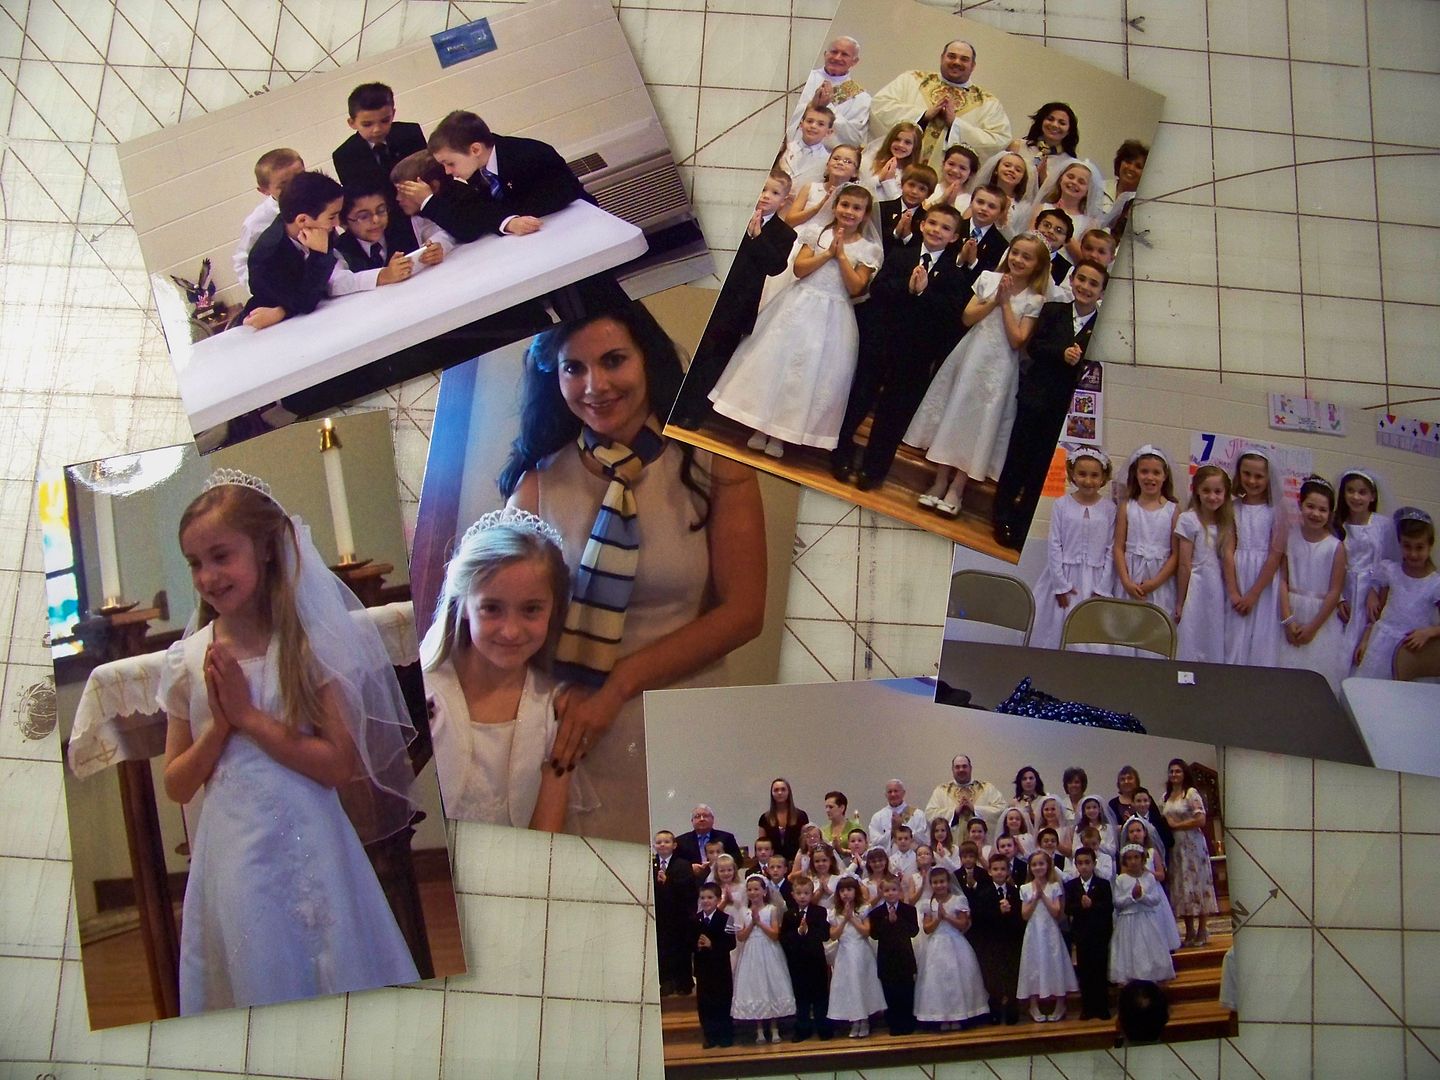
My daughter had her First Communion this spring. She was lovely!  As a former life-long Methodist until a year or so ago, I had a lot to learn as an "RE" parent, such as how expensive a little girl's First Communion is after the dress, headpiece, shoes, professional photos, and gifts are purchased!  Truth be told, this is a hard concept to "get" so being excited that eight-year-olds understand and accept the Eucharist is understandable!  ...And the fuss, attention, gifts, and dressing up just makes it fun for them.

What has astounded me is the positive, encouraging support that Piper has received, especially by non-Catholic family and friends!  I think it is a true testament to their compassion and understanding!

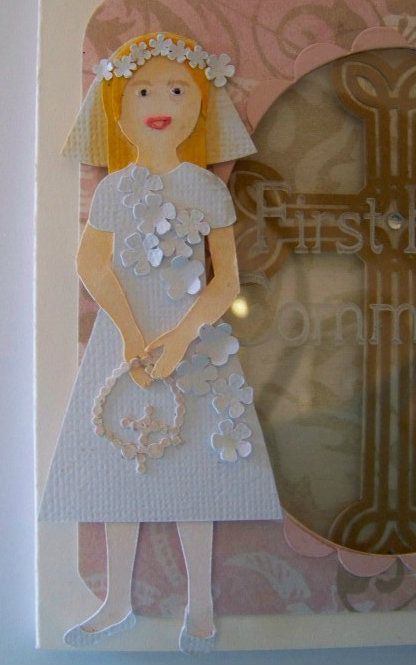
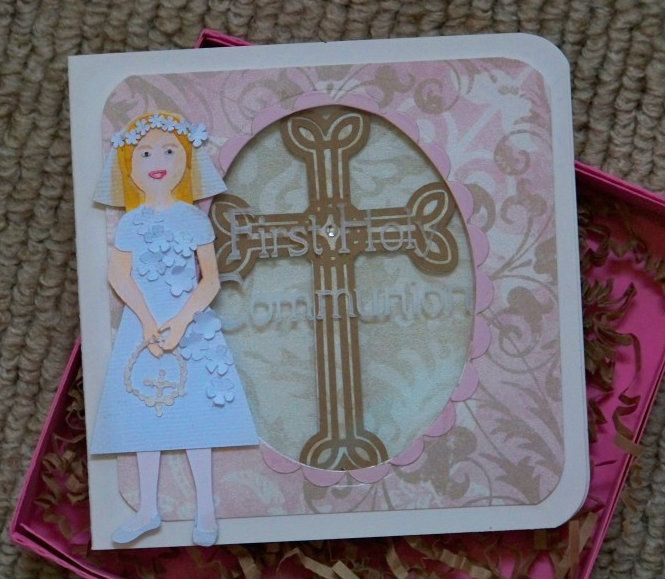
Made by Sis Patterson for my daughter, Piper!

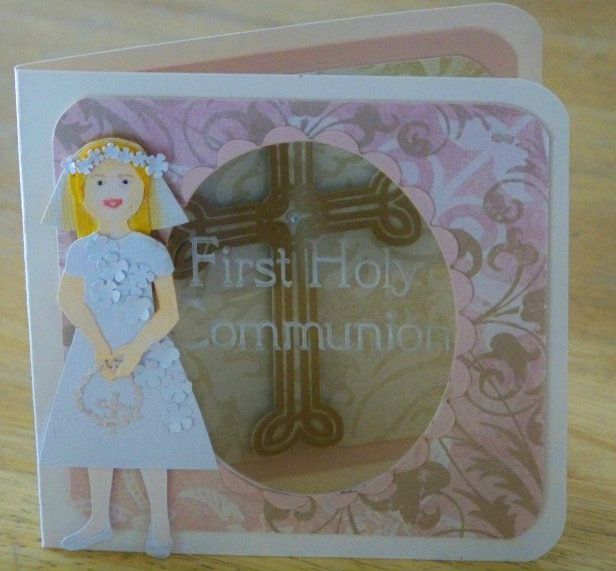
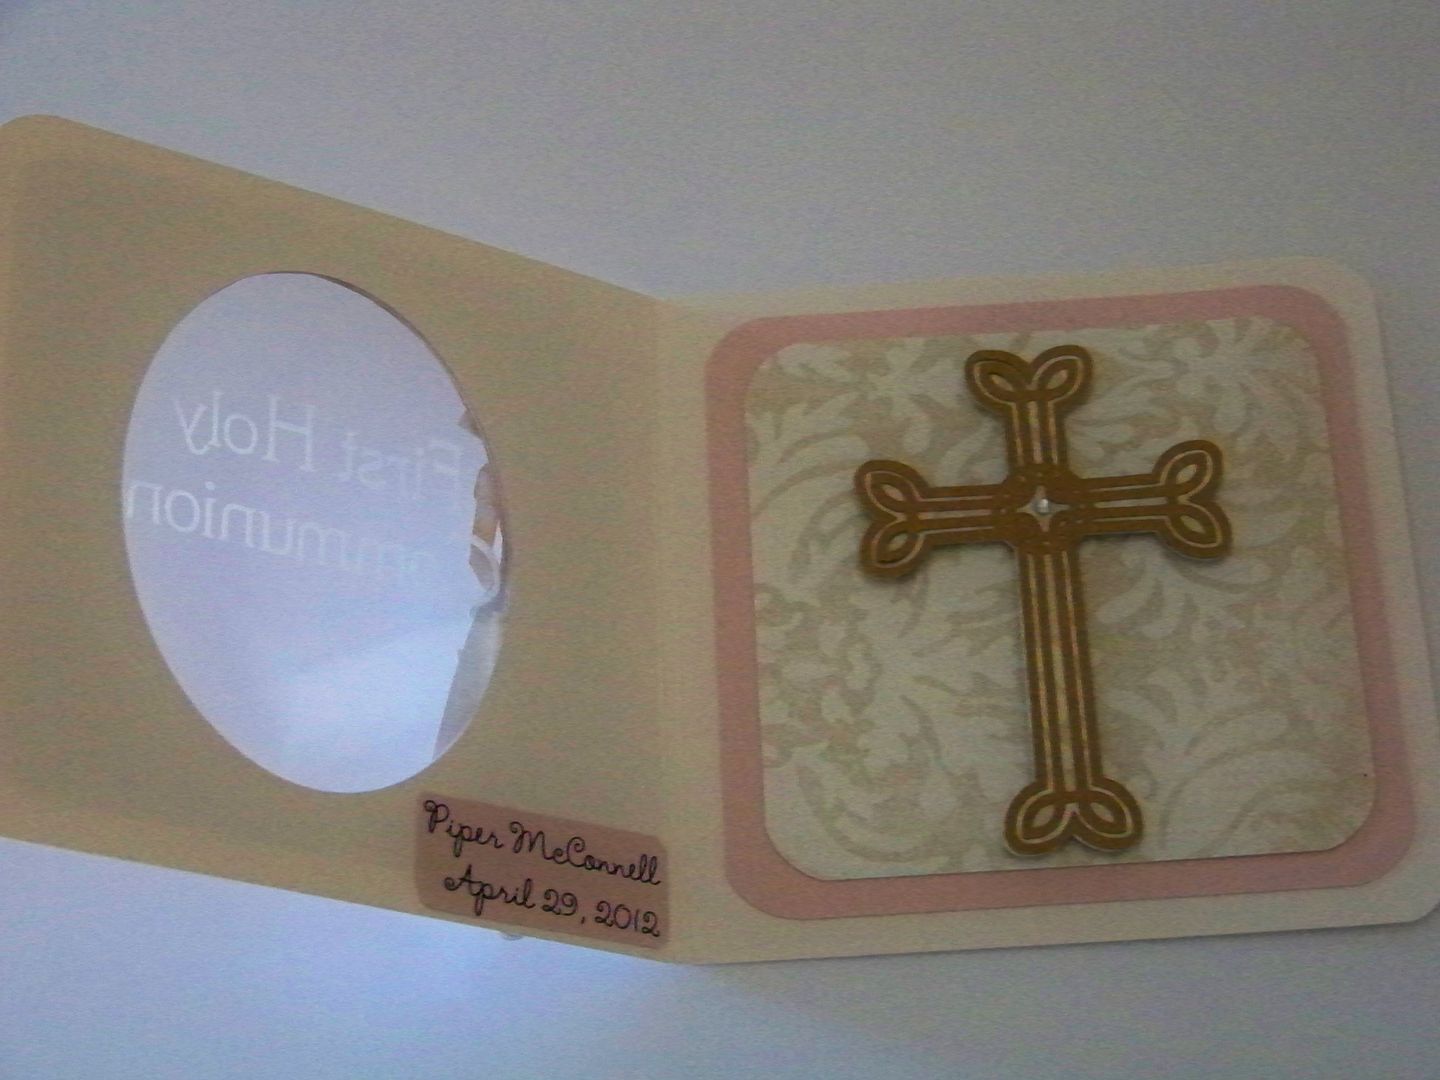
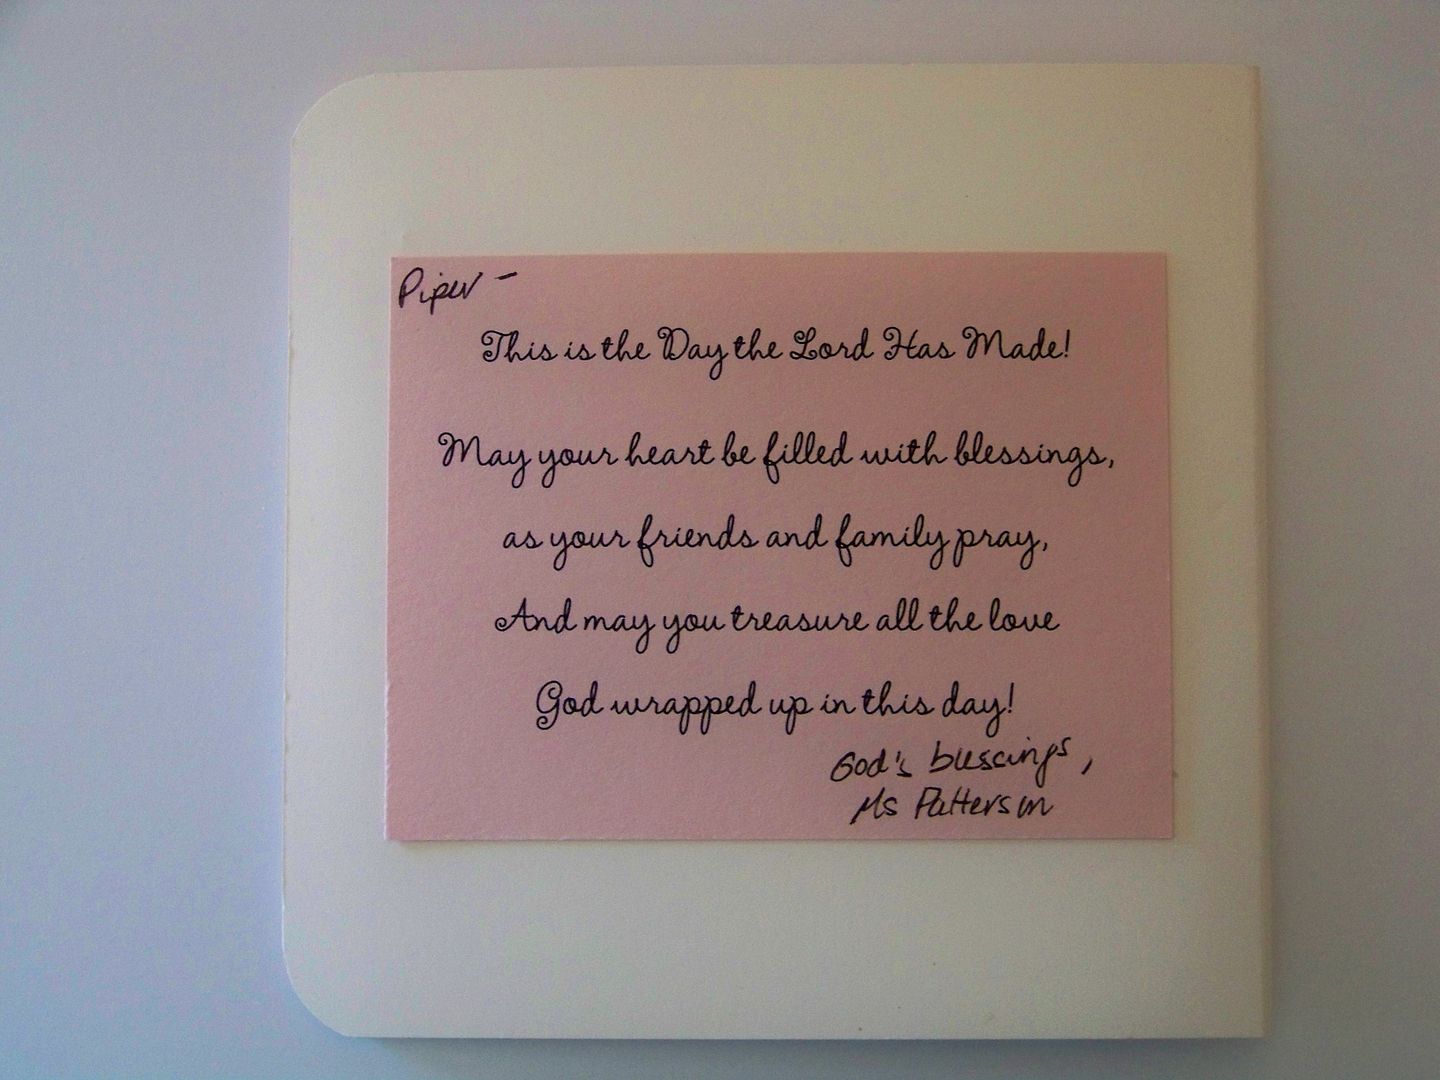
One of the most beautiful gifts that Piper received is a card that was created by Sis Patterson. (That's "Ms. Patterson" to Piper!)  When I became Catholic, Sis introduced me to her gracious and generous talent with her gift of a St. Francis card to me.  (You can see my blog post of that project by clicking here.)  Her card to Piper was just as beautiful and creative!


I love the little girl she created and the way she incorporated a window, stamped with a sentiment.  The cross is beautiful, and as always, Sis creates projects that physically feel substantial due to her selection of materials.  I love the subtle coloring on this card.  It is particularly impressive that she has created the feel of a monochromatic card while using many colors, even dark color in the case of the cross.  So clever!


Sis' blog, Paper, Craft, and Scissors, is beautiful and filled with her over-the-edge creative paper-crafting projects.  She is one of my favorite Cricut and Silhouette die cut users and you can always find a link to her blog on my sidebar under "Inspiration."  You can find all of her crafty details regarding the First Communion card she made by clicking here to go to her blog post!  Her photography skills are so much better than mine so I highly recommend going to her site if you are planning to "pin" this card to Pinterest for the best picture!

As a person who struggles sending dimensional cards with delicate 3D elements, I was tickled to see the box that Sis sent this card in!  It is a Silhouette file, she told me, but the secret is an inner liner, similar to the exact cut of the box but just a tiny bit smaller to nest inside.  The card was delivered uncrushed, unharmed, perfect!  (My mission is to figure this out on a Cricut!)

The pink box is the one it arrived in!
(This isn't the first kindness that Sis has expressed to Piper.  Twice, on fantastic international excursions, she has sent messages to Piper through a Flat-Stanley-type of exchange where "Awesome Emily" told Piper about people and places she encountered-- and sent her souvenirs from all the countries she visited!)  

Thank you so much, Ms. Patterson!  This card will be a treasured keepsake forever!

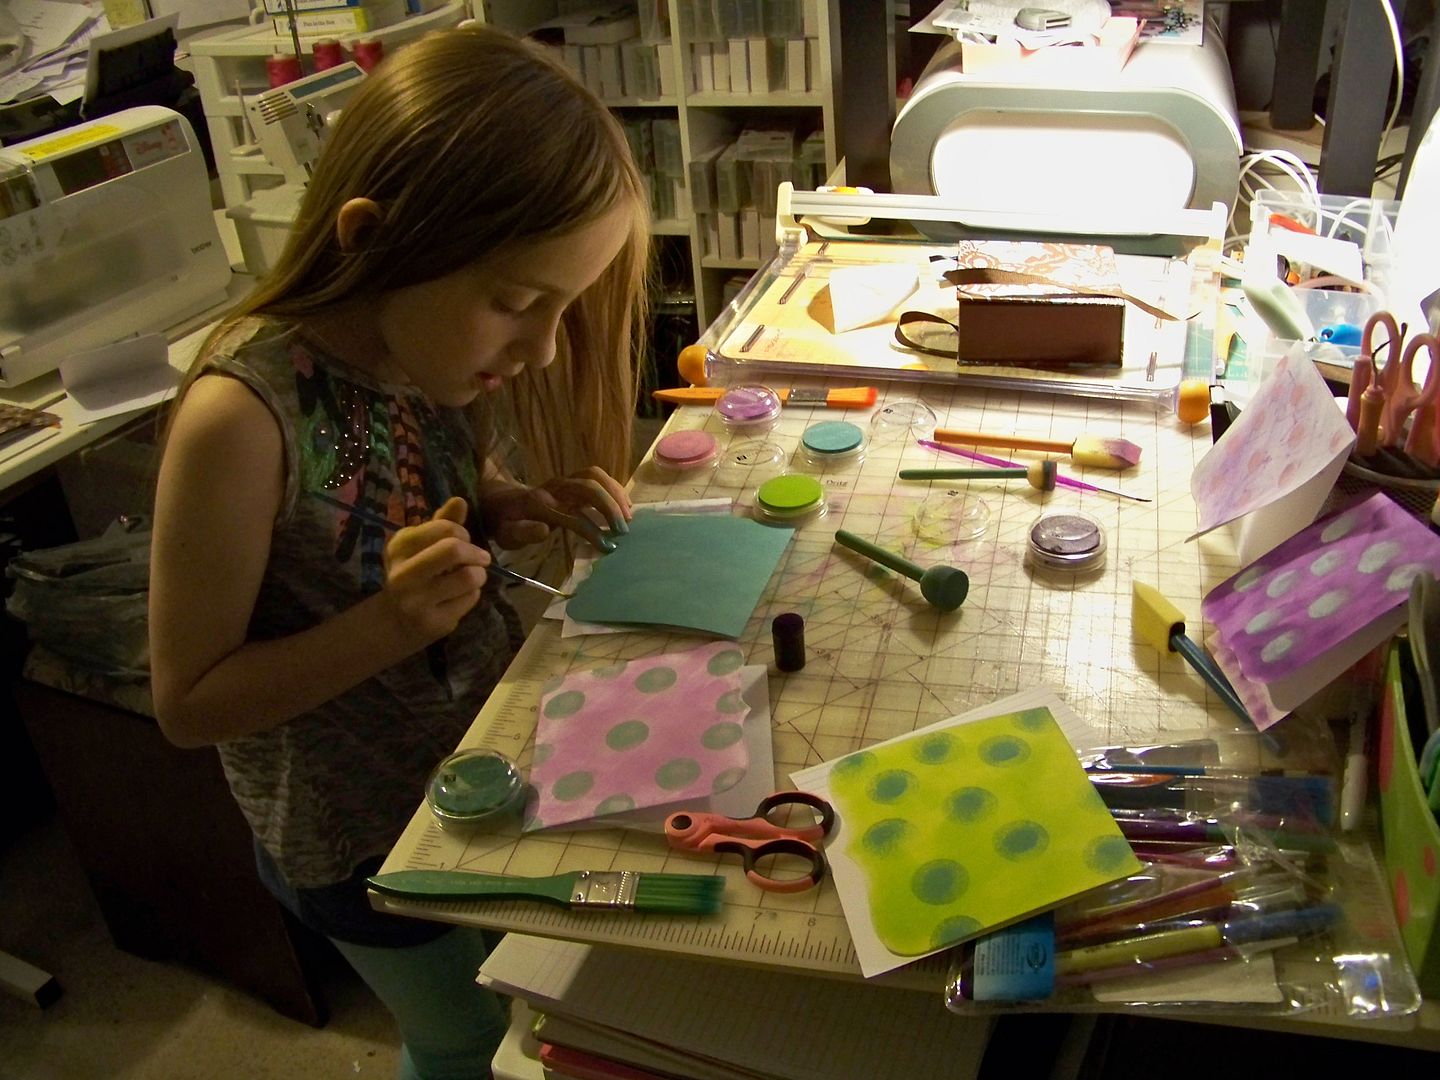
Piper is so fortunate to have had many kindnesses gifted to her for her First Communion.  Last night, she finally finished all the thank-you notes and decorated her cards.  She was so serious in building up color layers.  (The Studio G ink pads at Walmart are highly recommended if you have a kid that likes to dabble in color!  At under a $1 each, you can allow them to thoroughly cross-saturate the hues and not give it a moment's thought!  Of course, they are now hers!)


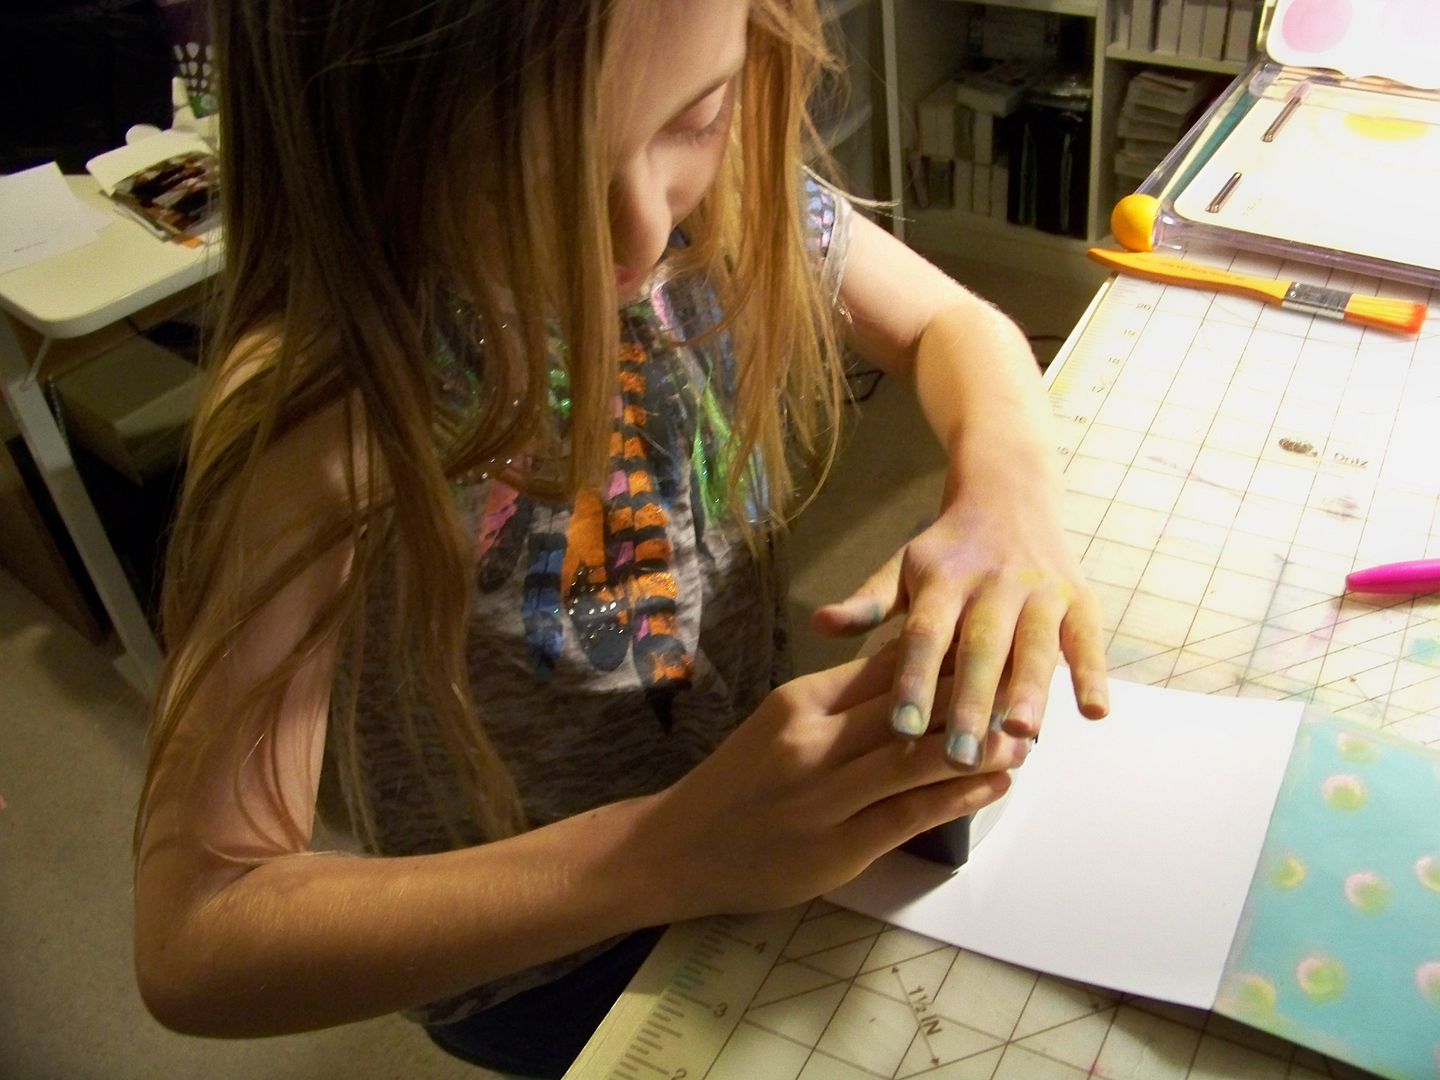
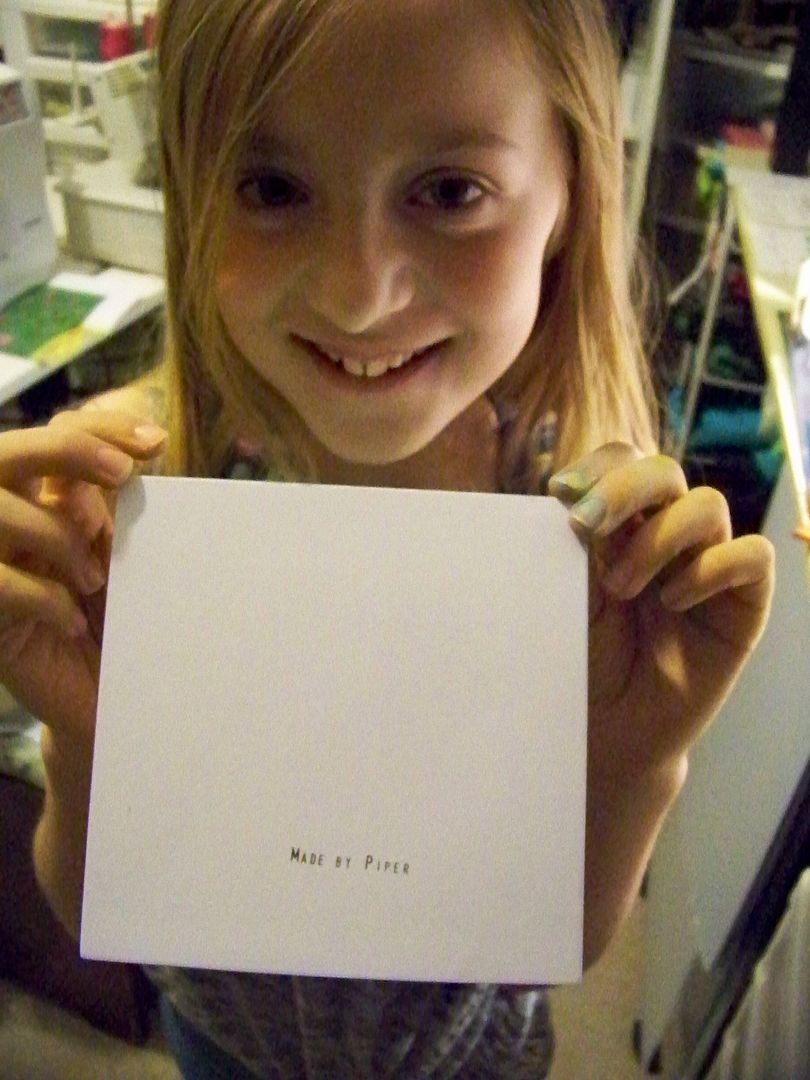
For fun, I helped her create her own little stamp for artsy ownership of her efforts!


"Made by Piper" is on the back of her thank you cards. 
I have lots of pictures to scrap of her First Communion, but I am still awaiting the ones from the professional photographer!  I hope to have actual scrapbook layouts to share with you soon -- I am making a memory book for Piper with pictures, cards, keepsakes, and the DVD from the church.


Thank you for checking my blog post! Be sure to visit Sis Patterson's blog to witness all of her crafty genius first-hand:  Paper, Craft, and Scissors.  

As always, you can see many of my previous projects by visiting My Project Gallery.

But wait! There's more! Click 'older posts' above!

But wait!  There's more!  Click 'older posts' above!