Sunday, January 13, 2013

January Sew-Along: Violets Are Blue Valentine Pinafore


I was recently invited to join a Yahoo group for people who like to sew for American Girl dolls.  Well, my eight-year-old daughter, Piper, is the doll enthusiast, but what sealed the deal for me is that this group has sewing challenges where a download pattern link is provided and everyone is encouraged to change it up and make it special.  I thought this would be a great bit of encouragement to get me sewing extra little gifts for my sweet daughter from my stash!

Our challenge for January is to make it a Valentine Party dress!  OK, that's just fun!  I decided to make some accessories for the dress as well.

The pattern we are using is a free one that I have seen many times on Pinterest (click here for my Pinterest Doll Board) and in my Google searches for patterns.  We are doing Molly's Pretty Clothes:  Party Pinafore.  Here's a link to the pattern in case you were just wishing for some free doll clothes patterns:  click here.  This pattern has some larger pieces that go off the edge, necessitating the need to cut duplicate parts of them to line up and tape to form the longer pattern pieces.
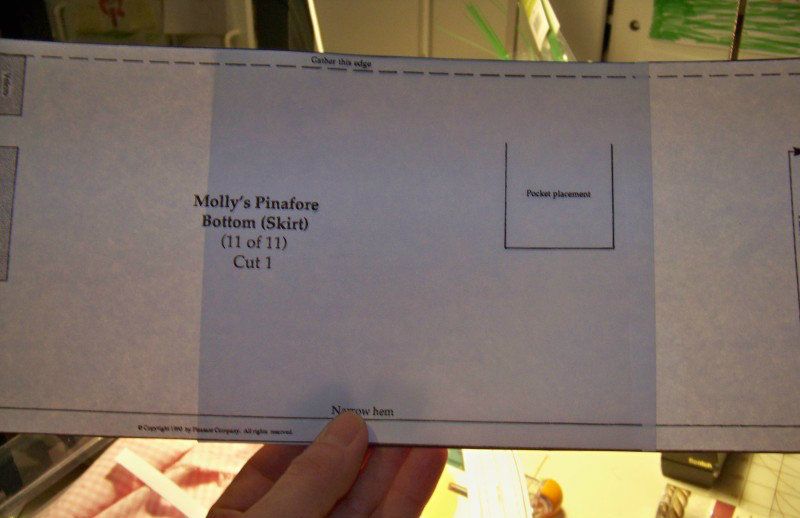

The thing that came to mind right off for me is that the older dolls (for which these patterns were made) have slightly different proportions than do the current dolls so the fit may be an issue since my daughter only has the newer dolls.  I referred to a measurement chart for American Girl Dolls from differing time periods from the Liberty Jane site:  click here.  In addition to the differences in doll size, I wanted to be sure that the dress had great fit-- and that is hard to find in many doll clothes patterns for reasons that are a mystery to me.

So... the first thing I did was to check the American Girl website to see if there were any cute ideas there.  OMGosh!!  The exact dress is being sold just like it looks on the pattern, pictured with crown and all!!  What is up with that?!


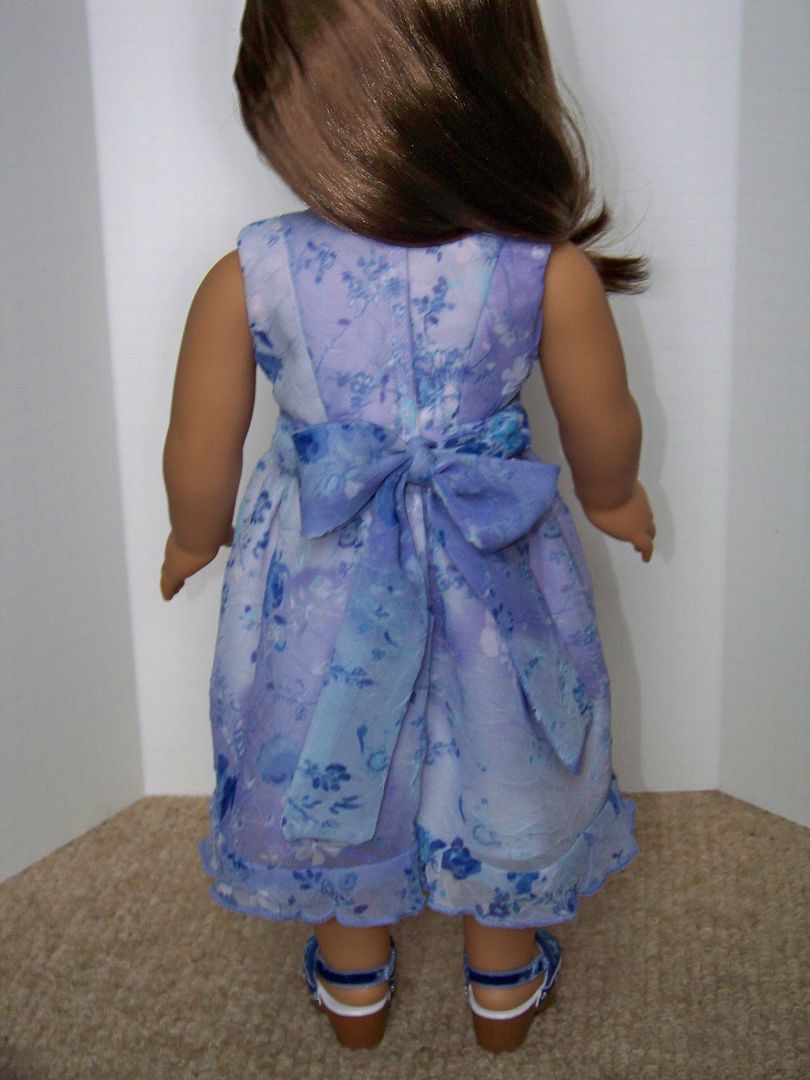
So, I showed this to my daughter and did NOT get a happy reaction.  The challenge was on! Some of the things that she said must immediately go were the wing sleeves with rick-rack and the patch pockets.  I loved the princess seams in the bodice and decided to underline all pieces except for the sash so I could use a semi-sheer.  In addition to the underlining, I lined the bodice to make more beautiful neck, sleeve, and back edges without the top-stitching directed by the pattern instructions.  

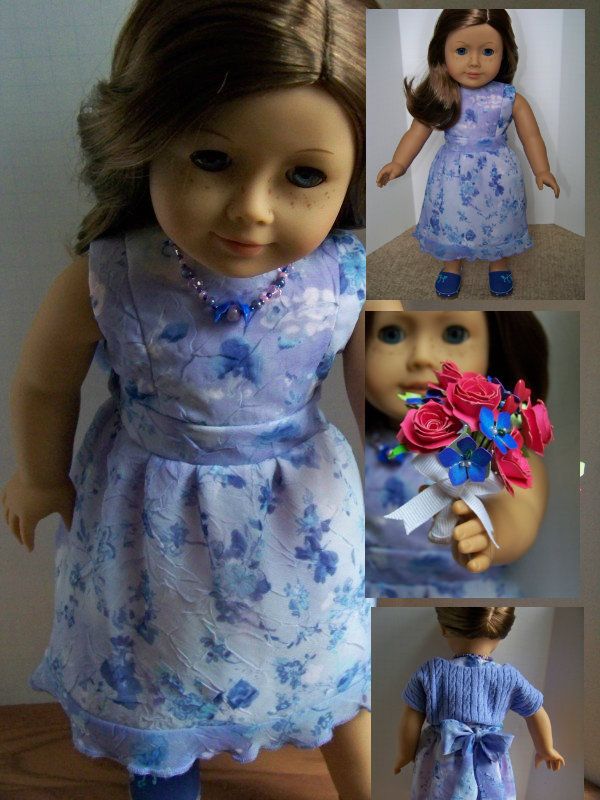
Piper's Doll Dress  


Piper decided it would be fun to have a doll dress in the theme 'Violets are Blue' instead of making one in the pinks and reds that usually come to mind with Valentine dresses.   
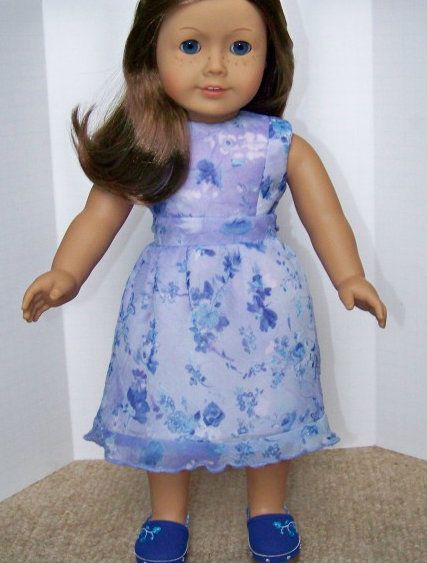


Changes that I made to the original pattern:
  • I omitted the sleeve (three layered ruffles)
  • I omitted patch pockets.
  • I used semi-sheer fabric.  (This was cut from an old skirt).  I underlined each piece, except for the sash.  I lined the bodice.  The underlining/lining fabric was pink cotton.
  • By lining the bodice, I was able to avoid turning under and top-stitching the neck and sleeve as directed on the pattern.
  • From the misses-sized skirt I used for the dress fabric, I cut the rolled, lettuce-edged skirt hem to create the flounce on the edge of the dress.
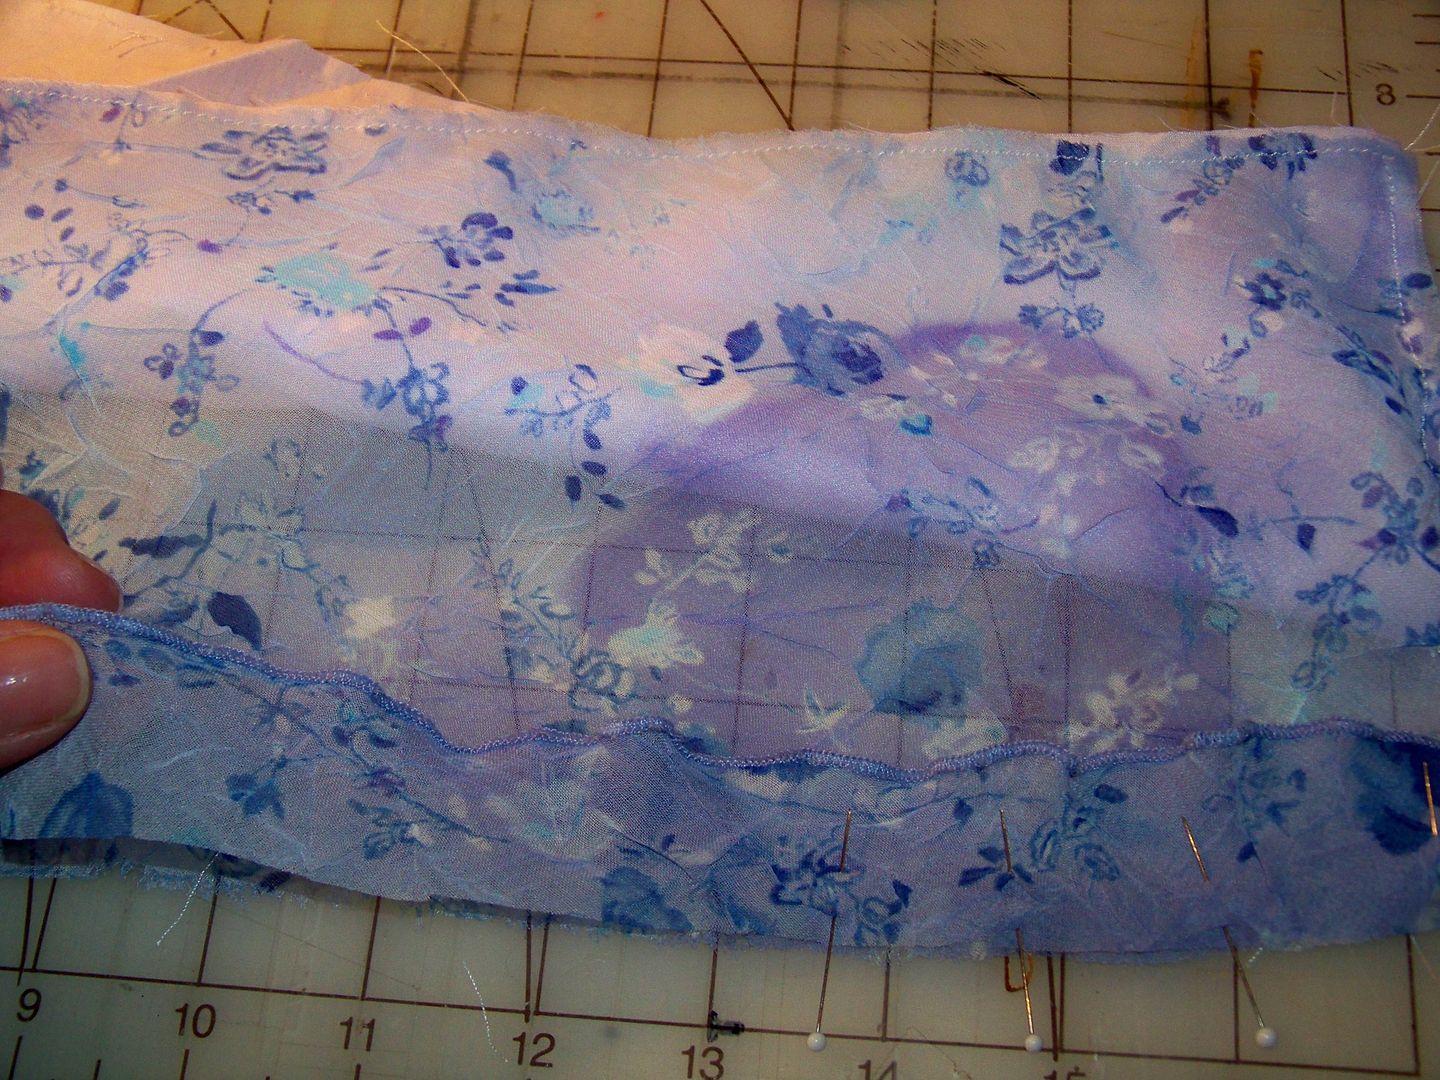
  • I cut a slightly less full skirt by cutting 2" off the side  (1" on the fold).

  • To create a perfect fit for the bodice, when I lined it, I sewed not only the neck and sleeve edges to turn, but also the back, sewing 1/4" center back seams.  Then, when I added the velcro closure, I sewed the hook side flush to the edge for a 1/4" overlap, but sewed the loop side 1/2" in to create a bigger overlap and better fit without altering with the princess or side seams!  
  • For the sash, I didn't underline, but did cut double from the sheer to sew and turn instead of sewing rolled edges on single layers.  I sewed the turned sash pieces onto the dress sides only.  I cut a 1-1/2" wide poster board strip to insert into the tube to assist with pressing flat.  (I inserted the poster board for ironing and then pulled it out before finishing the unsewn edge, gathering it to fit the waistband width, and stitching each one to the sides of the bodice.
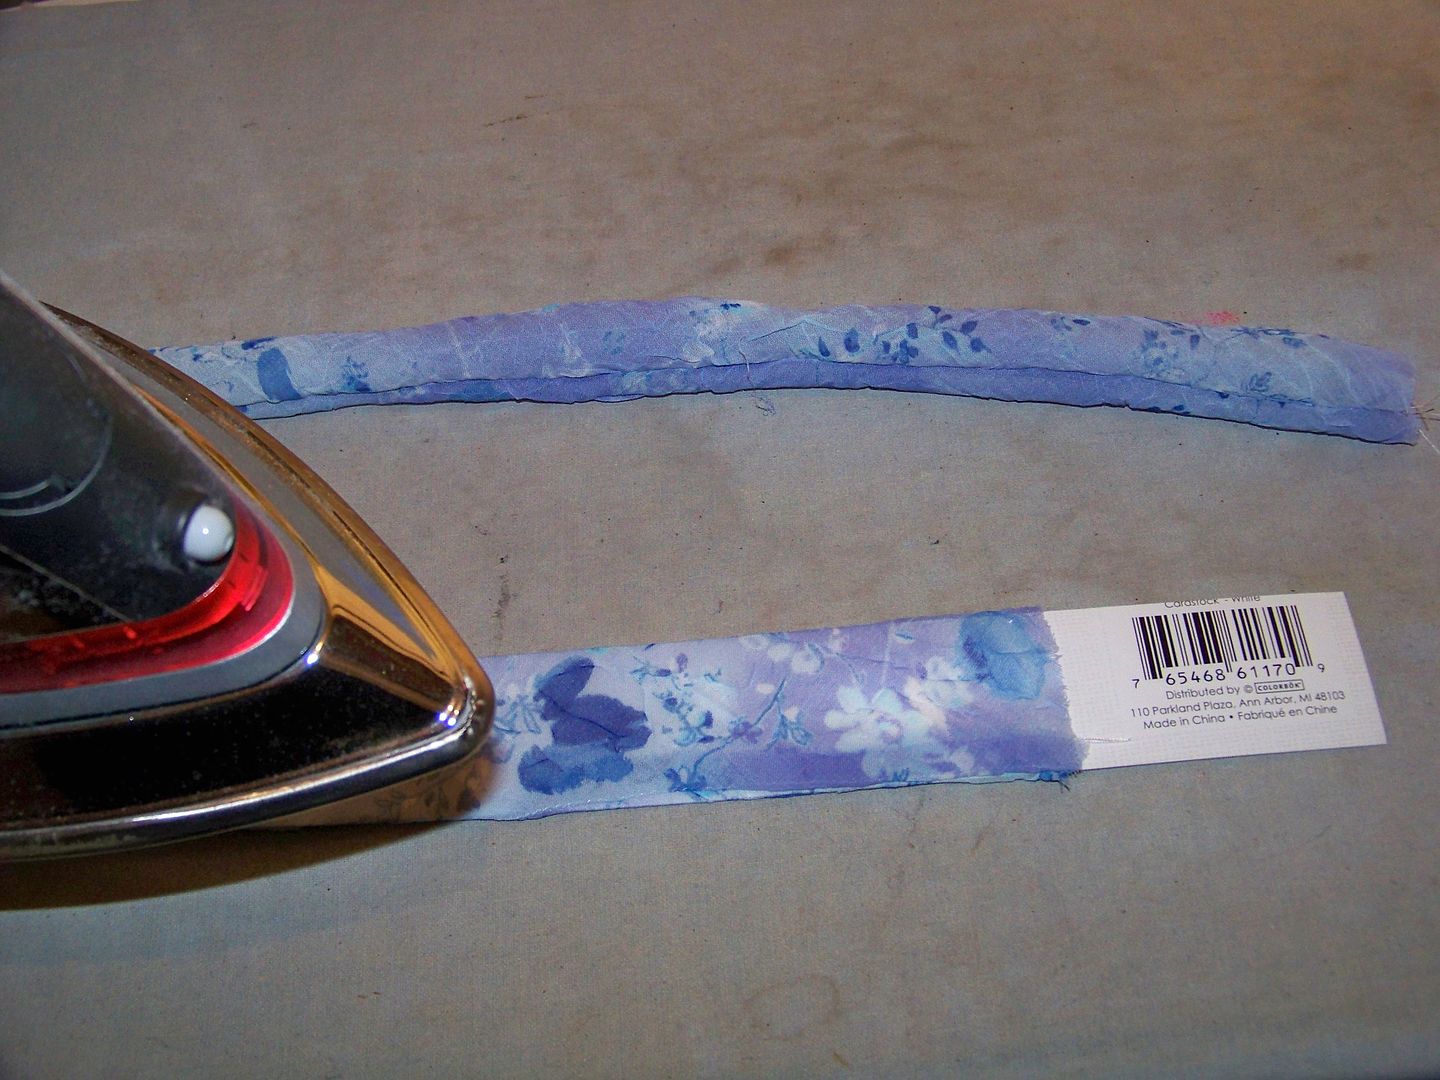
Sticking a piece of poster board inside the sash tubes made pressing them so easy .
Necklace


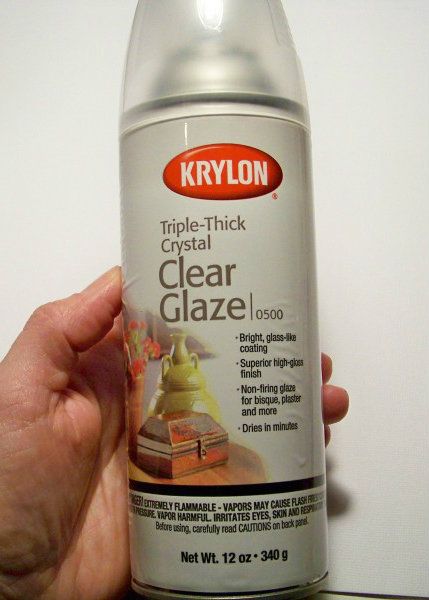
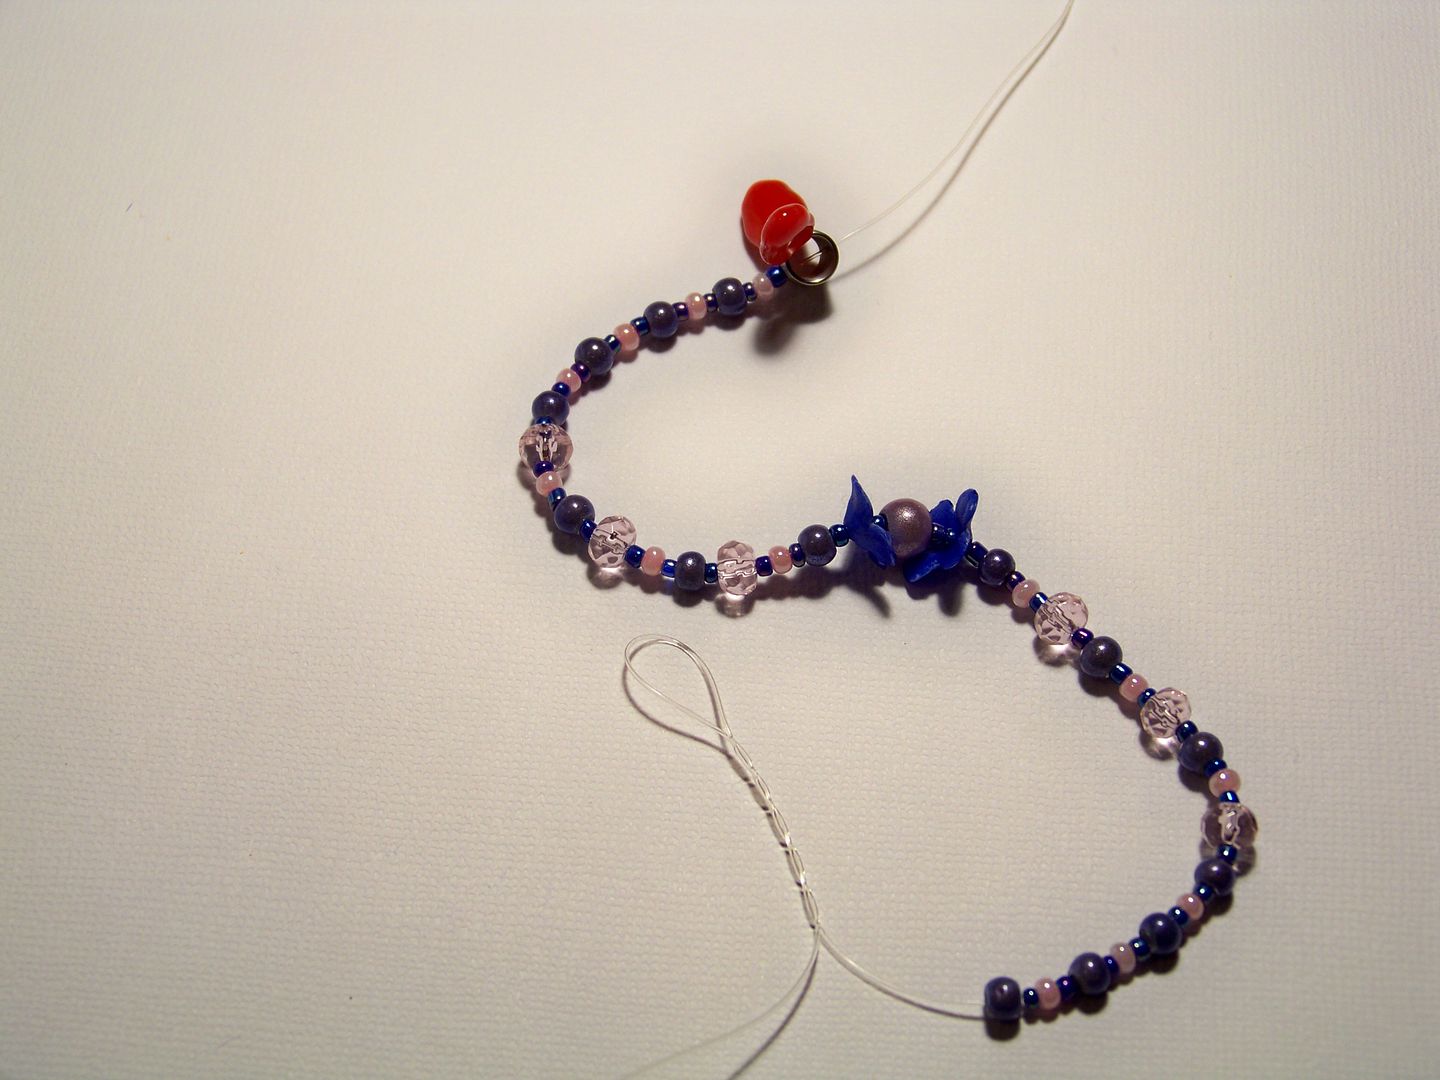
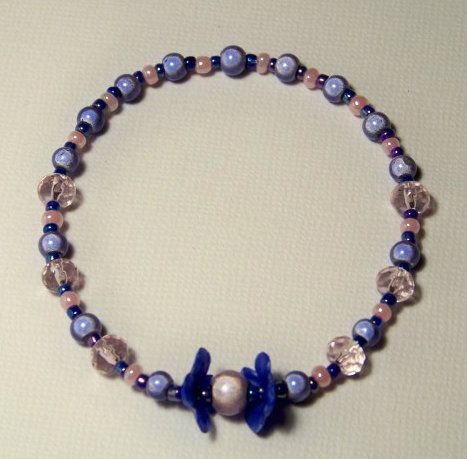
To accessorize the little Valentine party dress, I made a necklace. I was determined to use only my stash for all the materials for this challenge so I had to create some blue beads-- something that would look as close to violets as I could get.  I used a blue Sharpie to color some white petal spacer beads and sprayed with multiple coatings of Krylon Triple Thick Clear Glaze to seal them.  Once dry, I used them as the focal point of the little necklace.
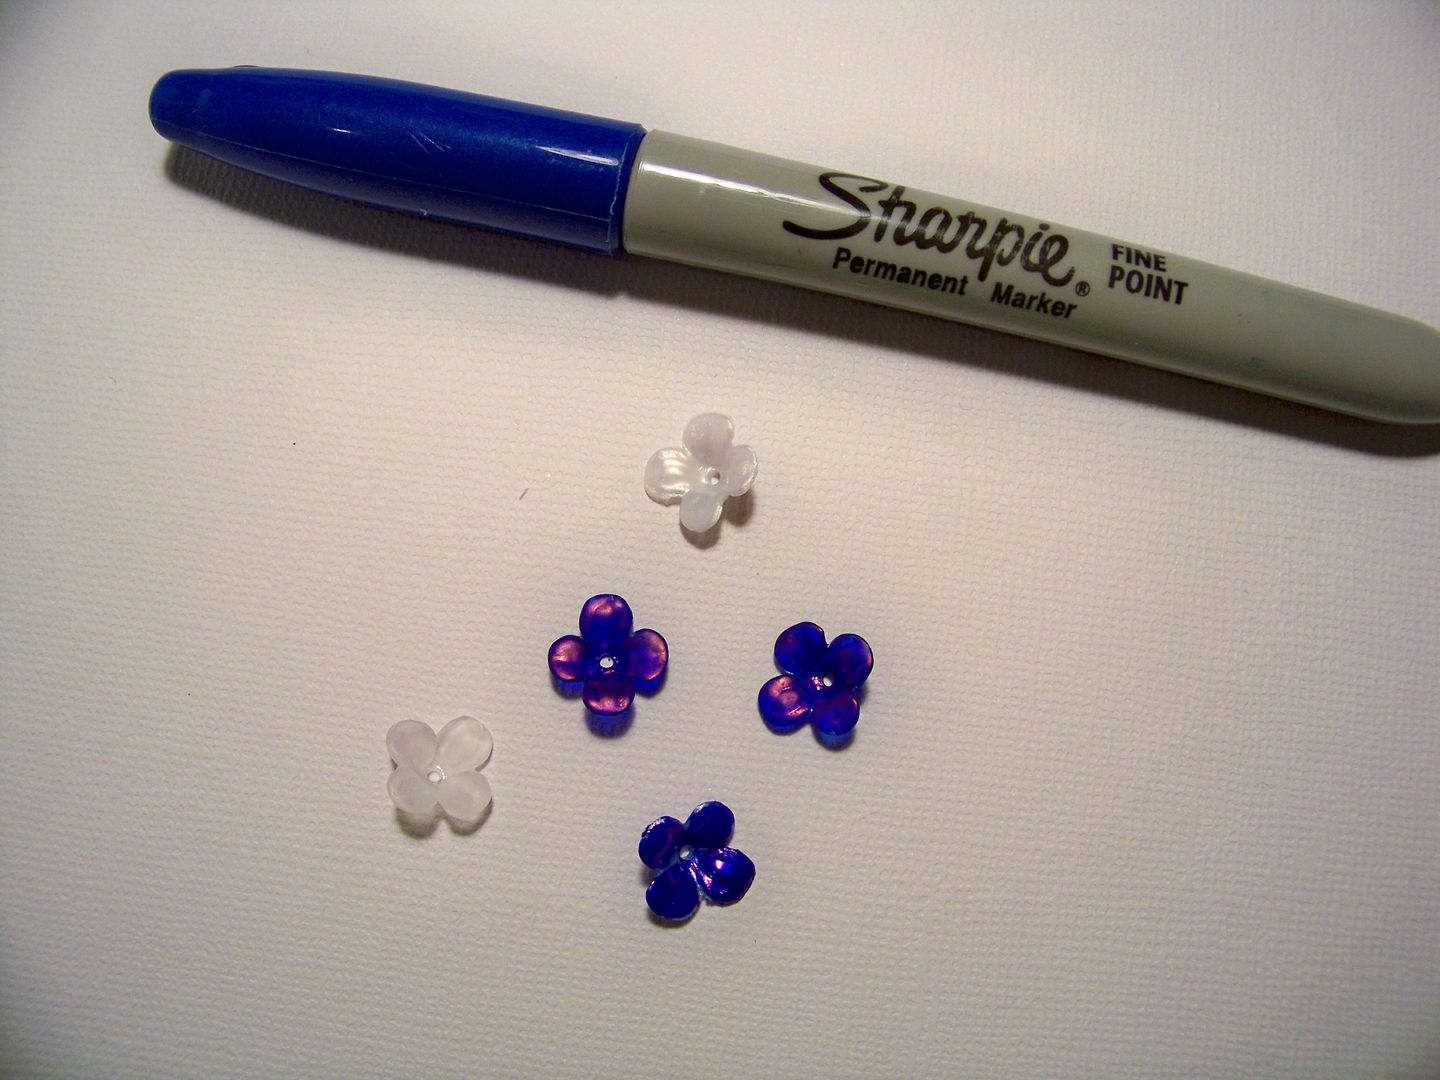


I like Stretch Magic .5mm clear cording for doll and girl jewelry! 
Once strung, it was about 7" of beading.


Shrug


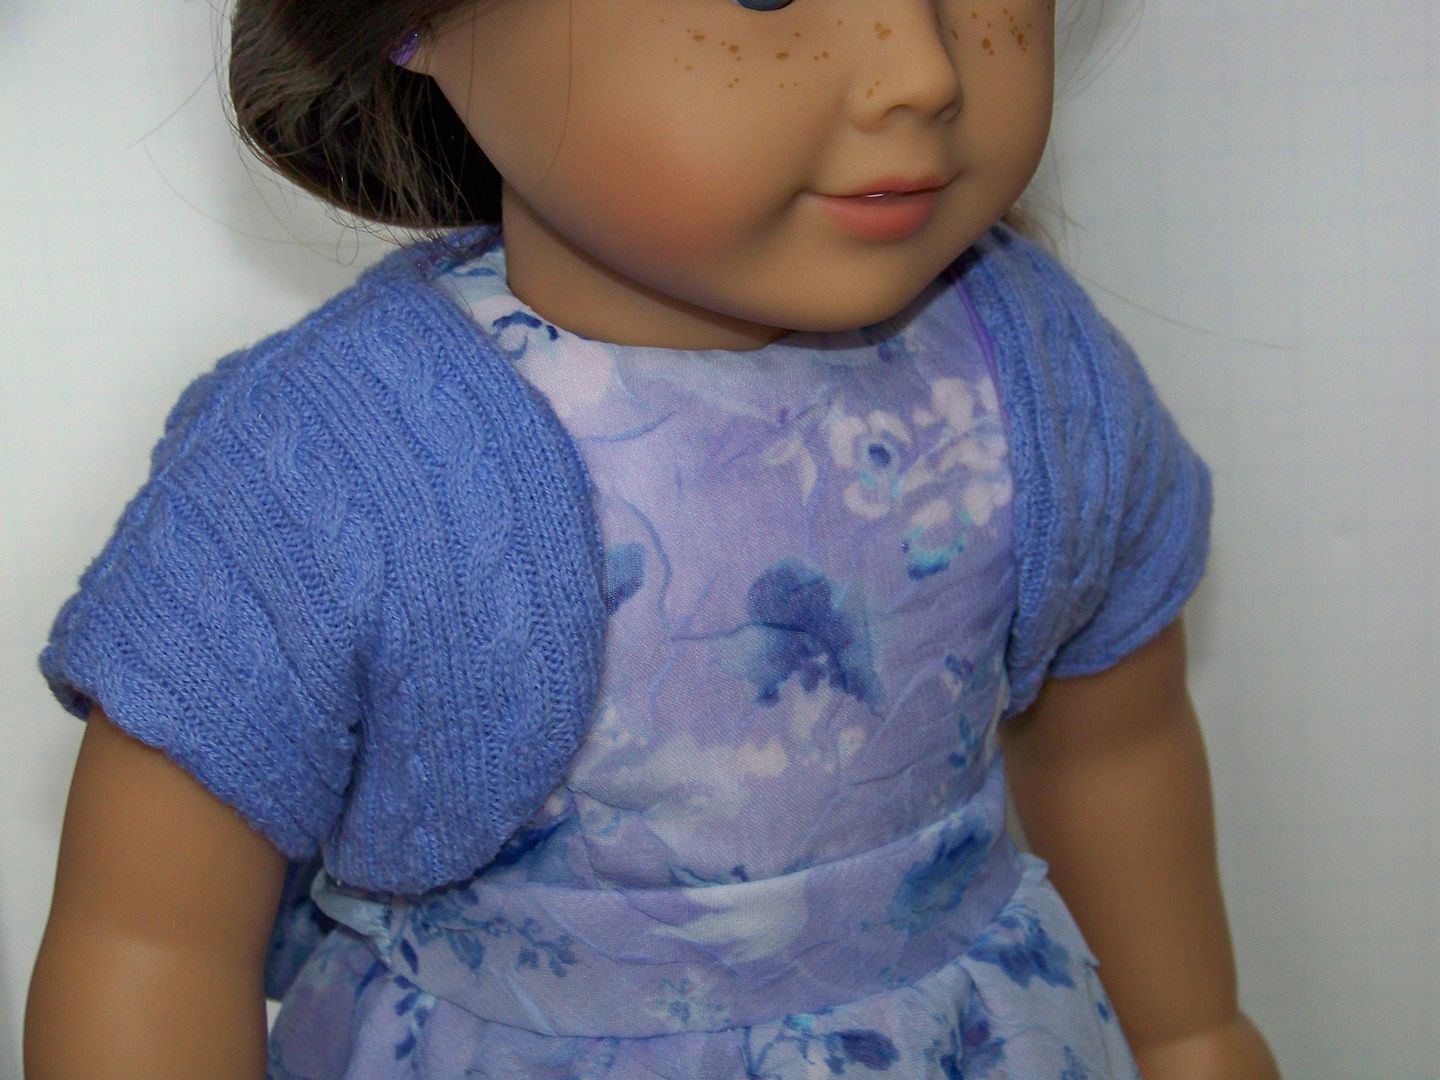
I cut up an old sweater of mine that was headed to the charity pile and instead used Simplicity 3936 to make a shrug.  This was such a fast little garment.  I decided to line it-- and with only two pattern pieces to make this, it was a snap to do.  I underlined the back only to stabilize, then sewed the shoulders of the sweater knit pieces and the shoulders of the lining pieces.  Then, I pinned the outer sweater to the lining and sewed all edges except the tiny sides.  I pulled it to the right-side through one of those unstitched sides and pressed.  Then I cheated a bit and simply put the right-sides of the sweater together and sewed the side seams, sweater and lining all together, and serged the raw edges.
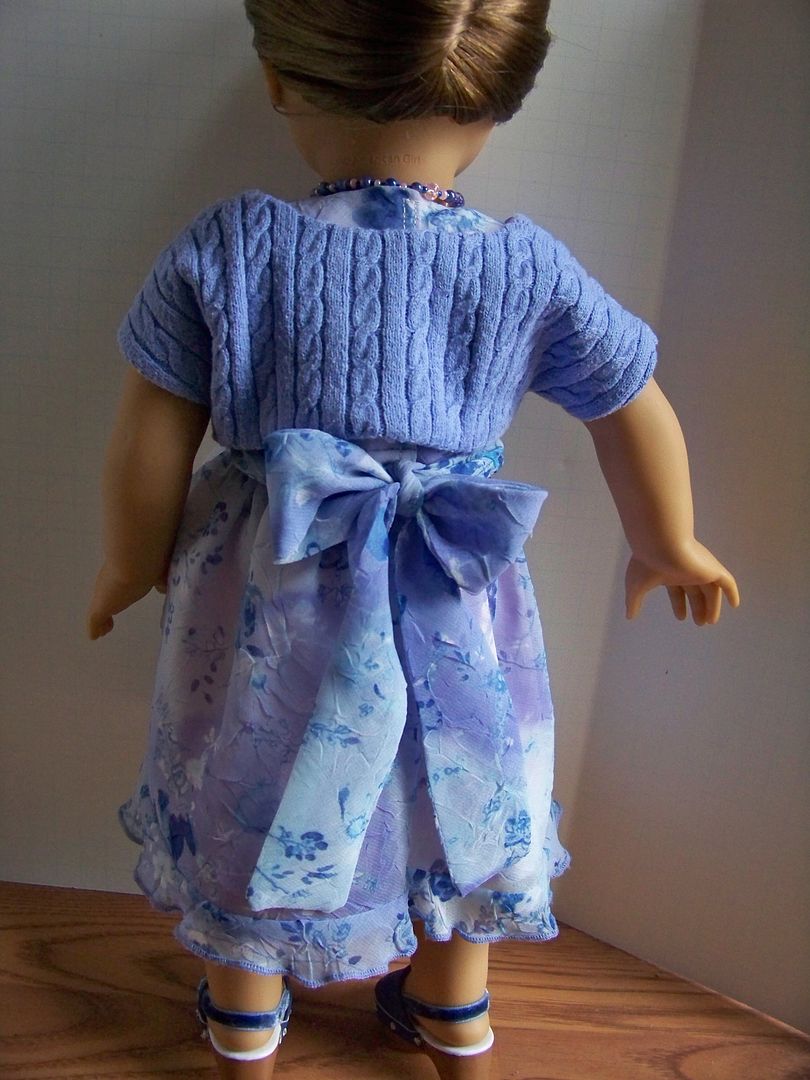

What I like about using this pattern is that shrug is a cropped garment and doesn't impede the sash bow.

Bouquet


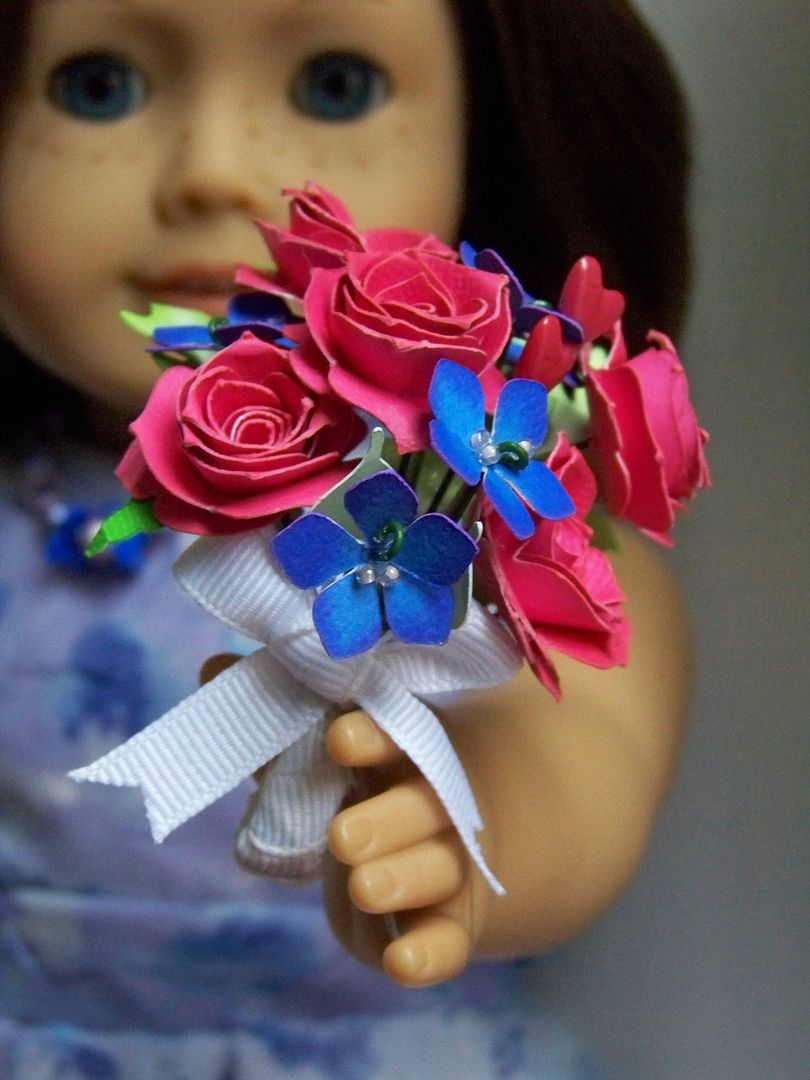
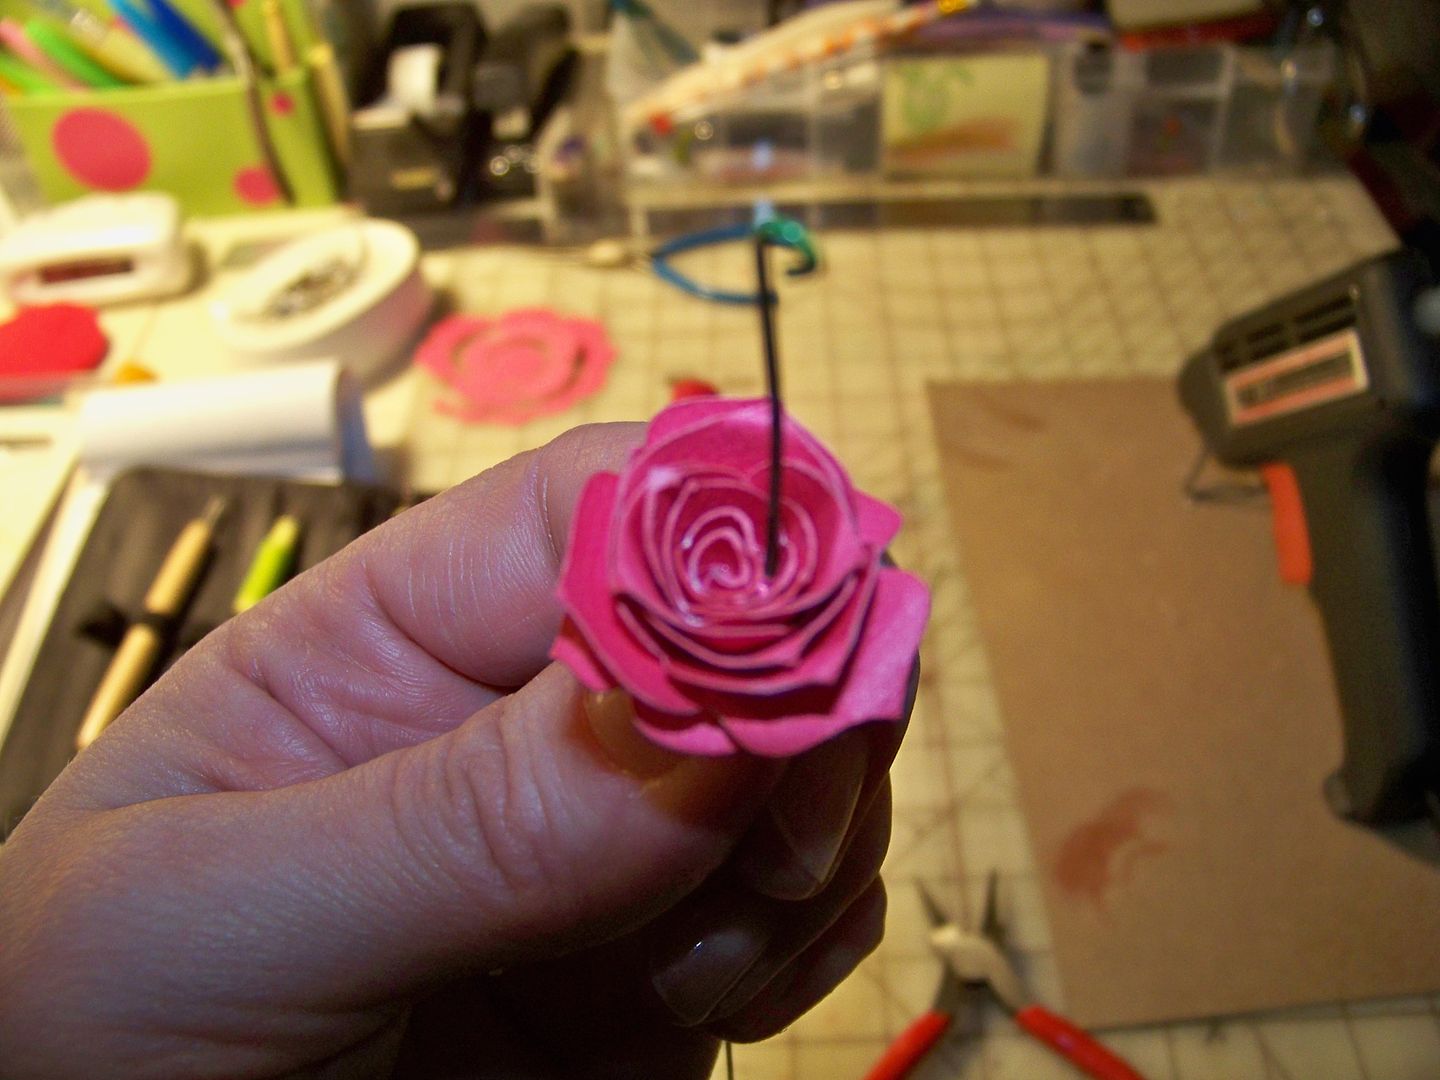
Lastly, I wanted to make a little Valentine nosegay for the doll to hold.  Using tips I have learned on how to add stems to paper flowers from Sis Patterson's Paper, Craft, and Scissors blog, I added wire stems to cut roses and violets made on my Cricut.  The roses were cut from Art Philosophy (page 69) at 2-1/2".  To put on stems, I simply made the flowers and then used a mattress needle as an awl to poke a hole in the center.
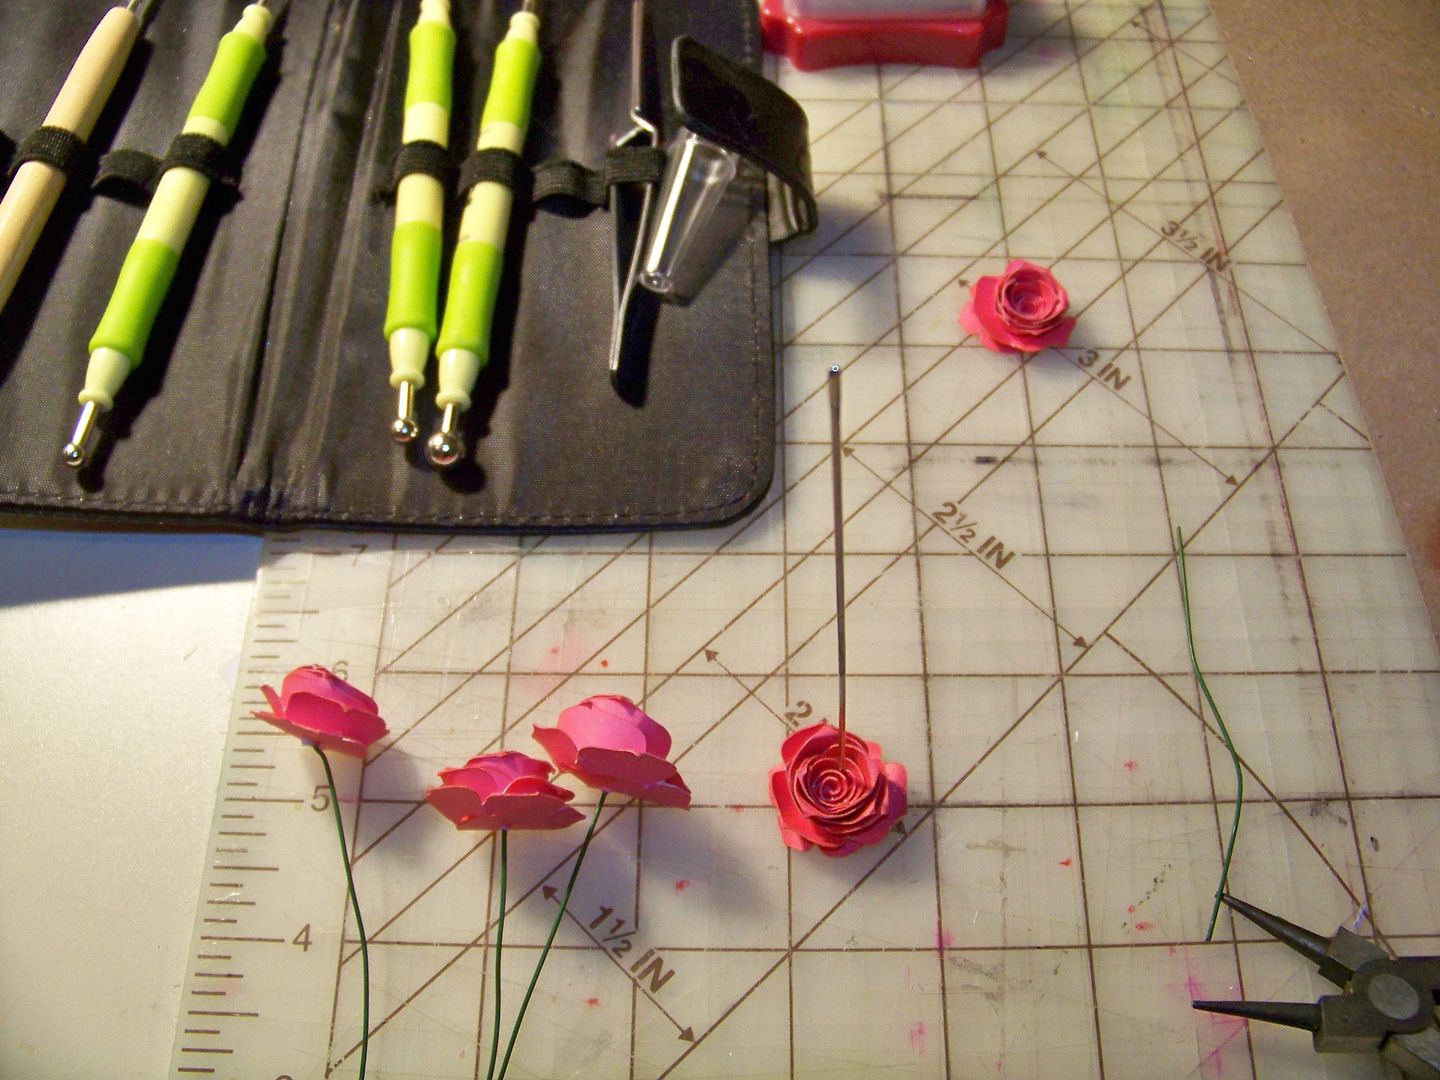

I formed a loop in a length of 20 gauge florist wire and pushed it down through the center of each rose.
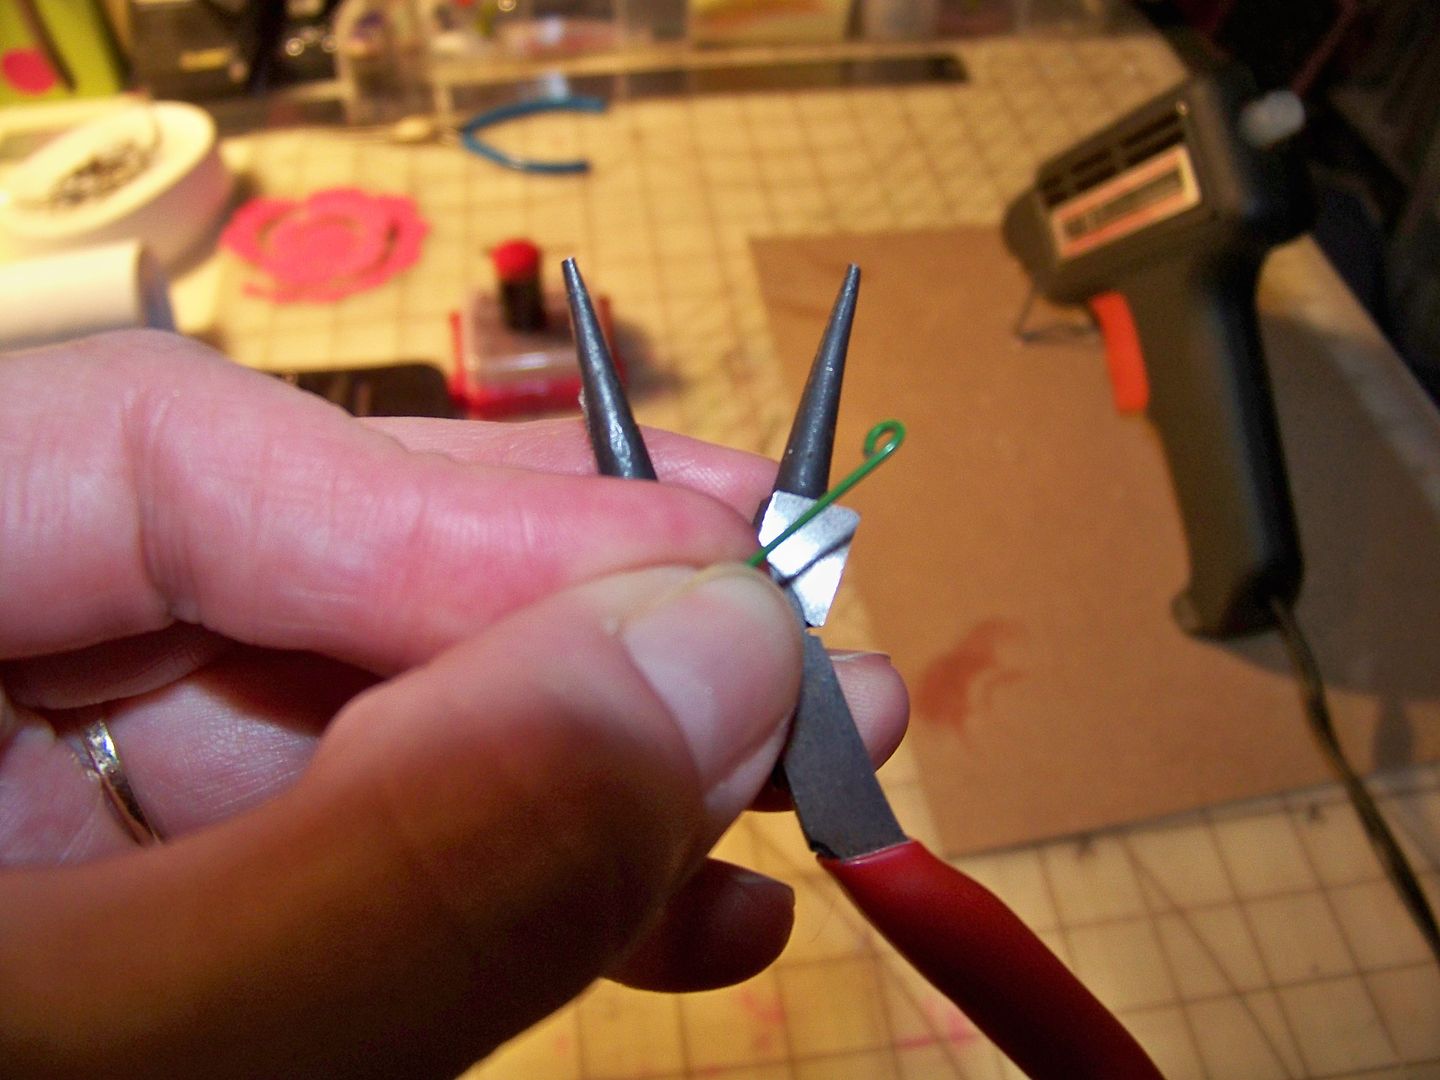

The violets were cut from Mother's Day Bouquet (#5) at 3/4".  I cut them from blue and inked them in purple, to create a flower that coordinated with the doll's outfit.  I pierced the centers with the mattress needle...
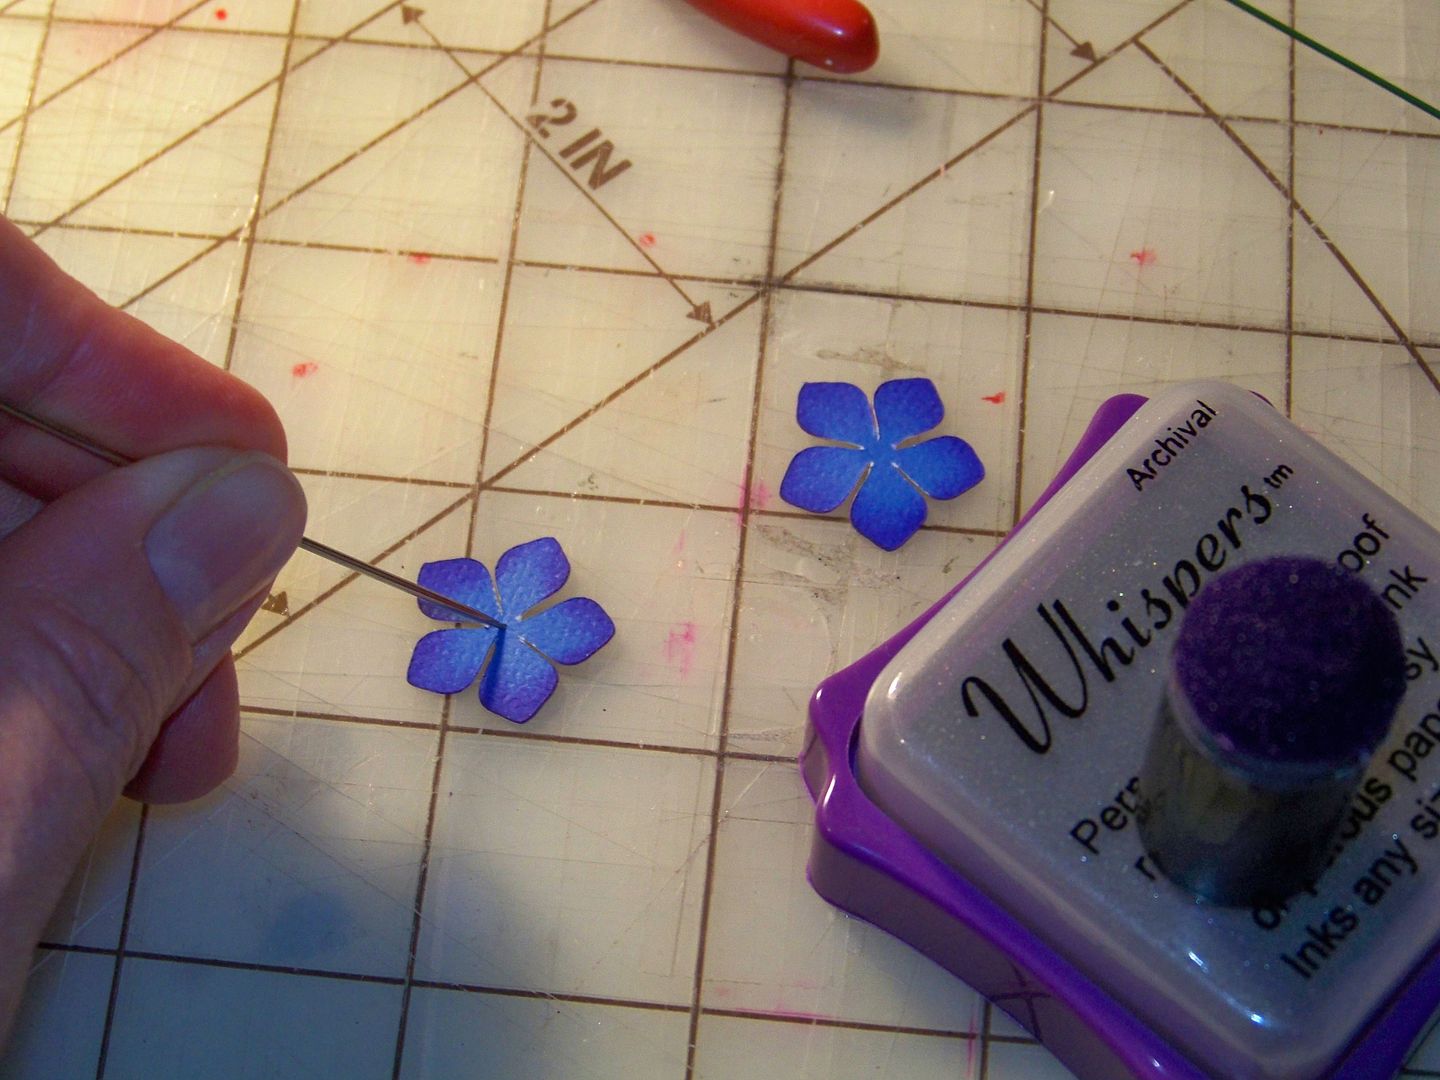

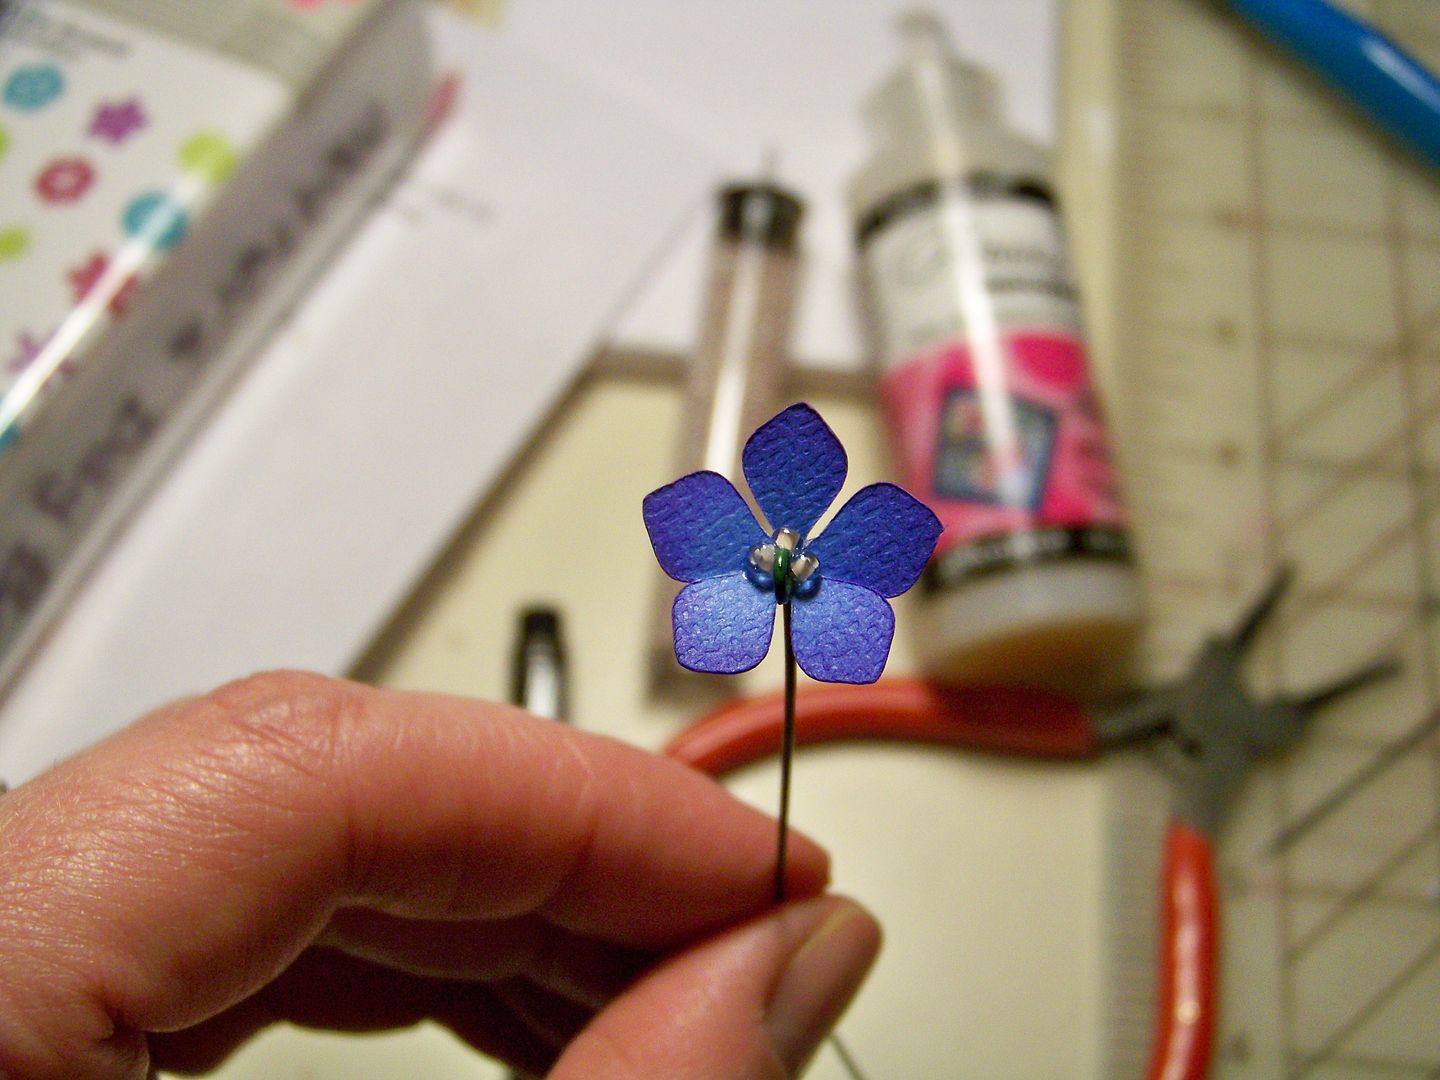
...and placed a bit of hot glue on the backs of each before pushing the looped florist wire through the centers of those.  I added a few tiny beads adhered with Glossy Accents.

I combined all the stems, trimmed and wrapped with grosgrain ribbon.  I added heart-topped stick pins to look a bit Valentine-y.  I hot-glued various leaves from Mother's Day Bouquet to fill in and a grosgrain bow.
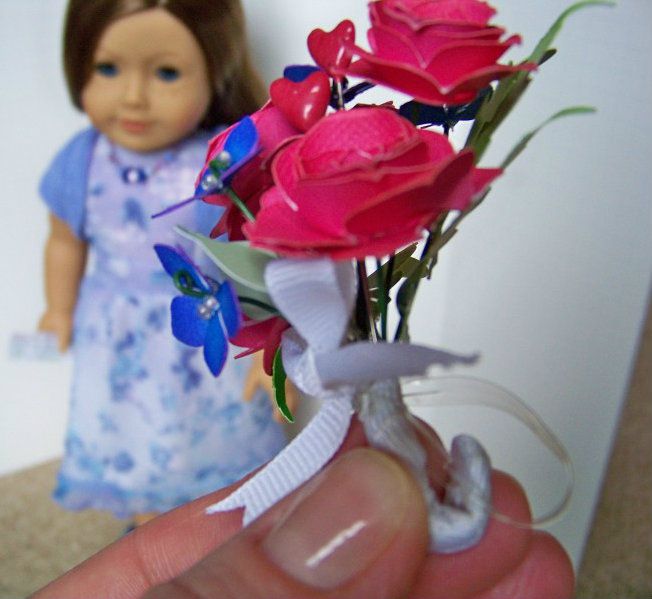
A piece of knotted clear elastic loop, hand-sewn to the back, helps the doll hold her Valentine bouquet.


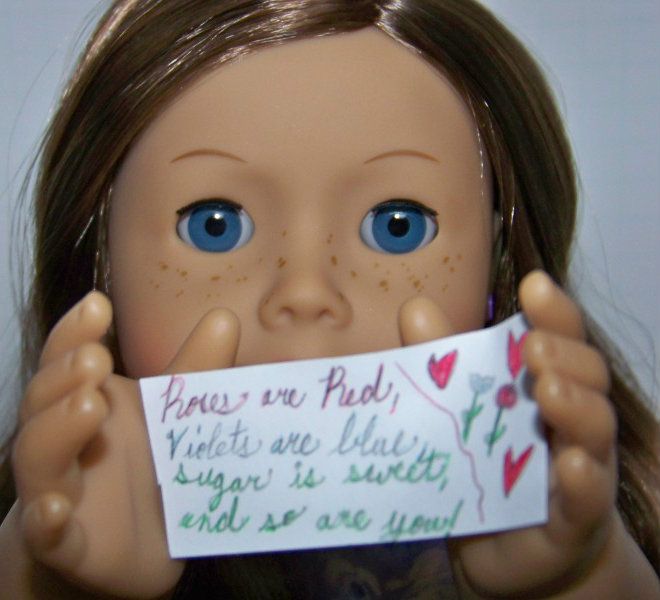
Piper decided to make a little Valentine for her doll to finish off her holiday ensemble...so sweet.


If sewing for American Girl dolls is your cup of tea, you might consider joining the group-- click here for link to learn more.  The little pinafores made by others in the group for this challenge have been adorable--can't wait to see more!  From what I have read in the messages, it appears that many are like me, sewing for a child or grandchild who has an AG doll.

Thank you for checking my blog today.  To see many of my previous projects, check out My Project Gallery (click here).

To see many of my previous American Girl doll projects, check out my Doll Clothing and Accessories page (click here).

Saturday, January 5, 2013

Loopdedoo Bracelets for Girls, Dolls, Paper Crafting ..and Goodbye to Baer Fabrics


One of the gifts I gave my daughter this year, in an attempt to give her a new, fun, creative craft outlet this winter, was a Loopdedoo.  I went to the store to pick up a friendship bracelet kit I had seen- a different brand in fact- but the cool packaging and sticker announcing that this was a Toy Of The Year Finalist caught my attention instead.


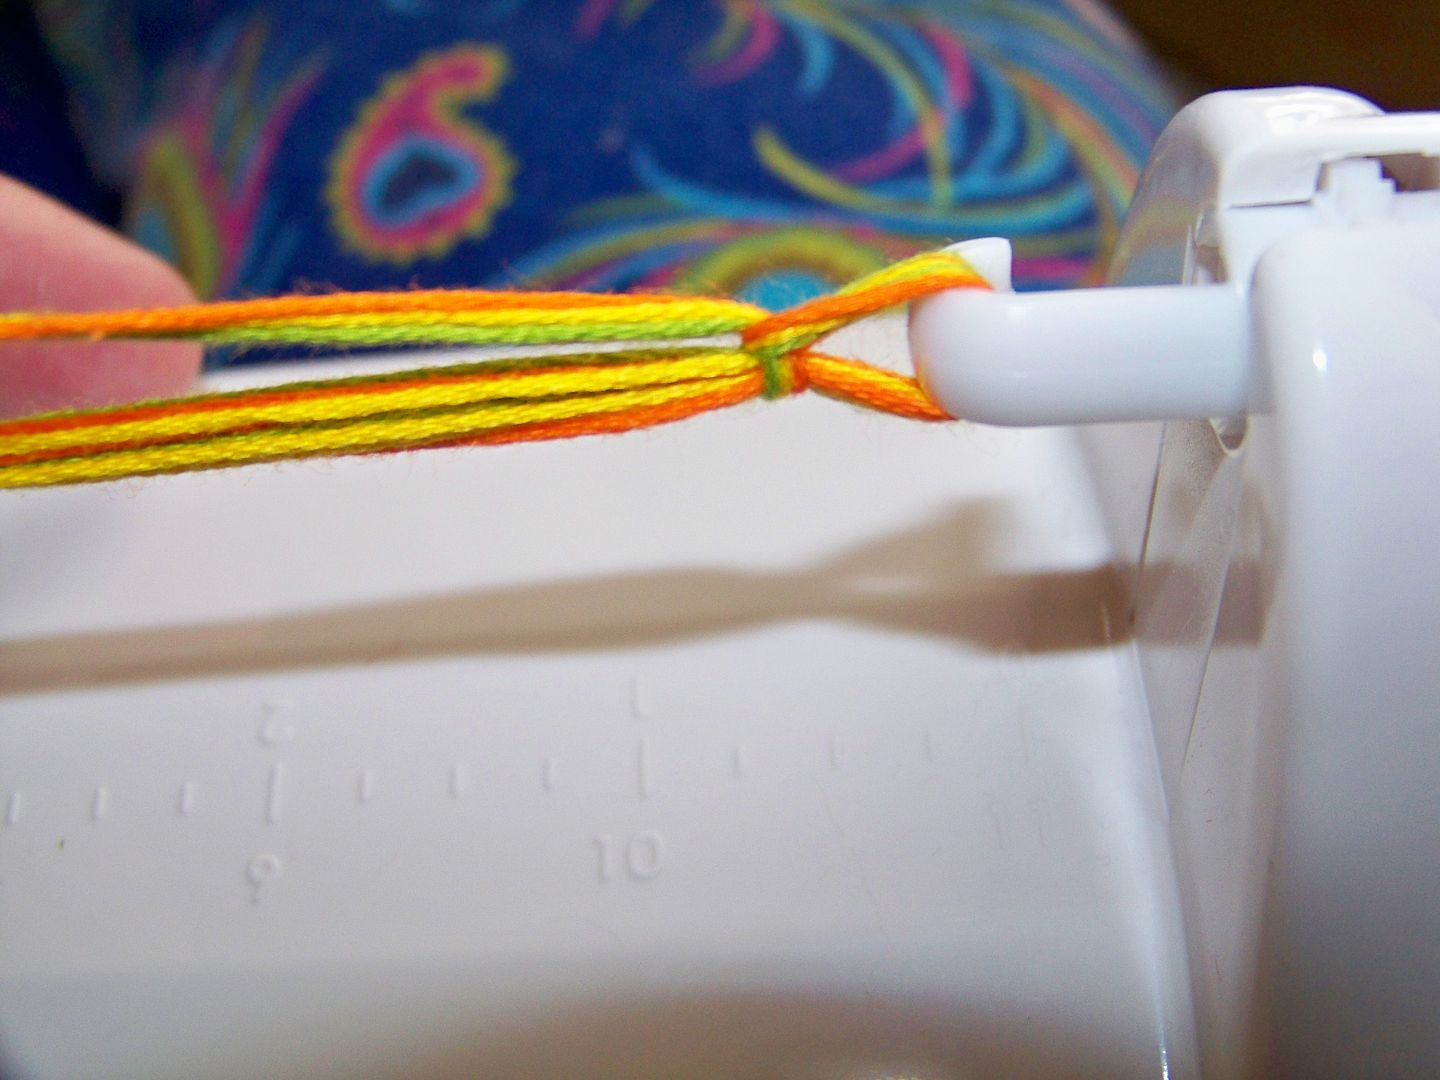
What makes it super easy to use-- even for an 8-year-old like my daughter, is that the spinning tool turns the core threads as you cover them with wrap threads.  It turns manually-- no batteries or noisy motor! They tie off with a simple knot, leaving the end threads exposed. In a matter of minutes, my kiddo can complete a bracelet herself. Learning was so easy with the how-to videos created by the company (no searching Youtube, hoping other crafters have supplied instructions like so many other craft tools).  My kiddo has made tons of bracelets for herself, some for friends...and even some for her dolls!  (They also have just created an advanced video for making Loopde strands longer than 8-1/2" long.  So far, she hasn't needed anything that long!)


To tell you that she has been bitten by this bug is an understatement!  It is easy to use and comes with everything you need to get started--although I did donate an extra pair of embroidery scissors to the cause!  It came with 18 skeins of embroidery floss, but that went pretty fast once she started cranking them out.  I found bulk packs of embroidery floss at a nearby craft store (super cheap with a coupon) and then we scavenged my crafty space for bakers twine, ribbon floss, perle cotton, and crochet thread.  No fiber was safe!  We even tried using charms and beads.

She makes a 7" Loopde strand to make a bracelet for her wrist. The company makes charms on a strand that can be twisted into the bracelet, but we found adding a charm from my stash is easy enough to do one at a time.


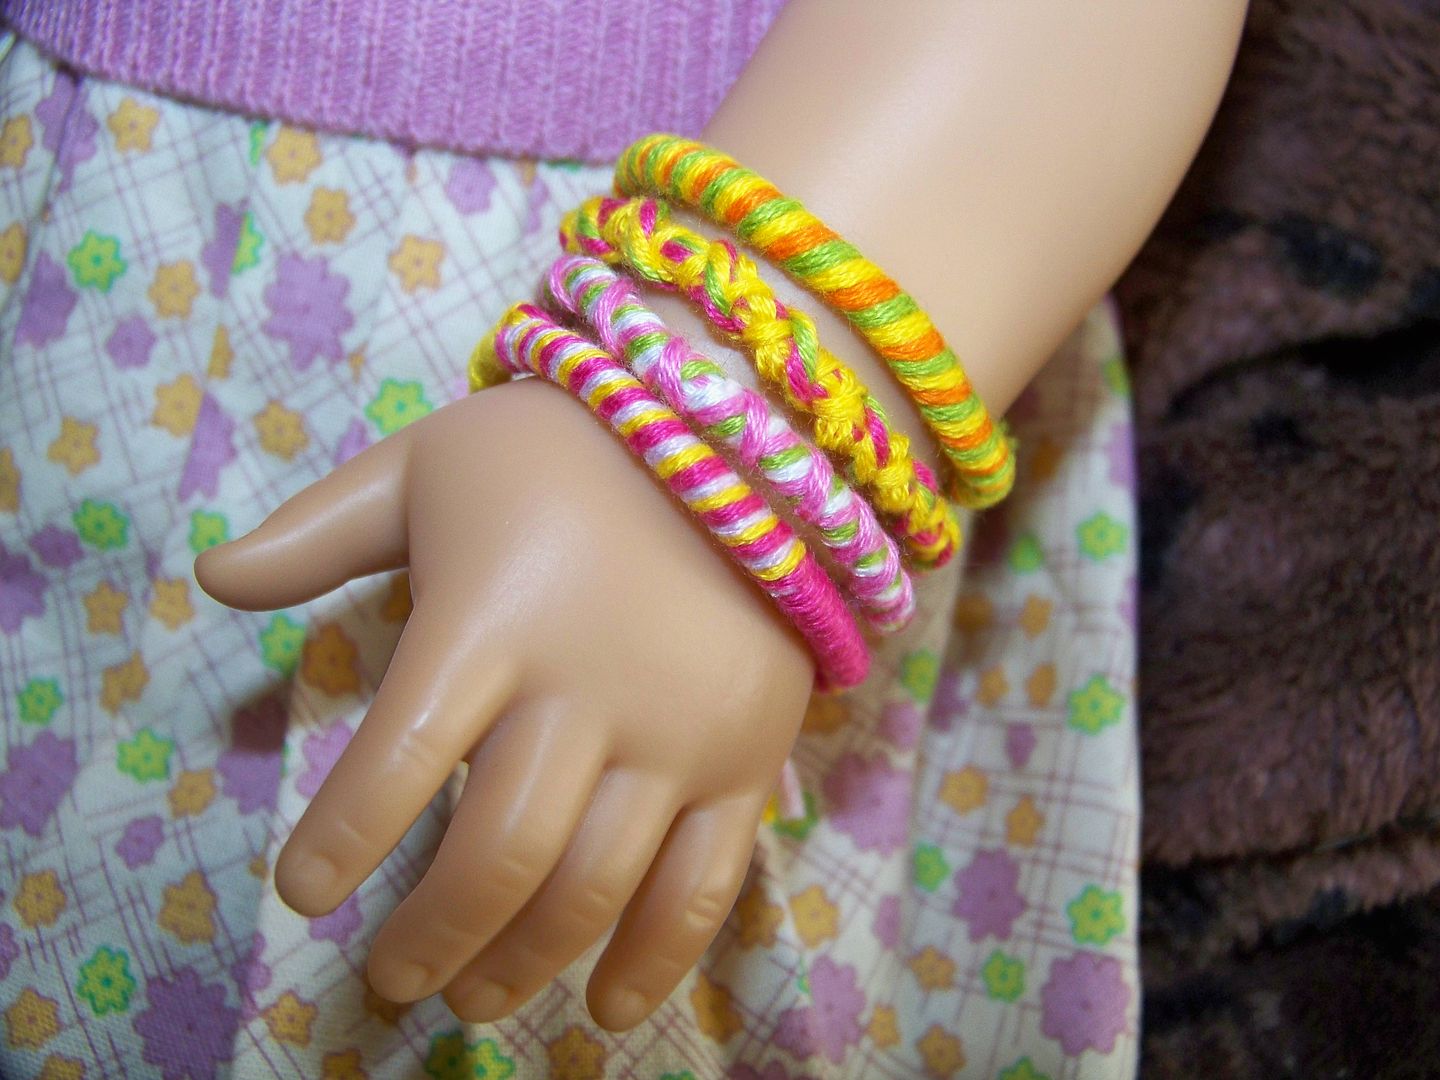
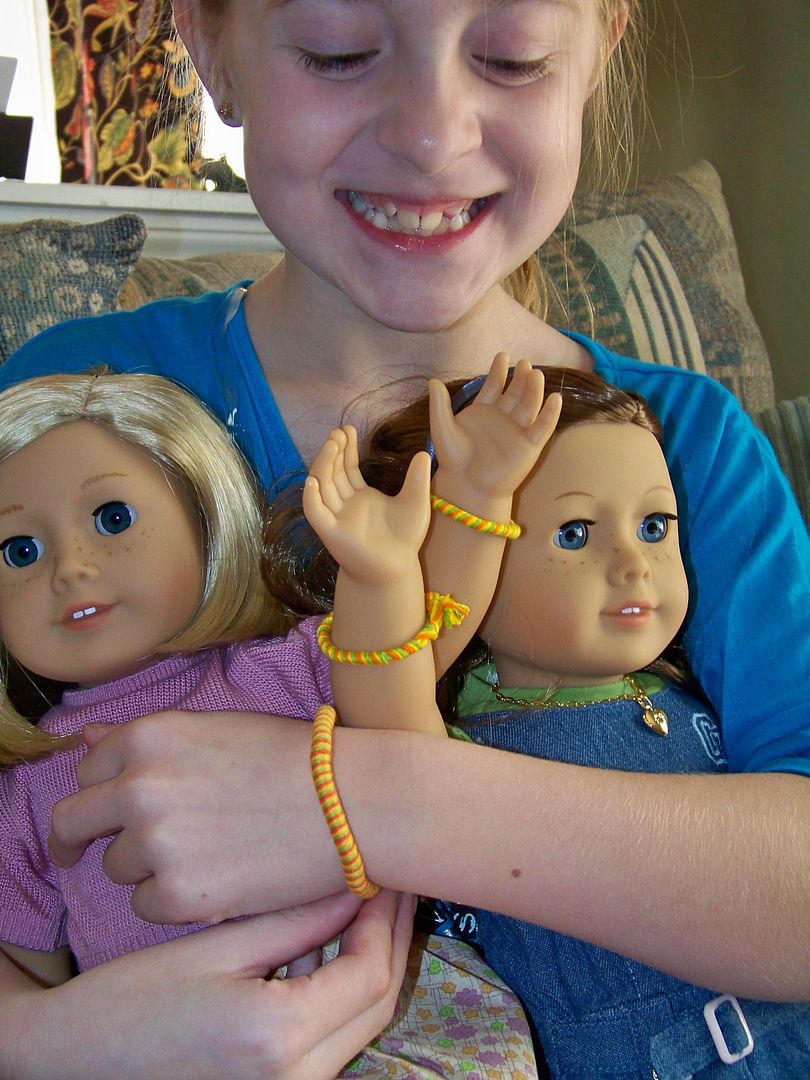
She decided to make some for her American Girl dolls.


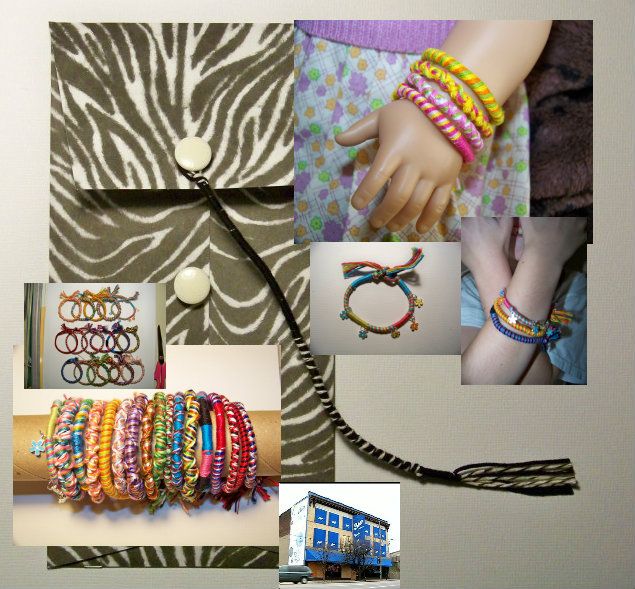
We learned that American Girl doll hands are different on each side.  The right hand is slightly more open, requiring a larger bracelet to get it over the right hand than the left!  For bracelets to be worn on the doll's right-hand wrist, my kiddo twisted a 4-1/2" Loopde.  For bracelets for the left-hand doll wrist, she twisted a 4" Loopde.  For doll ankle bracelets, she twisted a 5" Loopde!

I helped her to make a tiny attachment loop.  The directions say that the attachment loop should be a finger's width away from the hook.  For a doll bracelet, we made the attachment loop about two doll fingers width.

Making the attachment loop this small meant that we had to use a crochet hook to help tie off the finished bracelet!

It is even easier with a helper!
My daughter used three lengths for the core and 4 lengths for the wrap threads.  Three skeins of embroidery floss will make two doll bracelets and one doll anklet!

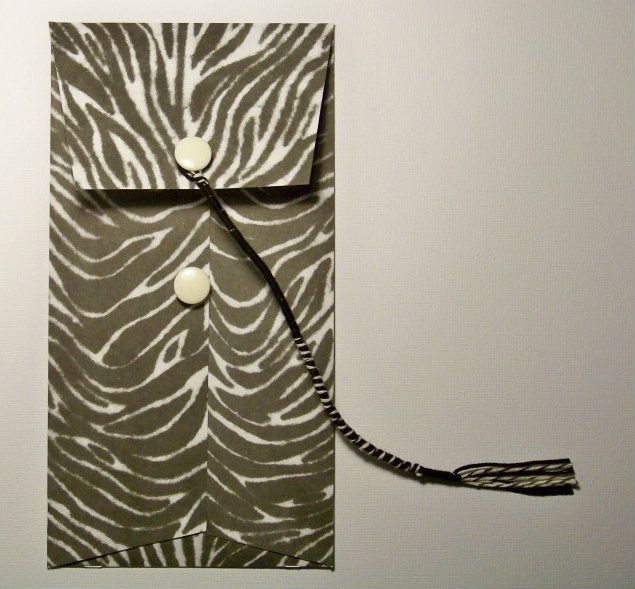
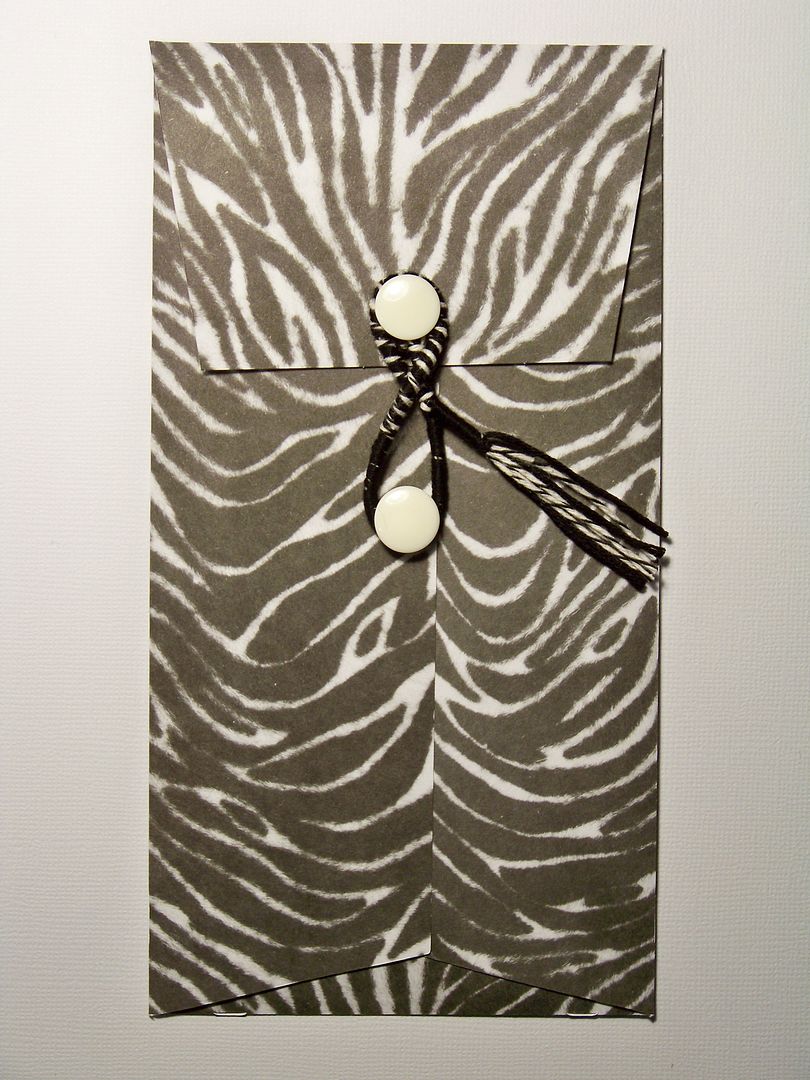
So, as I helped her and tried a few of my own for fun, I started to be reminded of a tool we used to sell at a fabric store I worked at that helped a seamstress easily twist fibers together to make trims.  It made me think of using the Loopdedoo spinning tool to make cording, frogs, and trims on accessories!  I think it is a great tool for paper crafters too!  I made a button closure for an envelope I am using in a journal.


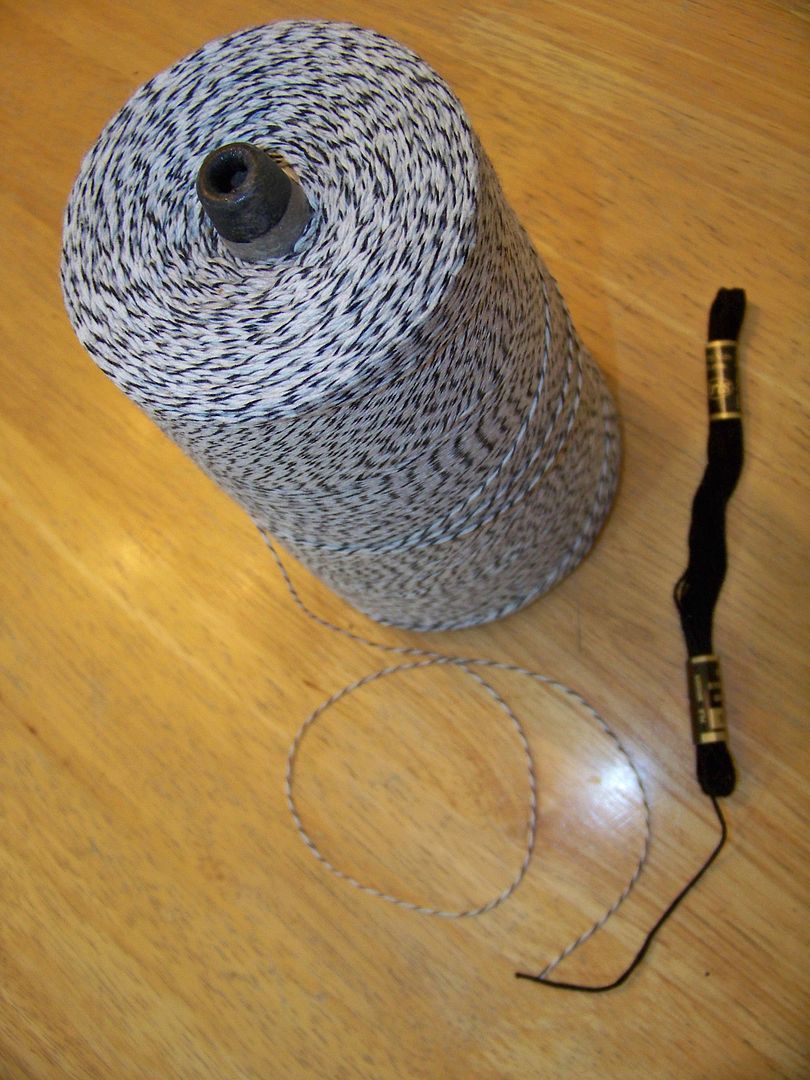
I am still using the bulk bakers twine that I got from Country Clean Paper Supplies.

I used only two fibers for this:  embroidery floss and bakers twine.  I wanted a closure that was thicker than just bakers twine alone and this worked perfectly.  I measured out three lengths for the core and 2-1/2 lengths for the wrap.  I twisted a 6-1/2" Loopde strand (alternating between color block and swirl looping styles) and cut the core threads to finish at 7-1/2".  (The paper envelope was cut from Cricut Artiste at 3-1/2"-- page 33.  I cut off the scallop edge).  I glued the shank buttons on with E6000 plastic adhesive, catching the small attachment loop under the top button before gluing.
The Loopdedoo kit turned out to be a great purchase.  My daughter loves using it to make things for herself, for her dolls, and for quick gifts for her friends!  I found this one at a local Meijer store for about $29.  If you think this might be a fun tool for your kiddo, I would suggest also picking up a pair of embroidery scissors and a couple sizes of crochet hooks-- a small one for tiny attachment loops and a big one for chunky fibers!  They fit perfectly in the drawer under the tool.  The drawer is too small for the instruction booklet and all the embroidery threads and other fibers your kid will be sure to acquire so a little sewing basket or box is helpful too!


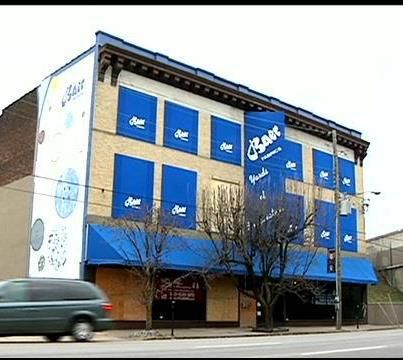
Earlier in this post, I mentioned that I had worked at a fabric store a while ago.  Actually, I worked at Baer Fabrics for nearly 17 years.  I started there as a teacher, teaching teenagers how to sew at a Summer Camp.  I had just graduated high school the week I got the job, so I was a teenager too!  It was just supposed to be a summer job.  I quit for a few months, moving to New York for college.  I hated it and came home to attend the University of Louisville.  Baer's hired me right back. I was in sales for years there before being asked to do the visual merchandising for the store.  I did that for years and then was asked to manage the home decor department-- the 3rd floor of this fantasy-land for creative folks!  At some point, I took on managing the first floor as well, but when my friend who had left his job at Baer's had returned, as did several of us who left, I happily jumped to give him back the management of that floor!  (That friend, by the way, was my best friend and he later became my only attendant at my wedding.  Yes, I had a male attendant.  He and his wife -an ex-Baer employee- flew to The Venetian in Las Vegas for our wedding.  During the ceremony, to add to the strangeness of it all, we looked out and saw one of our Baer Fabrics customers watching the wedding with her family!)

I left again when I decided to just work for my husband and found out I was pregnant during my two-weeks notice.  My friends threw me another great shower; the first was my bridal shower the year before, where everyone made special keepsakes for me.  (The gifts from the bridal shower were so beautiful and all handmade-- meticulous, perfect and so impressive that my mother-in-law's best friend, who was in-attendance, jokingly lied when I opened a vase from her, telling everyone she had hand-cut the crystal.  I married into a loving, though uncrafty, family!)  It was quite a send-off!  I came back to Baer's a couple of years later when my husband sold his business, to start an Ebay department for the store.  I worked that and another full-time job at the same time, and finally quit again when my mother developed breast cancer and my husband's new business was taking off so that I could work just one full-time job, a horrible but better-paying job as a bookkeeper at a construction company.  The owner (and president) of Baer's was hard to say goodbye to and my two-weeks notice went on for months until he finally found someone to take over for me.  I considered that more than a compliment, as hard as it was.  After I finally left, while I was still at the construction company, I learned that Baer Fabrics was closing for financial reasons.  I went back to work at Baer's for the last day of business and I did so for free and without asking just so I could say good-bye to the people, the institution, and the owner who once told me I was like a daughter to him.  The folks there saw me through becoming a college graduate, through the deaths of my grandparents, through my sister's leg amputation, through my wedding, through becoming a mom, and through so many little moments too.  It felt like home.... with a dysfunctional family, but home!

I only mention this because I found out a day or so ago that the building is being prepared for demolition.  Farewell, Baer Fabrics!  I had more laughter and more tears there than in any one building my whole life.  I will miss seeing you from the expressway and from the downtown streets that always led me to you, the magic inside those walls, and the kind and generous people who worked and shopped there who made it impossible to stay away...


Thank you for checking my blog post today!  To see many of my previous projects, check My Project Gallery.  So see my previous doll clothing and accessory posts, check my Doll Clothes and Accessories page.


Wednesday, December 26, 2012

Last of the Journal Your Christmas - Dec 25, Final Page Calendar, and Cover!

I hope you had a beautiful Christmas Day yesterday!  It was magical for us and I have to credit my kiddo for that!  It was also our third day of Christmas dinners, family get-togethers, and gifts to share.

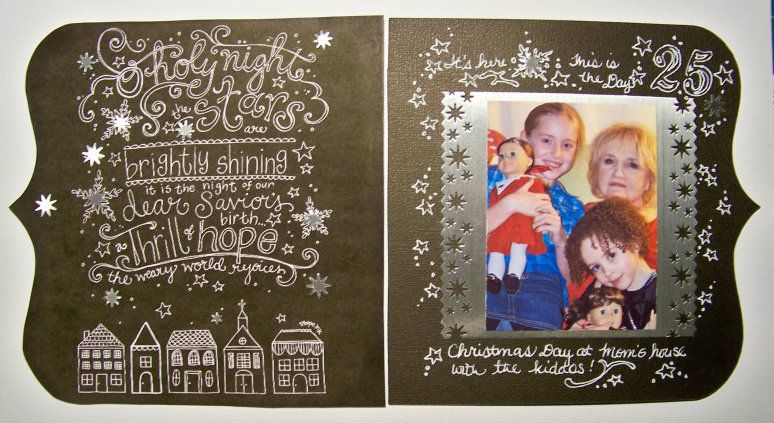
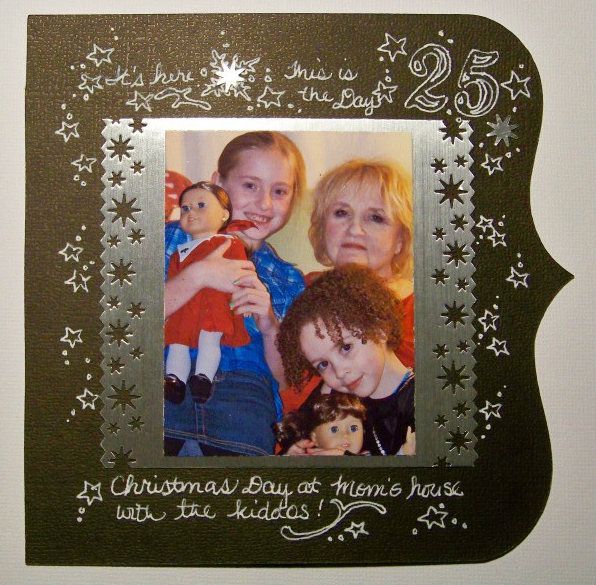
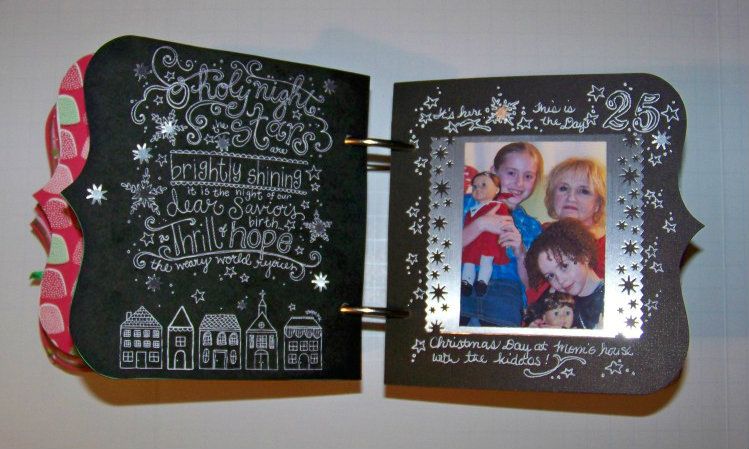
This is my December 25 page for my Christmas journal:


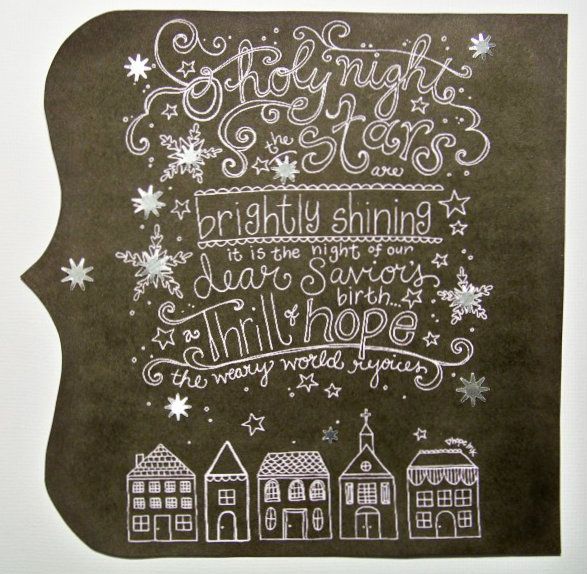
I wasn't sure how I was going to tackle this day.  I had decided to end my journal on the 25th for logistical reasons [read: this book is out-growing the largest book rings I could find], so I needed these pages to be somewhat different but I still wanted to keep my page size, shape, and date location in the upper right corner.  I figured it out when I found a free printable by Hope Ink Art and Design.  You can find it by clicking here.   I used her design, scaled down to my 5-1/2" page size for the left side and used a white pen to do some of my own doodling for the right side.

I found this here:  http://www.hopeink.com/2012/12/23/merry-christmas-new-printables/


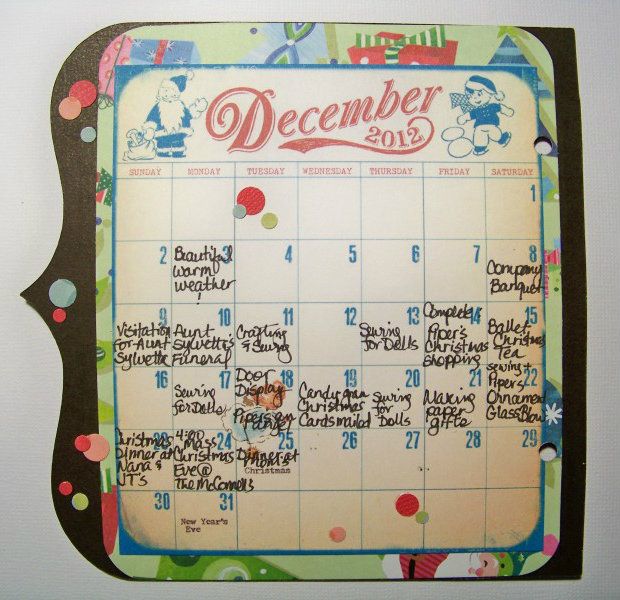
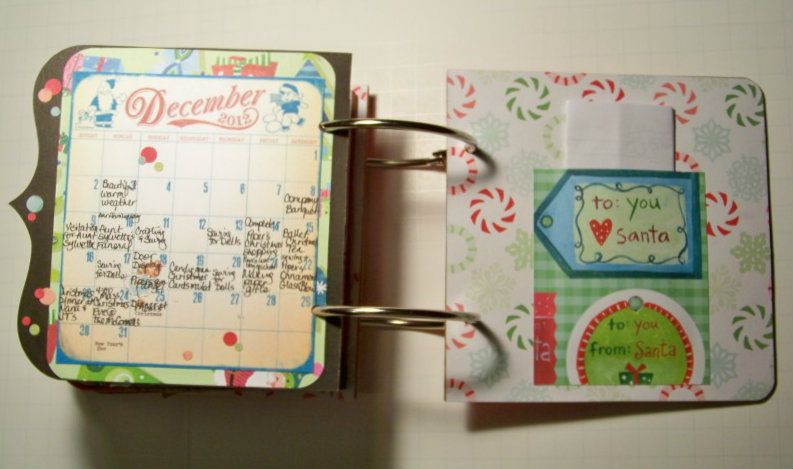
Since this is the end of my journal date pages, I had been wanting a calendar page so I added it to the reverse side, the very, very end!  This is a calendar that was made available by Marie at A Stitch in Time.  I hand-wrote my daily schedule.  Note to self for next year:  fill it in as the days pass.  A fun thing about the calendar is that I will continue to write on it as the month unfolds!

I found this here:  http://stitchintime.typepad.com/stitch_in_time/2012/12/december-daily-day-5.html
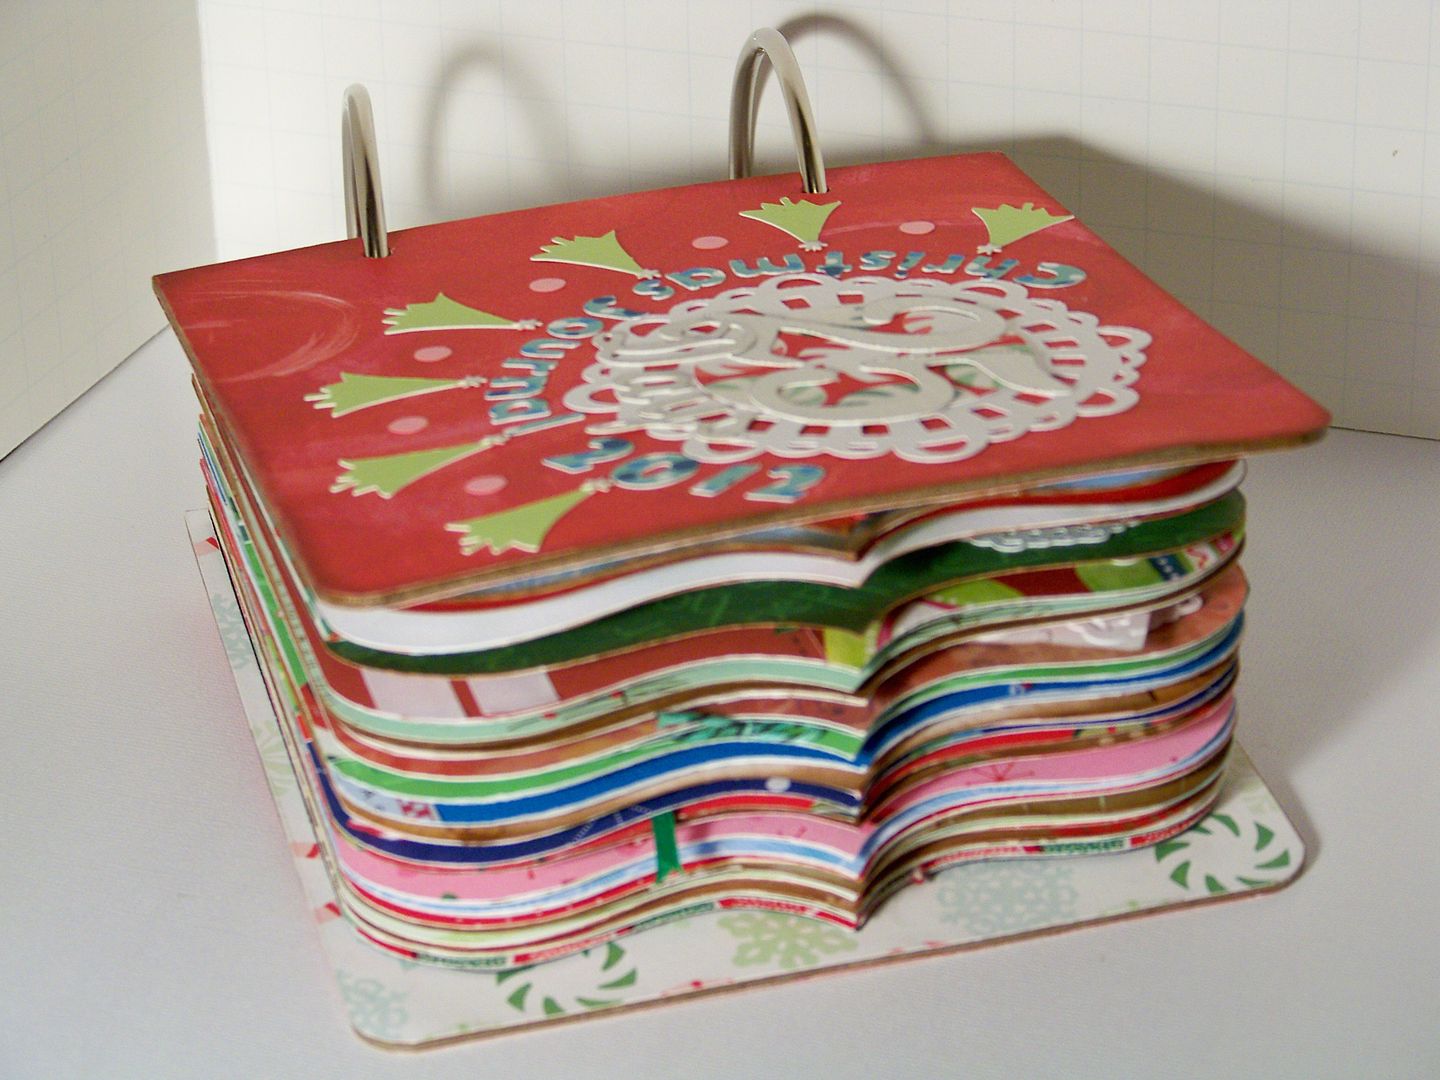
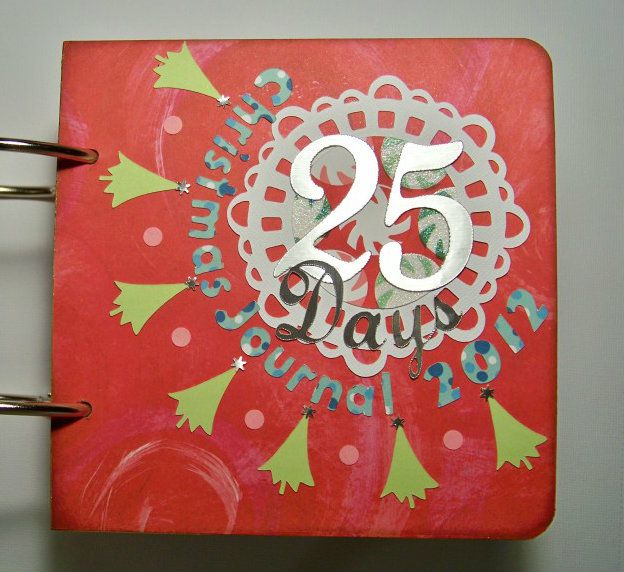
For my cover, I used 6" chipboard covers that I had in my stash.  I covered them with decorative papers using Mod Podge to adhere them and a brayer to ensure that they were smooth.  I used my Crop-A-Dile to punch holes in my pages and covers.  Three-inch book rings bound it all together.  My cover design incorporated a larger size medallion and font, like the one that I had repeated on most of my pages.

My daughter finally wrote a little message about her Christmas (that I had been begging her to write) and I included that along with my own notes in a little pocket I made for the inside back cover.

  As you can see, this fella is thick.


So.... I have to say that I loved this project!  It forced me to appreciate each day-- to find something good to share each day.  We didn't do half of the activities that I had hoped we would and yet our lives were full and our season was lovely.  I did write lots of things on my journaling tags and hidden within my little envelopes and pockets that weren't always happy but were always truthful and representational.  I have faith that by including that stuff that this journal will be more meaningful in the years to come and to others aside from me.  As a keepsake, I think it makes it more poignant.

I also loved that I have so many wonderful photos of the season.  Normally, I would have a picture here or there, but for this project, I took tons of pictures daily.  I printed off many for grandparent gifts and have them all in a 2012 digital file.  This was an extra gift to me and my family!

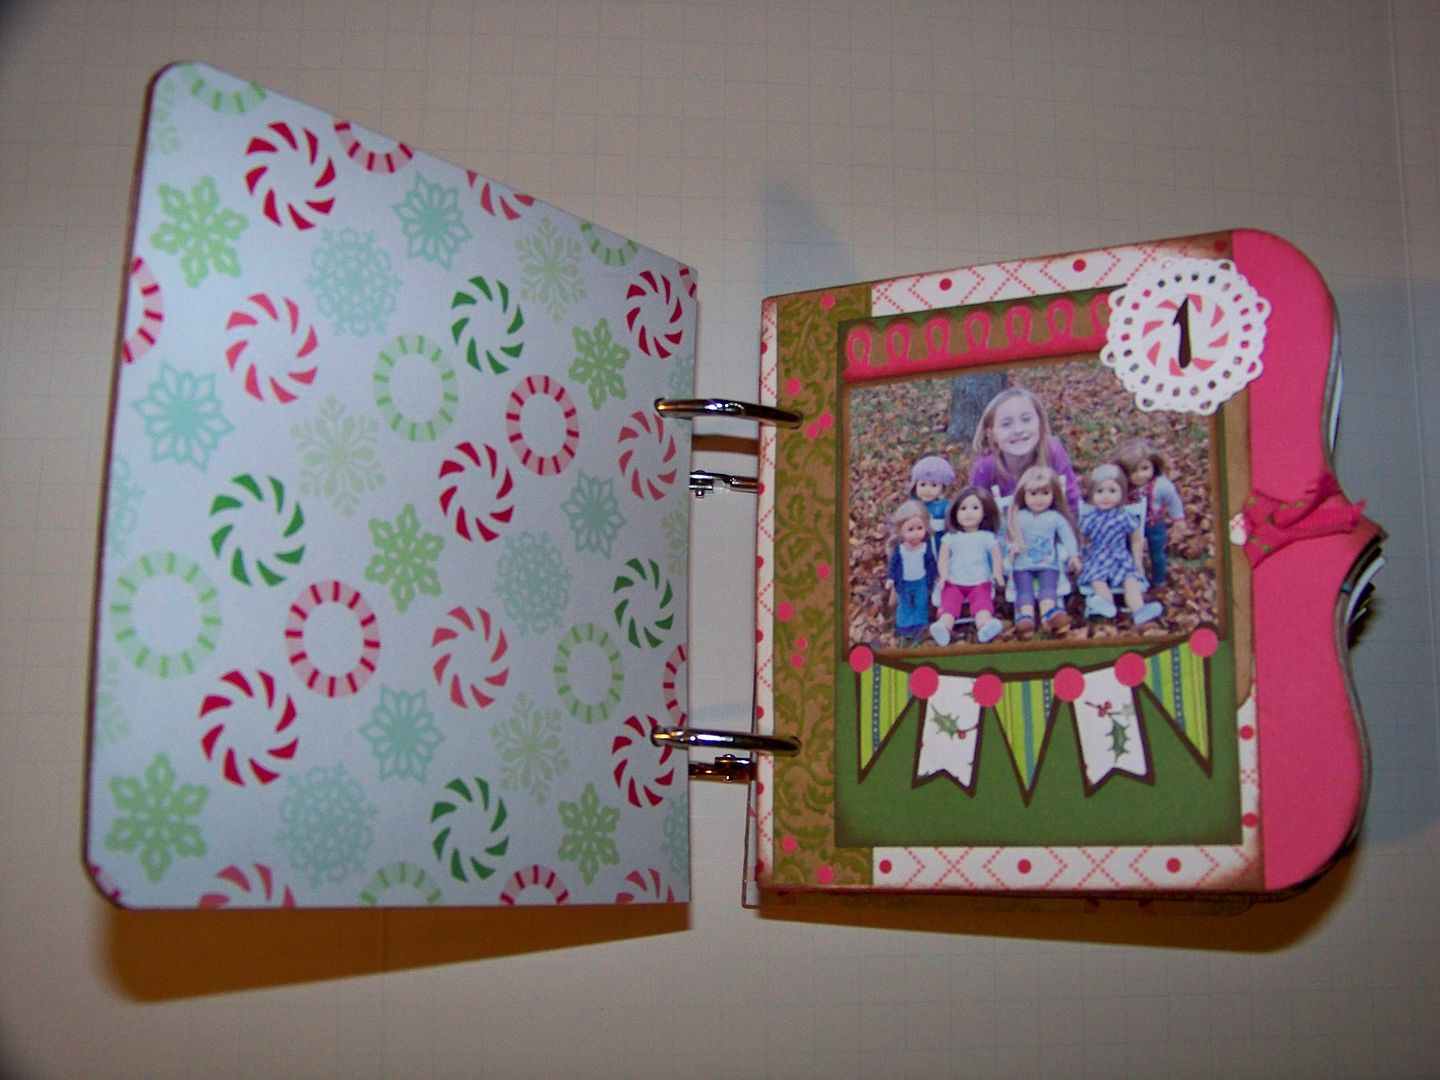
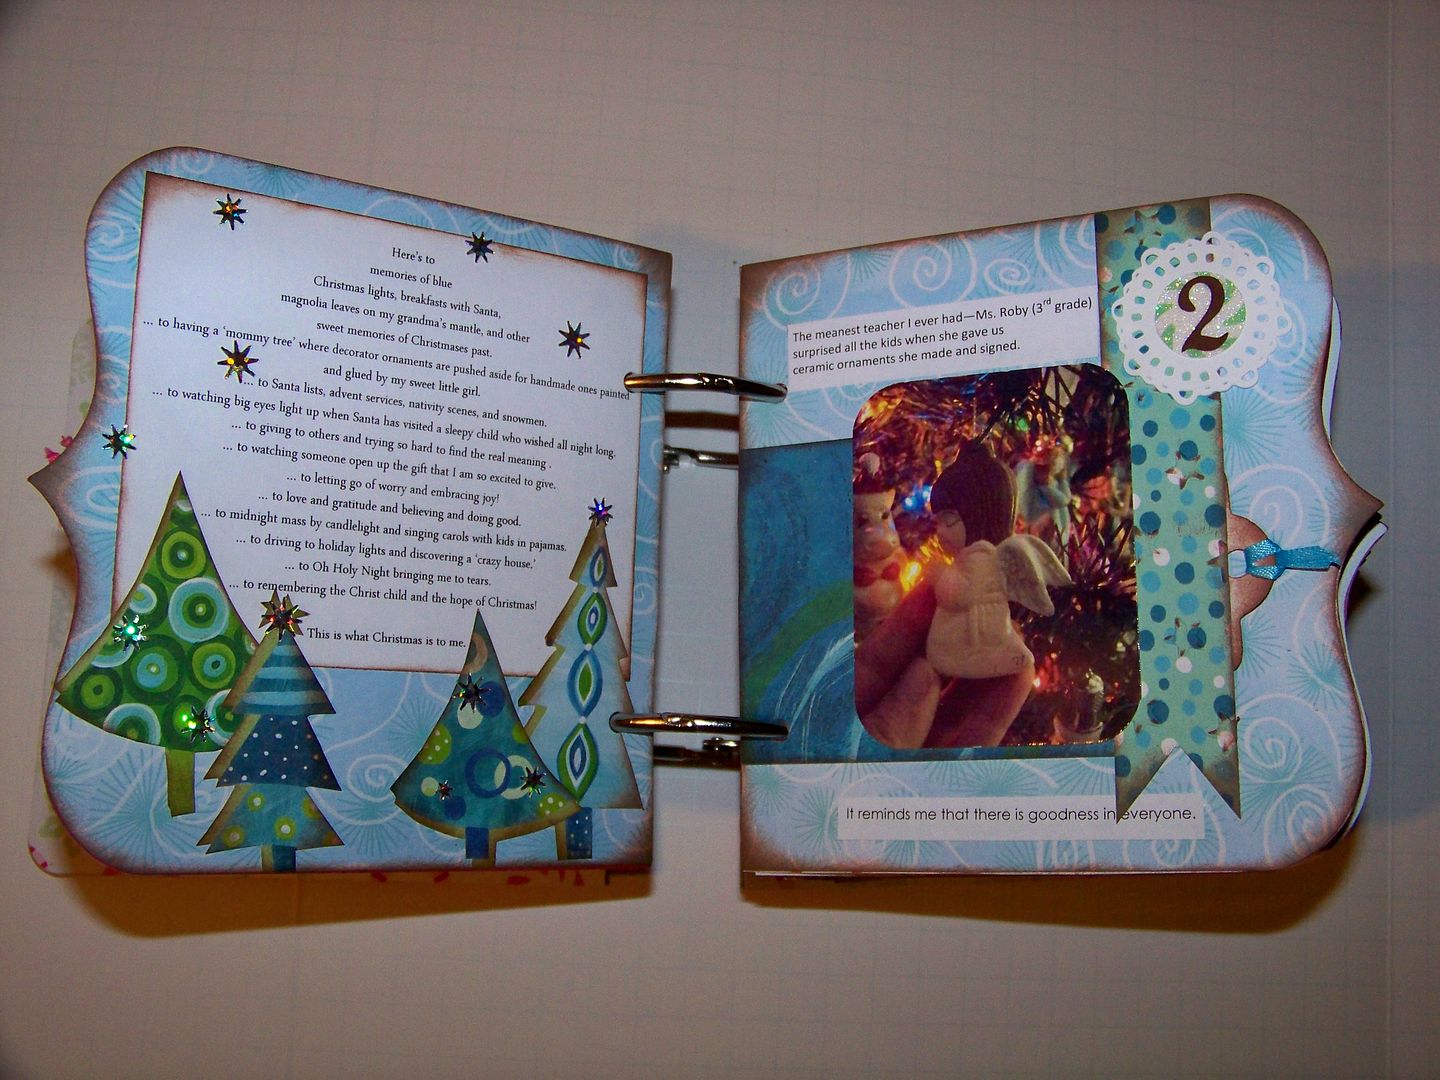
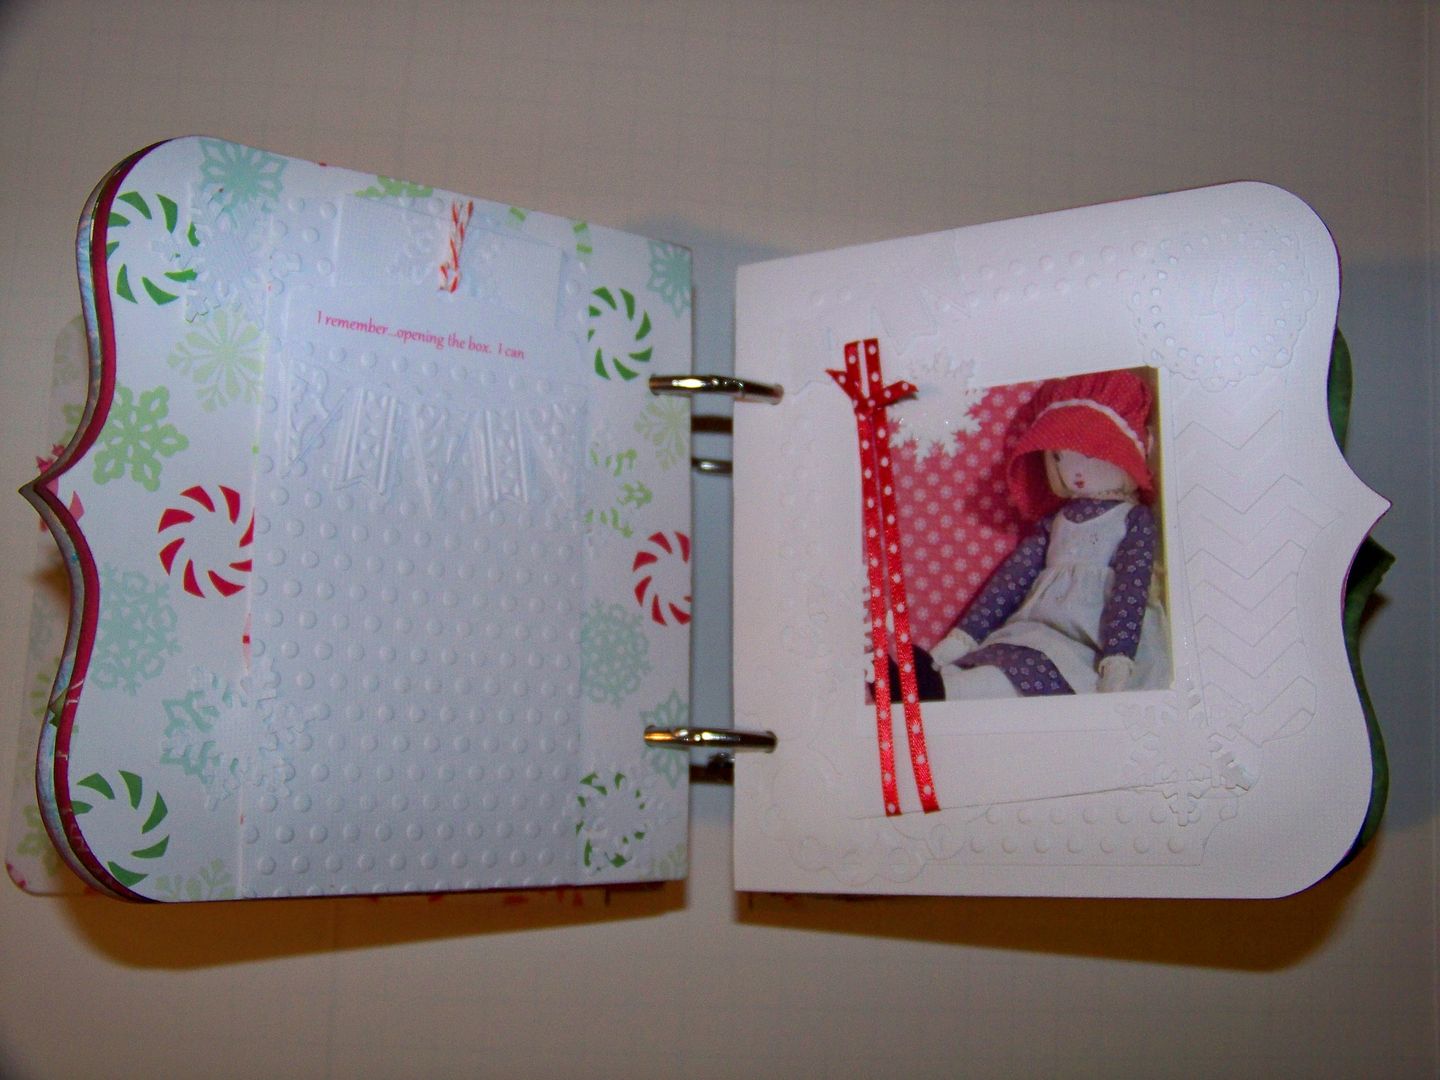
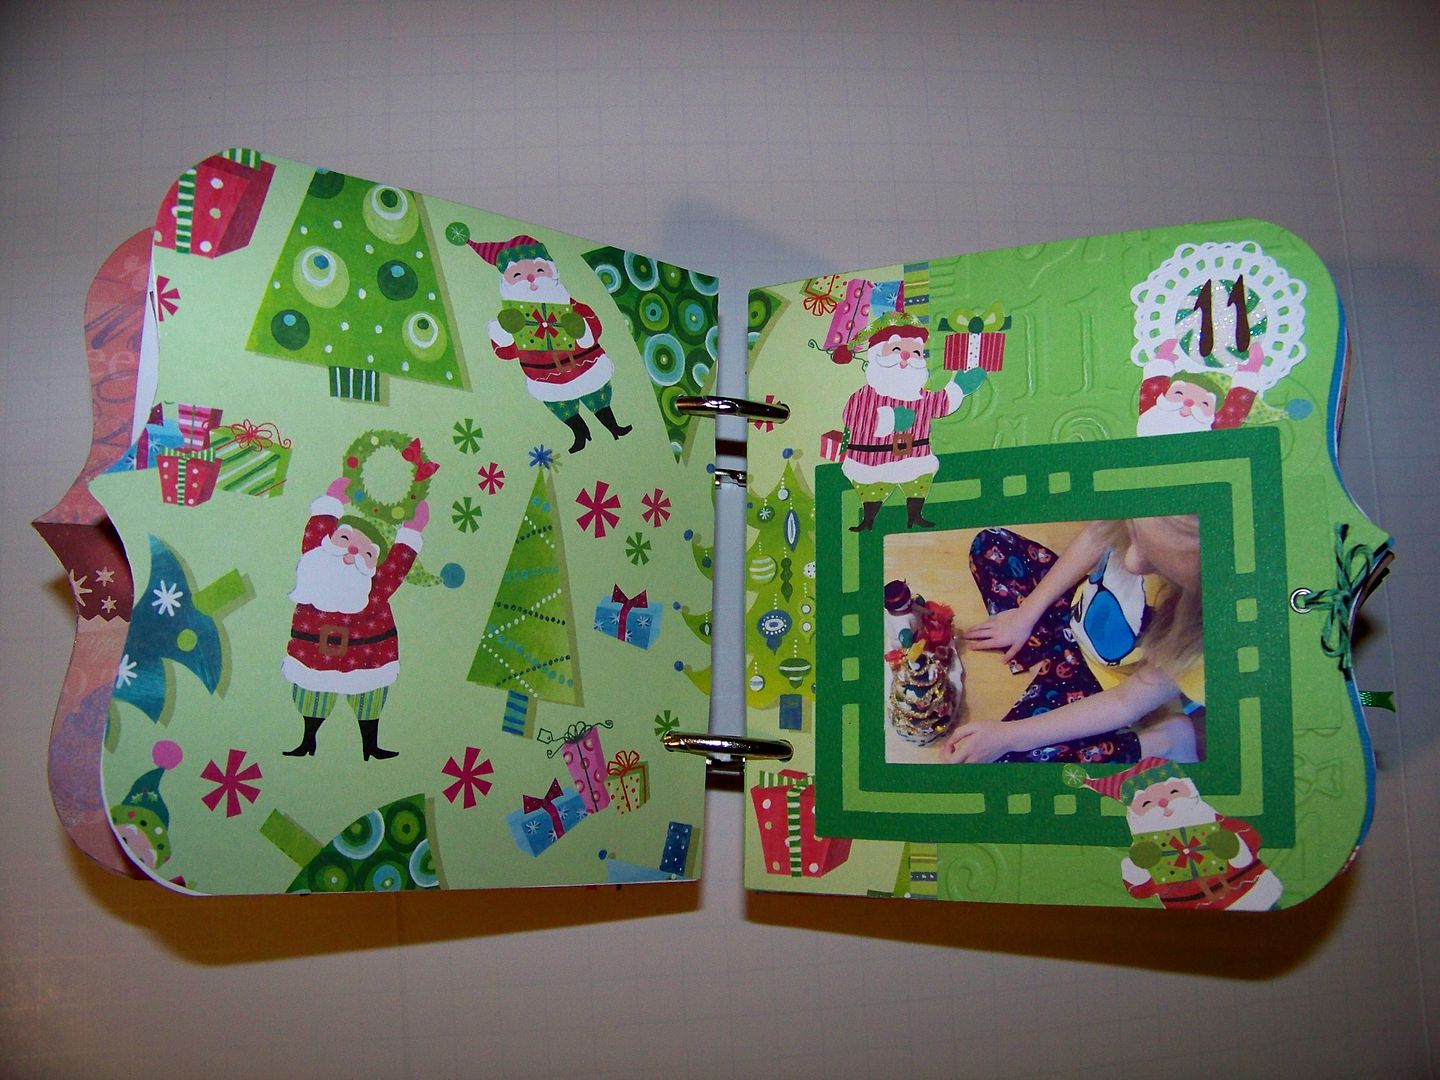
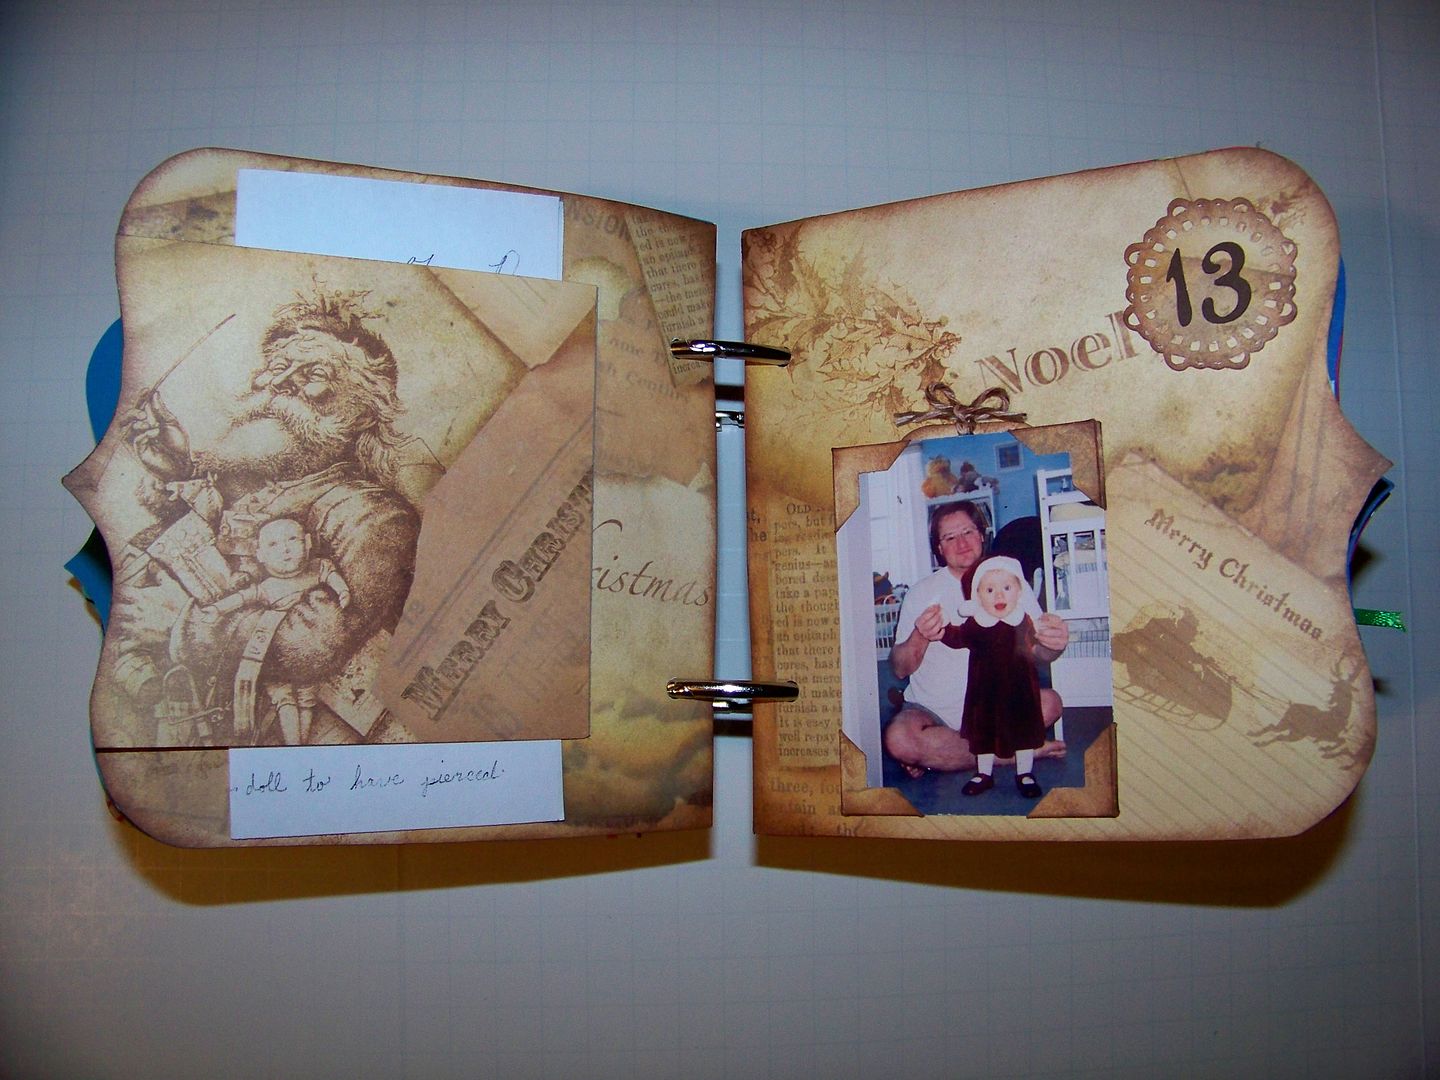
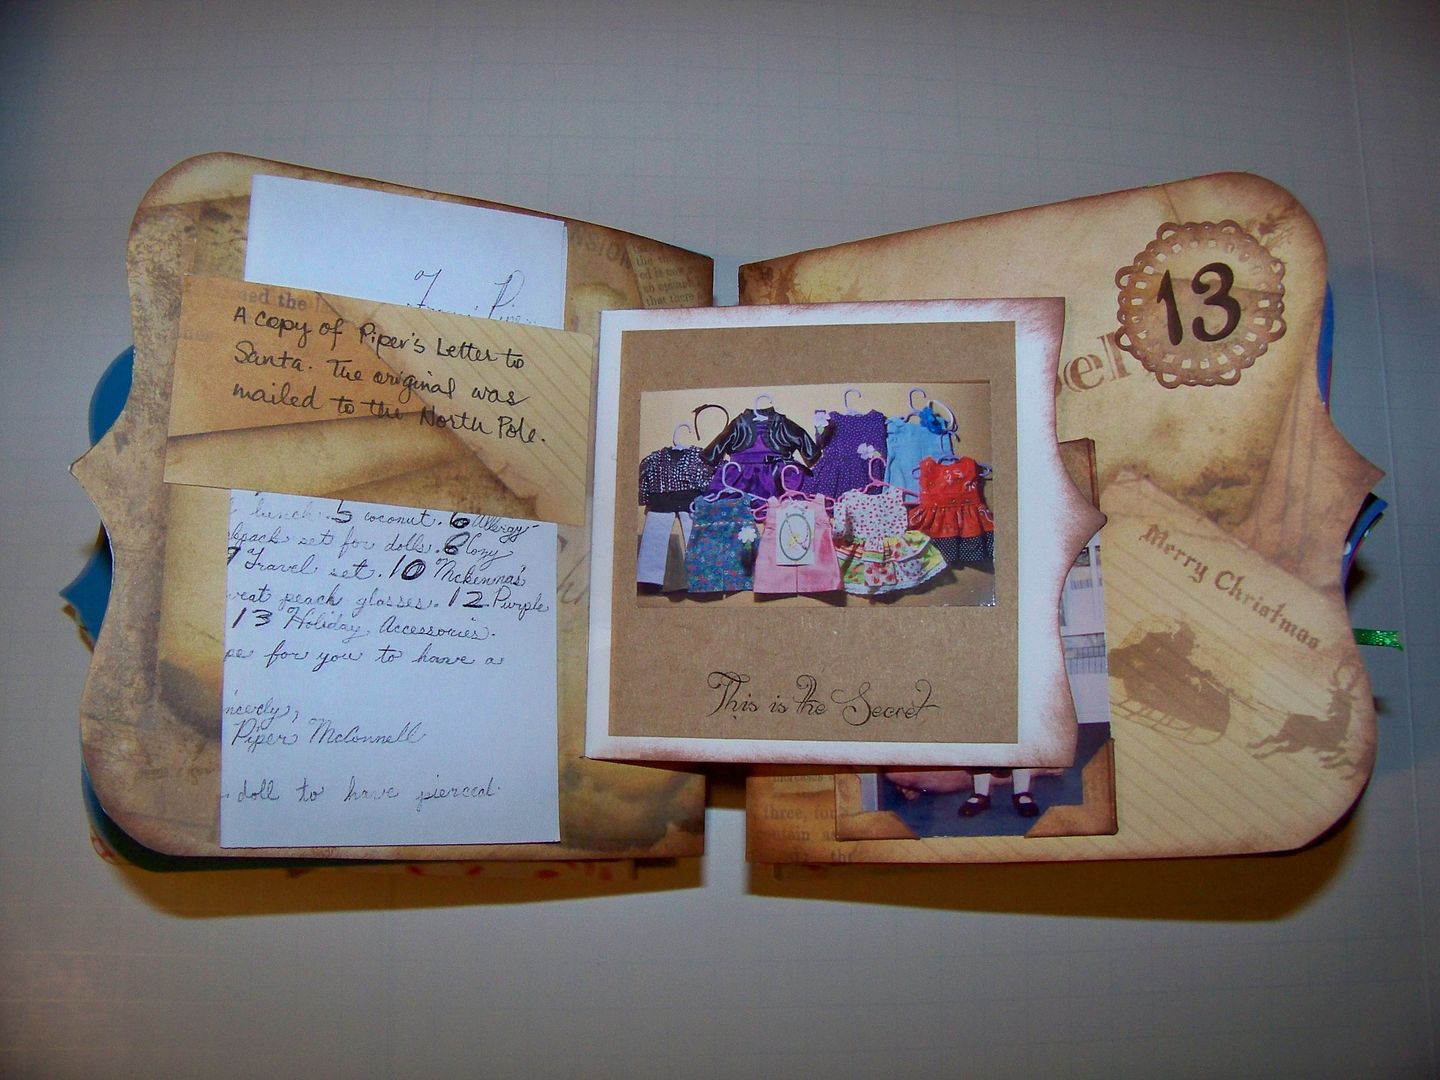
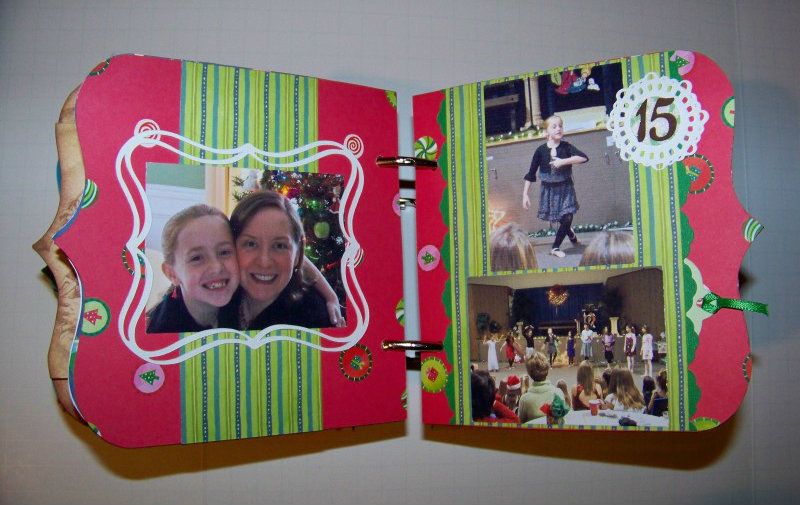
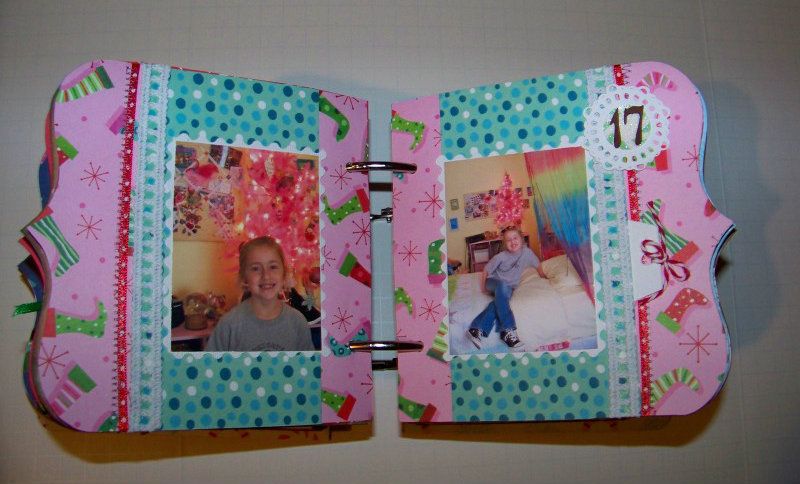
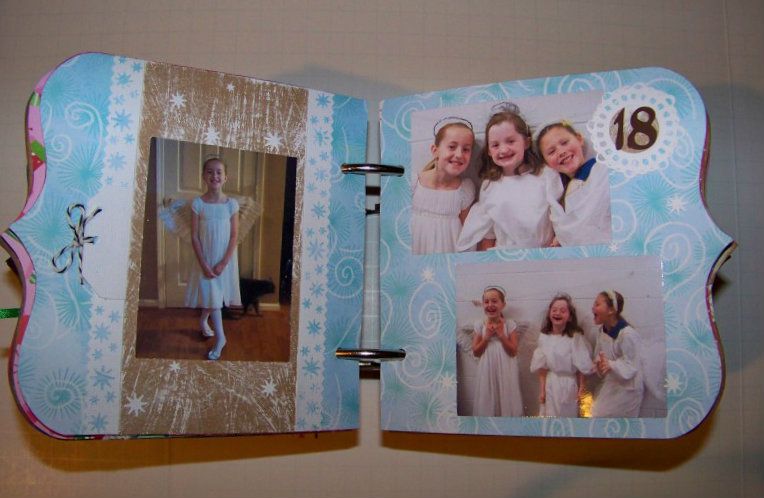
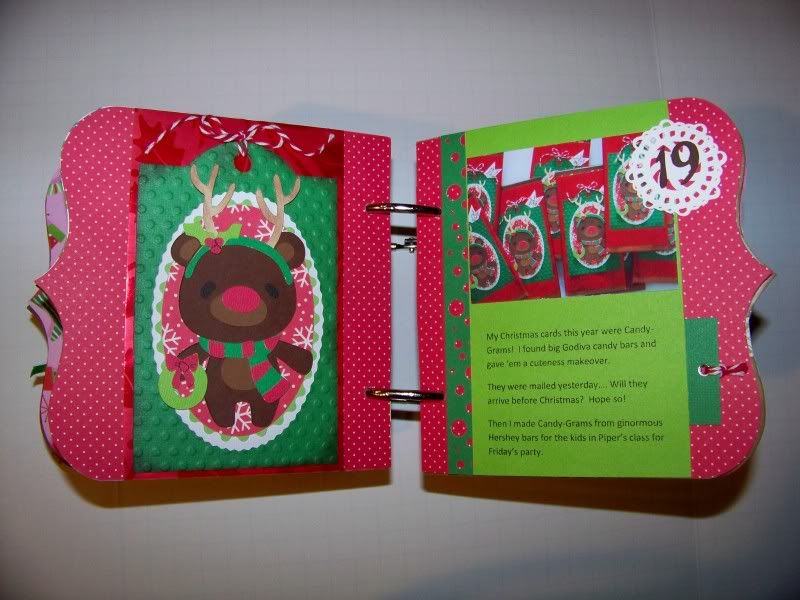
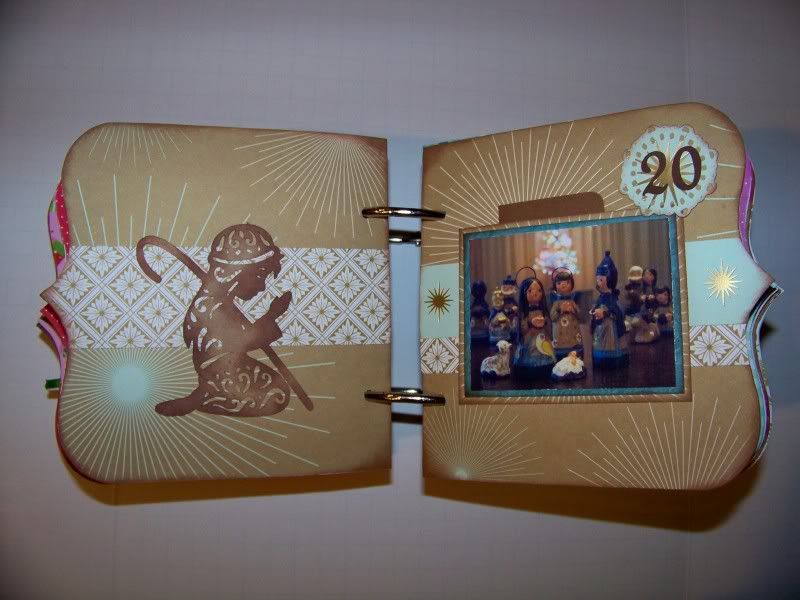
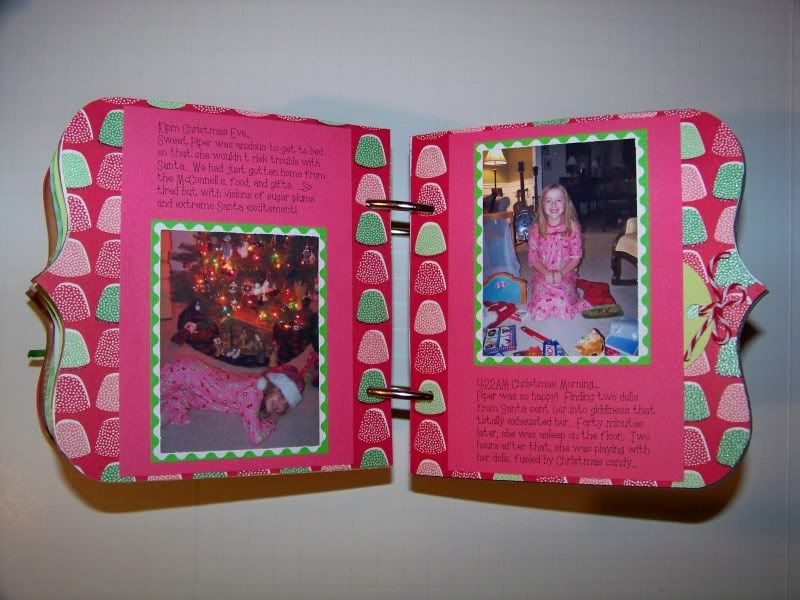
I have previously blogged my pages one, two, and three pages at a time, but I wanted to share them bound and all together.  I intentionally made each day with different papers and different colors to associate best with the photo or theme of that day.  That is something that made the dailies take longer to complete, but made it so much more fun for me!


Links to the posts for the pages shown above:
December 1-2
December 3-4
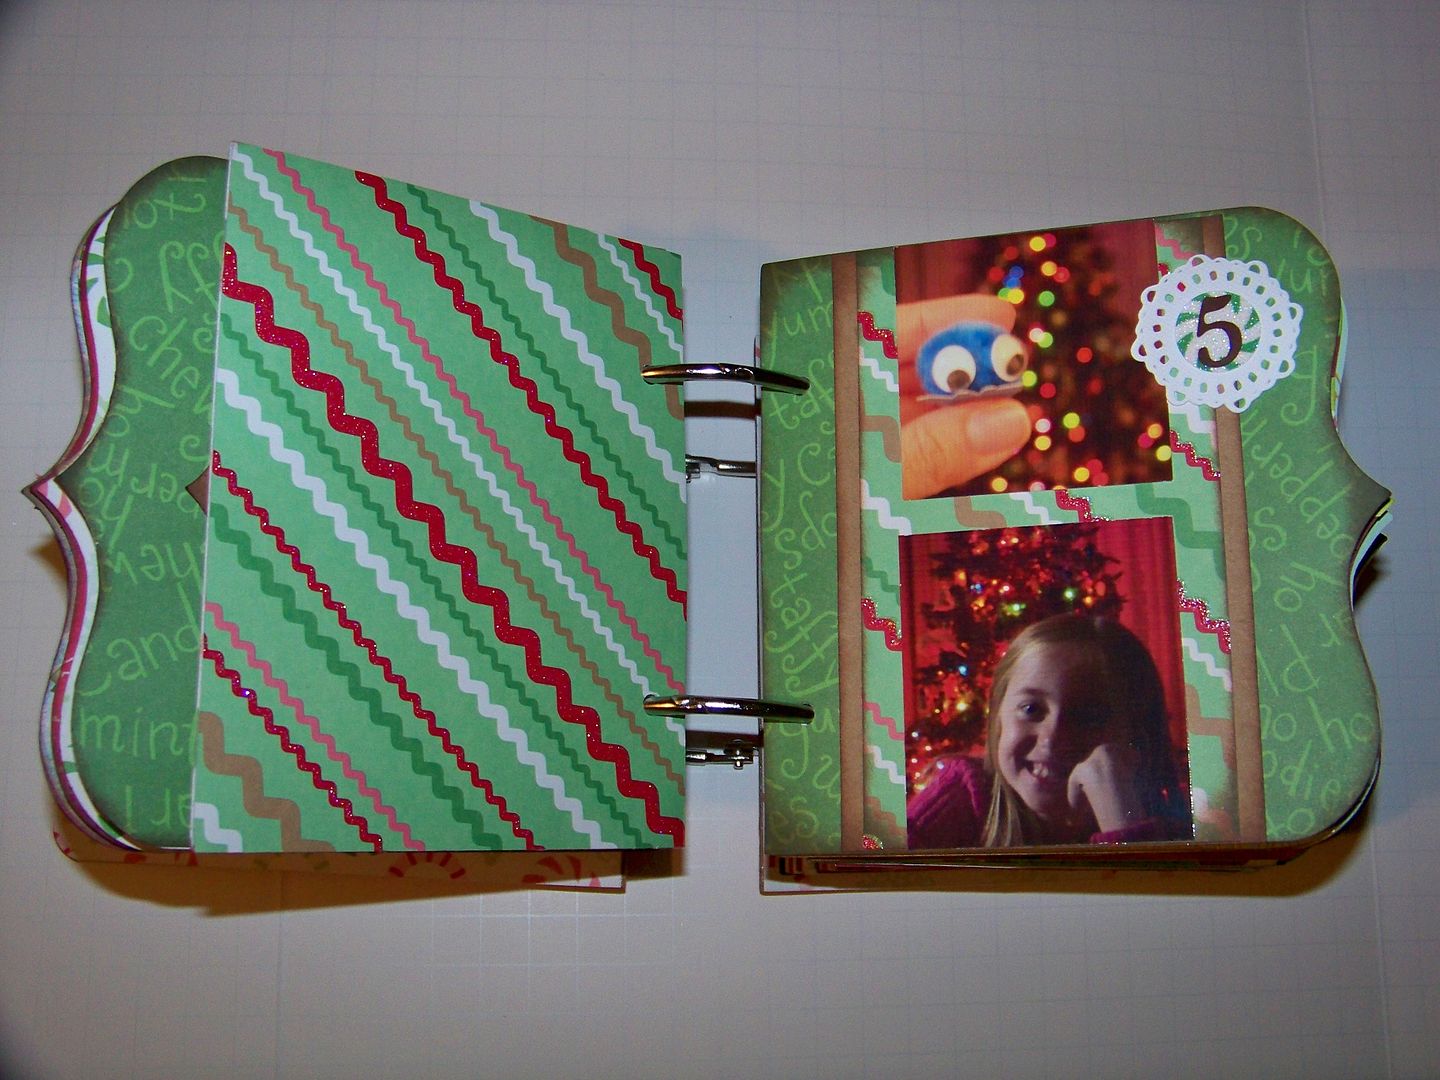
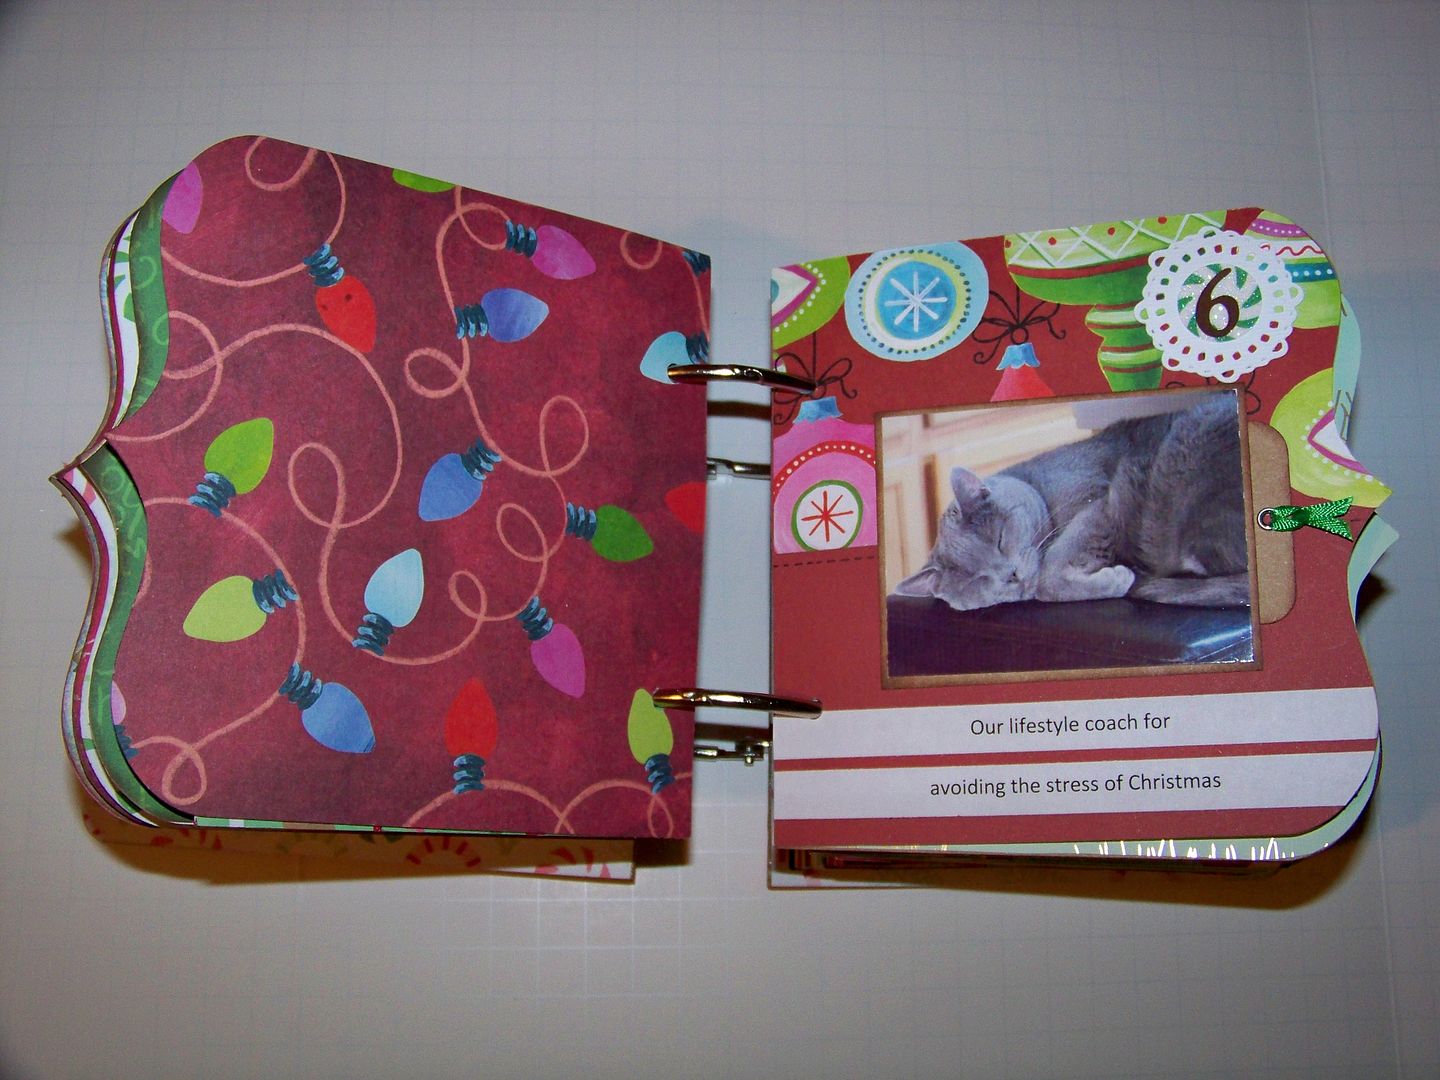
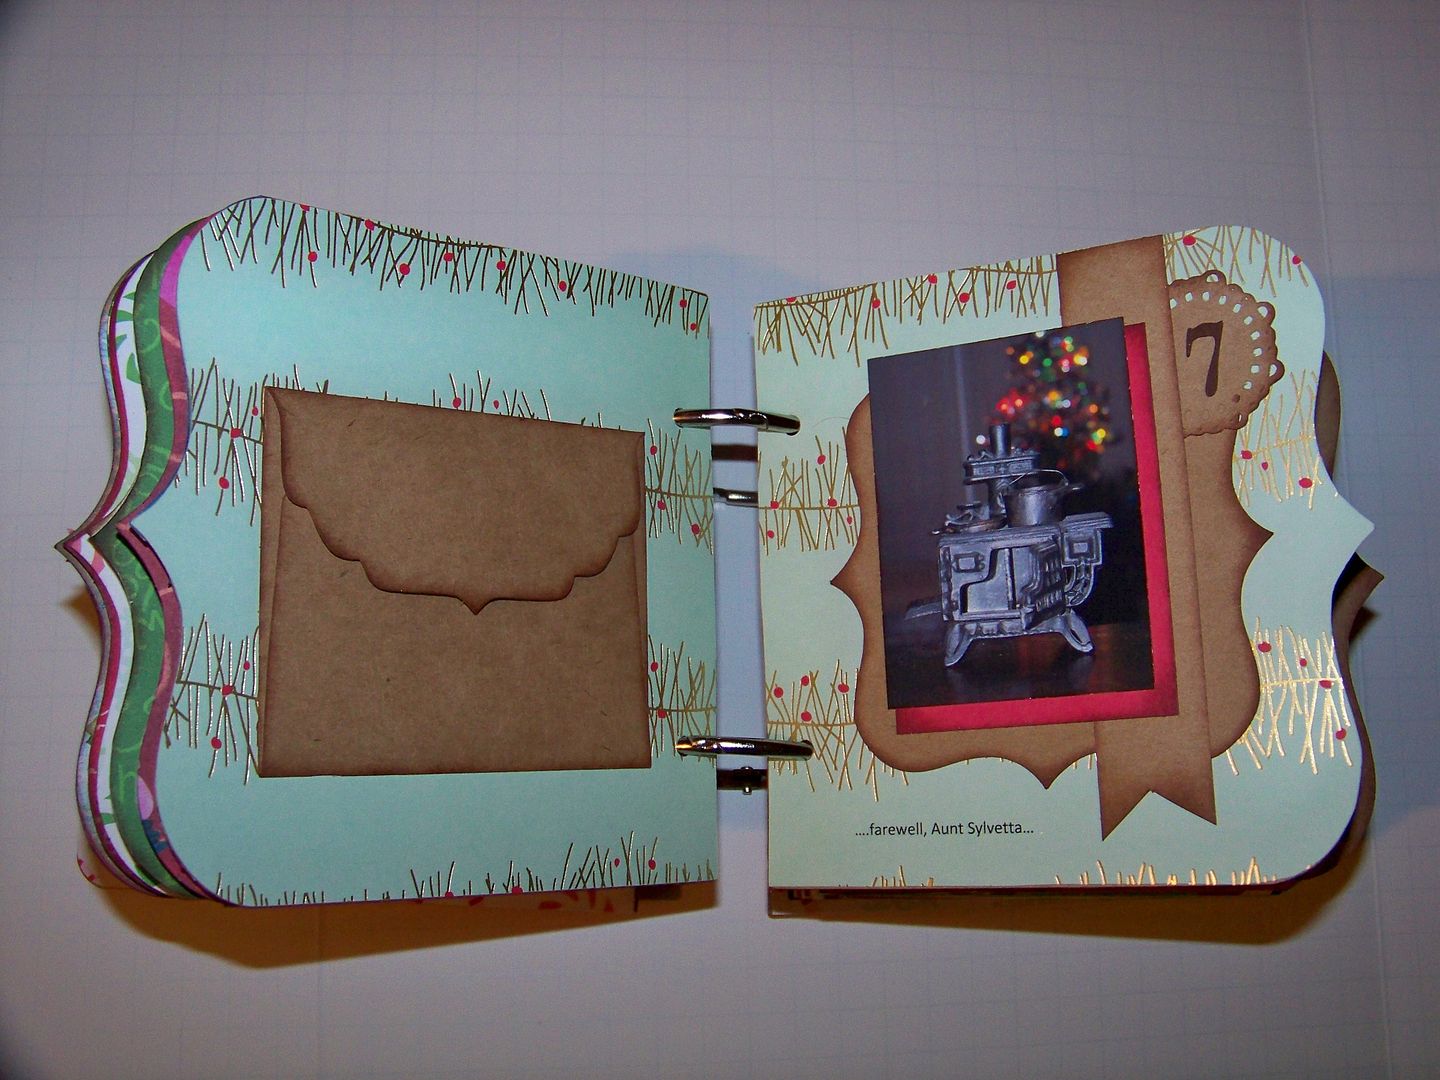
December 5-7
December 8
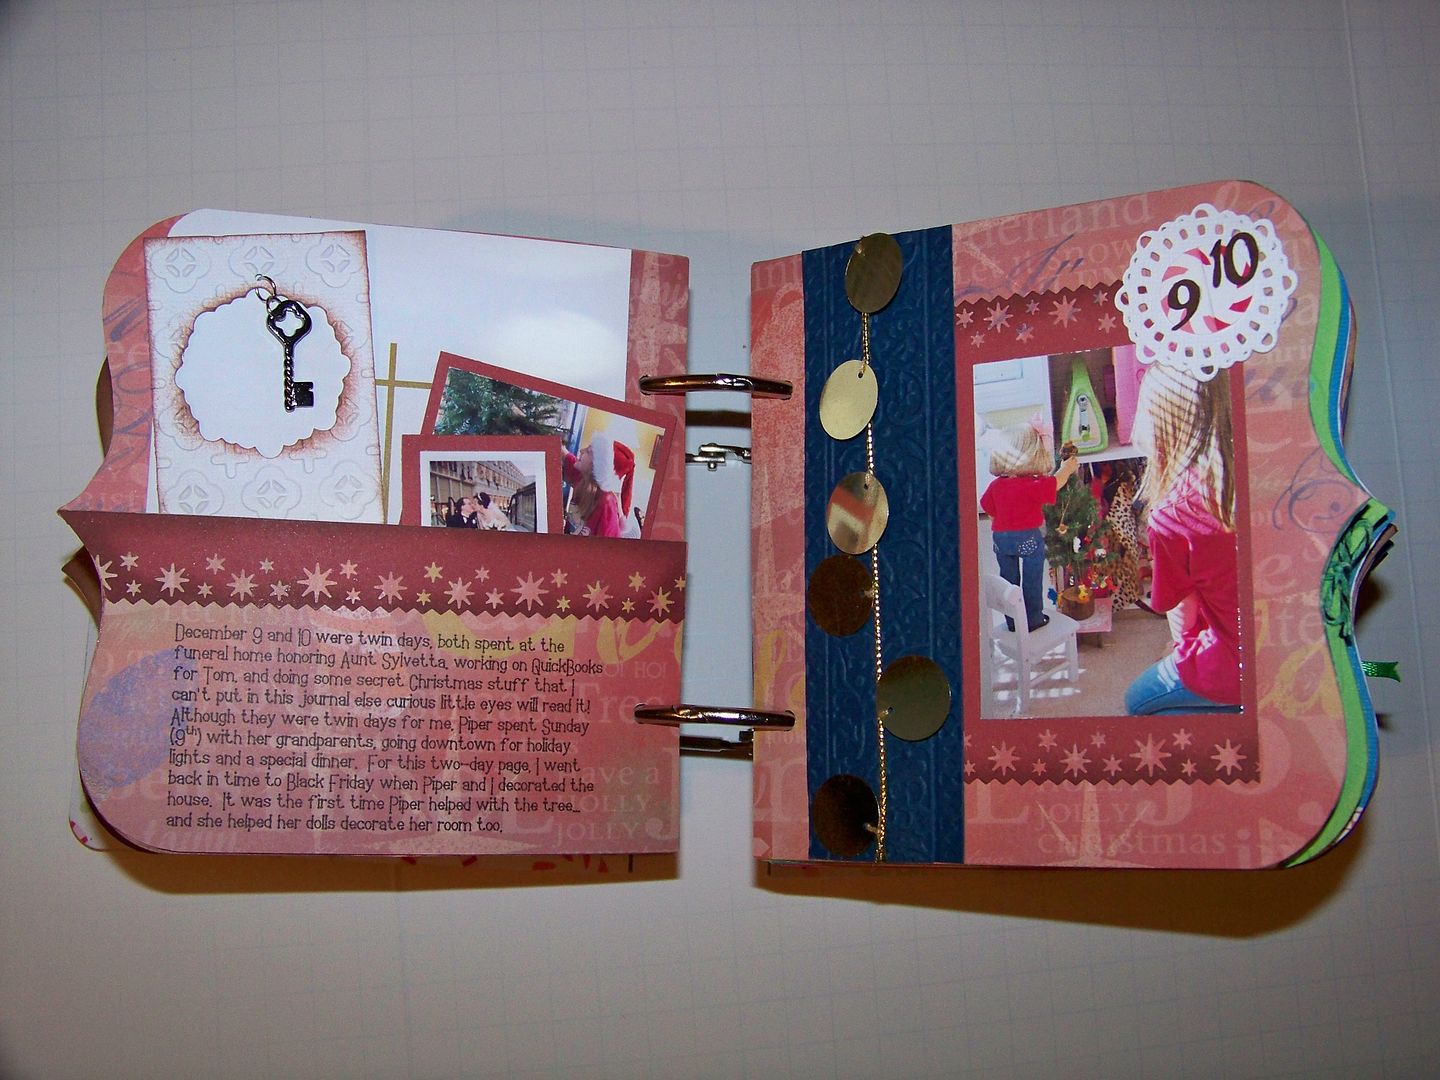
December 9-10
December 11-12
December 13-15
December 16
December 17-18
December 19
December 20
December 21
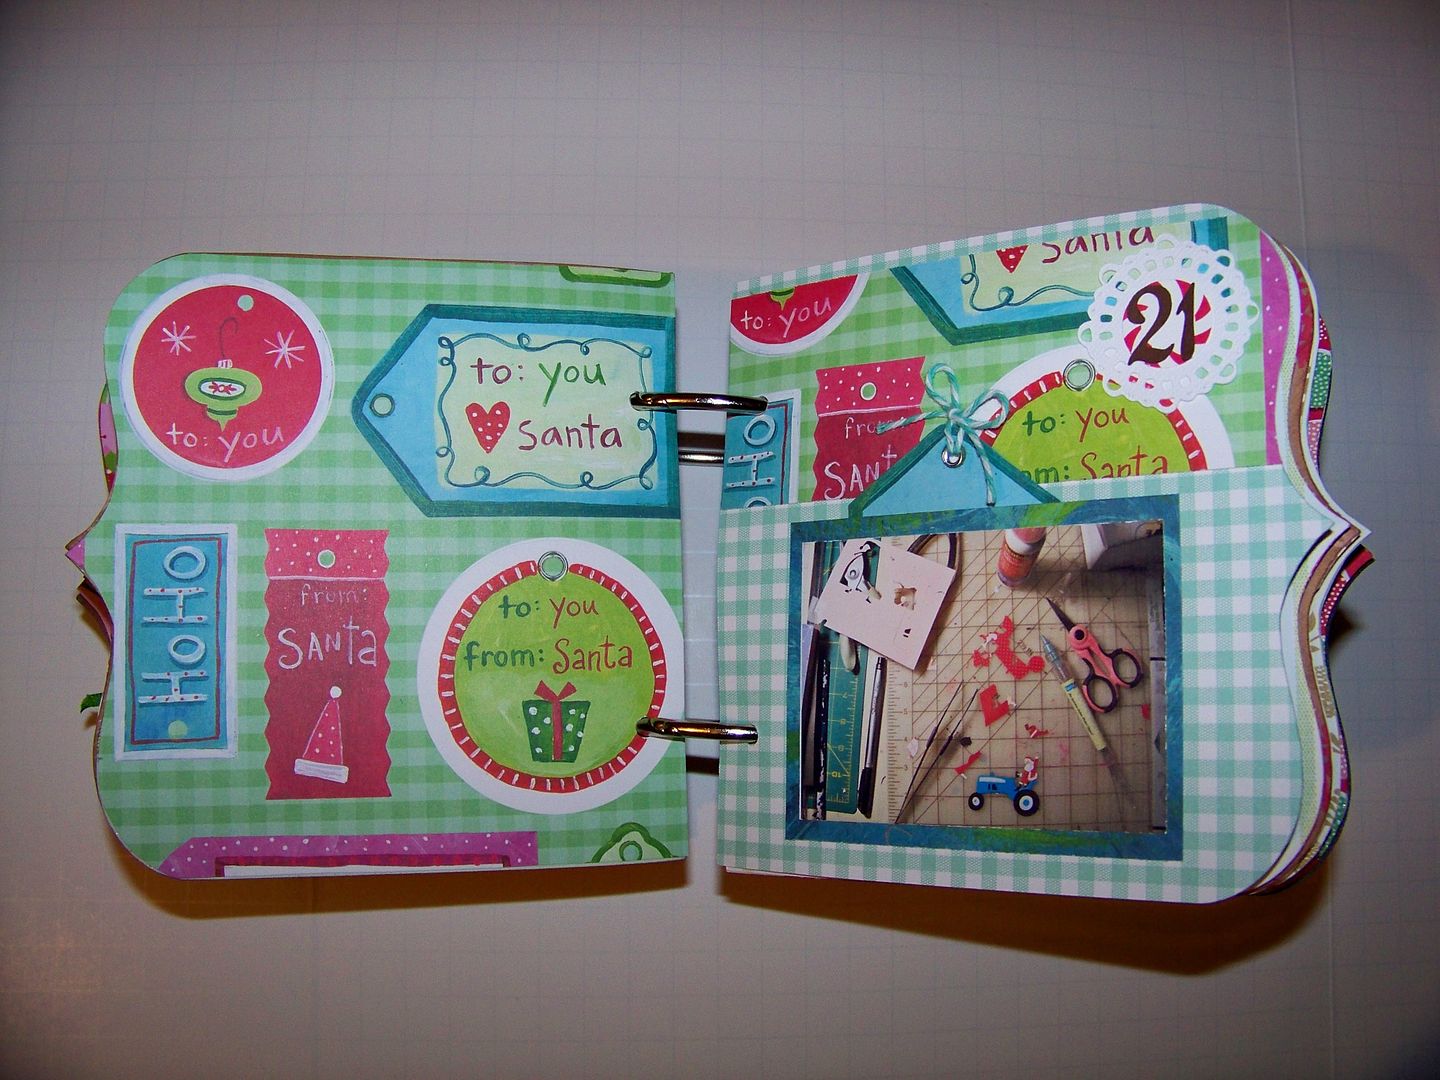
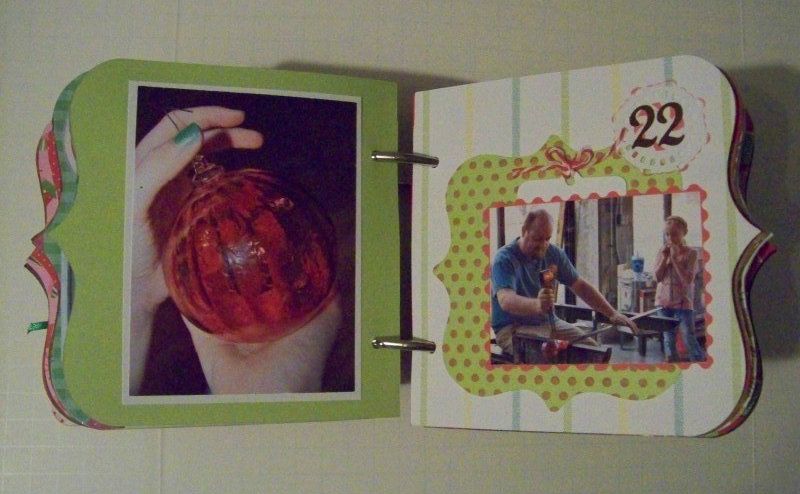
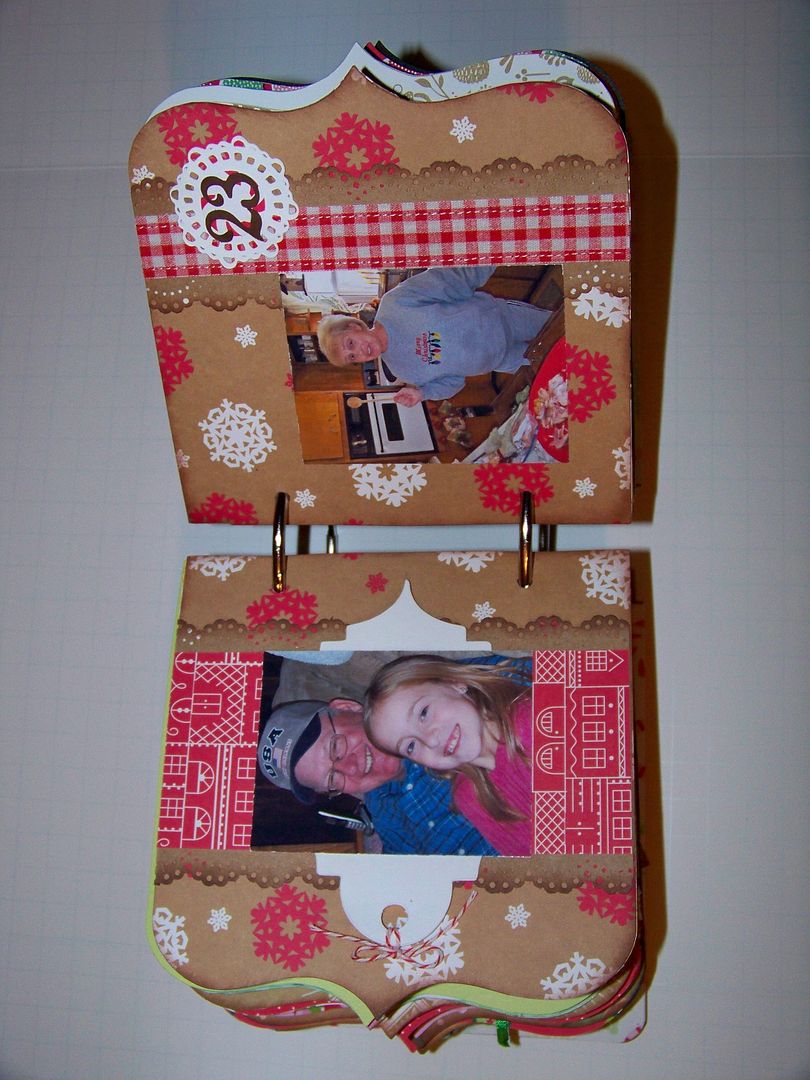
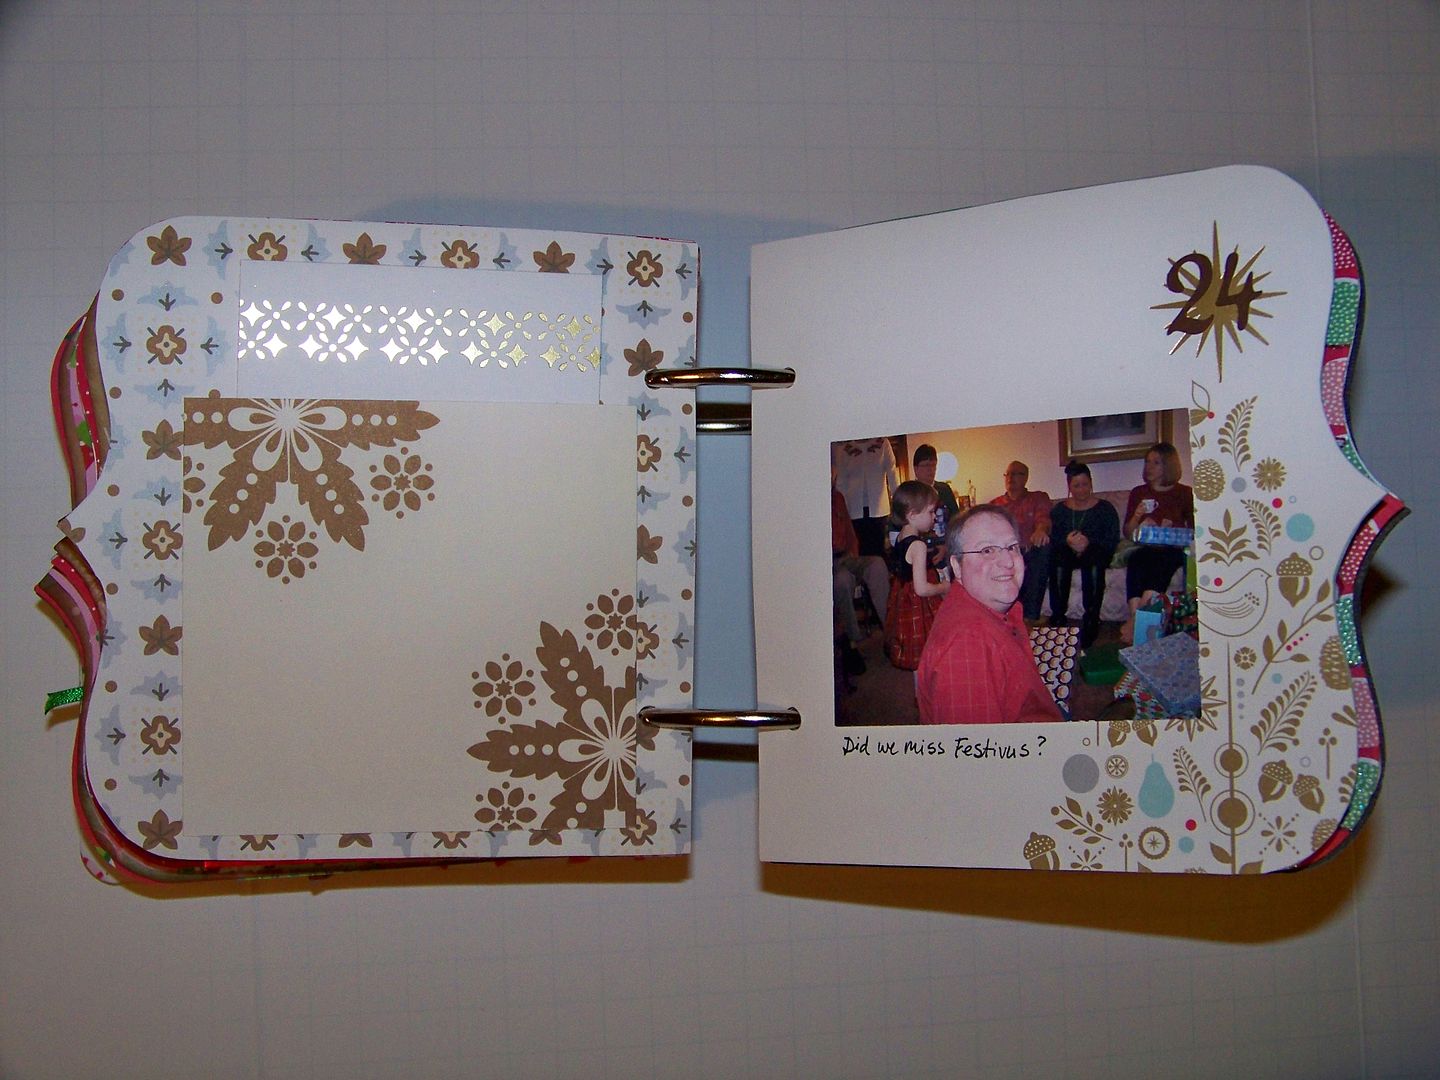
December 22-24
December 25 (here!)

Thank you for checking my blog post today!  I learned a lot from this project and I know lots of things I will do differently next year.  (I hope to make this a holiday tradition!)  I am off to get my house back in shape after the holiday fun.  I hope you are continuing to make many happy holiday memories to warm your heart the rest of the winter.


bloghopbutton200x200

But wait! There's more! Click 'older posts' above!

But wait!  There's more!  Click 'older posts' above!