 |
| My Apple Butter |
A month or so ago was the
Heritage Festival Weekend in Lanesville, Indiana. The festival showcases antique tractors and rural farming culture. You know, I am a city girl, but my husband is a real country guy at heart. My husband's company did the tractor pull there. ...But the reason I always enjoyed going all these years was for the apple butter. They make and sell apple butter that they cook outside, in a big cauldron, over an open fire. It is the best apple butter I have ever tasted; the two jars I bought are already gone. The ingredients listed on their jars are: apples, sugar, cinnamon oil.
I actually found a similar-sounding recipe on-line (
click here) but I really don't want to stand over a hot fire all day (or even for a short time and where would I even do this???) The more realistic idea for me, outside of just stocking up on cases of the magical stuff from Lanesville, is to make my own in a Crockpot. I decided to really do it once I found a very easy-sounding recipe from Buttercream Couture. Find it on their Facebook Page (
click here) from October 19.
I made a few simple changes and took lots of notes... and I canned mine for gifts. This is my recipe and it differs a bit from the original. I will say that it is not the same as Lanesville's, but it is really good.

Slow Cooker Apple Butter Recipe
Click
here for a printer-friendly version.
7-1/4 pounds apples (weighed before preparing), peeled, cored, and chopped. I used Fujis sold by the bag. This is the most that will fit in my 5 quart Crockpot and still allow the lid to close!
3 cups white sugar
4 teaspoons ground cinnamon
1/2 teaspoon ground cloves
First, prepare apples and place them in a slow cooker.
Mix sugar and spices. Pour on top of apples. No need to stir yet.
Cook on HIGH for 2 hours.
Now is the time to stir the pot! Then, cook on LOW for 10 hours. (I did this overnight.)
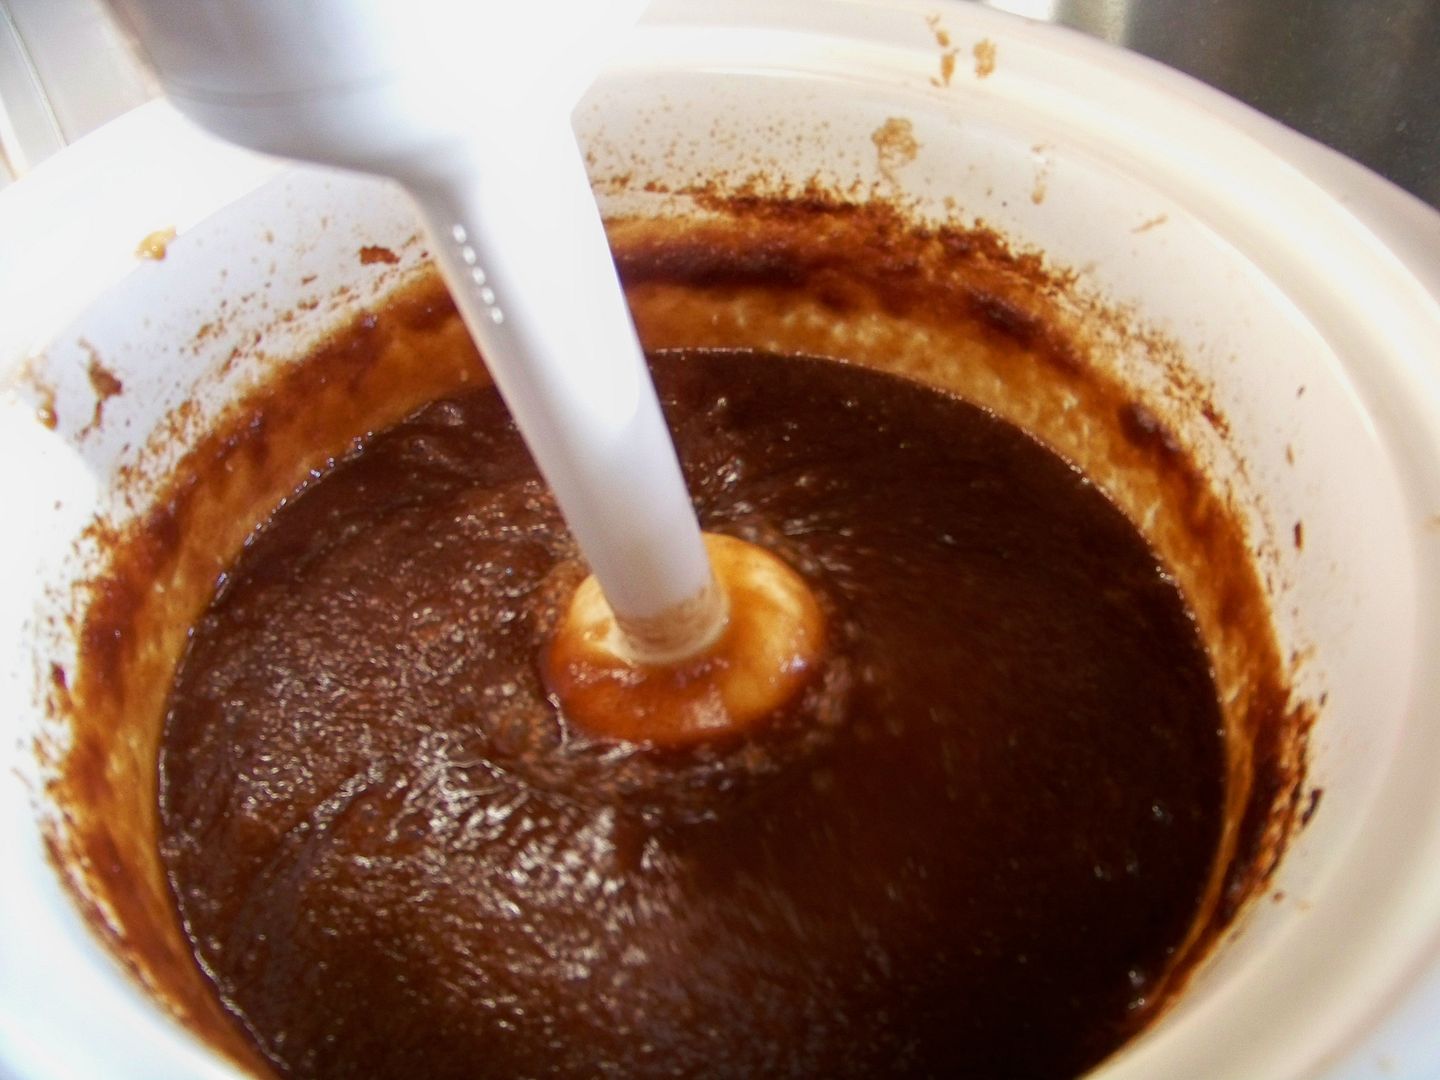
Then, use an immersion blender to smooth the consistency, using the masher foot for this first blending.
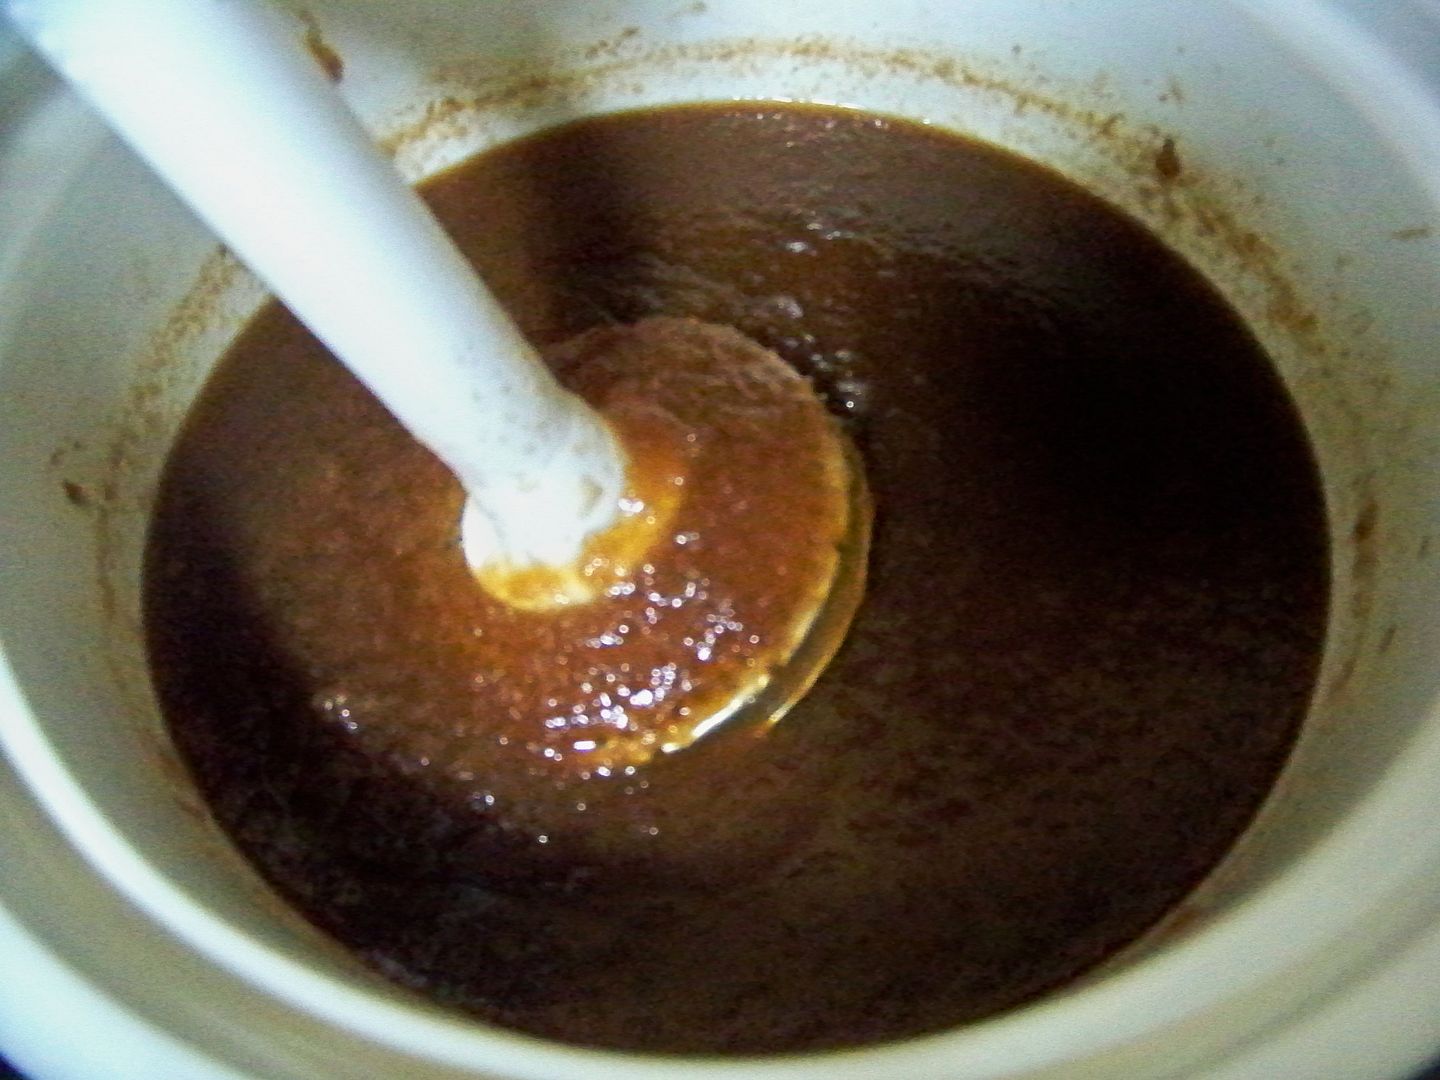
At this point, it tasted perfect. I wanted to thicken it. The original recipe said "You will know when it is done when you get a spoonful from the slow cooker and there is no water separation around the outside edge and it holds to the spoon if you invert it." I had a way to go before getting to that point. What I scraped from the sides was perfect so I knew I just needed to cook off more of the water. The original recipe suggested keeping the lid off but this method would work best if on the stovetop. Without the lid, the Crockpot just cannot keep the food hot enough. I wanted it to boil a bit (at least on the edges) and I could only achieve that by keeping the lid on.
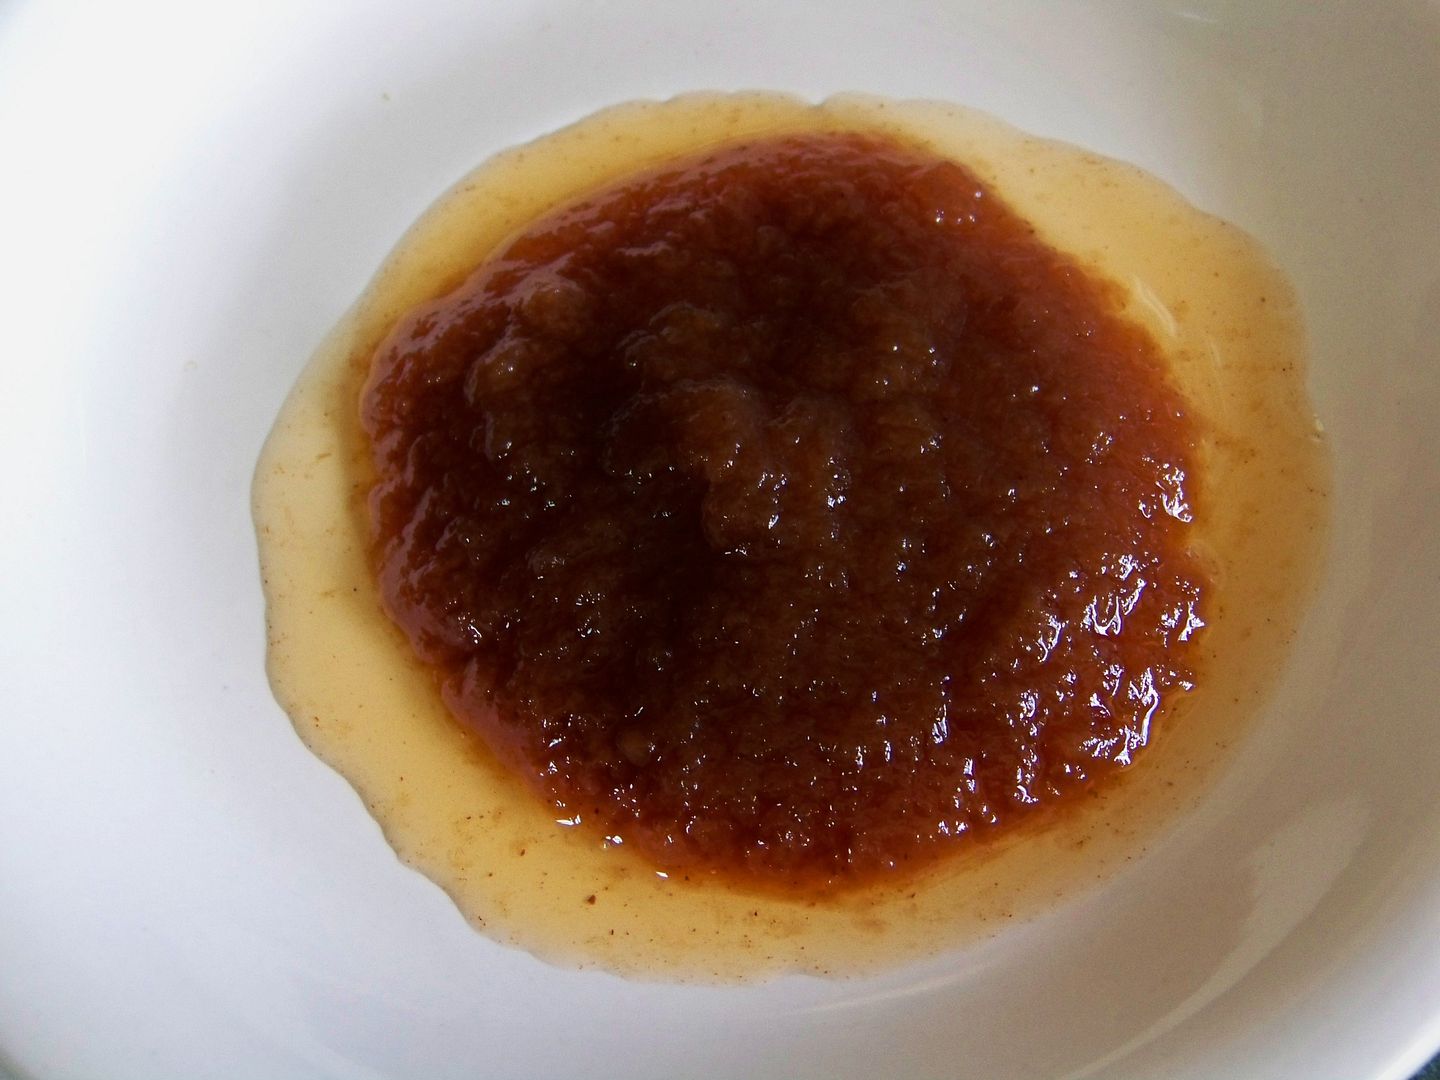
This is what my apple butter looked like at this point:
Actually, I like this texture and don't mind the separation, but I was trying to learn from this recipe. If I were making this for myself, I would be happy at this point! In many ways, this was like the Lanesville apple butter because theirs separates and has a texture like this.
Next, cook on high for five hours, stir, and check consistency. (I did allow it to cook for 1 hour with lid off, but I could tell we weren't getting anywhere so I put it back on).
Then, set on low and cook for 3 hours. (The reason I set it on low was that I had an appointment and just felt safer setting it back to low. This is a pretty forgiving recipe!)
Next, take off the lid and use the immersion blender again, this time with the regular blending foot.
It was ready and looked like this:
With the lid off and the Crockpot still on high to keep the apple butter hot, I got stuff ready for canning. I kept it that way until the process was complete.
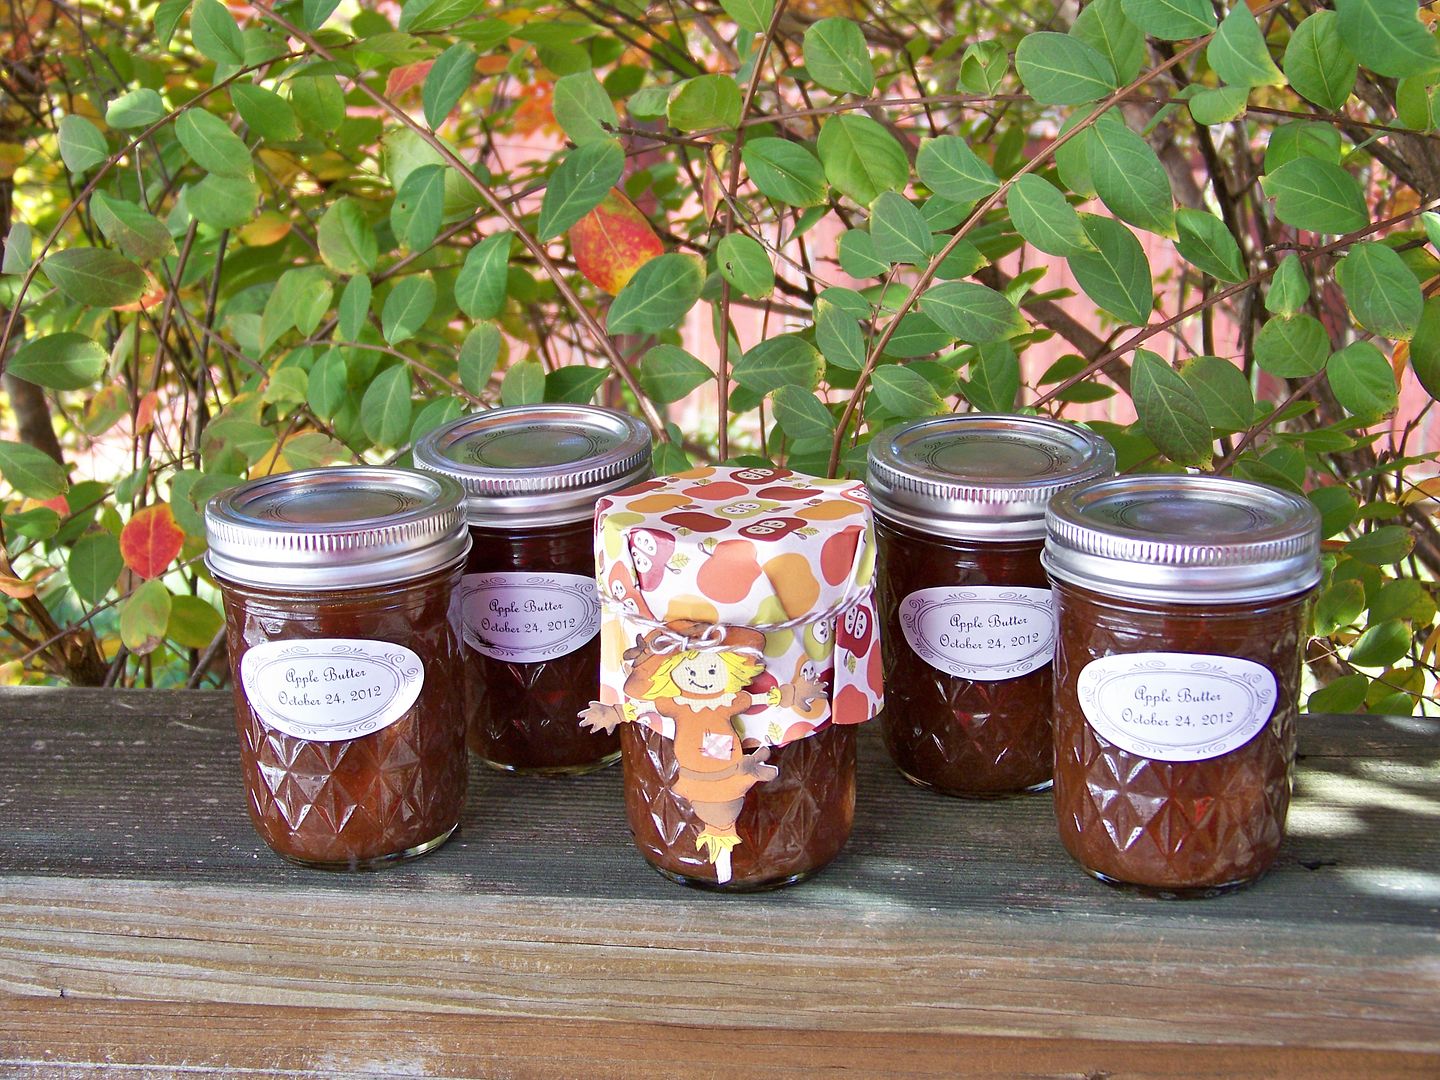
This recipe filled five 8-oz jelly jars plus a bit to enjoy now! ...plus whatever I comsumed while sampling!!
 |
| I processed these in a boiling water bath for 10 minutes. (1/4" headspace) |
I used my computer and the labels that came with the Ball Jelly Jars. (You know, why re-invent the wheel?) They were printed with Microsoft French Script at 16 point.
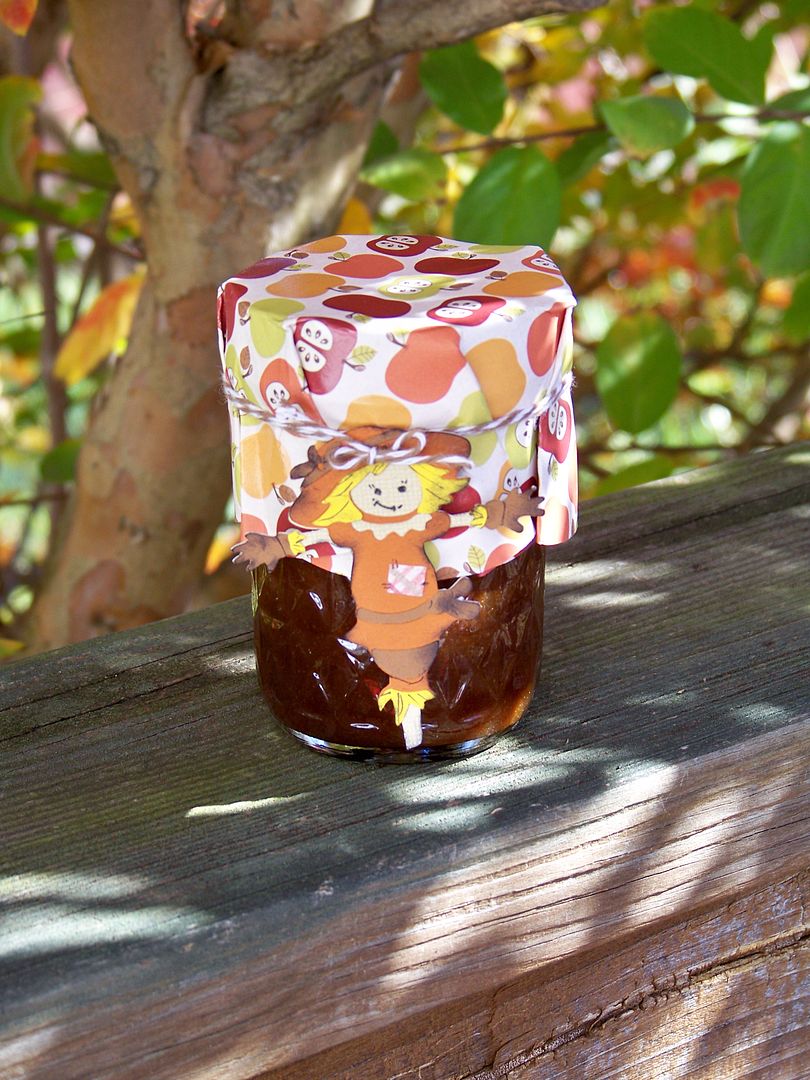
I wanted to give one away to my daughter's teacher. I found some apple paper in my stash for the topper and some scraps for a scarecrow embellishment.
The scarecrow was cut from Simply Scarecrows at 2-3/4" on my Expression. The jar topper was cut from paper at 7" from George (the circle) using Real Dial Size.
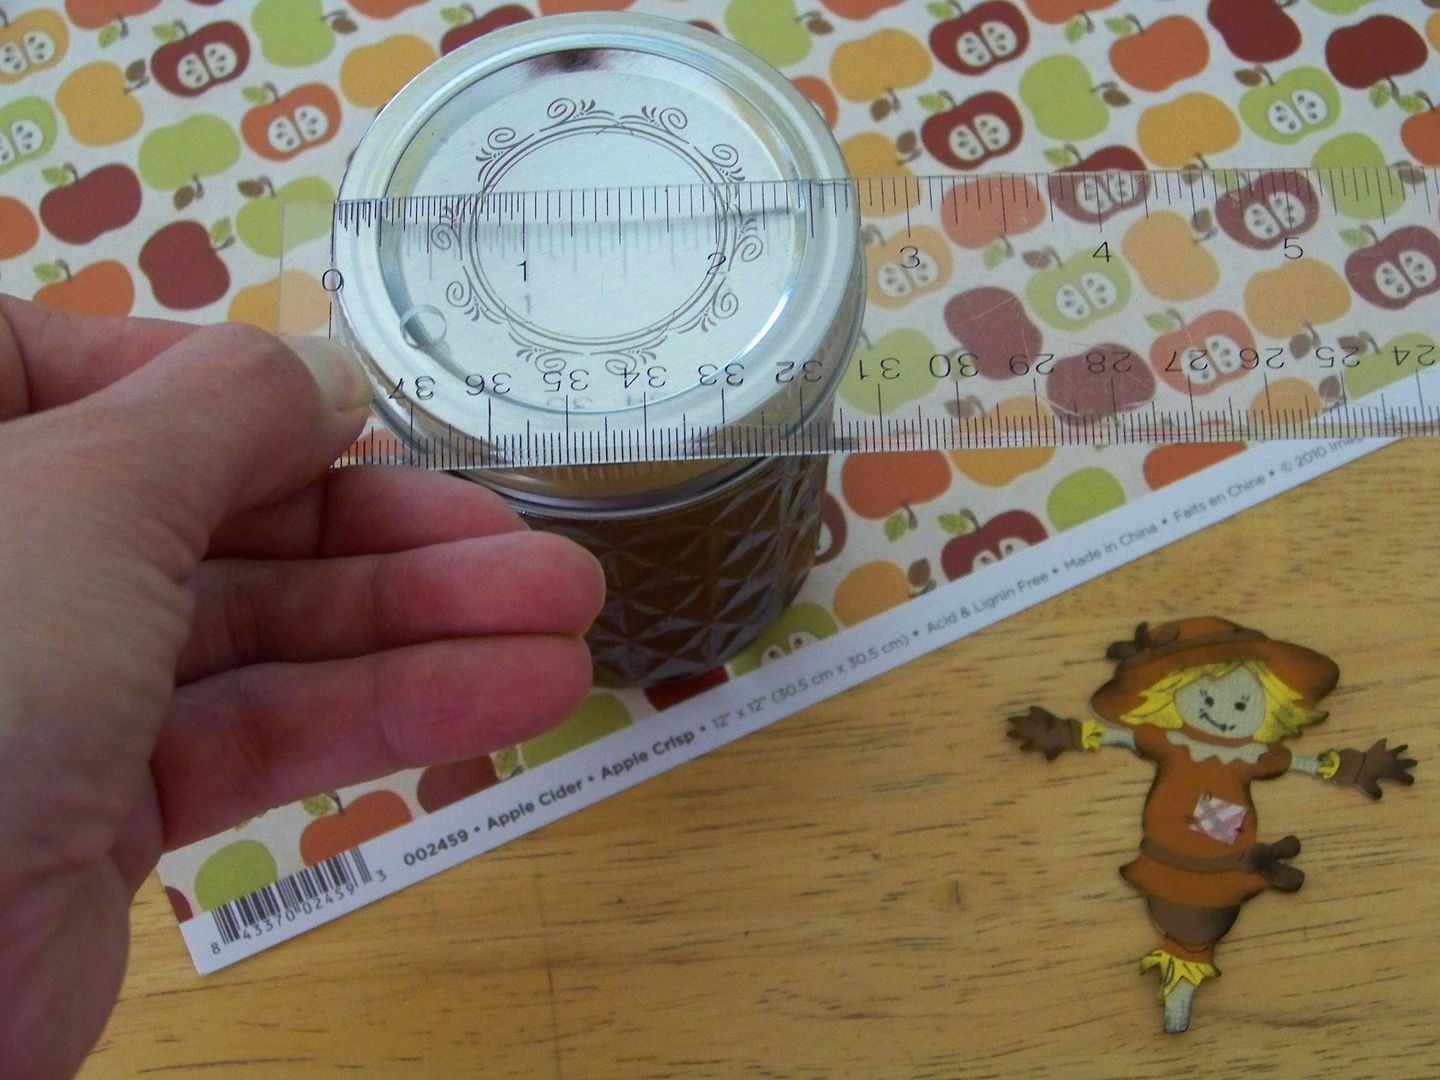 |
| My jar lids were 2-3/4" in diameter so a 7" circle for the topper worked out great! |
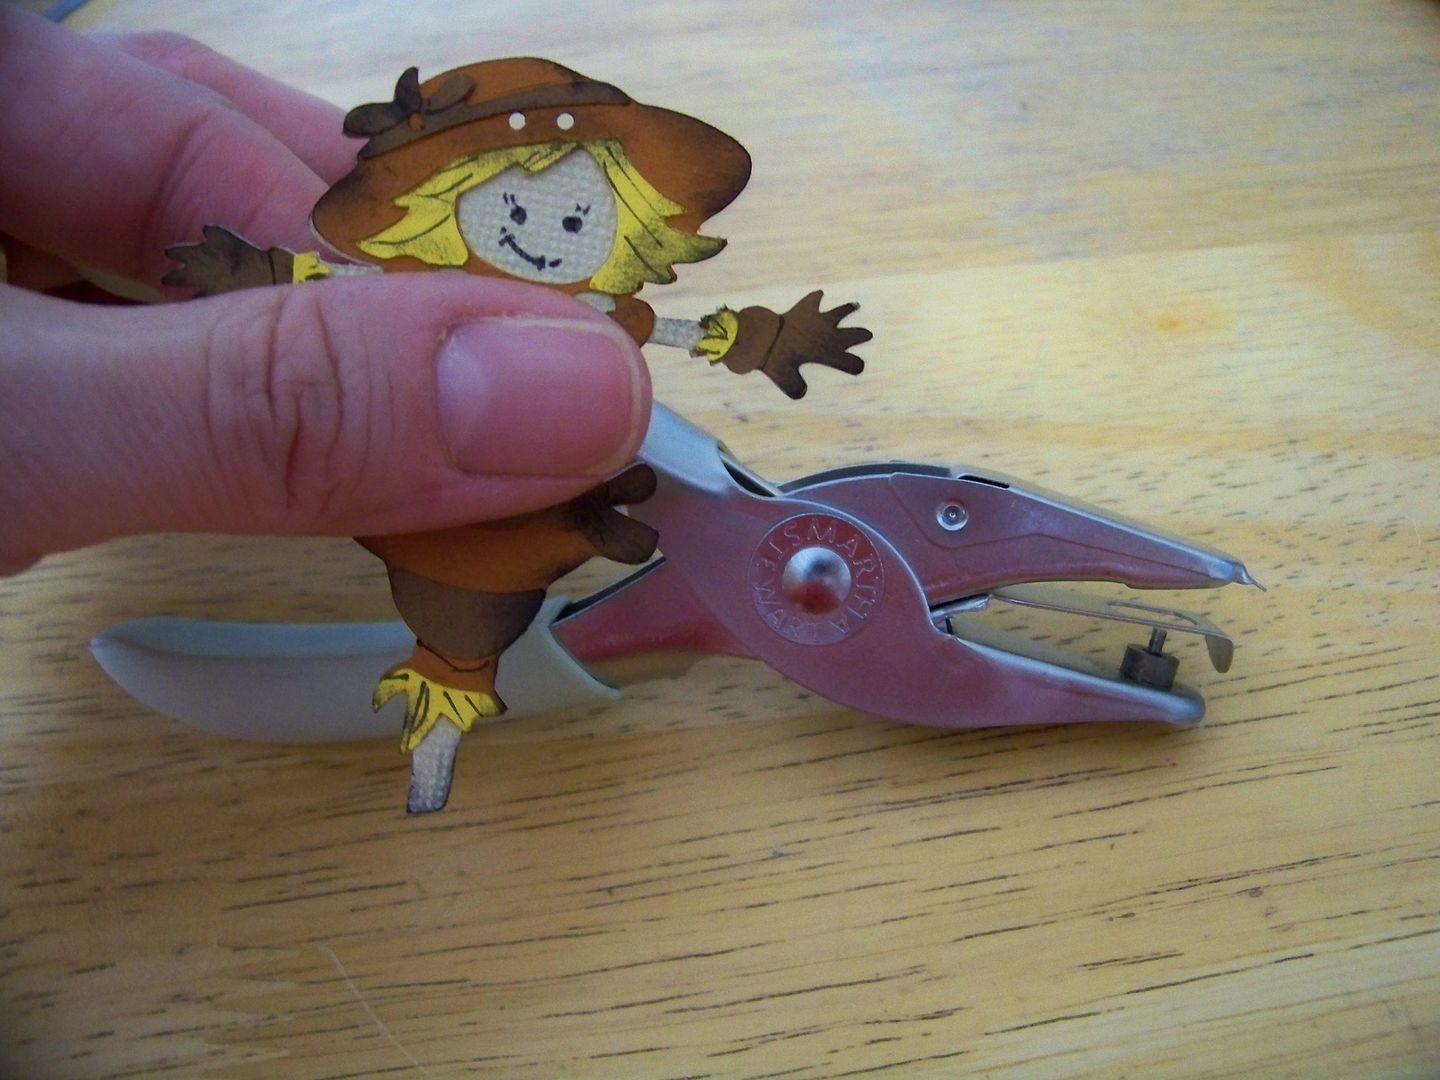
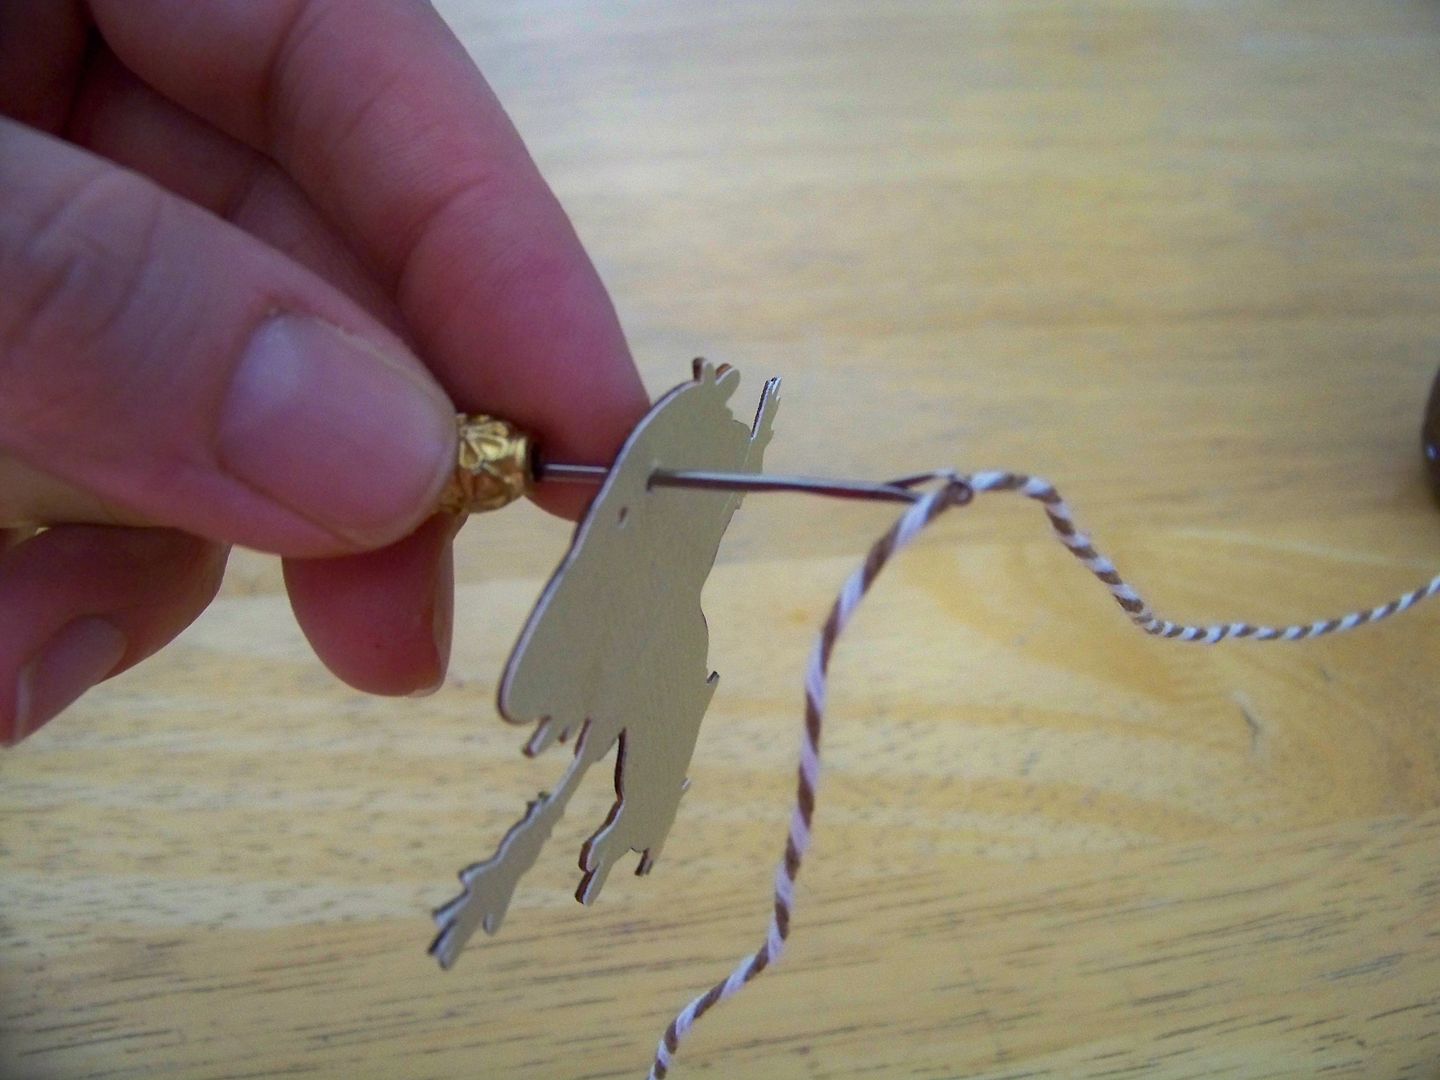
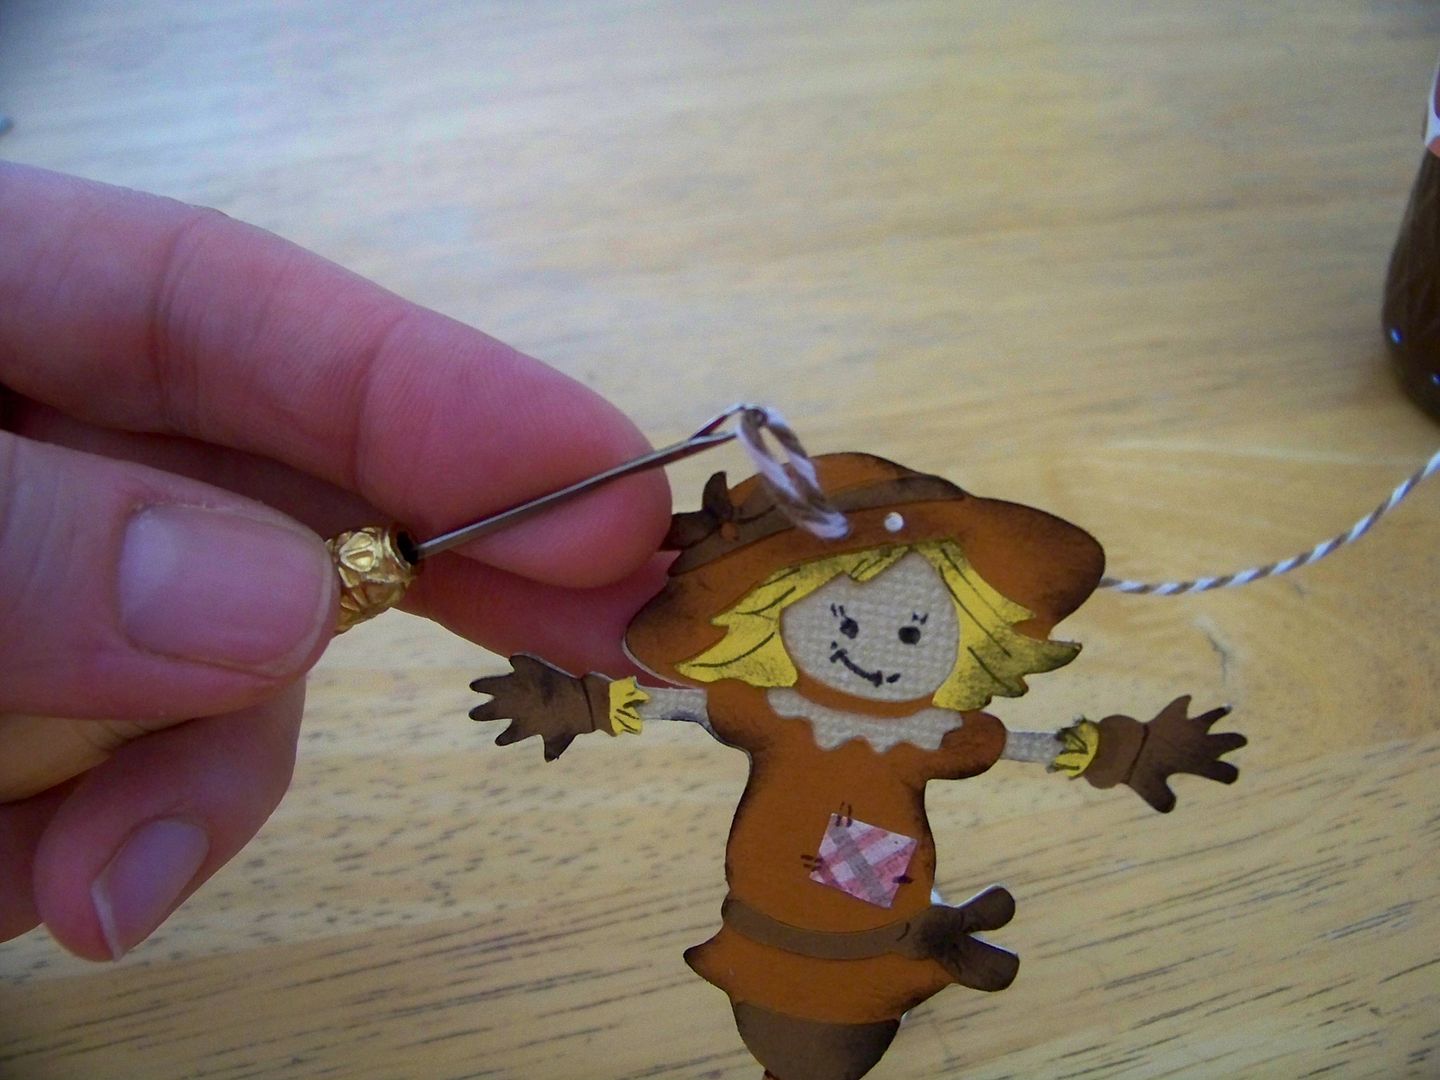
I cut that jar topper from card stock, so I did take some time to carefully smooth it down and make it lay neatly against the jar, using twine to secure it in place. I cut a couple of tiny holes in the scarecrow and used a tool to lace the twine through. (This tool is one I bought on-line when my daughter was into having feathers in her hair. It is called a needle tool and used for hair extensions. I have used it way more for threading twine than I ever did to thread her hair into those silicone-lined crimping beads!)
I love the way that paper and die cuts dress up food gifts!
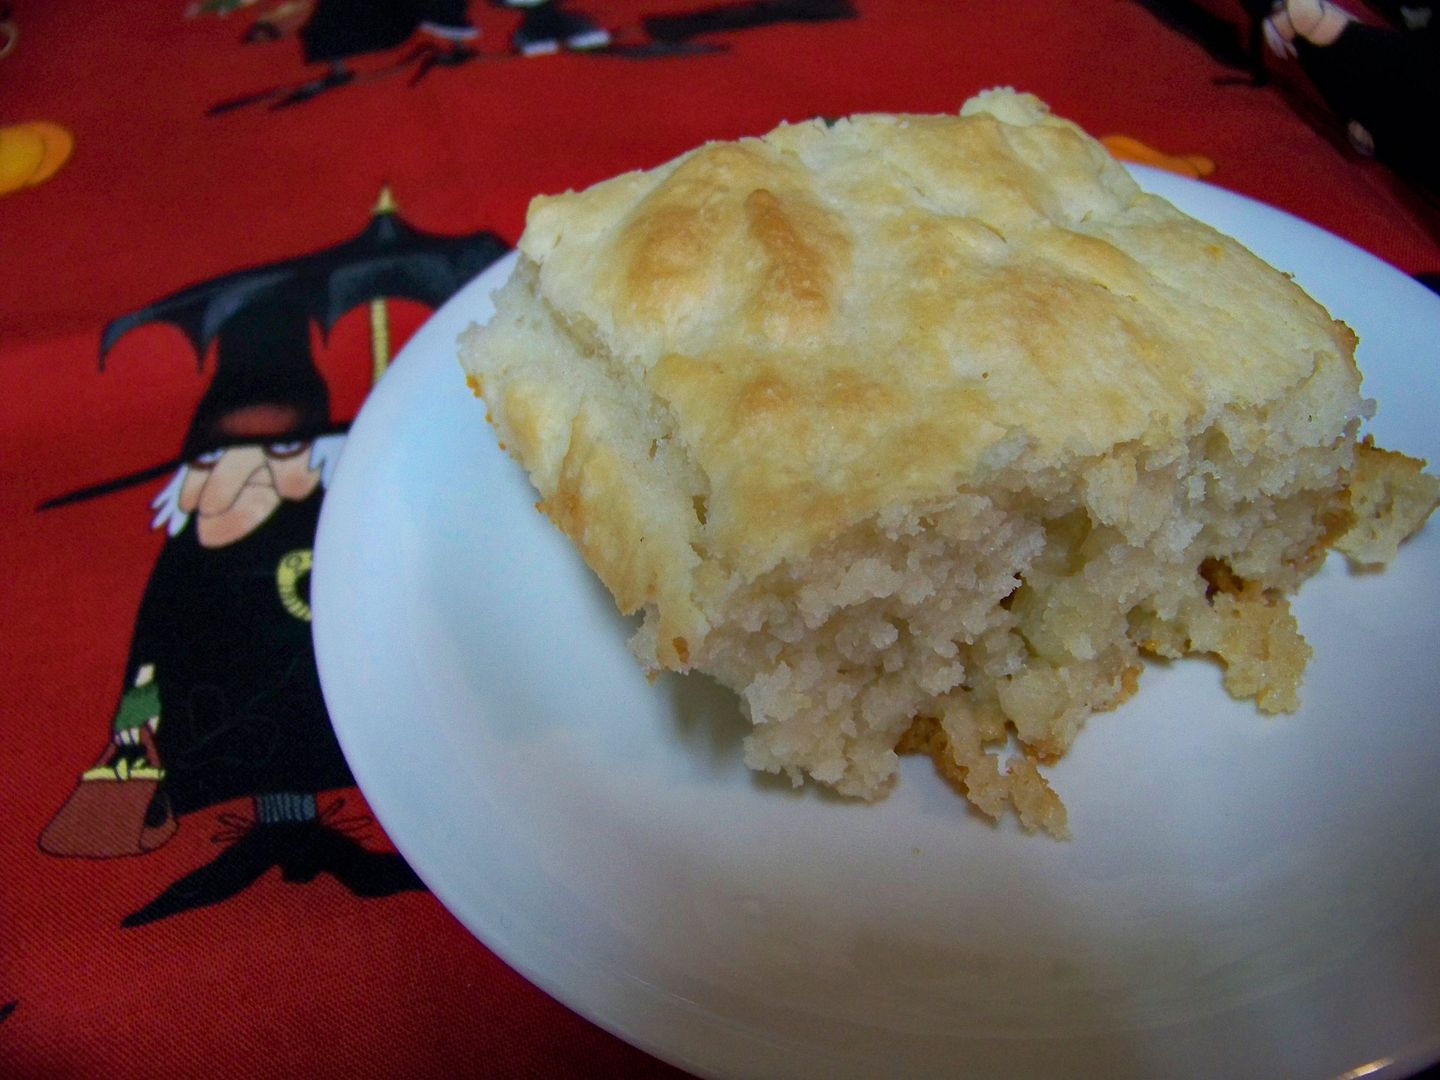
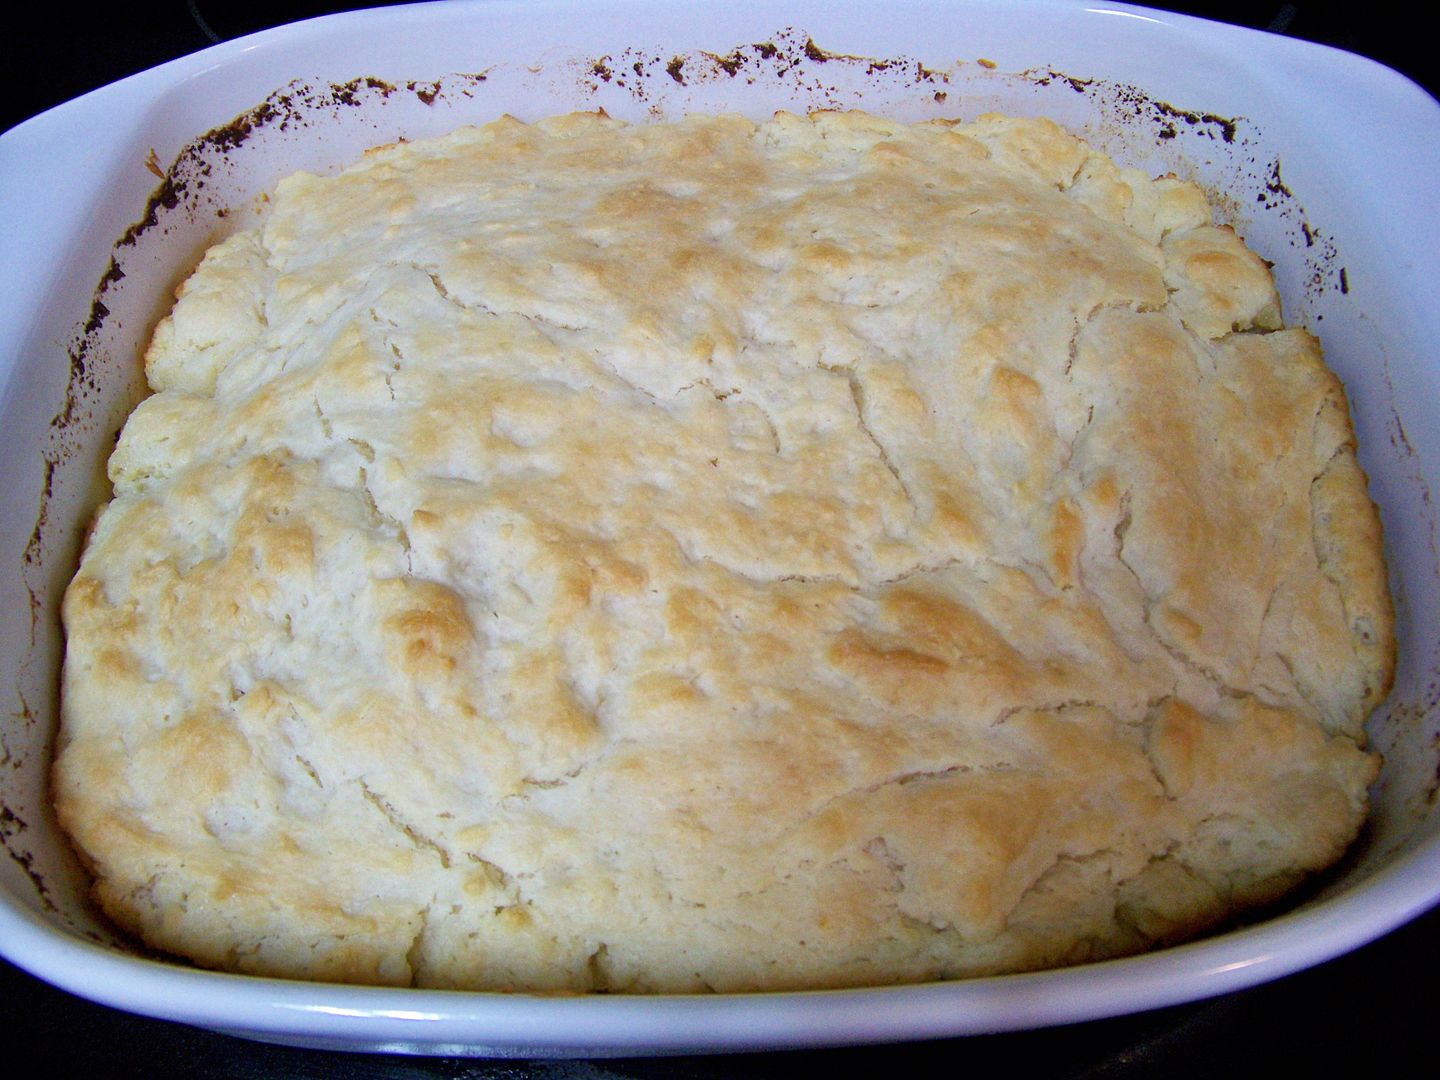
I also tried a new bread recipe when I was in the middle of the apple-butter-making. This has a biscuit-like consistency without much work and uses only four ingredients. There are several of these running around Pinterest, but I ended up sort of winging it based on notes from several of them.

7UP Pan Biscuits
Click
here for a printer-friendly version.
4 cups Bisquick
1 cup sour cream (regular, not reduced fat)
1 cup generic Lemon-Lime soft drink (like 7UP)
1/2 cup melted butter
Preheat oven to 425°. Melt butter in the microwave. Pour into a 9x11 pan. Spread out evenly.
Mix remaining ingredients in a bowl. It will be a very wet dough. Pour in the pan on top of butter. Spread the batter to the edges.
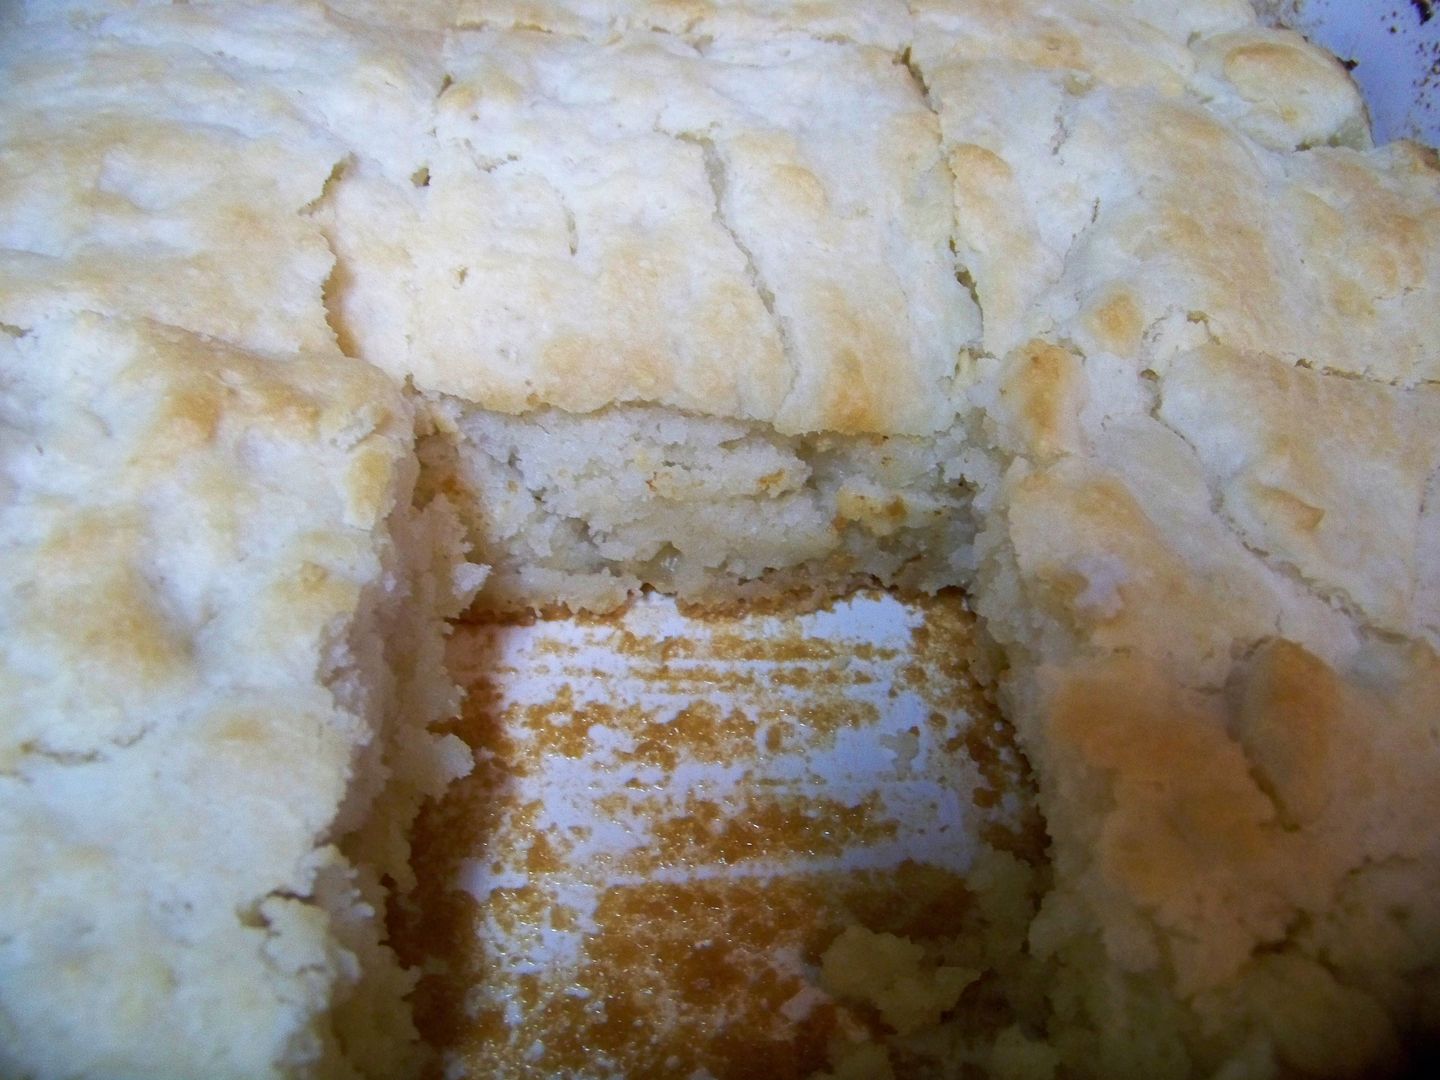
Bake 425° for 20-25 min. Cut into rectangles. Brush tops with additional melted butter to serve like a dinner roll or cut in halves to put apple butter inside!
Do I even have to tell you how fabulous this was with the apple butter???? My mom and the grandkiddos came by while it was baking. Needless to say, it was gobbled up in no time! Total hit and perfect for fall!
Thank you for checking my blog post today. You can find many of my past projects by checking
My Project Gallery.


