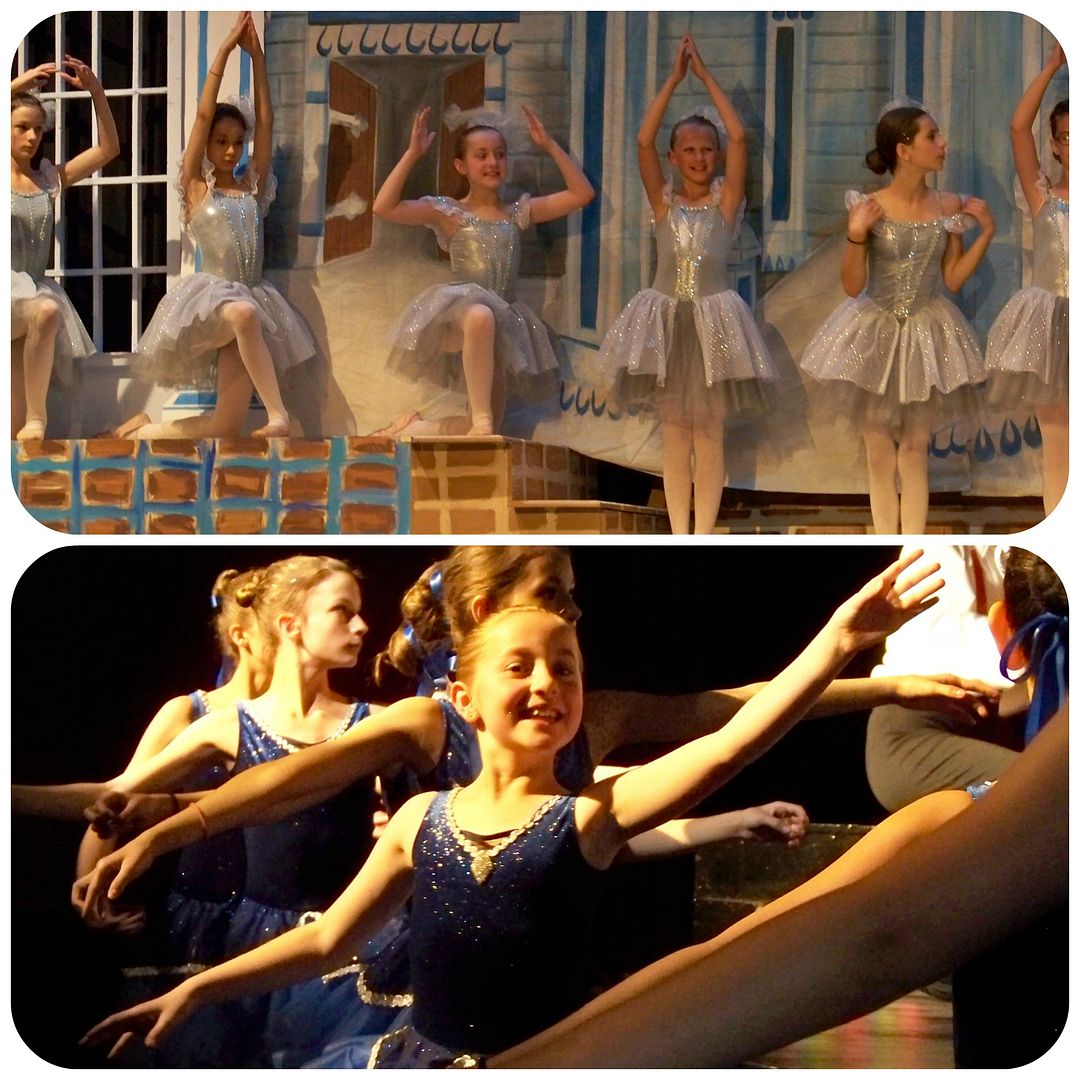
We just marked the start of summer at our house: completion of dance recital performances! My kiddo's ballet school has a special way of doing recitals: they do a full ballet with two performances in lieu of a standard recital that includes all the students from age 5 to age 18 in the show! The high school seniors and advanced dancers have the starring roles; the younger classes have supporting roles. My daughter's class performed as the Silverware and the Dream Belles. The parents do the set design and creation, make costumes, do lighting, stage management, house management, handle tickets, props, sound, and keep the kids ready for their parts! Some dads even have roles in the performances! It is such a huge production and undertaking! I took off two weeks of work to help and I needed an extra week to recover, but that didn't happen! (My daughter always seemed so surprised that I was tired when she was the one dancing.)
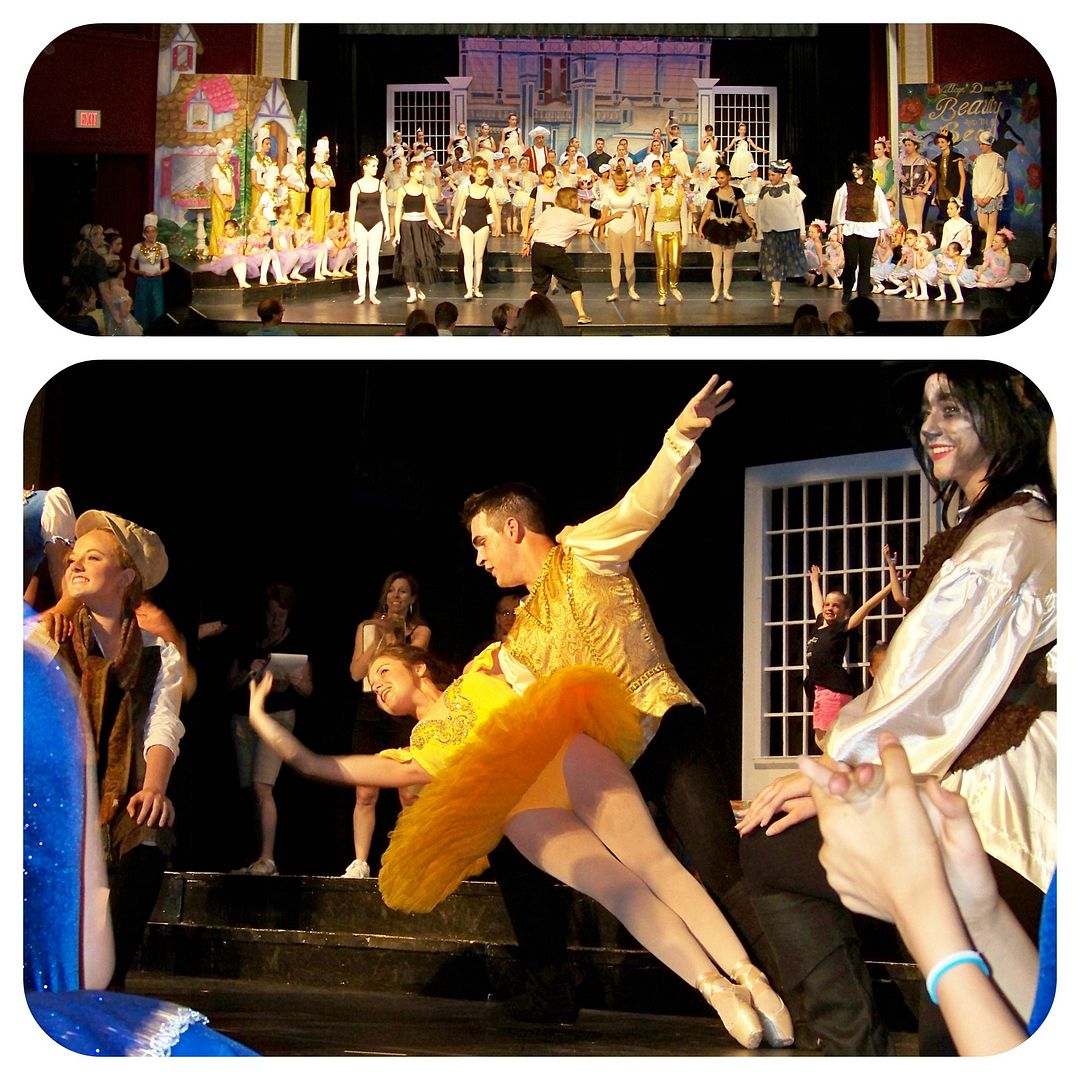 |
| Rehearsal for the Finale |
Each year, my daughter gives Opening Night gifts to the ballerinas in her class. For the past couple of years, I have made the gifts and tried to make them as wearable keepsakes that represented the ballet for that year. You can see last year's post on the Cinderella Ballet by clicking here!
 |
| Last year was Cinderella! |
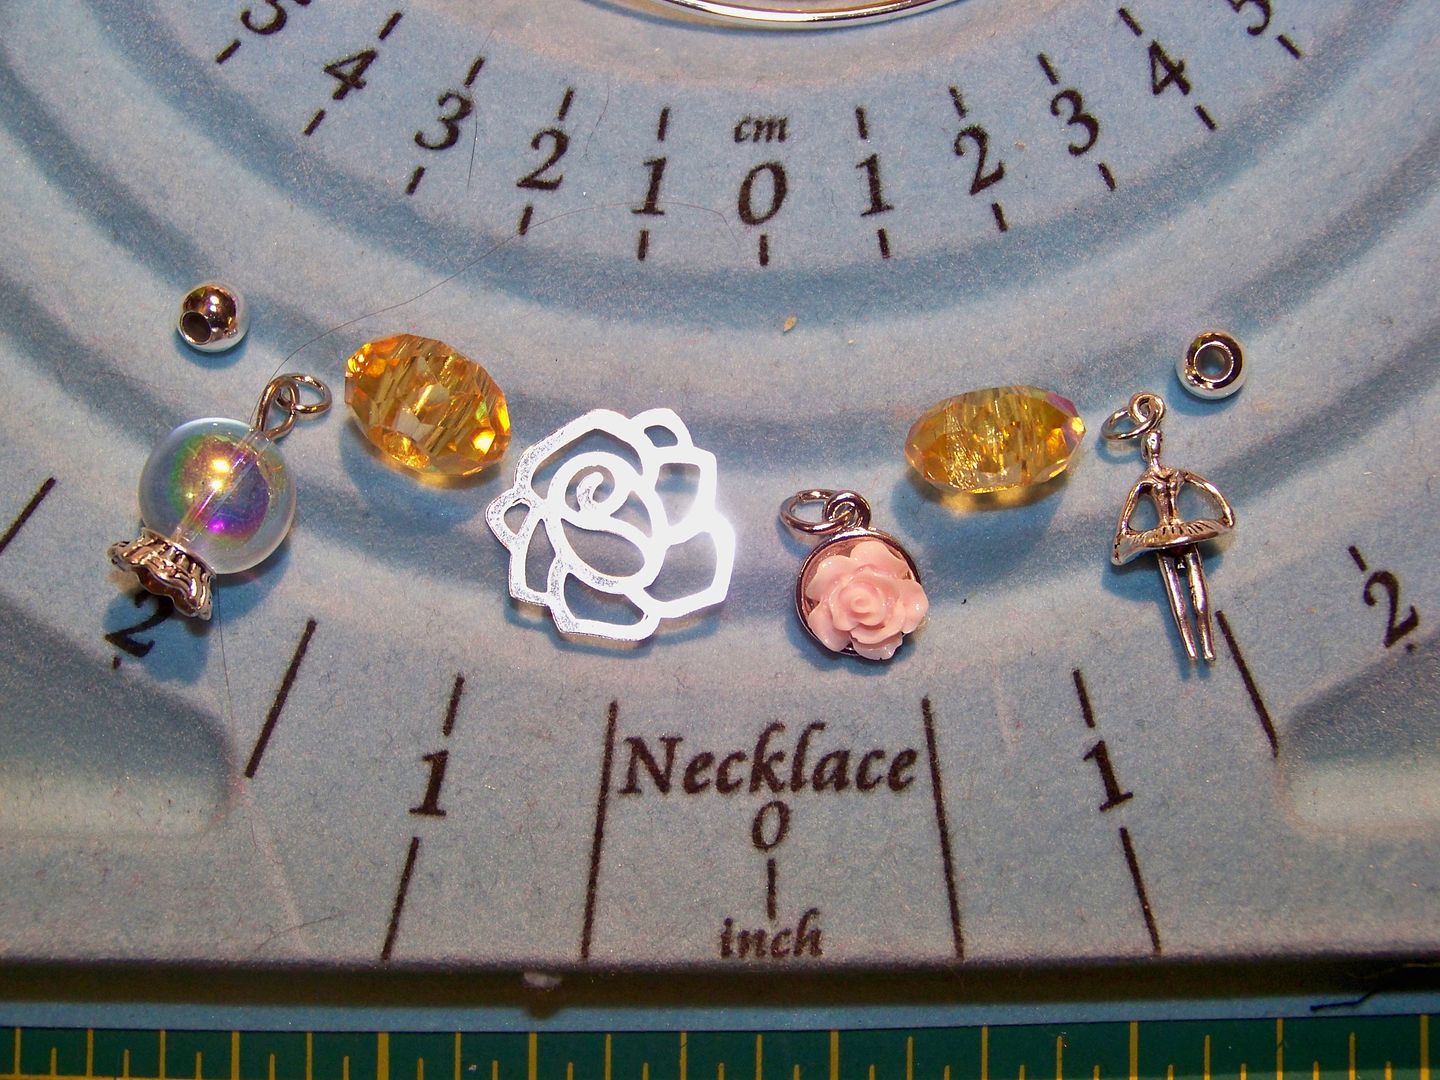
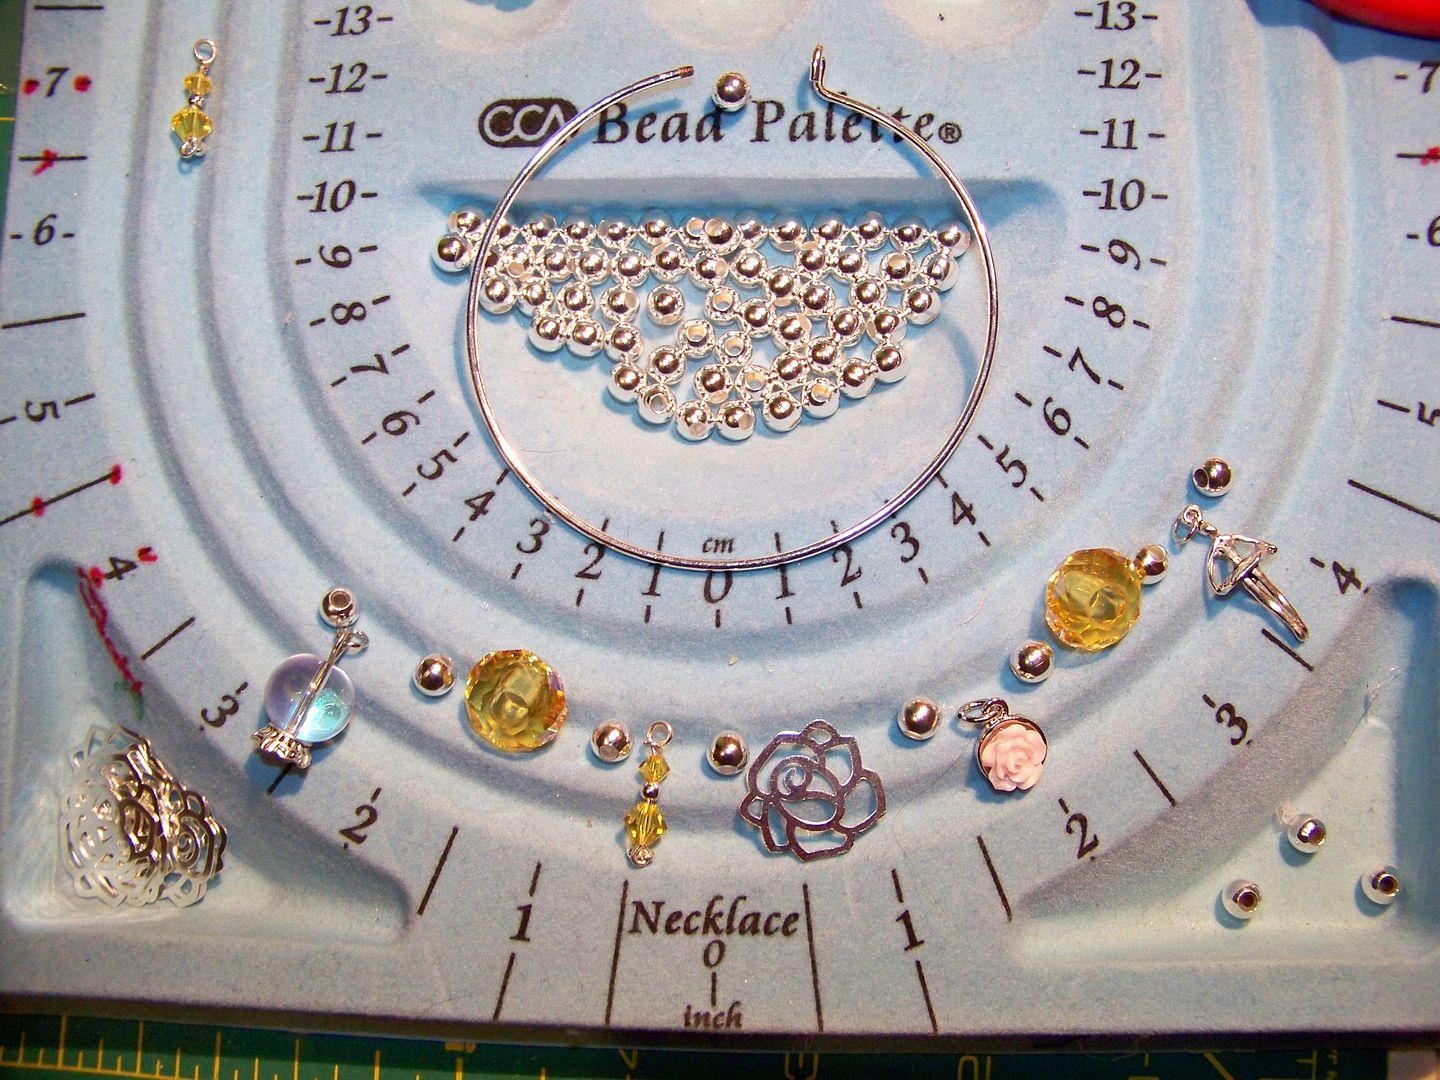
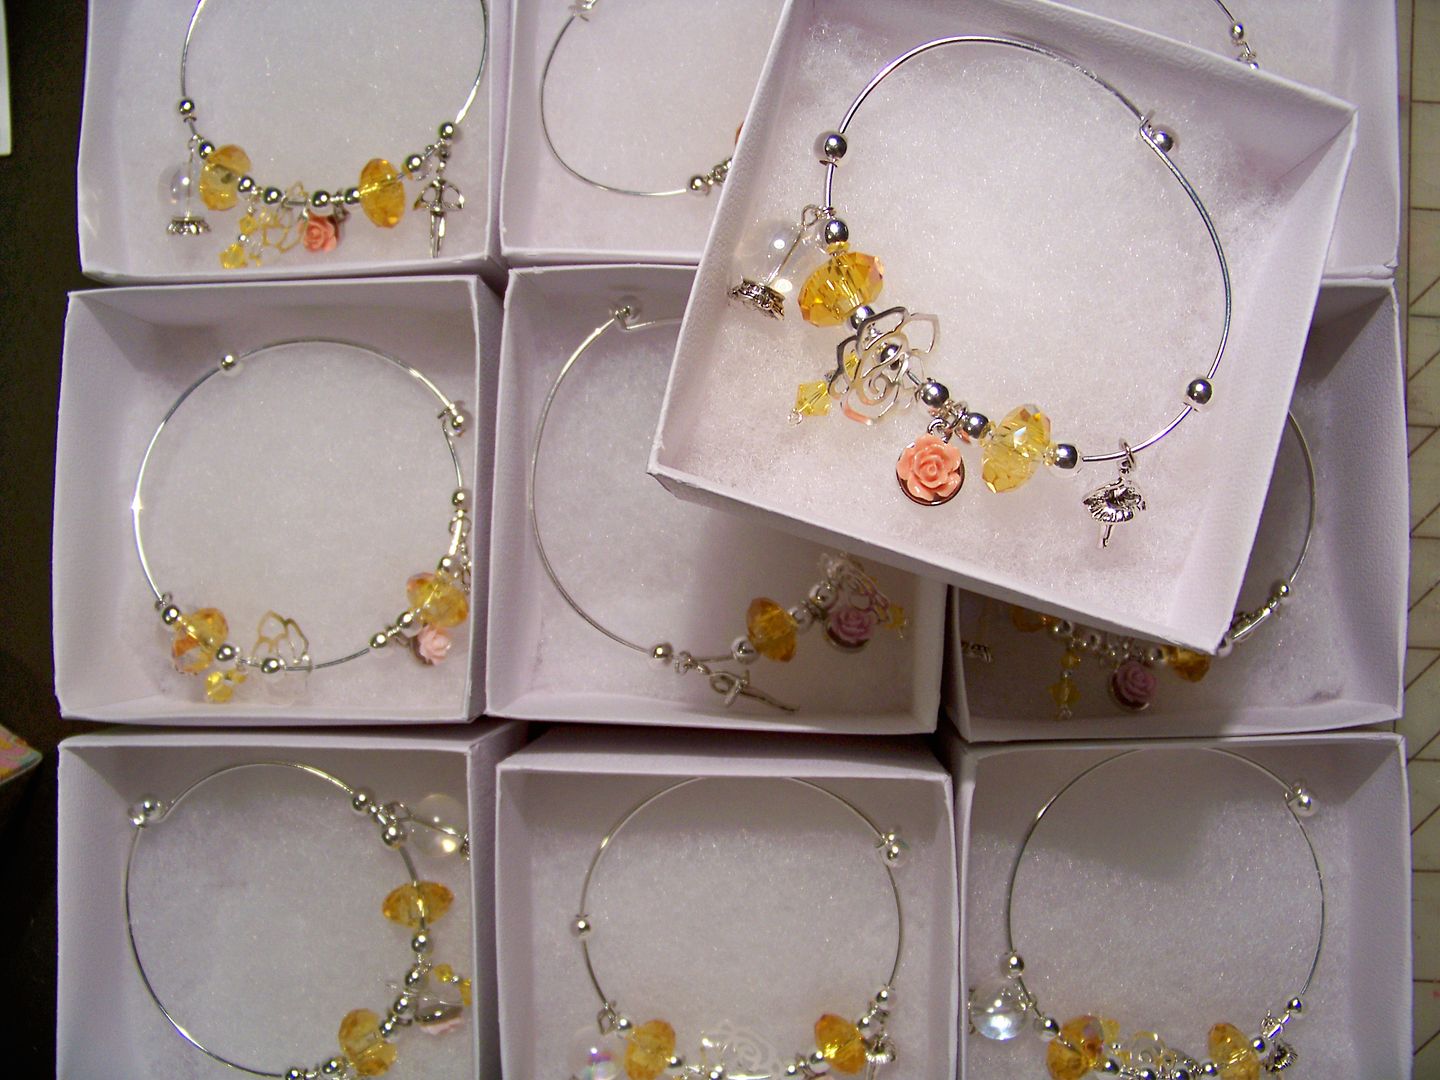
I chose beads that represented elements of the story: the rose, the yellow dress, the dancers, the dome over the rose. These girls have all out-grown the Disney Princesses and so those icons were not an option for this project.
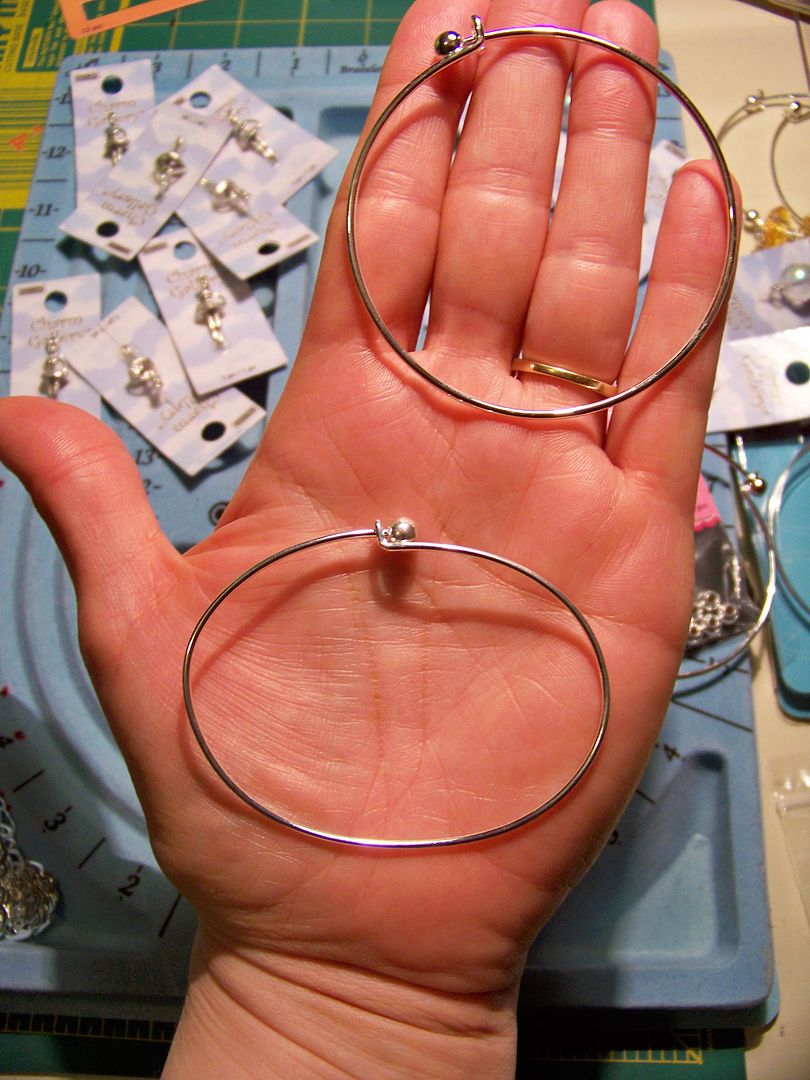
I added spacer beads between the charms. These made the various charms seem to be more integrated with the whole bracelet, though admittedly, less like the style I had originally been trying to copy.
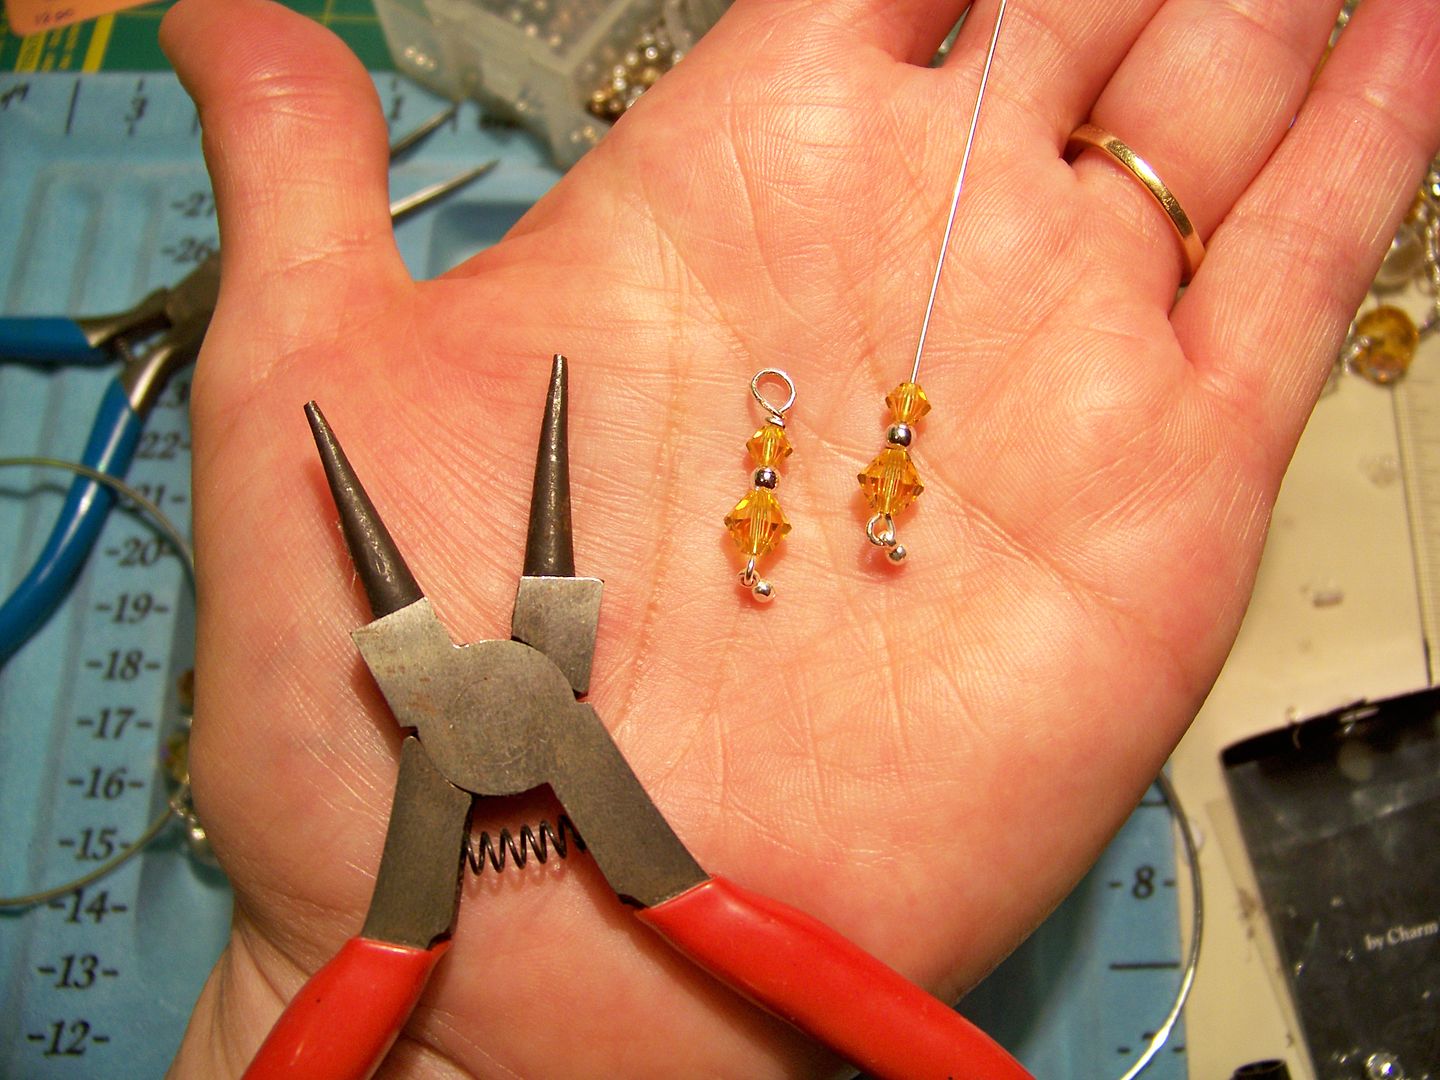
I also made some drop charms using head pins, crystals, and smaller silver beads.
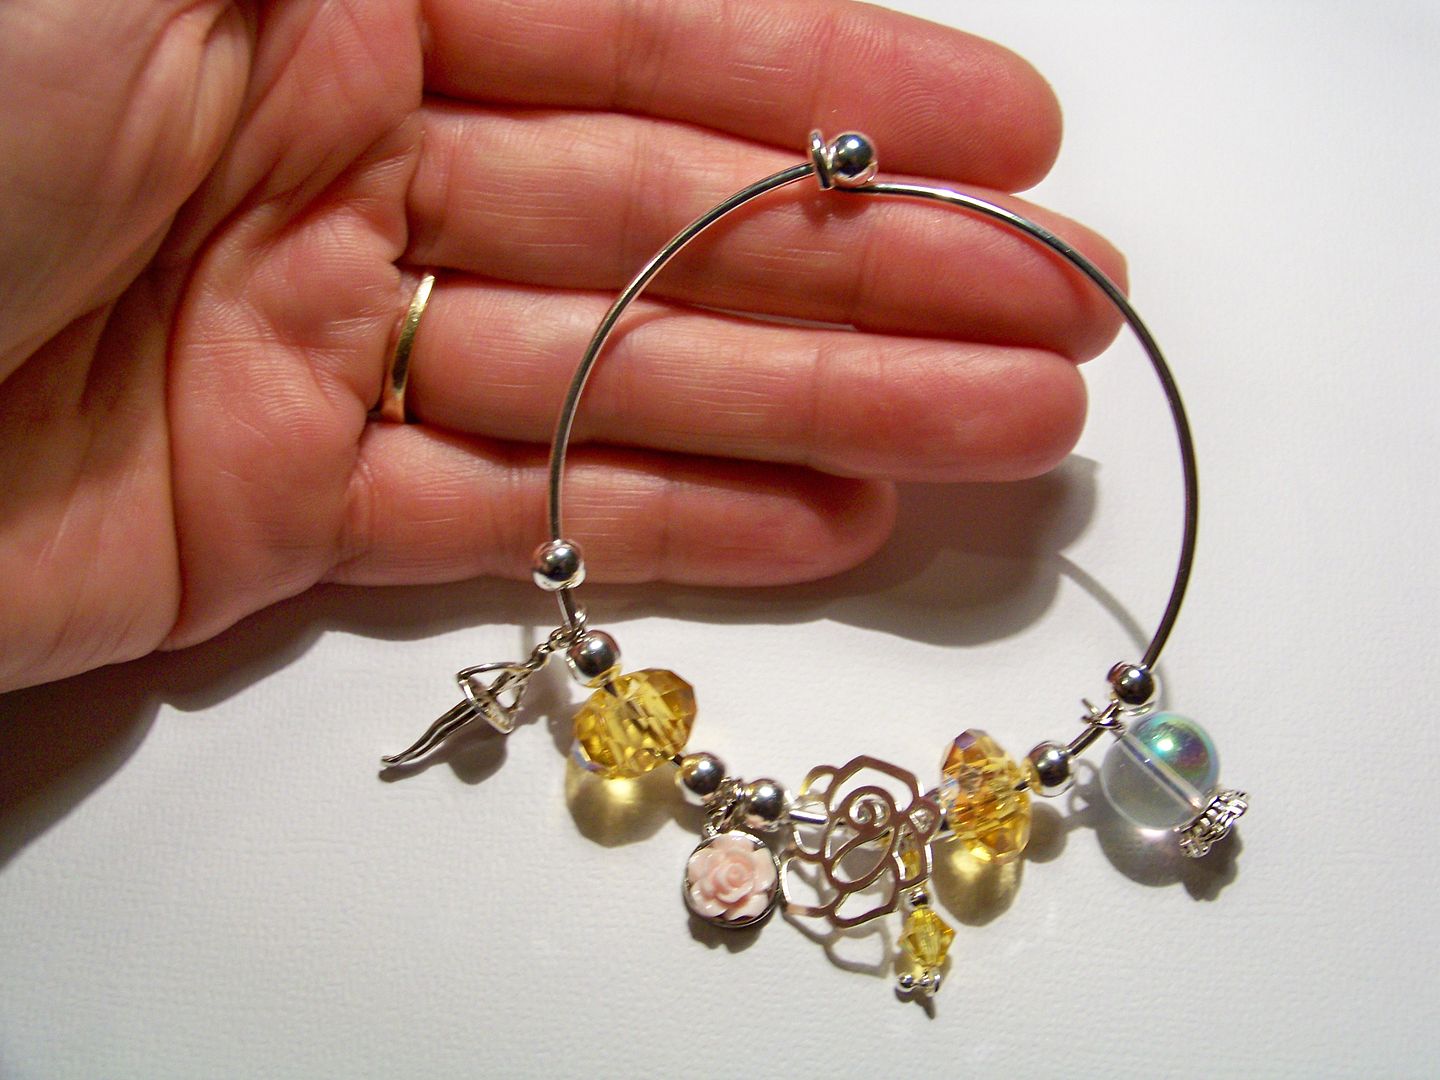 |
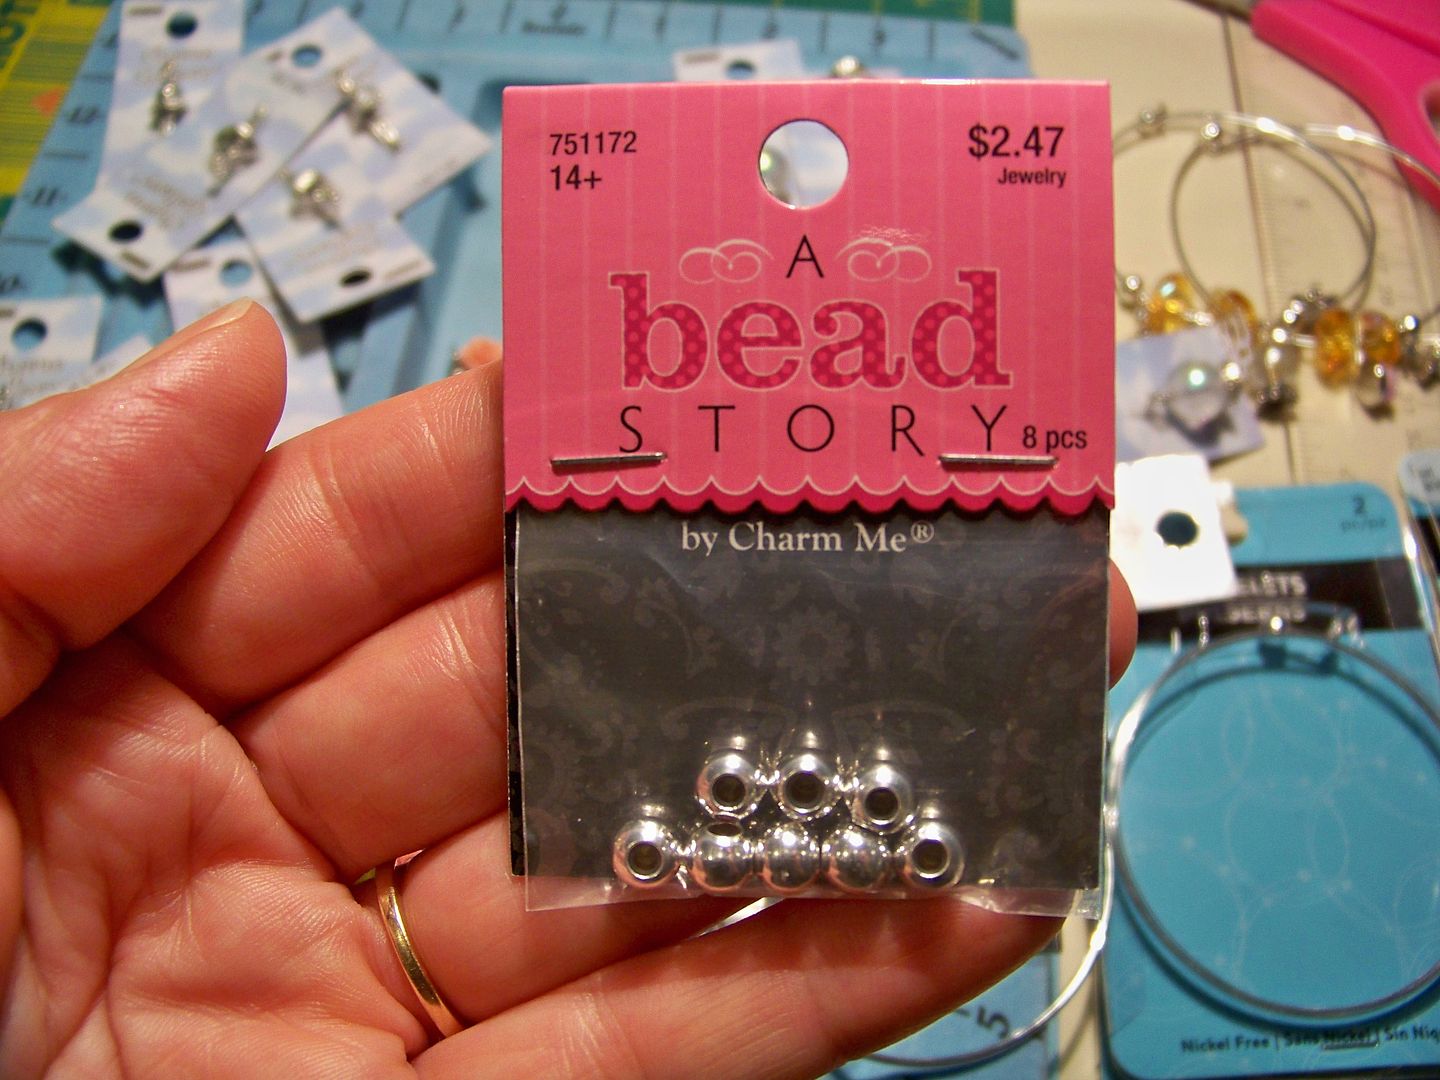
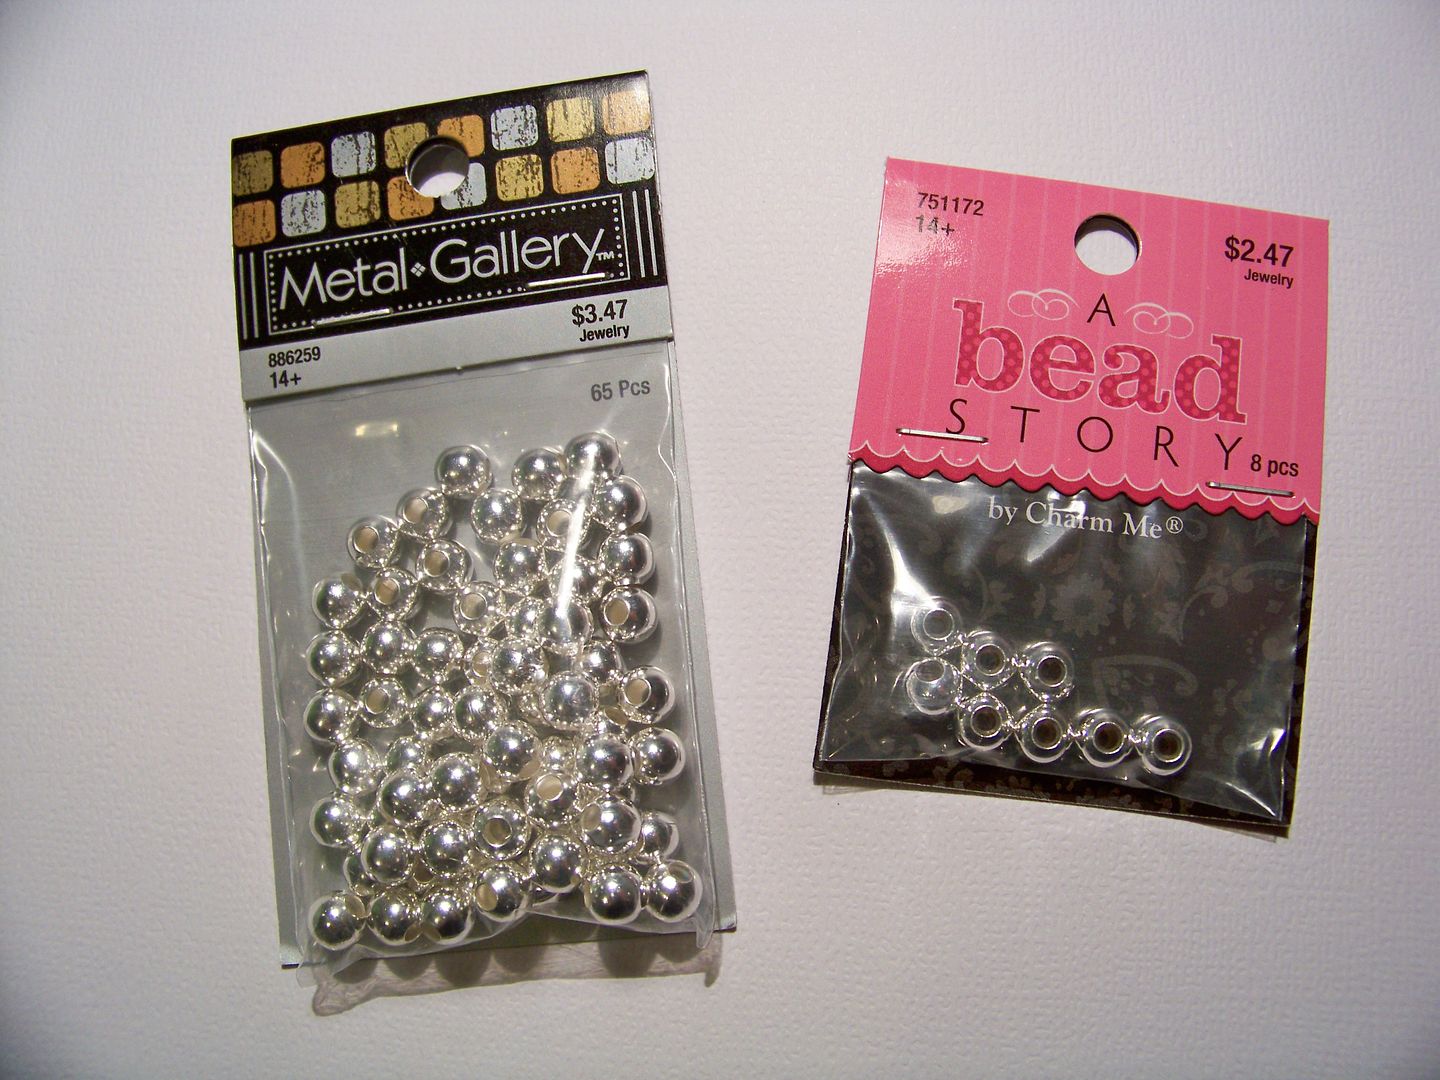
| I found my supplies at Hobby Lobby for the A BEAD STORY round bracelets and all siver beads. The oval bracelets were from ebay. I found the crystals at Michaels. The ballerina charms and the crystal ball charms came from both michaels.com and Hobby Lobby. The 3D flower charms came from Michaels physical store. The flat siver roses and the large amber rondelles were from Fire Mountain Gems. The small crystals and head pins came from Michael's. |

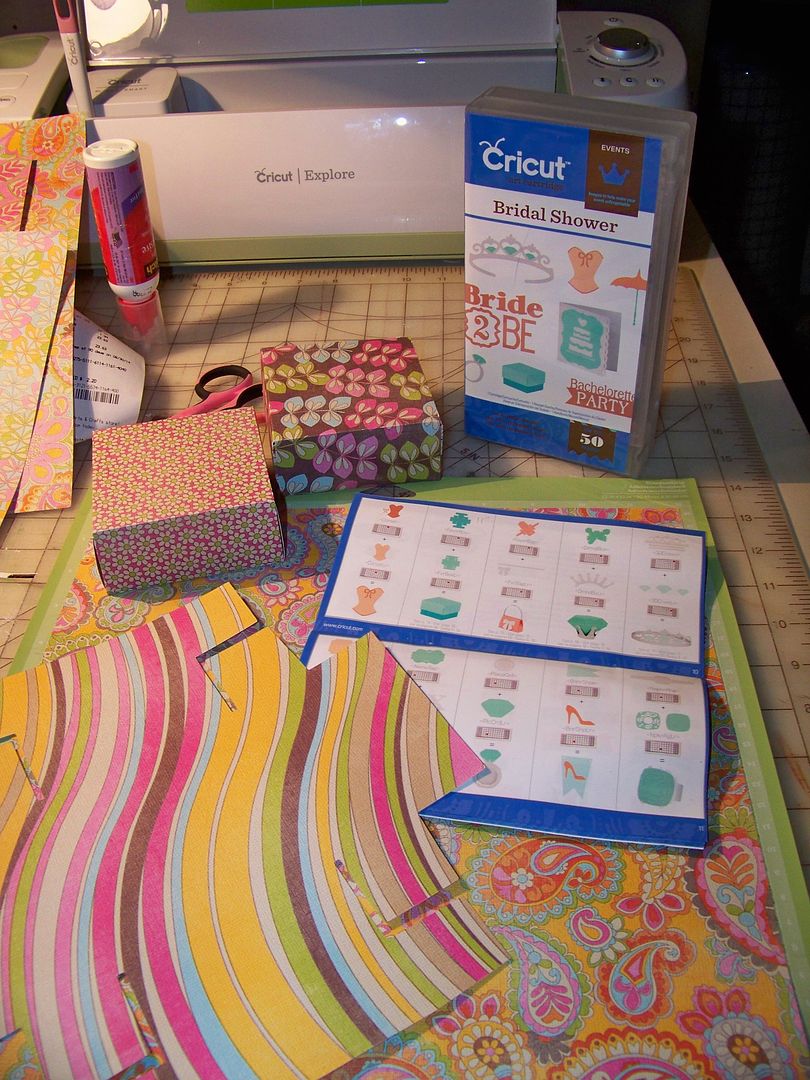
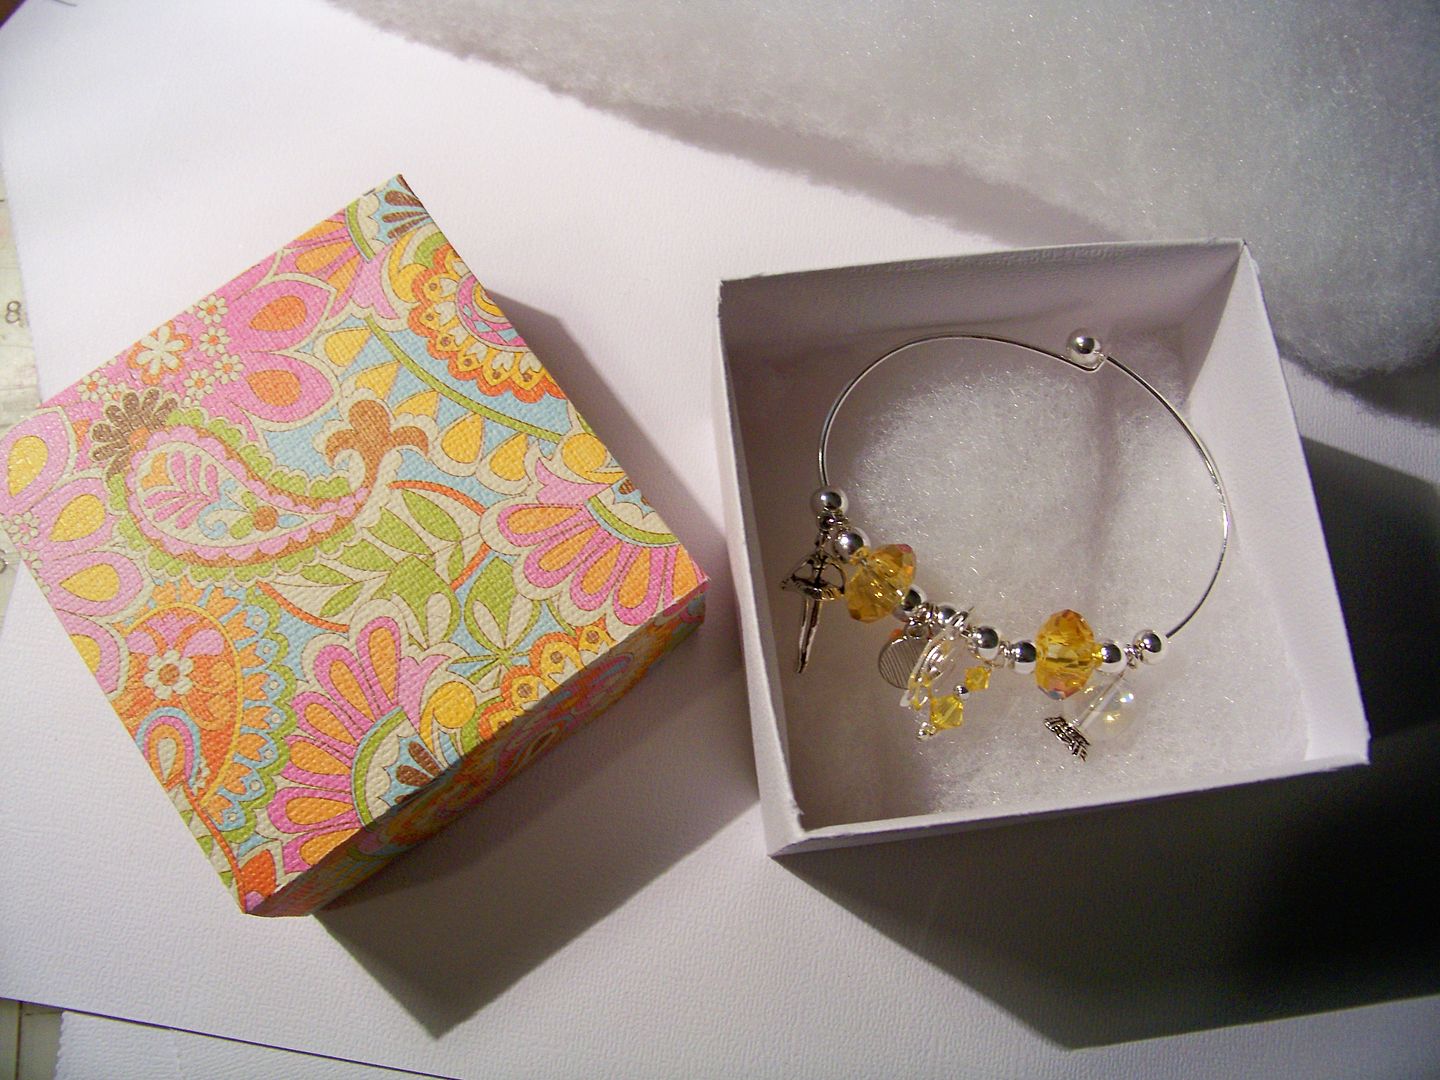
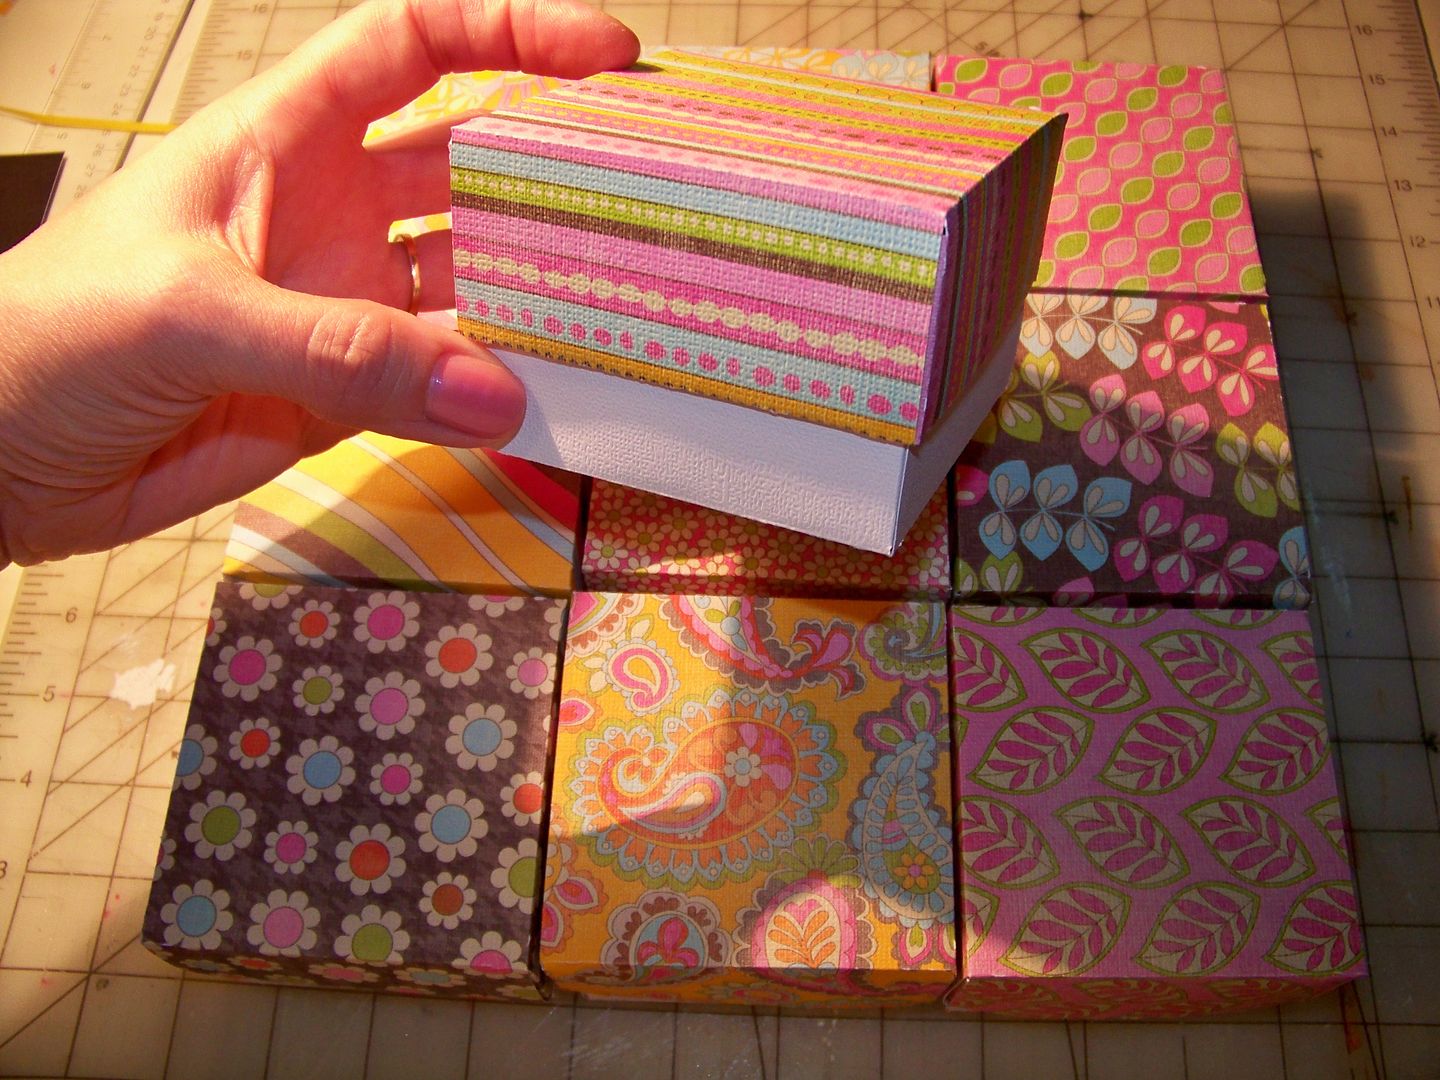
To package them, I used my favorite gift box: the jewelry box on the Cricut cartridge, Bridal Shower (page 14). I cut it at 11".
I use upholstery batting (dacron) for the inside padding.
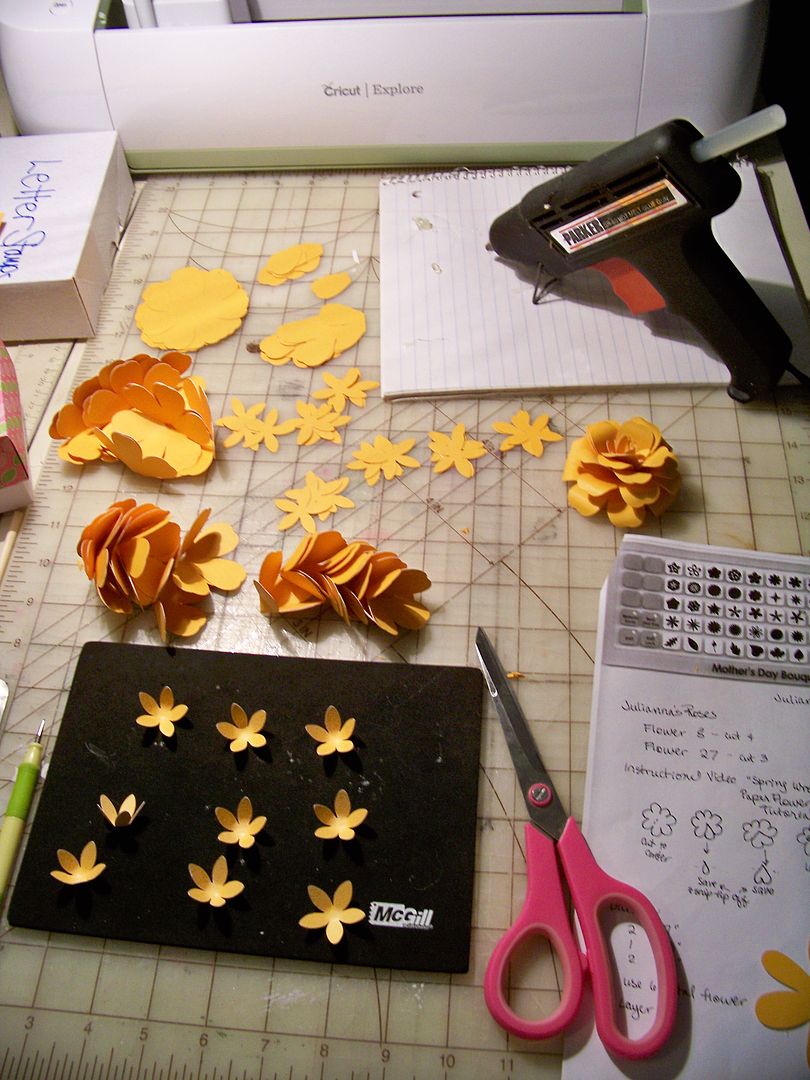
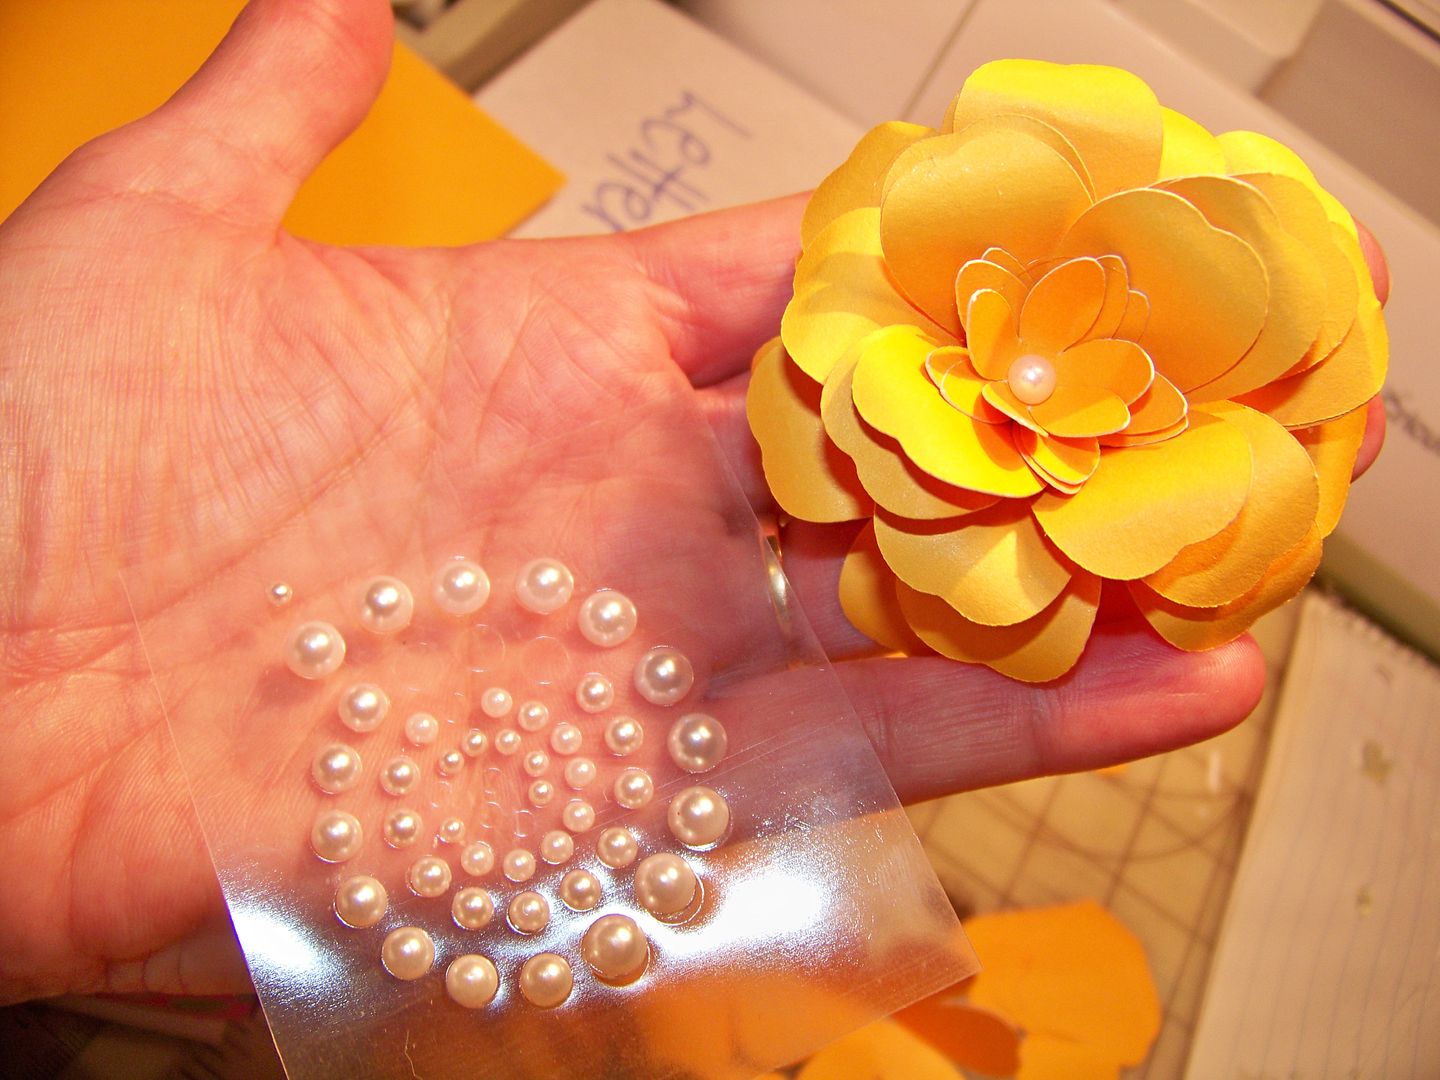
I decorated the tops with yellow roses. I learned to make these from Juliana Michaels when she was part of the fantastic Circle Design Team. You can find her video on how to make them here. She uses Mother's Day Bouquet to make them. They are fabulous! For the sizes, I have a cheat cheat based on the sizes I make them:
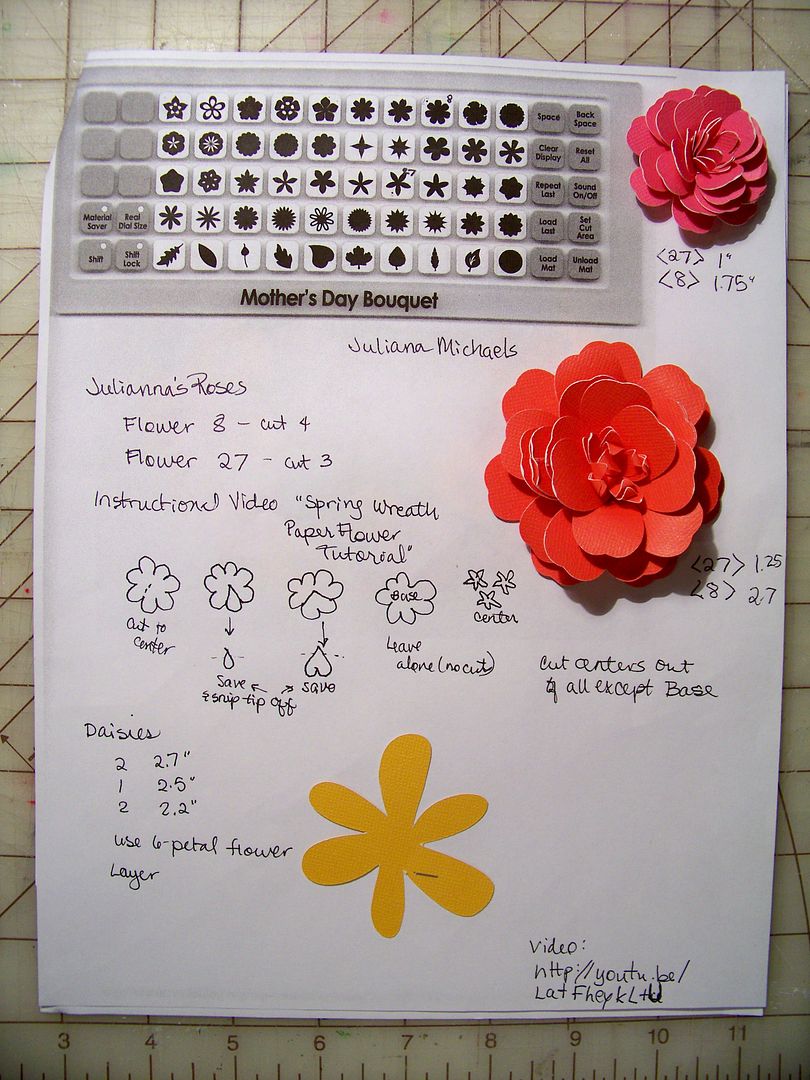 |
| I cut the ones for my boxes using key 27 cut at 1.25" and key 8 cut at 2.75". Juliana shows how to make them on her video (link above). |

After cutting the floral pieces, I assemble them using hot glue. The nice thing about having an Explore and an Expression is that you can cut the same thing on both machines since you can use the physical cart in the Expression and the digital version in the Explore. For projects with lots of duplication, it really makes the cutting go fast!
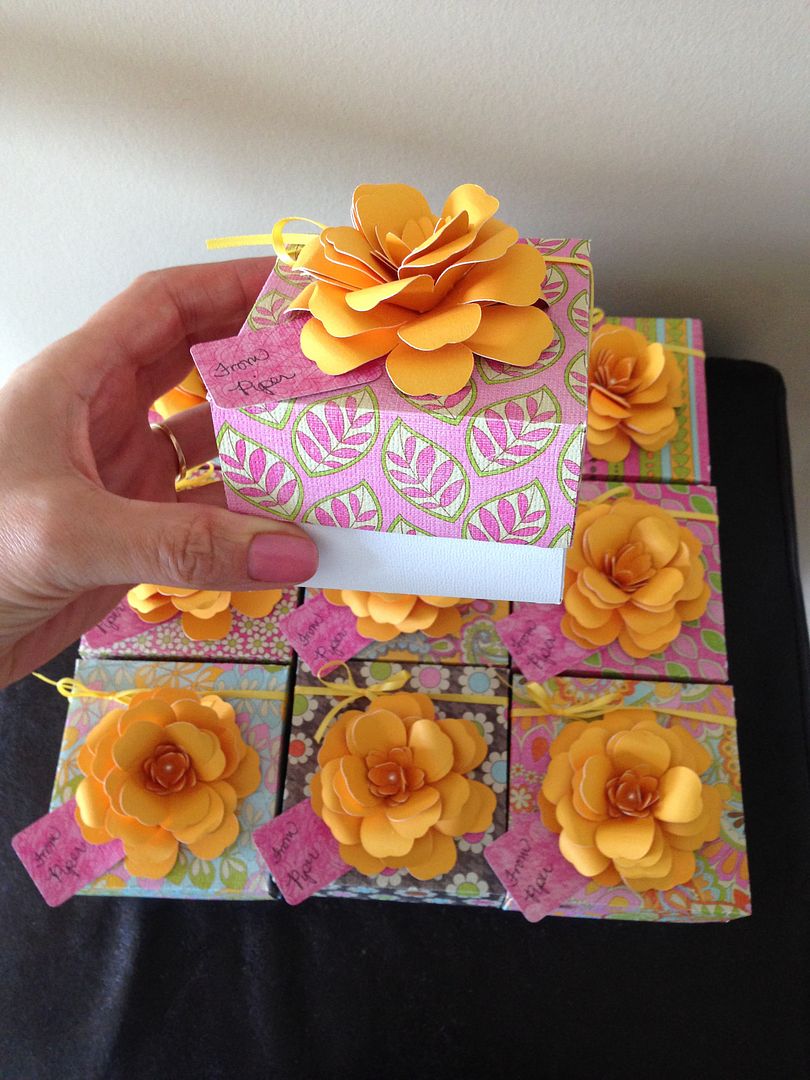 |
| Wrapped with yellow ribbon and tagged. |
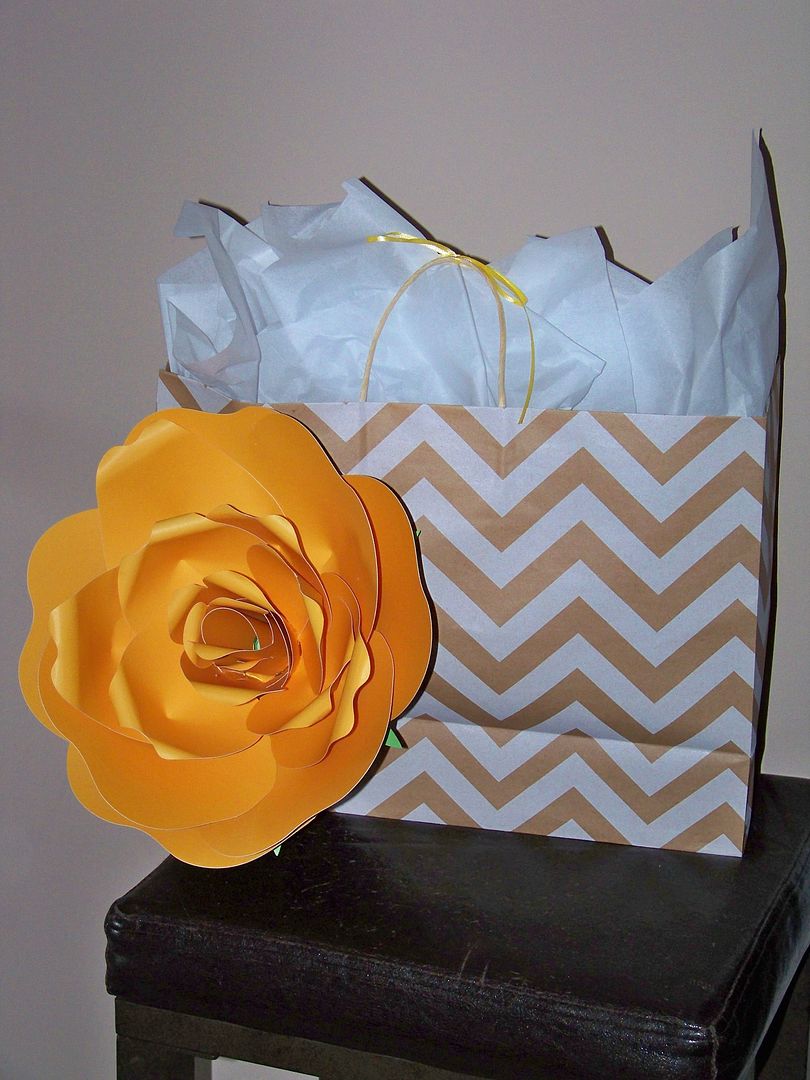
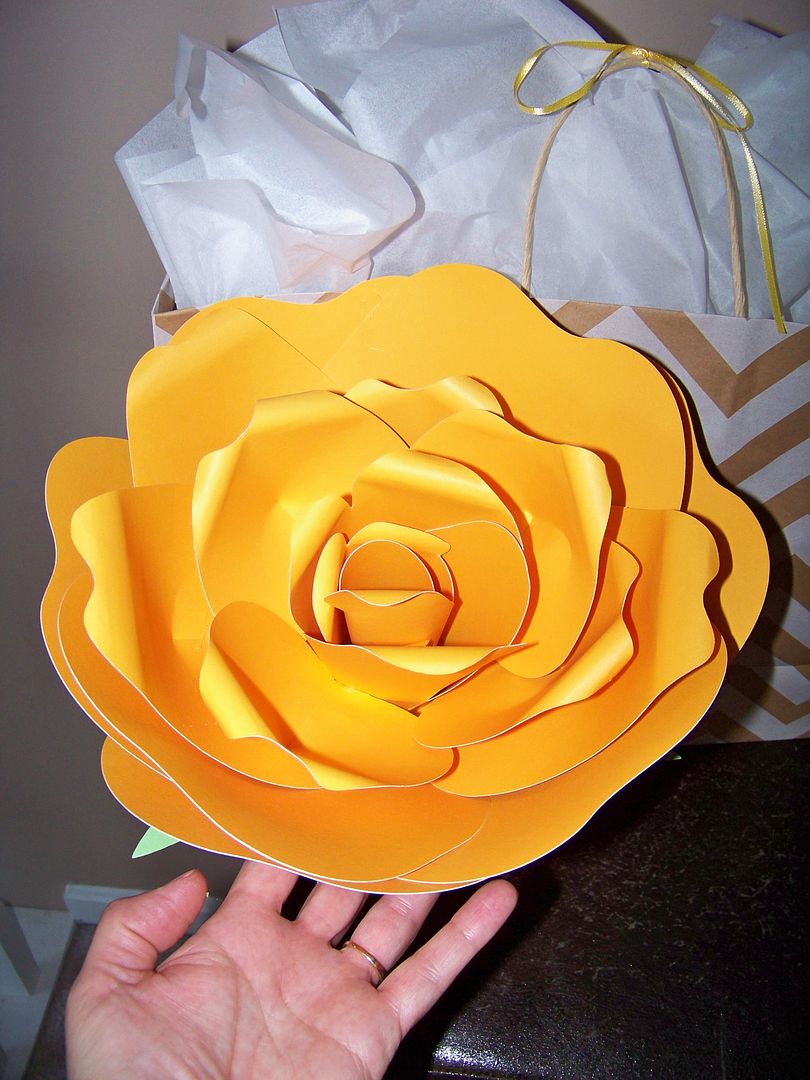
Of course my kiddo gets one of the bracelets, and all of the ballerinas receive flowers from their families on opening night, but I also get her something special. I decorated her gift bag with another yellow rose, but I wanted to go overboard on size so I made one from the Cricut cartridge Giant Flowers, cut at 10.5"
She kept it and put it on a shelf. It is a fun decor piece!
They were a hit (always a relief!) and it's always fun on opening night with all the energy and excitement. Gifts just add to the fun. I will say that this is my daughter's fifth ballet, but the first one where she smiled during all of her performances. She really looked like she was having fun.
Thank you so much for letting me share my project and photos of my kiddo!
But wait! There's more! On a totally unrelated note, I wanted to give a big shout-out to my friend, Danita, and suggest you go look at her blog. She has been ramping-up glass etching and she doesn't use etching cream. She does what she calls "Air Erasing" and I was so impressed (and scared) that I think you need to see this! She always does great work and has made several blog posts of her projects, but this time, she shows us a tutorial and all of her tricks! Check it out: Danita's Designs. And if you need a little more of a nudge, she says that it is easy, cheaper after the initial set-up, and you get a much nicer effect than by using etching cream on your glass items! True, high quality etched glass items that look like high-end boutique gifts!! Ooooo...maybe next year's ballet will feature etched glass pendants! I'll be driving to Danita's house for help with those!

