Friday, January 15, 2016

Digitizing Hearts for Valentine Sewing


One of the first really great font digitizers that I found when I started embroidering was Stitchtopia! A few months ago, I bought a font that is perfect for Valentine's Day from Stitchtopia, called Hope. This is a font with alternate letters and some of those letters have hearts!  (There is a Hope 1 and a Hope 2 so there are lots of choices of letters with swirls and  hearts, as well as simple letters to place between fancy ones).   I wanted to practice some things I had figured out after re-watching Embrilliance Stitch Artist videos and this font gave me some ideas.  I decided to fill in the hearts with color!

I also wanted to add some tiny hearts to make a bit of a composition for a cosmetic-style bag for which I just found a great video tutorial!  The bag features an easy zipper installation and a flat bottom.  Put together, I ended up with a little Valentine bag for my sweet daughter, which will be the "wrapping" for her Valentine gift she will get next month.

For this project, I used my embroidery machine, my sewing machine, Embrilliance Essentials and Embrilliance Stitch Artist (embroidery software), in addition to the Stitchopia Hope 1 font..

Step 1:  I wanted a background heart that would guide my composition.  It won't show in the finished design but it will give a placement guide to fit the other shapes in.  I clicked the Merge Design button to open the Shape Library to find a heart.


I selected this one.

The heart appears like this on the virtual hoop.  I sized it to fit the hoop.


Step 2:  I added my font.  I clicked the "Create Letters" button to access the BX fonts that I have loaded to my Embrilliance software.  I type these in using my keyboard all at once (that is the benefit of using Essentials and bx fonts!!)  


I decided that all the letters I needed were in Hope 1.  I selected the alternate lower case "p" and the alternate lower case "r".  Stitchtopia files that contain alternate letters always include a key to instruct as to which characters are mapped to the alternates and a guidesheet.  This makes it easy to pick my letters.


In the case of the letters I chose using the key, Pi@e$ was simply typed in the Properties text box to get this combination that used these two hearts.  I used the spacing sliders to connect the letters so that they appear as connected script.


With the text selected, I clicked the "Center Designs in Hoop" and "Fit to Hoop" buttons to size and place the text.  


Step 3:  I created a fill behind the text hearts.   I did this by selecting the Create button to access the Stitch Artist tools.  I used the "Draw With Points" button to outline the heart on the inside edge of the heart.  I close the shape by selecting "Open/Close 

The first time I tried this, I placed the points just inside the satin stitching of the letter....thinking that I would avoid too much overlap... forgetting that most hidden stitches are removed by the program.


But after my test stitch out, you can see that it was a mistake to do that.  There is a gap between the fill stitch and the satin stitch of the font. 


The rendering on the screen and on paper are not ever exactly like it is on fabric and I knew that but I wasn't really using that knowledge!  So I went back and pulled those points out to move them to the other side of the satin stitching, making the heart bigger and hopefully filling the gap!


I wanted to avoid those gaps I got on my test stitch out!!  I made the same adjustment on the bottom heart.

And I also did one other thing... I adjusted the density of the font that I had added previously.  I hated to do that because I adore the way that Stitchtopia fonts stitch out all by themselves, but I wanted to make sure that those gaps were gone and if the fill stitched under the font, I wanted to be sure it wouldn't show!  I need to do some kind of experiments on this, but today I just picked this out of the air and went with 9%.  I was able to do this by selecting my font in the objects pane and then selecting 'stitch' in the properties pane and moving the slider from 0% to 9%.  Again, was was just a guess based on absolutely nothing.    (Adjusting the density is another feature of Embrilliance Essentials!)


I am not even sure that this was absolutely necessary, but I share this with you in the case that it is helpful.  I really loved the result of the more dense letters with the filled hearts.  

I will show you more about the differences in my test stitch outs in step 7.  

Step 4:  I added small hearts I digitized.  I used the same heart from the library that I used at the start of the process, but sized them down to be accents.  I just copied and pasted and used the large outline to guide the placement.  I highlighted each one at a time and added fill by selecting the fill button.


Step 5:  Change stitch order and reduce jumps.  I moved the hearts around a bit on the objects pane (by selecting each and right clicking and selecting the "move earlier" direction) so that they would stitch in order around the composition and not in the haphazard order I placed them on the virtual hoop!  Then, I changed the stop and start points on all the hearts to reduce jumps as much as possible. Although I knew I would still have jumps, I did not want them to go through the font since the hearts would stitch first and if I waited to trim the jumps, I didn't want them trapped under the stitches of the font. To do this, I just moved the red and green bowties (the stops and starts).  


Step 6:  Remove the background.  Since I no longer needed the large heart outline now that my design has been placed, I selected it on the object pane and clicked delete.


Step 7:  Test stitch out.  I have already partially shared this above but this is the difference between my first test and my second (after I made my changes with the points and the font density).


The first test stitch out showed me my giant mistake of the gap between the fill and the font, but it also showed me that I didn't like the black-on-white so I switched to a white-on-black.  I also made teeny changes to the tiny hearts.  Because they were elongated a bit, they looked like they had an extra stitch at the bottom to me, so I made them squattier.  

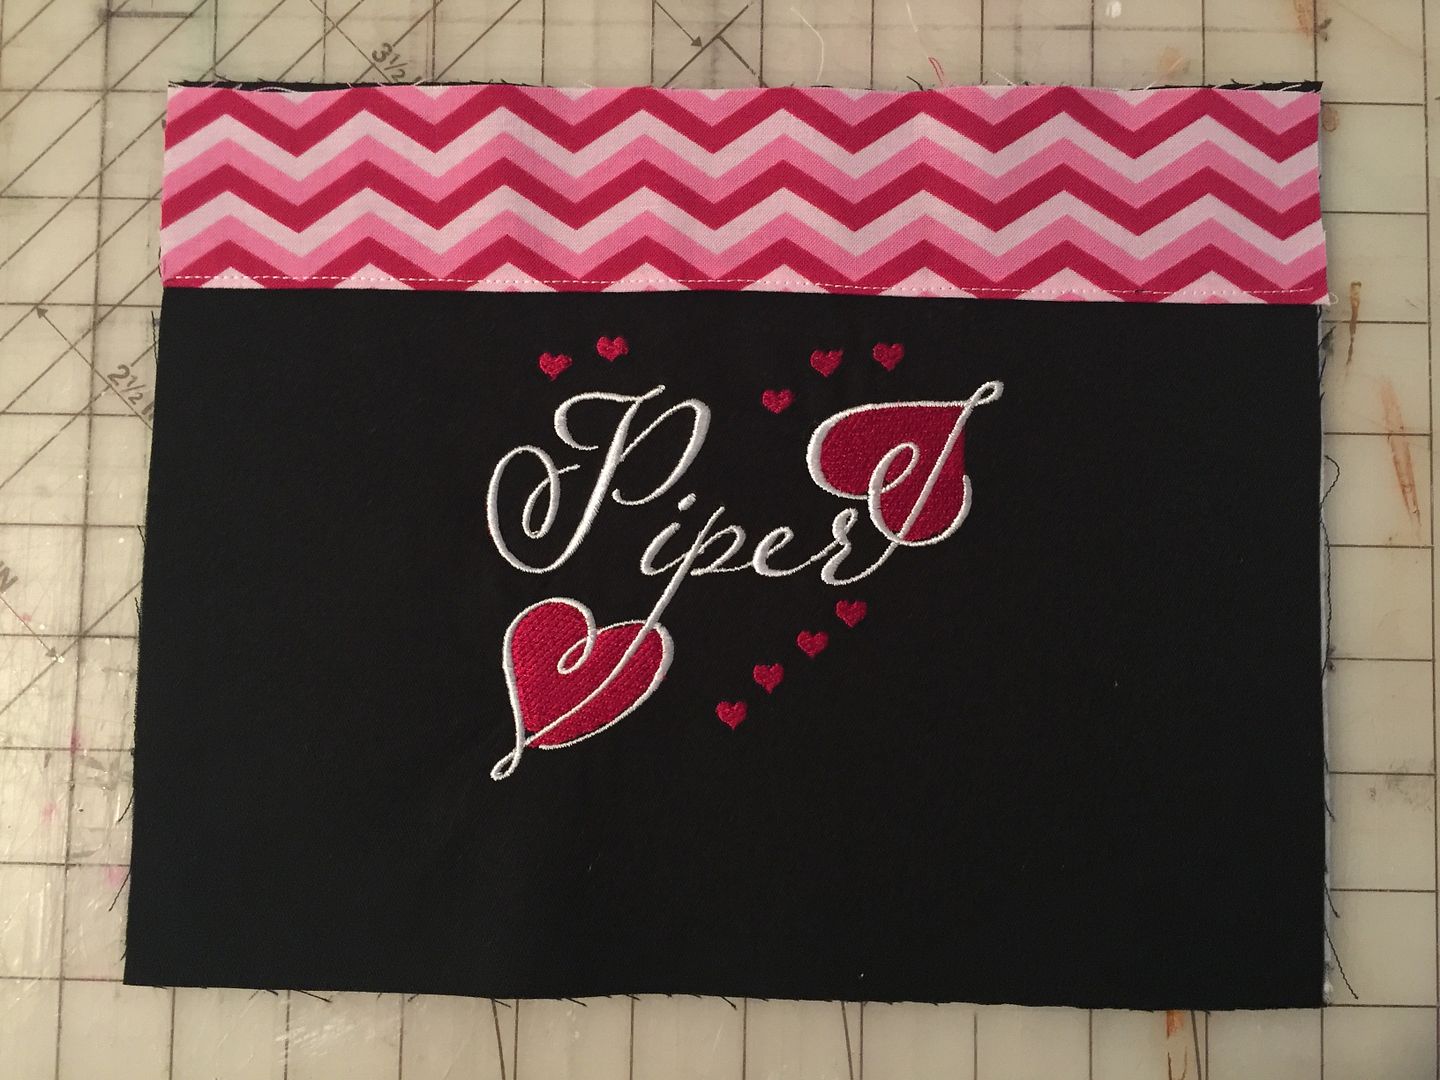
Step 8:  Sew up the pouch.  I used a video tutorial from the Missouri Star Quilt Company to sew this super, super easy project.  This is not an in-the-hoop pouch, but rather a pouch sewn on a sewing machine.  The tutorial tells you everything to do, including how to sew in a zipper and how to square the bottom so that the pouch is self-standing.  It is completely customizable in size and you can add any fabrics and even trims!  I added my embroidery to the black fabric before it was sewn on the others so that the wrong side of the stitching is hidden inside.

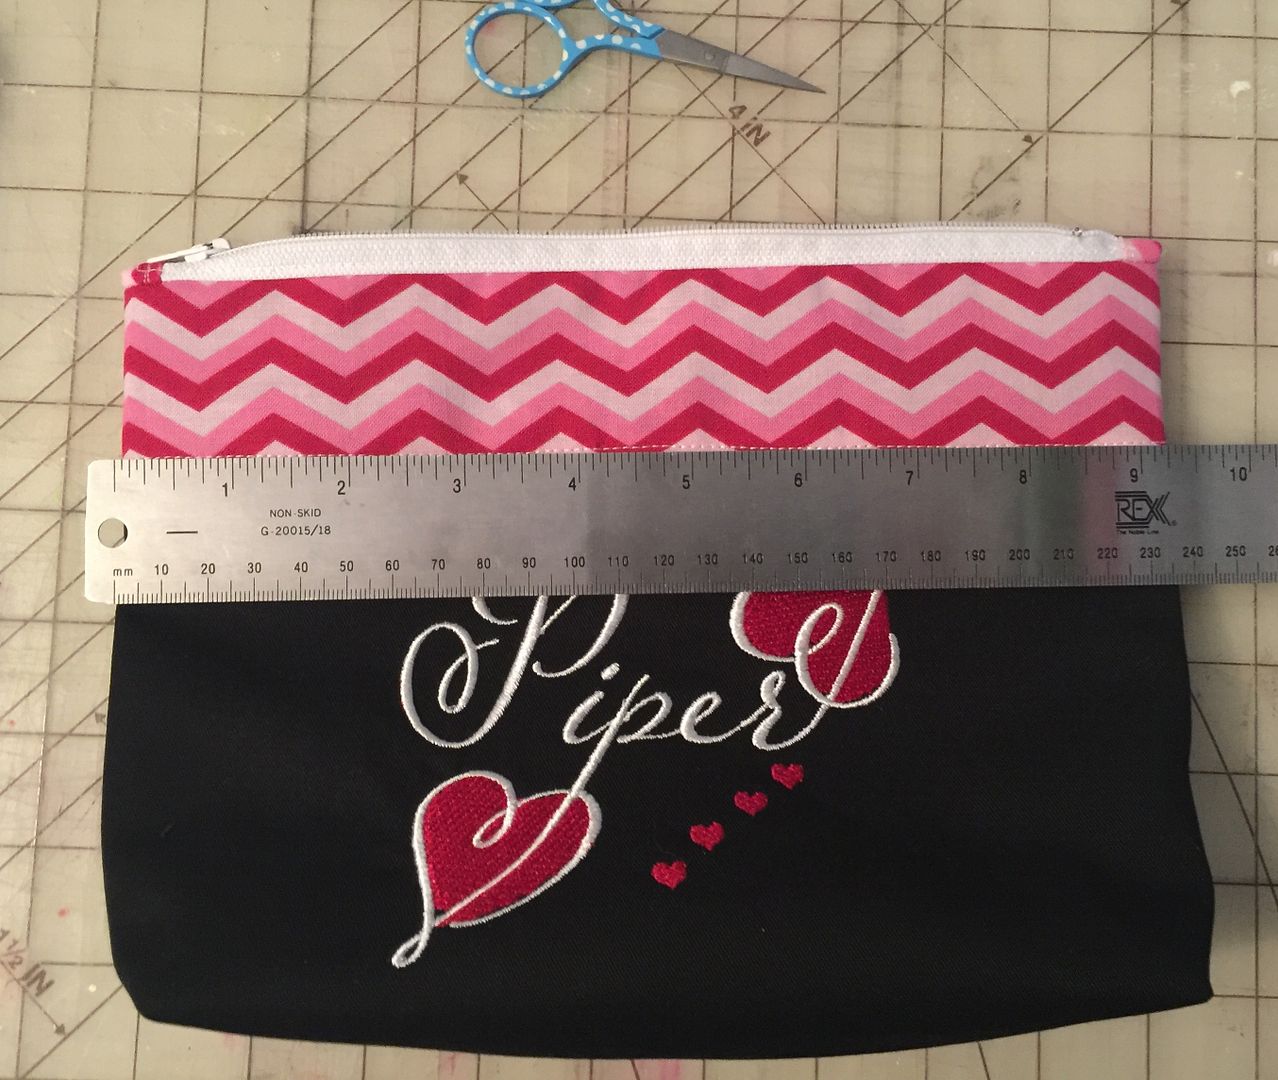
I trimmed down my fused, pieced front and back bag pieces to 10-1/4" across by 8" down.  I started with a base piece that was roughly 25" by 9".  I only mention that because you can really make these any size so I was just trying to accommodate my embroidery while making a bag large enough to put small gifts inside!


I added the zipper and sewed it according to the tutorial.


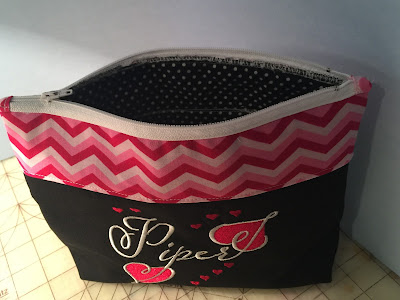
This is unconstructed in that it is not truly lined as the face pieces are sewn onto the back of the batting-fused lining, but the inside is still fun.  Unlike her tutorial, I did serge all my inside seams. This bag took just minutes to make-- so incredibly fast and easy!


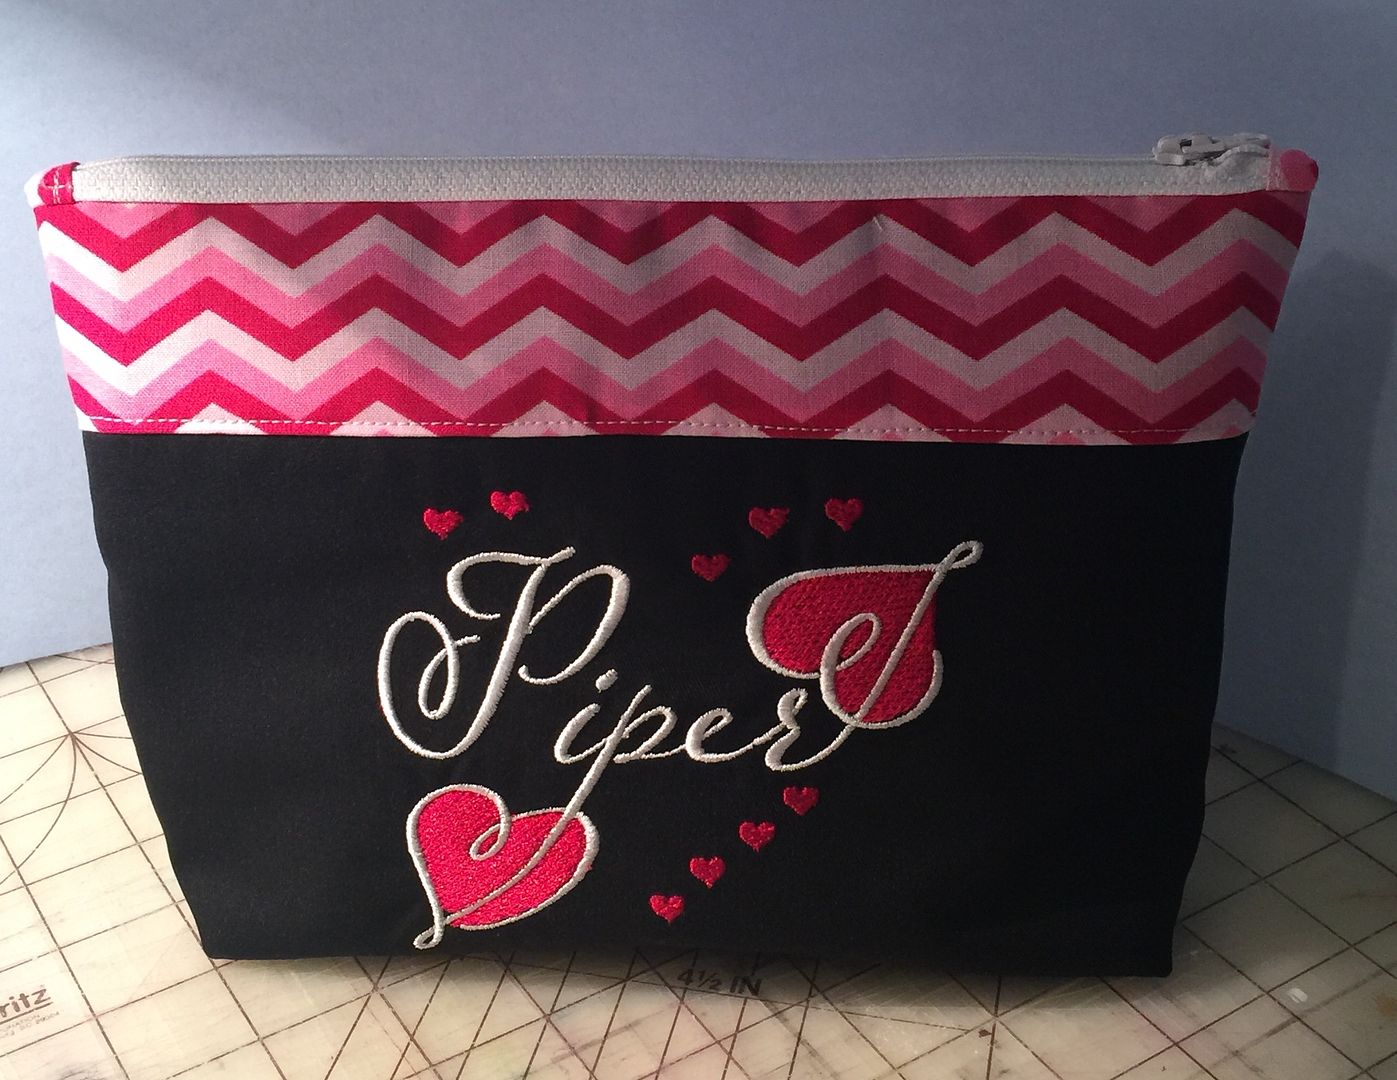
It finished at 9-1/4" across.


Step 9:  Zipper Pull Charms:  I beaded rocailles and glass beads on headpins and added charms with split rings.


I used half of a circle-and-bar closure and joined that to the zipper's pull with a split ring.  These were just things from my stash.  When my daughter was tiny I used to make her jewelry with clay beads I bought.  She had necklaces for every color of outfit and for every occasion so it was fun to pull those out again.


This is the finished pouch...ready to be filled with fun Valentine gifts!


List of links used in this post (none of these are affiliate links; they are all direct links):

  • Stitchtopia Hope 1 font in 1", 2", 3" size:  click here.  When you select which file format you would like when purchasing, you will also get the BX file format at no additional cost included with the download!  
  • Embrilliance Essentials:  click here.
  • Embrilliance Stitch Artist:  click here.
  • Video tutorial for the pouch sewn on the sewing machine:  click here.
Thank you for looking at my post!  I have tons of projects in my Gallery that include papercraft, sewing, and baking including these VALENTINE projects:  

Monday, January 4, 2016

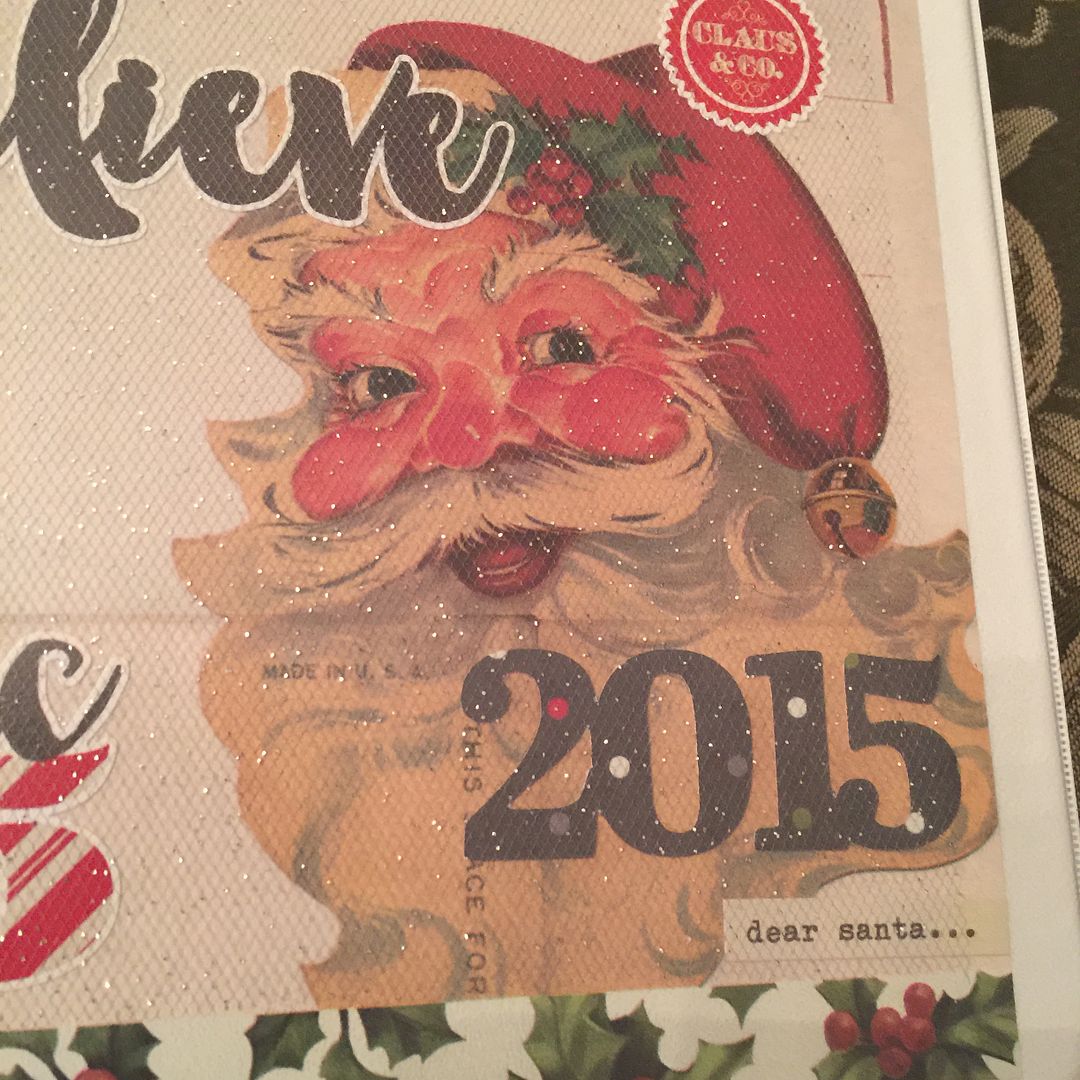
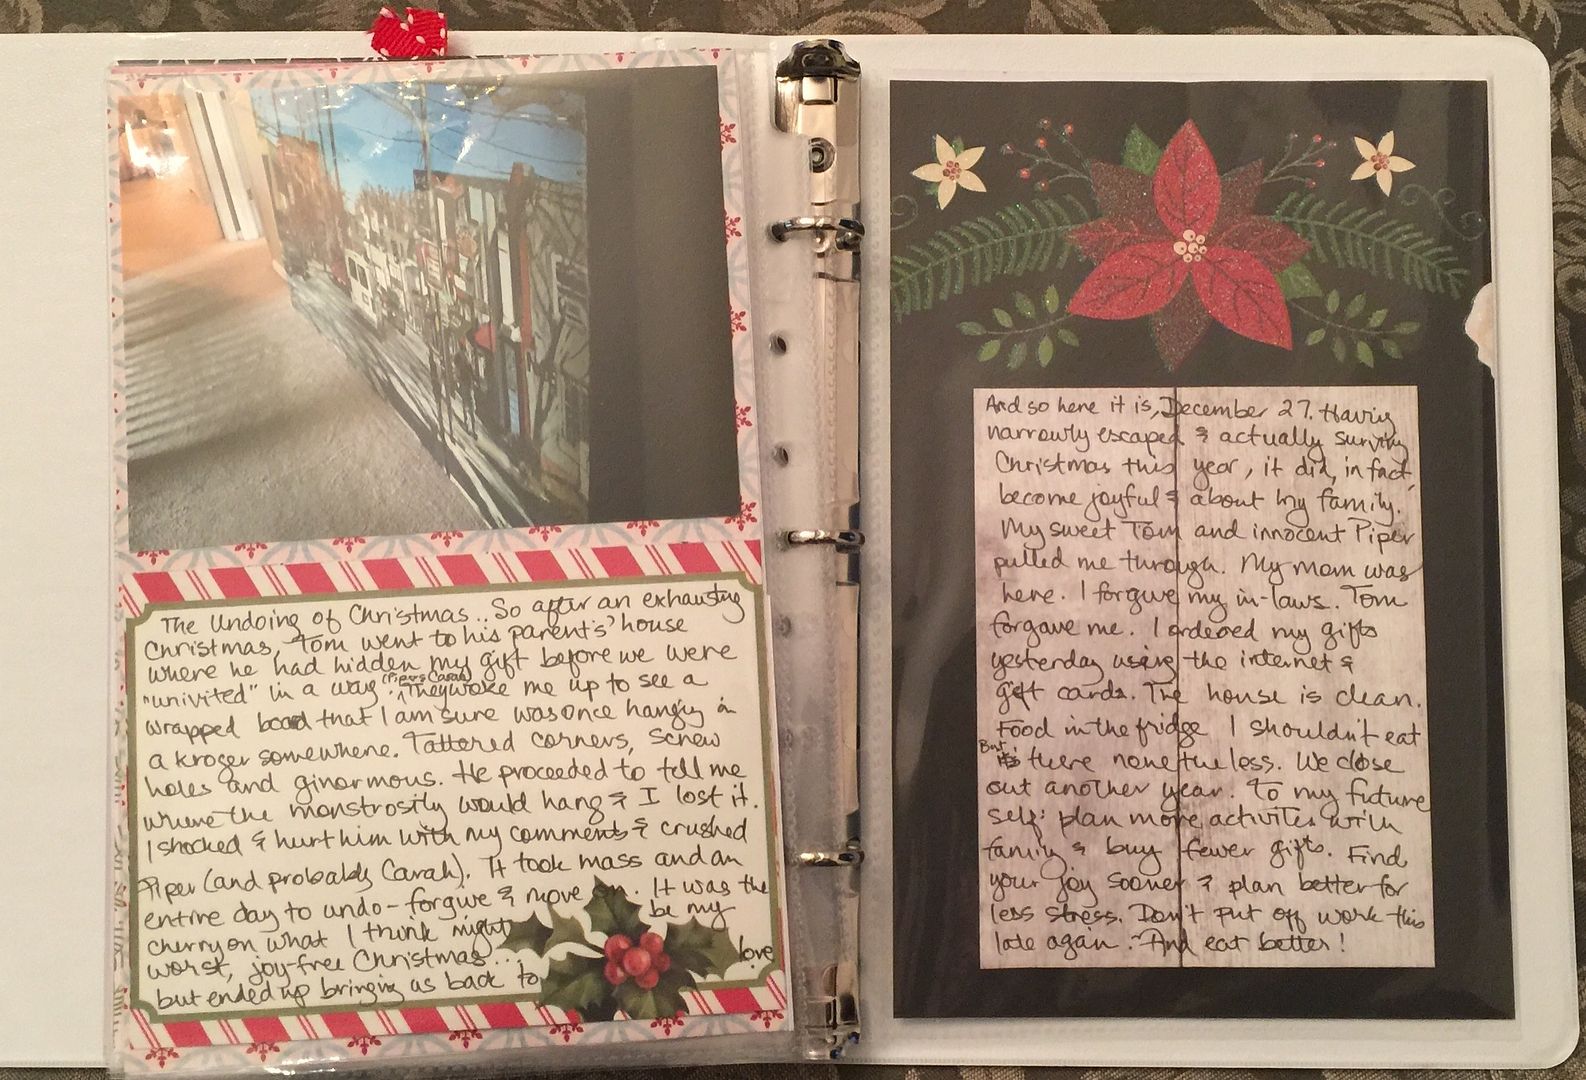
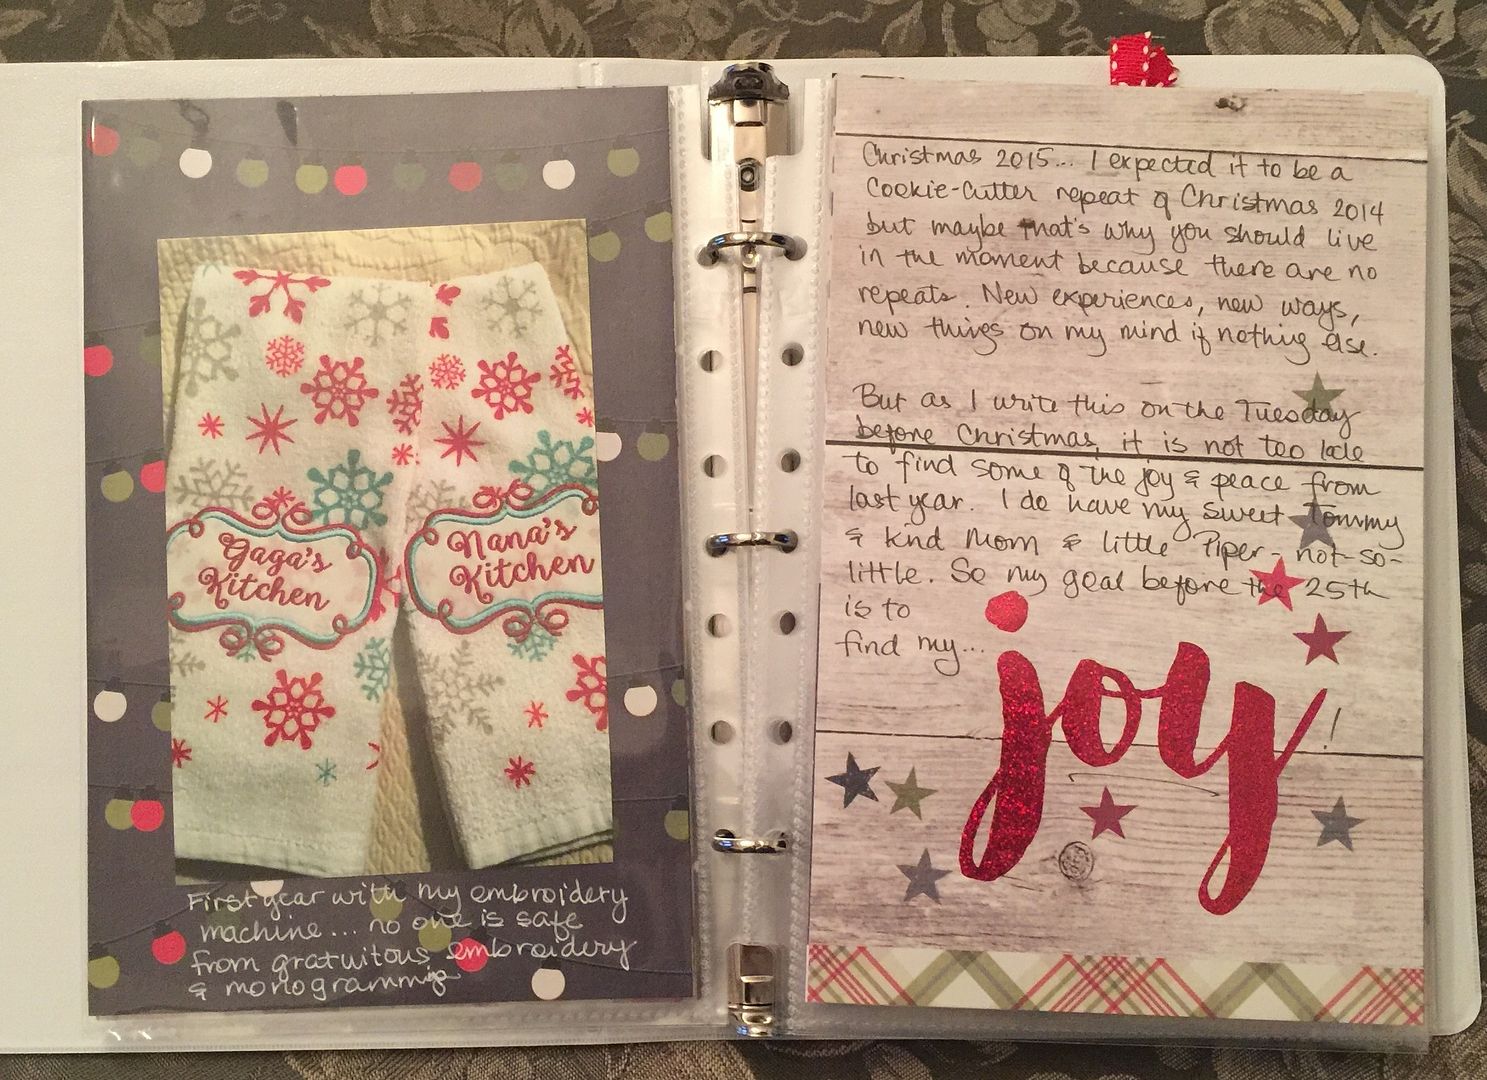
On the 11th Day of Christmas....My Christmas Journal

Today, January 4th, is the 11th Day of Christmas.  It is our favorite because this is Eleven Pipers Piping from the Twelve Days of Christmas song...and we are partial to pipers.  (My daughter is named Piper).


Yes, our tree is still up until the Epiphany so it is still Christmasy here, but not for much longer.  So this post is Christmasy too!

I have been so preoccupied with embroidery that I almost let December 2015 slip past without doing my annual Christmas Journal.  I have done three on previous years, all started because of some of my Cricut friends introducing me to Shimelle's JYC (Journal Your Christmas).  Mid-December, however, my crafty genius friend, Sara Andrews, in her very subtle way, helped me to remember that I need to do this.

When I say "need," I don't mean it in the way we say we "need " a piece of fabric or that we "need" a paper collection.  No, I really needed it.

My Christmas journals do several things for me.  They force me to focus on the season.  They require that I live in the moment...and document it!  They give me something to look back upon.  They give me a memento.  Past journals, all those were done meticulously day by day, have been used as a record of when we traveled.  We have referred to them to remember early snows, plans with friends. I include each year's recipes I cooked and baked for Christmas.  I wrote private letters to my future self that I hid away in secret envelopes, sometimes painful, sometimes ominous!  I kept my journals real, though celebratory; honest while festive.  My Christmas Journal is my gift to myself each year.
The day that I admitted I would not do one for 2015 was the middle of the month in December.  No way to catch up as it got closer to Christmas... until I realized that I was actually feeling sad about it. I had been moving the daily prompts that I got from Shimelle to a December Daily/JYC folder in my emails, never opening any.  I knew I would not be using the prompts this year as much as I depended on them in the past.

Later that same day, on an office supply trip to Staples, I grabbed a small binder, a tiny one, and same-size page protectors.  I was going to do one and I was going to start that day. And I did!

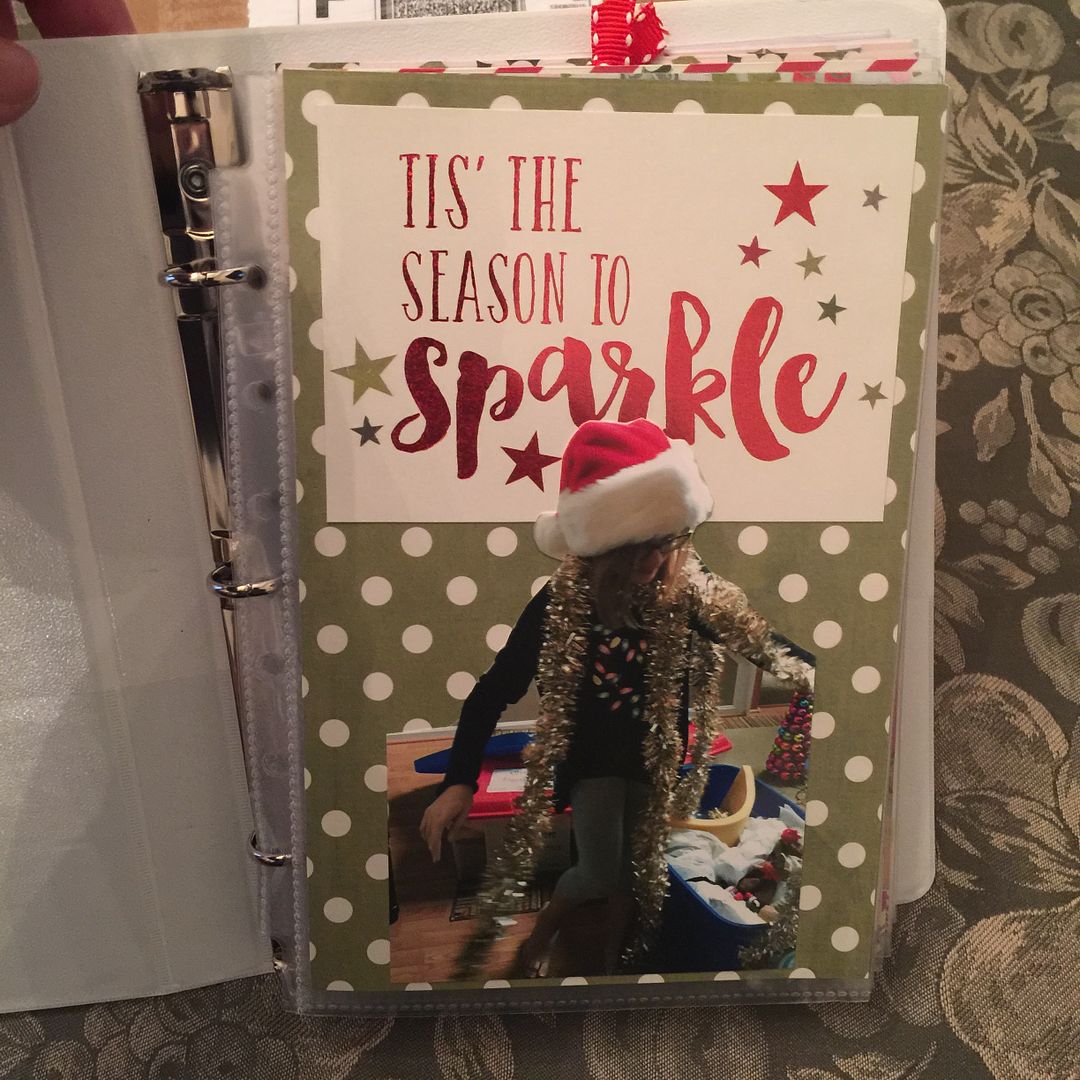
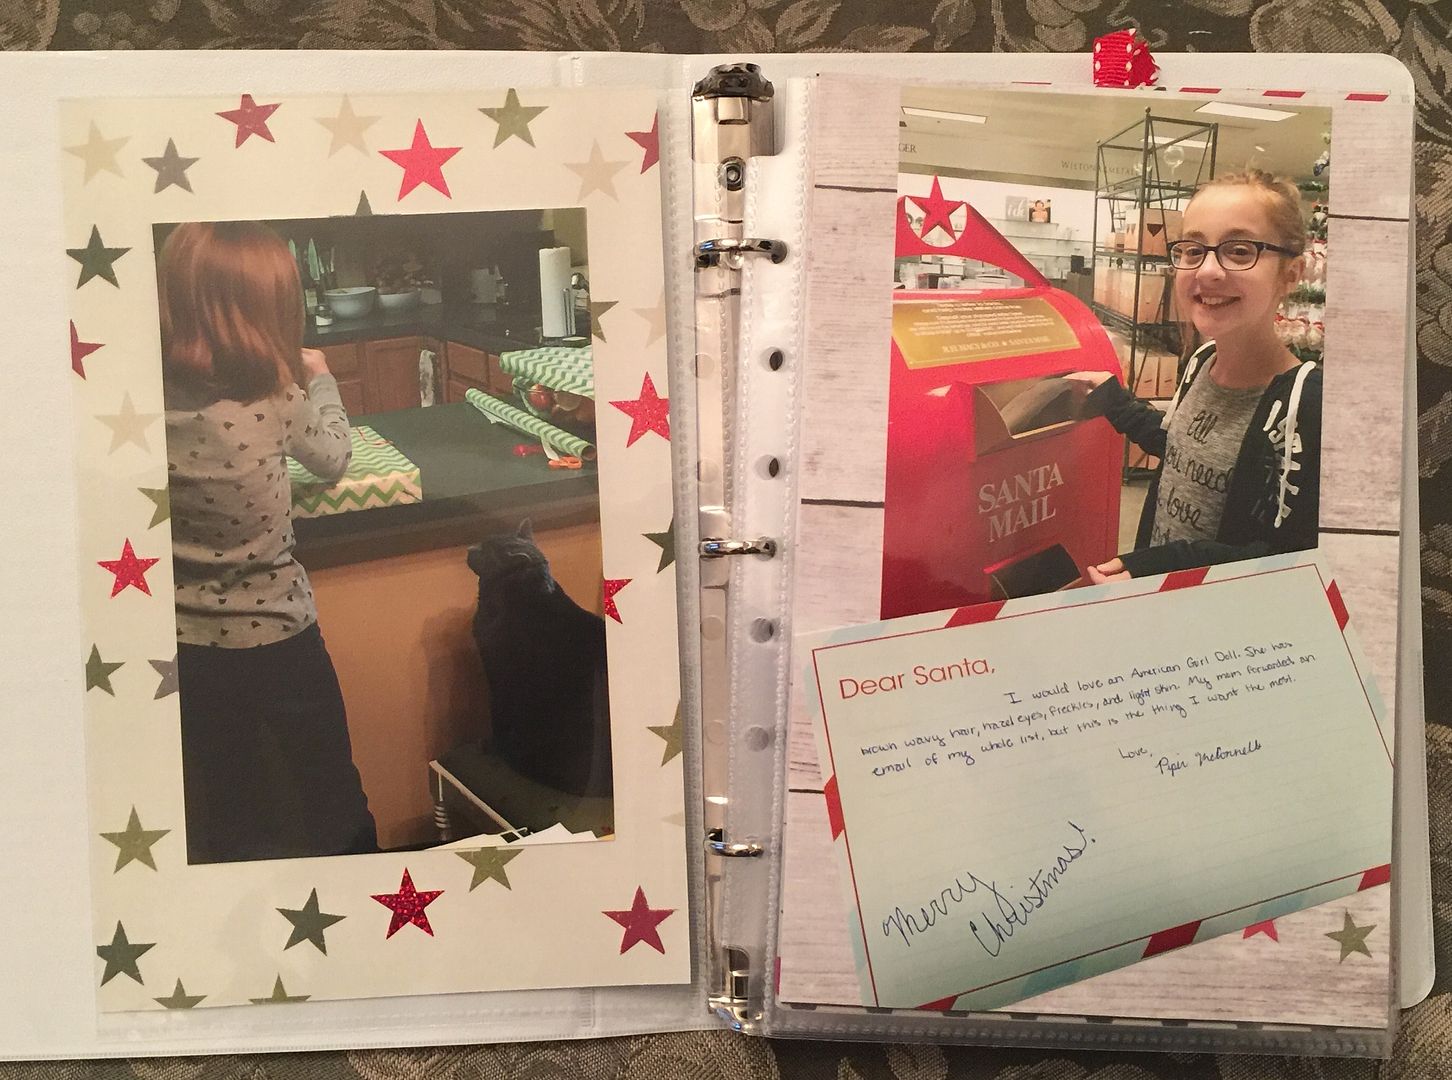
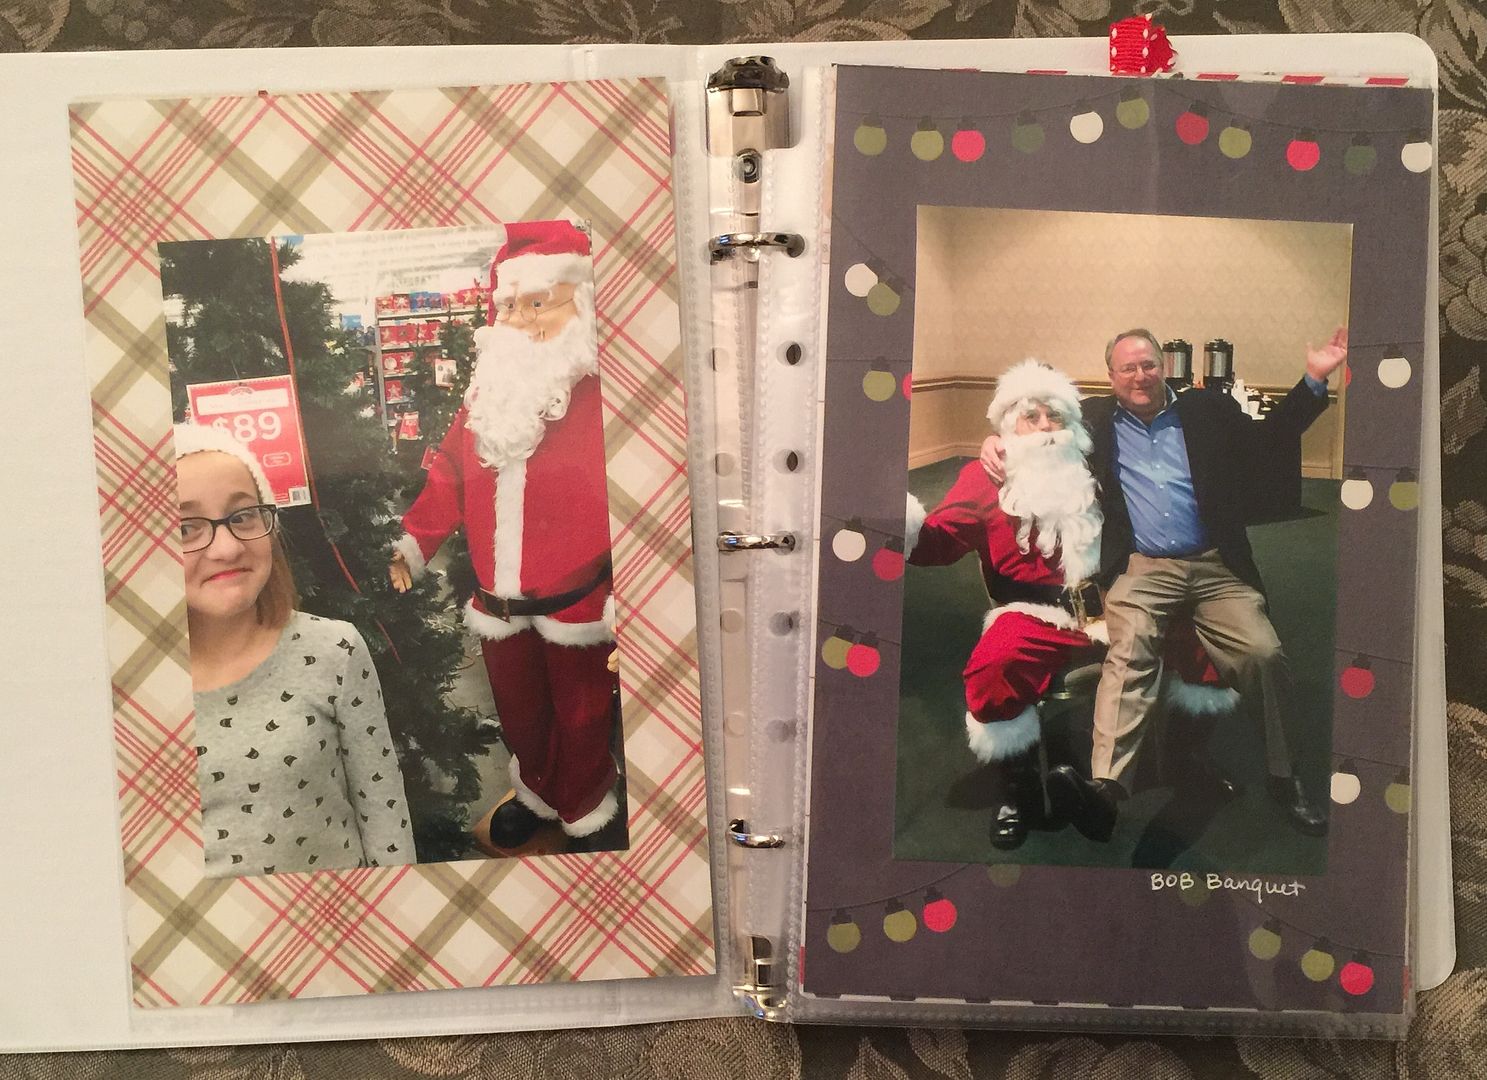
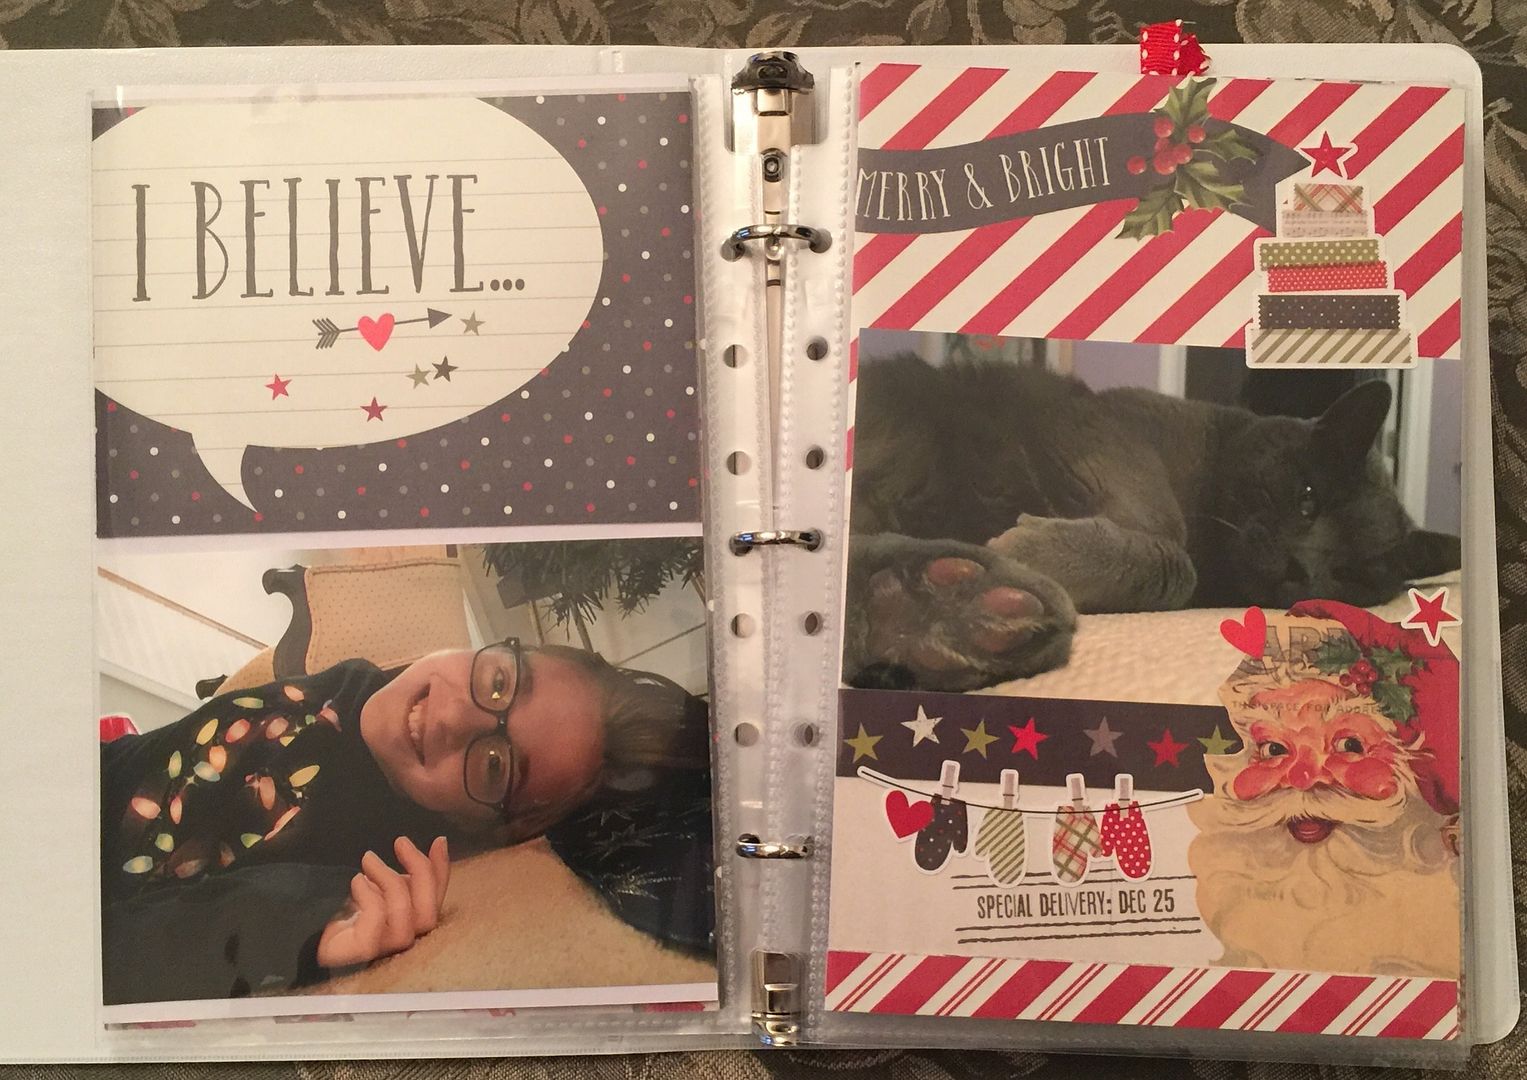
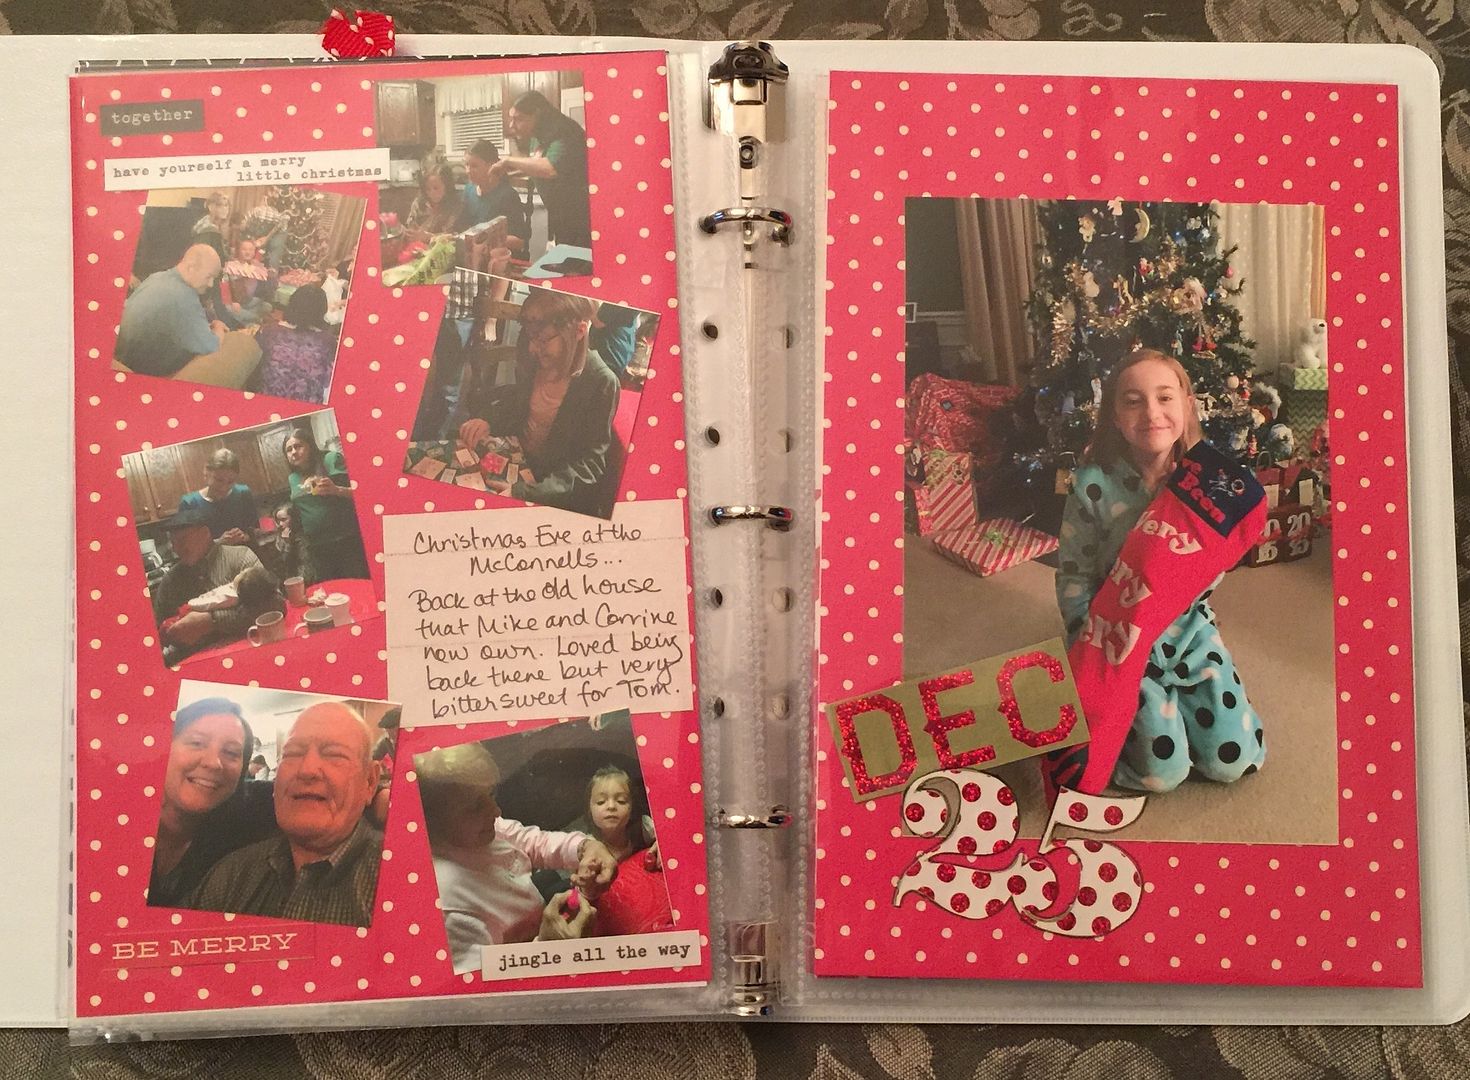
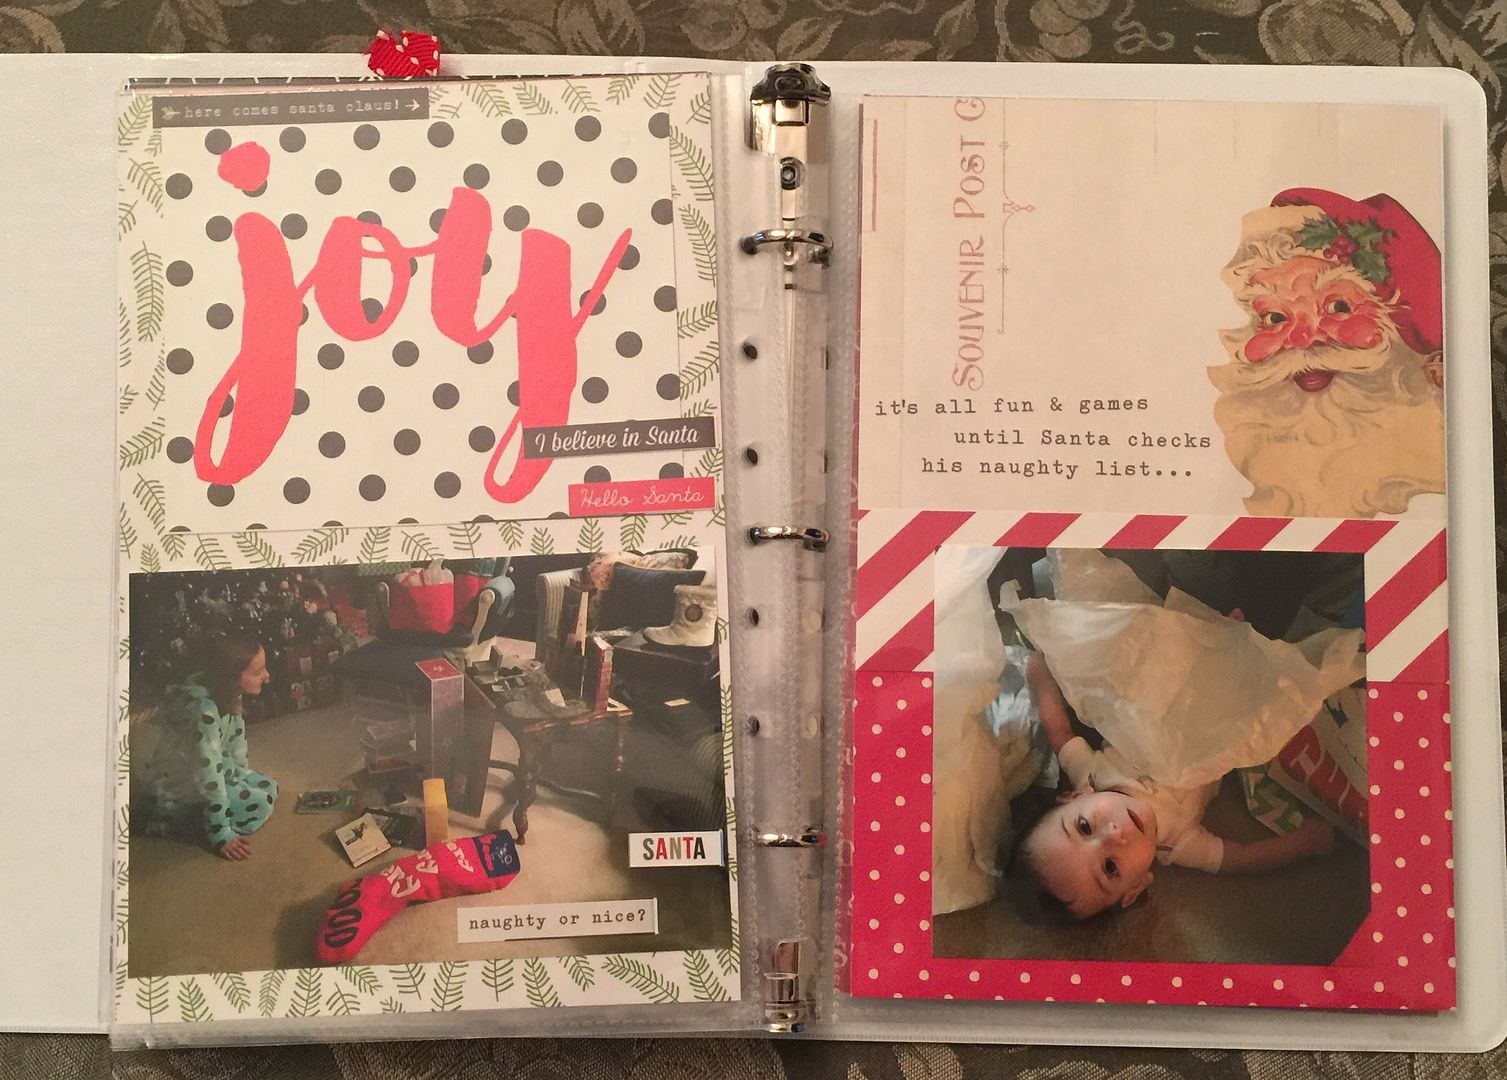
Using Christmas papers I bought at a crafting retreat in Virginia (in September!), I filled my journal with my notes, photos (I take pics constantly so that was no problem), ideas, recipes, calendar, and memories.  And I did it in record time, spending only a few days on it as opposed to the daily morning crafting ritual I did on previous ones.

Just a silly, quick collage to fit inside the cover to make it look less like a binder and more like my journal.
I added stickers and cut outs and glitter tulle, nothing fancy, all very fast.  No die cutter used this year!  


I wasn't as good at filling in our calendar as previous years.  Instead of using one of the free printables, this year, I just used one in the paper pad I had.  My attempt to do this in record time shows, I guess!
This page included a pocket for the Christmas cookies we made this year.


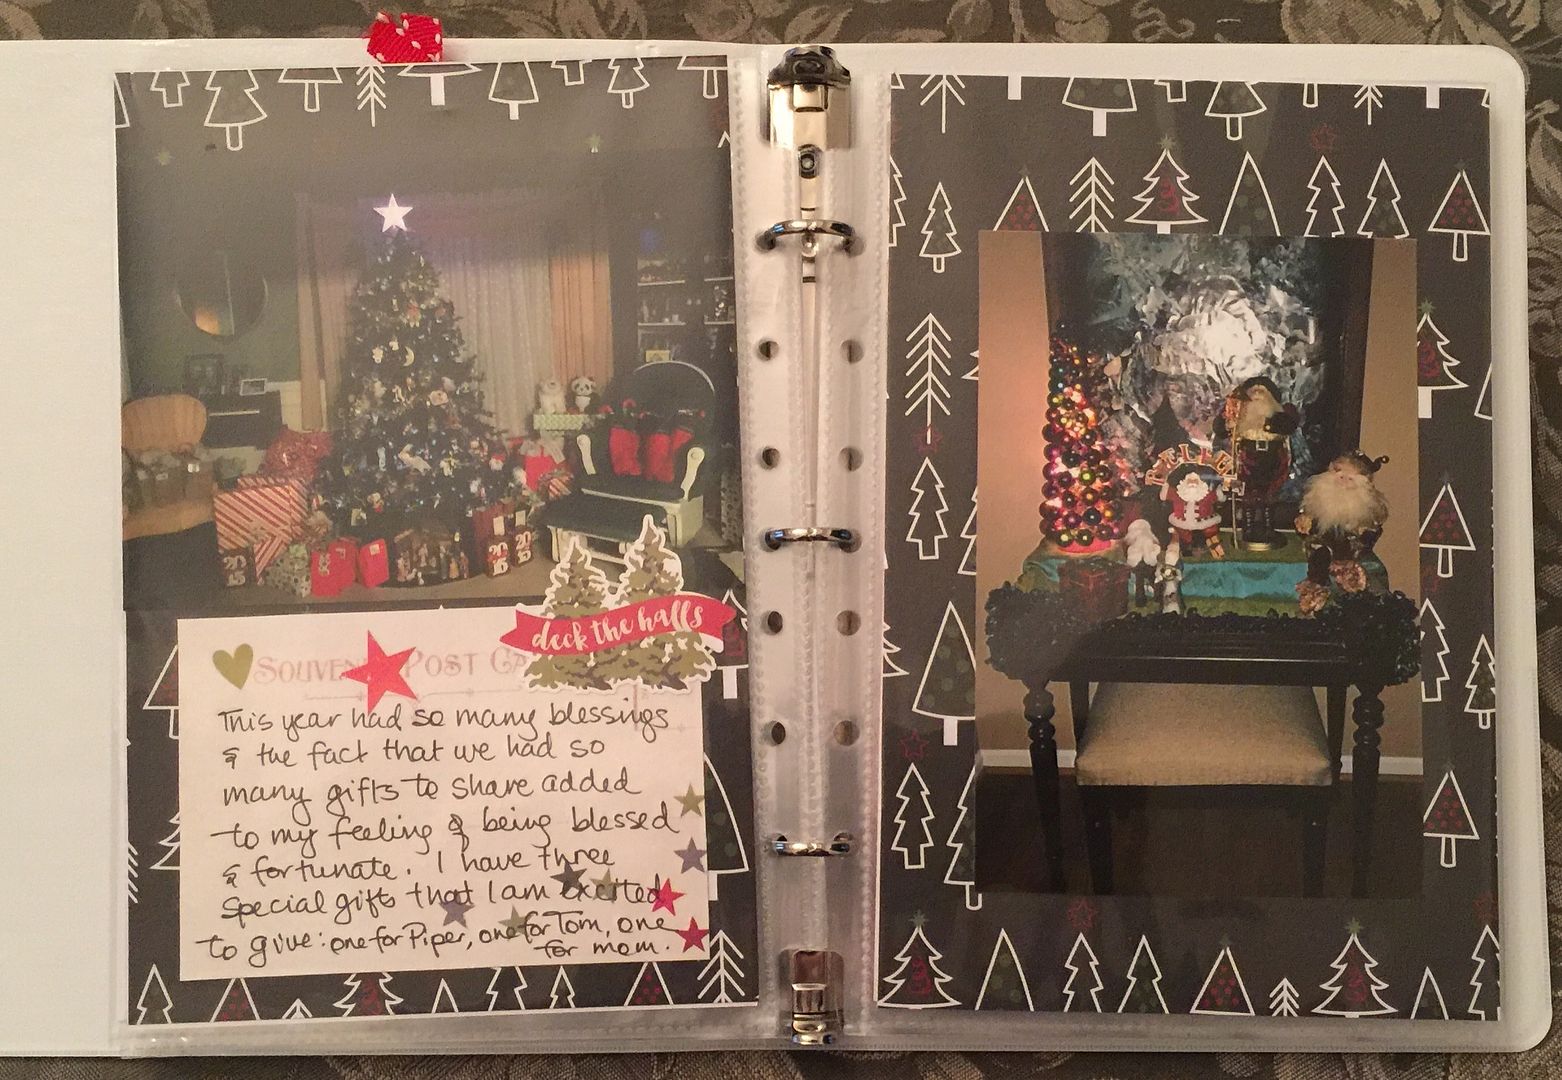
I like hand-written journaling even in my more elaborate journals so I was happy to add it to this simple one.
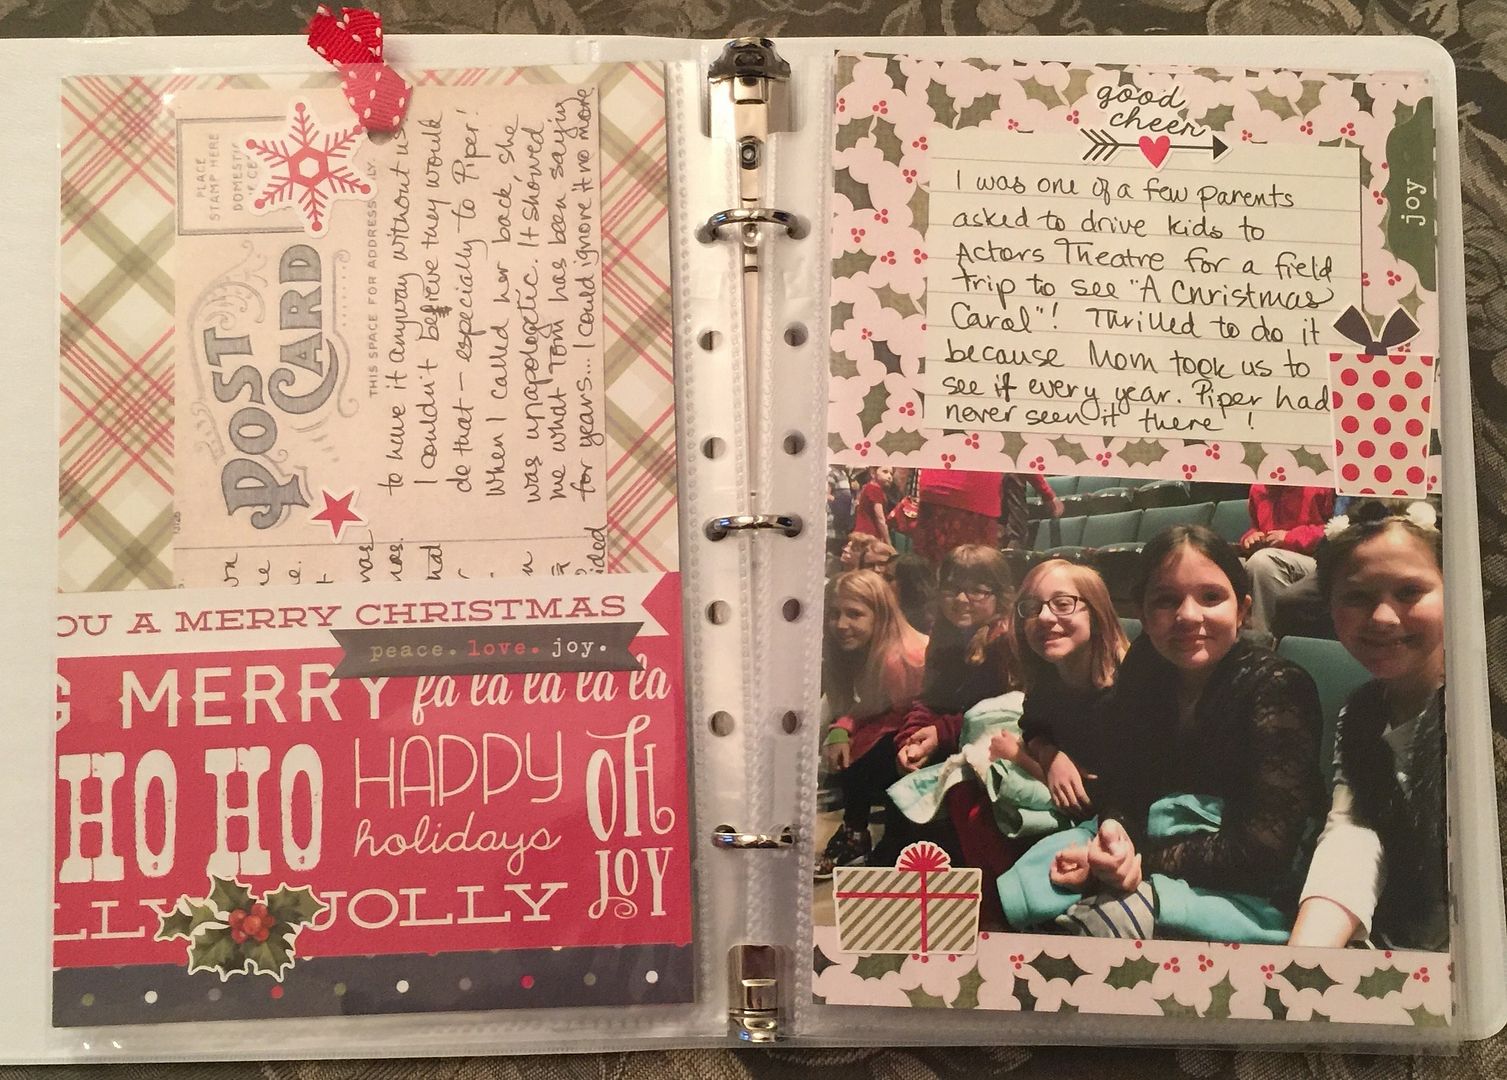
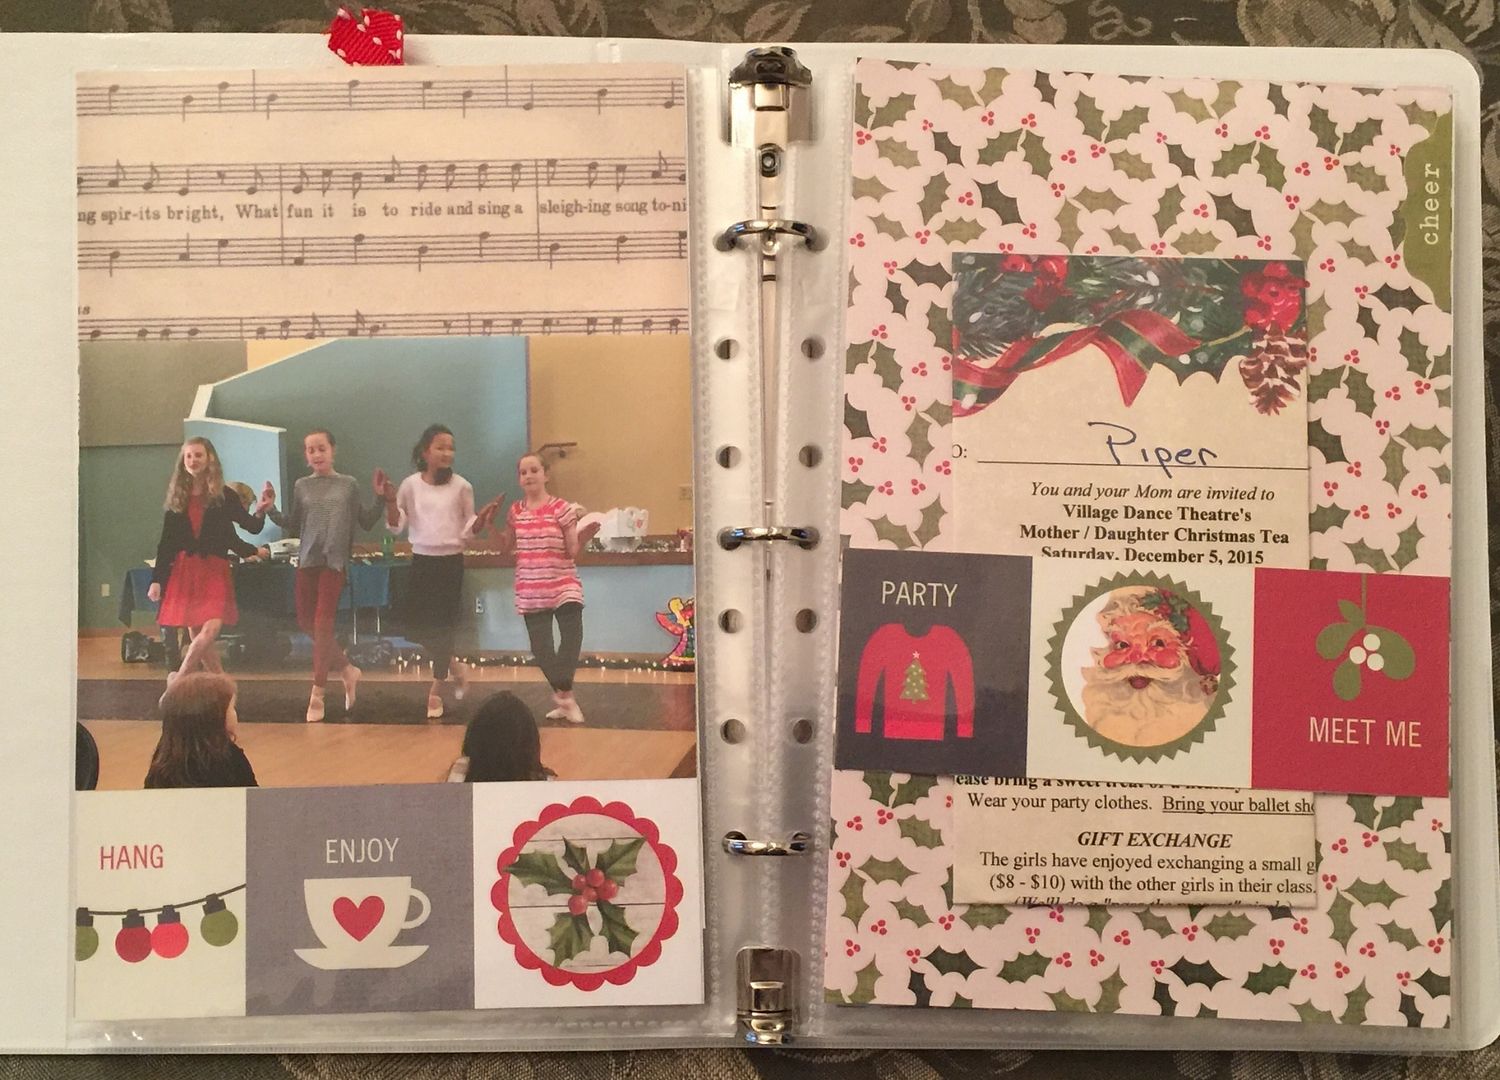
This is the first journal also that I did not do chronologically.  This page is the for the Ballet Tea that is early in the month and I have put it in near the middle of my journal.  I like the freedom I got from this format.  Less rigidity.  It is just what I needed.


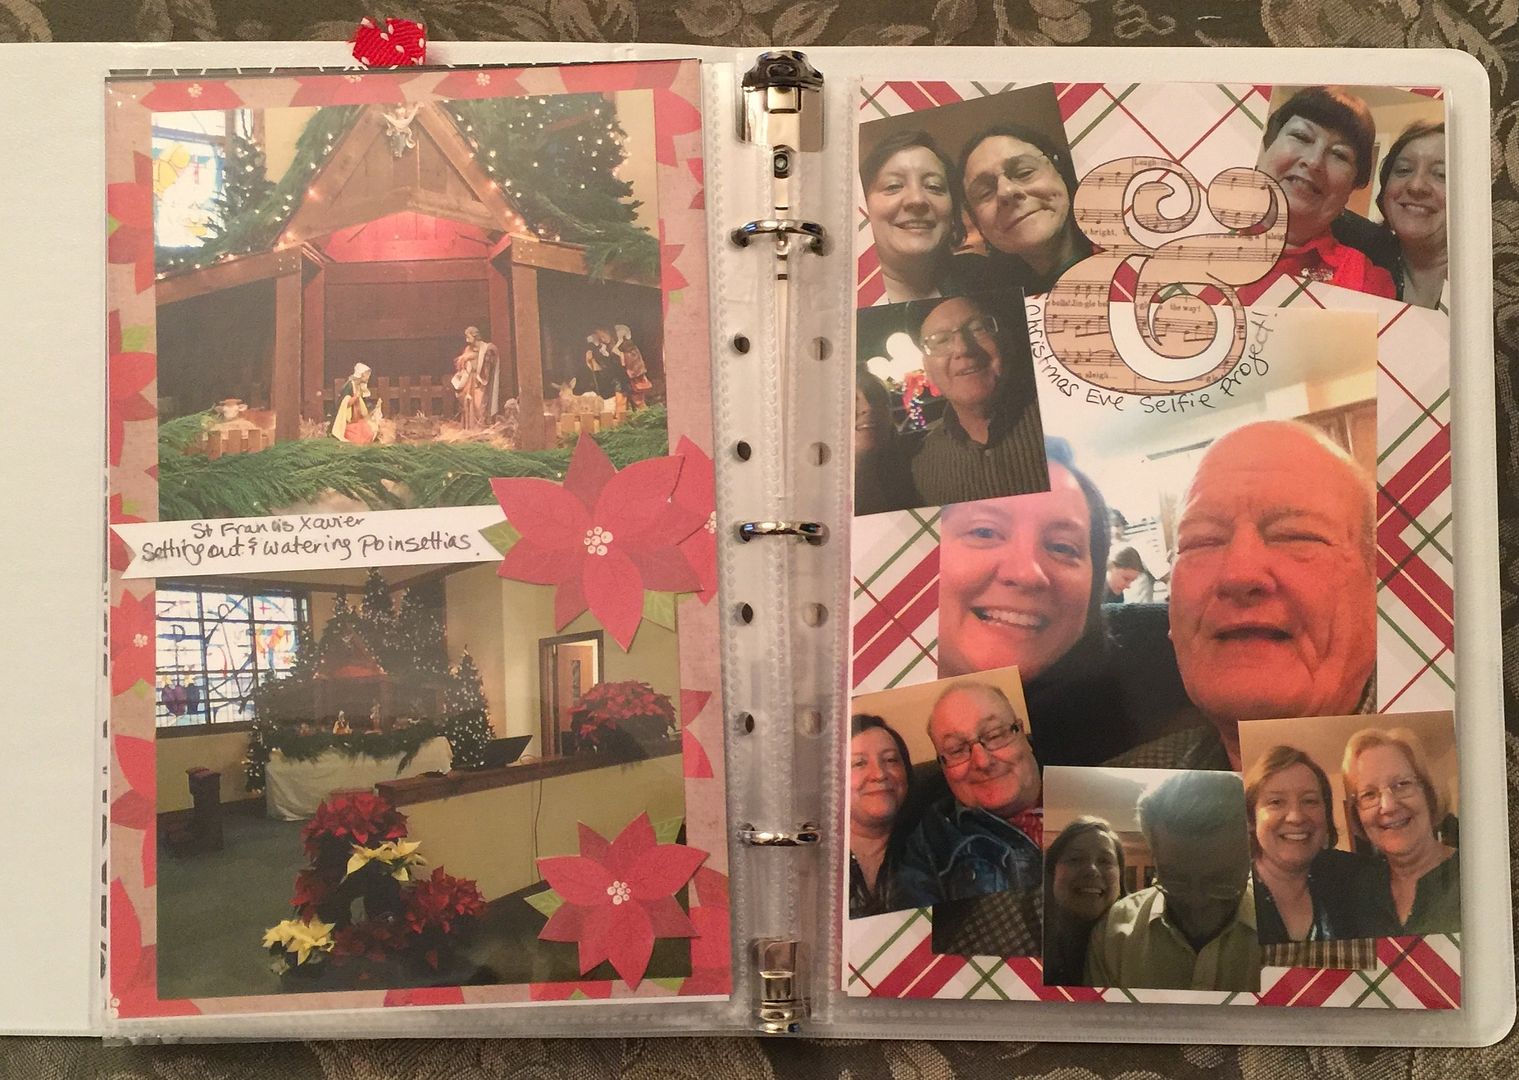
I used a collage app on my phone to get tiny photos, like this page on the right where I featured my little selfie project I did with all of my father-in-law's siblings on Christmas Eve.  If I don't think about it, I will completely omit photos of me in my journals.  My selfie project kept that from happening and using tiny photos meant that the whole journal wasn't a selfie project!


This page includes a pocket for the recipes  I made Christmas Day at my house for my whole family as well as my in-laws.  We had a couple of Moroccan dishes, a first for us, this year.  It was awesome.

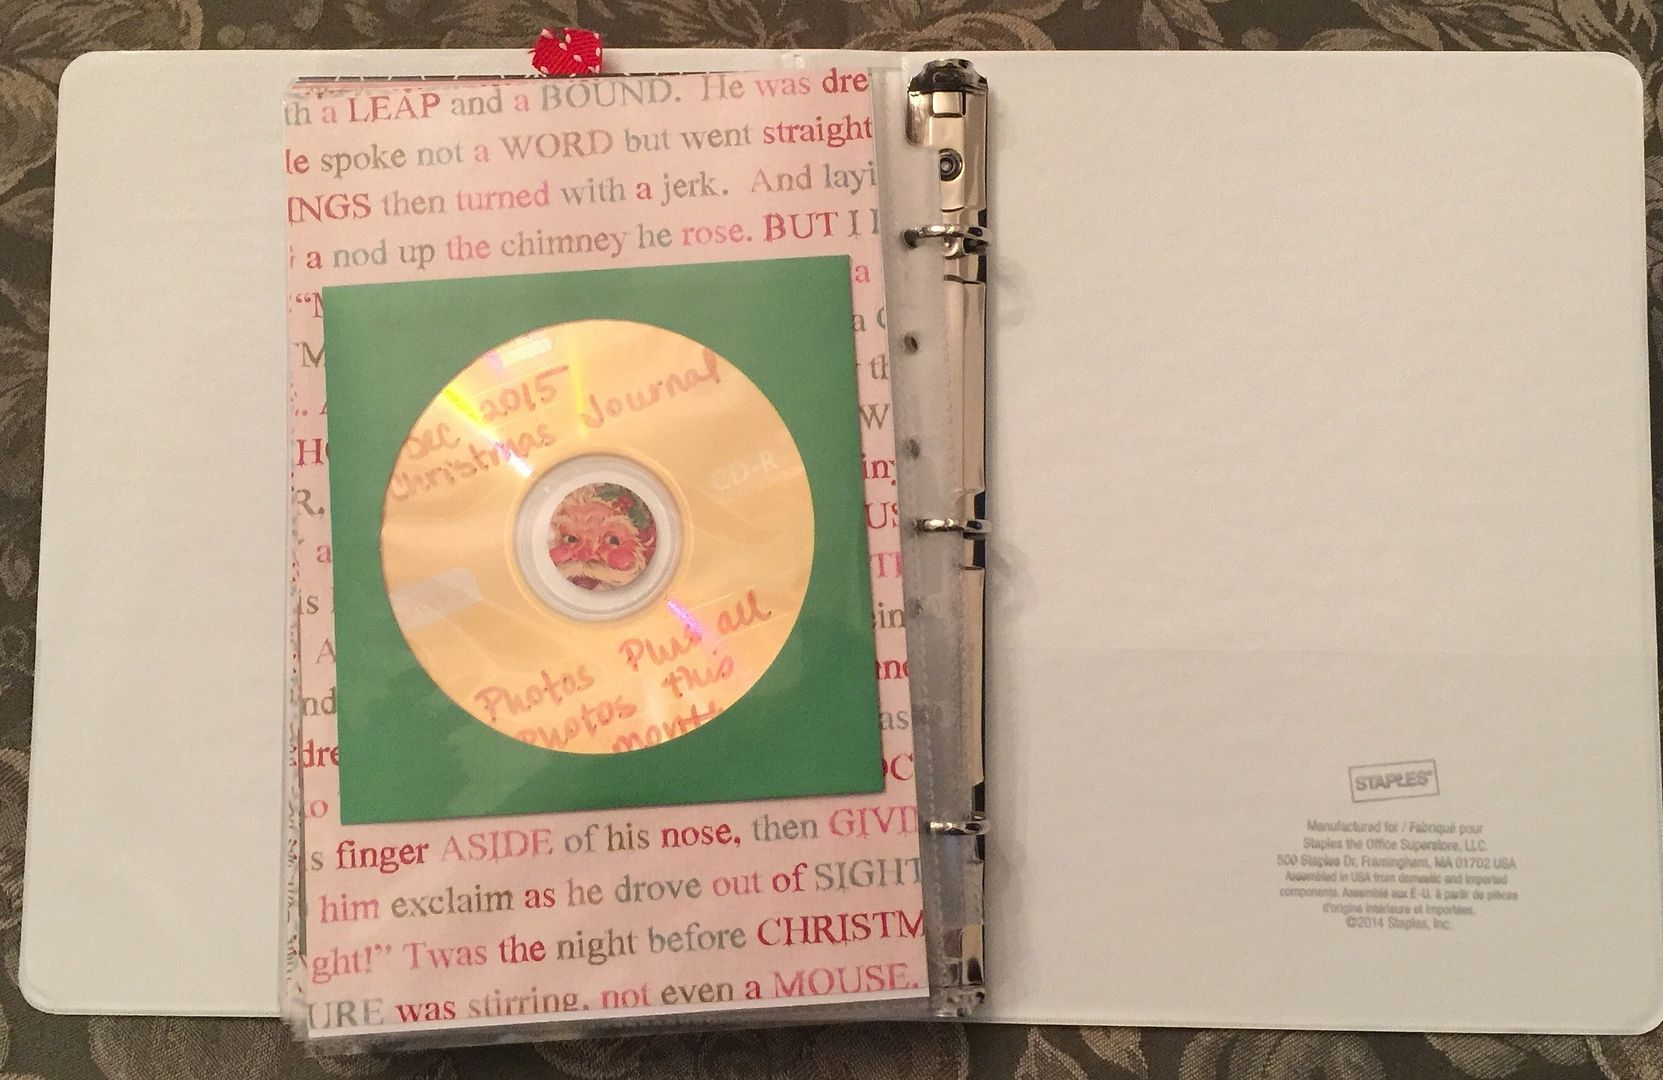
Last year I started adding a photo CD to all my albums and journals.  It allows me to find photos fast when someone sees one and wants a copy.  It also allows me to keep all the photos that didn't make the book with the ones that did.  I think that when I am gone and my daughter gets these journals to keep, the extra photos will be a little bonus treasure for her.
I plan to put the Christmas cards we received in the inside pockets of the binder!  I have always wanted to find a way to incorporate them.  Surprisingly, this is the year!

I am thrilled that I got this done this year!  And I share it with you, even though it is not as fancy as previous years' journals as a reminder that it can be done and it is not too late!


List of Links Mentioned in This Post:

  • Shimelle's Journal Your Christmas.  You pay one time for prompts and videos to guide you to make your own and then, if you want them, you will receive them every year at no additional charge:  click here.
  • Sara Andrews' blog - this is a link to her Dec 25 December Daily entry:  click here.
Additionally, you can find my previous years' journals here:
Thank you for checking my blog post today!  To see my previous paper projects, check out my Paper Gallery by clicking the tab at the top of the blog or click here.  If you are here looking for embroidery projects, you can find all of them by clicking my Embroidery page tab or just click here.

Saturday, January 2, 2016

Digitizing Sewing Pattern Pieces

Happy New Year to you!  This year, no resolutions for me but there are things I want to work on, and one of them is digitizing.


I always wanted an embroidery machine to enhance my sewing, but up until now, it had a life of its own as I learned to use it with blanks.  Today, I worked on a project that I wanted to do for Christmas but time ran out for it.  I digitized a pattern piece for a bag: corners that are both functional and decorative.  It is something that was supposed to be applied like an applique with satin stitching.  The pattern author intended that a regular sewing machine be used, but I like the absolutely perfect satin stitches that my embroidery machine does better and thought this would be a great project to try out my idea of digitizing pieces from sewing patterns.

There are probably better ways to do the digitizing that I describe below, but I am really still learning and just jumping in to do things with what I have figured out. Apologies to any seasoned digitizers who find themselves screaming at the computer that I am doing it wrong!

I started with Simplicity 1129.  It is a child's sleepover set that has so many cute pieces, but it was the overnight bag that got me!  (Joann Fabrics has crazy pattern sales from time-to-time.  This was purchased during their $1 sale.  I keep my eye out for those!)


First, I found the pattern piece and scanned it in my computer so I could put it into my software.  I measured the actual pattern piece so that I could size it later in the program.  It is 4" across, going through the small dot at the "V".


I used Embrilliance Stitch Artist.  Stitch Artist is a digitizing program.  There are three levels to Stitch Artist.  This uses features from Level 1.  I opened the program and clicked on the image button to bring in the scanned image onto the virtual hoop.  This is just a picture that will be used to trace to get the shape and size I need.  I grabbed a handlebar to make the size the very same as the pattern piece.  I found it easiest to do this project using the grid in inches.


I wanted to first make a placement guide so I would know where to put my fabric bag front and back pieces on the hoop.  I used the Draw with Points button to trace the image.  I used the Open/Close Outline to close the shape.  Then I selected the Run button to make it a stitched line.  I made it two-pass.


I can see in the Objects Pane my image that I traced and my run.


Next, I wanted to make the applique.  I only wanted satin stitching outside the seam allowance.  (Putting it inside the seam allowance would add bulk unnecessarily). I did a second trace starting from the stitch line printed on the pattern and moved all the away around the image to end at the stitch line on the other side.


To turn my outline into stitching, I clicked the applique button.


It put the applique stitching on the outside of the shape.  I found the Create button on the toolbar and selected Outline, then Reverse Points.  That moved my stitching to the inside of the circle.  I selected the satin stitch.

Next, I wanted to make a tailor tack mark.  I did the same trace by drawing with points and then turning it into a run.


I no longer needed the scanned picture so I deleted it by selecting it on the Objects pane and clicking delete on my keyboard.


And that left me with my digitized stitching lines.


I saved it and printed it out.


I could then place the actual pattern piece over it and see that it matched in size.  I went on and created the monogram I would be using on the front of the bag.  I used Embrilliance Essentials to do the monogram.  Essentials is a separate program from Stitch Artist (even though it is from the same company and all shows up on the Embrilliance platform on my computer).  It allows me to simply type in my letters to place them in the file and it spaces them for me, although I can change the spacing and resize as I want.  I placed both print outs from the software under the Simplicity front pattern piece to check placement and to make sure that everything would match up.


I cut out the fabric pieces for the bag.  I applied the digitized corners onto the fronts and backs using my embroidery machine and the new file I just created!  I matched the cut lines to the stitched placement lines.


I can turn the hoop to the back to see how the placement lines and the fabric piece match up perfectly through the light.


From there, I stitch the applique just like any other applique, adding the corner fabric, backed in Heat N Bond Lite, and then trimming after it stitches, then allowing the machine to satin stitch over the cut edges.


I repeated the process for all four corners and trimmed to the pink fabric cut edges.

I stitched the monogram on the front as well.  This is Designs by Juju #719 Open Vine Monogram.


With that, my front and back pieces were ready for construction.


I did add a little name tag inside since this was for a child.  So to the lining back piece, I added a frame from Planet Applique and text from Jolson's.  This is Tiny Fonts Script #61.


I followed the sewing pattern directions, although I did make a construction change in that the pattern suggests combining the front fabric, batting stabilizer, and lining fabric together, stitching as one.  I prefer a fully lined bag with no raw or even serged side or bottom seam edges showing so I lined the bag separately.  I also turned the inside bag bottom (board) and filled with Peltex instead of zigzagging the edges closed.  This way, the inside of the bag looks as finished as the outside.


And the corners turned out just perfect!


This was initially supposed to go with one of the Christmas presents I gave my niece.  The colors all coordinate with her monogrammed robe, slippers, and appliqued PJs. Since this will be a gift for no reason, I thought it would be fun to add something....


This is the Eye Mask from Applique Corner.  It is #2475 In-the-hoop Sleep Mask.  It was made completely in the embroidery hoop and is super fast to do.  I did add a few inches to the elastic length they suggest.  Although this is for my niece, my daughter modeled it for me.


I like them together as a gift set.


List of links shared in this post (these are not affiliate links; just direct links only):

  • Simplicity1129 (I bought mine from Joann's but this link is to the Simplicity company):  click here.
  • Embrilliance Stitch Artist:  click here.
  • Embrilliance Essentials:  click here.
  • Designs by Juju Open Vine Monogram:  click here.
  • HeatNBond Lite (hnbl):  click here.
  • Gigi Frame from Planet Applique: click here.
  • Jolson's Tiny Fonts Script #61:  click here.
  • ITH Sleep Mask #2475 from Applique Corner:  click here.
Additionally...
  • The fabrics all came from Walmart and were pre-washed for absolutely no good reason since I don't anticipate that the bag will ever be laundered.
  • I used fusible fleece that I adhered to my fabric with a steam press. The pattern called for Peltex but I was feeling frugal.  
  • I used Peltex in the bottom board only.
  • Pattern and zipper were from Joann Fabrics.
  • Embroidery threads are Metro.
  • I used tear-away for the applique corners and poly mesh for the ITH eye mask.
  • Sewing was done on a Brother Runway sewing machine and embroidery was done on a Brother PE770.
  • I added cord to the handles to make them keep their shape and have grip.
Thanks for checking my blog post today! For a list of my embroidery resources and my other embroidery projects, check out my Embroidery page using the tabs at the top of this blog or just click here.

But wait! There's more! Click 'older posts' above!

But wait!  There's more!  Click 'older posts' above!