Wednesday, December 22, 2010

Shall We Dance Celebrates Christmas... with Post-It Craft Paper

I finally received the Cricut Circle exclusive cartridge 'Shall We Dance' during my busy work time and had to put it aside.  I had been desperately wanting a cart with more posed figures and knew this one would fit the bill!  I have loved using it to create more characters --not dancing-- by changing their arm positions and clothing.


I have also been rolling around ideas to use the new Post-It Full Adhesive Craft Paper that was provided to all the guest designers at the Sweet Sassy Diva blog!   You can find this post there too!!  


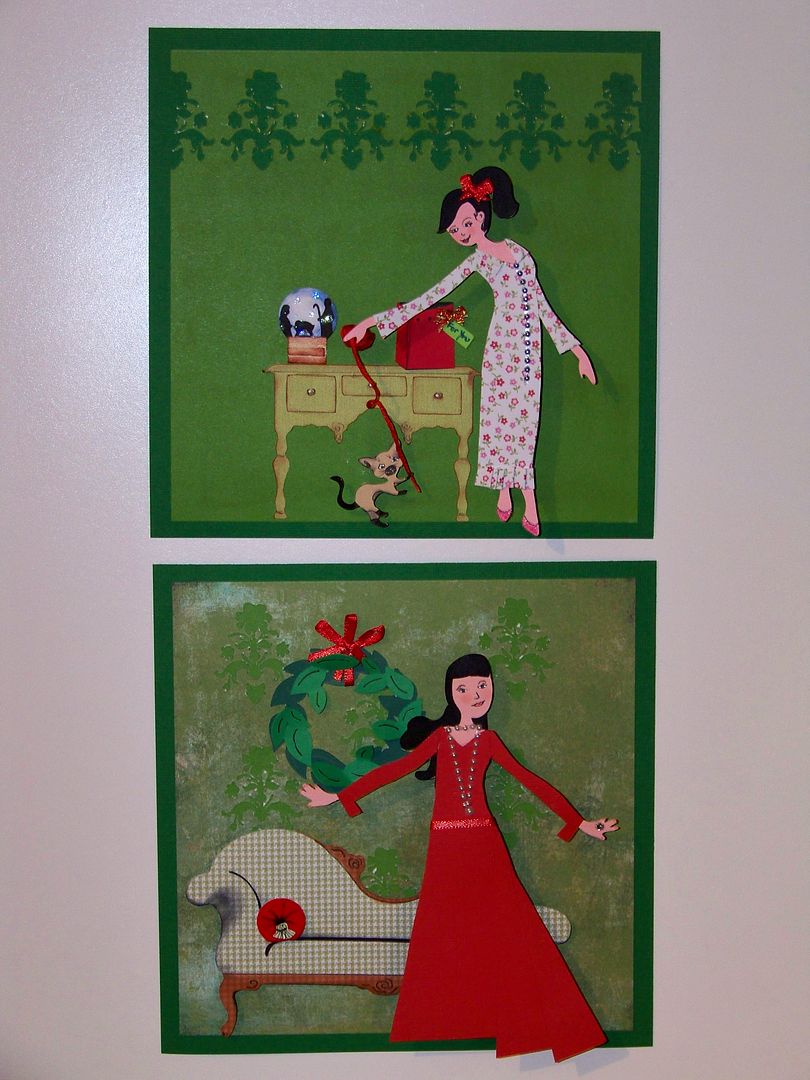
This is the result:  Shall We Dancers go Christmas!  This is a two-part project.  I had to put aside my vignettes for quicker projects as work shifted into high gear, but with a bit of a break, I have been able to spend a little time on these again!

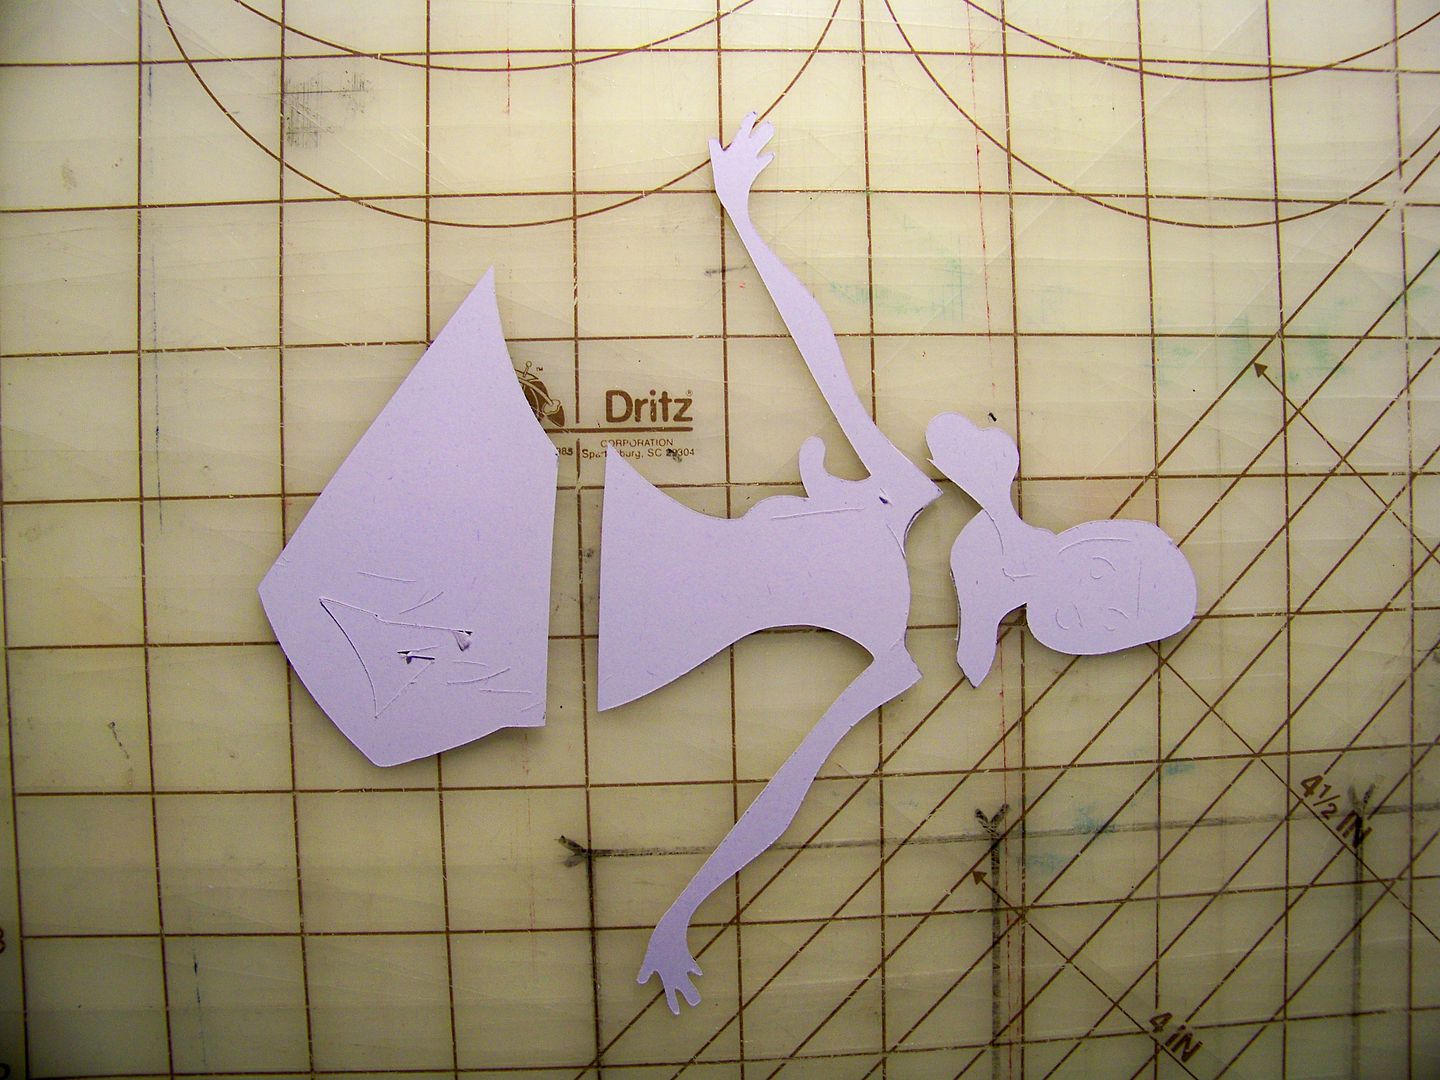
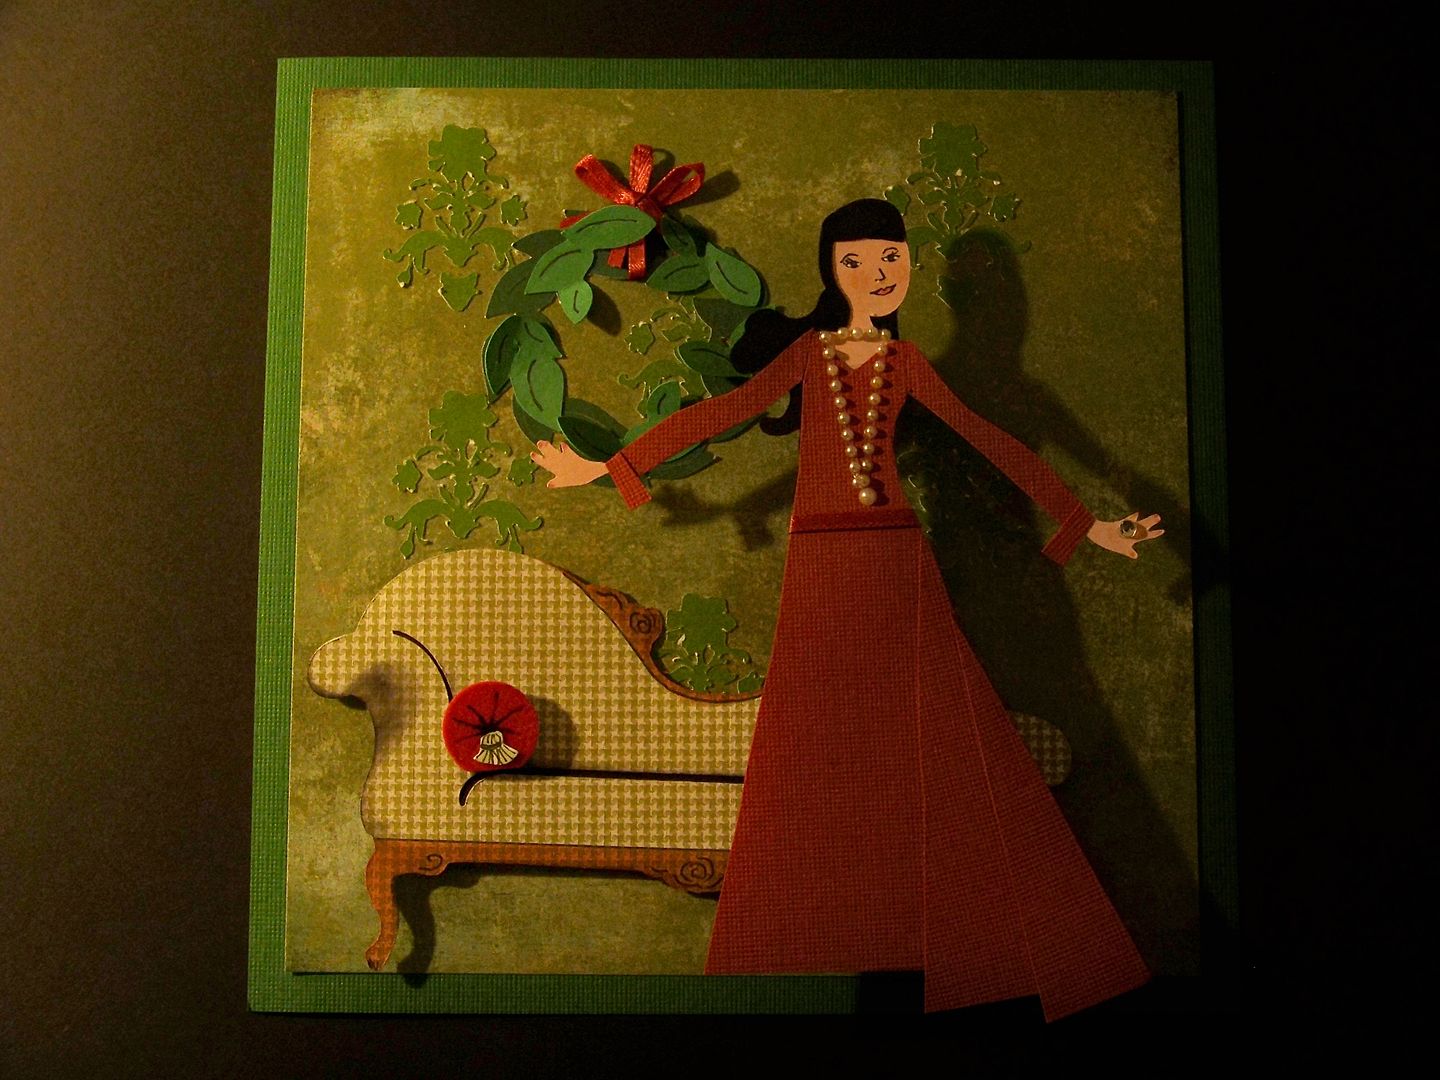
For the first one, to begin, I started with the figure on page 28, cut at 5-1/2" twice.

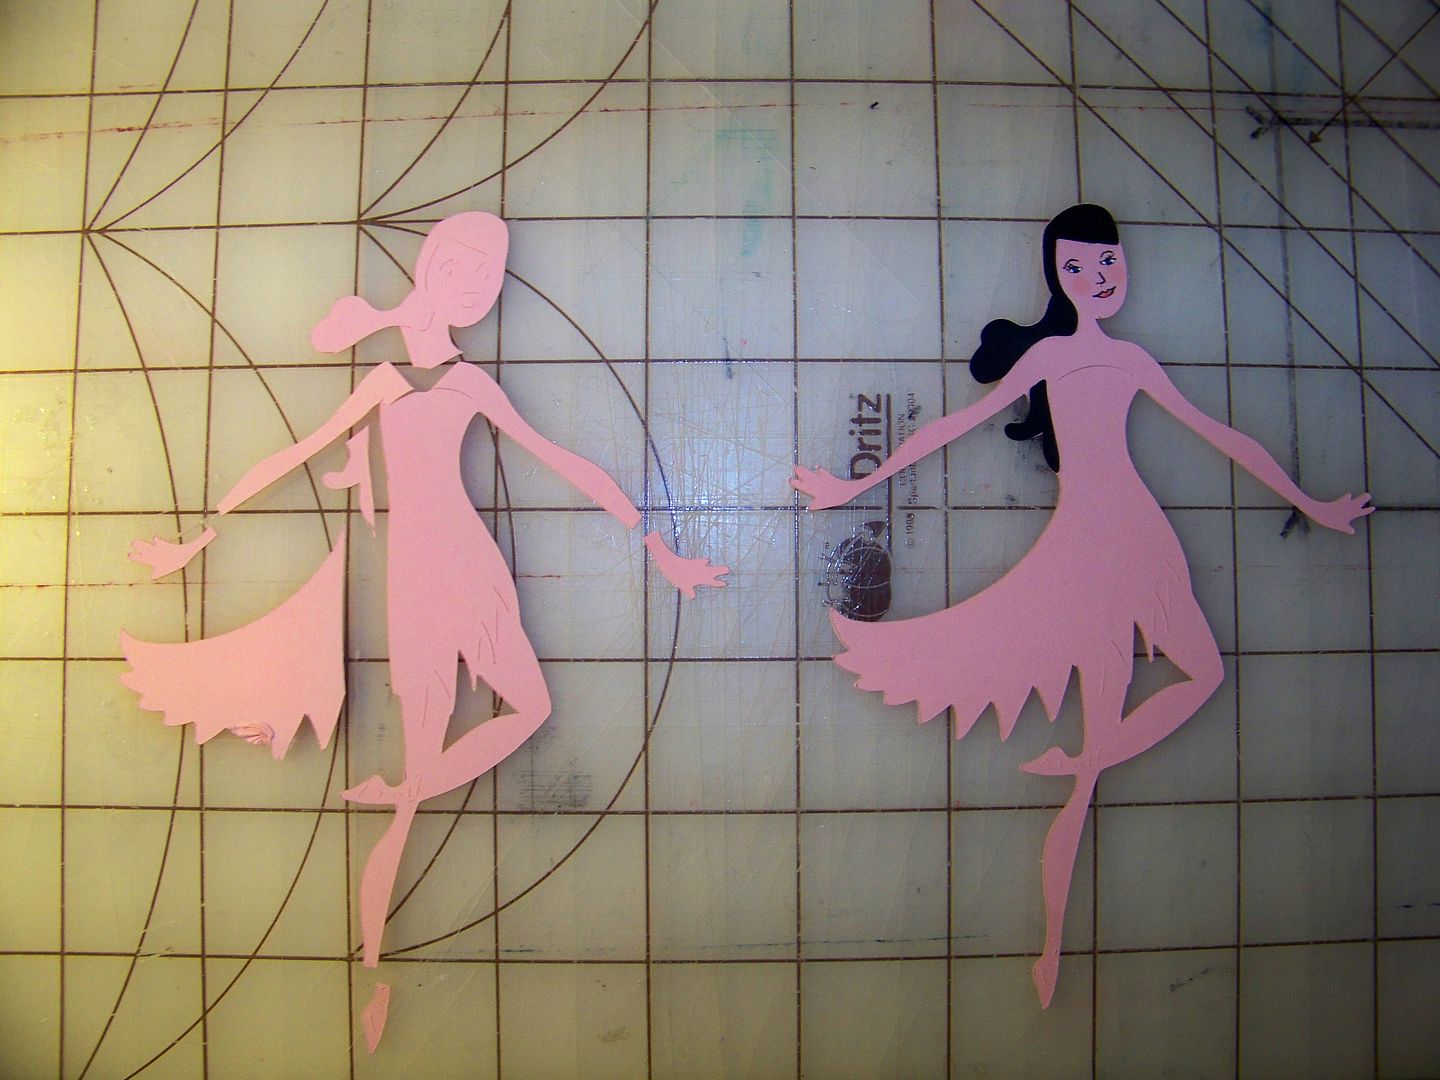
On one cut, I cut away her bottom half; on the other, I cut away her head, arms, and skirt to use as a pattern.  I hand-cut a new dress, adding folds for the full skirt, long sleeves with cuffs, and a ribbon belt.  I did add a bit more hair too!  Stones created quick jewelry.  I drew in her face instead of using the layer cuts so that I could get a little more detail.

The fainting couch is from the Heritage cart (page 49).

I cut it at 2-3/4", adding ink to create the wood detail and shading.  The cart cuts a space between back and seat on the furniture, so I added a piece of black cardstock behind it.  My Zig Millenium 01 fine pen allowed me to add details to the wood.  I used a 5/8" punch to cut a circle from red velvet flock paper to make a bolster pillow.  The Zig pen and a paper tassel I cut finish it off.

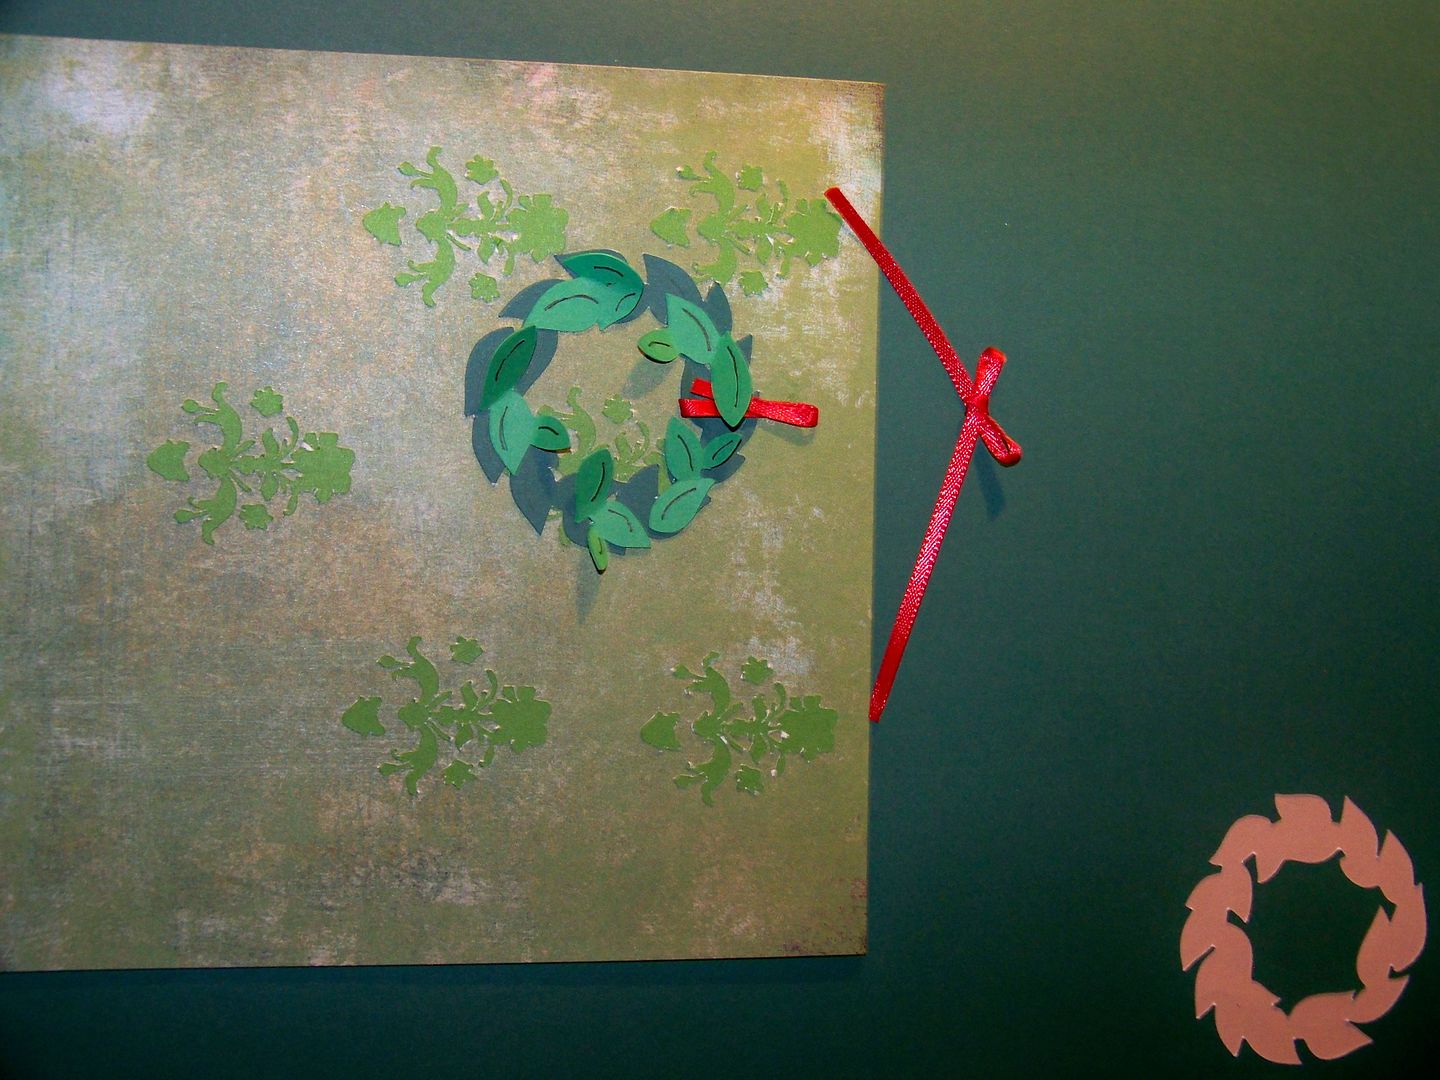
The wreath is from Joys of the Season (page 66), cut at 2".  I cut the base from Post-It Craft Paper, color Evergreen (found in the Jewel Tones package).  The layers are cut from regular paper.  Unlike some specialty papers, the Post-It papers are easy to glue on to.  This is important if you are like me and enjoy a mix of 2D and 3D effects on your projects!  Additionally, this paper can be cut without cutting the liner.  To do a kiss cut on this product, your machine should have the following settings:  blade depth 4, speed medium (3), and pressure medium (3). 

The background is a beautifully muddled printed paper.  To it, I added cuts from Home Accents (cut at 1-1/4") to create a wall paper effect.  I used more of the Post-It Paper to do this, saving the negative space for the next vignette.  This was cut using color 'Lucky' from the Brights pack.
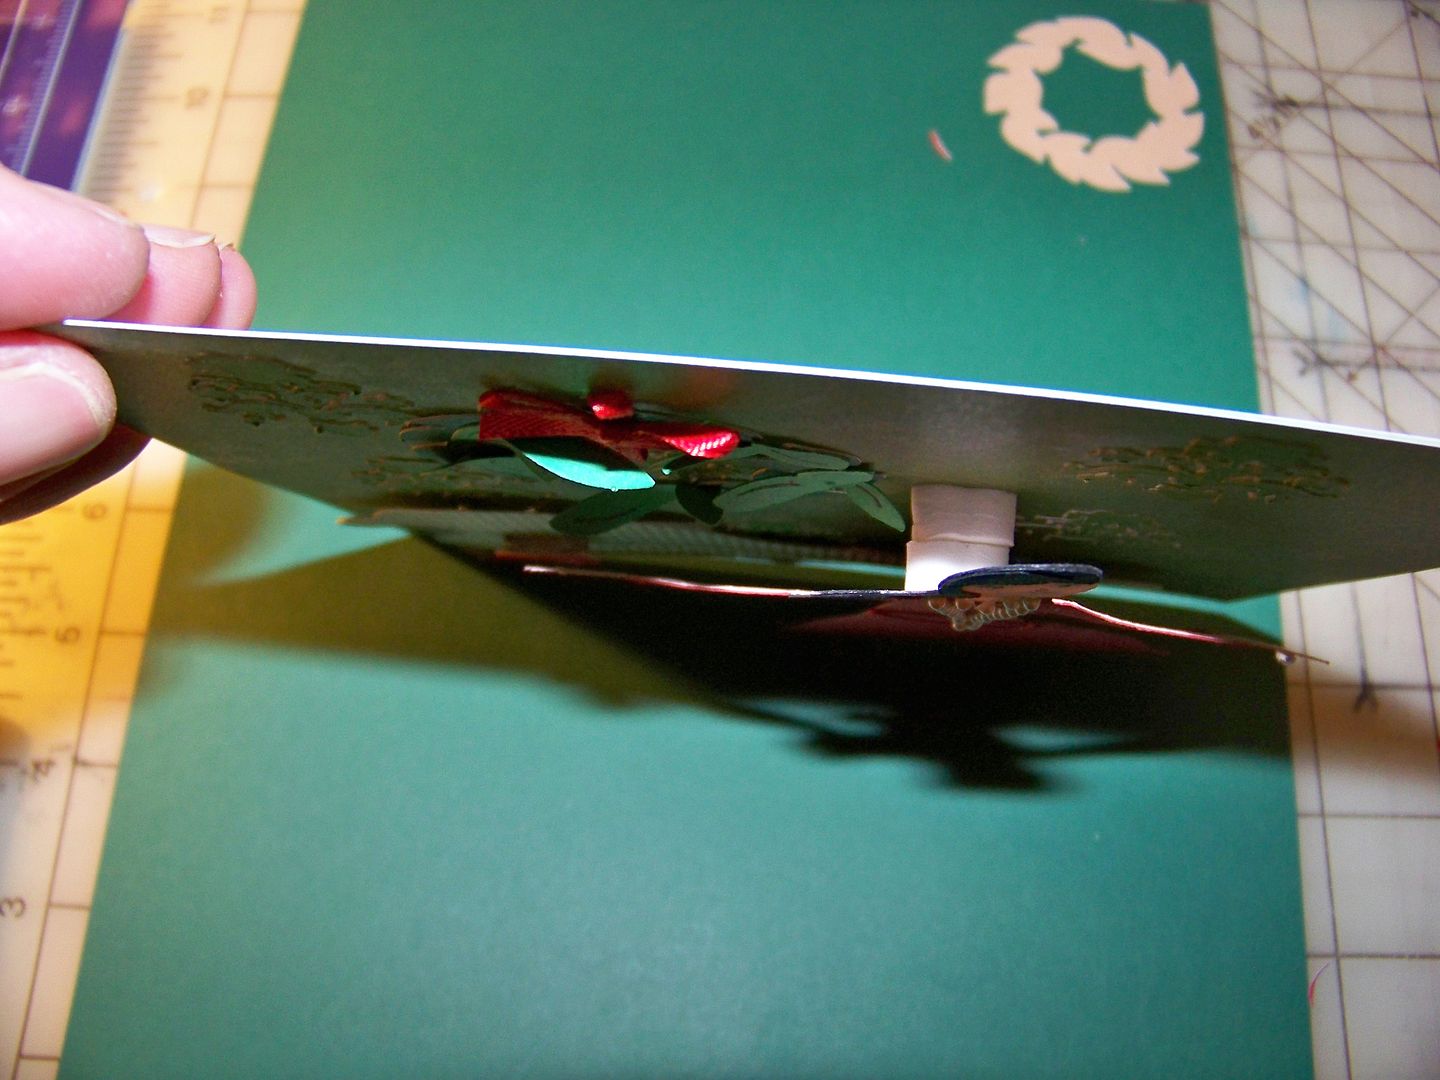
 I popped up the figure to pull her farther off the surface with those great Ranger 1/4" pop dots, stacked to equal 1/2".  Using the ATG, I glued the vignette to a mat.  This finishes at 6-1/2" x 6-1/2". 

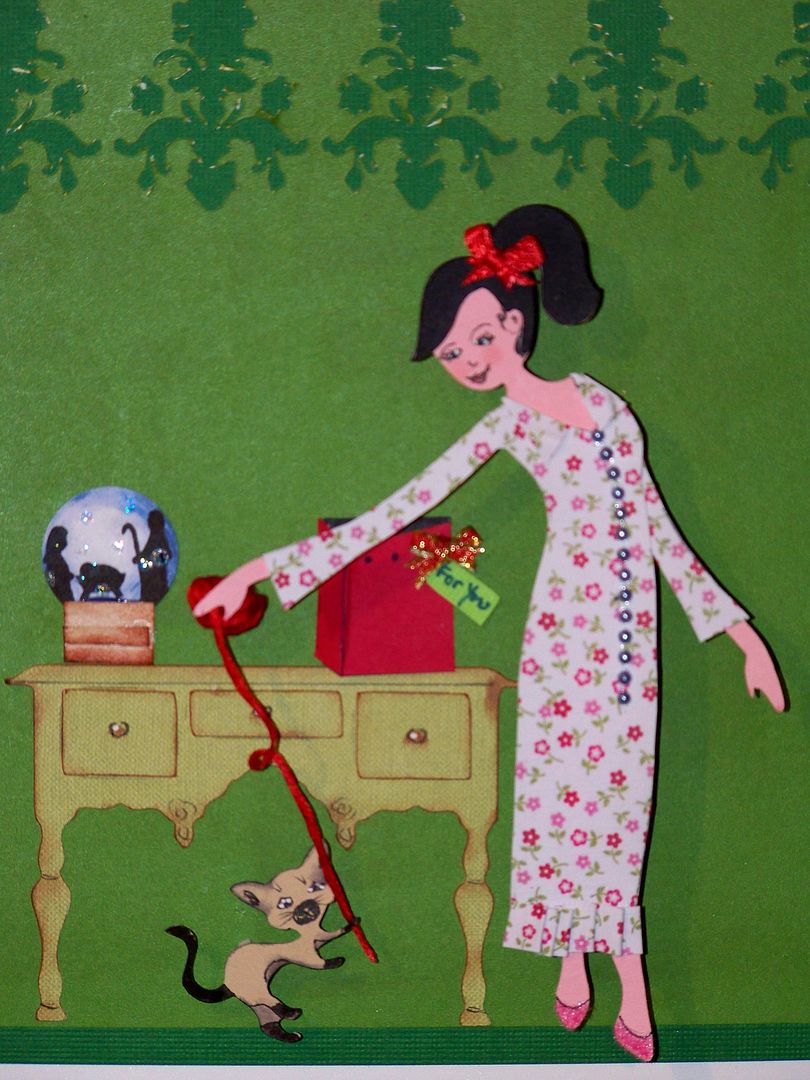
The next vignette started in much the same way.

I cut two figures at 5-1/2".  This figure is from page 32.  Cutting away the head and limbs on one, I was able to create a pattern for a new outfit.
 
The figure's right arm was cut and replaced to be slightly behind her and downward.  Her feet were flocked to create slippers.  I drew her face on using the Zig Millenium, Sakura Jelly Roll pen, and colored pencils.

The cat is cut from Four Legged Friends at 1", flipped and without layers.  I colored in the face, limbs, and tail for detail.  Embroidery floss creates the ball of yarn.

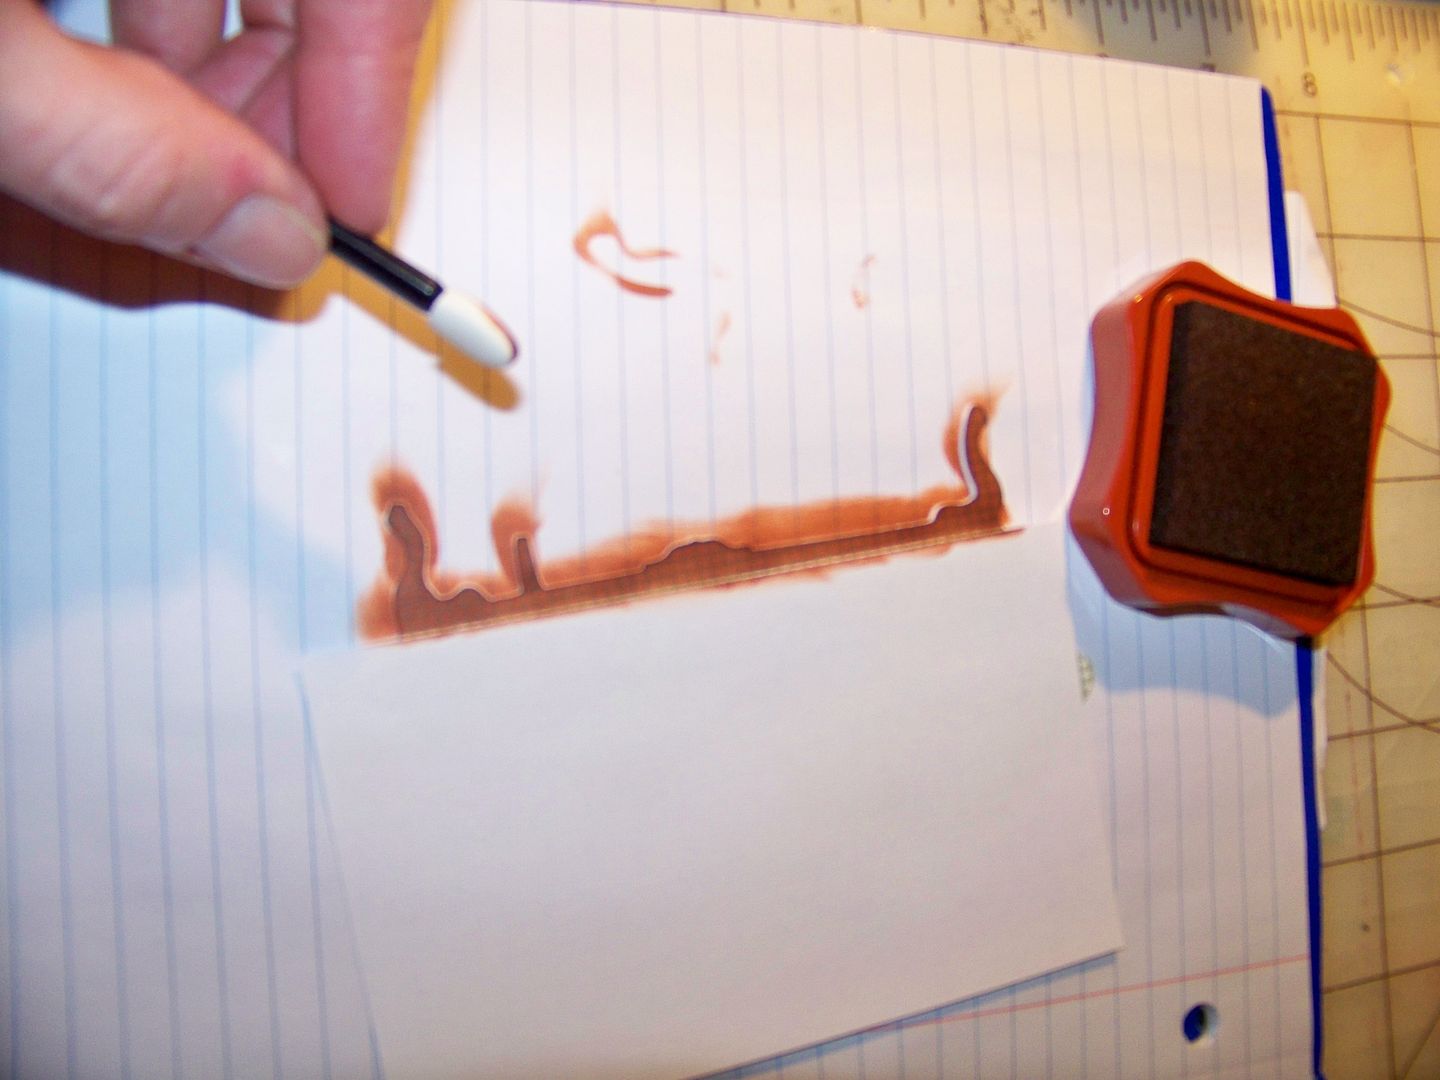
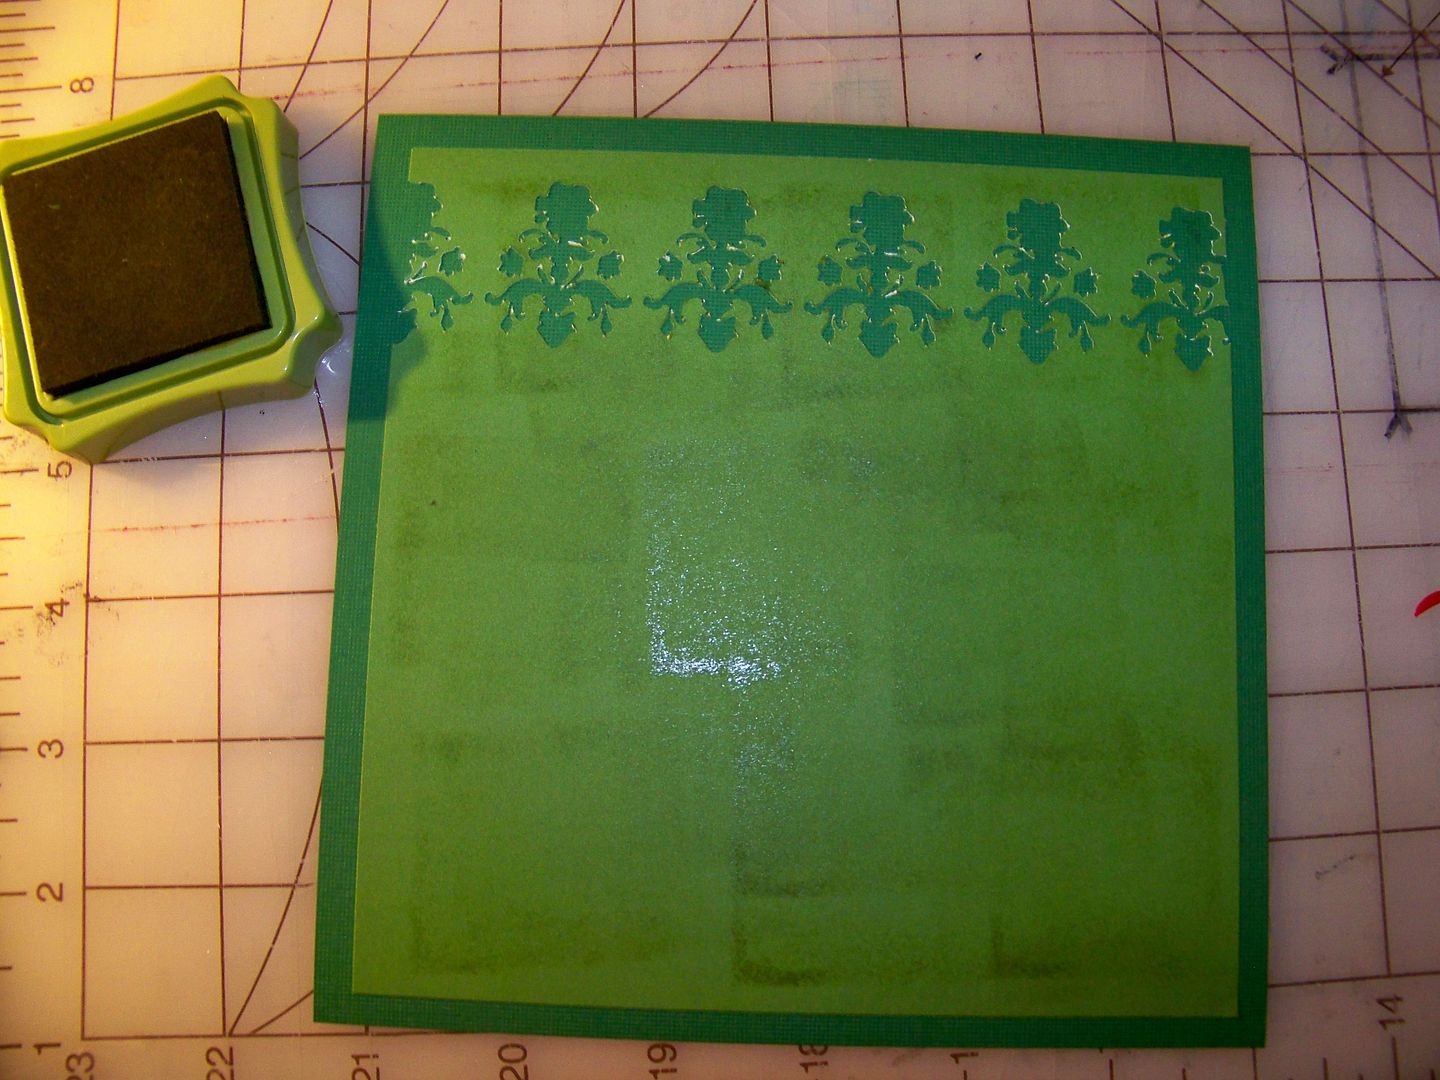
The background is the negative space left over from the wall accents cut for the first vignette.  I used an ink pad to give a bit of texture to the plain paper and to coordinate with the first background.  I peeled the backing and placed directly onto the 6-1/2" x 6-1/2" mat cut to match the first as well.  Easy and smooth adhesion is the key advantage of the Post-It paper!
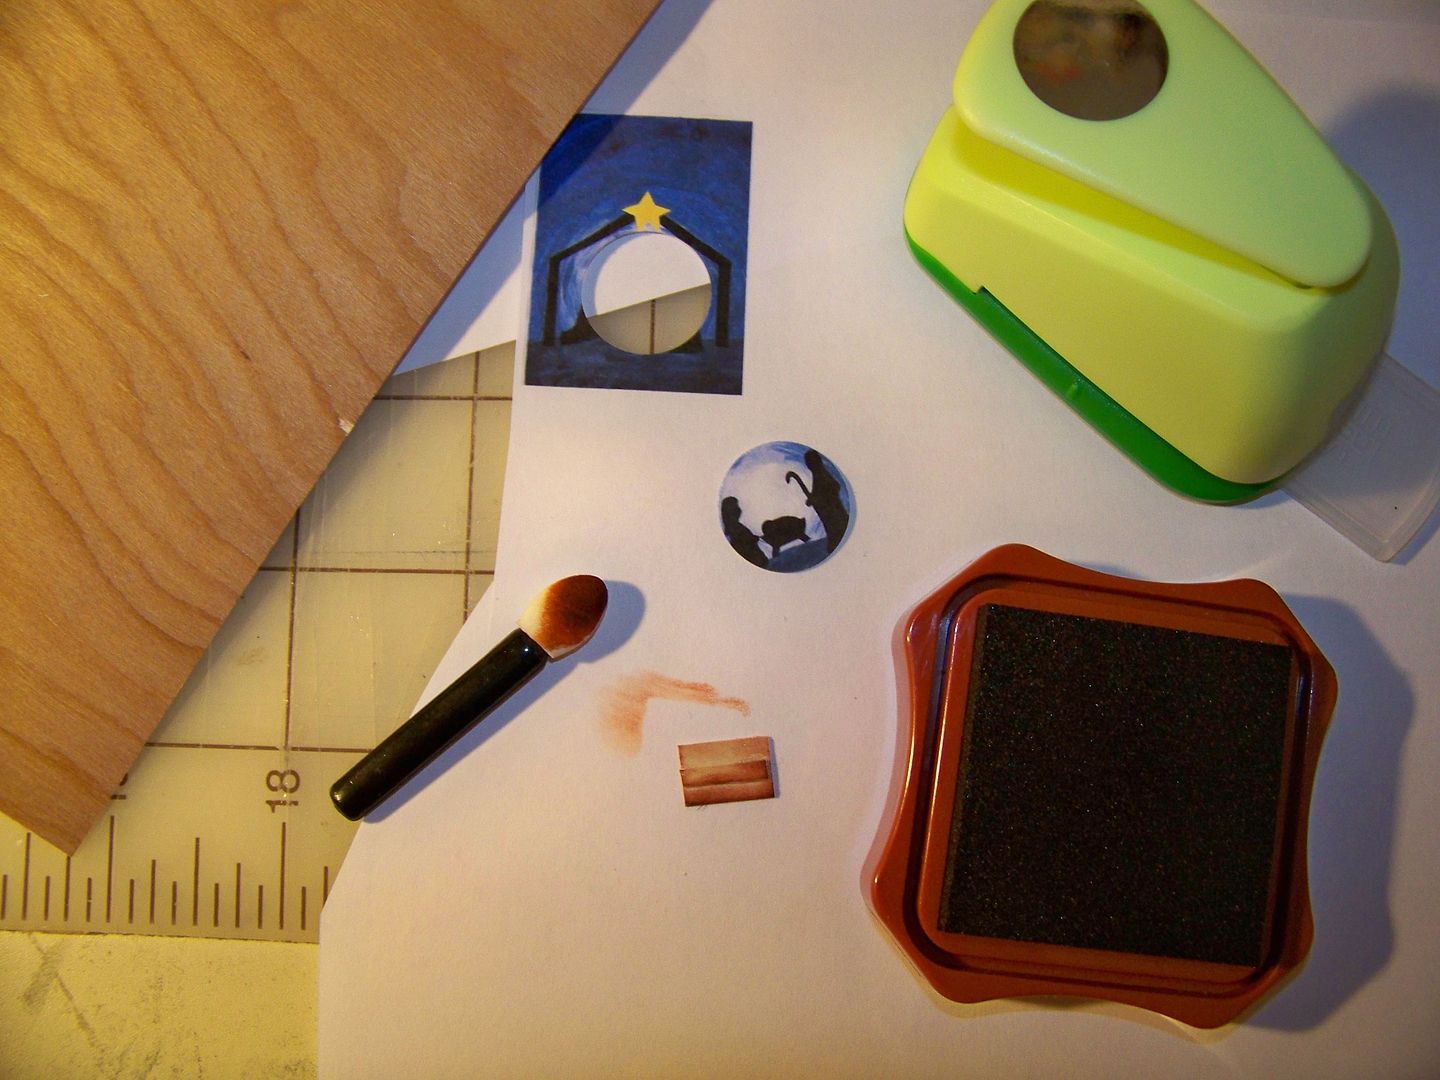
I cut the desk from Sentimentals at 2", inking for detail and adhered it to the Post-It paper.  I hand-cut a pet gift box.  The snow globe is a couple of strips of wood veneer paper, layered and inked to make a stand and an image from Google of a nativity scene, punched in a circle and 'glittered' with Stickles.
The figure and cat were popped up with Ranger pop dots to pull them off the surface.
Thank you for looking at my project! 

If you would like to try out the new Post-It Full Adhesive Craft Papers, you can find 24 colors in assorted packs at larger JoAnn stores, JoAnn.com, and Amazon.com.  You will love the way you can ink and stamp them!  They perform perfectly with all your other decorative papers on projects, making them a must-have in your paper stash!

Happy crafting while creating for others!
Sunday, December 19, 2010

Dancers Dancing! Two Challenge Projects from the Weekend Before Christmas!

I have sooo missed doing the challenges!  To catch up, I have been crafting like crazy!  These are my challenge projects from this weekend.
The first one is a challenge I did for the Circle MB.  The challenge was to use a second 'machine' in addition to the Cricut.  I LOVE my Xyron thanks to Allison and Caroline on the board.  The Xyron makes glittering a snap-- the glitter is adhered permanently and smoothly every time.

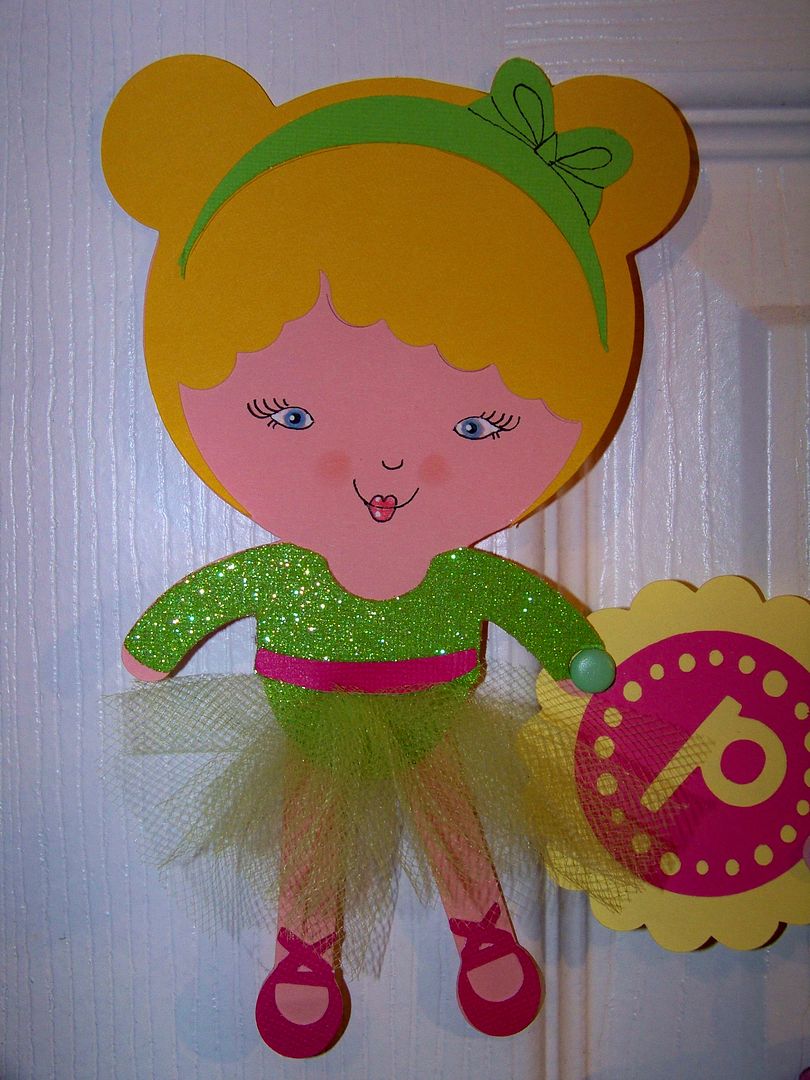
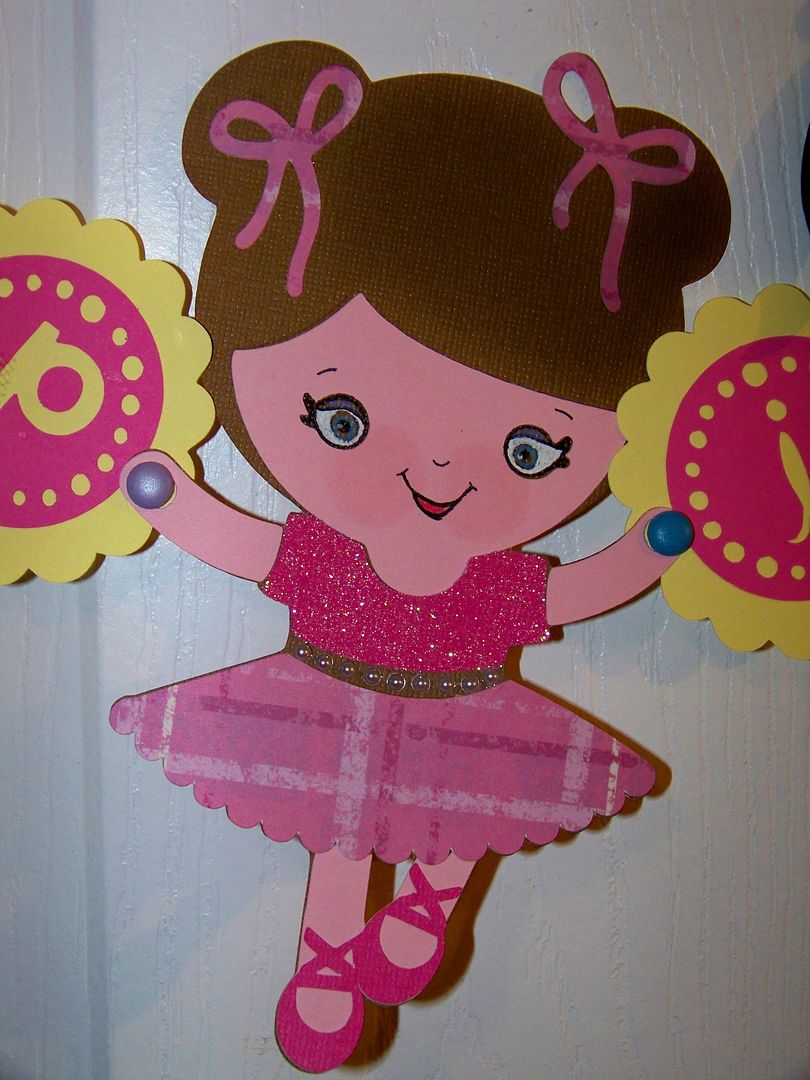
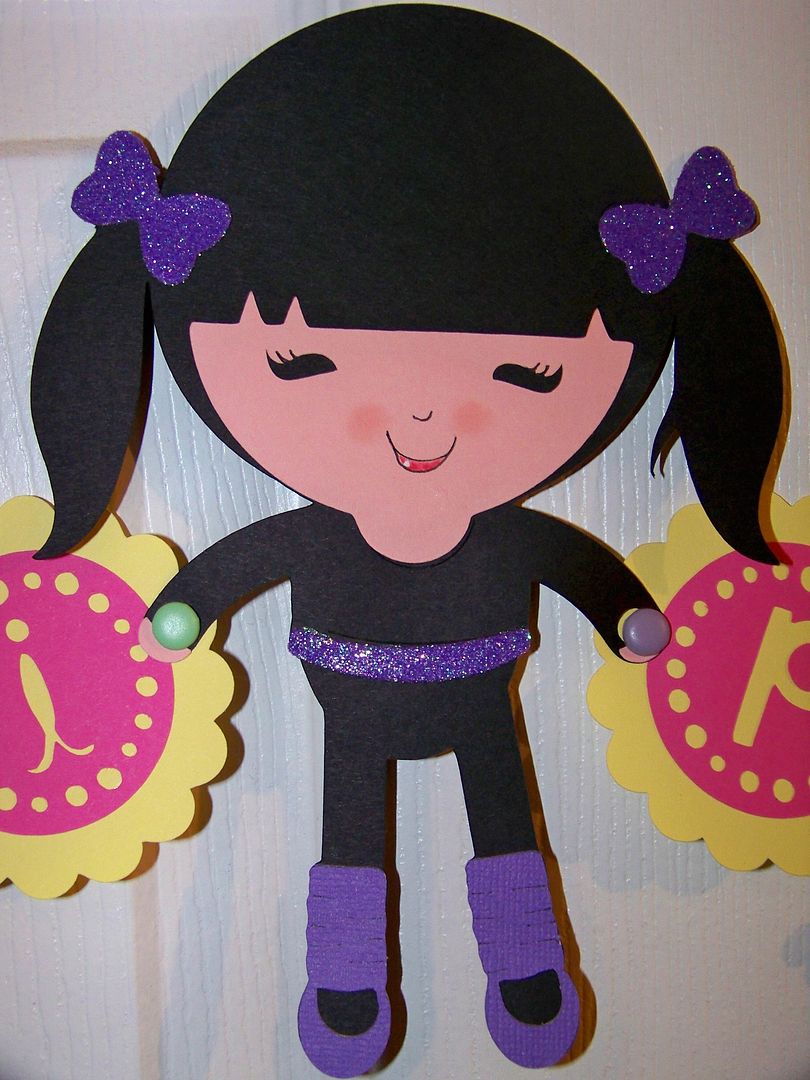
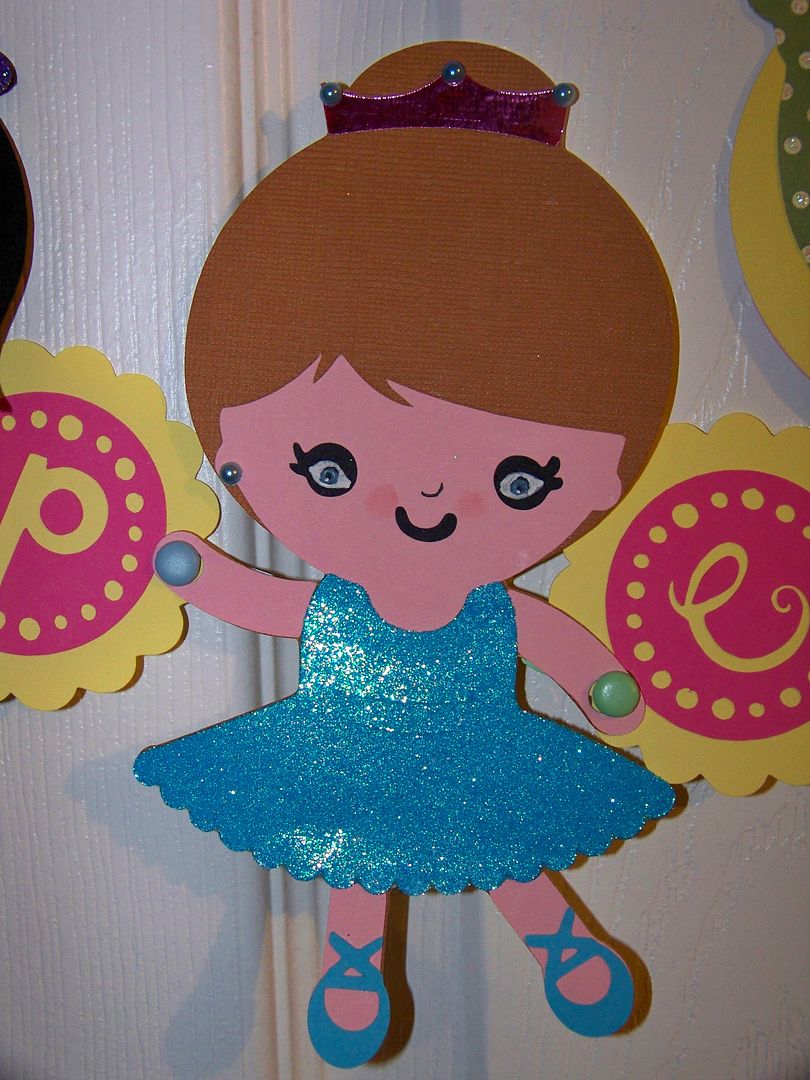
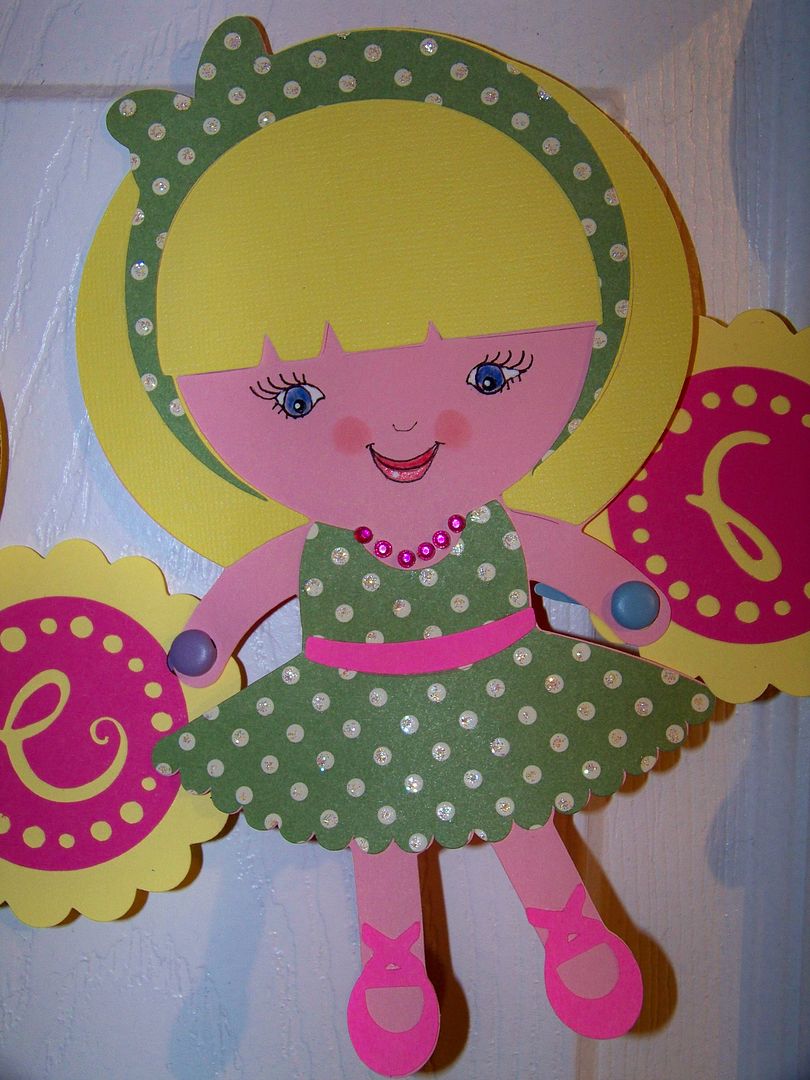
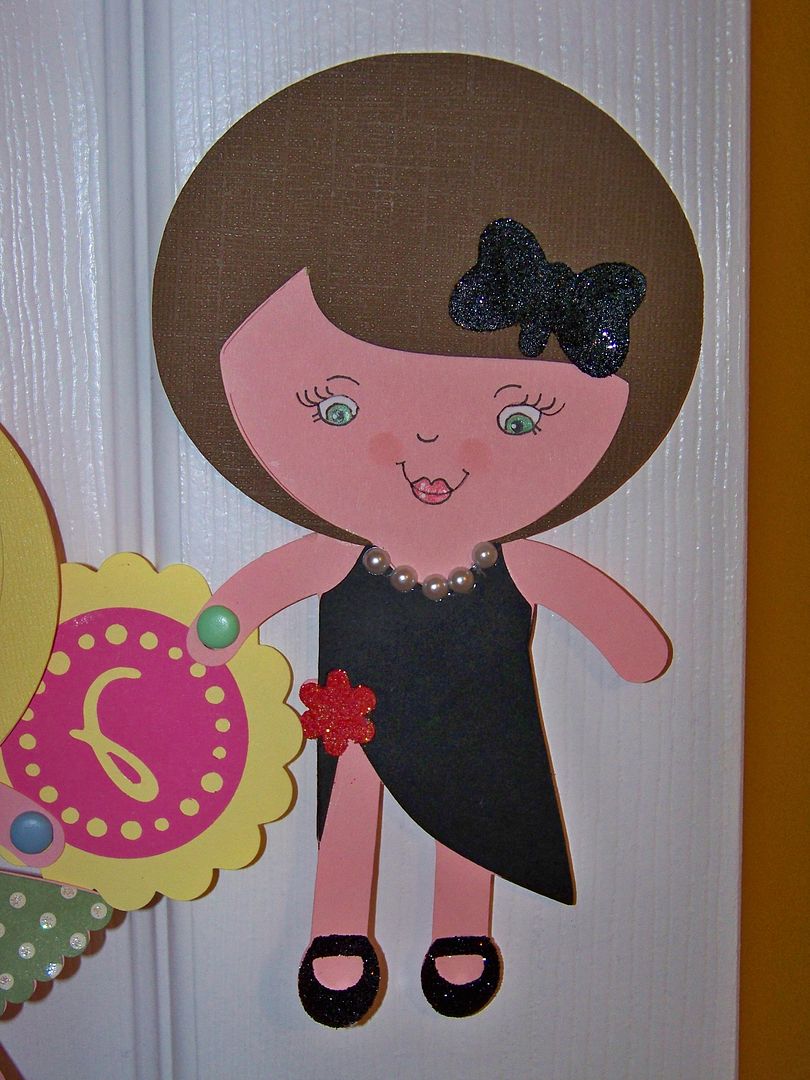
This is a surprise door decoration for my daughter's room.  I cut all the 'dancers' from Twinkle Toes at 7".  I drew on the faces using a Zig Millenium 01 and Sakura white jelly roll pens with colored pencils.  In between the dancers, letters spell her name.  For those, I used Mini Monograms.  The background scallop was cut at 3" and the front circle with the letter was cut at 2-3/4" using the 'dots' feature.

 For fun, these are each of the dancers:
They are all connected with brads.  I just had so much fun with this!

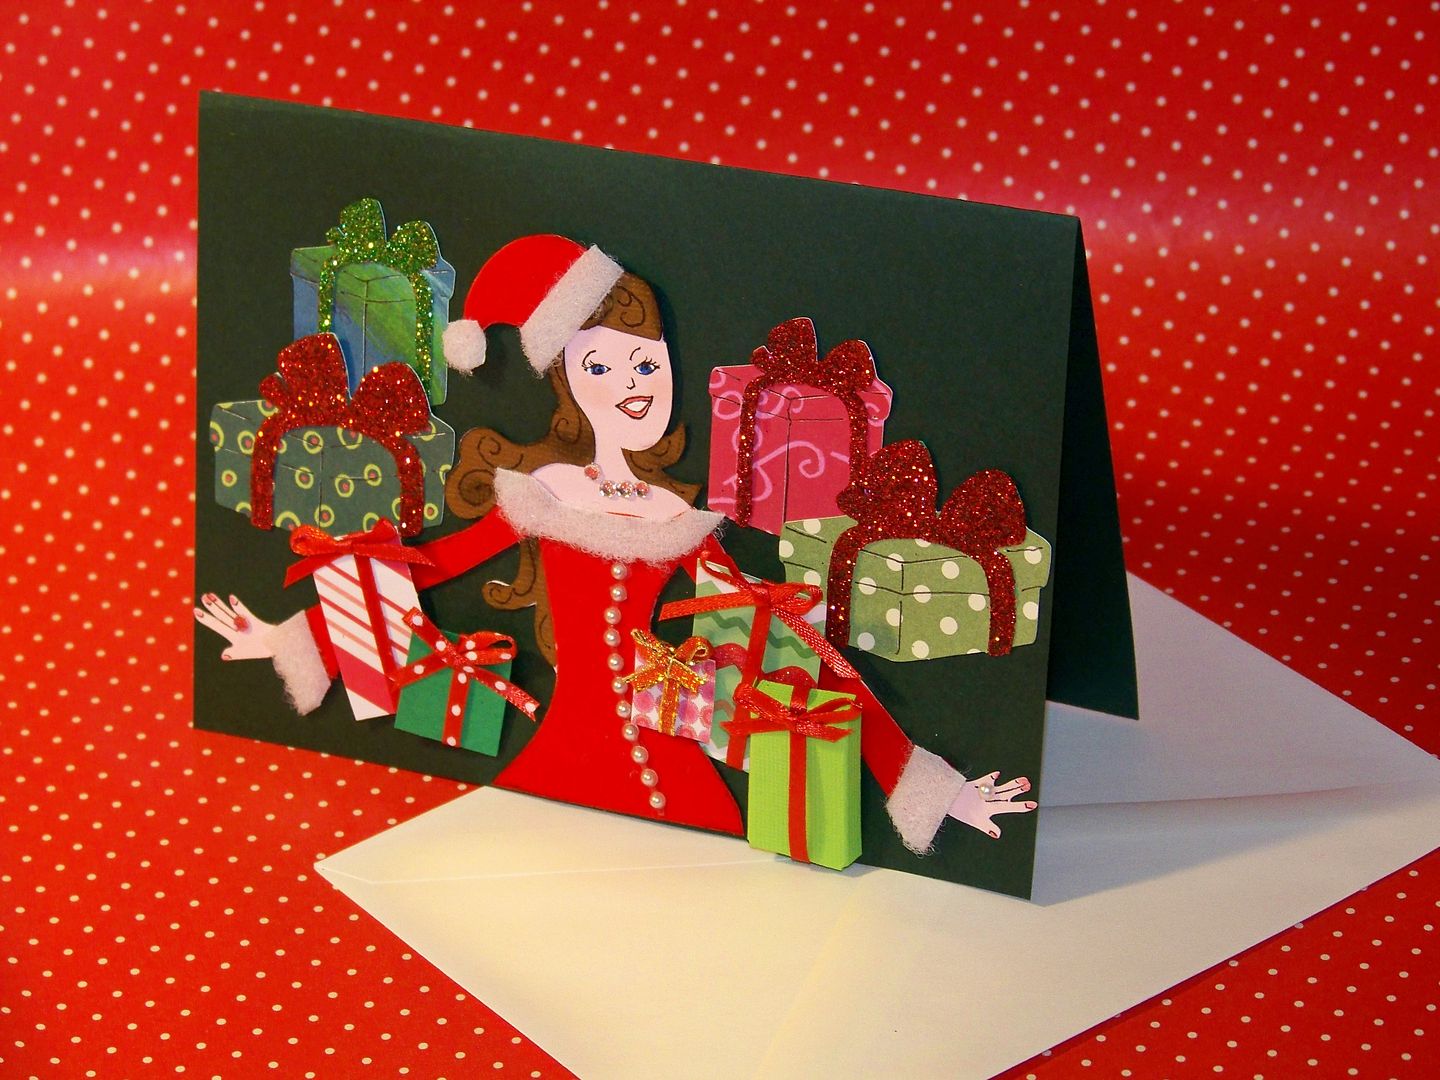
My next project was the Weekly Blog Challenge #12:  Nine Ladies Dancing.

For this project, I used one of the dancers from Shall We Dance.  I discovered an omission on the layers for this figure-- the hair is missing at her shoulder on the right.  I hand-cut that to look more like the cart.  I cut the character at 8-1/4" and then just chopped off her bottom half.  I cut a second figure, cutting off her head and hands in order to create a pattern for her new shirt. 
I hand-cut her top, adding the loop side of adhesive velcro for the fur trim, as well as buttons and jewelry.
I cut four packages from Sweethearts at 1-1/2", and then hand-cut the remaining 5 gifts, since the requirement of this challenge was to include nine of any one thing.  All elements were adhered to or pop-dotted onto cardstock that I cut to fit my envelope and finished (after folding for the card) at 6-1/4" x 9-1/4".

I love doing challenge projects and really had so much fun completing these!  I am loving these new dance cartridges, dancing or not!

It is the weekend before Christmas and I still haven't put up the tree but mass tonight was beautiful in the Cathedral of the Assumption and I was reminded of the hope and anticipation that comes during advent.  Hug your family and say a prayer for peace this year.

Thursday, December 16, 2010

Gift Wrapping!


I have always enjoyed gift wrapping.  I remember, in the 80s, being obsessed with stamping and gold paint on brown mailing paper to make my own wrapping paper after watching a lady on PBS doing that.  You may have heard of her, Martha Stewart.  (I have been a fan of her projects forever.)  She explained how to use dried lemon slices, cinnamon sticks, and fir branches to decorate boxed gifts.  (I bought my food dehydrator just for that use when I was 18.)  That interest in bow-making, paper decoration, and gift design started in my teens and has only grown with the use of my sewing machine and Cricut die cutting machine.

I love using my Cricut for package decoration.  This Christmas, with my busy work schedule, I have had to create a gift tag "factory" in my craft area to get it all done!  I have simplified this year, choosing to only create tags instead of fully decorated boxes and bags, but I love how these have turned out and thought I would share some of  them with you!
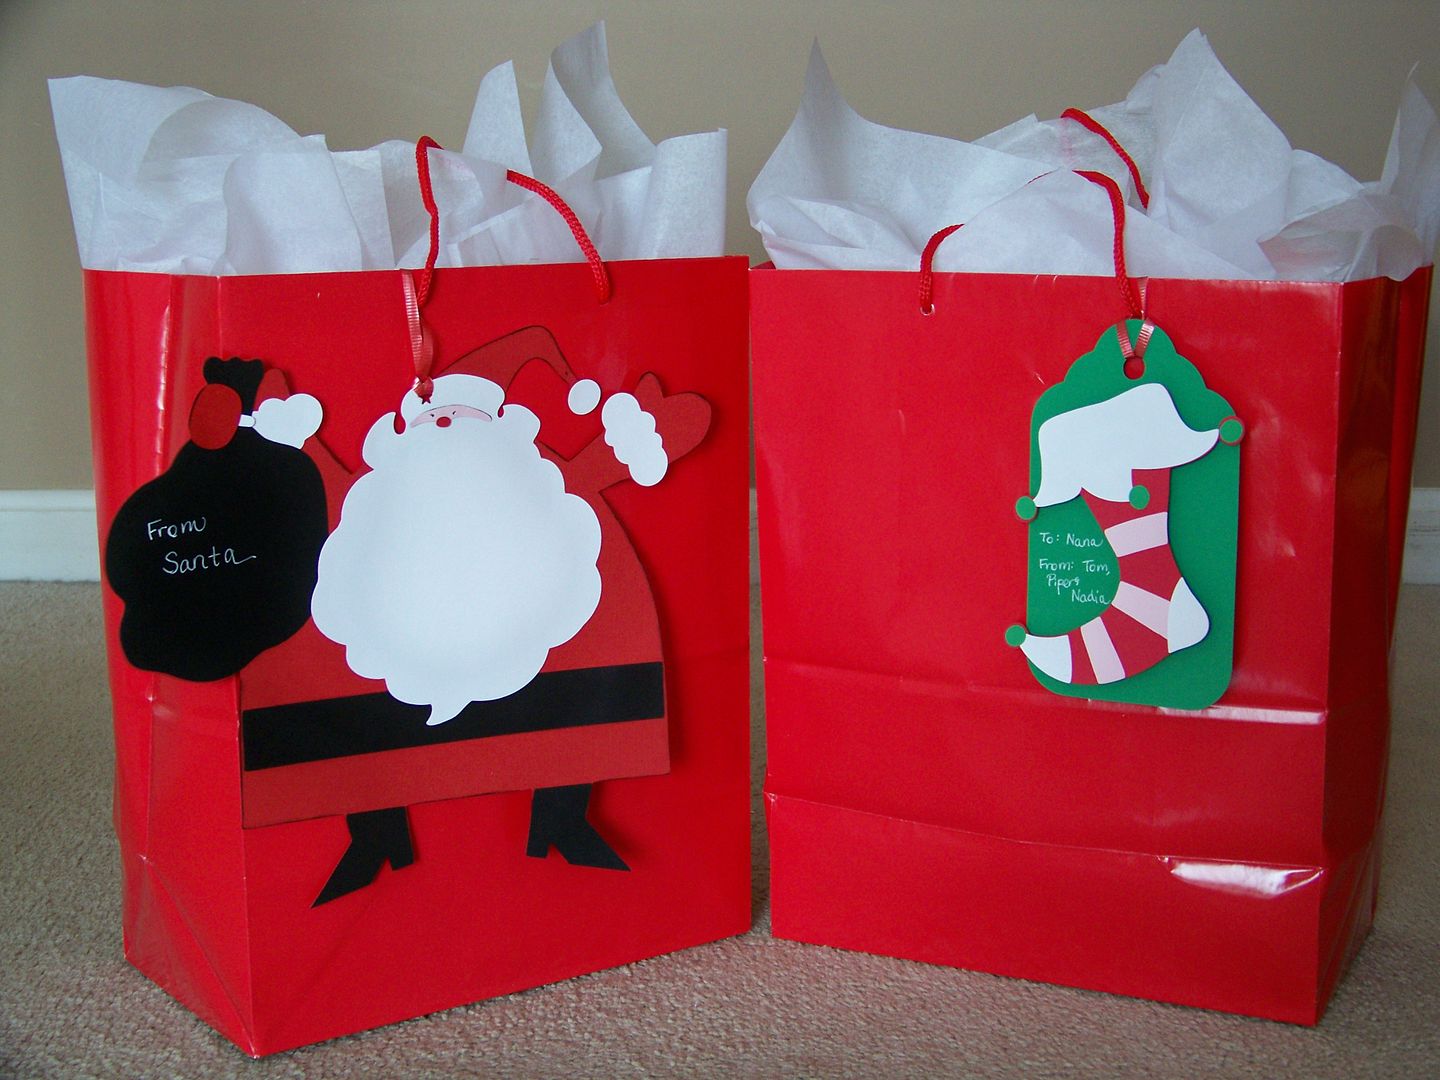
The Santa tag was cut from Jolly Holidays at 9-3/4".  The stocking was also cut from Jolly Holidays and cut at 5".  The base is one I had on-hand from George and Basic Shapes.  I used a Sakura Jelly Roll pen to write my messages.

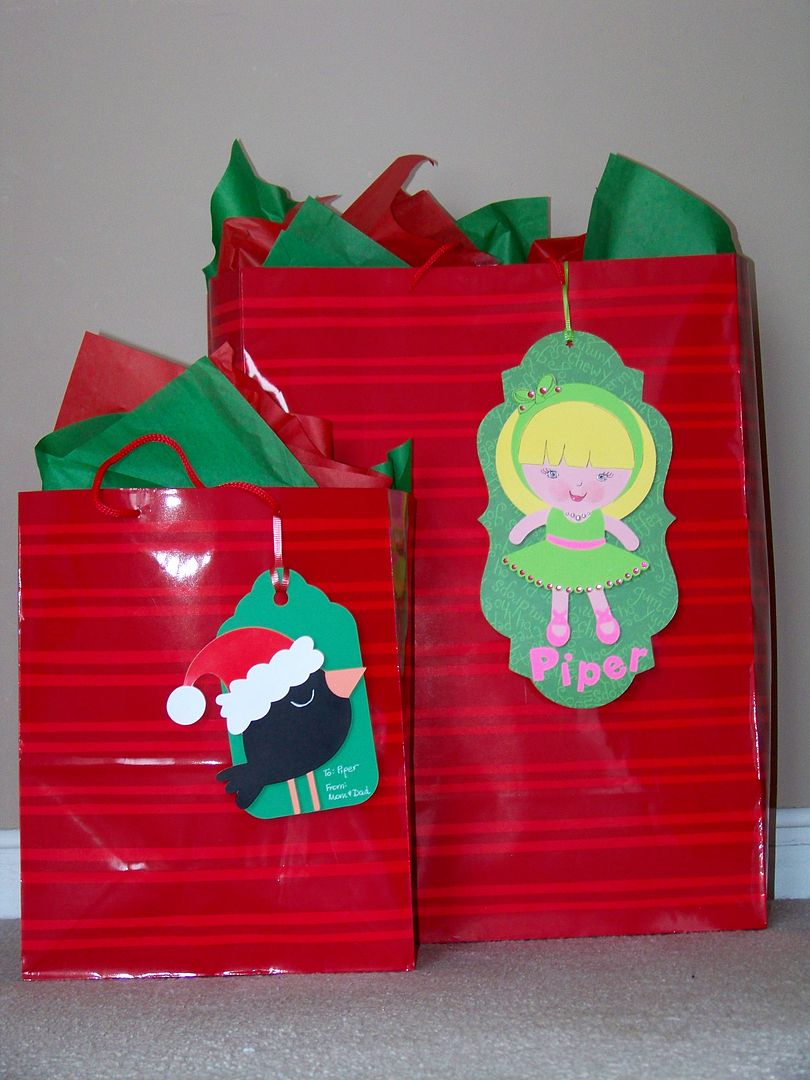
The Santa Bird is cut from Jolly Holidays at 5".  The base is one I had on-hand from George and Basic Shapes.  The ballerina is from Twinkle Toes, cut at 8"; the base is from the same cart, cut at 6-1/4"; the lettering is from Mickey Font, cut at 1".  I drew on the face.
These are bucket gifts for the ballet teachers.  The pails were from Walmart for $1.  I bought tons of them this year!  The ballet shoes were cut from Twinkle Toes at 3-3/4".  The base is from George and Basic Shapes cut at 3-3/4". 
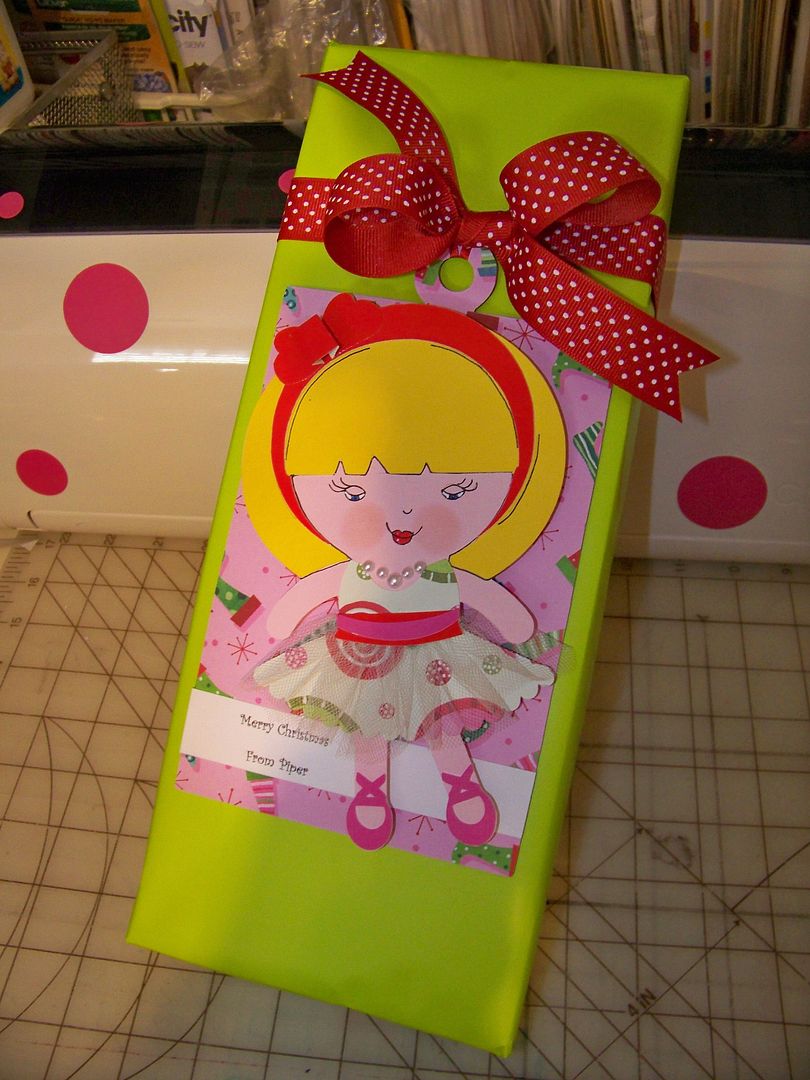
This gift was for a swap at my daughter's dance school Christmas Tea.  The character is from Twinkle Toes cut at 7".  The base is from George and Basic Shapes cut at 7-3/4".  I drew on the face.
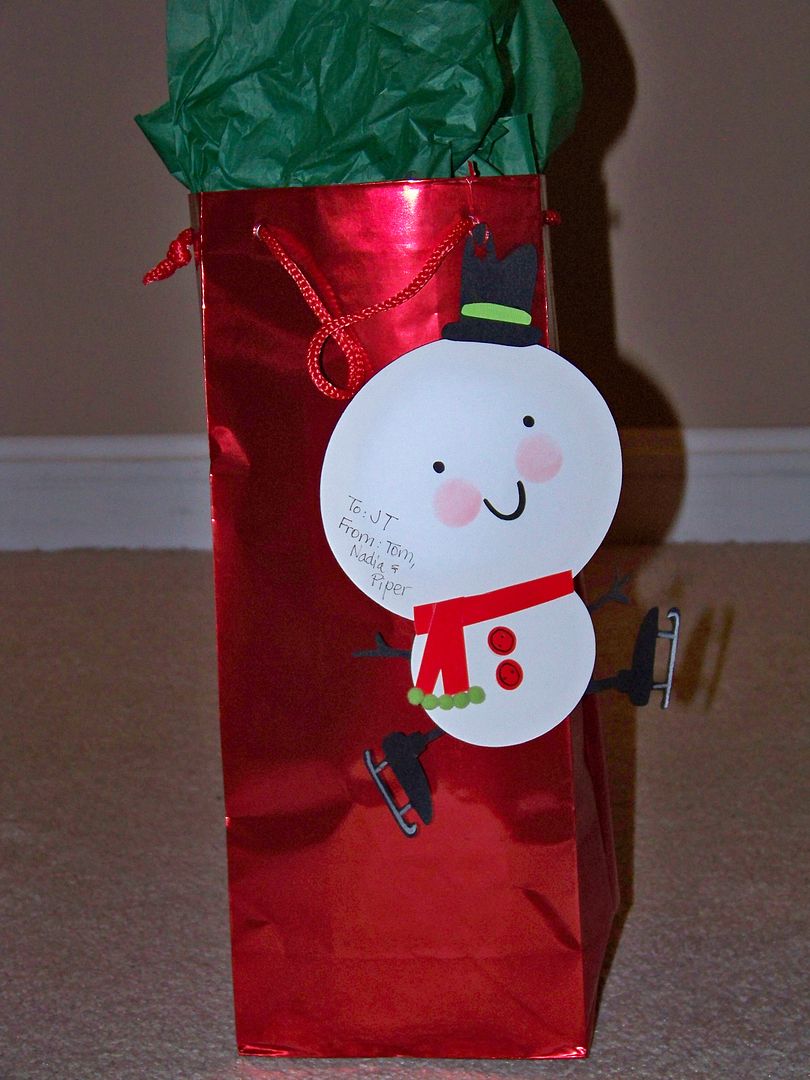
This snowman tag was cut from Jolly Holidays at 8". 
This tag was cut from Jolly Holidays at 3".  I drew on the face and details.
This is a candy dish I just found at a local department store.  This is a teacher gift.  I cut the snowman from Winter Frolic (page 31) at 4-3/4". 
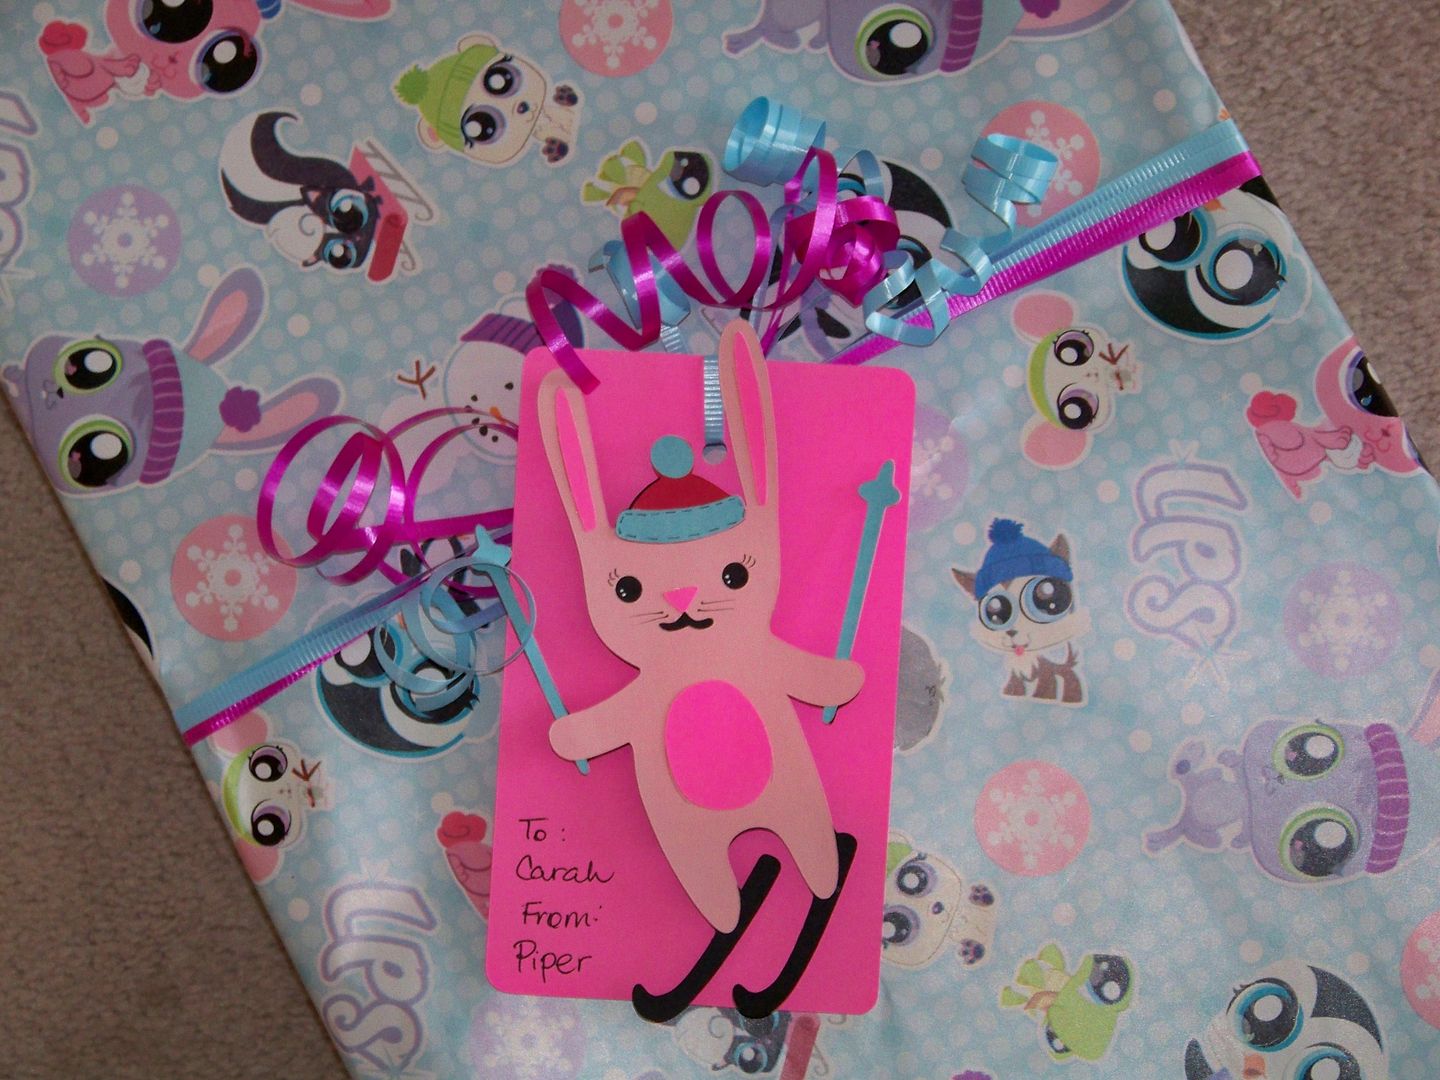
This ski bunny is from Winter Frolic (page 33), cut at 6".  The base is from the same cart and page, cut at 3-1/2". 
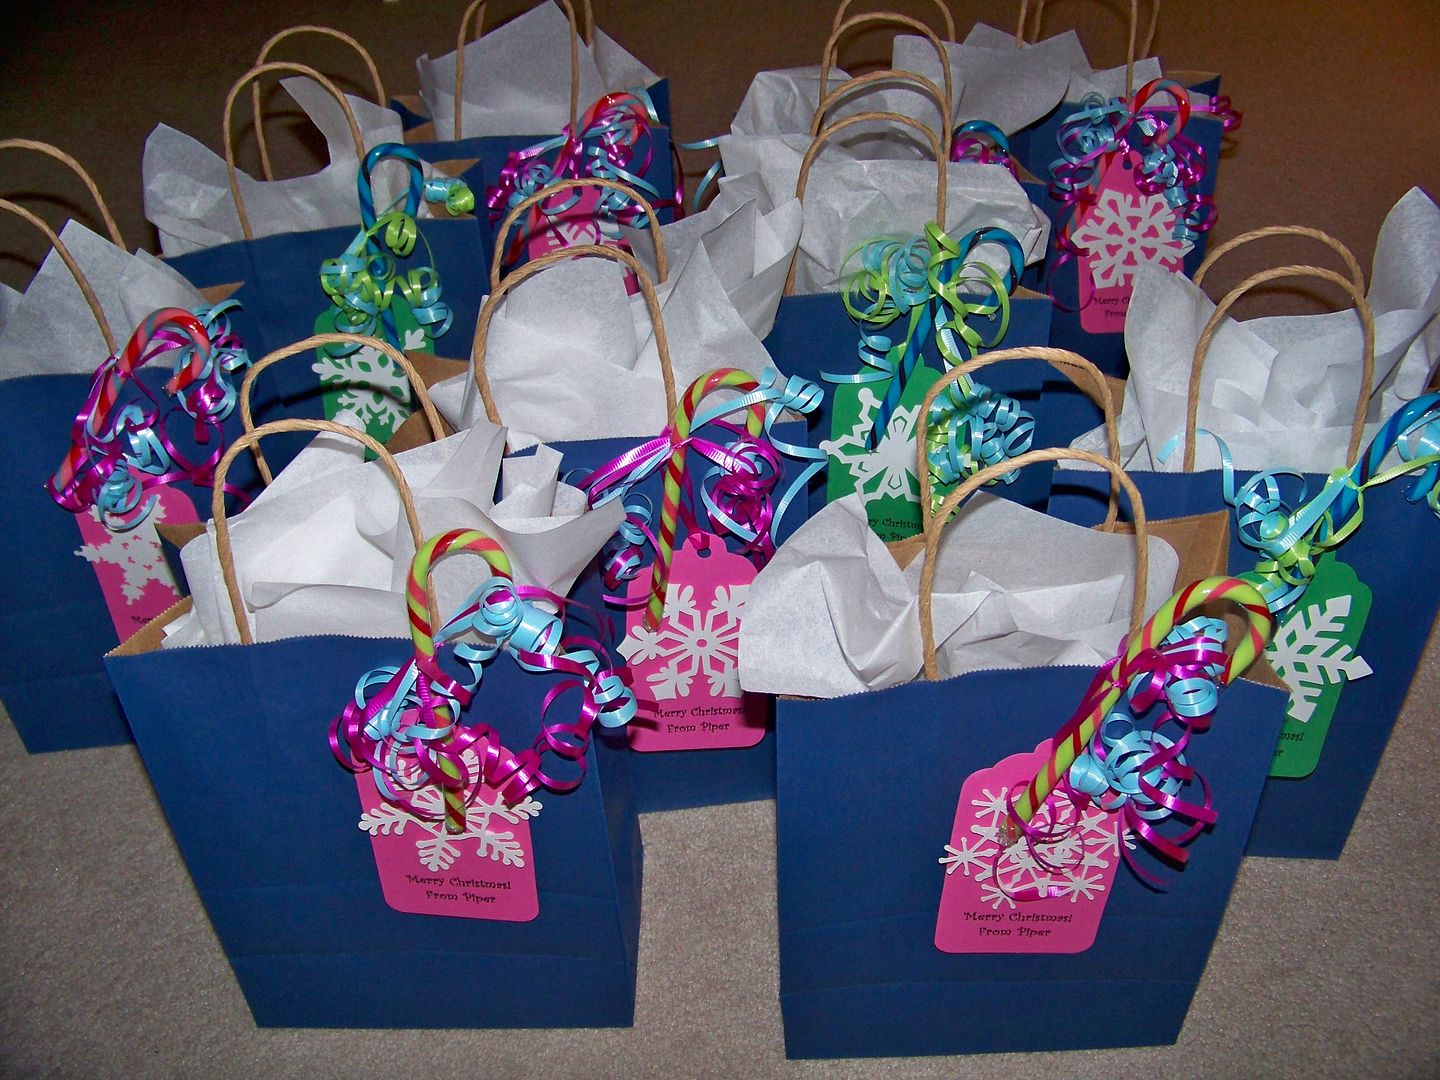
These are gifts for all the kids in my daughter's class.  These are bags I found at Deals packaged as 2/$1.  Who says blue and pink don't say "Merry Christmas"!?  They each have a unique snowflake, cut from Winter Lace at 3-1/2".  The base is cut from George and Basic Shapes at 5-1/2".  I found Jolly Rancher candy canes in fun colors and lots of great colors of curling ribbon for $2 at Walmart.
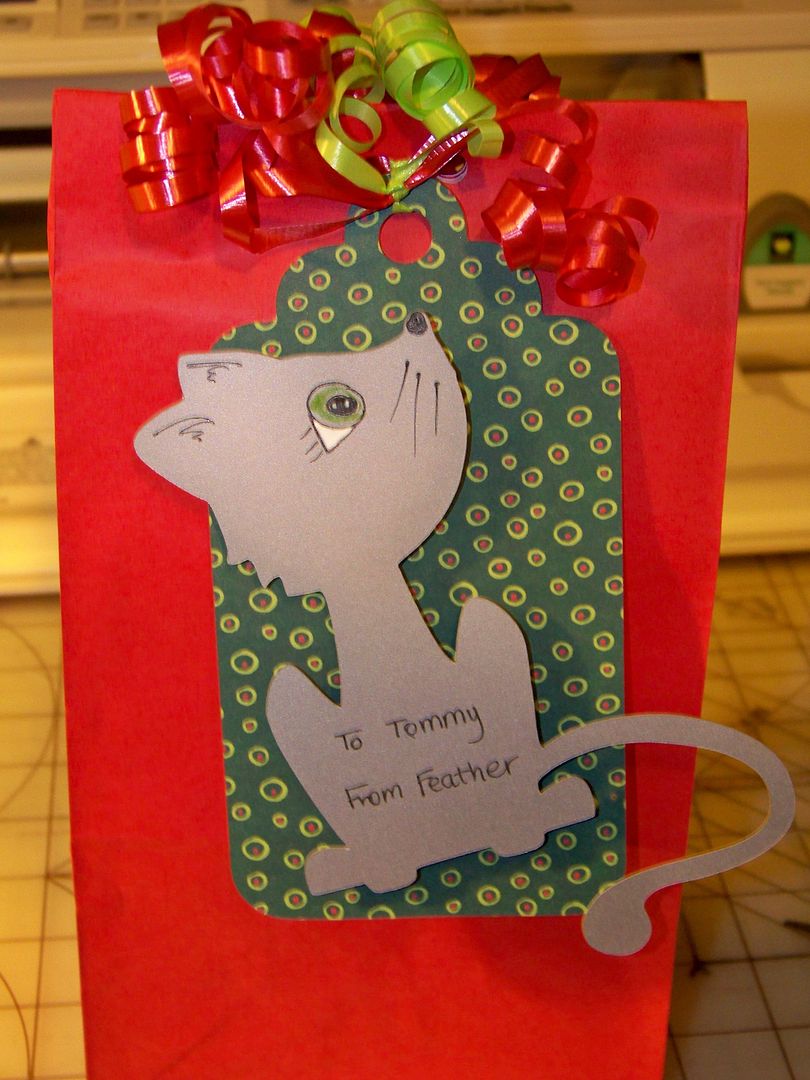
This is a gift from our cat!  I used Four Legged Friends (cut without the layers and simply hand-detailed) at 5-1/2".  I used a tag from George that I had on hand.
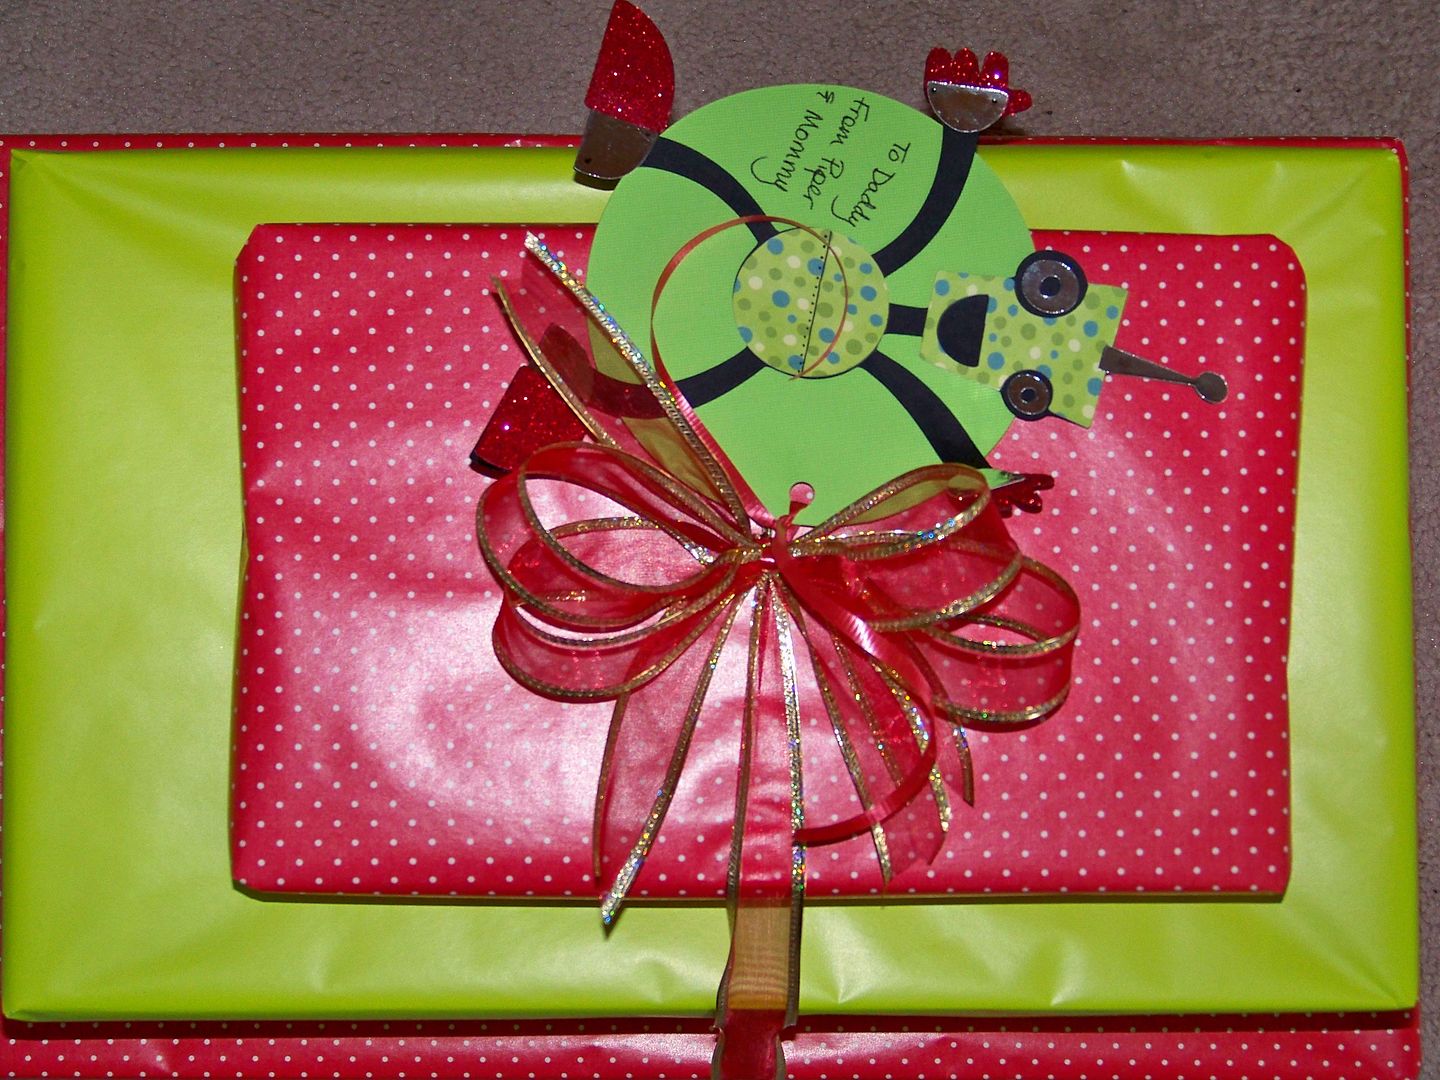
Christmas robot?  Yes, if the recipient is a toy robot collector!  This tag is cut from Robotz at 7".  The circle base is from George and Basic Shapes, cut at 4-1/2".  

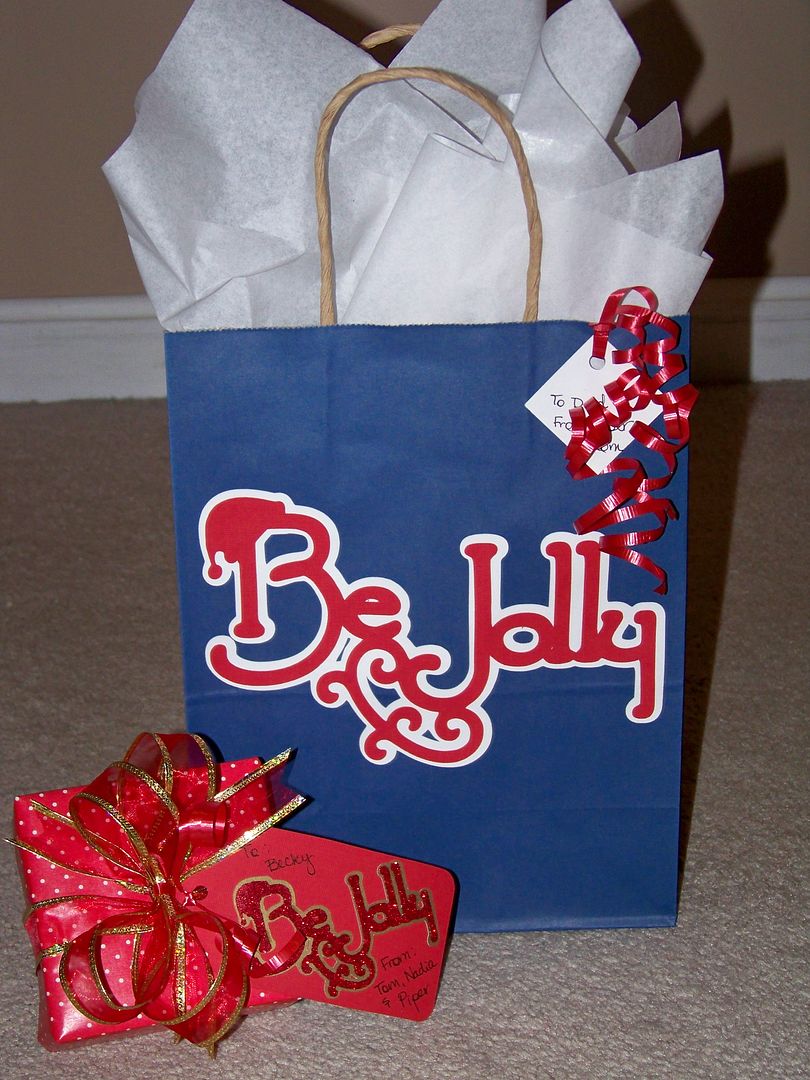
Both 'Be Jolly' tags were cut from 3 Birds on Parade at 2" and 4-1/2" respectively.  The base for the small tag is from George, cut at 4-1/2". 
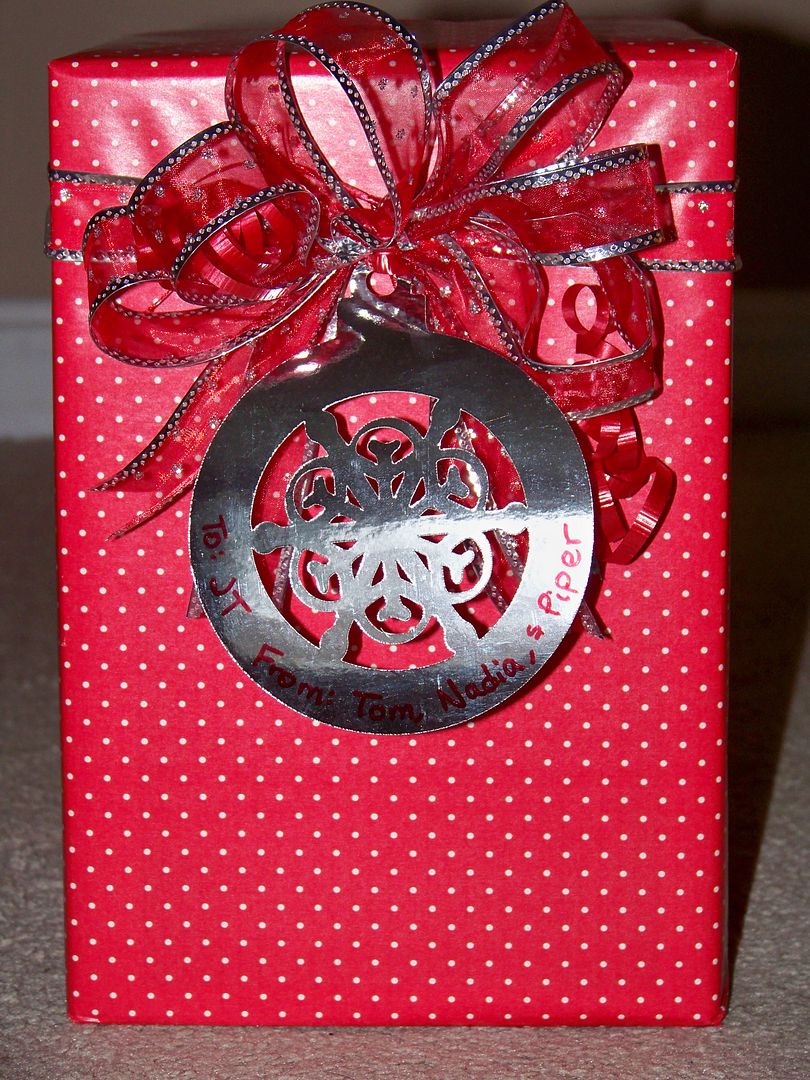
This ornament tag was cut from Joys of the Season (page 61) at 4-1/2". 
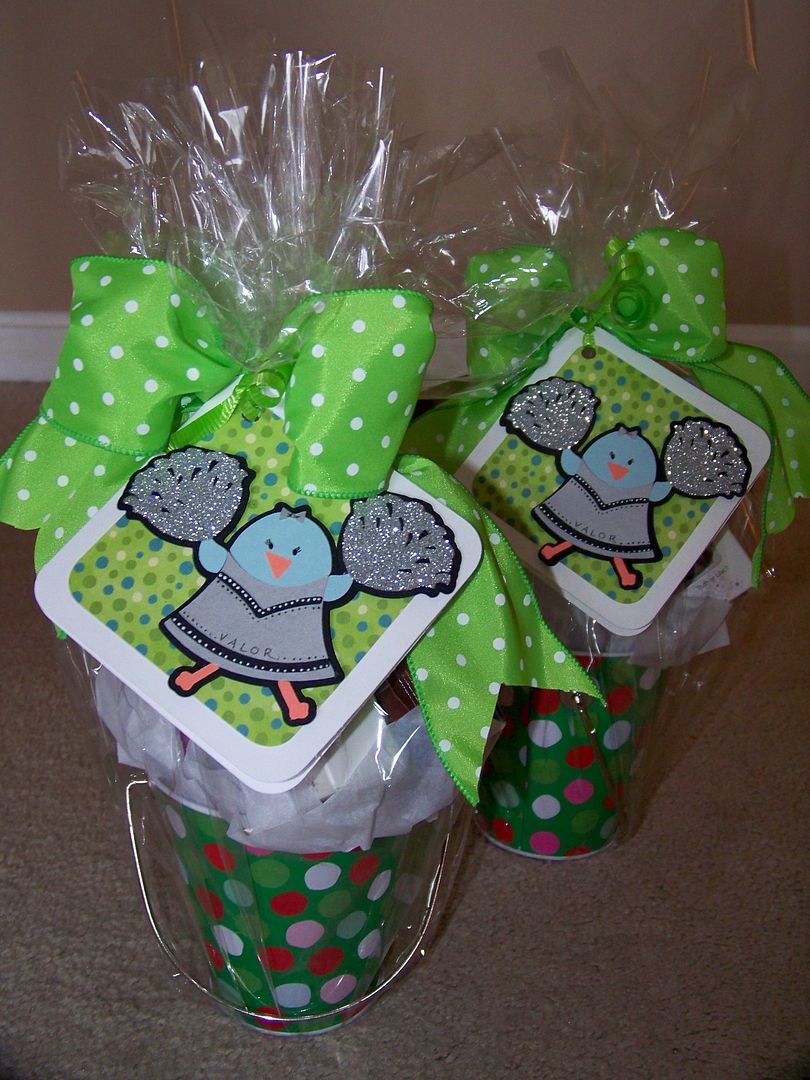
More of those Walmart buckets!  These are for the cheerleading coaches.  The tags were cut from Going Places at 4".  It makes a little card, perfect for a little message inside!  The cheering bird was cut from 3 Birds on Parade at 3".  The poms were put through my Xyron and glittered. 
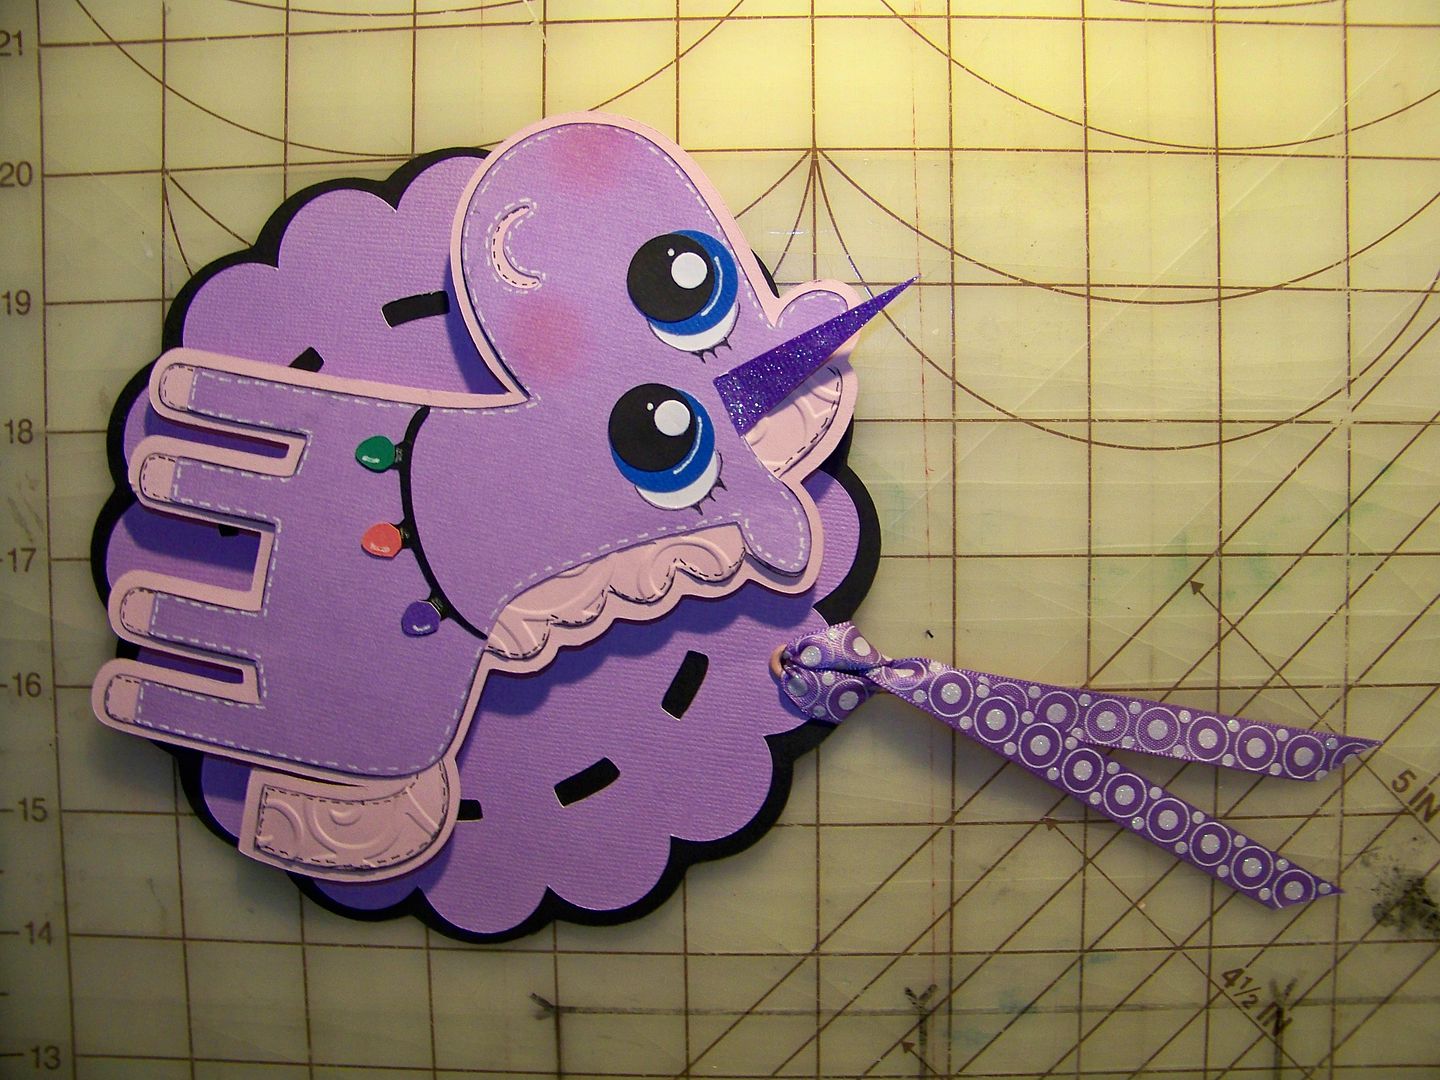
I created a couple of tags to go with the Littlest Pet Shop paper I found.  My daughter calls these "big-eyed creatures".  I used 5/8" and 3/4" punches to alter the eyes.  The unicorn was cut from Create-A-Critter at 5" (page 59).    The lights are from the same cart (page 73), cut at 2-3/4".  I detailed with a Sakura Jelly Roll pen, Zig Millenium 01 pen, and gold gel ink.  The base was cut from Mini Monograms (real dial size 5-1/2" stitched and 6" for shadow). 
The penguin was also altered from Create-A-Critter at 5".  I found a fun photo clip as a tag holder. 

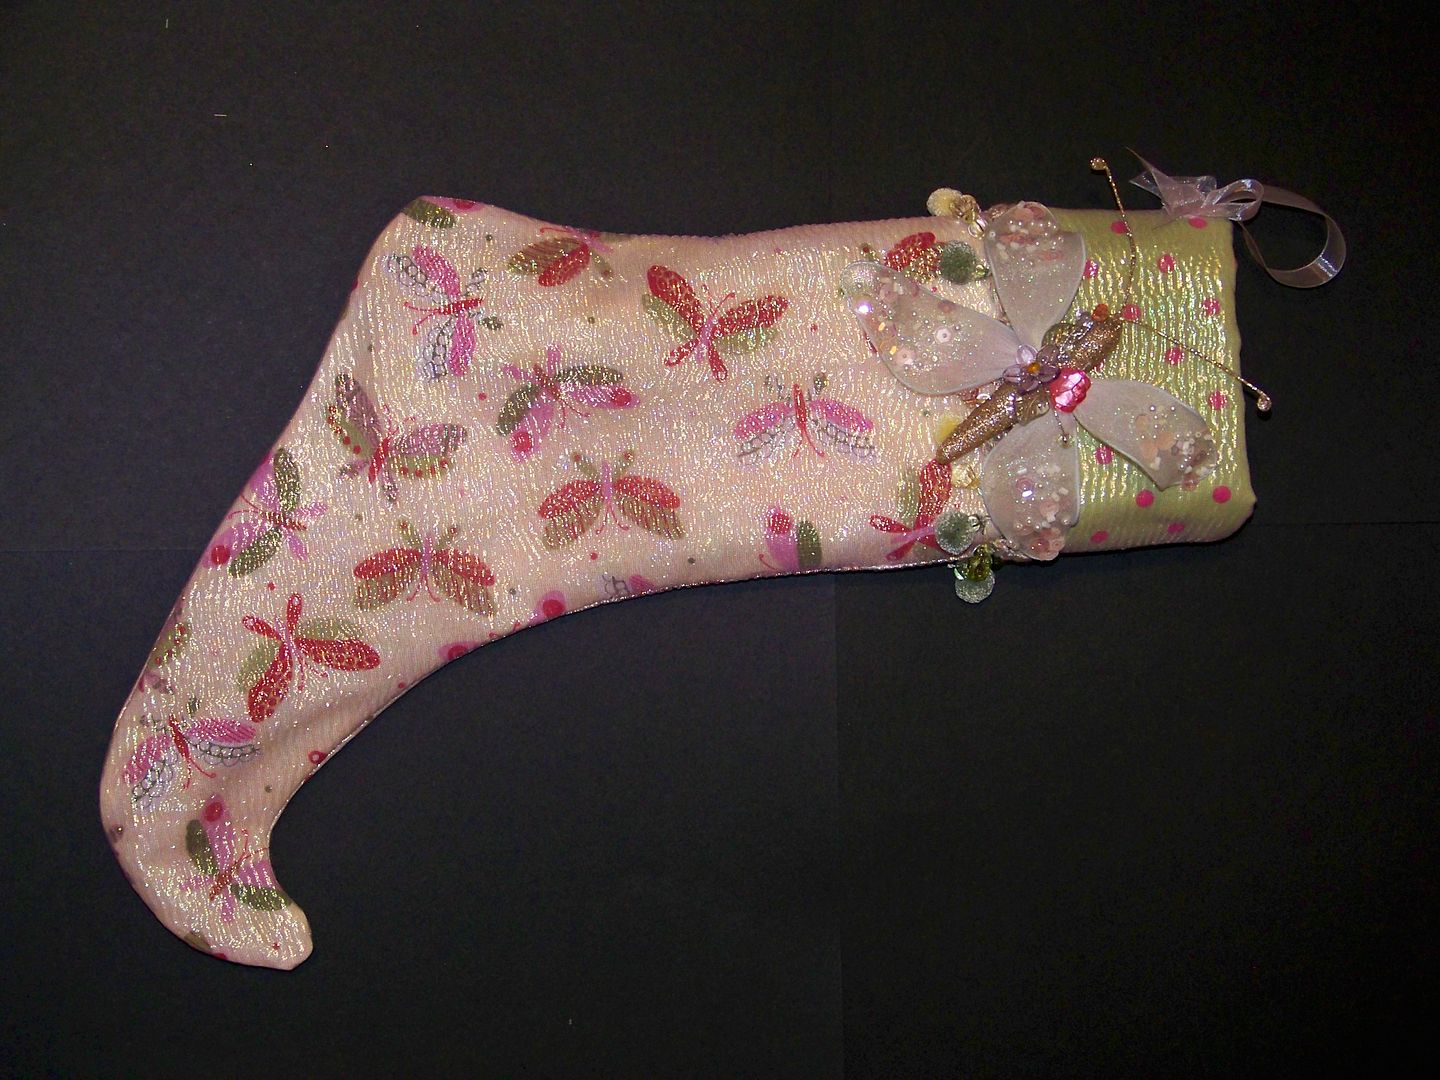
In addition to paper wrapping, I love to make stockings as a gift wrap.  This year, I only made one.  It was for a Circle message board swap.  One of my favorite ways to add sparkle to sewing projects is to add a sparkly, sheer overlay to my base fabric. 


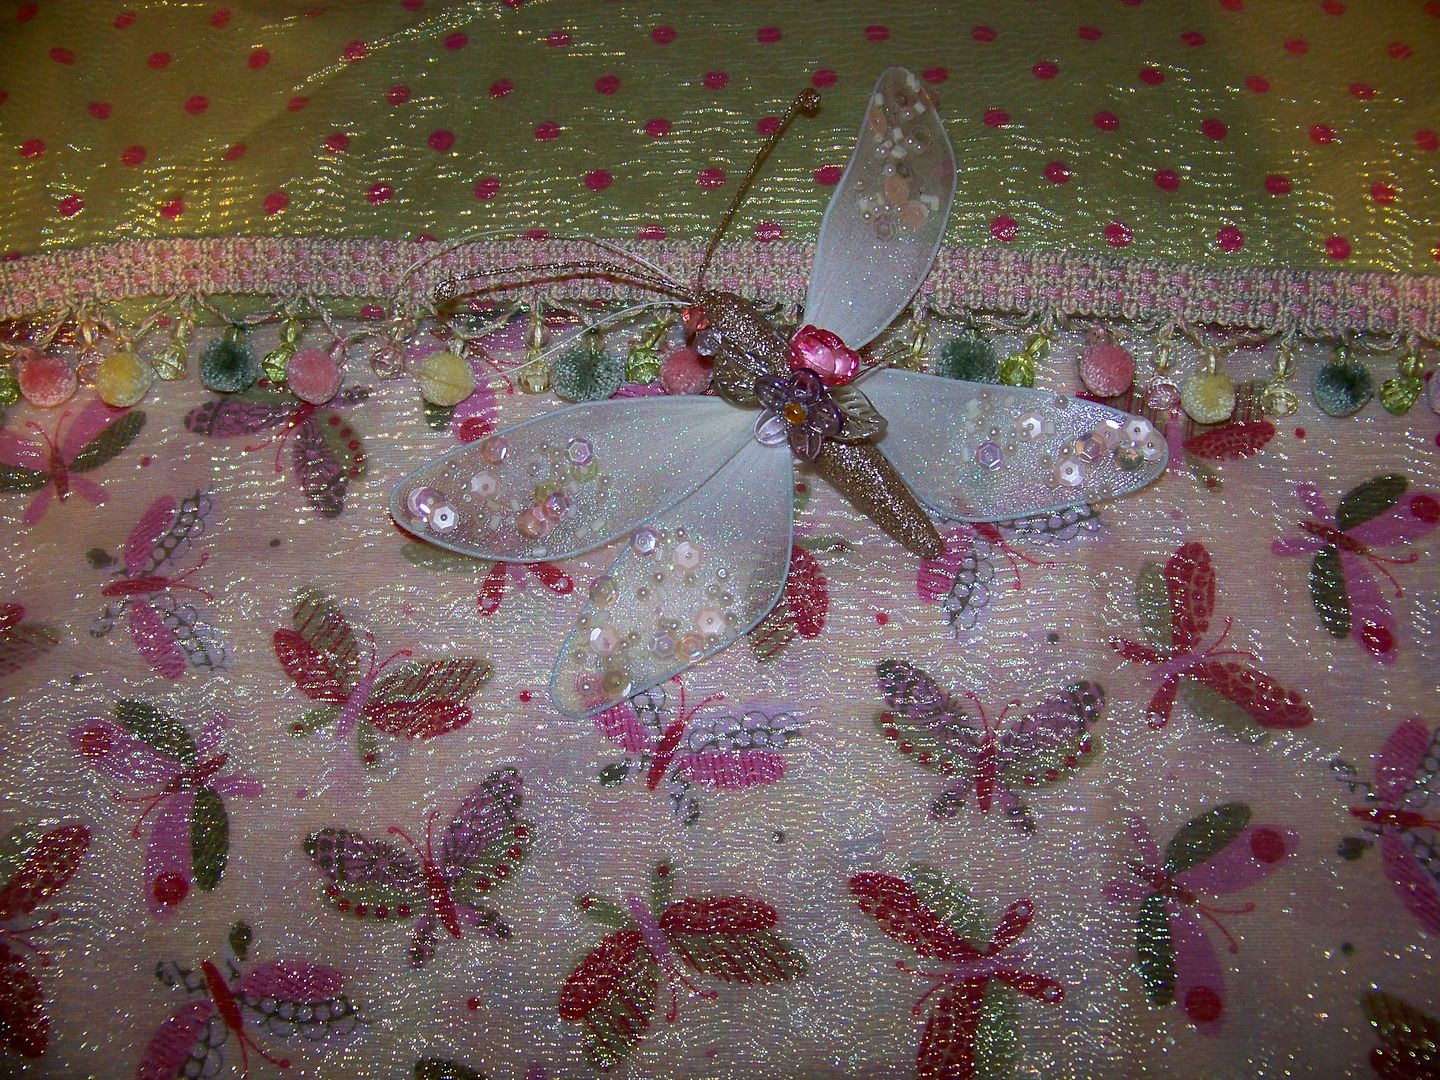
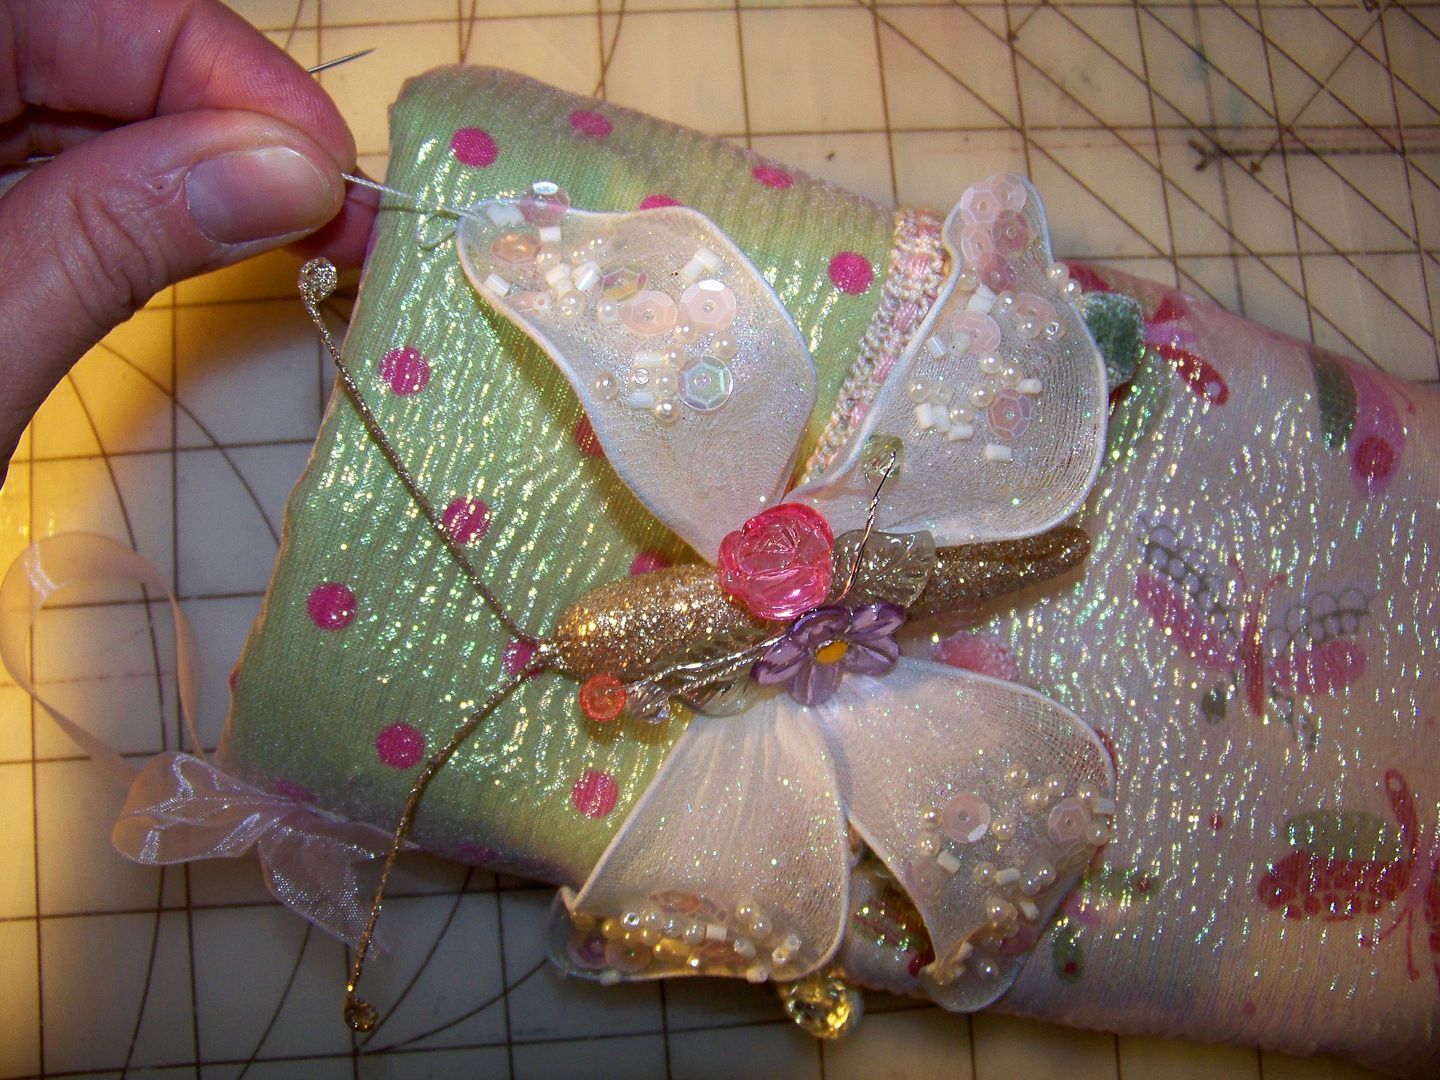
Using this technique, I was able to match the butterfly ornament that would be my stocking embellishment.  This was a purchased ornament that I loved.  
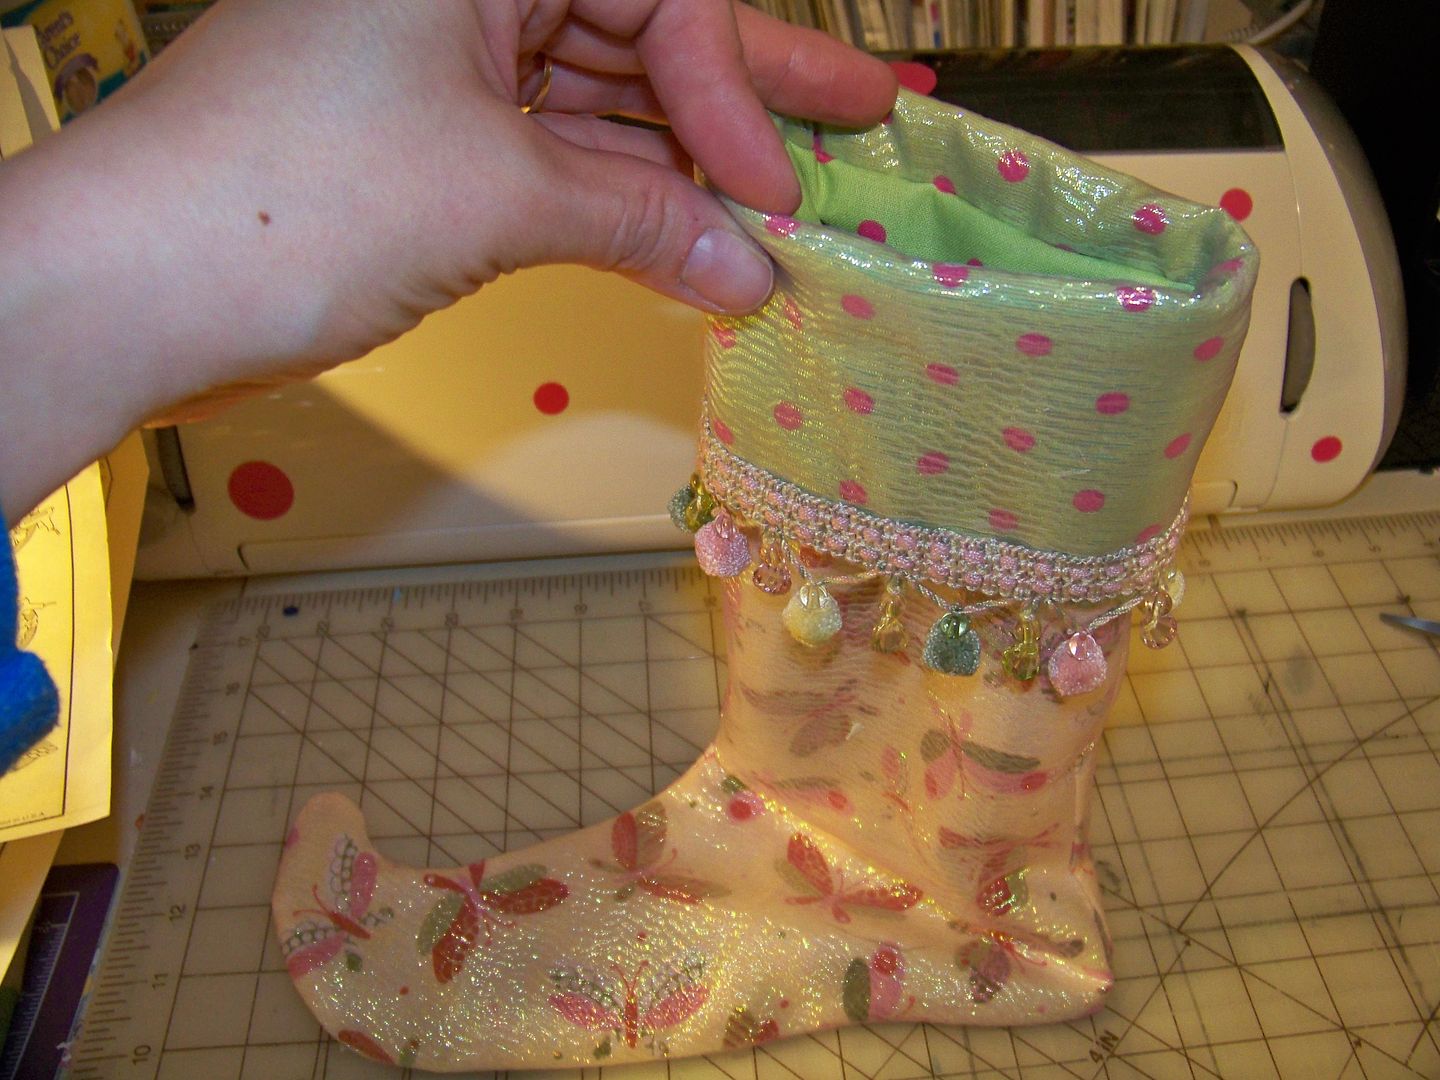
This stocking was made for someone who has a connection to the symbol of butterflies, so I knew I would be using that image all over this stocking!  I had a fun polka dot to use for the cuff and lining.  I found a trim that blended with the other materials.

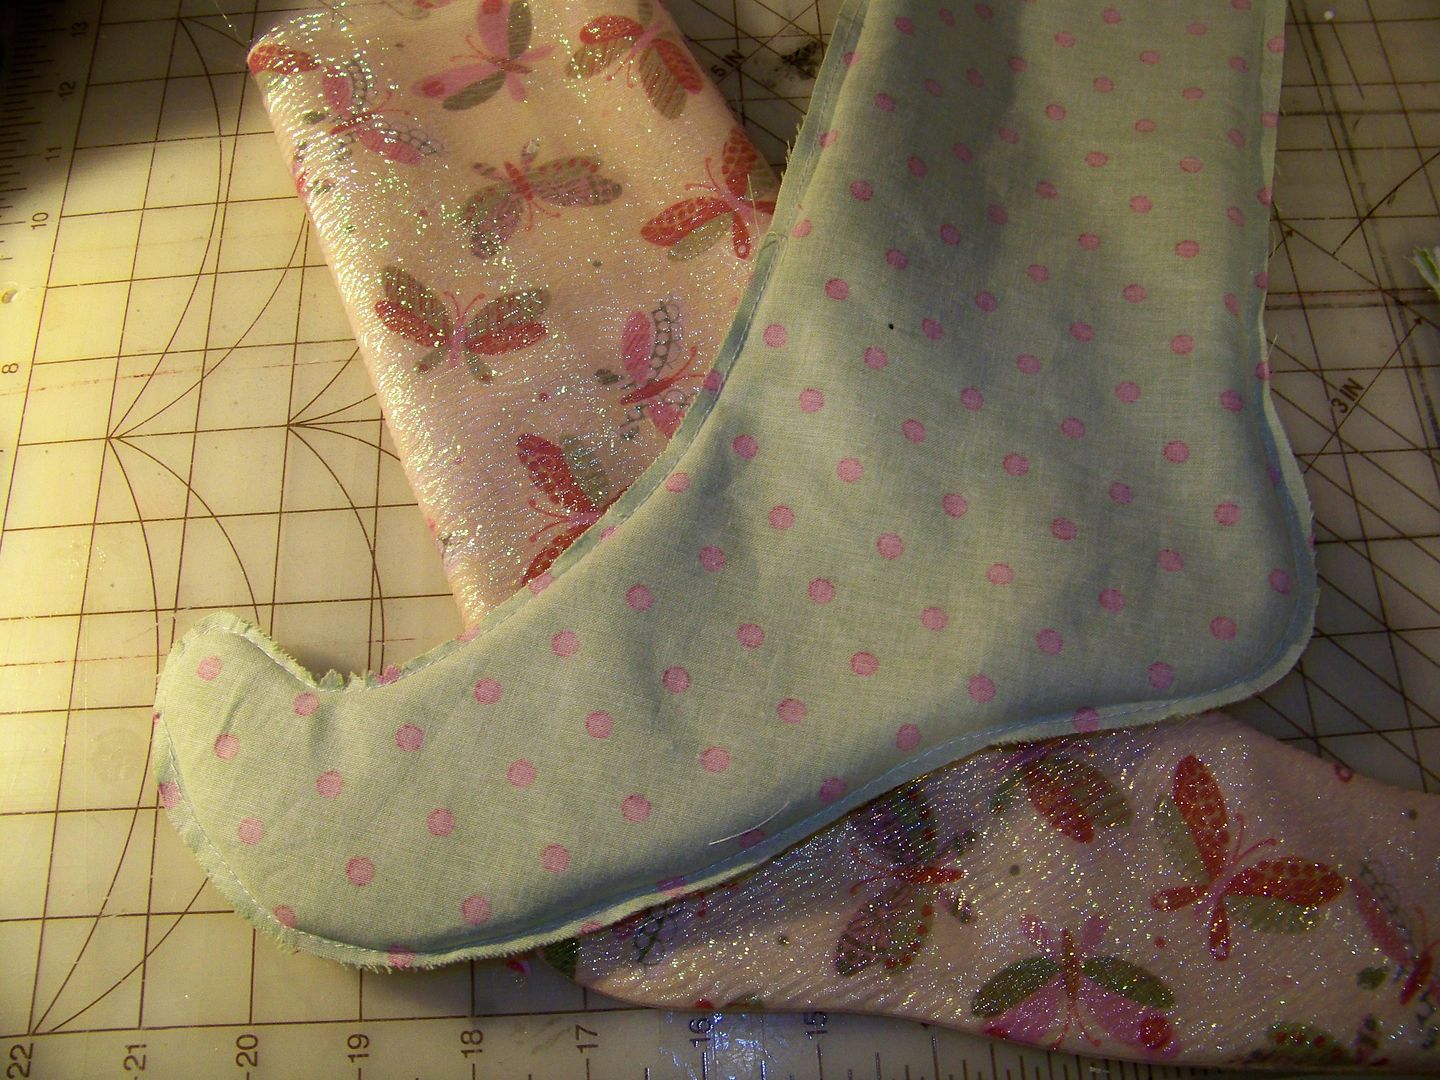
I have a favorite stocking pattern that I use every year, over and over again, but any stocking will do and making your own pattern can be as easy as tracing a stocking you already have and adding seam allowance.  My stocking pattern has a curled up toe and a cuff.  I love those features!

When cutting out, I simply cut duplicate pieces of the sheer.  I sandwich them with the base fabrics and stitch them all together.  I also use a felt or batting in the cuff to give it body.  You can simply interface that area, but I like the loft!.
Simply stitch around your stocking and trim all seams.  For the cuff, I cut it so there is only one seam.  I cut a decorative cuff (with the sheer overlay) and a facing.  The facing is not necessary if you will be stitching your cuff down in place.
I like lined stockings.  The person who receives a stocking tends to really examine it to get out all of the goodies, so I like it to be finished on the inside!  Simply cut and trim using the same pattern piece you used for the outer stocking.  I tend to turn it and press and then turn it back so the right side is on the inside, but turning is not necessary!
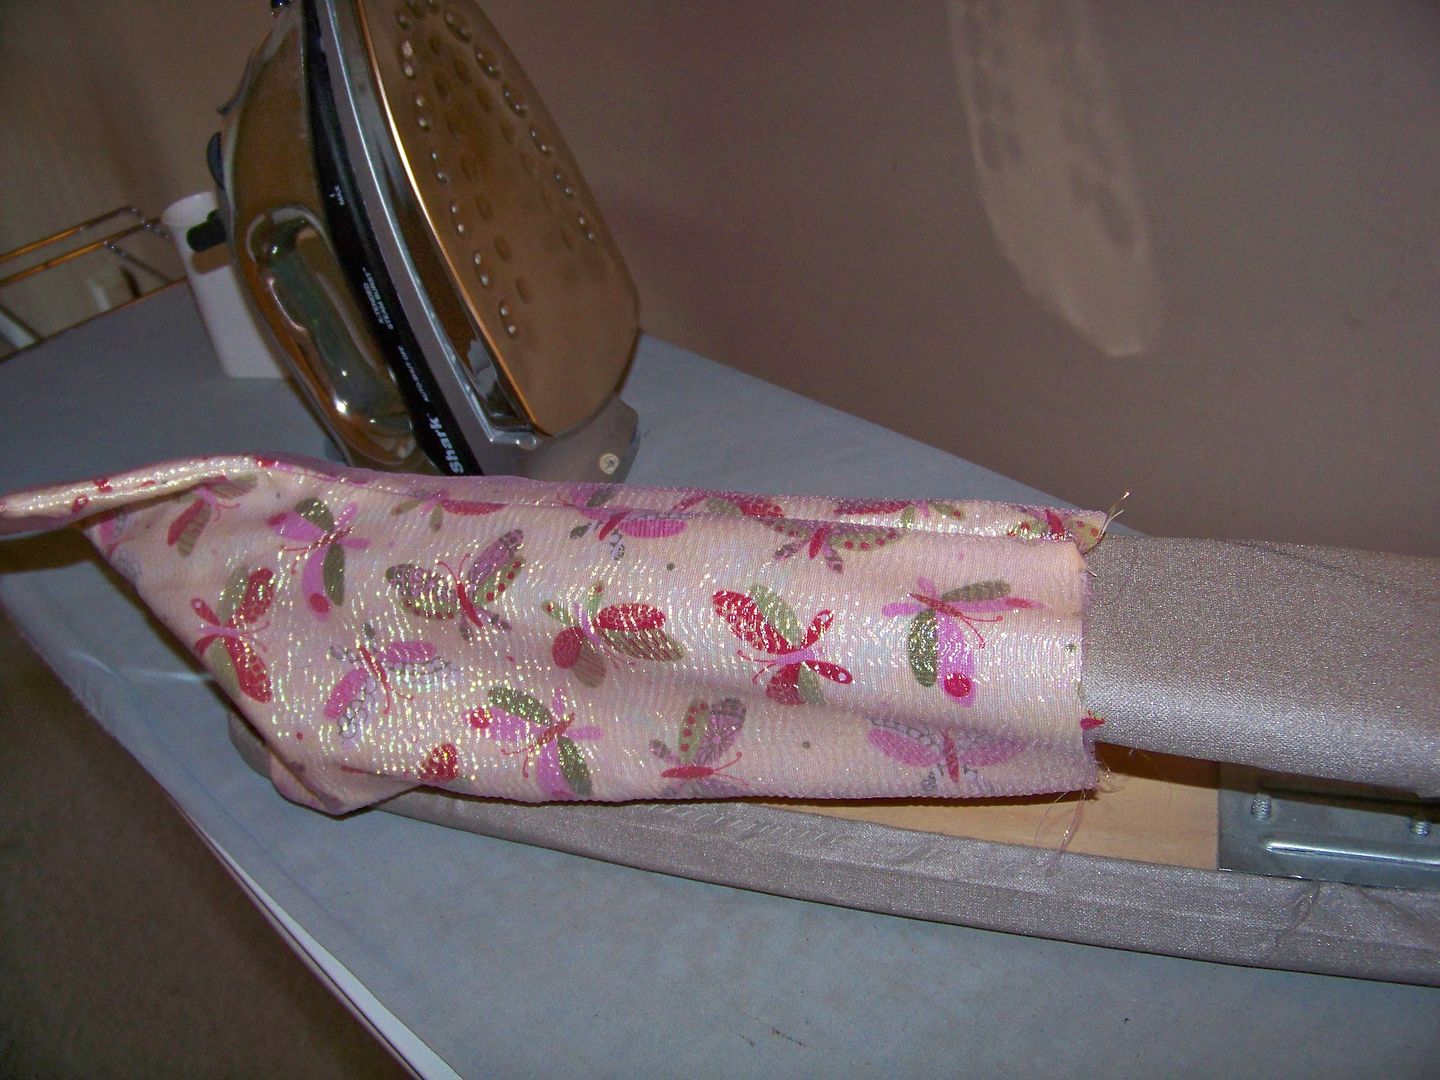
When pressing your stocking, press open the side seams using a sleeve board.  I press the toe end flat!
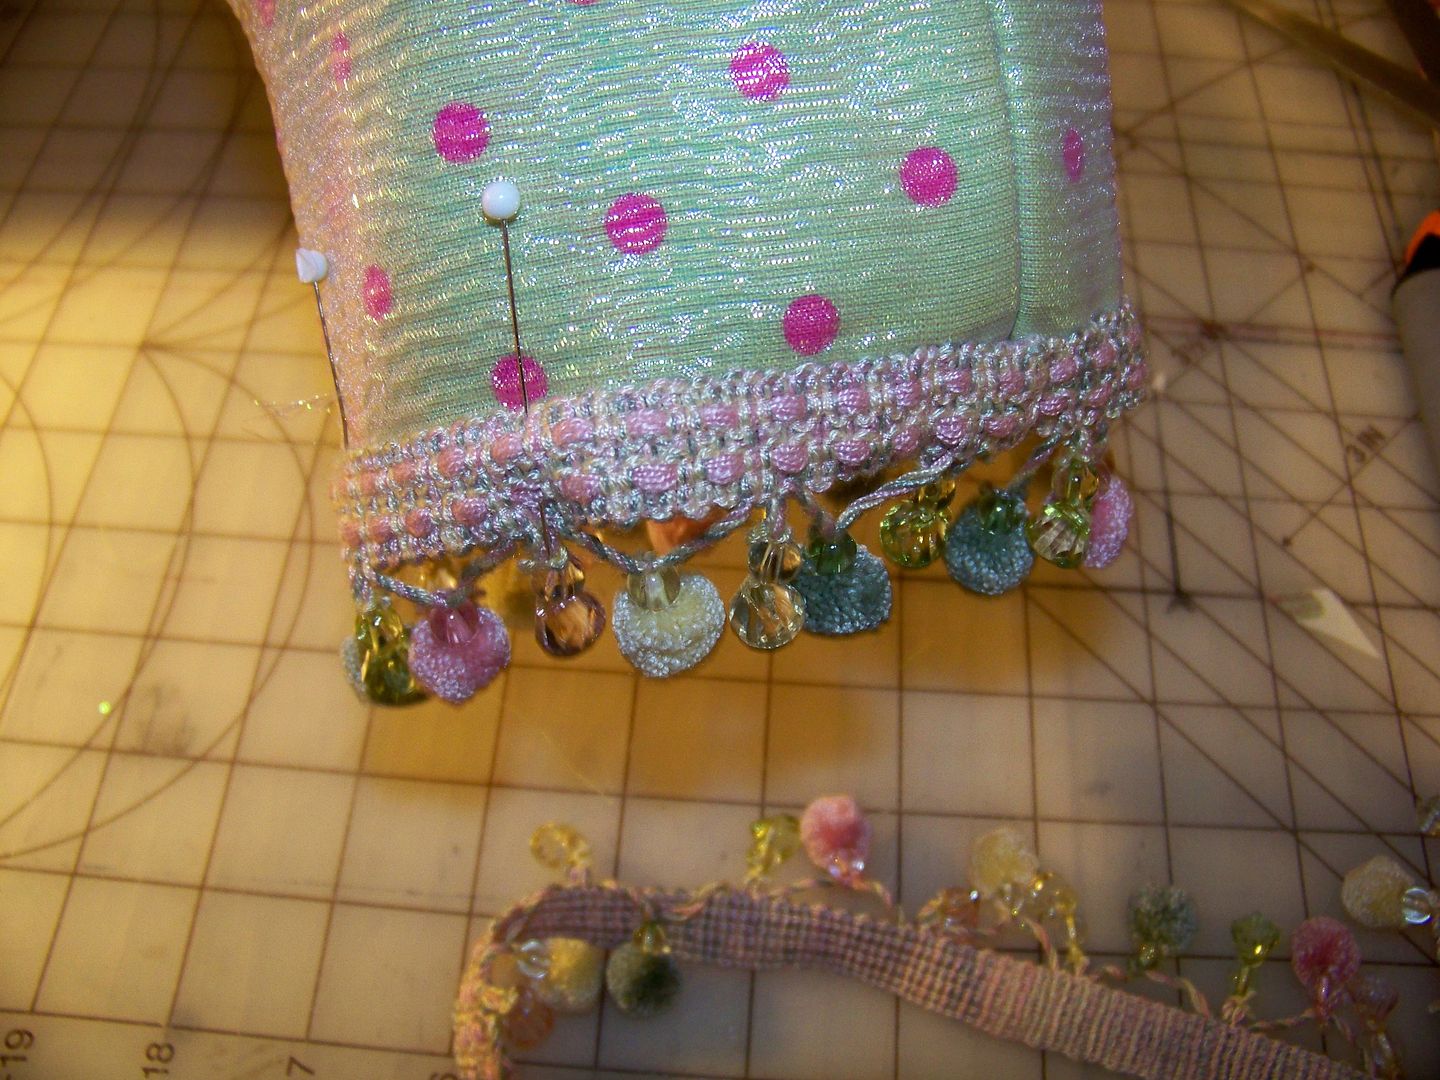
The cuff is next!  Separately, sew the side seams of the decorative cuff and cuff facing (if you are sewing a facing).  Then, place them right sides together and stitch the upper edge to join them.  This is the edge that will get turned down and embellished.  Turn so the right sides are out and press the seam flat.  I stitch on the decorative trim at this point.
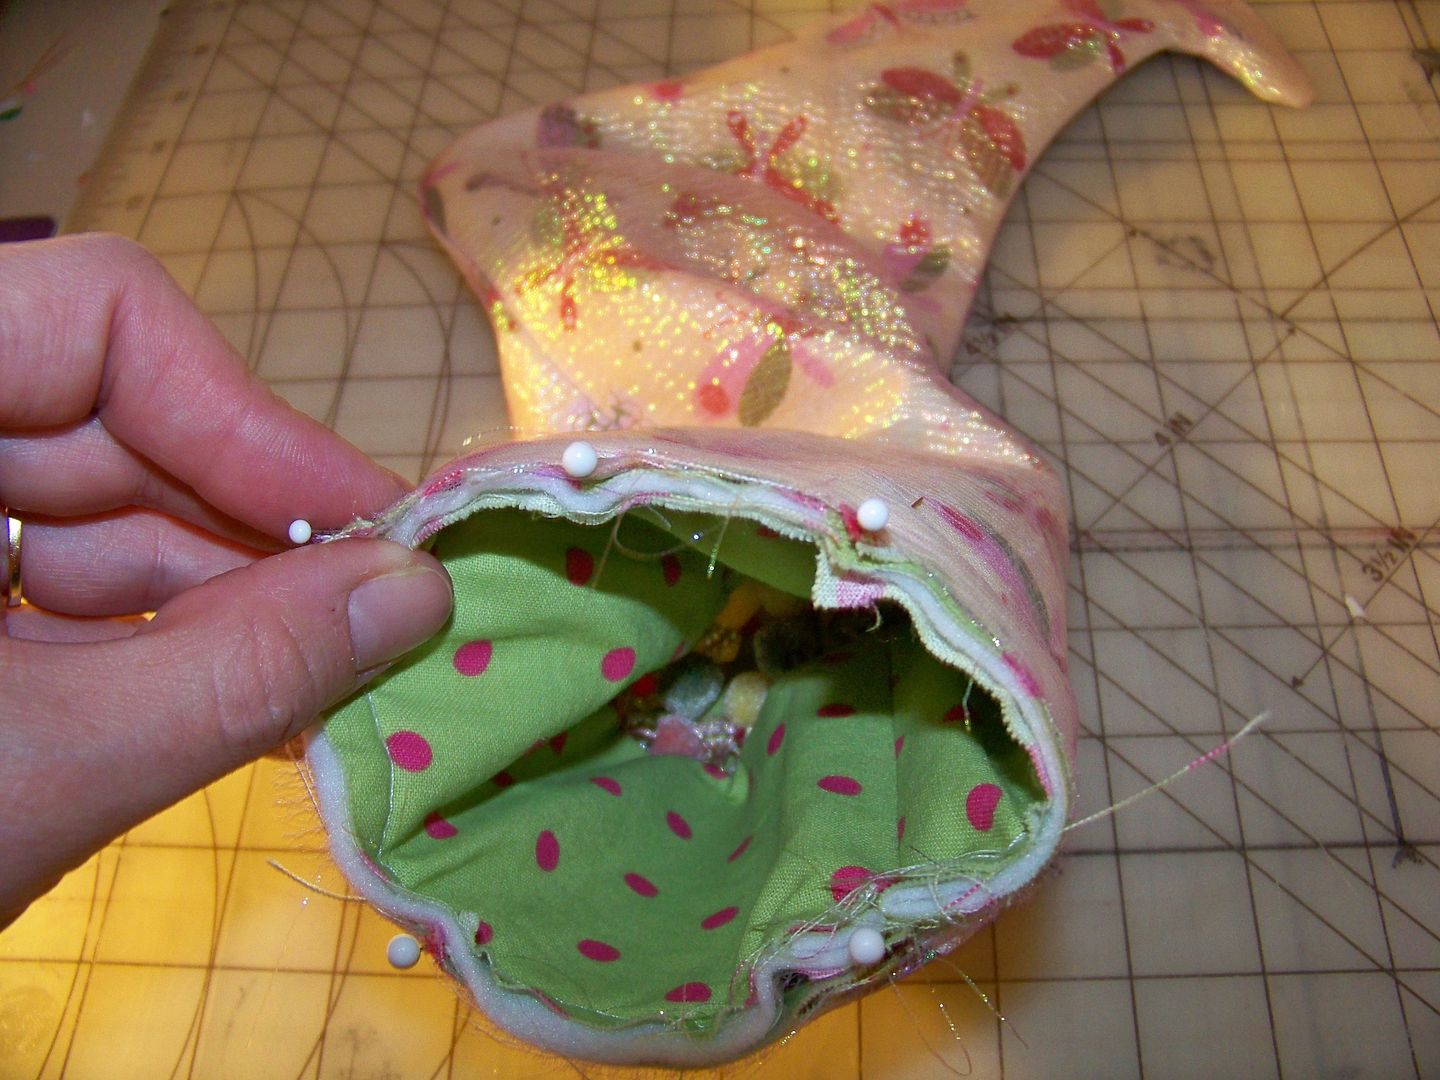
Next, stuff the cuff into the stocking.  The right side of the cuff is next to the lining of the stocking with all raw edges even.
When you look into the stocking at this point in the construction, you see the facing side of the cuff inside the stocking.  Stitch the top seam.  Trim the raw edges to about 1/4".  Turn your cuff out.


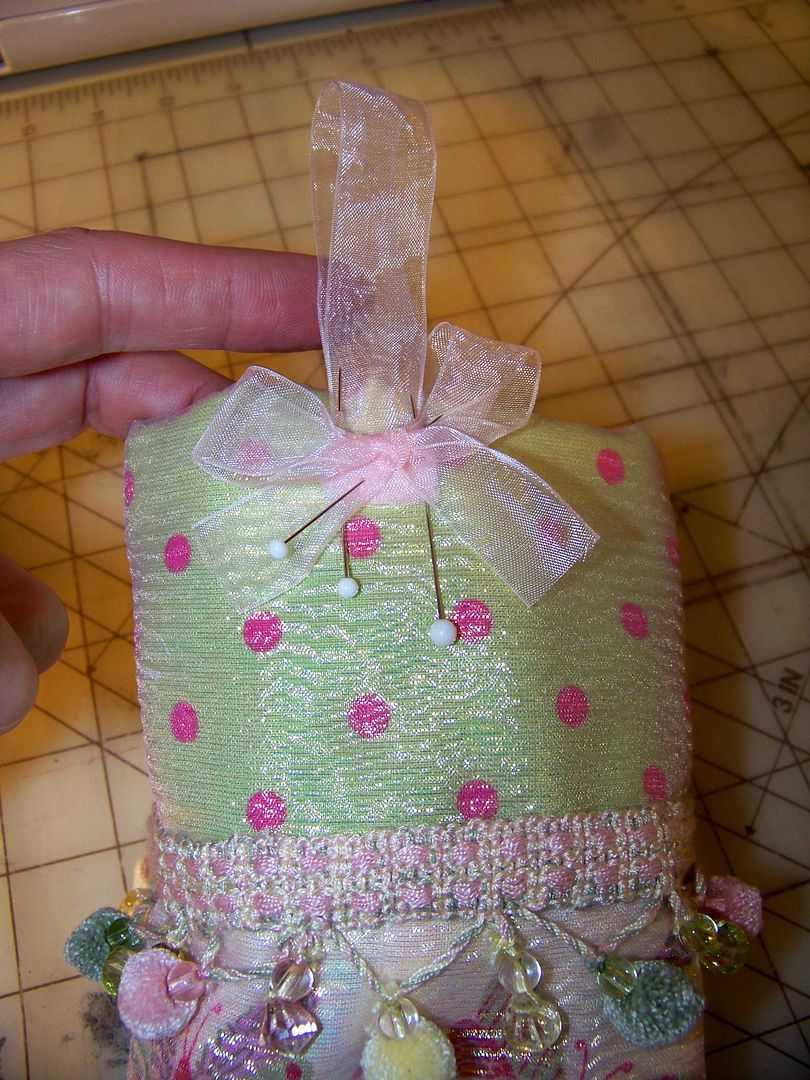
I add a decorative hanger to the outside of the stocking.  I like this organza ribbon with the other material choices!  I hand-stitch this in place.  I also tack down the cuff.
I tack on the ornament with a few hand stitches.


Thank you for looking at my gift wrappings!  I hope you are having fun purchasing gifts and making some too!

But wait! There's more! Click 'older posts' above!

But wait!  There's more!  Click 'older posts' above!