Pin It
My daughter, Piper is eight-years-old this week! She says she is now too old for princesses, fairies, and other past themes we have used for her birthday parties. This year she wanted owls for her theme. I will admit this came out of left field for me but I was perfectly happy because the owl image is on tons of Cricut cartridges that I own and I have seen lots of ideas on Pinterest for those little critters. Pinterest is, in fact, where I started by pinning things onto an owl idea board.
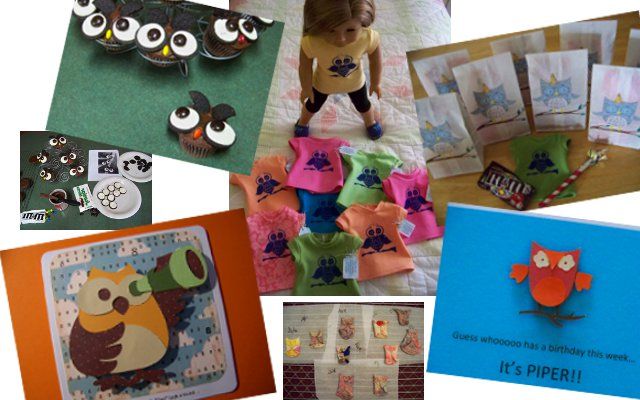
I had a hoot making our party elements! (pun intended of course!) Read below for the crafty details and source info for our:
- invitations
- favor bags
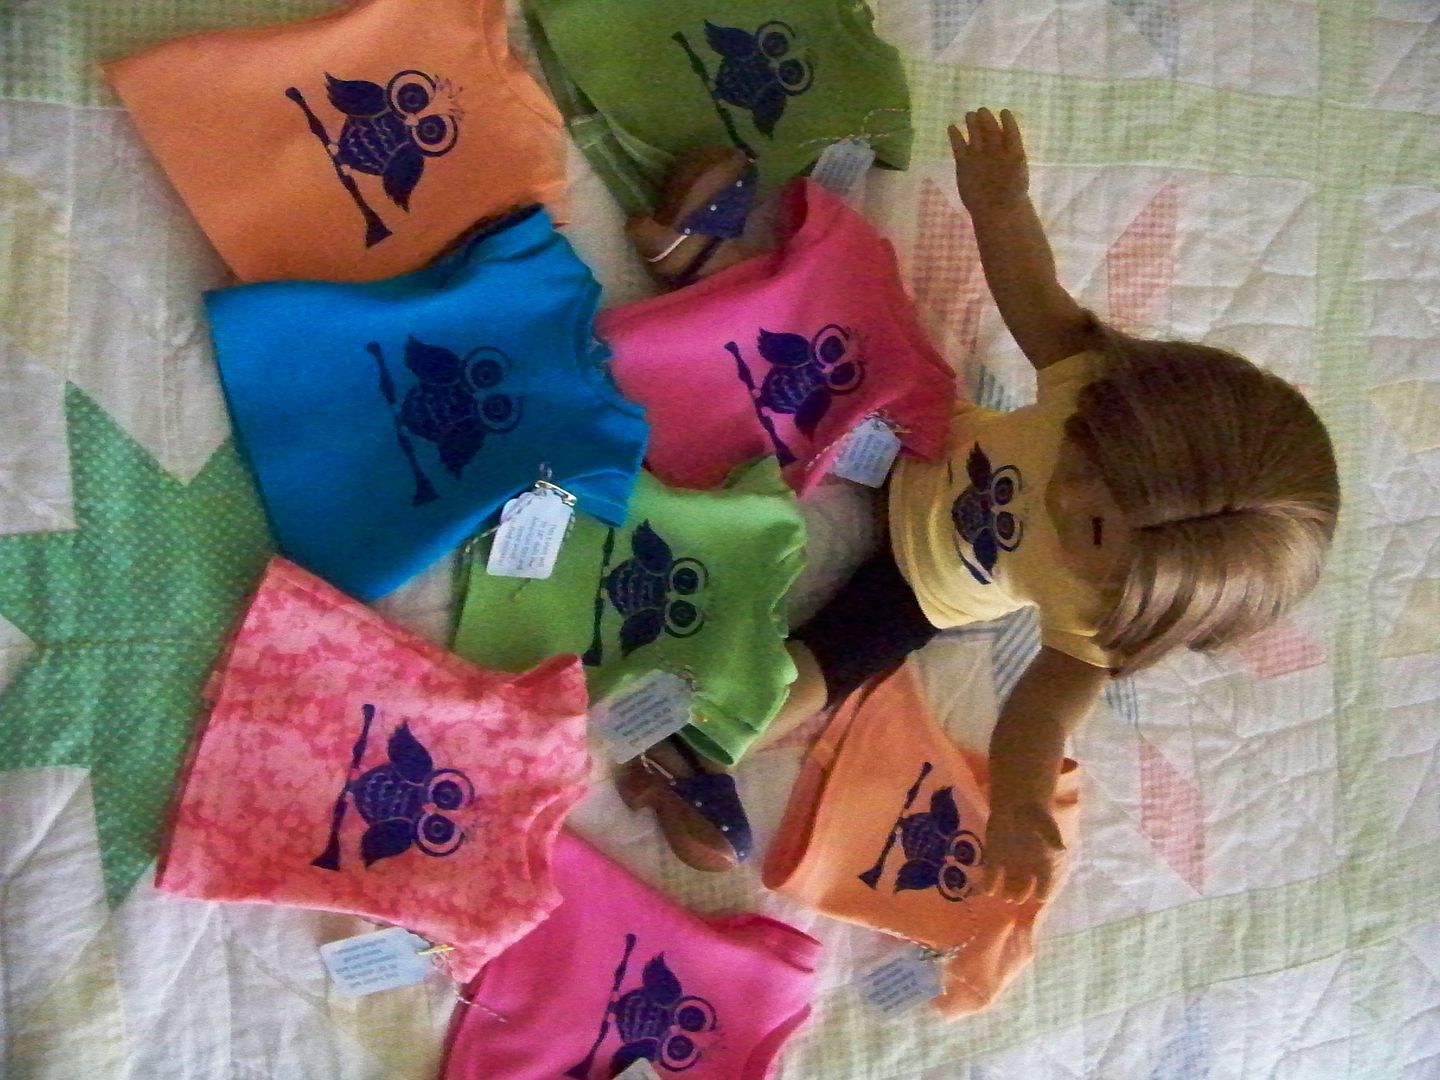
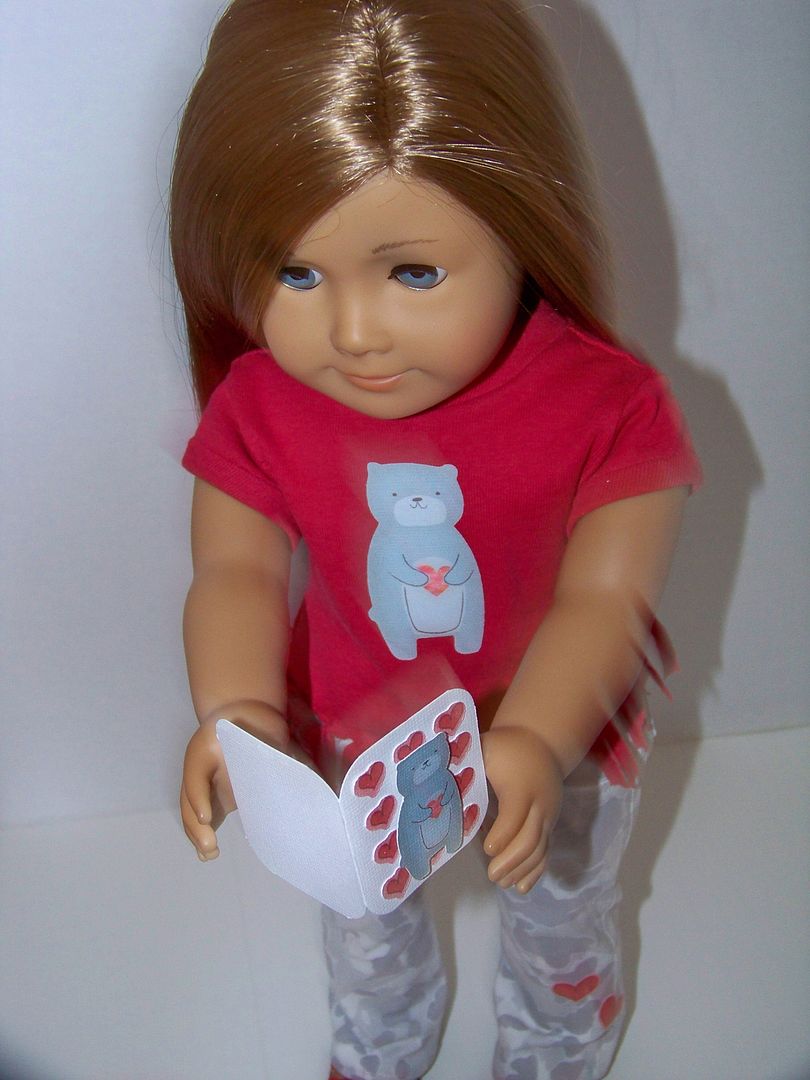
- doll t-shirt favors
- clay owl party craft
- owl cupcakes
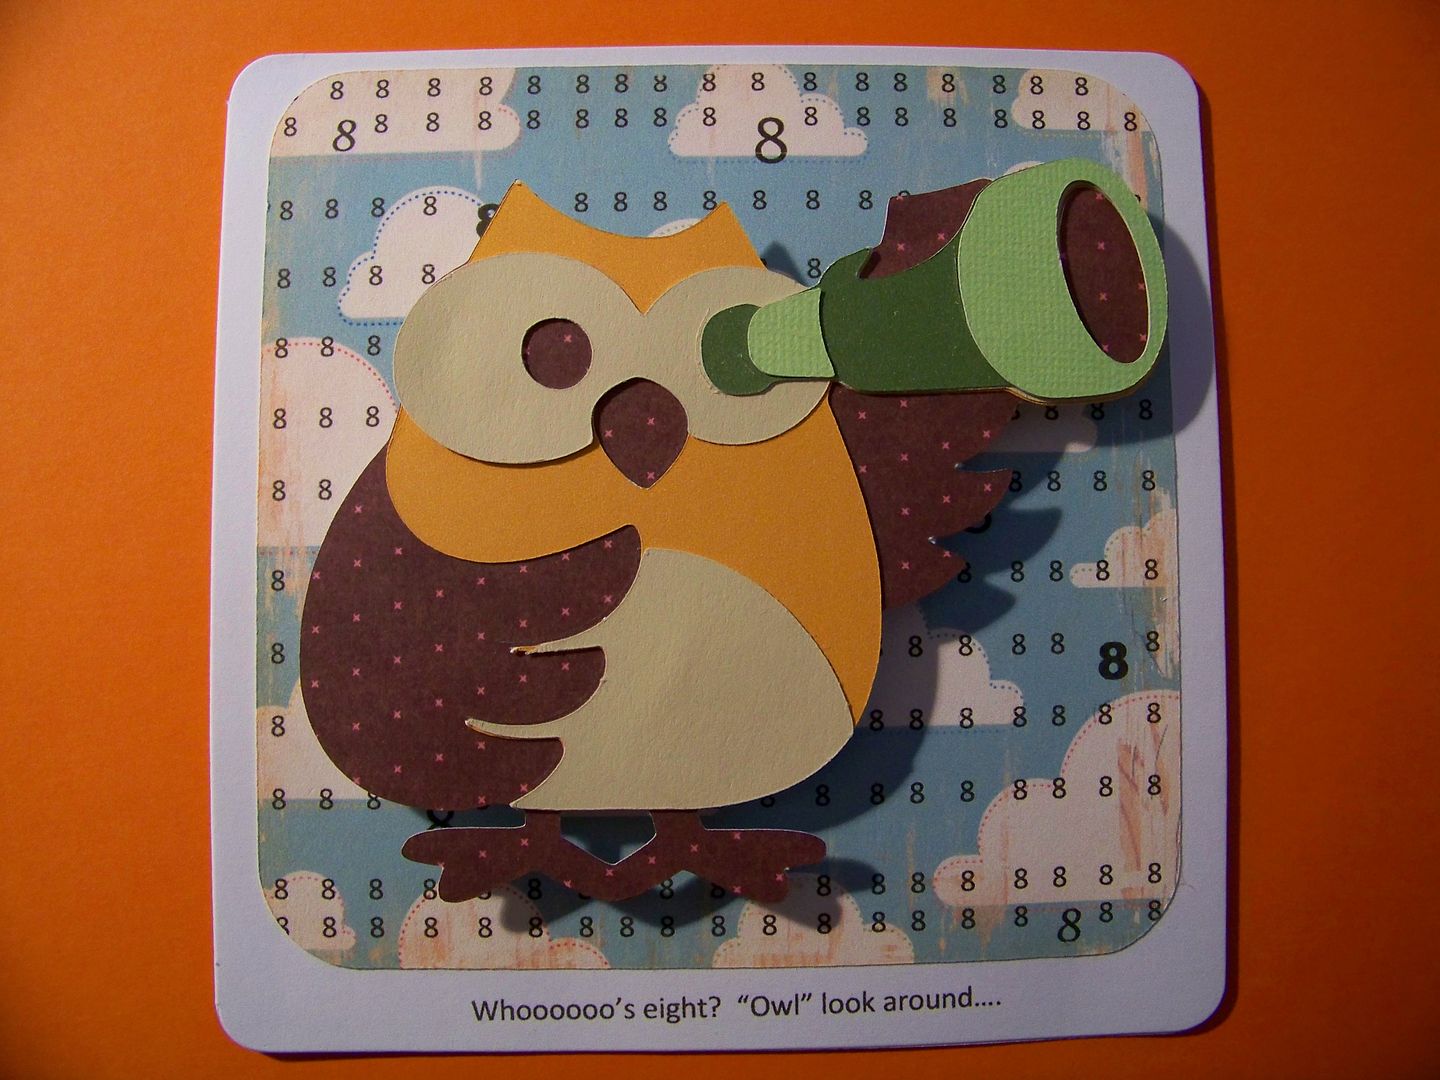
- birthday card
Invitations:
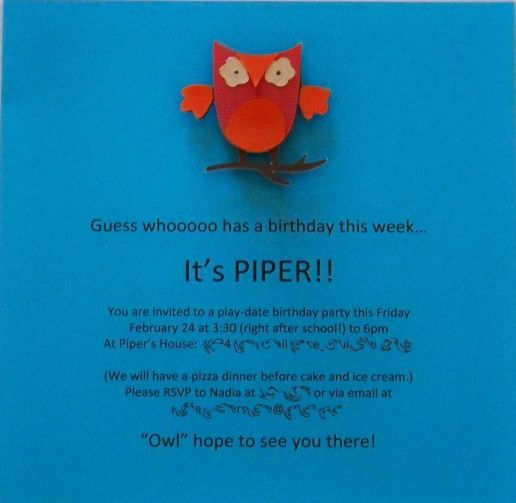
6"x6" cardstock with text from my computer and an owl from Give A Hoot, cut on the Cricut Expression at 1.75". The owl is popped up with 1/4" popdots.
Favor Bags:
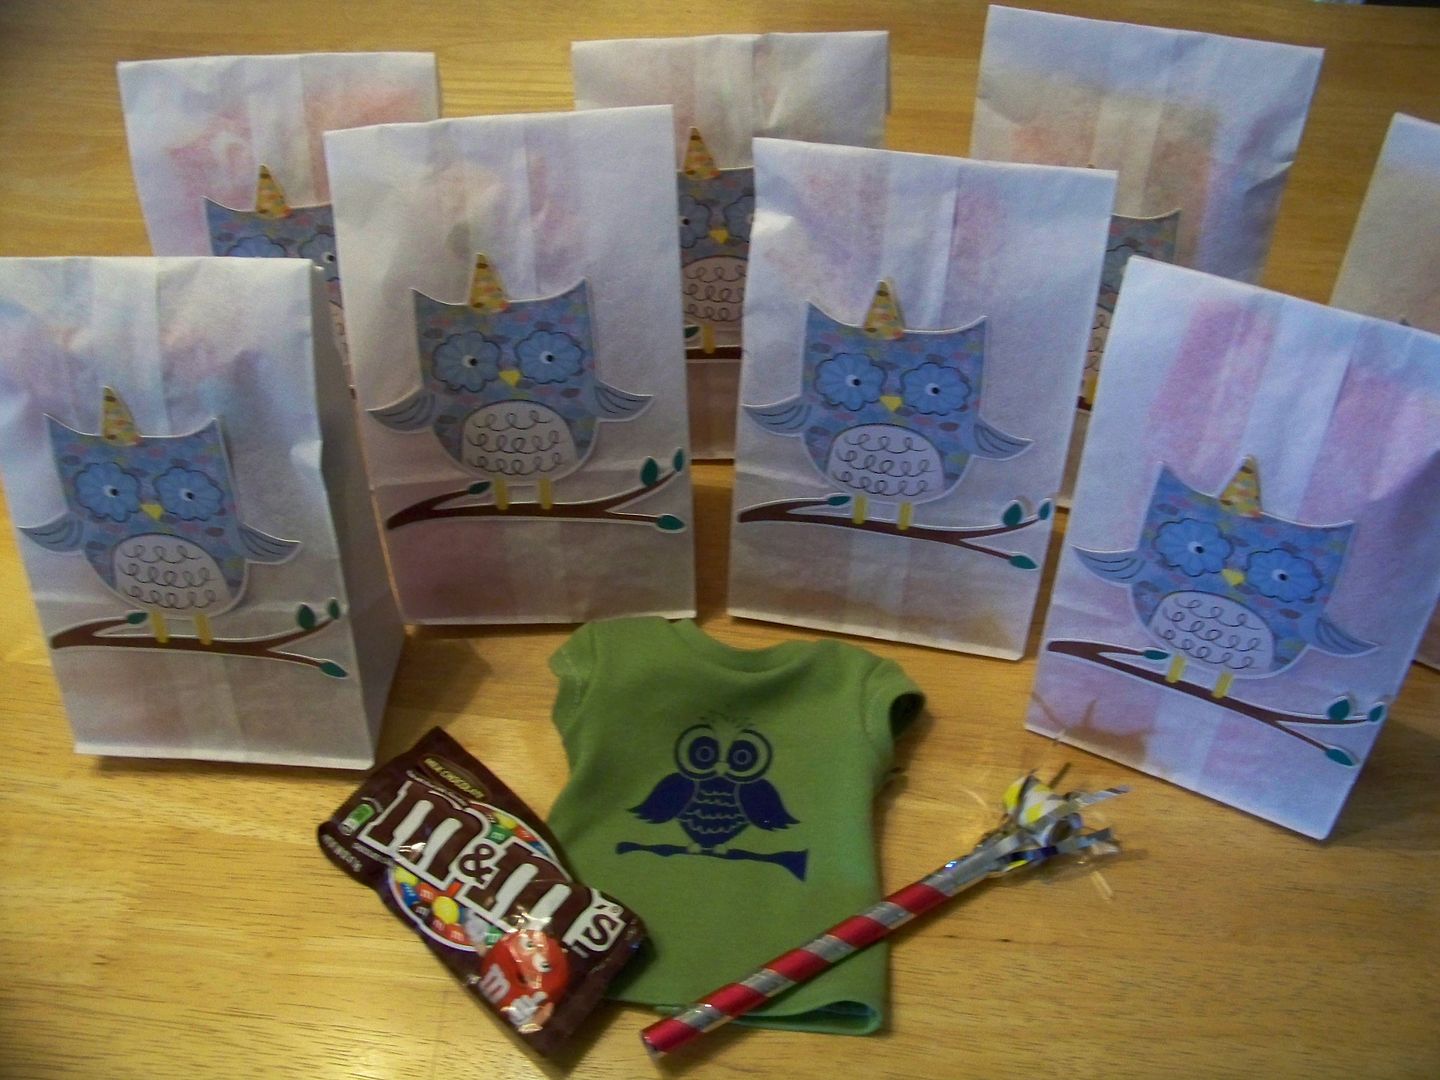
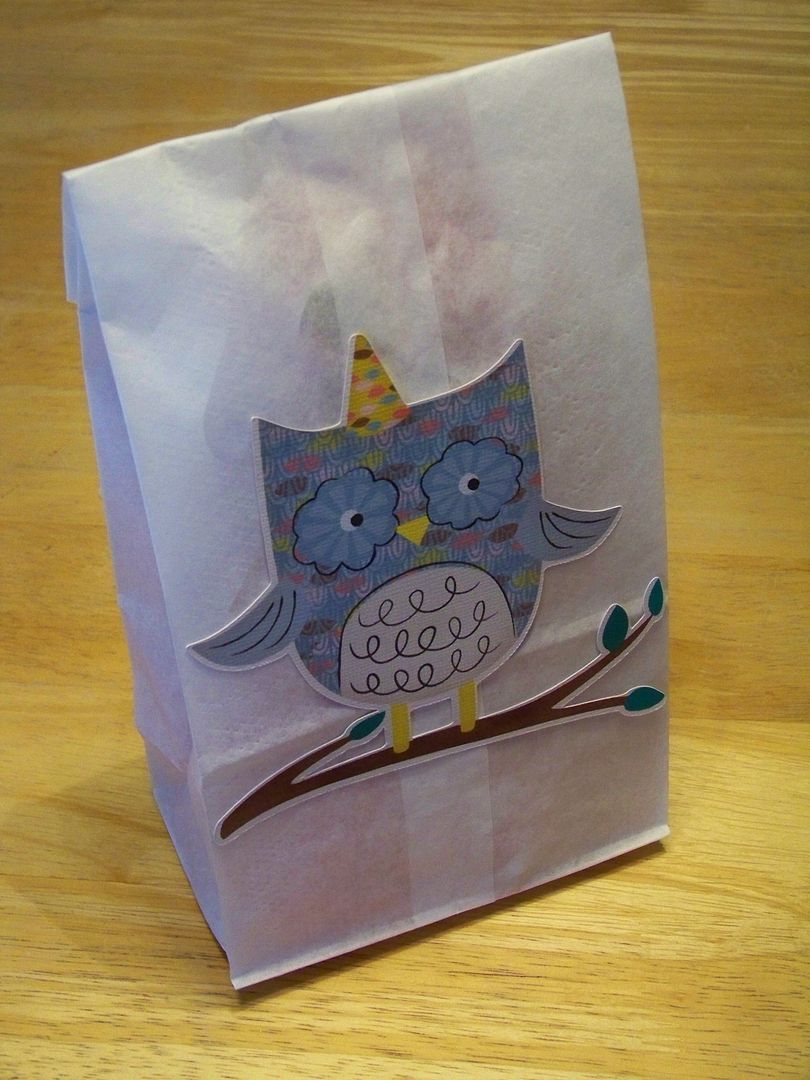
I needed quick and easy favor bags to hold an American Girl doll t-shirt I sewed and printed, M&Ms and a party blower we had for party favors. There is nothing quicker and easier than using Imagine images! (The doll t-shirts were wrapped in tissue paper keep them wrinkle-free-- the bright tissue paper is sharing a bit of its color through the thin white paper lunch bags I used!)
The owl was printed and cut on the Imagine from Better Together at 5".
Doll t-shirts:
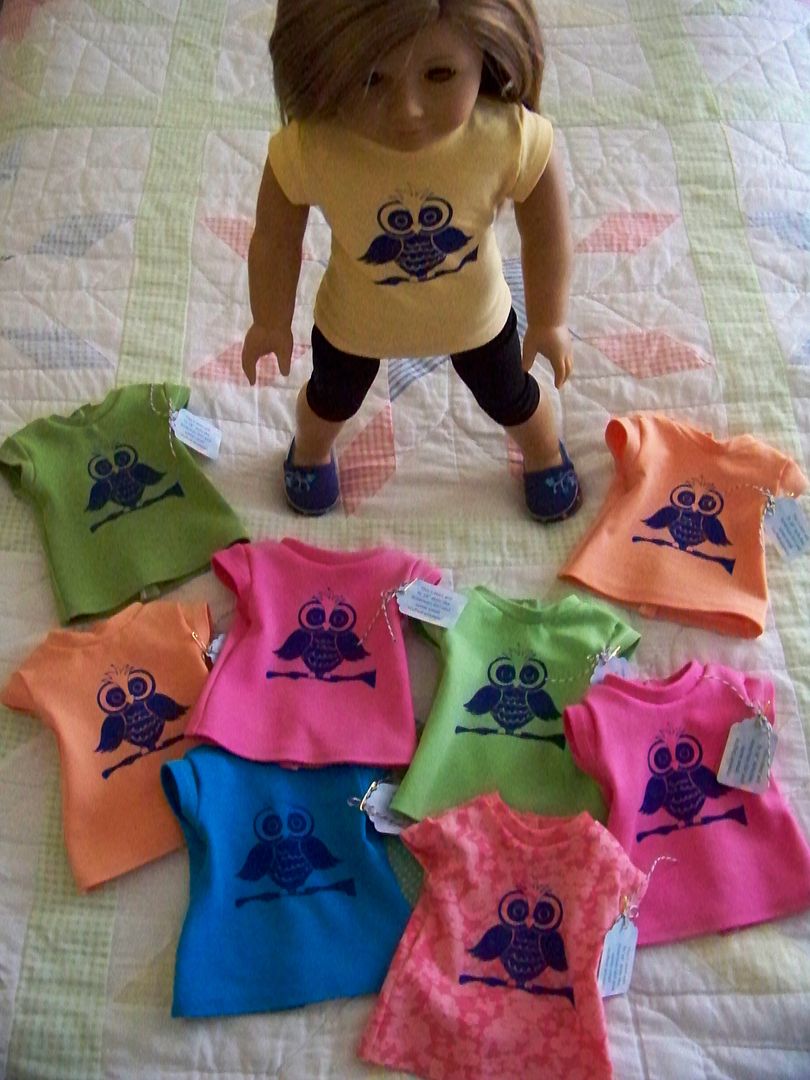
I wanted to create something fun that the girls would actually want and use. In the past, I have filled favor bags with trinkets, stickers, and cheap toys from the party favor aisle but I suspect (like we do when Piper gets those kinds of favors) that they end up in the trash in no time. Since all of the girls have American Girl dolls, I thought doll t-shirts with our owl theme would be a good choice!
Pin It
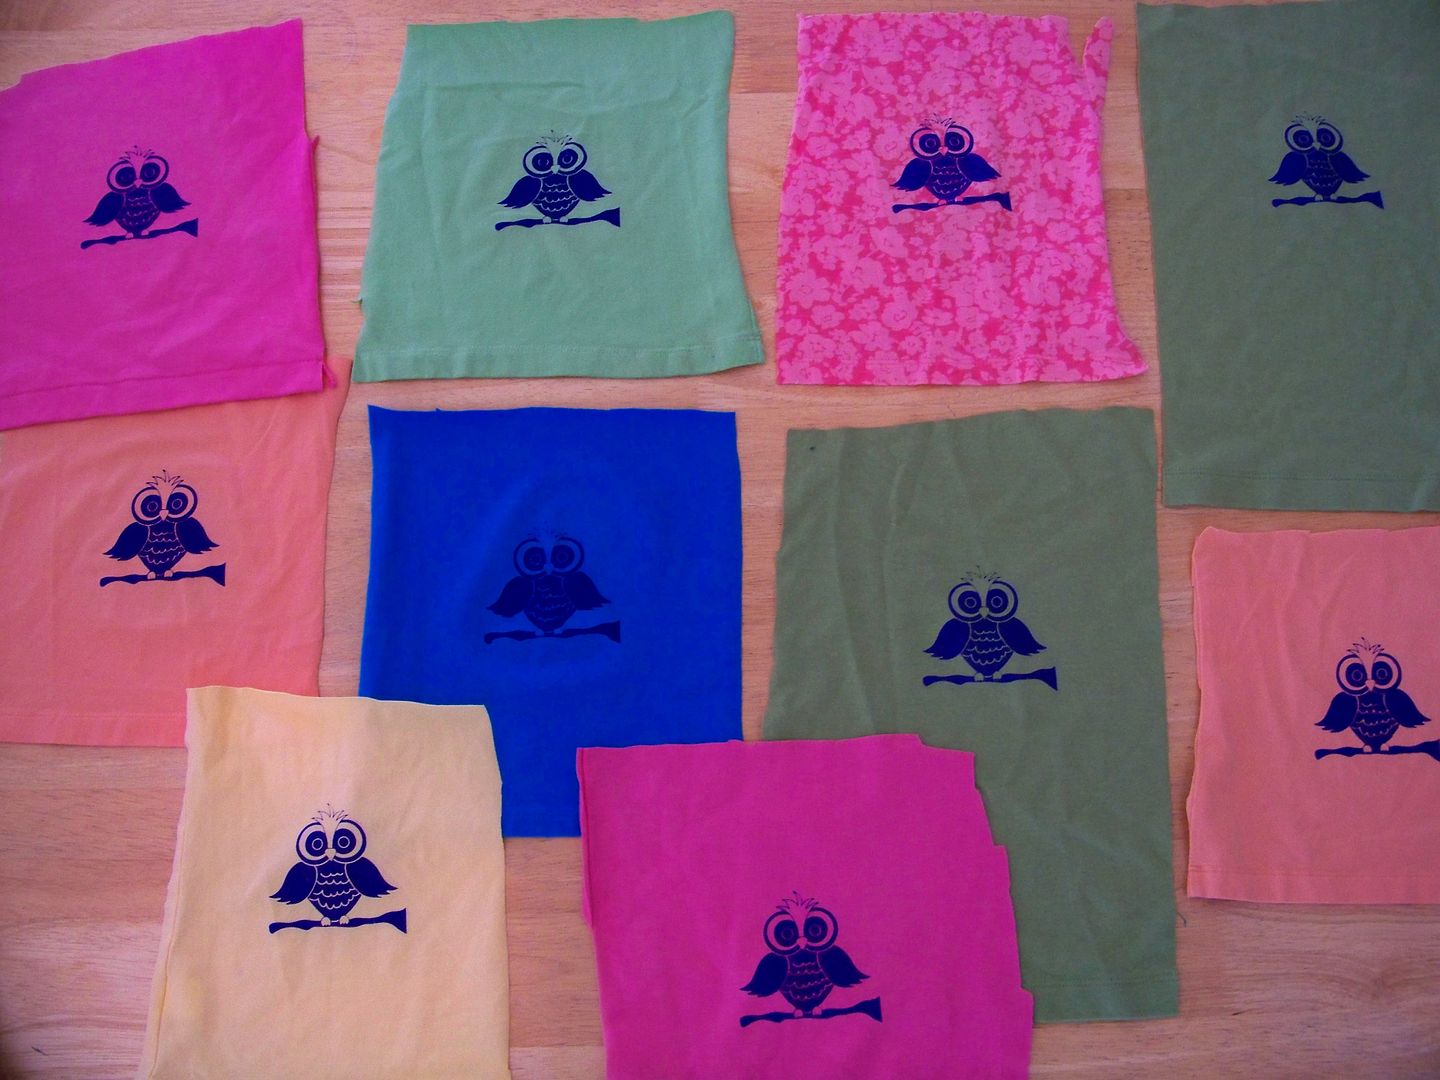
I use thrift store knit shirts because I can find so many more options than available to me at the fabric store! I found Gap shirts, Jones NY Jones Studio, and Ralph Lauren turtlenecks which all worked perfectly even though some were 100% cotton and some were blended with spandex. I use the shirt body and the band:
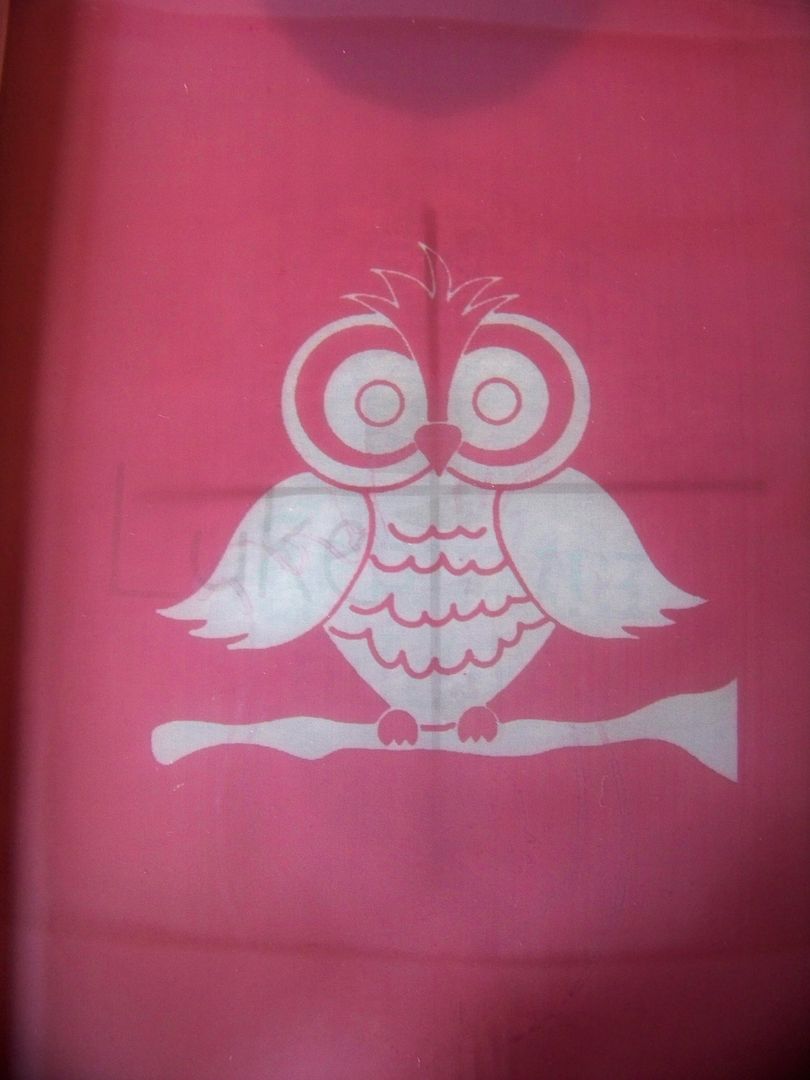
The owl design is from Pam's Clip Art. I copied the image onto a transparency and burned the image into liquid emulsion using my Yudu.
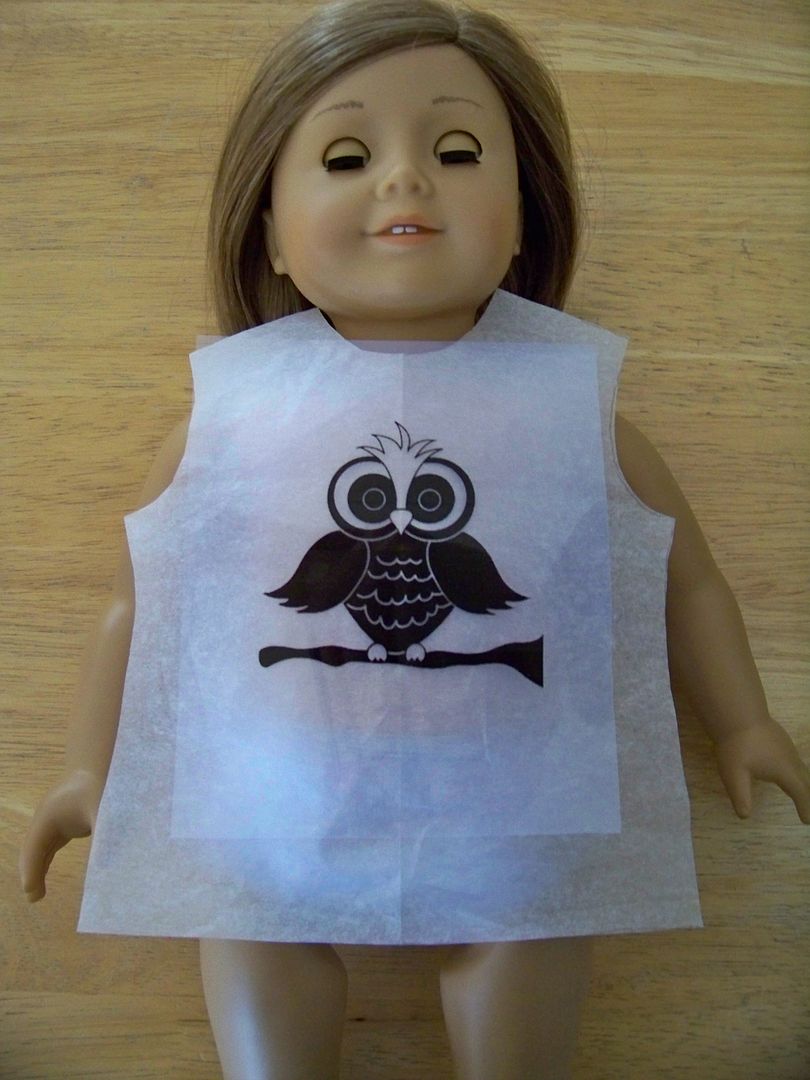
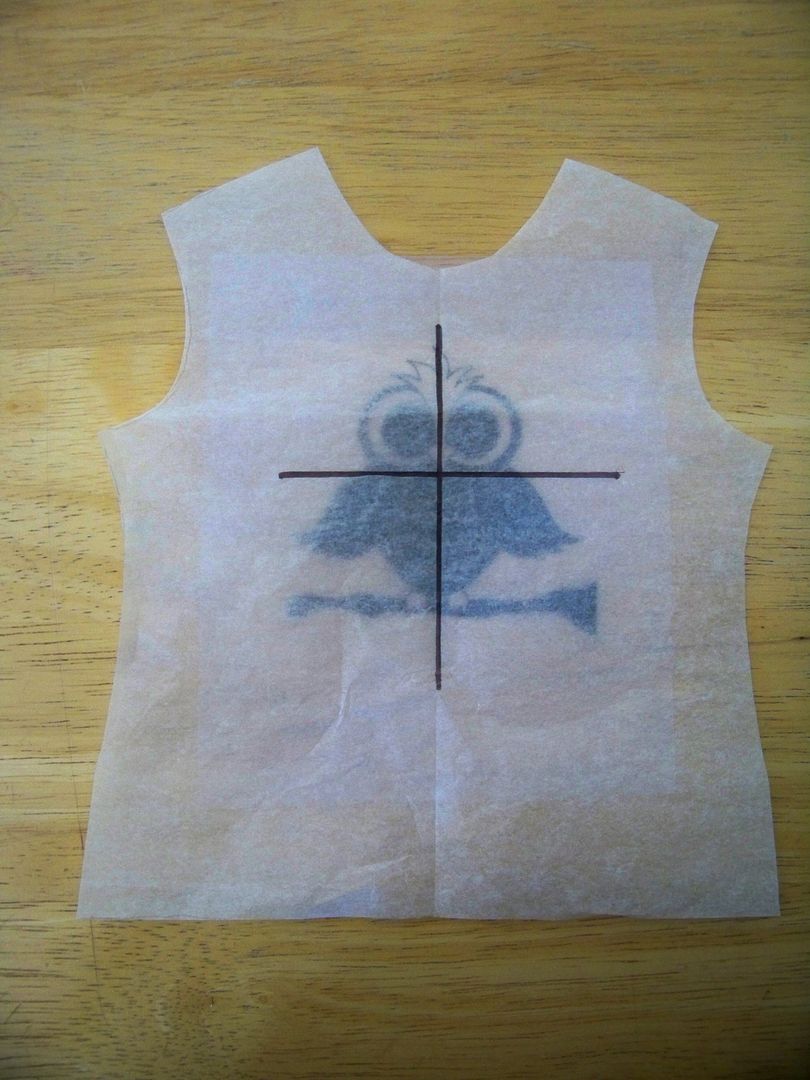
I figured out that if I cut a tissue paper t-shirt pattern opened up, I could use a Sharpie to mark the center of the shirt and line it up with the owl's eyes in order to perfectly place the knit fabric in the Yudu Cardshop and again later when it was time to cut out the shirt. It is definitely the desired method to screen the fabric then cut out and make the shirt!
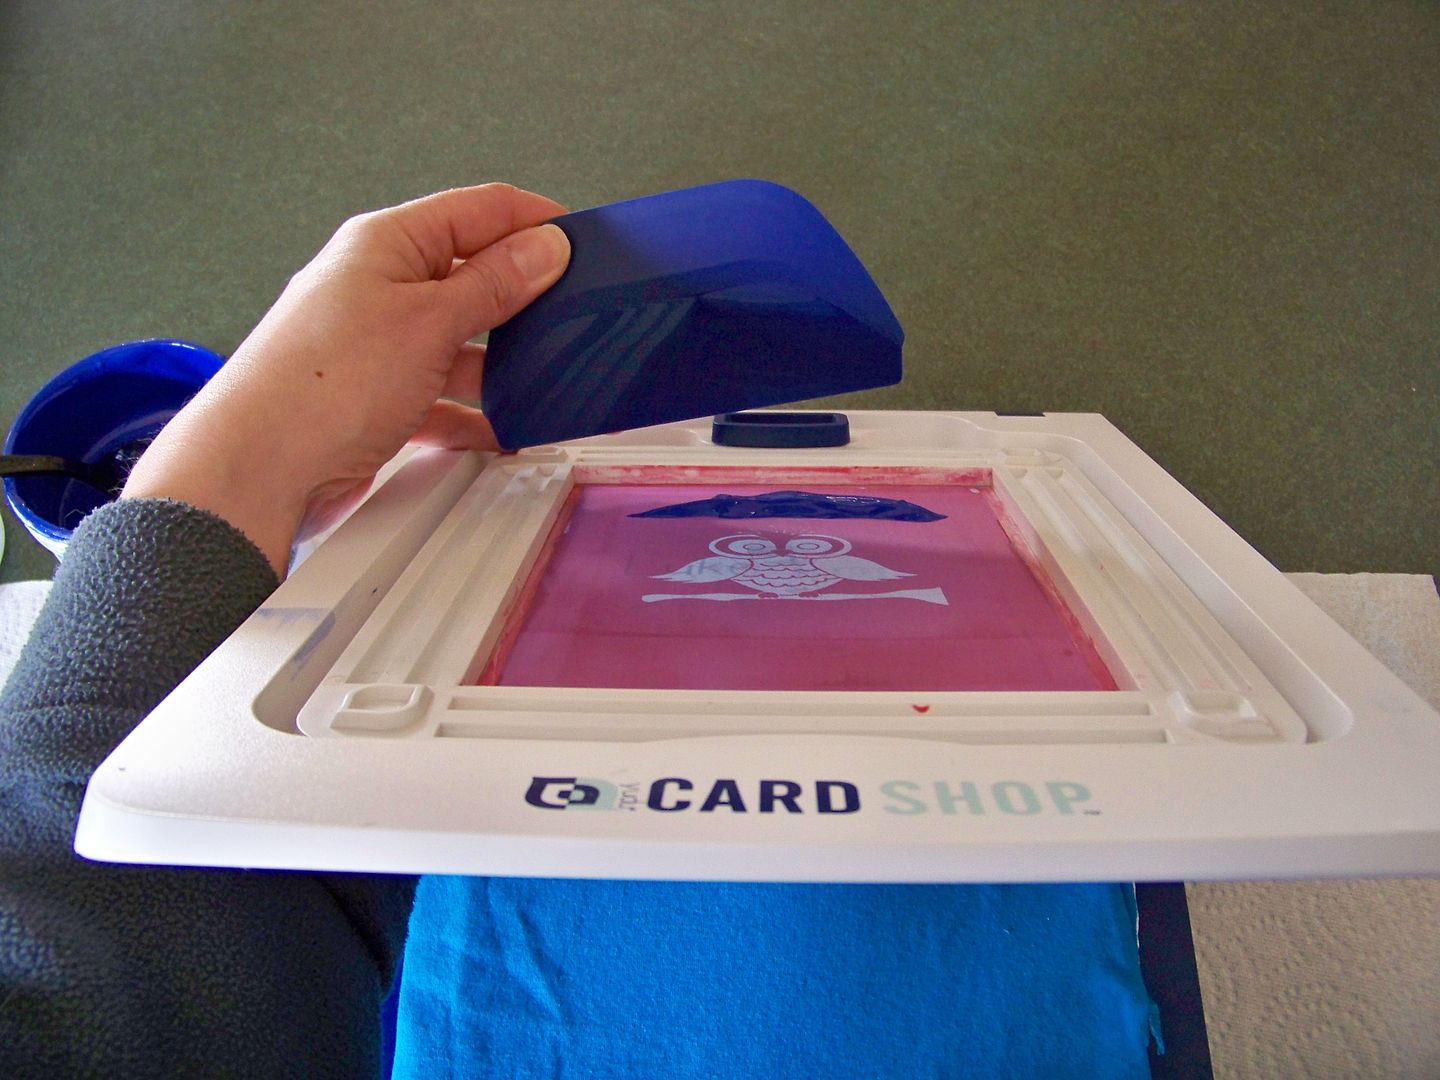
Once the screen was prepared, I used my Yudu Cardshop to pull the ink onto the t-shirt fabric squares.
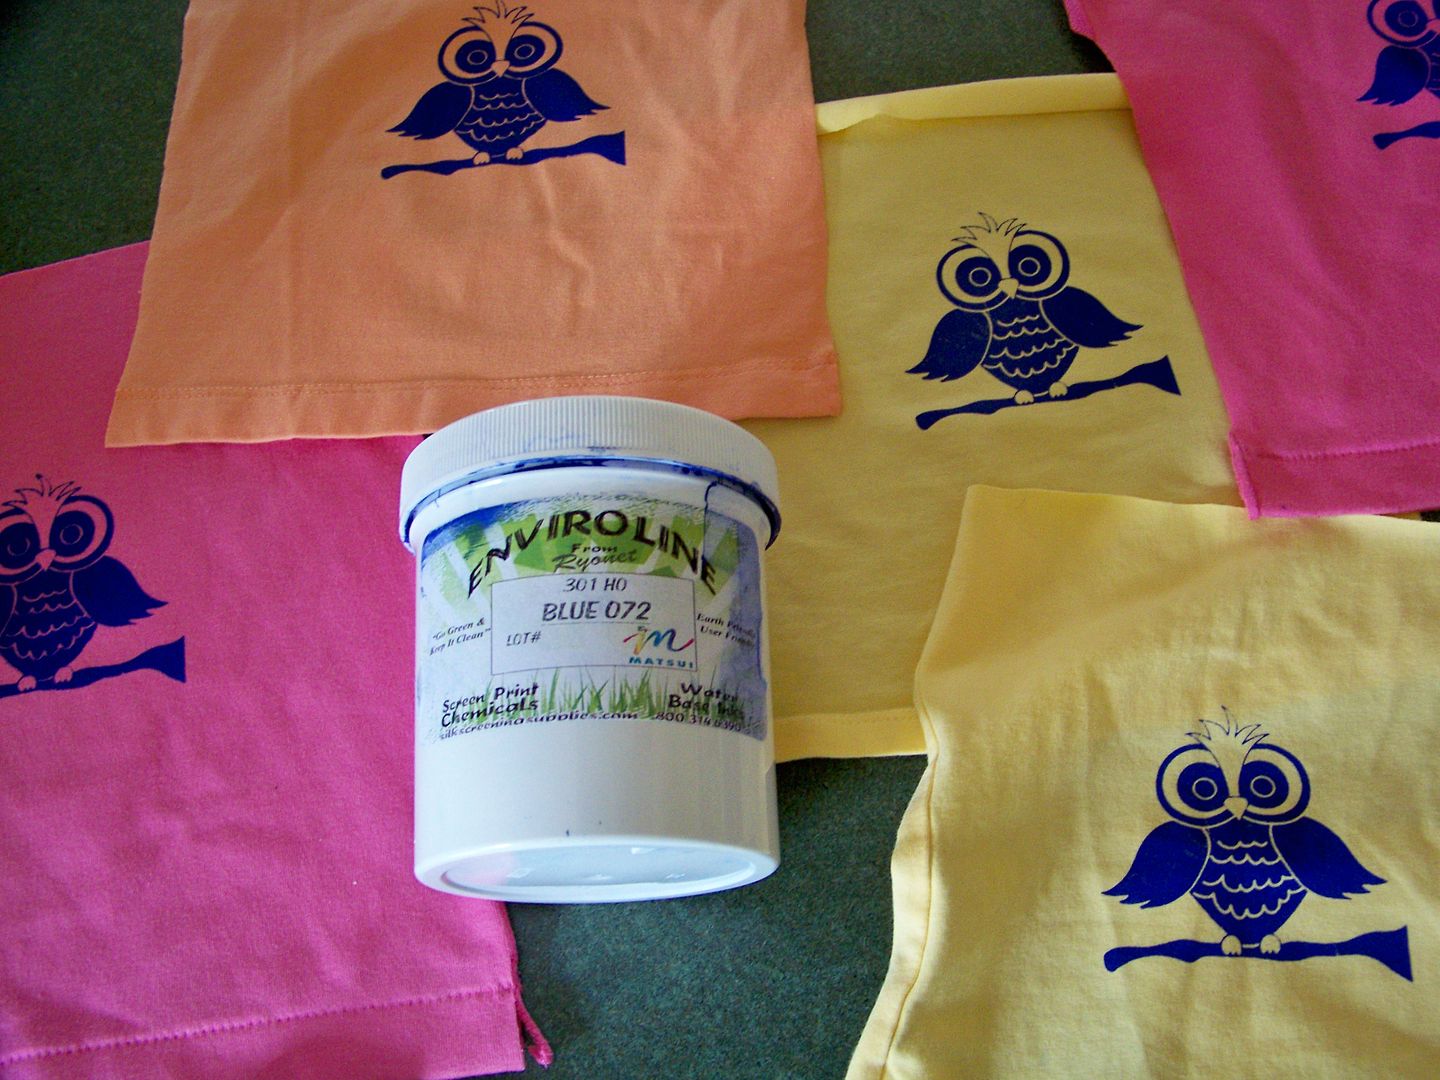
I used Ryonet's Enviroline opaque ink in blue. This ink is just fantastic to pull! I did find that too much pressure pulling on spandex was a disaster, teaching me to adjust my pressure! I also find with the fine details (like with the feathers on the owl's head) that I had to pull this image twice!
Once the ink dried, I heat set the images and made them into t-shirts. The pattern for the doll t-shirt is a free one from Liberty Jane with an added neckband.
I added little tags with tiny brass safety pins tied with bakers twine to clue in the girls that this little t-shirt was for their American Girl dolls, which also made them look finished and special.
Activities:
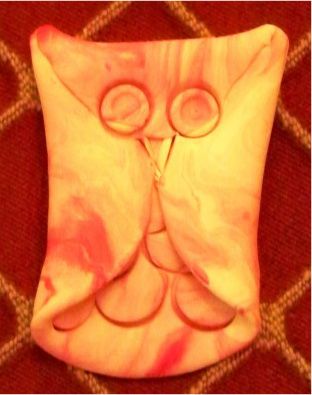
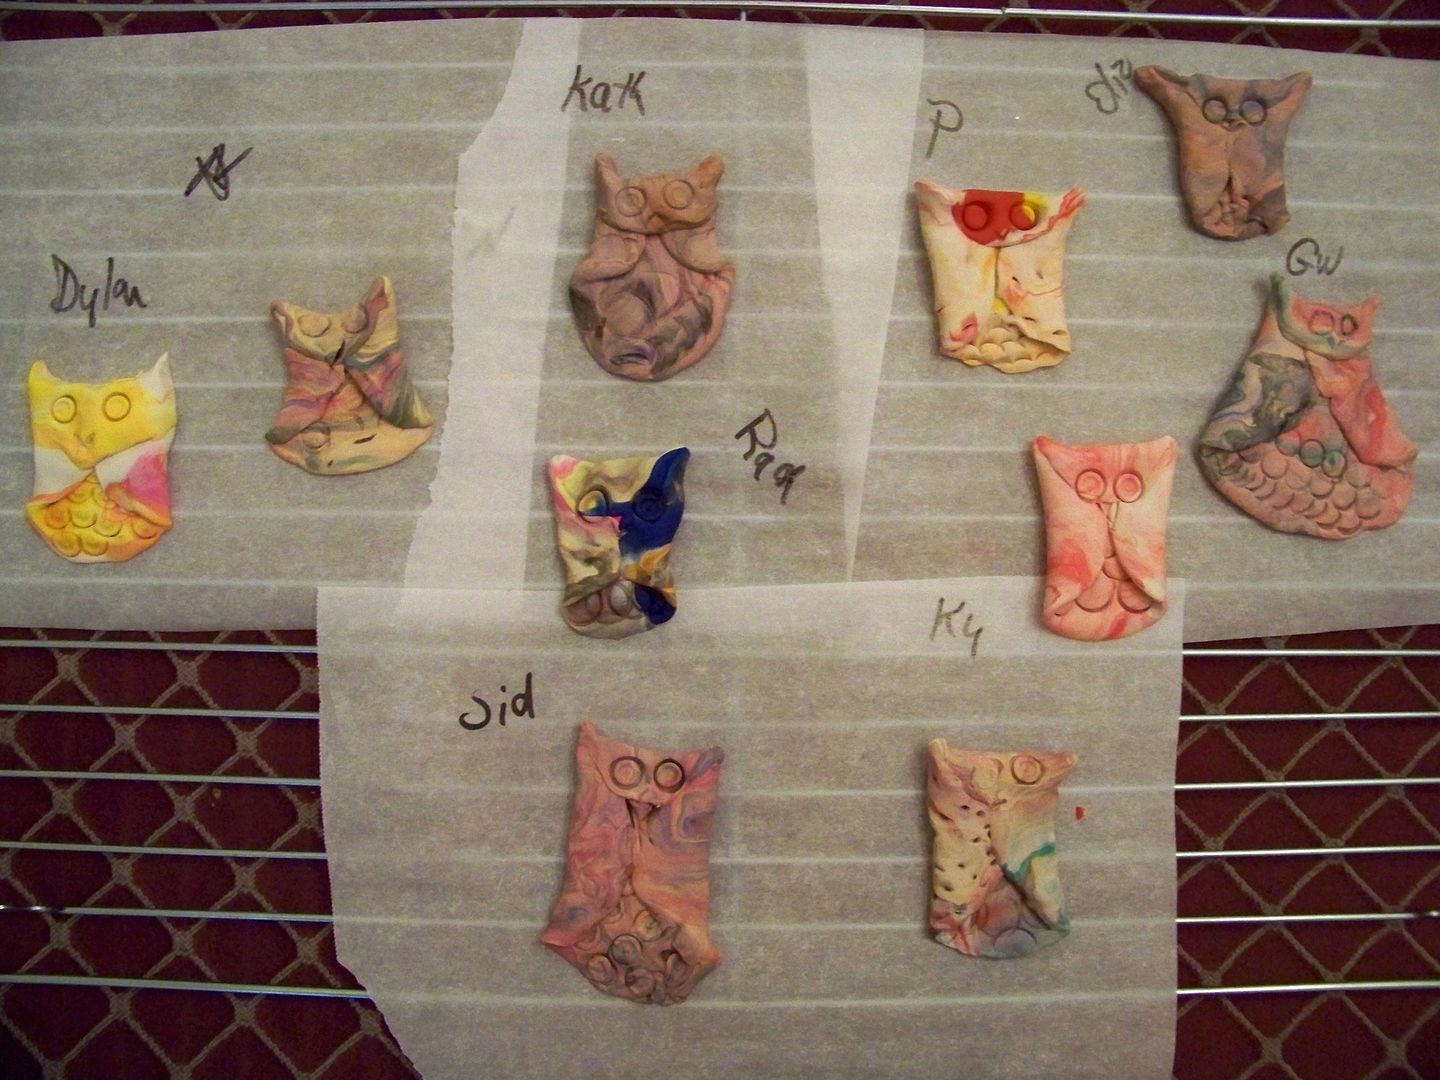
Clay owl magnets! I wanted the girls to be able to make something in between playing and eating.... plus I am told by one of the moms that our house is known as "the project house".
I printed out a great tutorial from the 4CrazyKings blog to show the kids how to make their own little owls to take home! You can find it by clicking here. We used Sculpey oven-bake clay. I gave them white and they picked slivers of other colors to mix in to get a marbled effect. (I thought this would be easier and less messy than painting!)
Cupcakes:
On the super easy "picky-eater" menu was pizza, fresh fruits and veggies, chips, juice boxes, cupcakes, and ice cream. The food is always the easiest part because of all that my daughter won't eat!
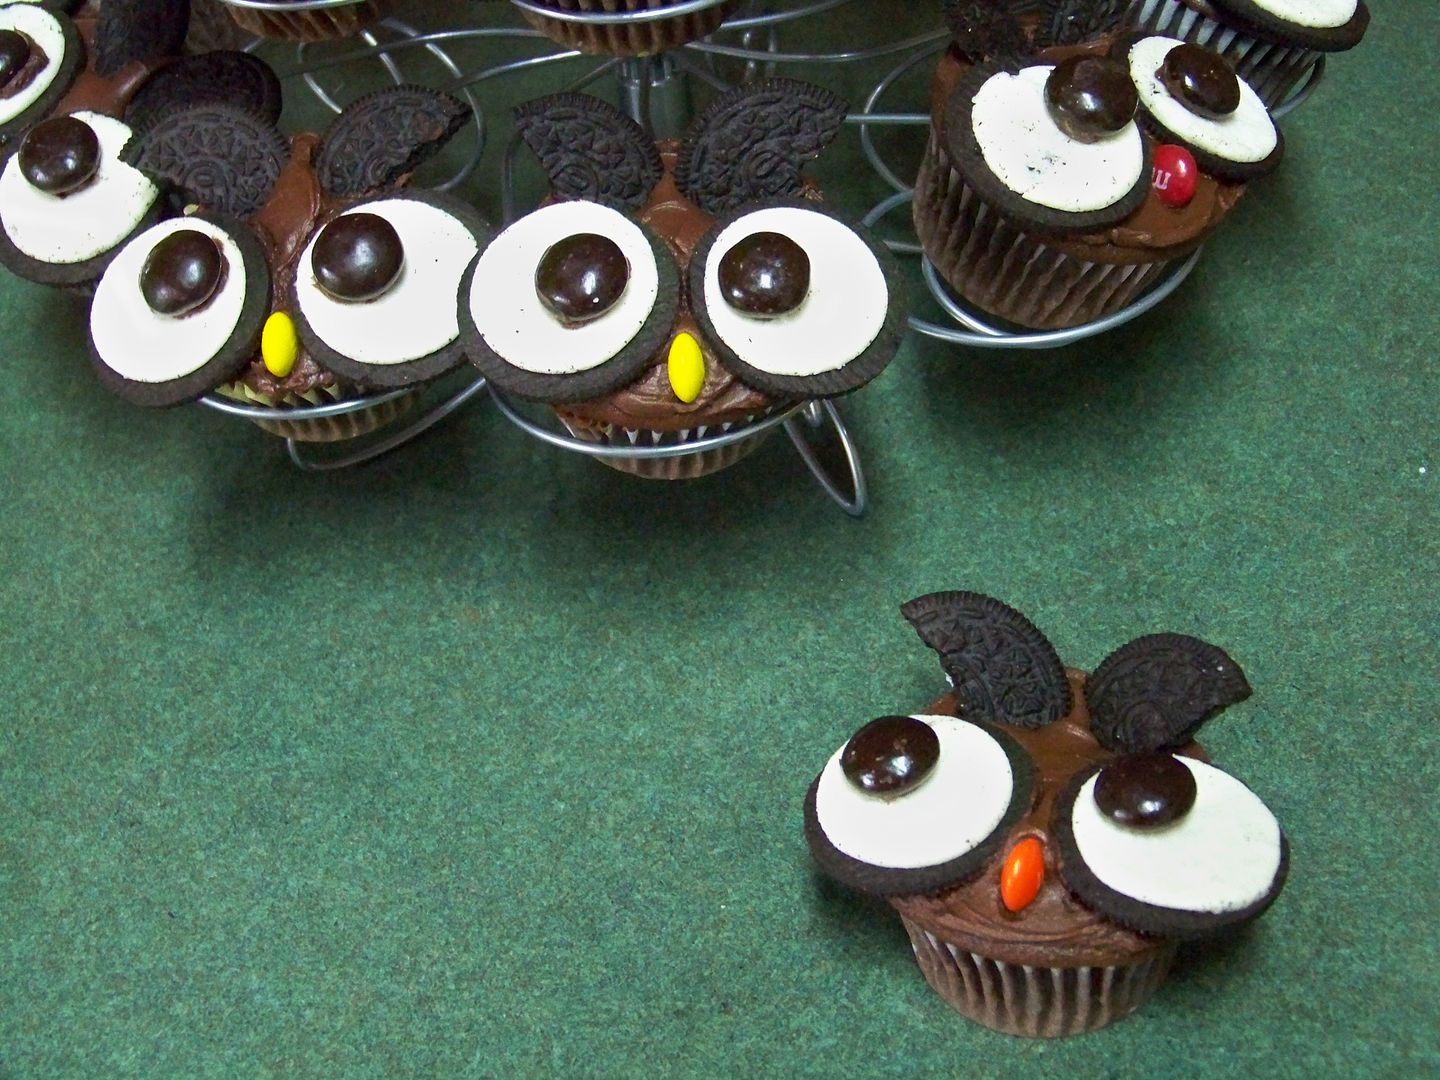
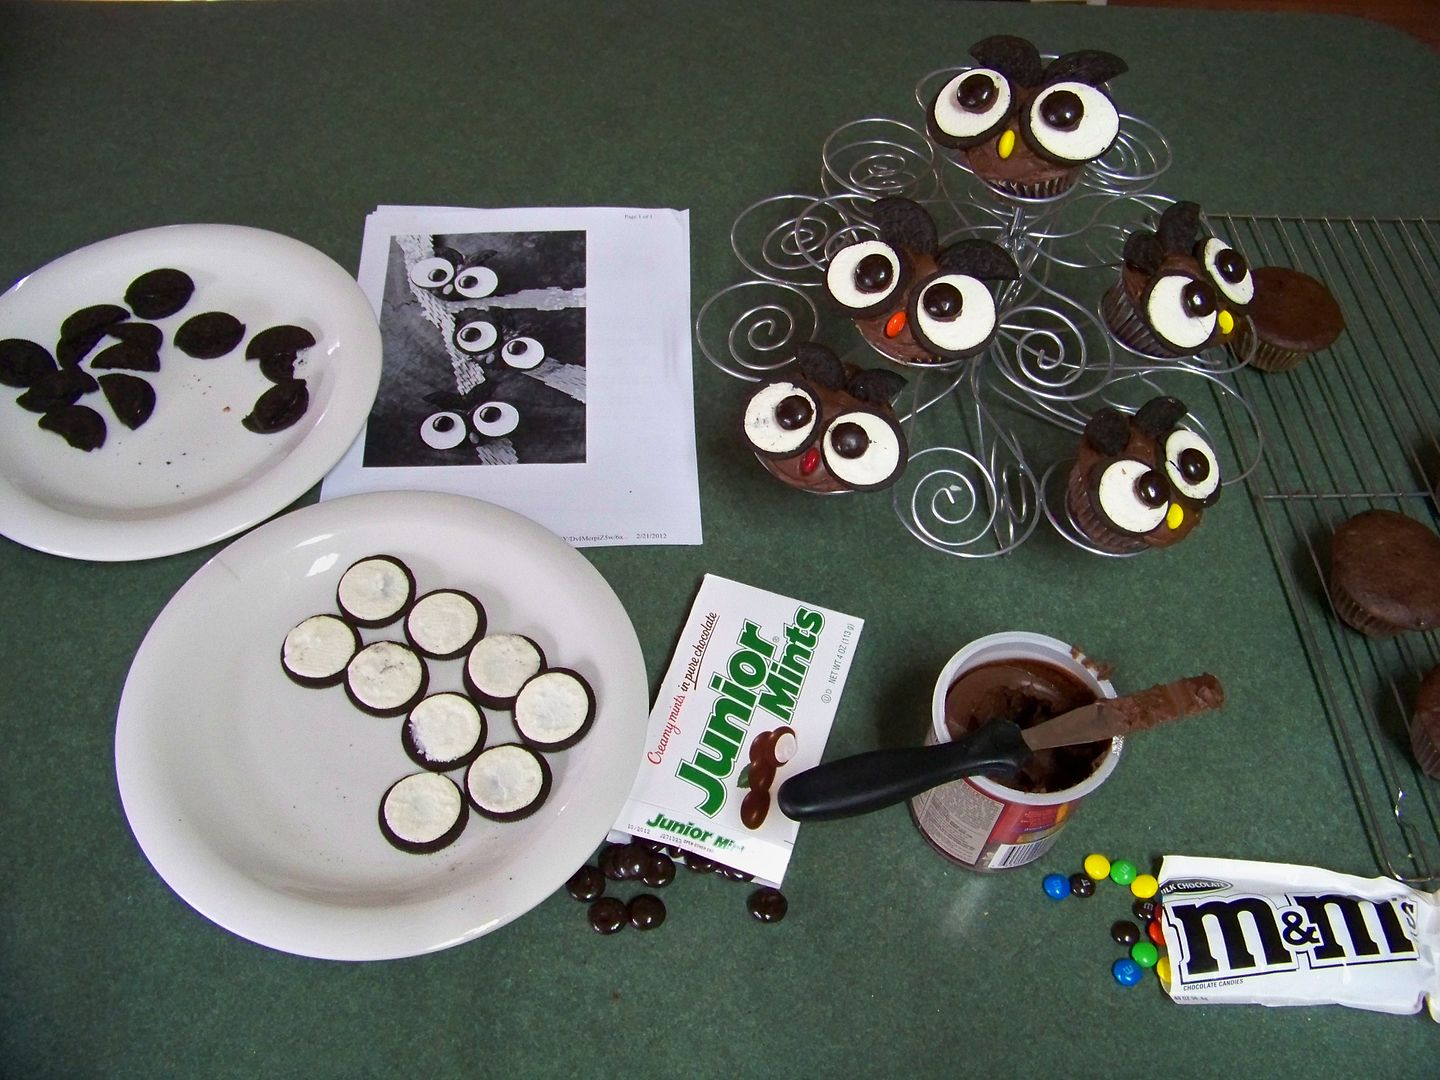
I had every intention of buying cupcakes until I saw adorable owl cupcakes on Pinterest from 6Bittersweets. I cheated and used a cake mix and canned frosting, but I used Xiaolu's decorating ideas to make owls from Oreos, Junior Mints, and MM Candies. Click here for the original post!
Card for the Birthday Girl:
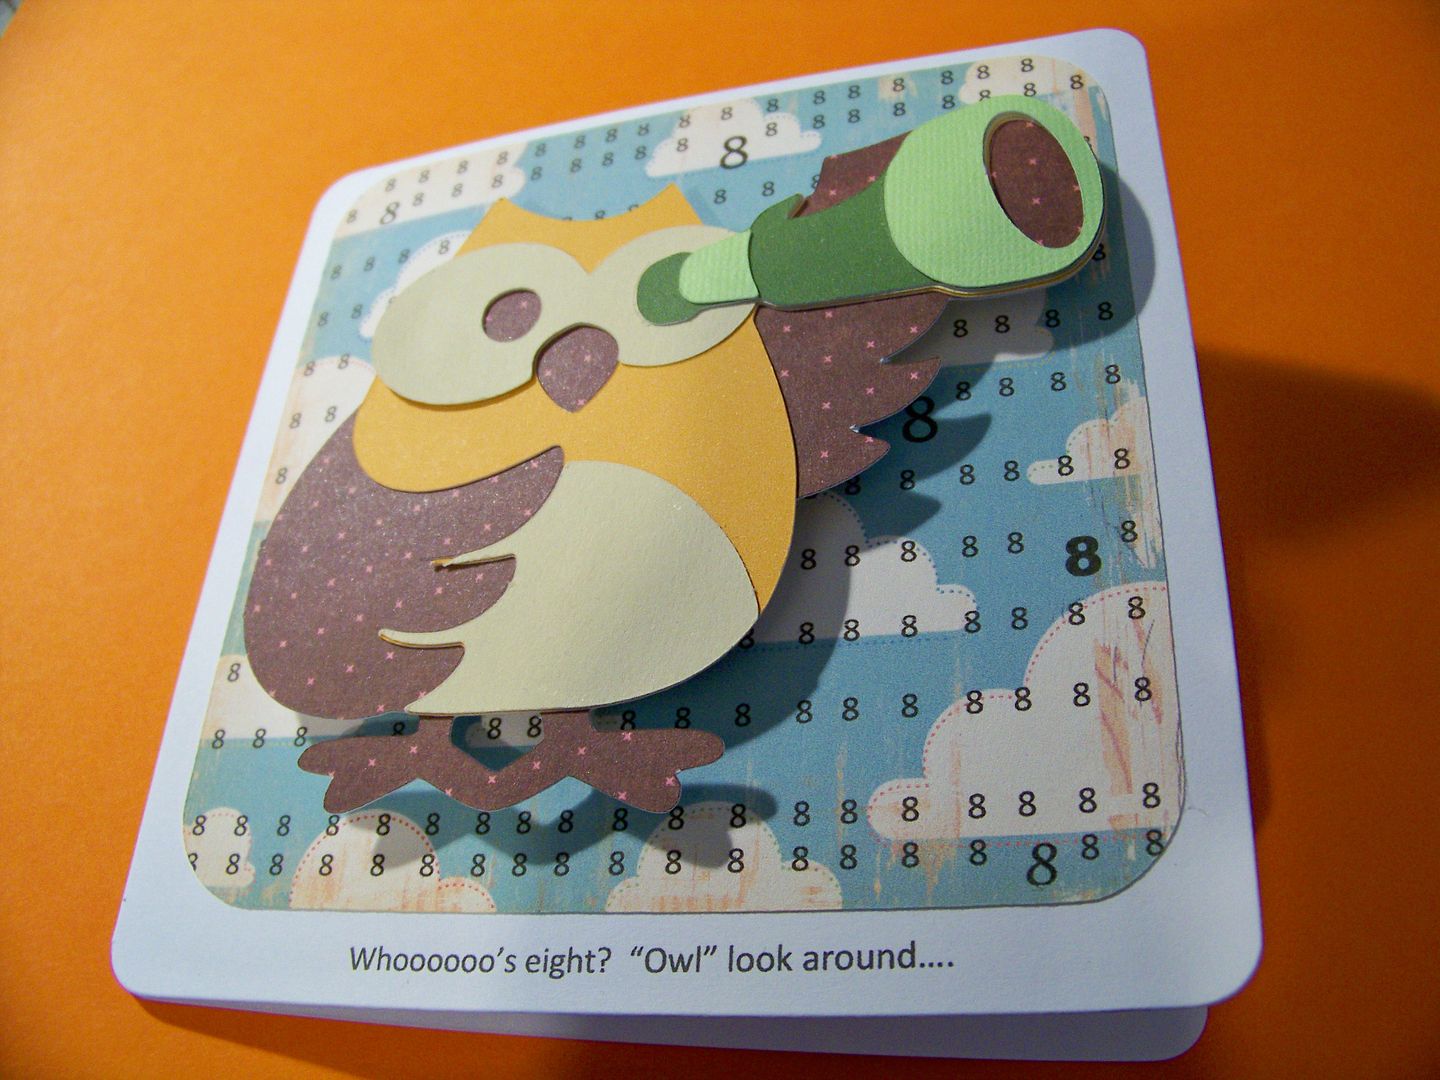
I wanted Piper's birthday card from Dad and I to continue with an owl theme.
I used a blank 5"x5" Studio G card as a base. Next, I cut and printed a rounded square (built-in Imagine shape) at 4.6" and floodfilled it with the cloud print from Hopscotch.
Then, on my PC, I created a table, setting it up with 30 rows and 30 columns. I populated the grid with 8s and selectively chose a few to change the size and font. I printed the table onto a white paper. I taped the Imagine-printed shape onto the white paper and ran it through my PC printer again to get the 8s to print on top of my clouds. I printed the text on my cardstock base the same way.
The owl is from Campin Critters, cut on the Expression at 3.5". I popped it up 1/4" with pop dots.
Our party was last night and the girls seemed to have so much fun! The some of the girls rode home with us from school and screamed and laughed and were crazy the whole way there. They were so funny (and loud), squealing during their little fashion show, games, crafts, the meal, and gift opening. They weren't ready to leave... and Piper wasn't ready for them to go! They are such a great little group with never even one harsh word or bit of unpleasantness--- just nothing but fun and laughs! We are so blessed to have sweet little friends in Piper's life with fantastic families who have raised them that way!
Thank you for reading my birthday post. "Owl" be thinking of the next project soon!
