
First, I created a box using Cricut Wild Card (page 80), cut at 7". I used a print and positioned the paper on my mat for cutting with the Expression by placing the top of the print on the right of the mat. I later cut a piece of recycled clamshell for a window at 4-7/16" square. (Packaging from Cuttlebug folders works great for this!)
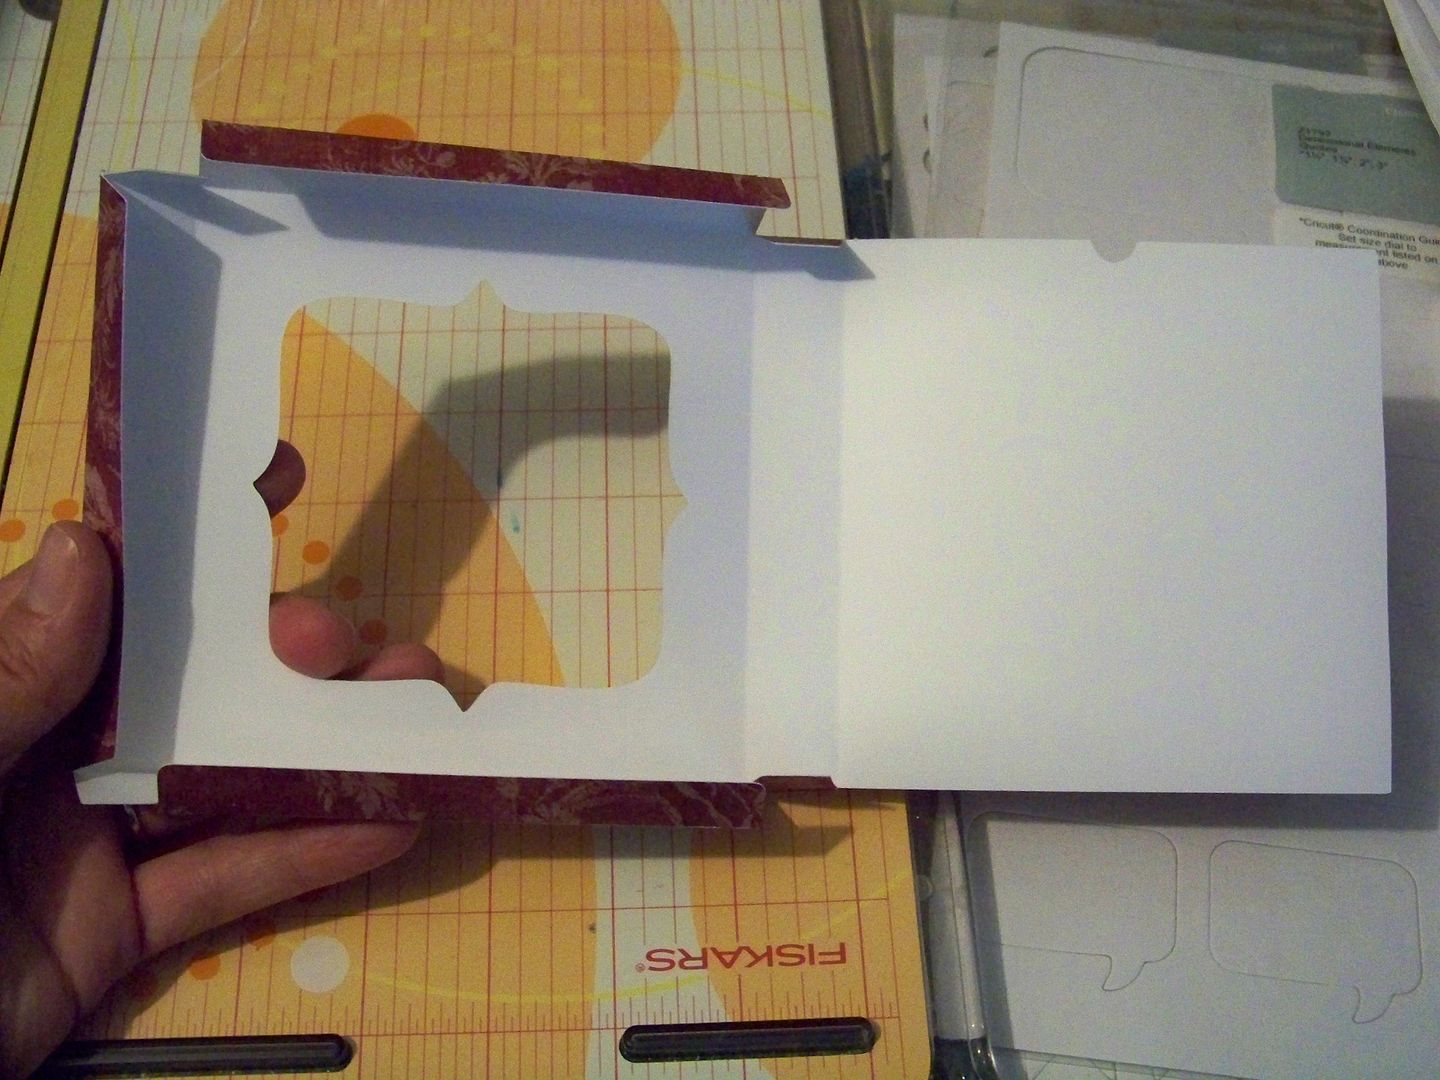
Next, I cut a card to insert by cutting an 8-7/8" x 4-7/16" rectangle on the paper trimmer. I scored at the middle with an Xacto knife to have a card that finishes at 4-7/16" square. I cut a decorative paper at 4-7/16" and applied to the top.

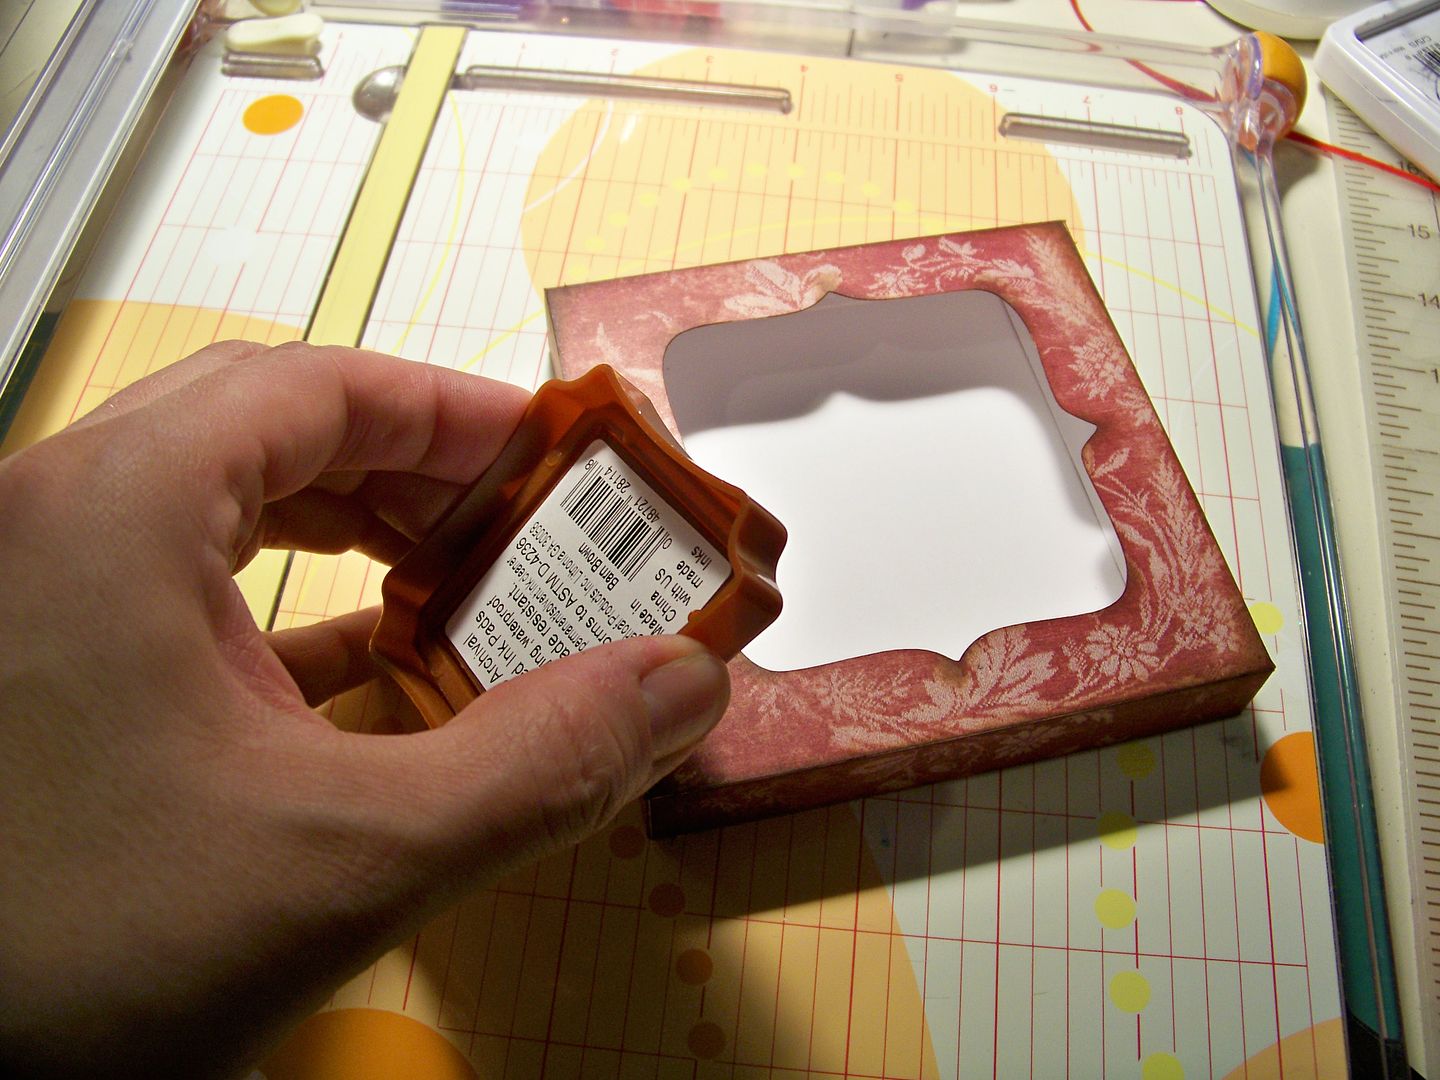
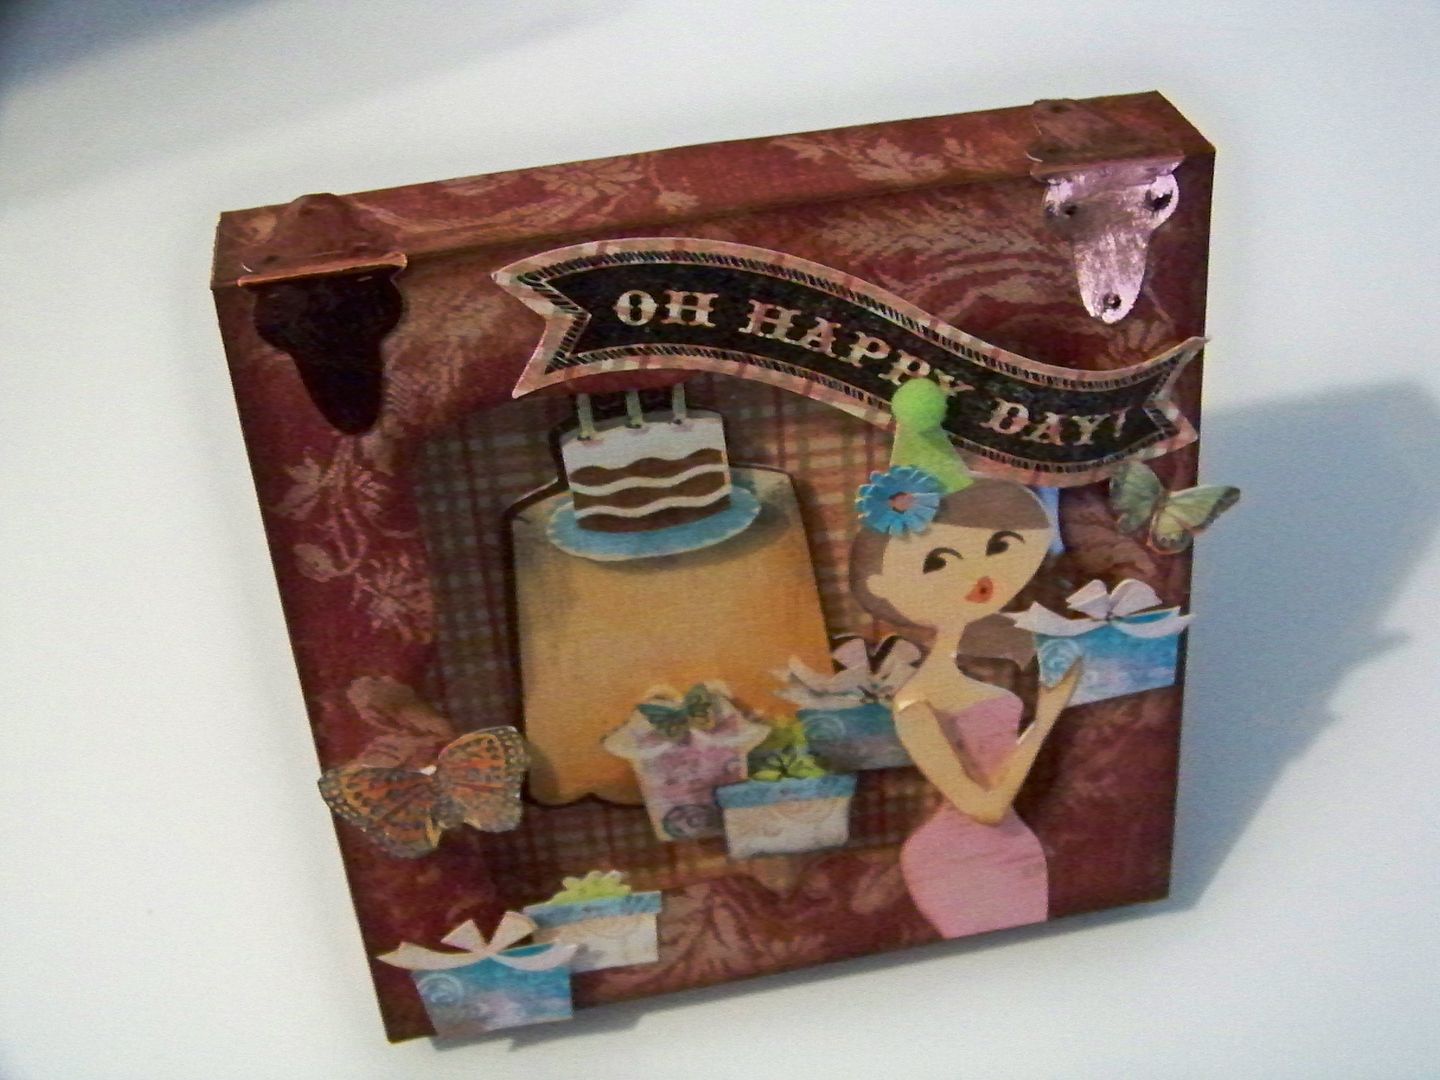
I used a brown ink pad and rubbed it over the edges of the box and card to give it a little character... you know, the way aging gives character. Get used to the aging jabs, you whippersnapper, you! (Just another service I provide as a person who is older than you, Sherry.)
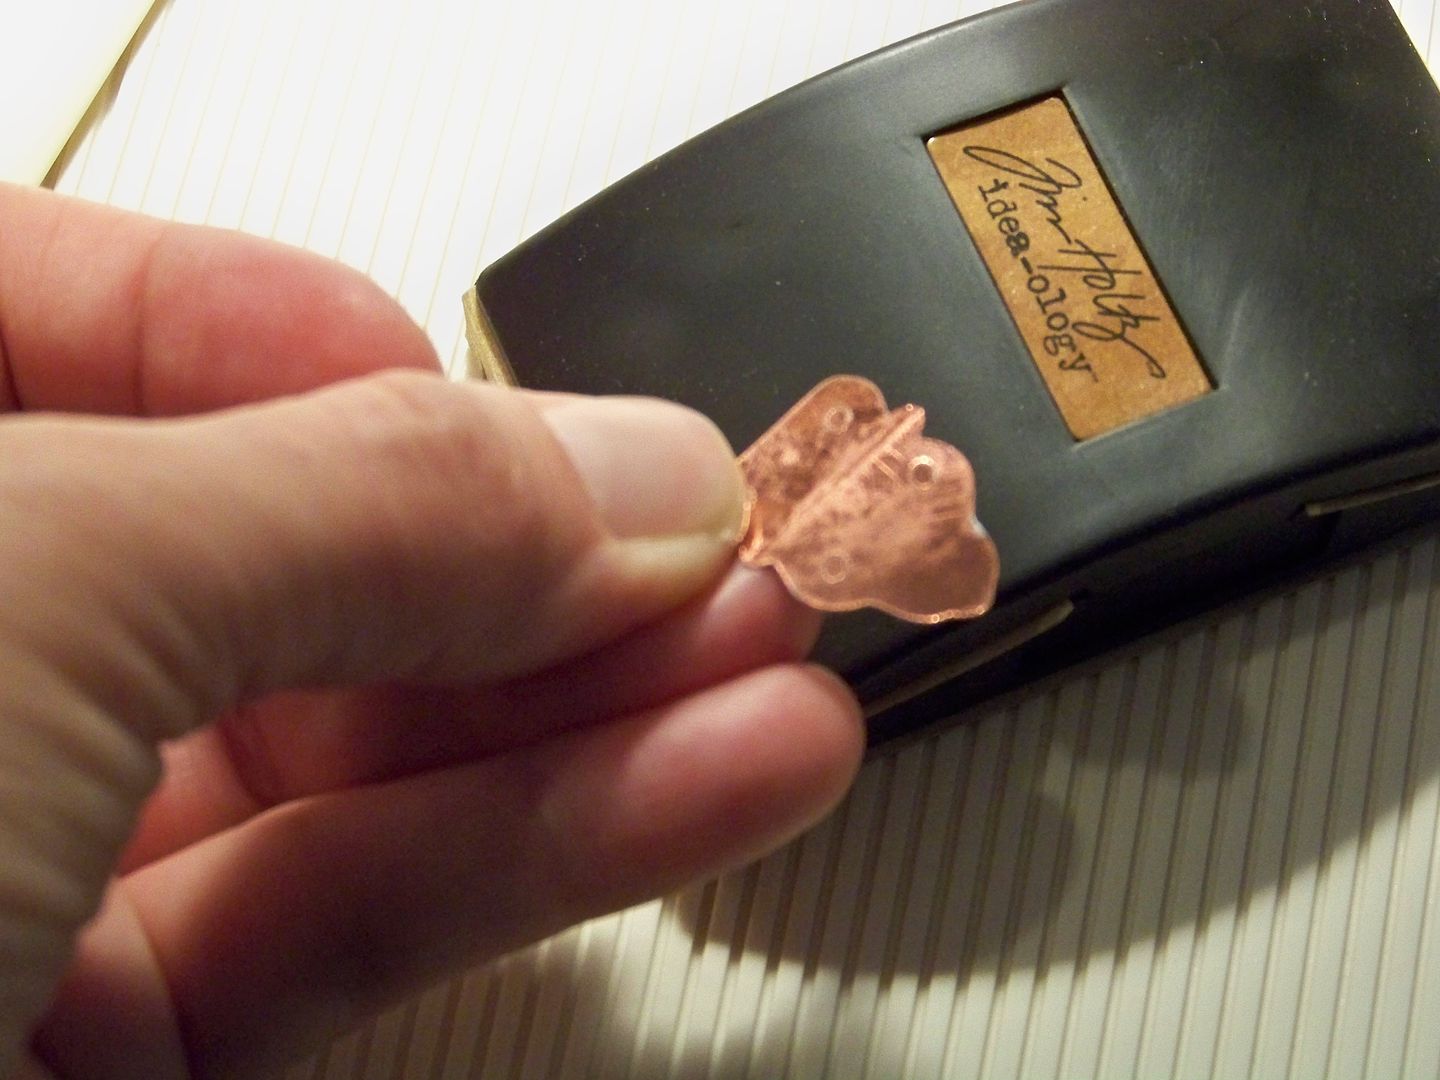
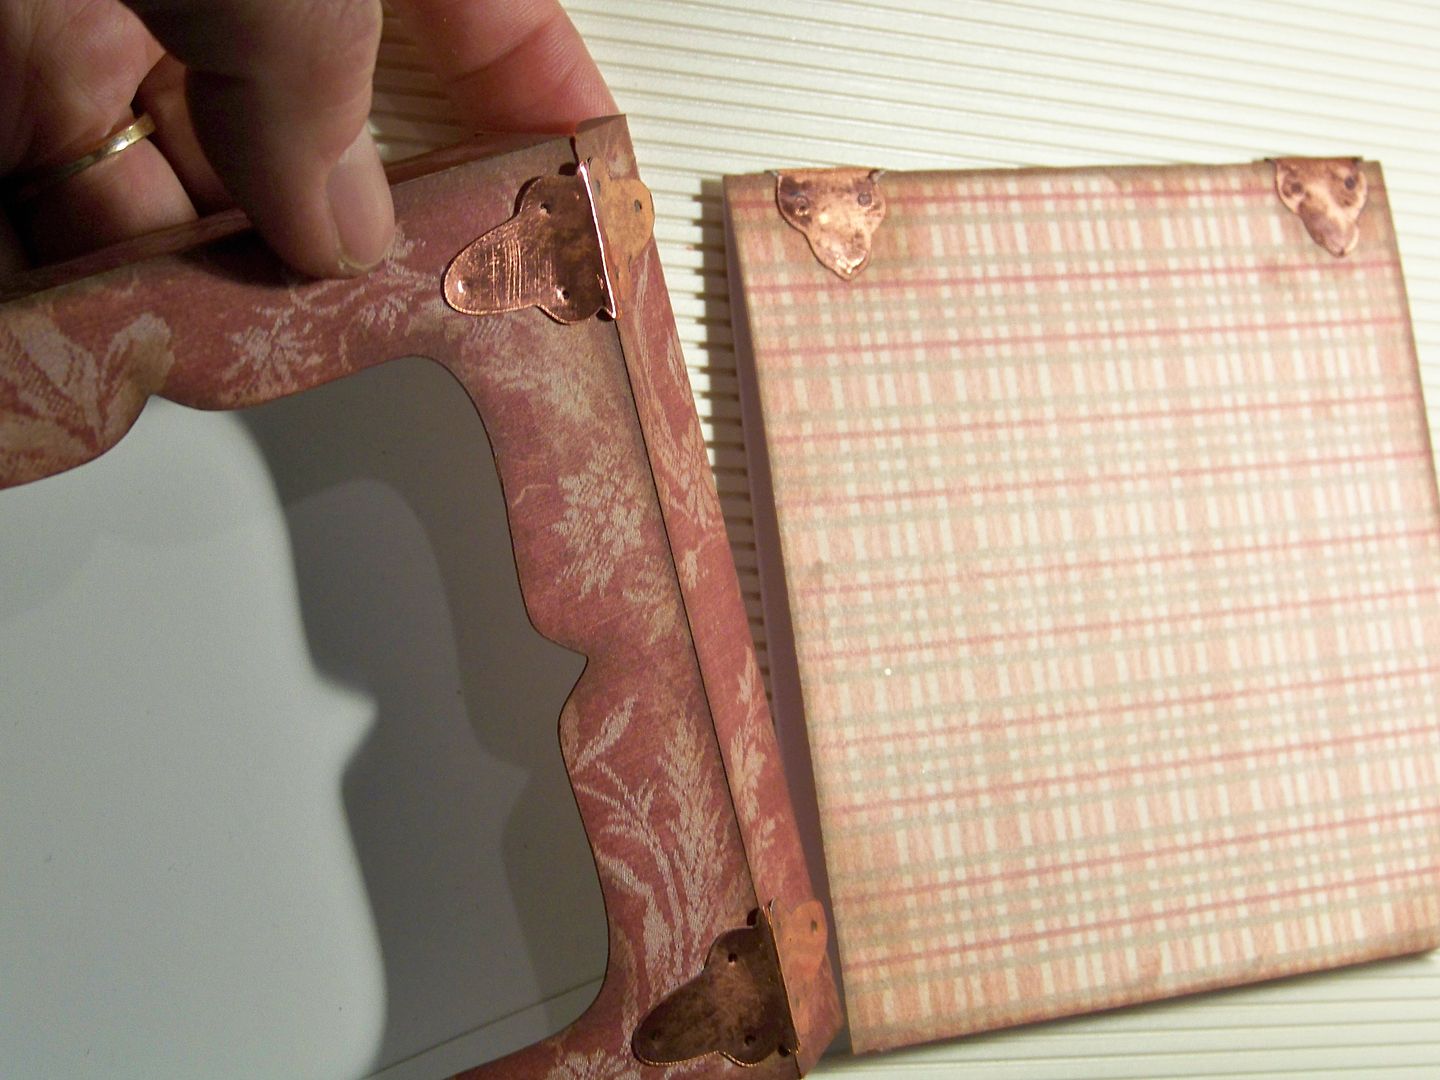
I created hinges-- more character-- by cutting them from Fabulous Finds (page 118) at 3/4". I sanded the metallic paper to scuff it up and make it more authentic-looking. I scored the centers with a bone folder to help them bend smoothly. I attached the hinges to the fold of the card and the top of the box at the opening with Scotch Quick Dry Glue and used a burnishing tool to indent them where screws would be inserted on a real hinge.
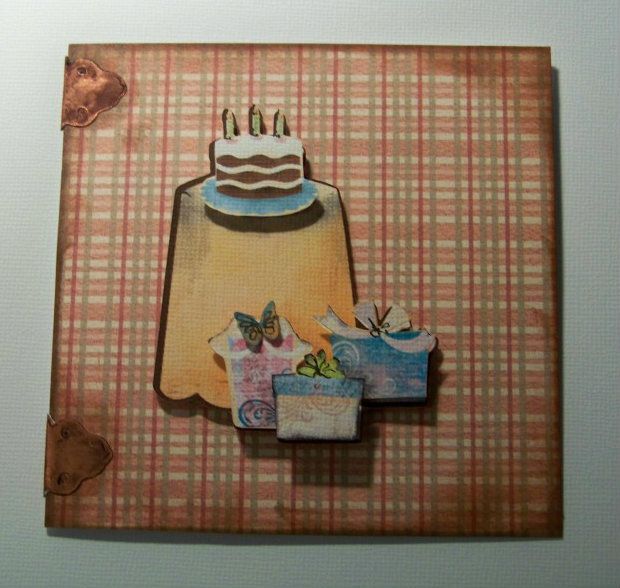
For the card insert, I added artwork from the Imagine Yummy cartridge, cutting extra layers to pop up for dimension. I kept it simple because the box design elements had to work with it. I added a tiny hand-colored butterfly. These elements were popped up 1/8" to 3/8".
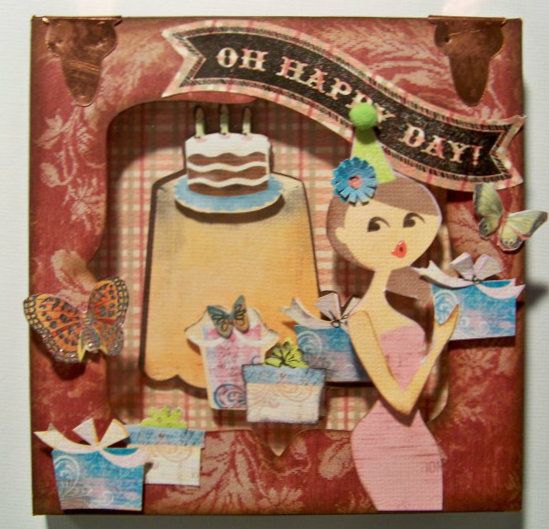
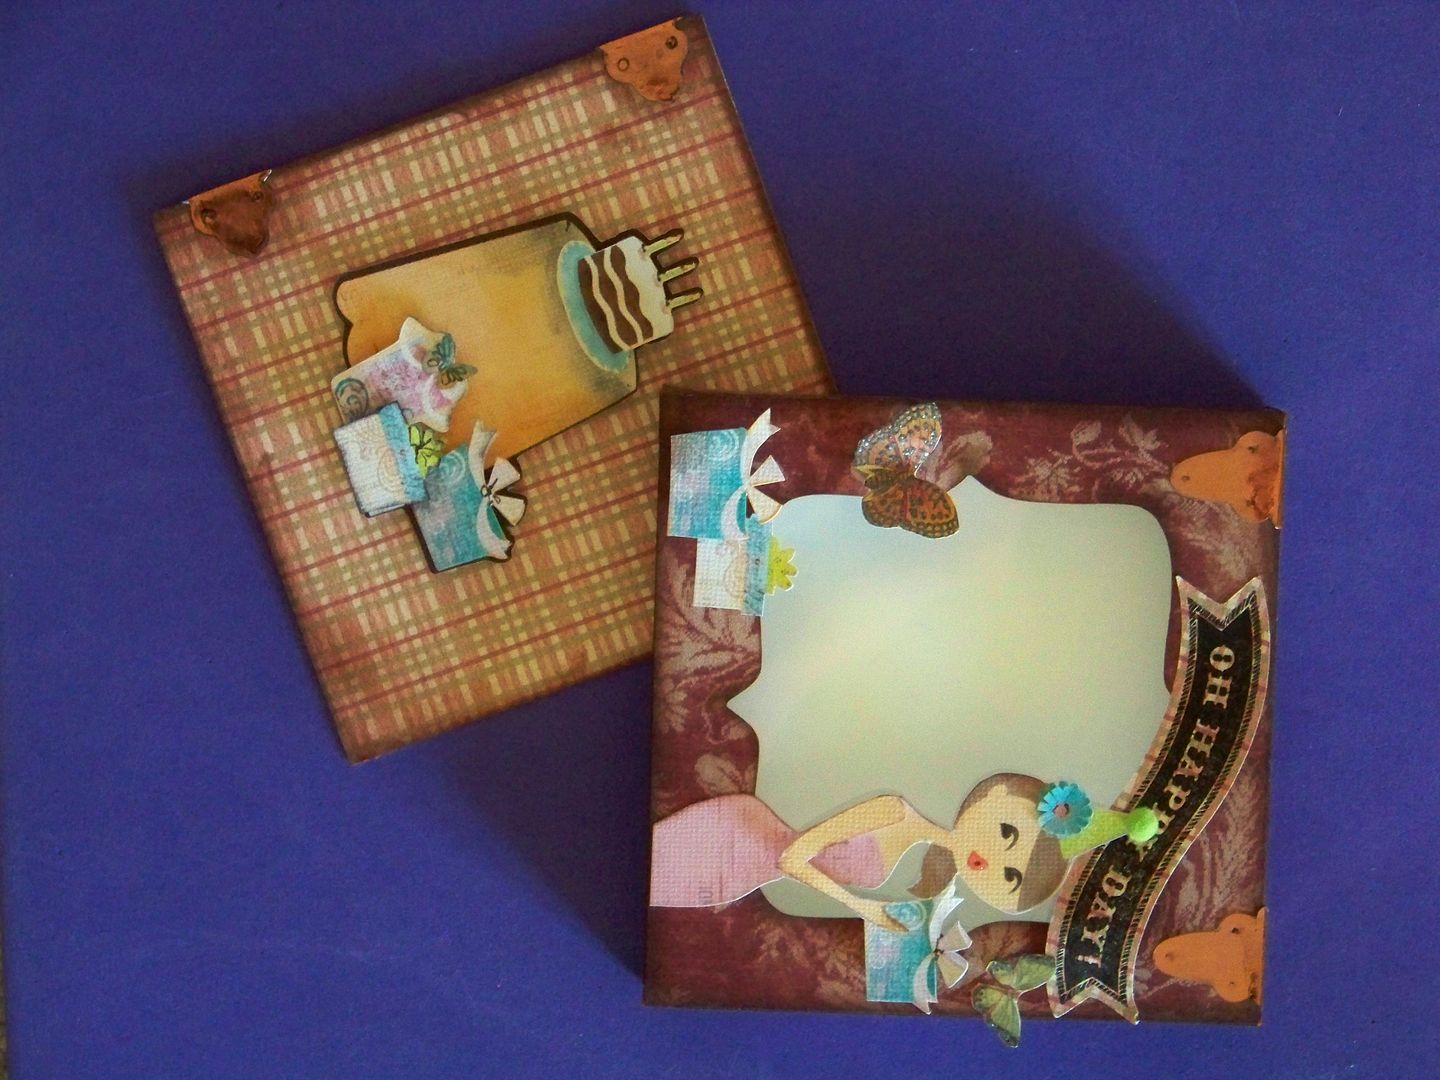
For the front of the box, I printed and cut a 6" figure from the Yummy cartridge twice. I cropped off her legs, hand-cut off one arm from the second figure and popped it up and inked it for dimension. I added an extra popped up bow and flower on her hat. I added a pompom for her party hat and Glossy Accents to her lips.
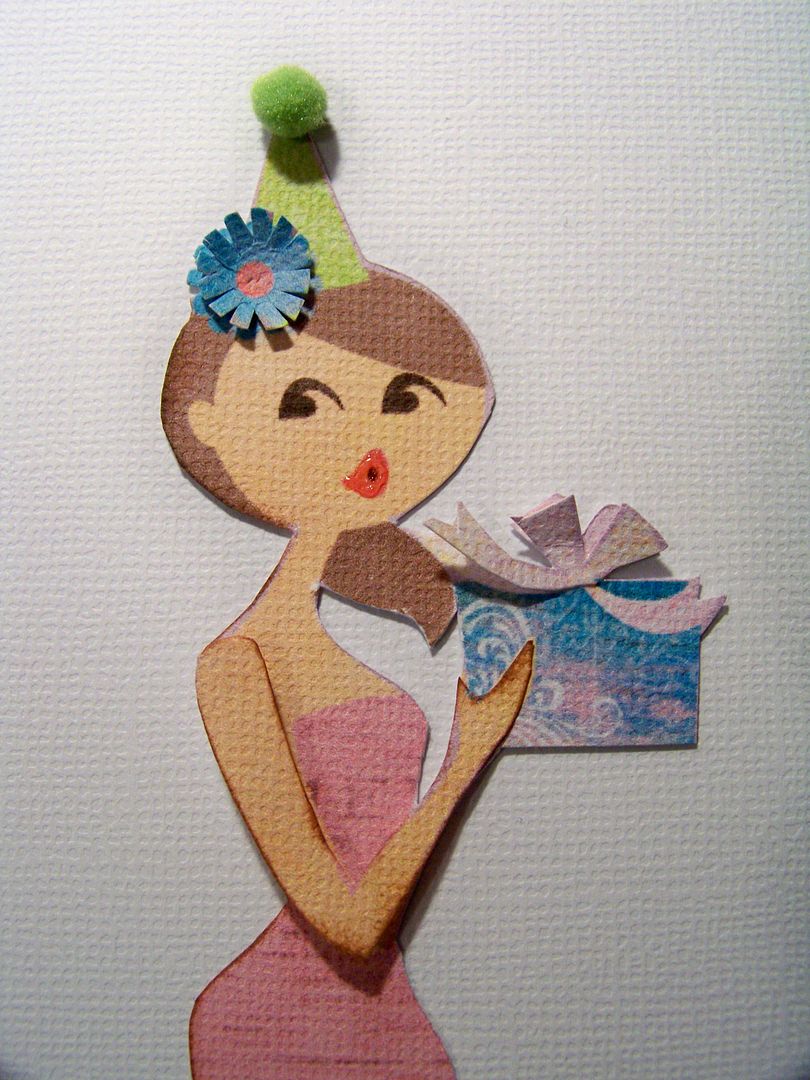
I applied her to the box with 1/8" pop dots on her upper body and box, but adhered her flush at the bottom.
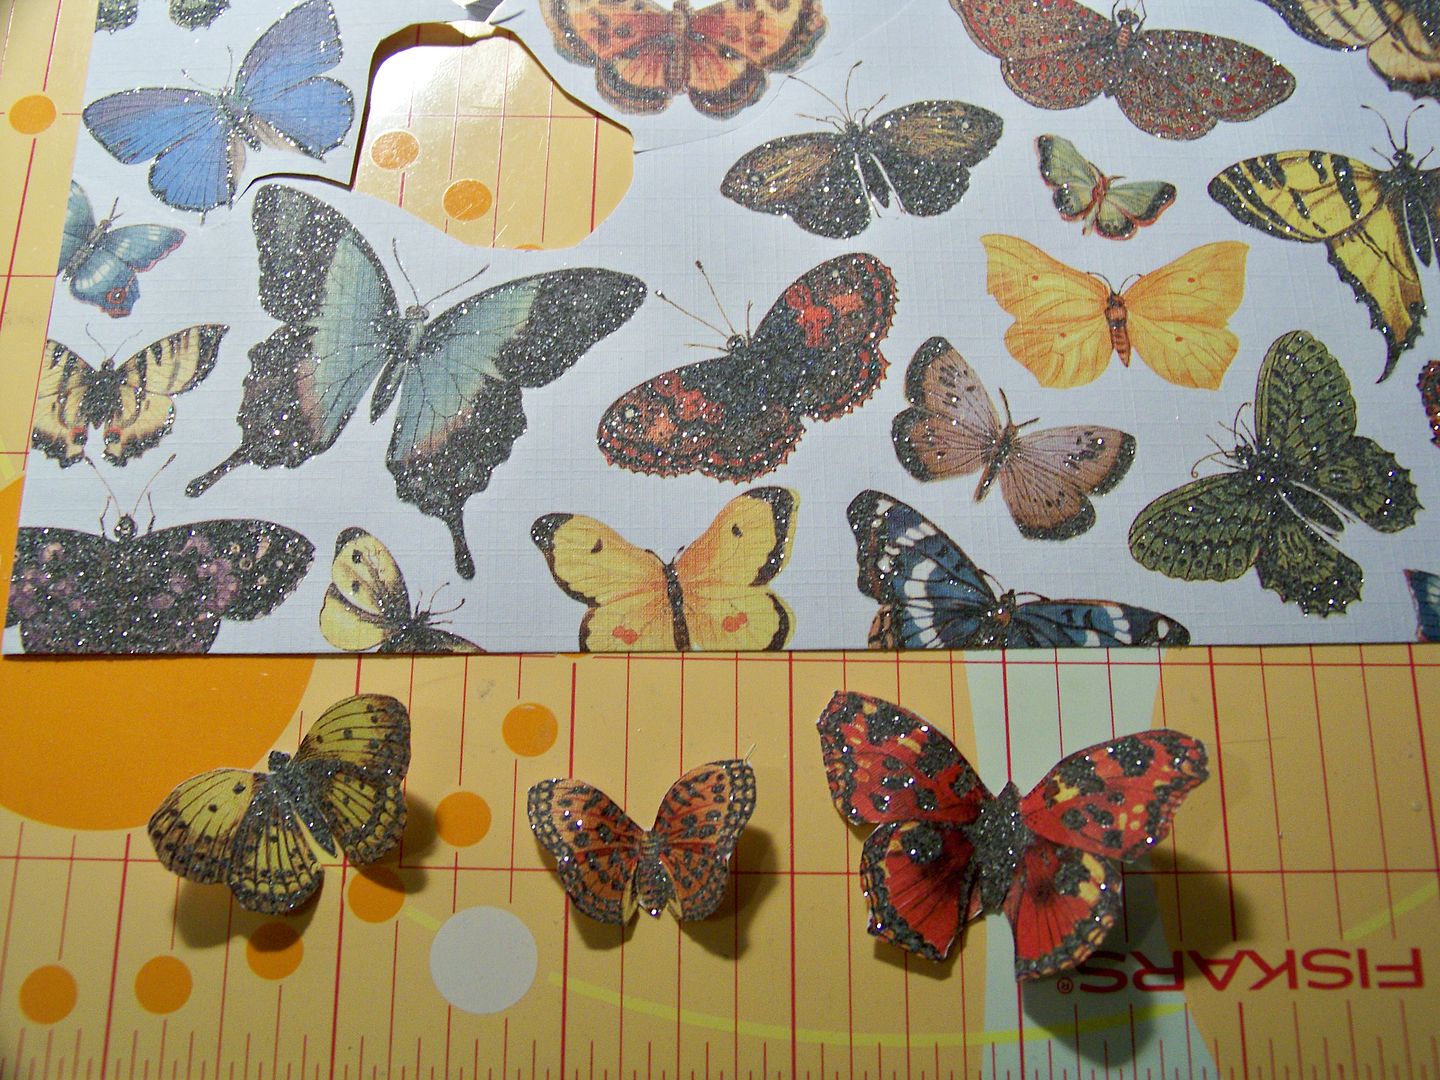
I hand-cut butterflies from a glittery printed paper for the box front embellishments.
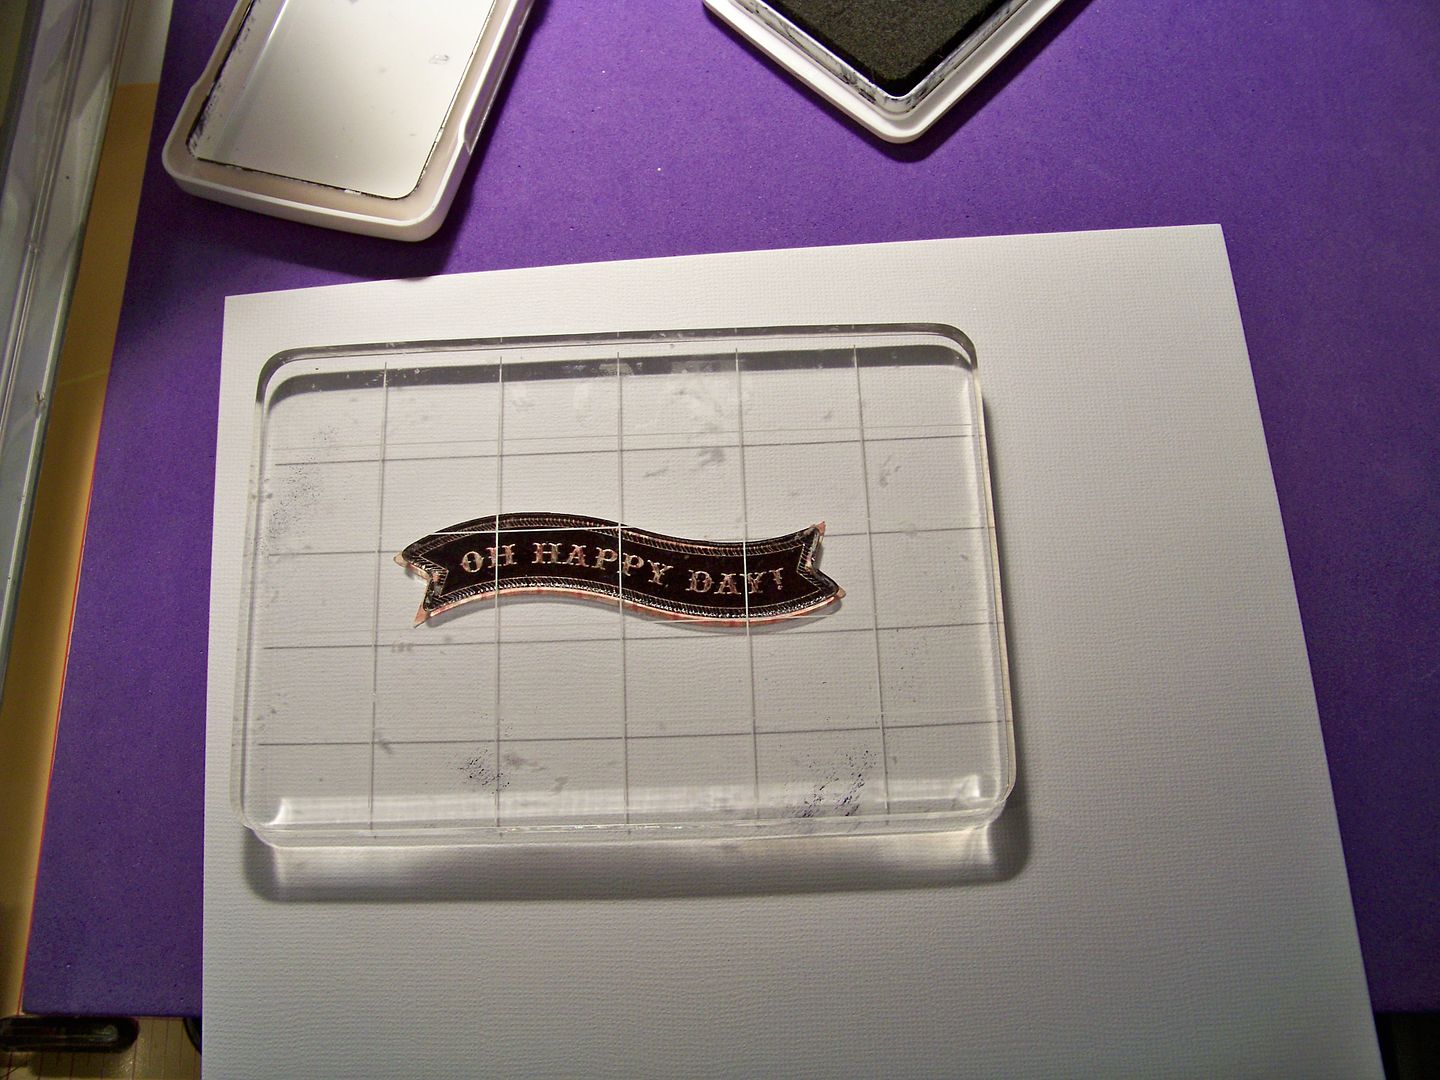
I cut a banner from Artiste (page 58) at 1" in the same plaid used on the card insert and stamped it with the coordinating CTMH stamp.
I adhered the banner after bowing it out. The butterflies were adhered with pop dots and Scotch Quick Dry Glue. I added extra packages, popping up one.
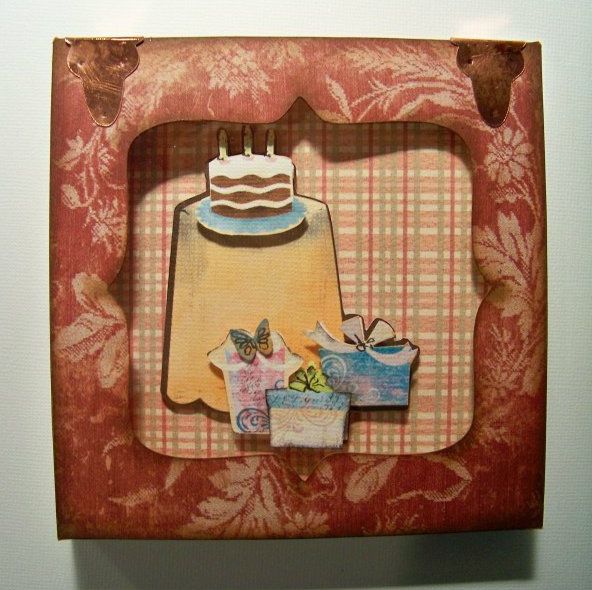
When the card is inserted...
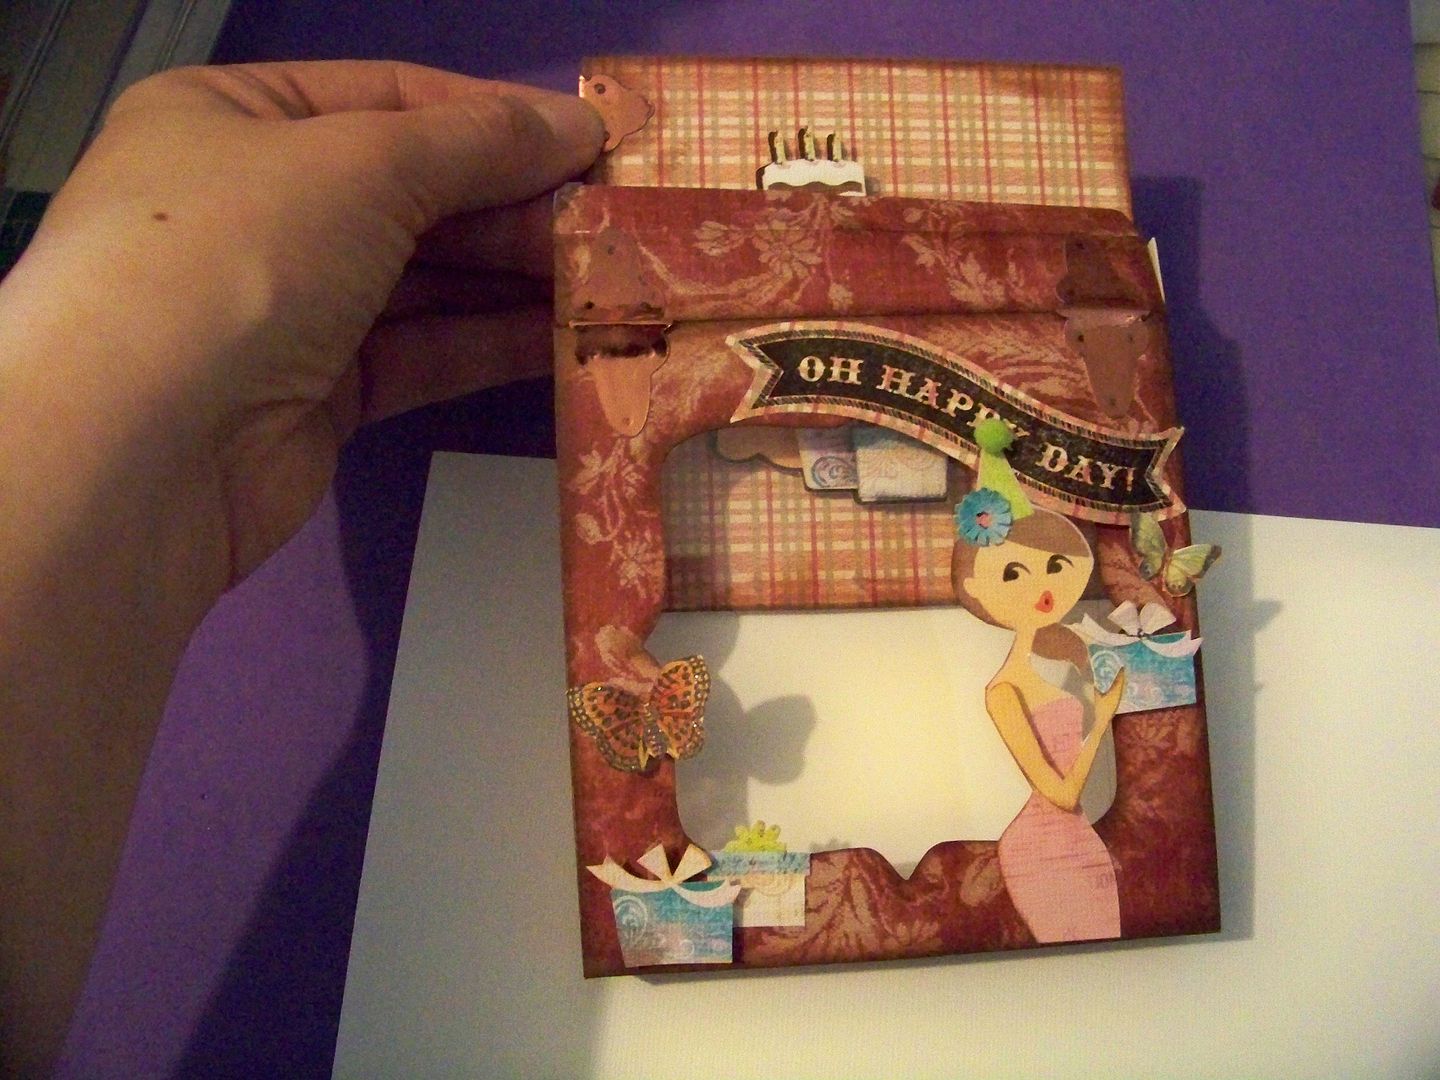
It becomes a fun, boxed gift card!

I also decorated the post office packaging to coordinate with the card inside using extra cuts.
To Sherry: I hope you had a Happy Birthday yesterday! (And I hope my card got to you before you saw this post... if not, well, surprises are over-rated anyway and hard on the aged... hahaha) And I am looking forward to your project today on the Cricut Fanatics!
For everyone else, thank you for checking out my project today! You can see many of my previous projects by visiting My Project Gallery.....And be sure you visit my blog November 10 when I will be part of the Holly Jolly Blog Hop!

For everyone else, thank you for checking out my project today! You can see many of my previous projects by visiting My Project Gallery.....And be sure you visit my blog November 10 when I will be part of the Holly Jolly Blog Hop!
21 comments:
Nadia -
This is a seriously great birthday card. I love how the detailed hinges support how it "works" and how the color scheme reinforces it. Glorious fun and wonderfully clever! As always, your instructions and "out of the box" insights are inspiring and perfectly explained.
What a great milestone birthday card!
Fabulous creation - I don't know how you come up with your ideas - you are so creative. TFS
http://karonskraftykorner.blogspot.ca/
This is Fabulous Nadia and once I read your explanation, I think I could possibly attempt one of my own...when the snow flies of course!
You rock girl!
Fantastic card & box!
Love your detail and instructions
Thanks
This is so beautiful, Nadia! So much love put into this work. Happiest of birthdays to Sherry too!
This is a wonderful project & I can't wait to try it!! It is gorgeous. Thank you for such detailed instructions as well. Love everything about it!
Glitter and appreciation!
This is a valuable creation, as we don't exchange gifts any more but do a lot of card exchanges. Truly tremendous!
Thanks so much for sharing your super great idea.
I.now,know you are my favorite designer. Your cards, boxes, etc. are more than exquisite. Where you find your ideas I don't know, but I sure am glad you do.
Dianne Bell - Sewpro02@aol.com
What fun! I just love this - what a great way to make a card even more special and a great way to display it. Your details are just amazing and the images are super cute!
Oh my goodness... you have done it again Nadia! This is such a wonderful idea, and a beautiful piece of art as well! This truly makes giving a card so very special. I am putting this on my list of "must try projects". Thank you for always inspiring me.
Hugs,
Lori
Nadia, you are simply the Cricut Genious!!! I just adore this idea and thanks for sharing all the details. I am definitely going to have to try this one! Adorable card/gift!!
What a wonderful/creative project Nadia. Your attention to detail always amazes me. Thanks so much for sharing with us and your instructions are fabulous. I may have to try this one out.
Absolutely stunning card/gift!!! I love all the little details. I have not previously thought to use a box for a card. Thank you for including the tutorial, I always pick up little tidbits from everyone. Have an awesome night!
Michelle
www.scrapngrow.com
Gorgeous box card! Incredible details and great tutorial.
This is an amazing card. I didn't think you could top some of your previous projects, but then you go and do it again!!!! Amazing!!!
I love your box card! Your directions are perfect and so well done. Your attention to detail is the best I have ever seen! Love this project!
Nadia,
This is so super cute! I love it!!
Susie
Cute box and card. Love the figure you added. Your unique touch. TFS
Super Super CUTE!!
Fun fun! What a fun birthday card! Love it, Nadia!
Oh Happy Day, for sure! What a beautiful card/gift for someone!!
Simply love any project you do!! TFS! :-)
Post a Comment