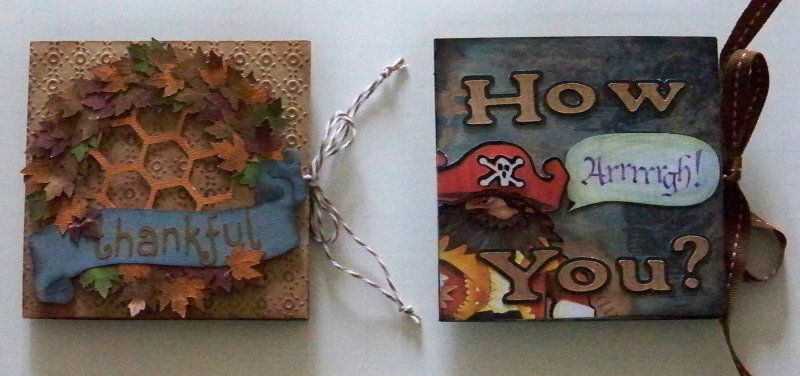

I made a pirate card to mail to a friend...
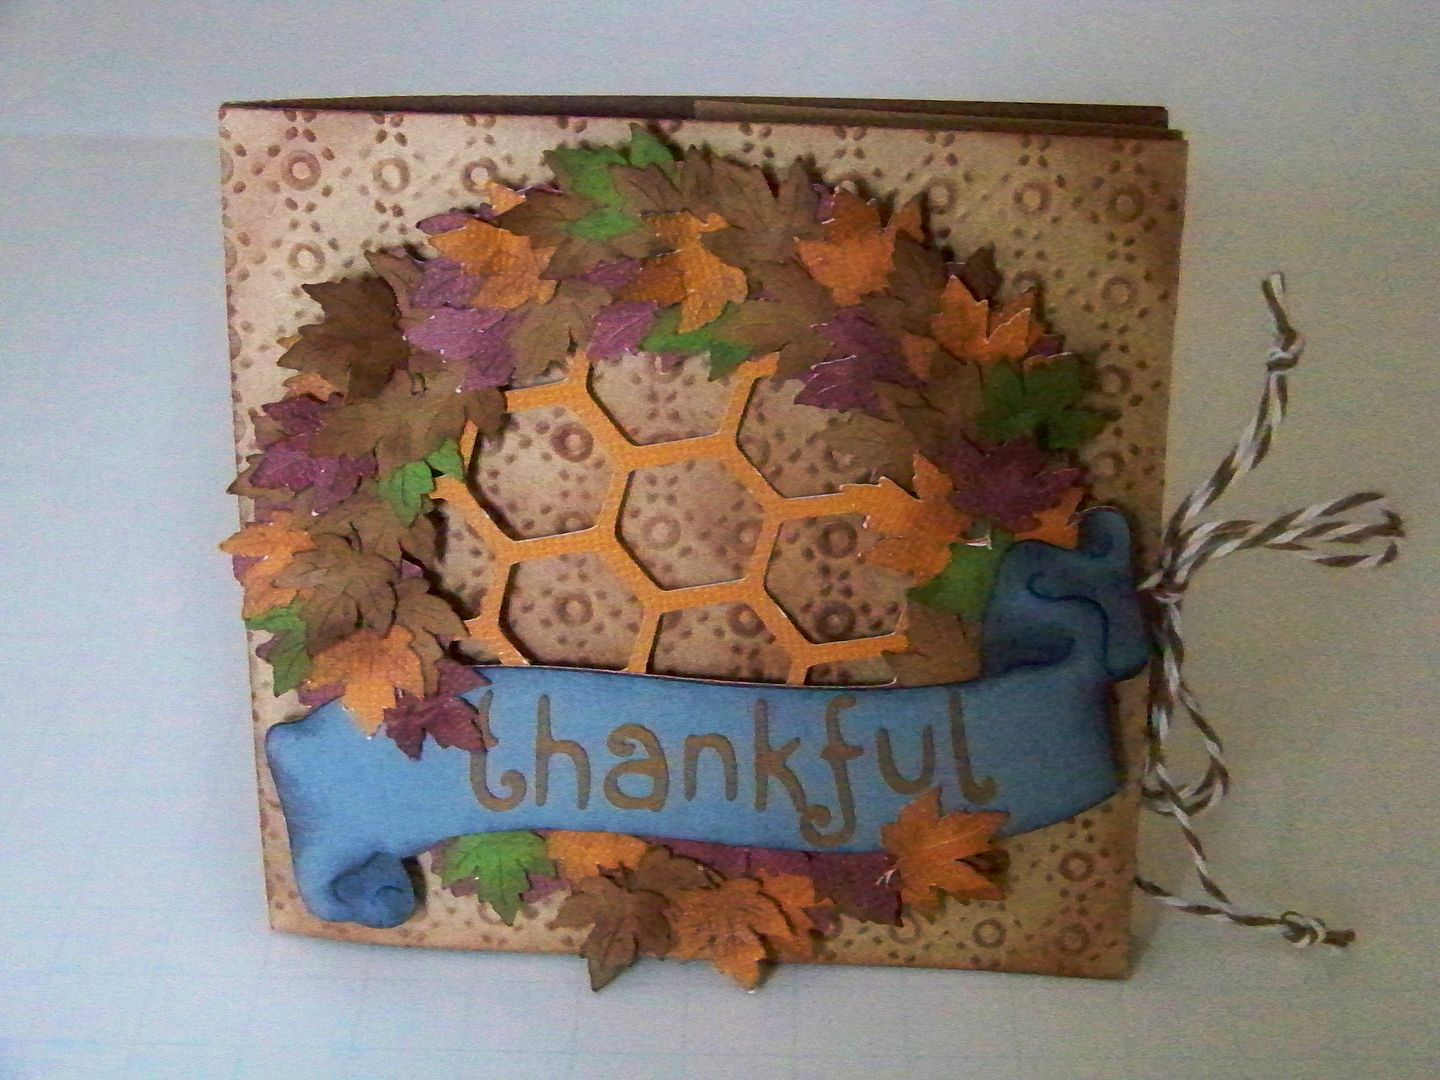
And I made a 'thankful for you' card to give to my daughter at her school's Thanksgiving luncheon...
After making the mini books on that last post, there were several things I wanted to try, including setting up the scenes before attaching the base papers. WOW! What a difference that made! I wanted to use my Imagine to create quick, un-bulky die cuts. I also wanted to investigate when it was best to score with a bone folder versus when it is best to use an Xacto knife. These cards gave me lots of opportunities to figure it all out!
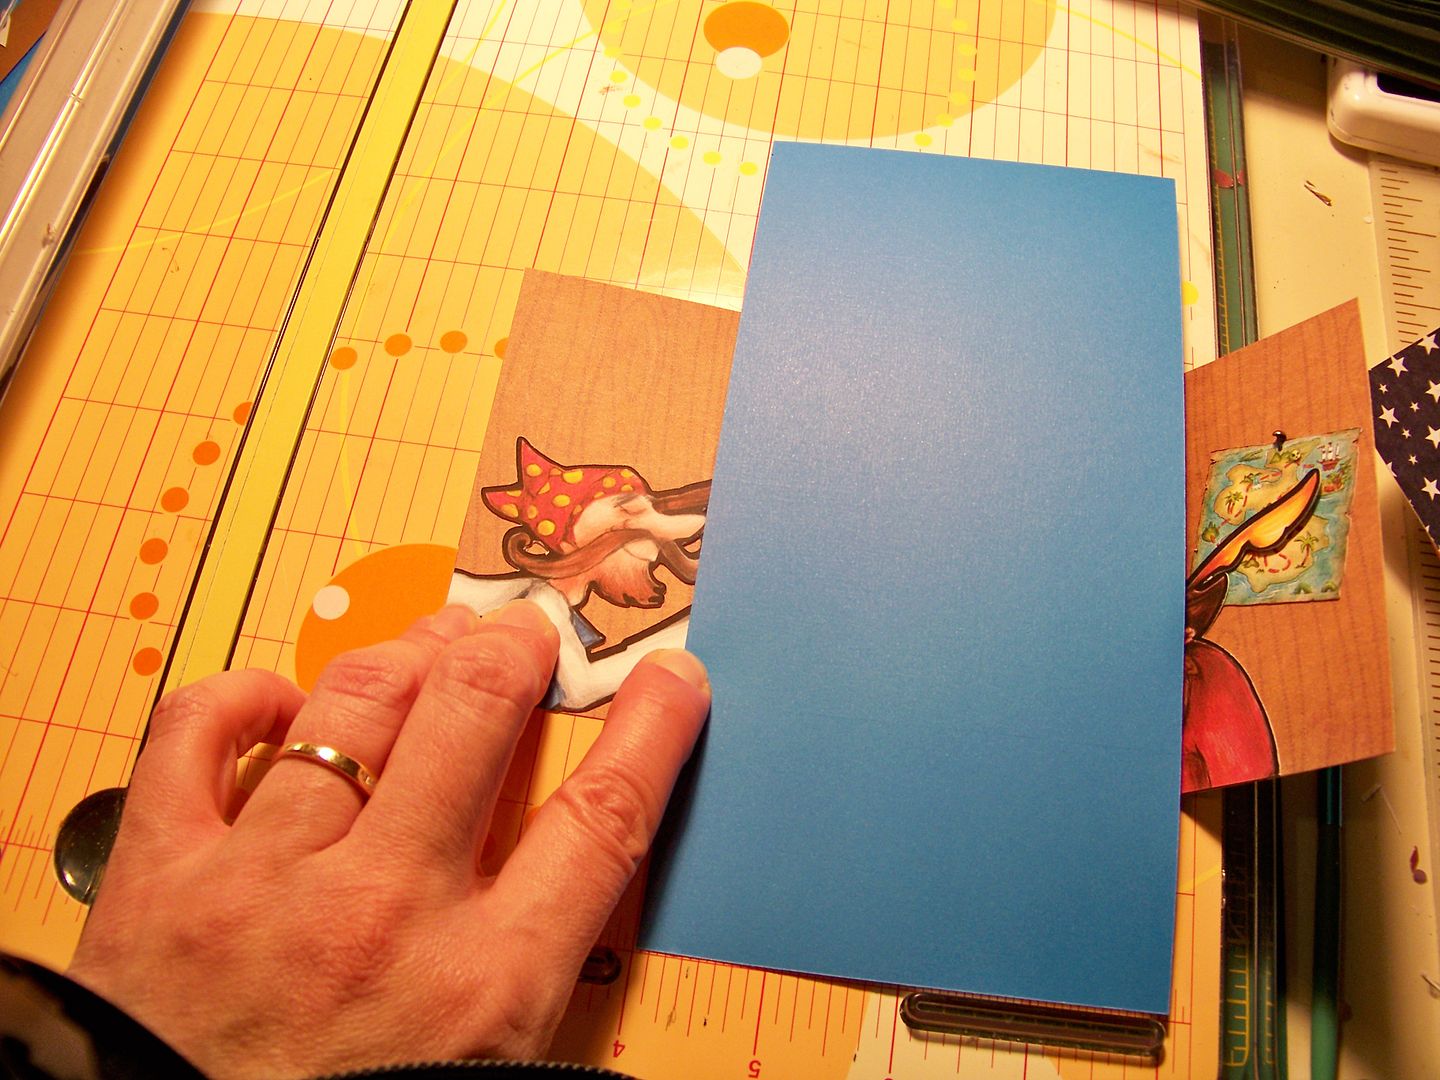
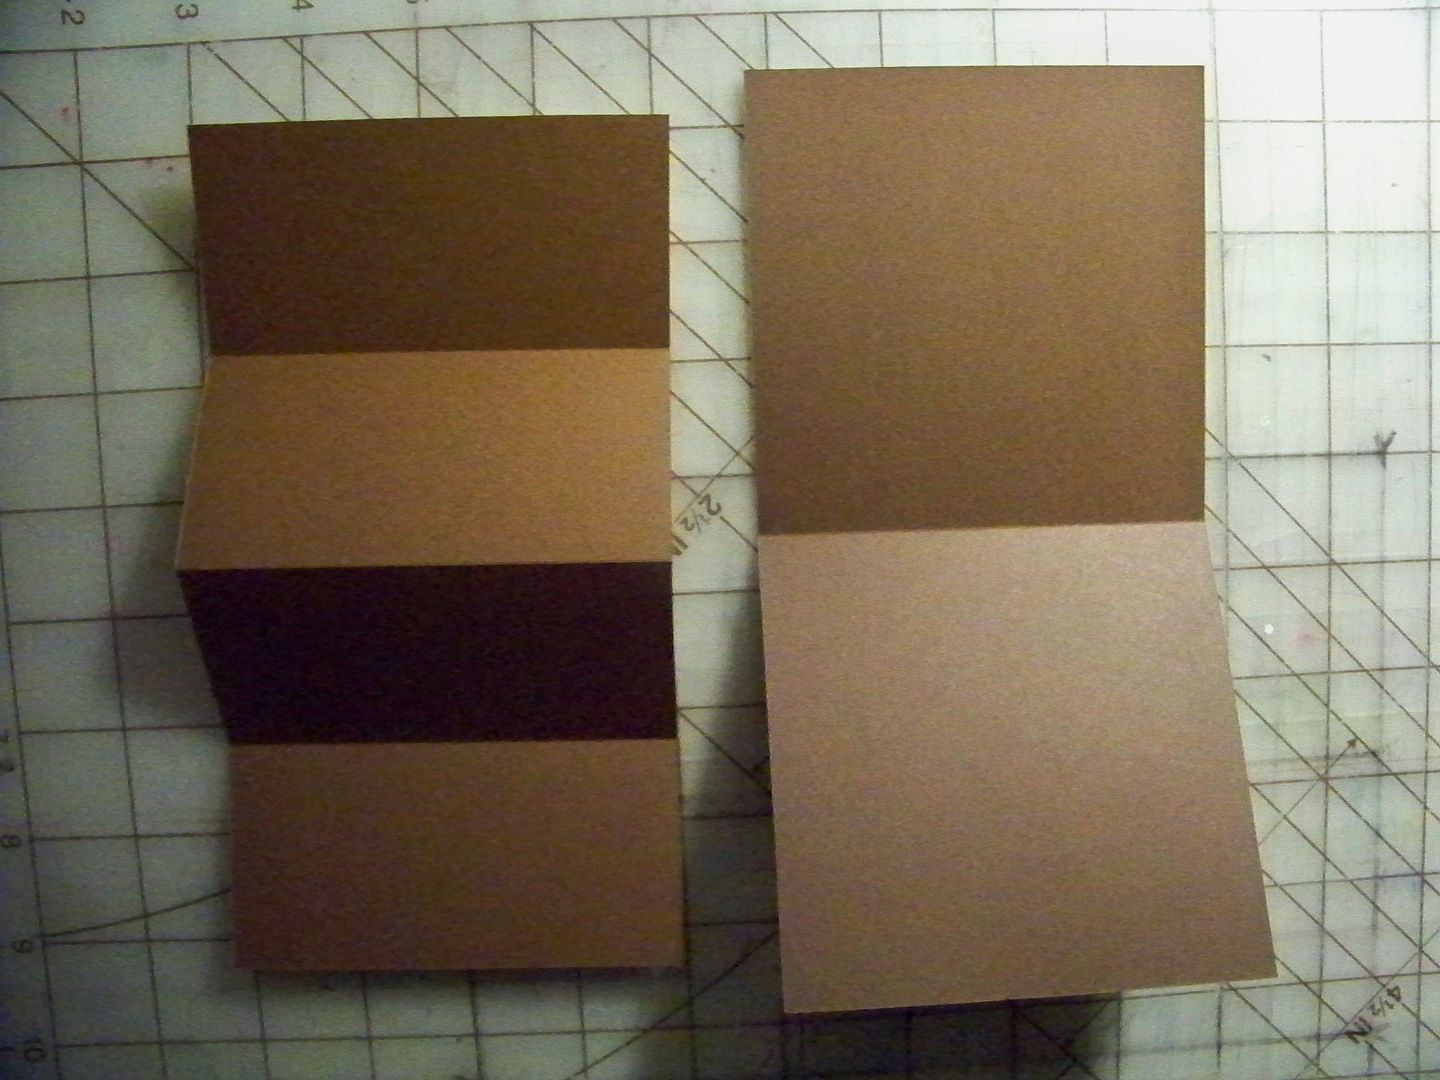
For each of my cards, I cut two pieces of 4"x8" cardstock. These form the inside of the card. I cut two 4"x4" pieces of cardstock for the outside covers. I cut all of my die cuts and adhered them flat to the bases before joining them.
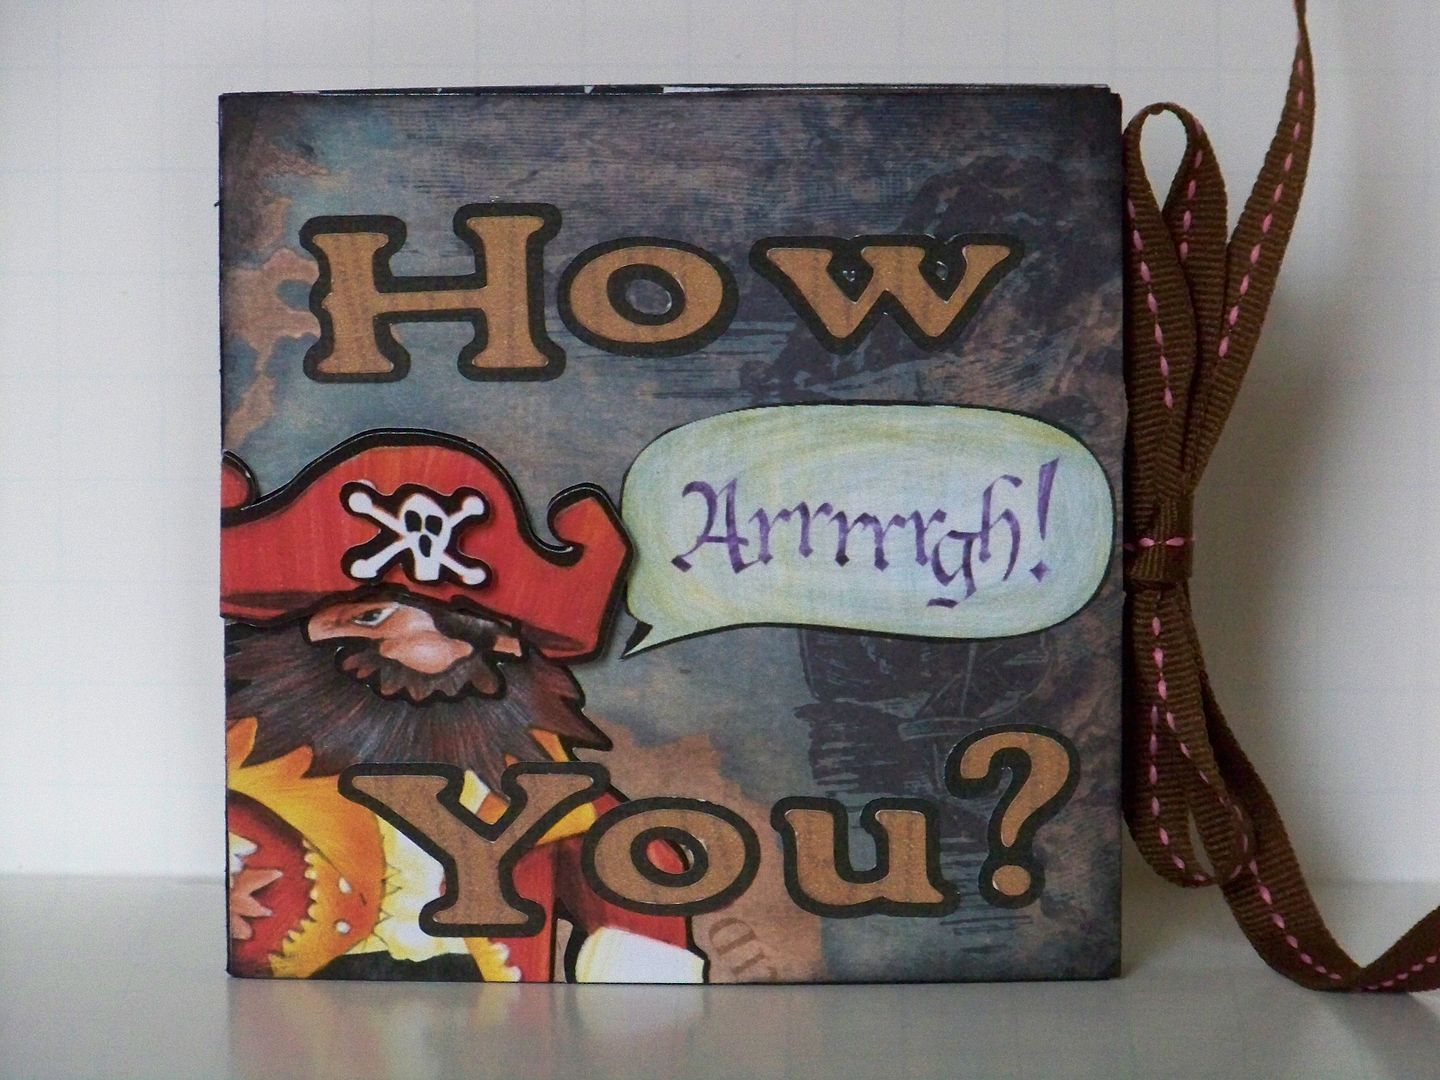
Pirate Card (How Arrrrrgh You?)
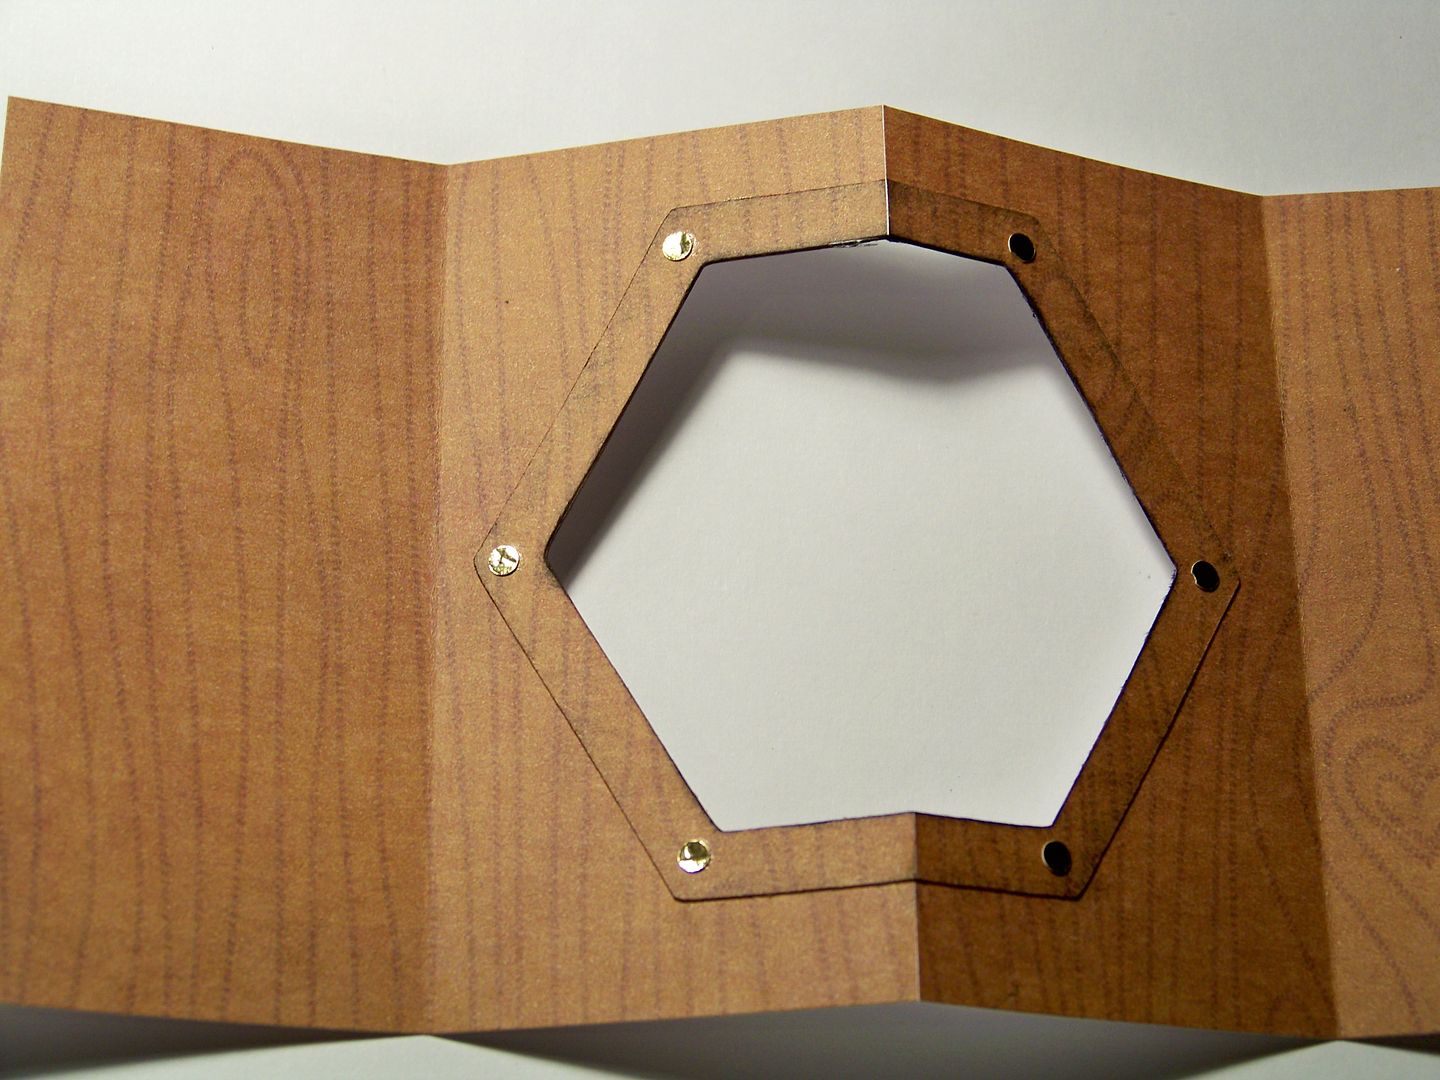
I cut the paper that would be the majority of the inside of the card-- the one that would have a window cut into it. It was cut at 4"x8" and scored at 2", 4", and 6".

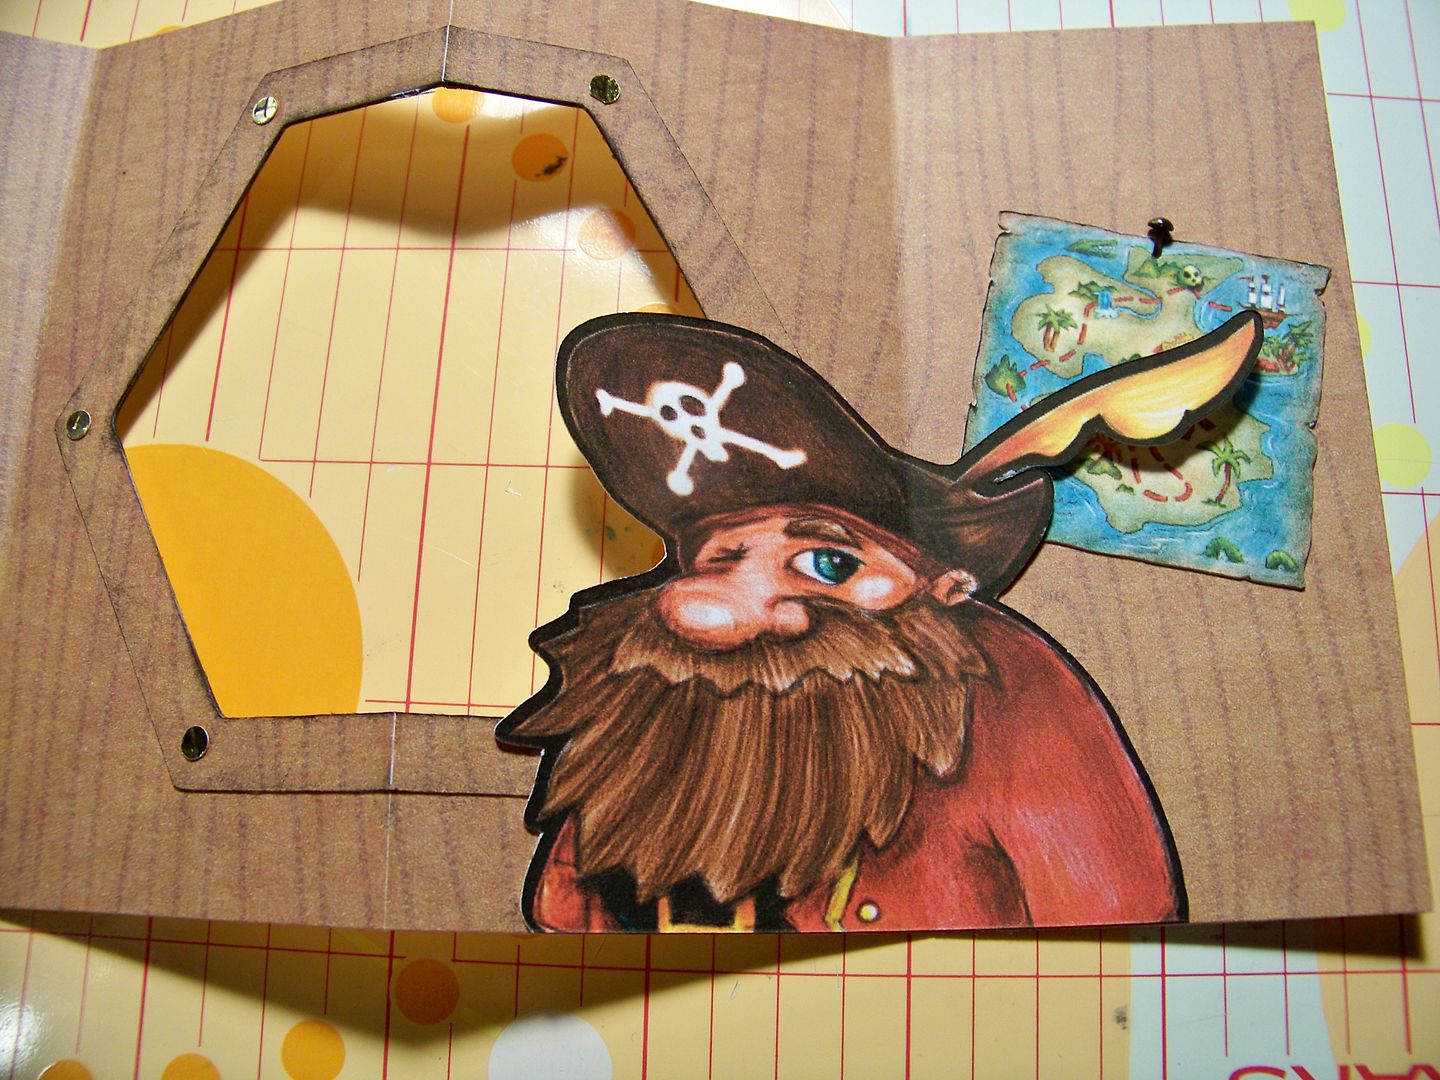
I cut a window in the middle of the paper using the Centerpoint feature. I also cut a frame with the same cut. This is from Holiday Frames and Tags.
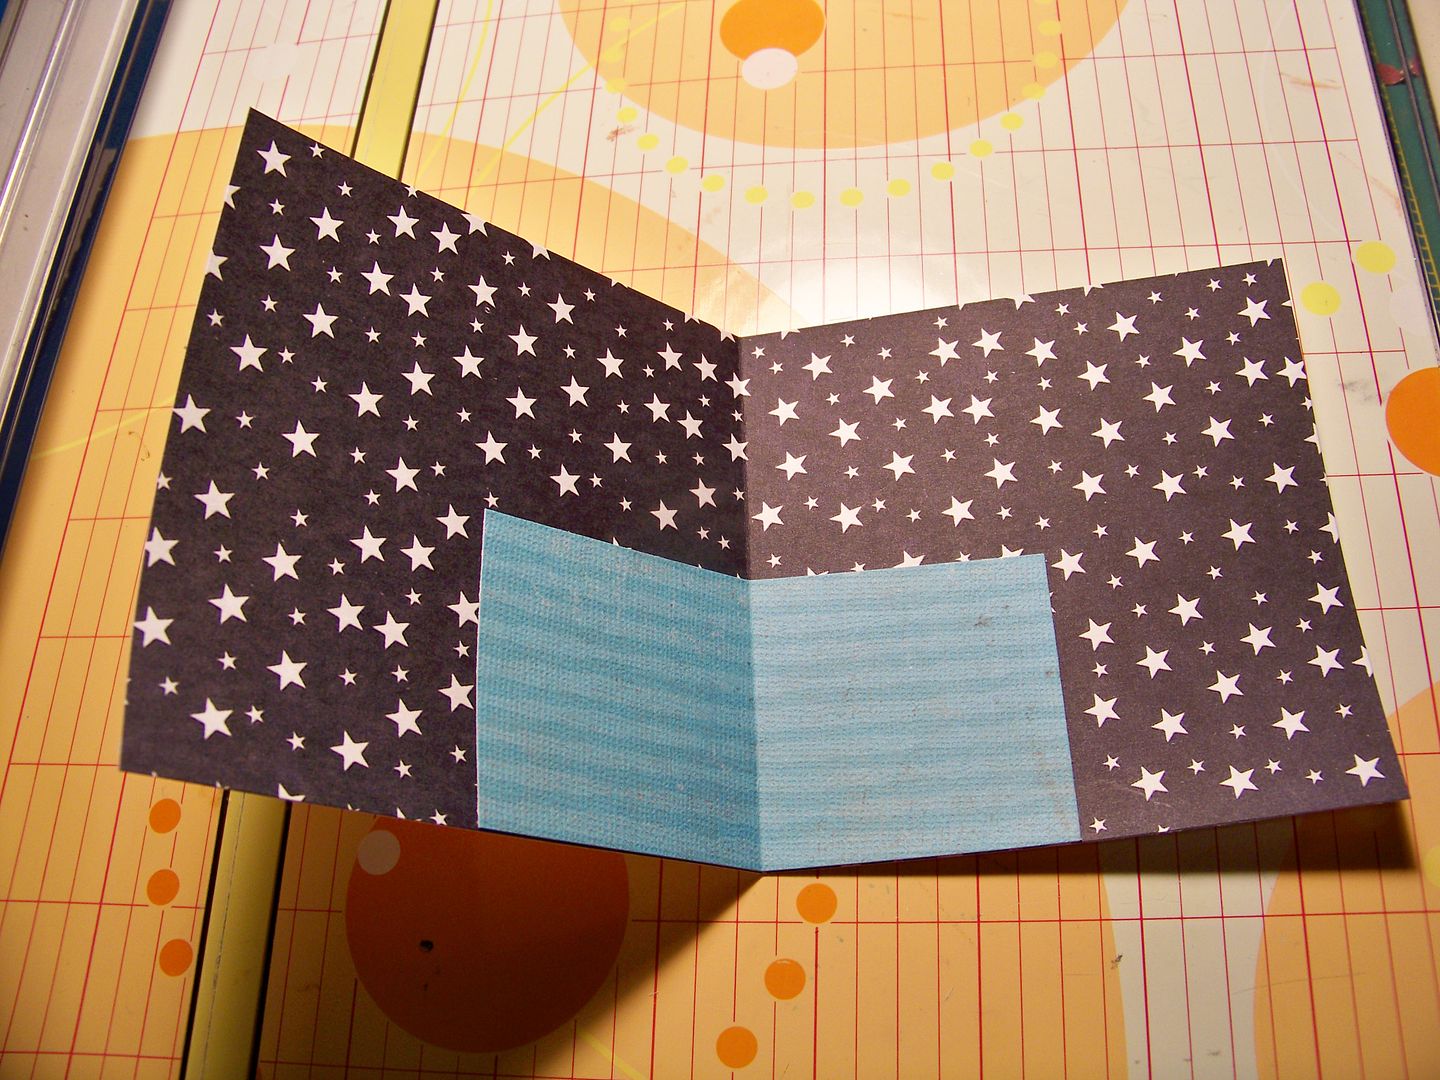
I cut the paper what would be seen when looking through the window at 4"x8" and scored in the center.

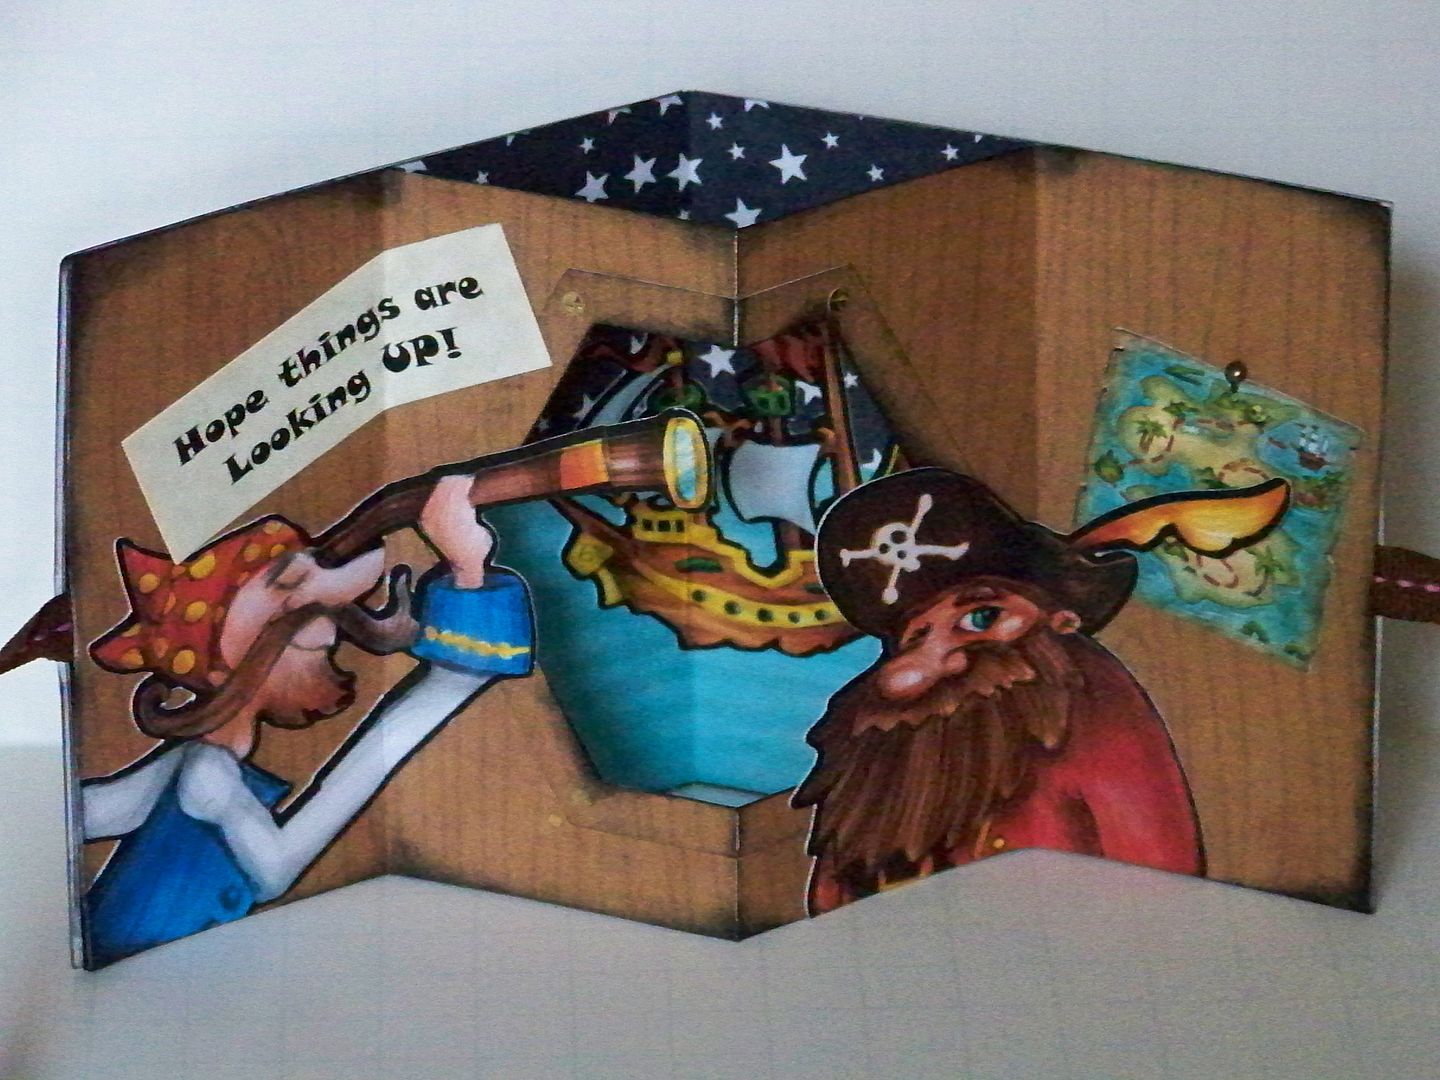
This would be the sky! I wanted to add water. I cut a 2"x4" piece of cardstock, scored it, and adhered it to the star paper.
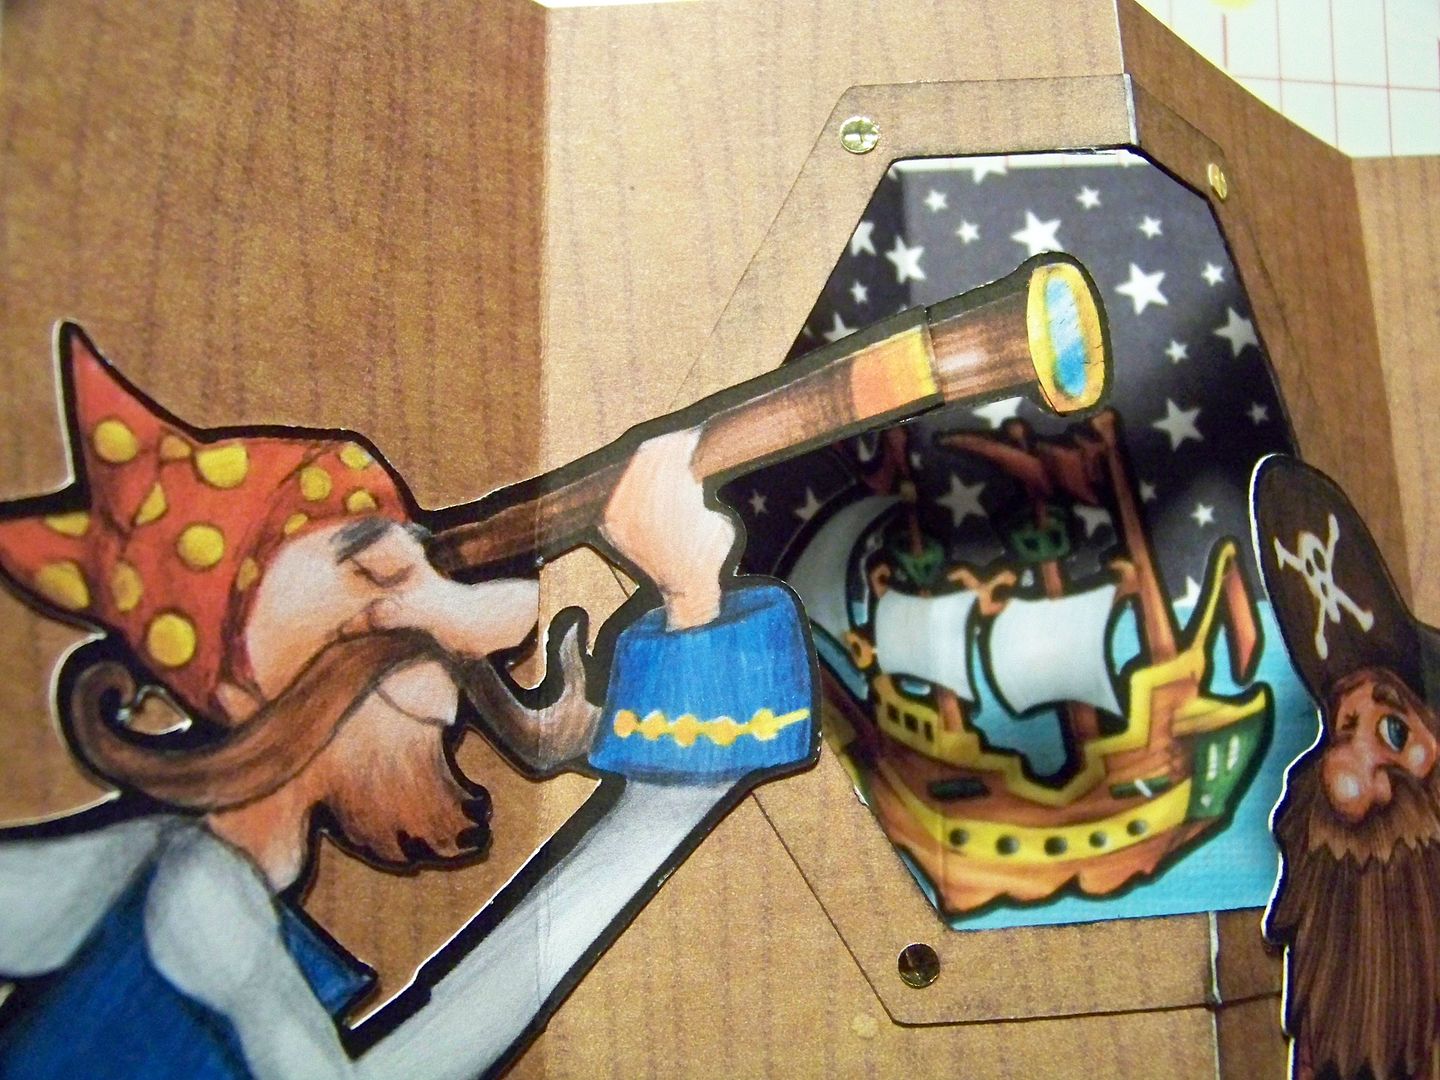
I cut the ship and added it. I cut the characters and map and adhered them to their papers. I cropped the characters to fit. I used a brad that was inserted only part way to look like a nail holding the map up. I did not glue the feather on the pirate's hat, allowing it to give a little dimension and create a shadow.
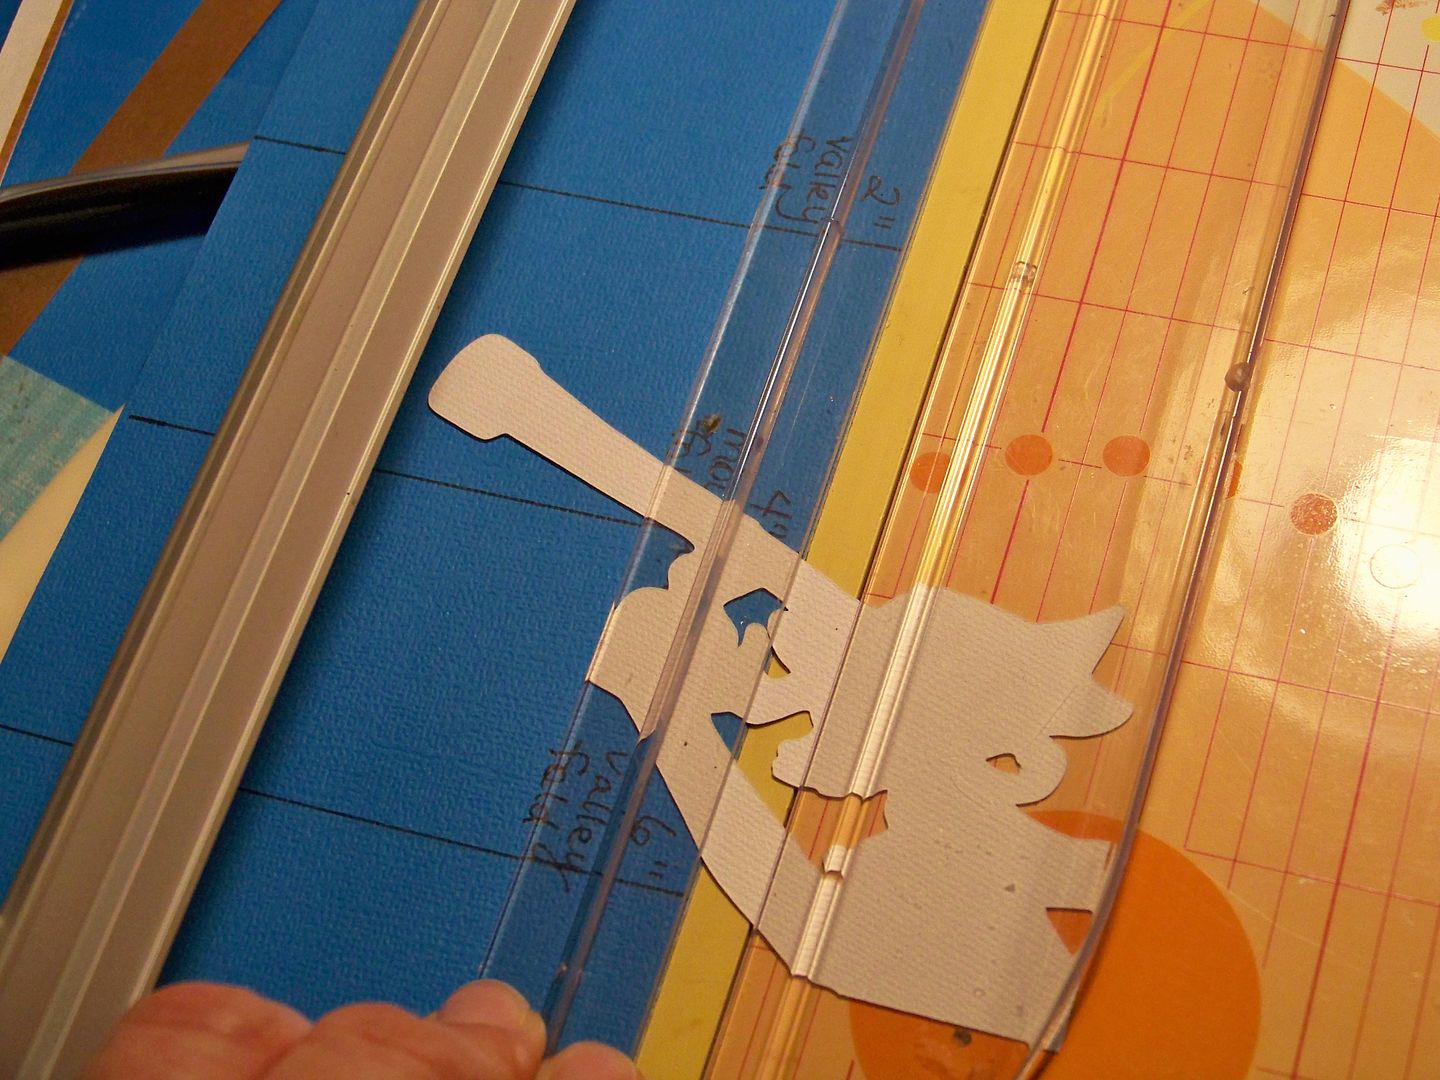
I used the straight edge of a piece of scrap paper to help me determine where to score a die cut (remember you have to score anything that covers a score line!). I used the paper to indicate where the score goes, then I flipped it over and scored along the line.
Then I joined the star paper to the faux bois paper. The valley fold of the star paper lines up directly behind the mountain fold and window of the faux bois paper. The side flaps were adhered using ATG tape.
I realized that the telescope surpassed the center of the window so I manually cut it down. Otherwise, when closed it would have been visible on the outside of the card.
 |
| I snipped off the end of this pirate's nose. The lesson I keep re-learning is that small shapes overlapping a score line will never stay adhered and set correctly! Best to avoid that at all costs! |
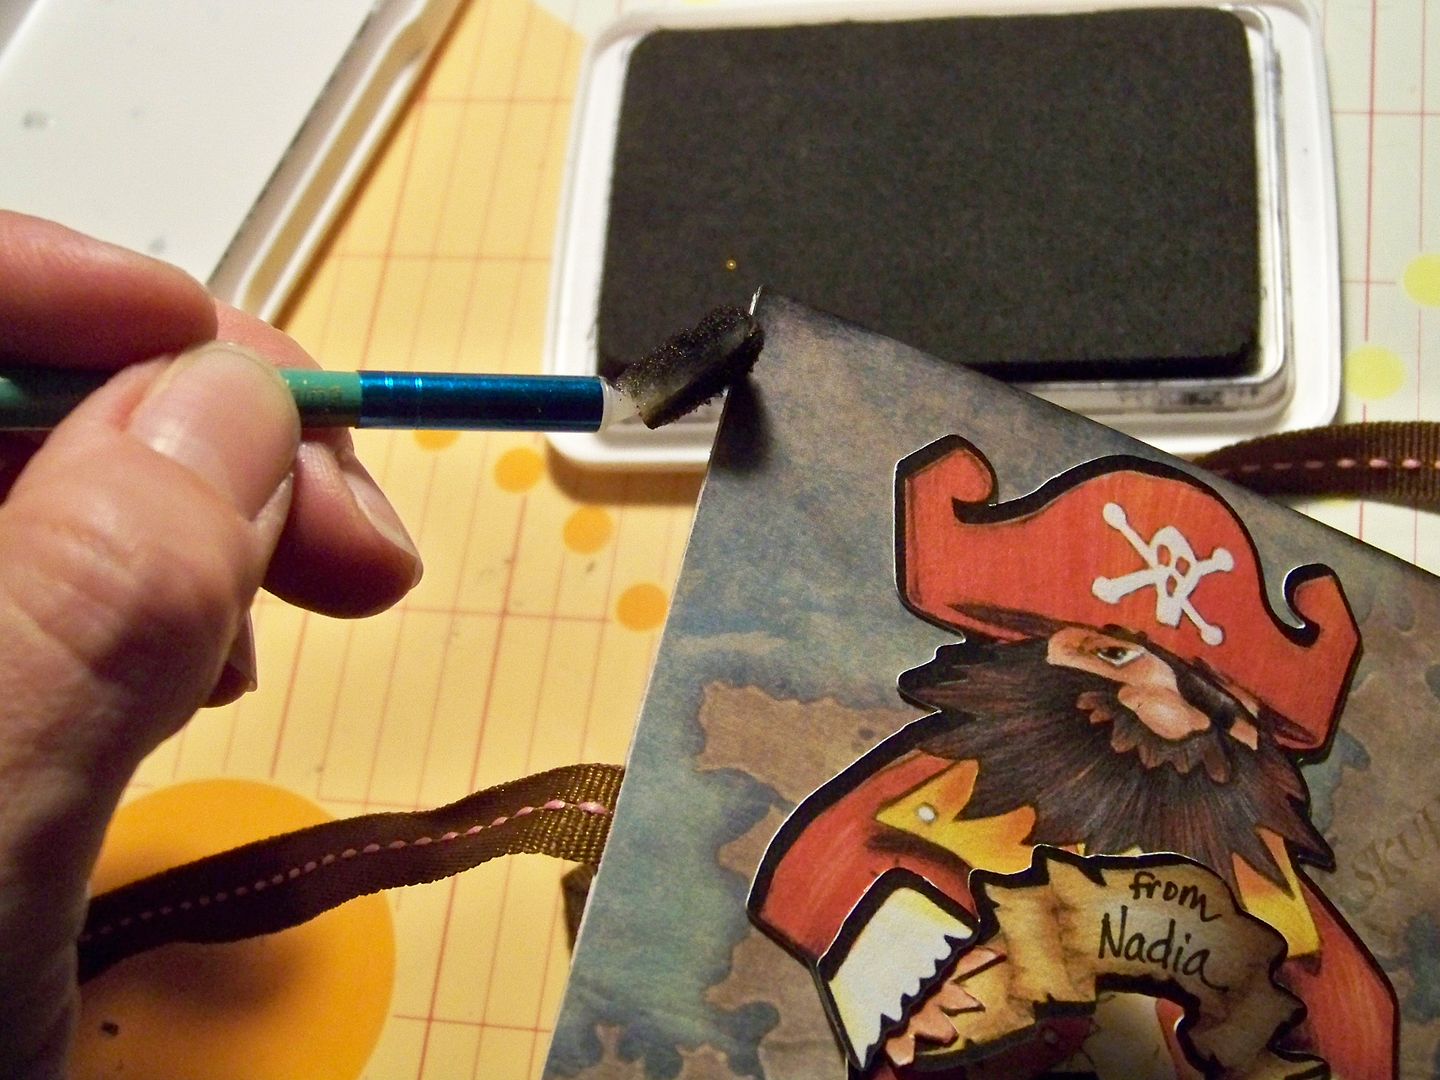
I added a computer-printed sign and inked the inside corners and edges.
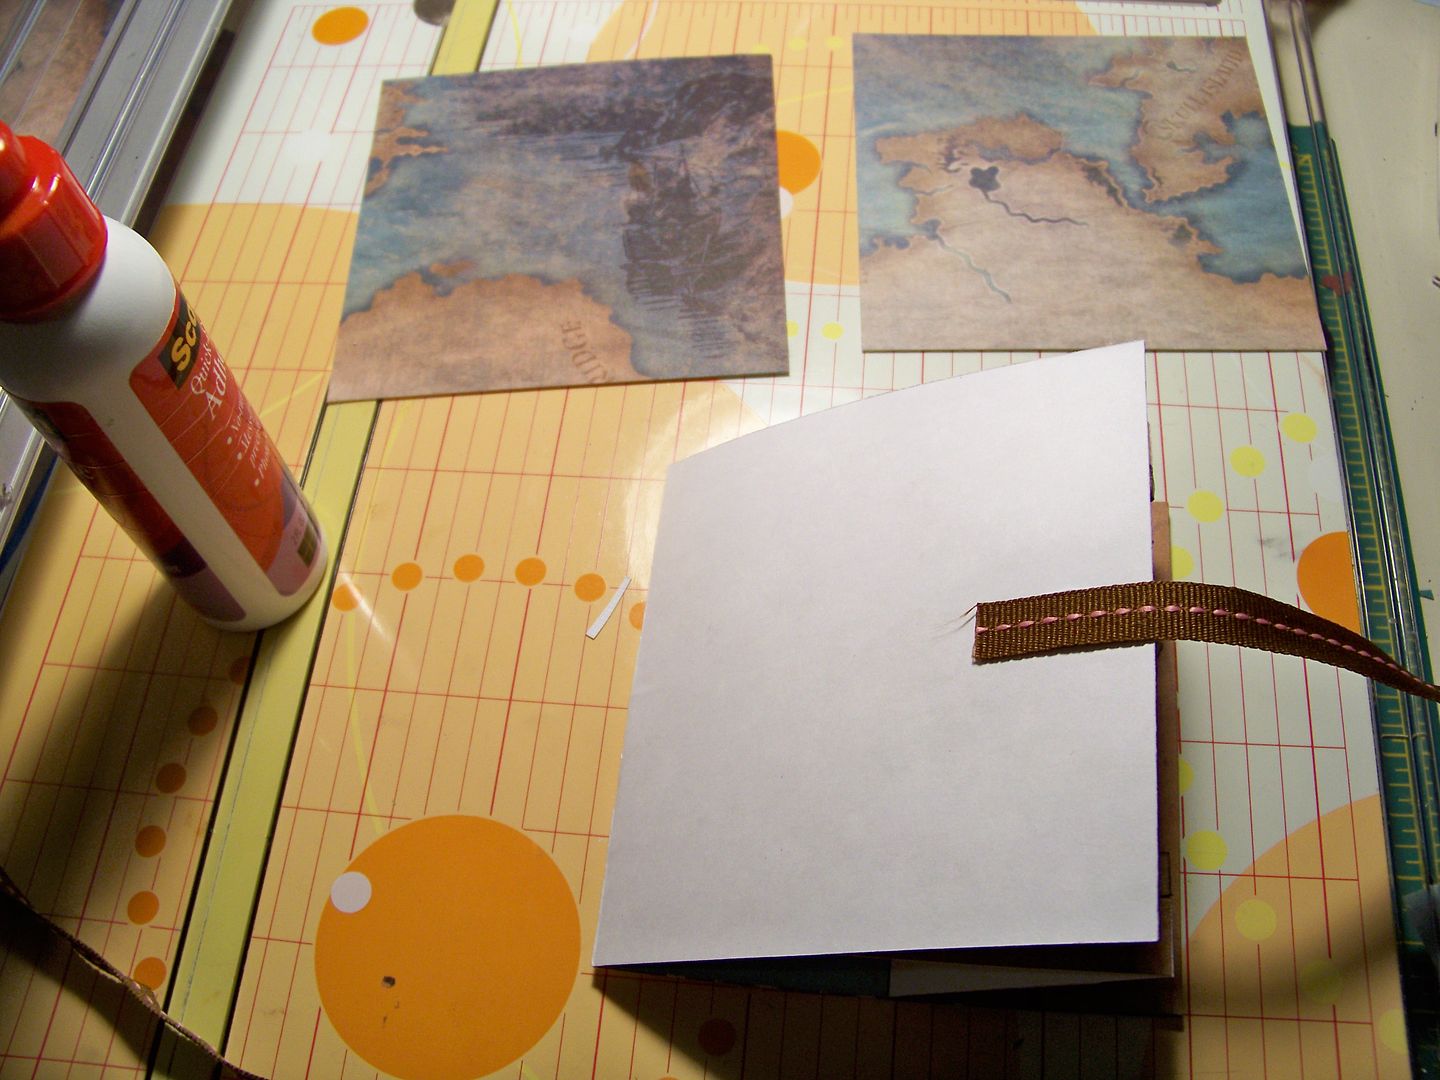
Once the two inside papers where attached. I attached ribbon so that the card could tie closed. I glued and taped the ribbon ends in place.
I embellished the covers and then adhered them to the front and back of the card with Terrifically Tack Tape.
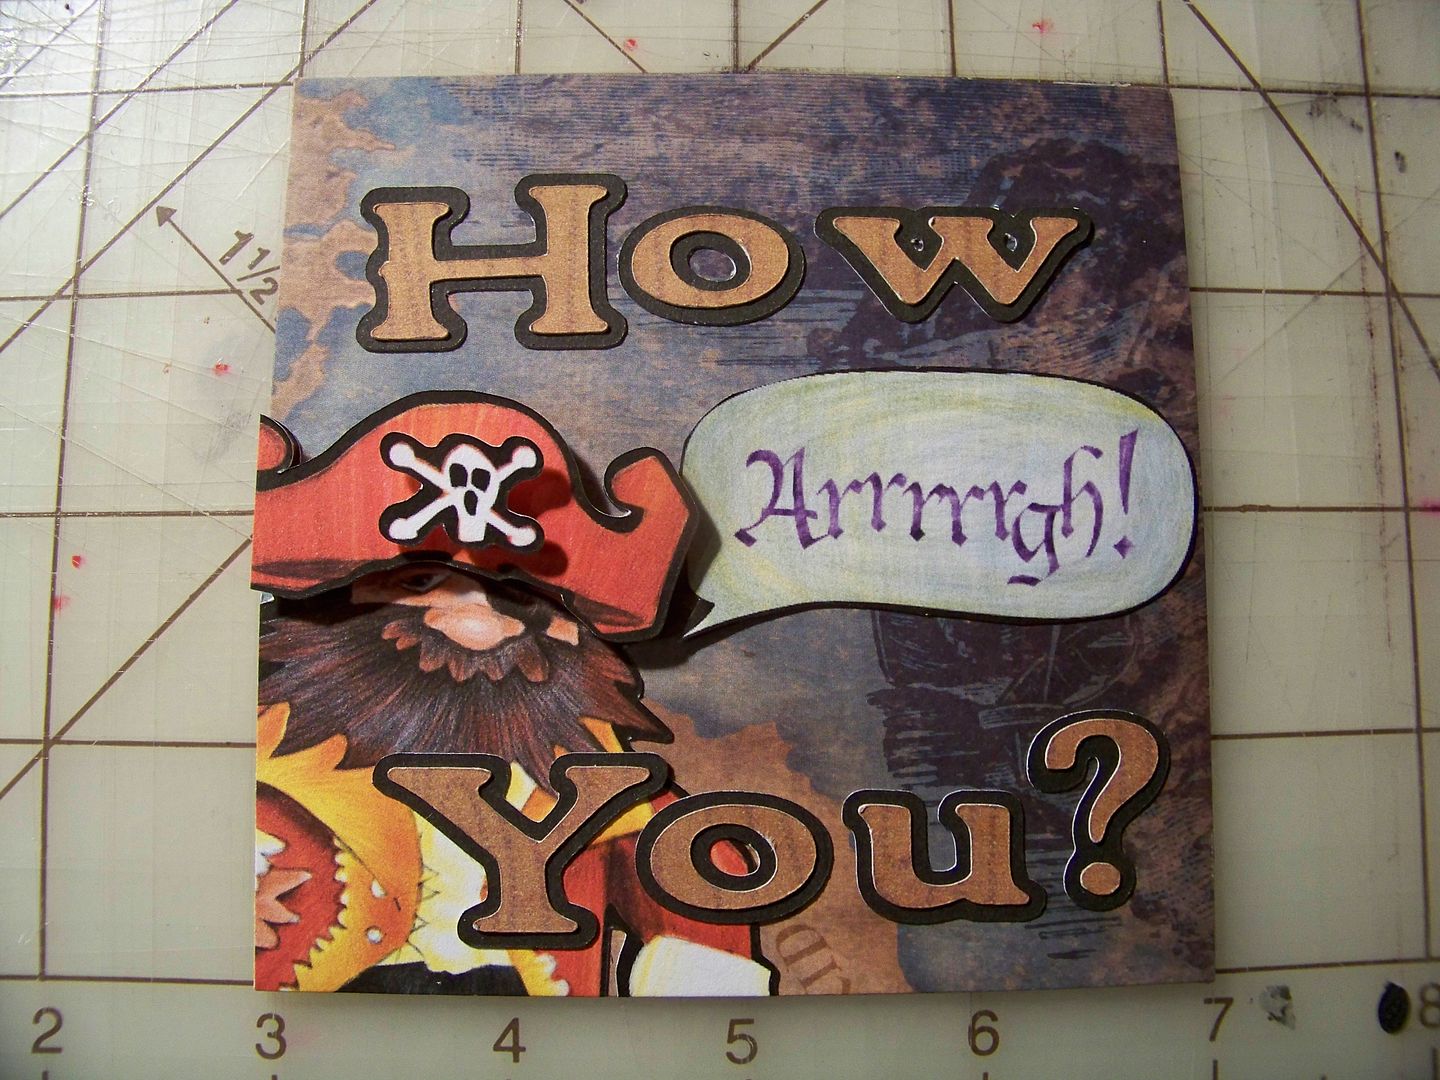
Then, I cussed because, oh yes, I applied the front cover upside down! After prying the cover off and re-attaching it, it all worked out, but I can definitely assure you that it really is terrifically tacky. grrrr....
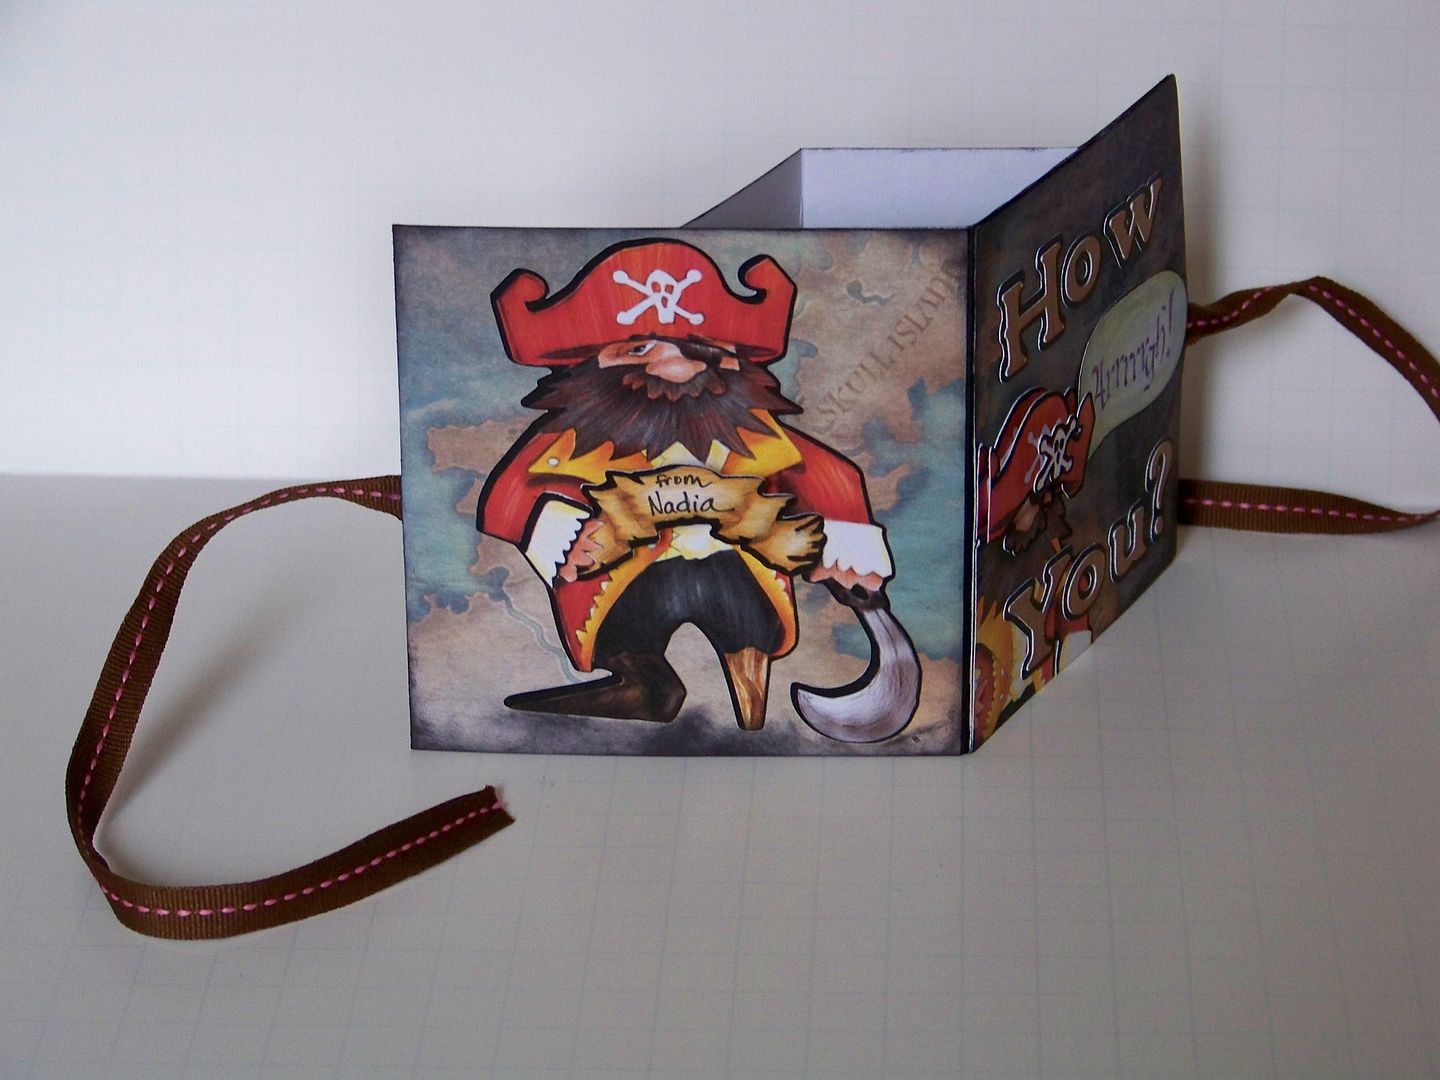
Once it was worked out, I applied the back cover. I added a little dimension to the front and back covers because those are the only places to add it! Everything inside must be as flat as possible to enable it to close.
I finished by inking the corners and edges.
Crafty details for Pirate card:
- Inside window - Creative Memories Holiday Frames and Tags Cricut cartridge, cut at 5-1/2" on an Expression. I used the Centerpoint feature, layer plus shift. I allowed it to cut the center of the cut and stopped the machine before it cut the outer shape. That created my cut-out window. I cut this shape again on another piece of matching paper, allowing the machine to complete the cut. This created the wood molding around the window. I cut out little circles using an edge punch and applied them to look like screws.
- Pirate with telescope - Buccaneer 5".
- Ship - Buccaneer 2".
- Map - Buccaneer 1-1/2".
- Captain inside - Buccaneer 3.7" cropped.
- Arrrrgh! (word bubble) - Buccaneer 1.2".
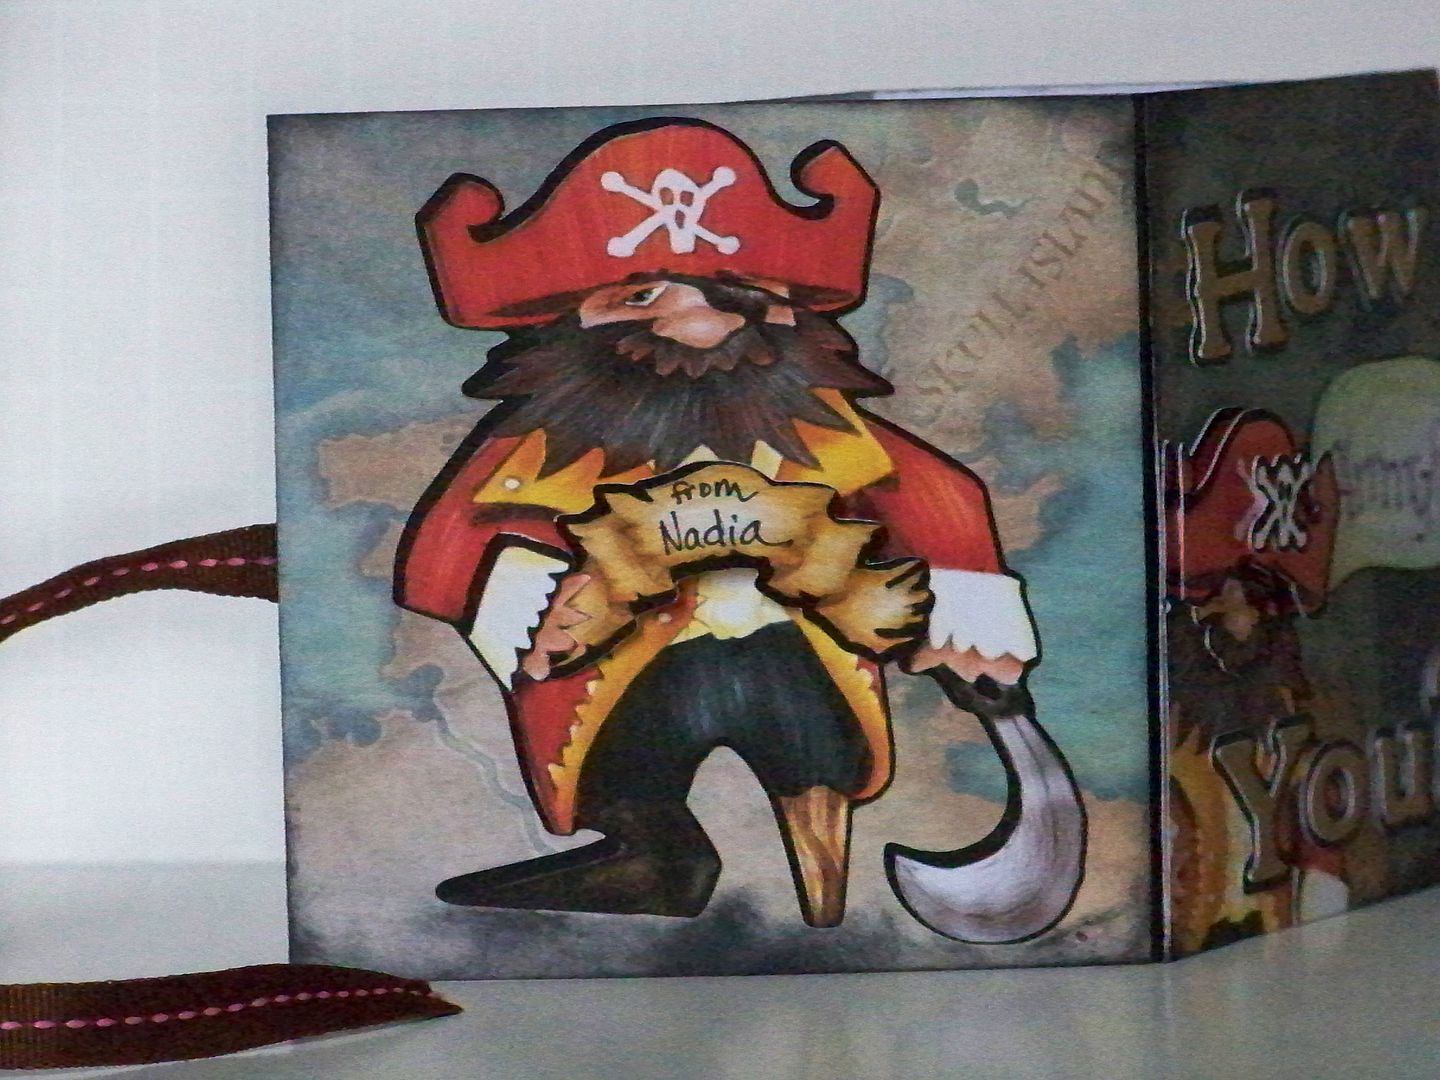
- Captain outside - Buccaneer 3.7" cropped on front, not on the back. I also cut extra layers.
- Text - Hannah Montana base font with shadow 3/4".
- Banner (back of card) - Buccaneer 1".
Thankful for You card
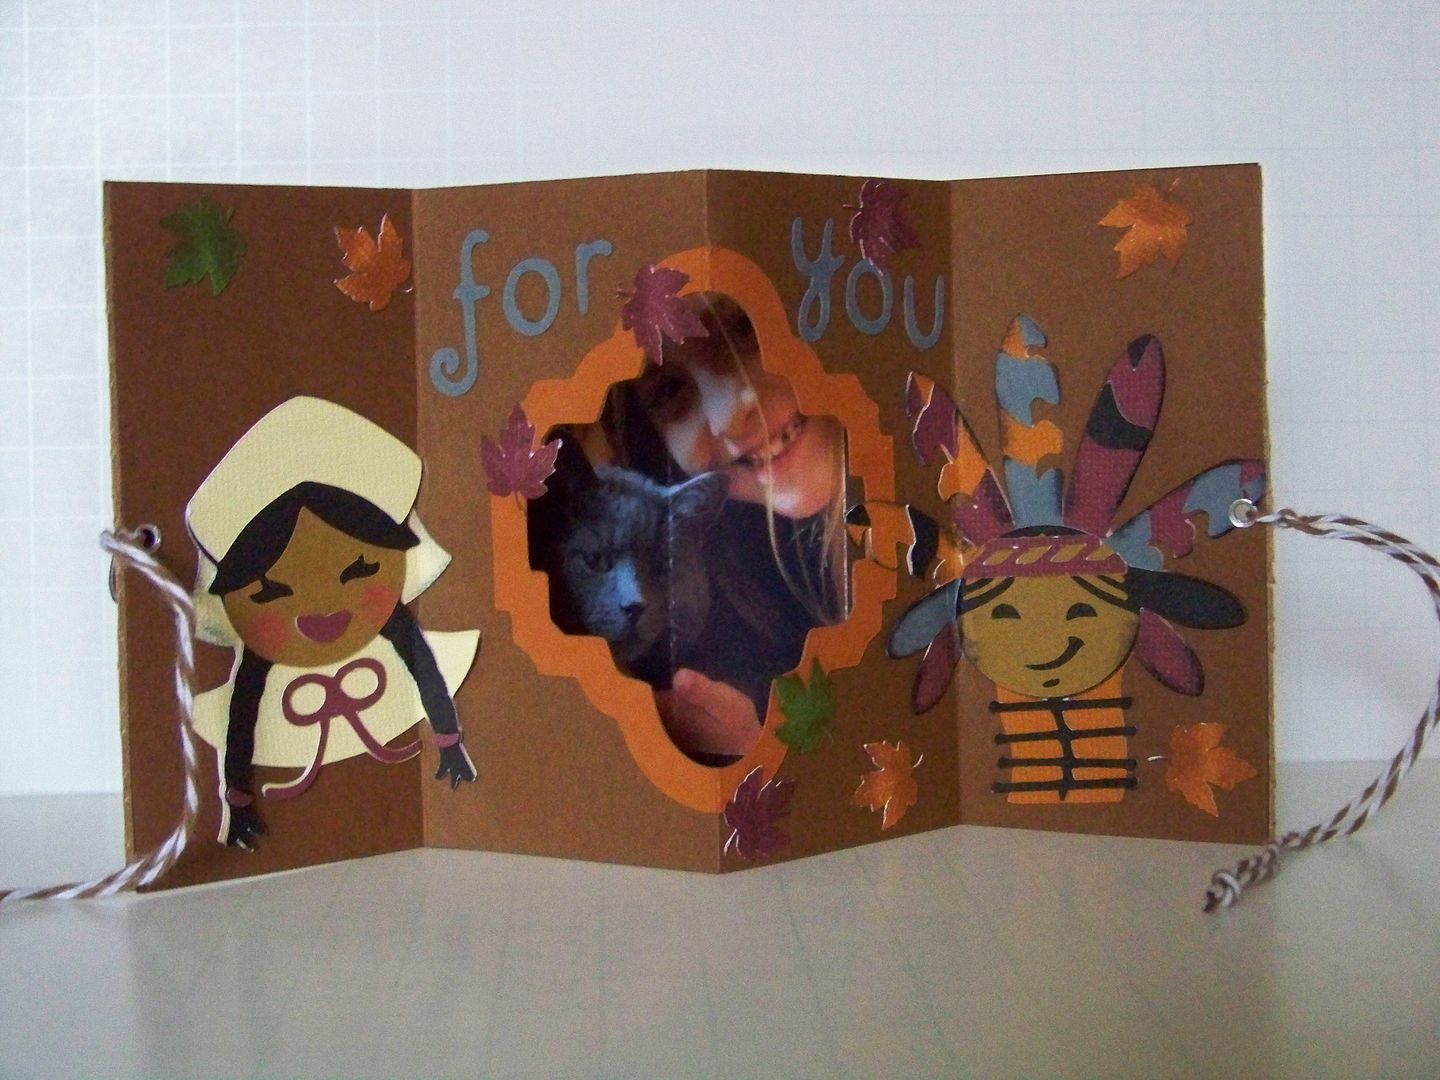
I created the card bases, window, window frame, and covers just like I did on the Pirate Card.
Again, I loved the new Holiday Frames and Tags cartridge for creating the window and a frame around it. I used the frame (Layer) for each cut. To make the cut out, I simply stop the machine after it cuts the center, since it makes that part of the cut first! Then I insert a contrasting paper and cut the shape completely and a frame is created to accentuate the cut out.

I find that Scotch Scrapbookers Glue is much more flexible than Scotch Quick Dry. I liked Scrapbookers glue for anything that had to fold.
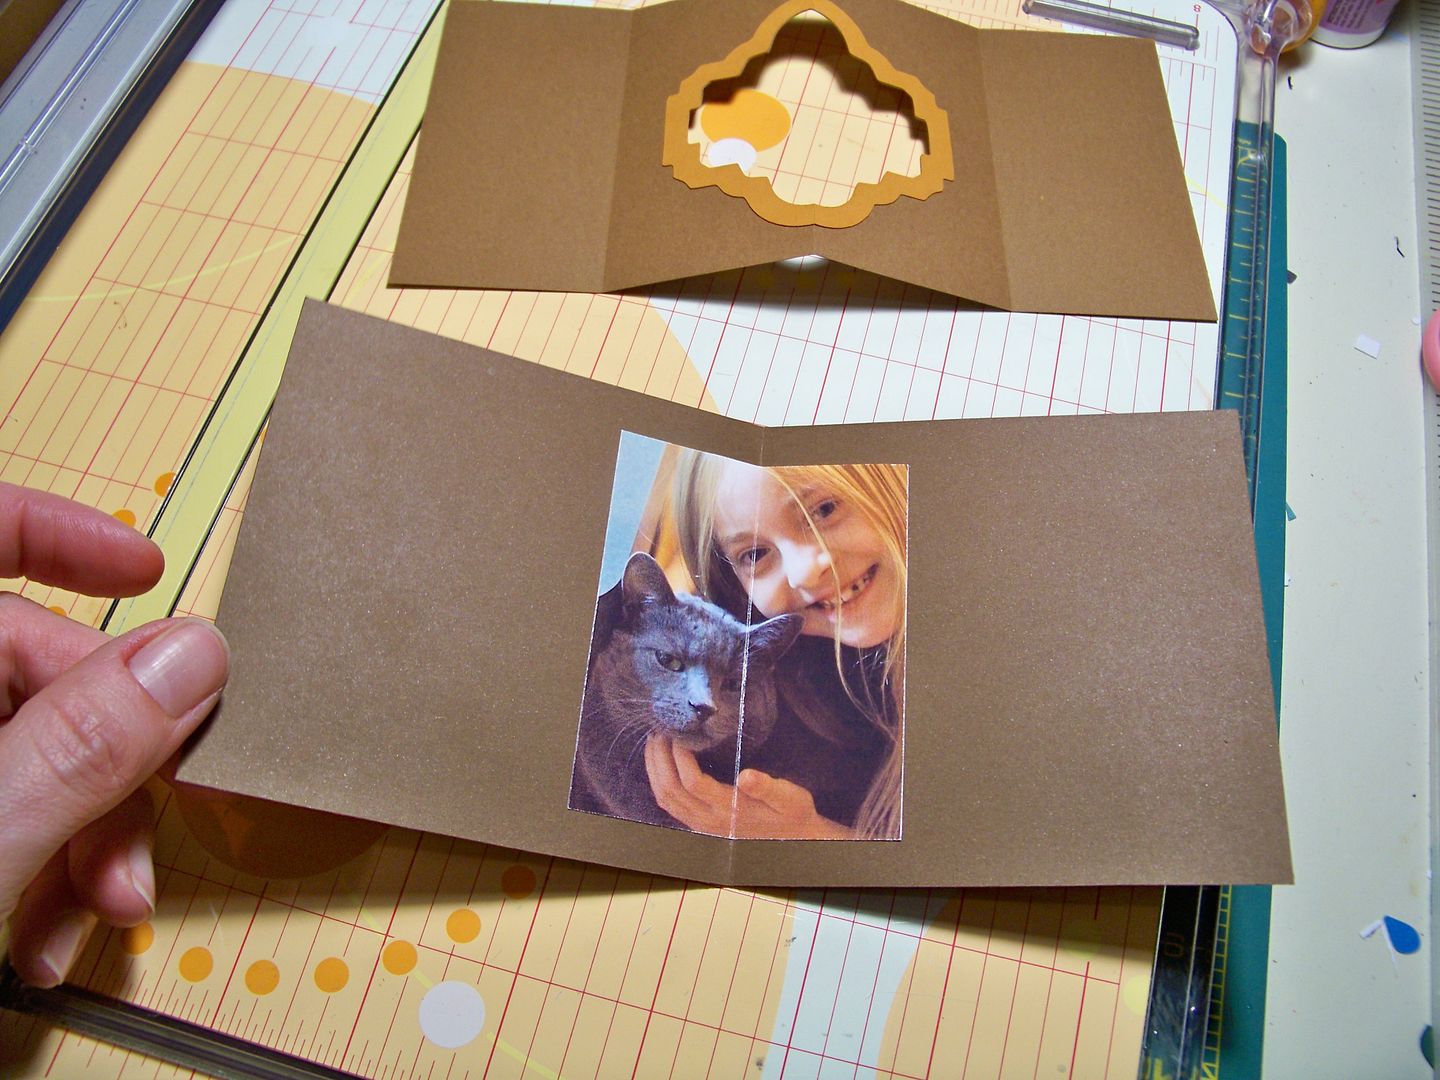
For the photo, I scored the photo on the back since it was a valley fold. I used my Xacto knife to score. I found that photos that I print with glossy photo paper do best when scored in this way. Papers, I have found are fine to score this way whether mountain or valley, but layered cuts are better folded to score. I decided this after fighting with the frames and die cuts here!

I attached the photo with ATG tape. The line that you see is the light reflecting on the fold. I took the pictures so that you could see the score line, but it is not cut all the way through; it is only scored.
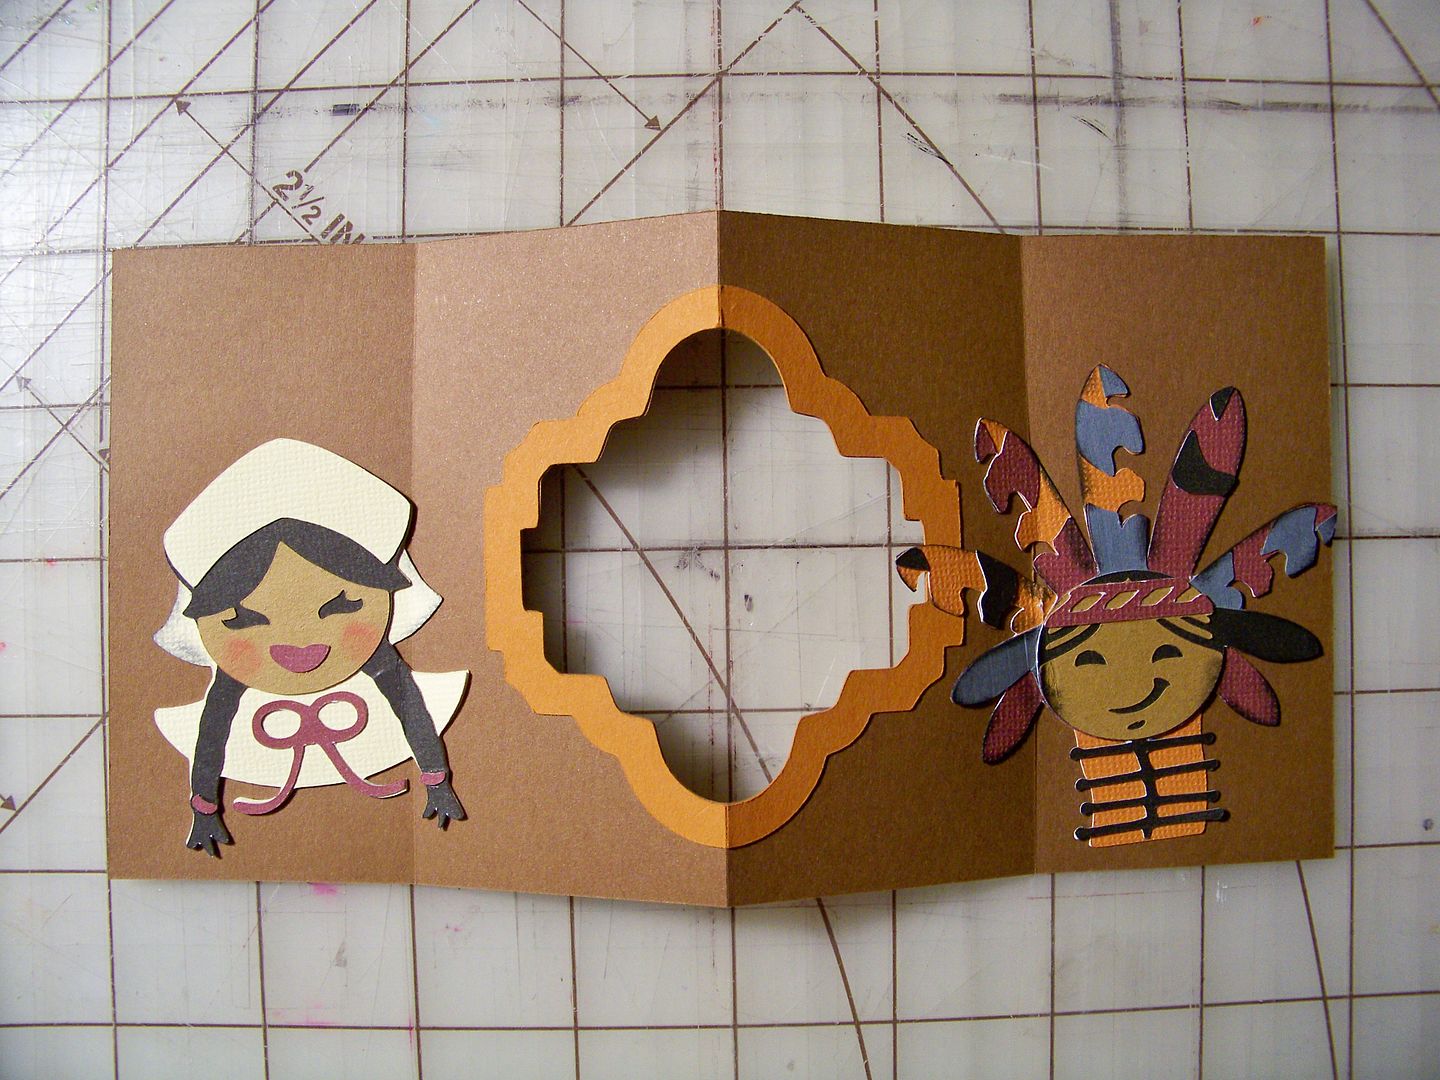
I wasn't as careful as I should have been on the layered die cuts. It is so important to avoid small pieces in the score line. Like the nose of the pirate on the above card, it would have been better if I had trimmed the side of the Indian's face instead of allowing the edge of it to be folded in the score line! The rule, I have found, is that the die cuts either need to far exceed the score line or not cover it at all. Otherwise, the tiny piece will pop up no matter how much glue you use!
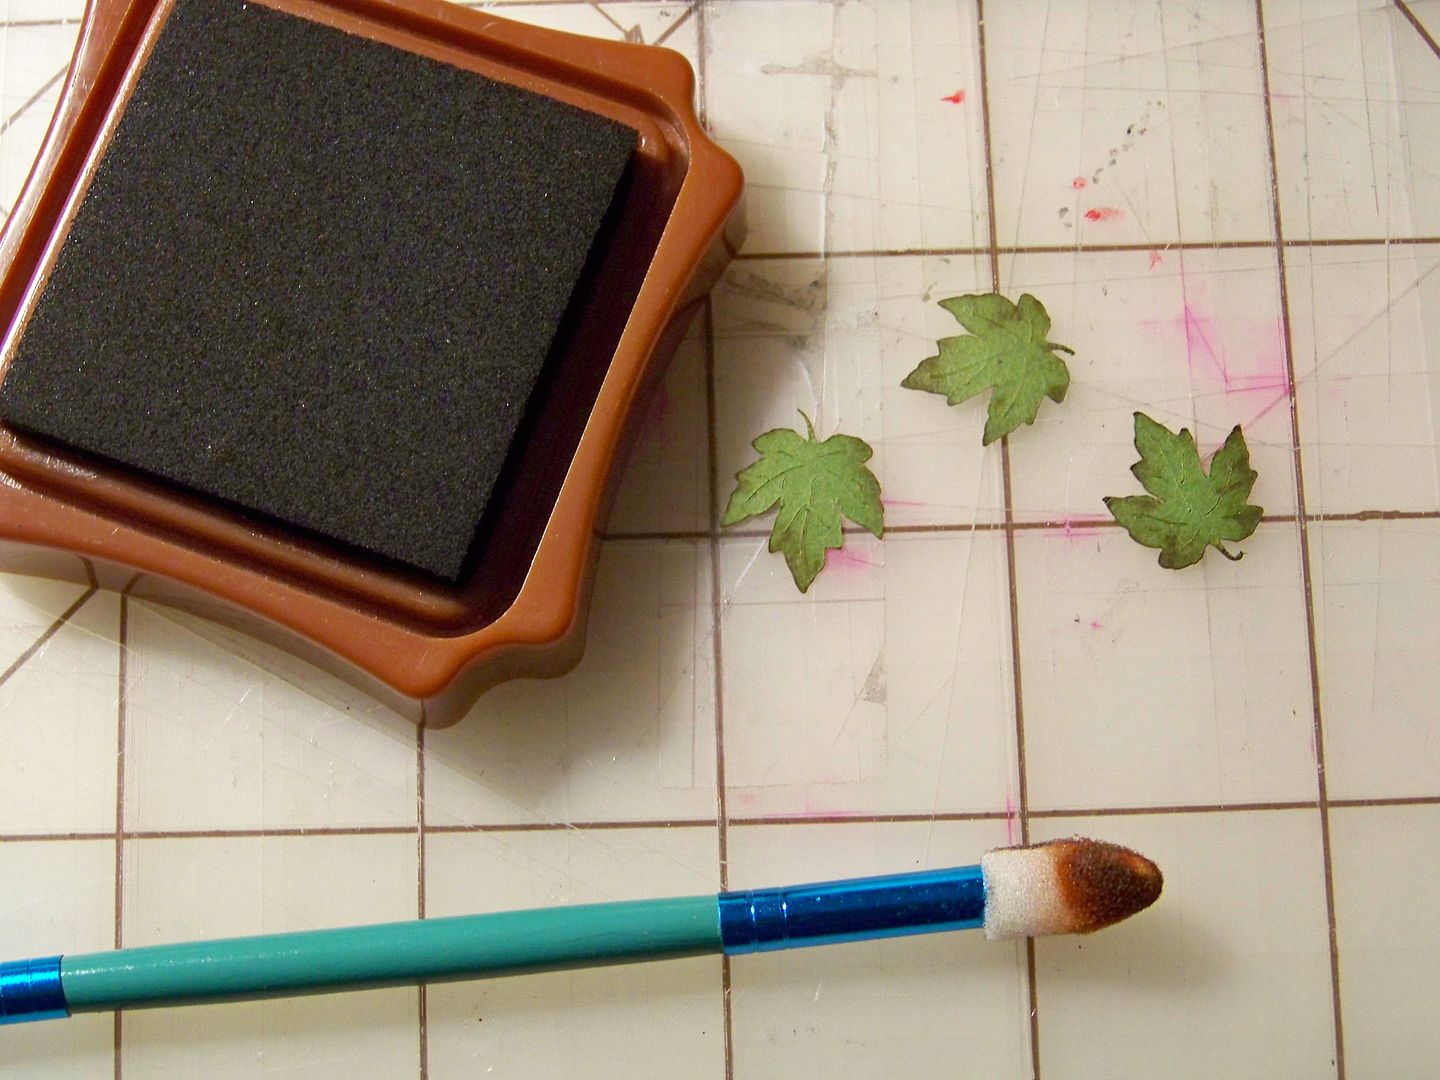
I cut and inked leaves and added them and text.
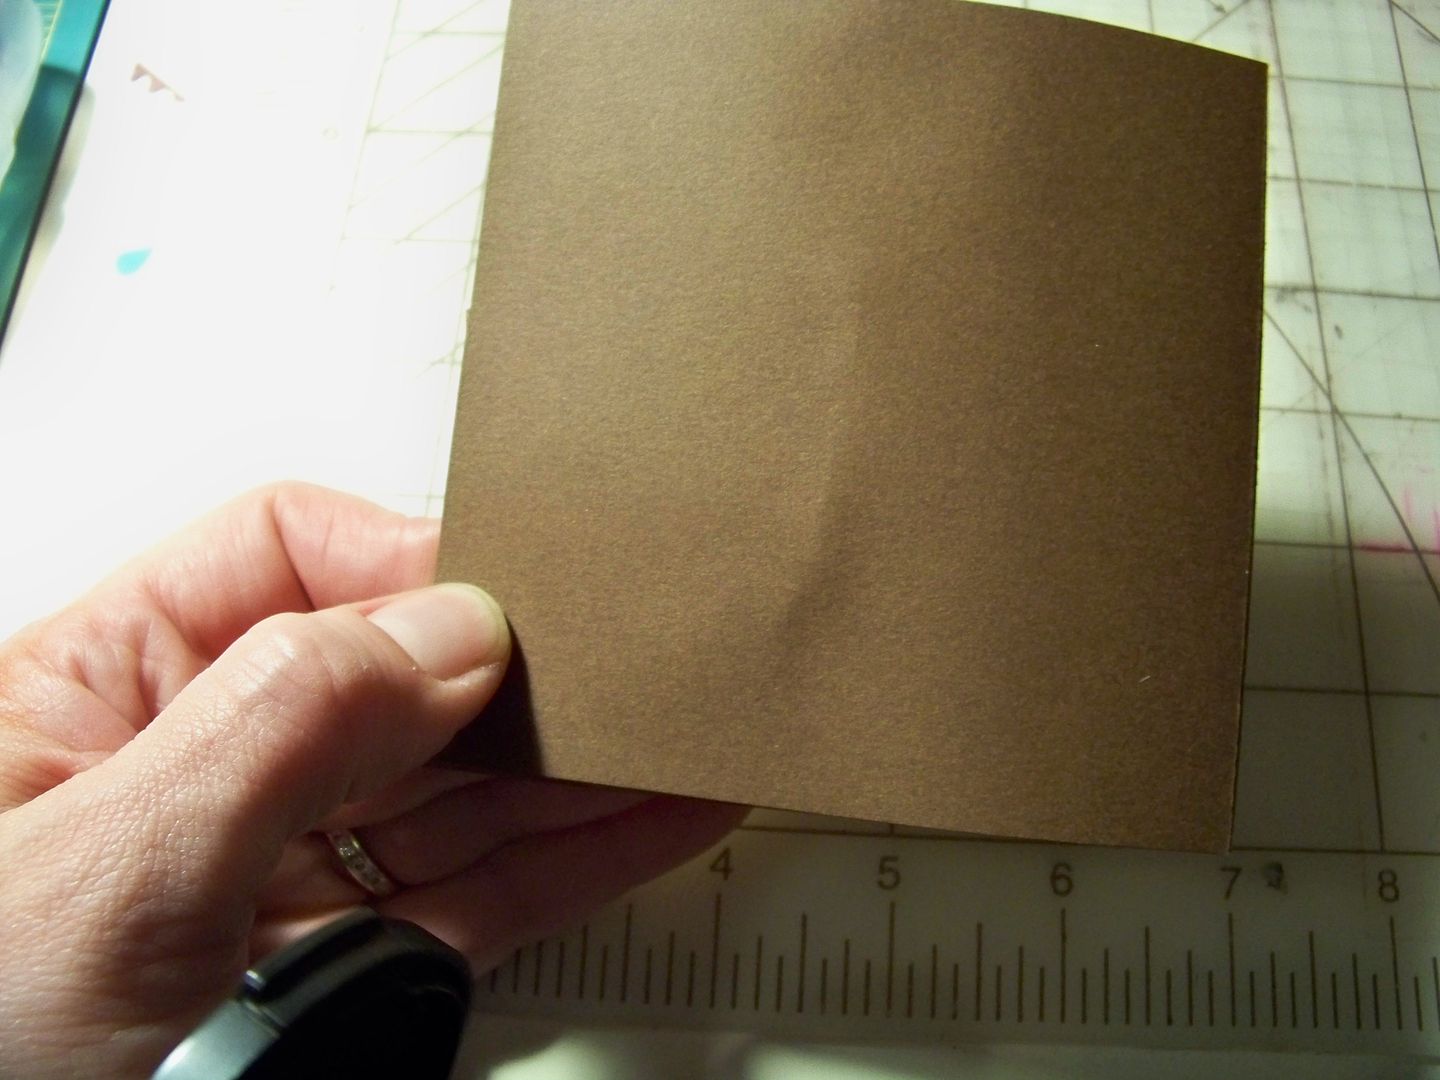
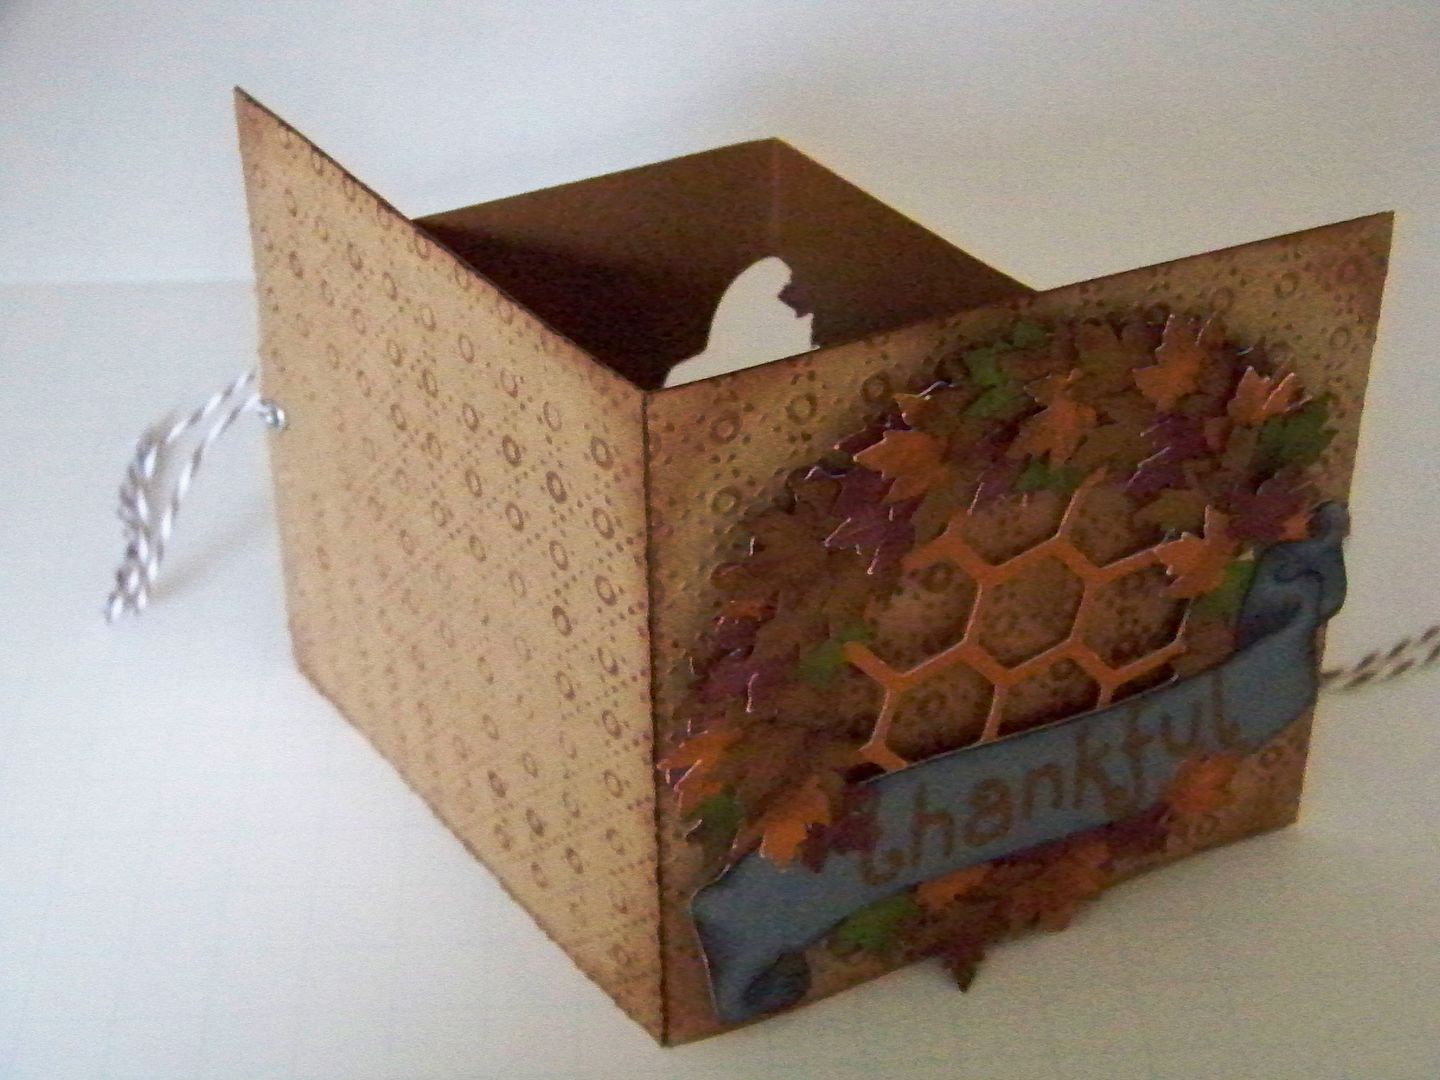
I embossed kraft paper, inked the embossed areas, and added eyelets for twine that will serve as a closure. I also darkened in with ink the area that would be behind the wreath. The covers were adhered to the card with Terrifically Tacky Tape.

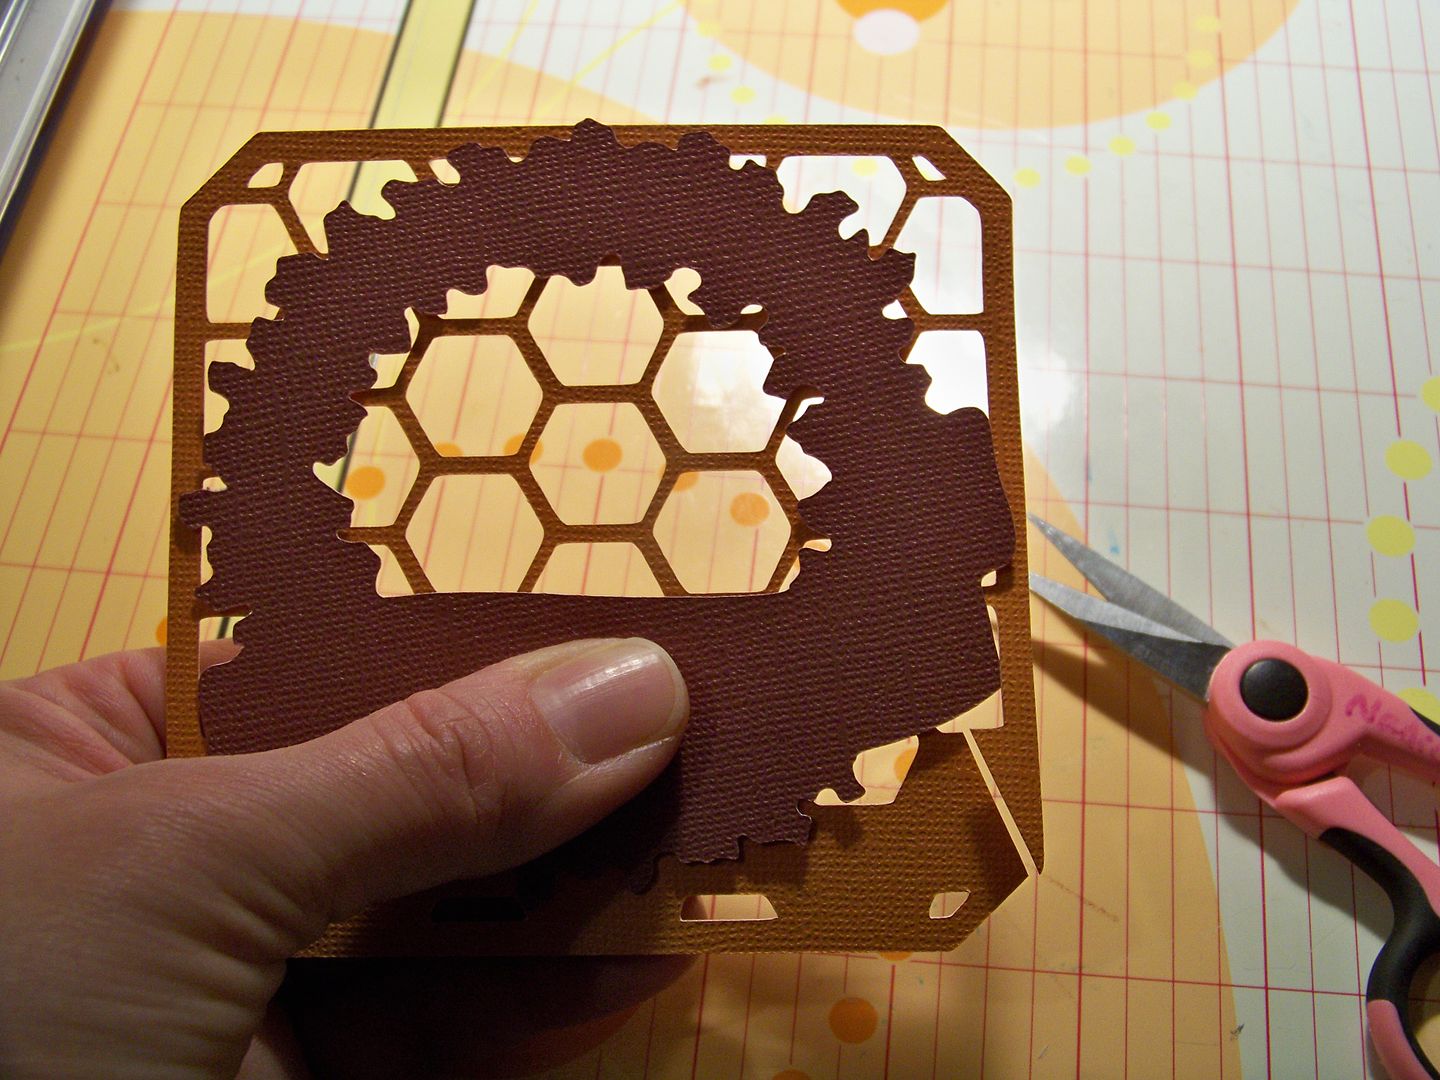
For the wreath on the front, I used the wreath from December 25th and leaves I cut and inked from A Child's Life. I put that honeycomb/chicken wire pattern behind the wreath simply to avoid a hole in the middle of the card. The cover papers were embossed and inked.
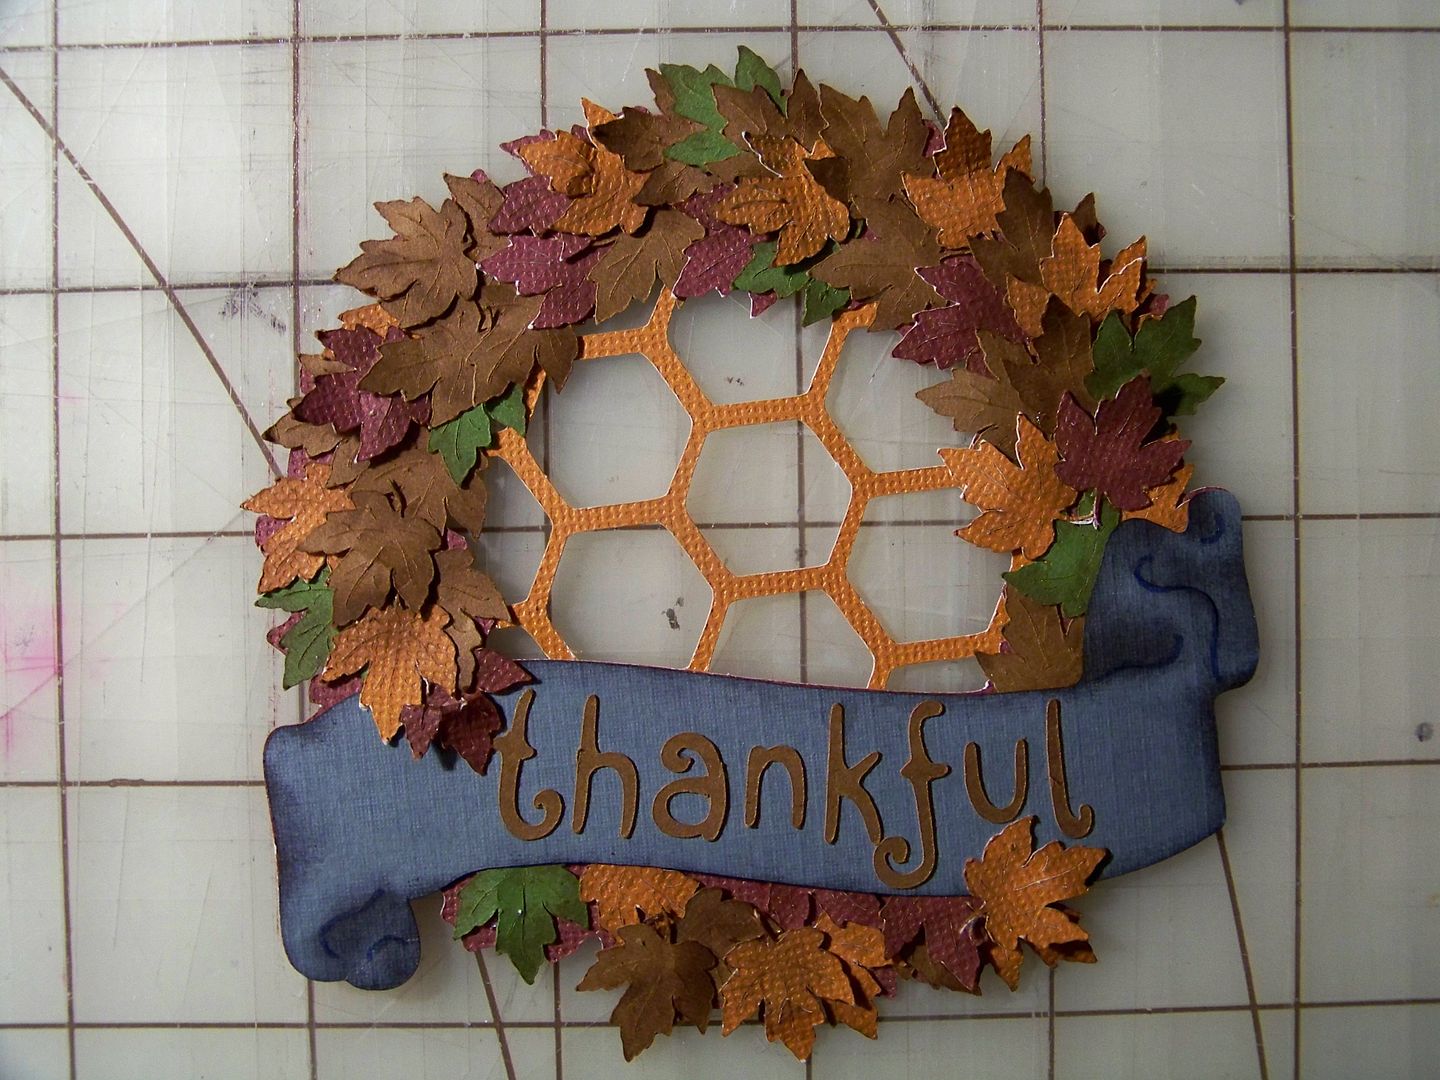
The wreath was added to the front cover with pop dots.
Crafty Details for Thankful for You Card:
- Wreath - December 25th, cut at 3-3/4".
- Honeycomb/Chicken Wire - Letter Envy Font (page 31), 4". I placed it behind the wreath and manually trimmed away the excess
- Leaves - A Child's Year (page 37), cut at 3/4".
- Letters (on cover) - Holiday Frames and Tags (Jolly Font), 3/4".
- Inside window - Holiday Frames and Tags (page 45), 3-1/2". Just as the card above, I used the frame cut, but stopped the machine after it only cut the center to create the cut out. Then I put in contrasting paper and cut the shape in its entirety for the frame.
- Indian - Autumn Celebrations (page 66), 3".
- Pilgrim - Autumn Celebrations (page 67), 2-1/2".
- Letters (inside card) - Holiday Frames and Tags (Jolly Font), 1".
Thank you for checking my blog post today! To see many of my previous projects, visit My Project Gallery! My "thankful for you" card is also on the Cricut Fanatics blog today.
22 comments:
You, my dear, are a master paper crafter! These are truly stunning, amazing, fabulous and truly awesome! Tiny little pop up works of art...love them both!
Absolutely fantastic love them. Caroline xxx
Wonderful projects! The pirate card is exceptional! Love the star background, the spyglass, the sentiment, the faux bois (yay), and the fantastic porthole! Thank you for the details and the care you put in each of these cards. I am positive that both recipients will be thrilled!
What a delightful day you are going to make for two people! Beautiful and detailed cards! Thank you for sharing your amazing talent, Nadia!
Carolyn
http://cccscraproom.blogspot.com
cccscraproom@myemc.net
Gotta go with Sis lol. I swear it's like I was going to say pretty much the same thing, point for point :D. Fantastic cards!!! Pirates!!!!! Faux bois lol :D. Thanks for sharing!
Oh my, those are so cute and clever! Thanks for sharing all the details; I can't wait to try this!
Wow! Fabulous works of art. Even after reading your detailed tutorial twice I am not sure I could attempt this! I love the beautiful fall leaves on the wreath.
aah! these are wonderful!!! Thank you for the tutorial! I just love yours, the pirate one would be a hit with my son! ;)
so cool, thanks for the tutorial.
Seriously Nadia... I don't even know what to say anymore! No words come close to expressing my admiration for your work. You create things beyond anything I could ever imagine, let alone, execute. You are a crafting genius girl! :)
You are so kind to share your tutorial, but I have to admit, I don't think I could recreate these masterpieces if I tried! :)
Hugs,
Lori
These are absolutely marvelous! Love them both - your attention to details is exceptional and what makes your projects unique. Thank you so much for sharing not only your creative ideas but also the tutorials. I'm going to give this a try for sure :)
~Lena~
Thanks for doing a card version. They are fantastic! I love the mini album but not brave enough to try it. The card inspires me to try this wonderful folding pop up method. You are so talented and I look forward to your every post:)
WOW! These are cards are amazing & so is your mini below! So many fabulous details!!!
Always a pleasure to look at your creations, Nadia! You are amazing with paper! Love both of the cards!
i very much enjoyed your cards and appreciate the detailed instructions. You have definitely inspired me to create a card of this style. Thank you so much!!!
Incredible cards Nadia!
Michelle
Fabulous cards Nadia! And your tutorials are great, as always. I am going to try one of these someday. ;-)
Your pirate card is just perfect Nadia!! I love every little detail.
NADIA! I love love love! What is that you use to ink the edges?
Thanks, Chris! I just use a sponge applicator (like an eyeshadow sponge applicator) and an ink pad.
What BEAUTIFUL cards!! thanks so much for sharing and the deets:)
Nadia, you are a crafting guru! Your attention to detail is just beyond the norm. The recipients of your work are just lucky, that's all!!! :-)
Your sweet Piper is definitely on her way to being "another you"!! I'm sure her teachers have their mouths agape when they see her work. :-)
Post a Comment