
I was recently invited to join a Yahoo group for people who like to sew for American Girl dolls. Well, my eight-year-old daughter, Piper, is the doll enthusiast, but what sealed the deal for me is that this group has sewing challenges where a download pattern link is provided and everyone is encouraged to change it up and make it special. I thought this would be a great bit of encouragement to get me sewing extra little gifts for my sweet daughter from my stash!
Our challenge for January is to make it a Valentine Party dress! OK, that's just fun! I decided to make some accessories for the dress as well.
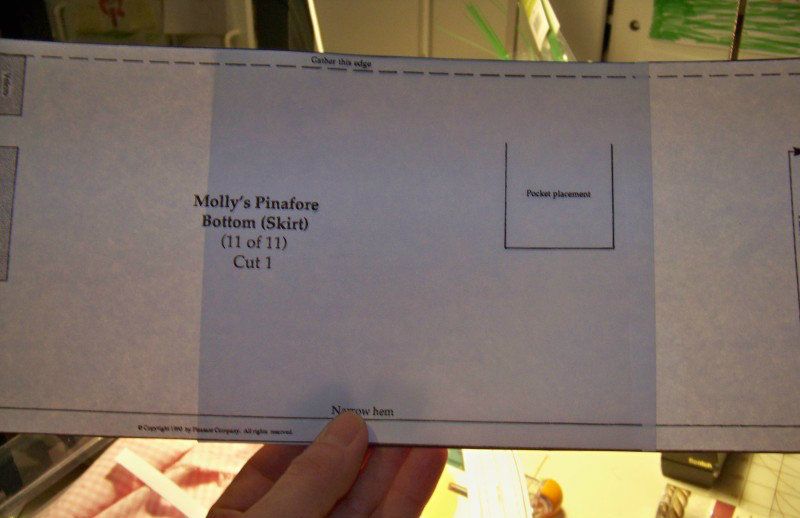
The pattern we are using is a free one that I have seen many times on Pinterest (click here for my Pinterest Doll Board) and in my Google searches for patterns. We are doing Molly's Pretty Clothes: Party Pinafore. Here's a link to the pattern in case you were just wishing for some free doll clothes patterns: click here. This pattern has some larger pieces that go off the edge, necessitating the need to cut duplicate parts of them to line up and tape to form the longer pattern pieces.
The thing that came to mind right off for me is that the older dolls (for which these patterns were made) have slightly different proportions than do the current dolls so the fit may be an issue since my daughter only has the newer dolls. I referred to a measurement chart for American Girl Dolls from differing time periods from the Liberty Jane site: click here. In addition to the differences in doll size, I wanted to be sure that the dress had great fit-- and that is hard to find in many doll clothes patterns for reasons that are a mystery to me.
So... the first thing I did was to check the American Girl website to see if there were any cute ideas there. OMGosh!! The exact dress is being sold just like it looks on the pattern, pictured with crown and all!! What is up with that?!
So, I showed this to my daughter and did NOT get a happy reaction. The challenge was on! Some of the things that she said must immediately go were the wing sleeves with rick-rack and the patch pockets. I loved the princess seams in the bodice and decided to underline all pieces except for the sash so I could use a semi-sheer. In addition to the underlining, I lined the bodice to make more beautiful neck, sleeve, and back edges without the top-stitching directed by the pattern instructions.
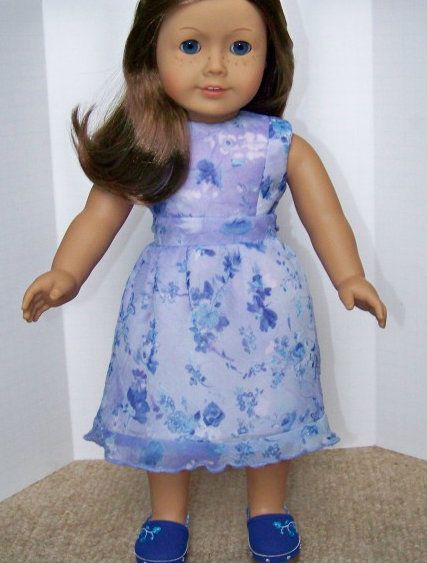
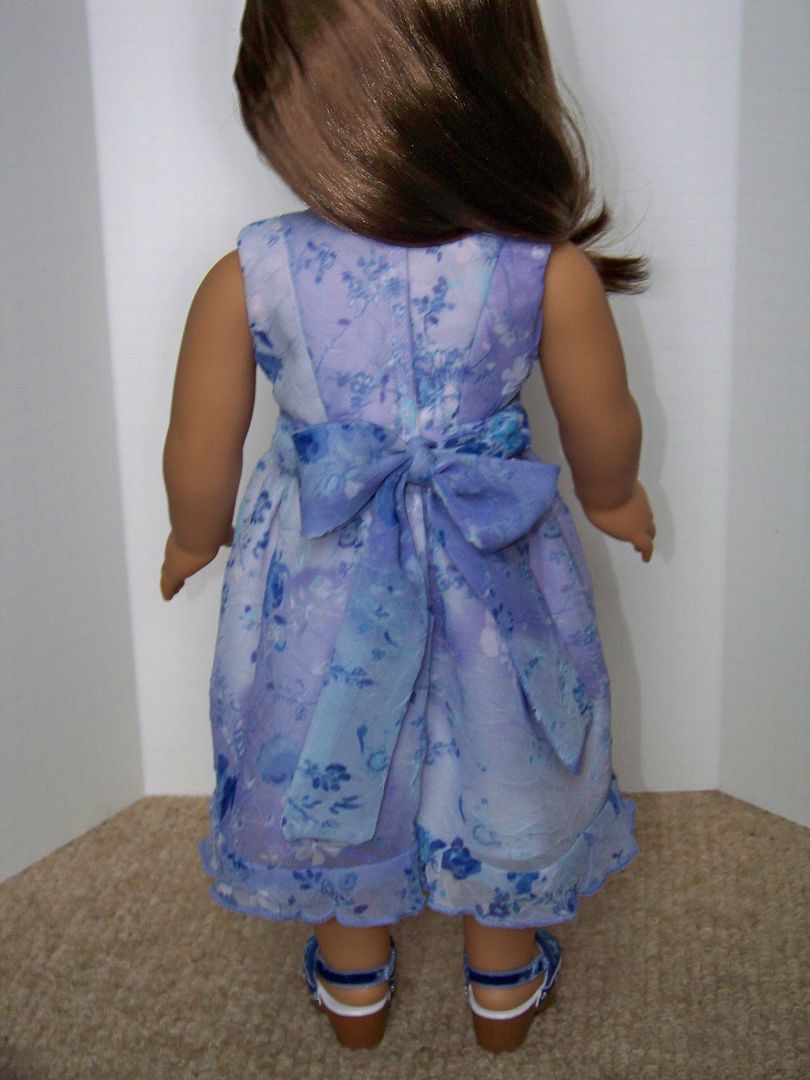
Piper's Doll Dress
Piper decided it would be fun to have a doll dress in the theme 'Violets are Blue' instead of making one in the pinks and reds that usually come to mind with Valentine dresses.
Changes that I made to the original pattern:
- I omitted the sleeve (three layered ruffles)
- I omitted patch pockets.
- I used semi-sheer fabric. (This was cut from an old skirt). I underlined each piece, except for the sash. I lined the bodice. The underlining/lining fabric was pink cotton.
- By lining the bodice, I was able to avoid turning under and top-stitching the neck and sleeve as directed on the pattern.
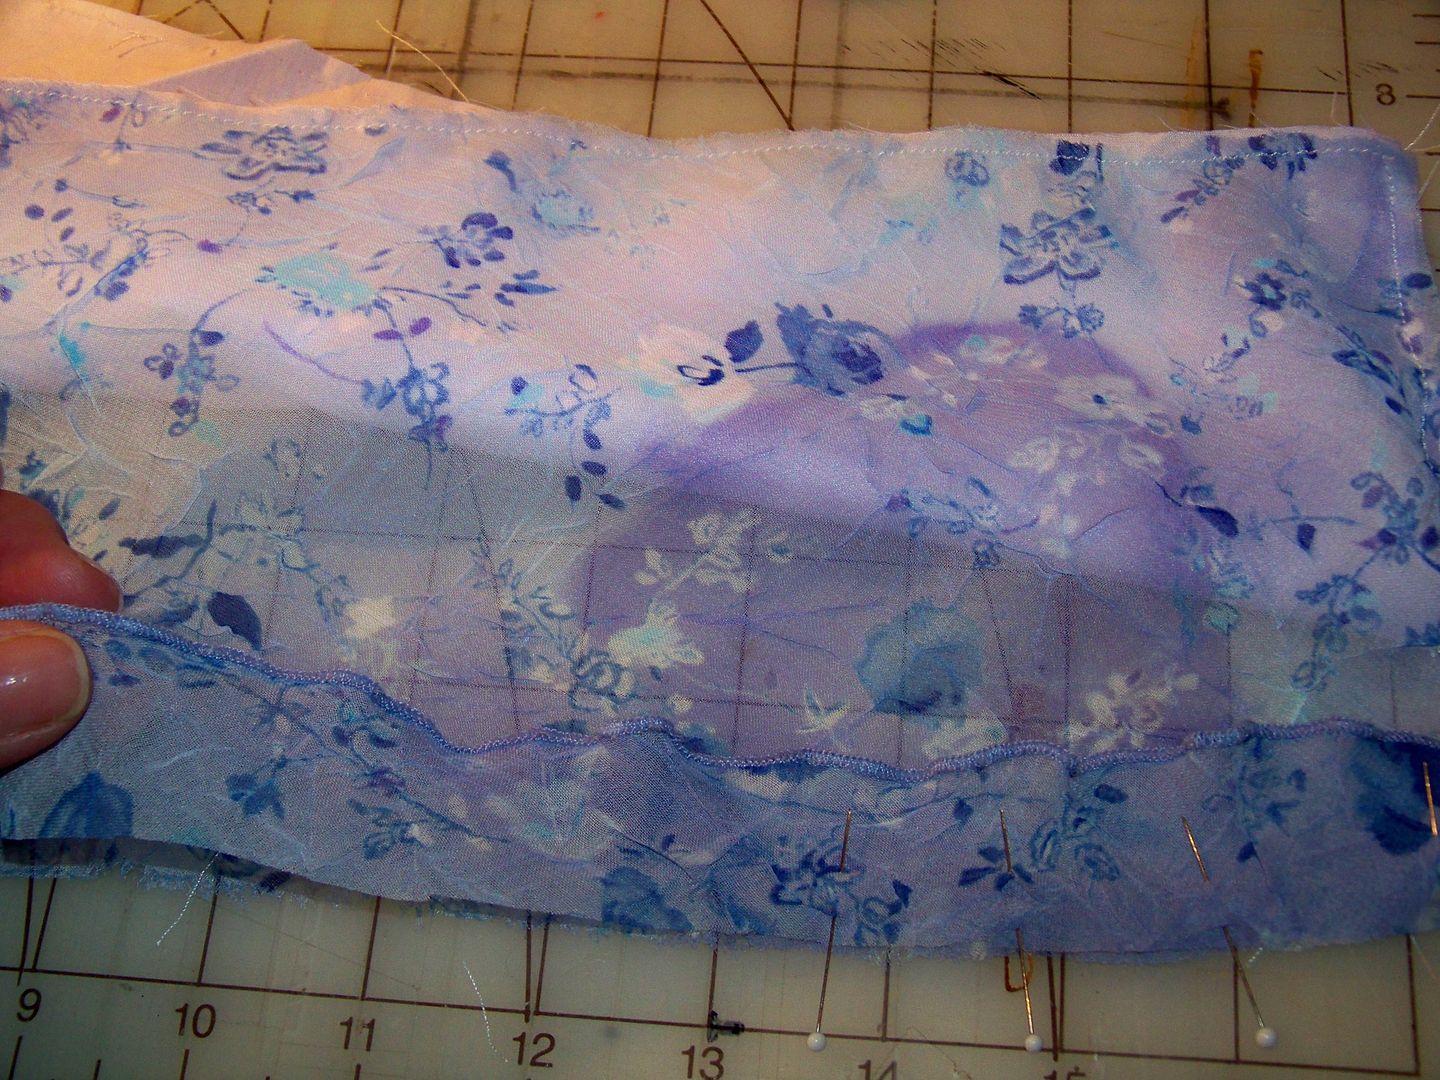
- From the misses-sized skirt I used for the dress fabric, I cut the rolled, lettuce-edged skirt hem to create the flounce on the edge of the dress.
- I cut a slightly less full skirt by cutting 2" off the side (1" on the fold).
- To create a perfect fit for the bodice, when I lined it, I sewed not only the neck and sleeve edges to turn, but also the back, sewing 1/4" center back seams. Then, when I added the velcro closure, I sewed the hook side flush to the edge for a 1/4" overlap, but sewed the loop side 1/2" in to create a bigger overlap and better fit without altering with the princess or side seams!
- For the sash, I didn't underline, but did cut double from the sheer to sew and turn instead of sewing rolled edges on single layers. I sewed the turned sash pieces onto the dress sides only. I cut a 1-1/2" wide poster board strip to insert into the tube to assist with pressing flat. (I inserted the poster board for ironing and then pulled it out before finishing the unsewn edge, gathering it to fit the waistband width, and stitching each one to the sides of the bodice.
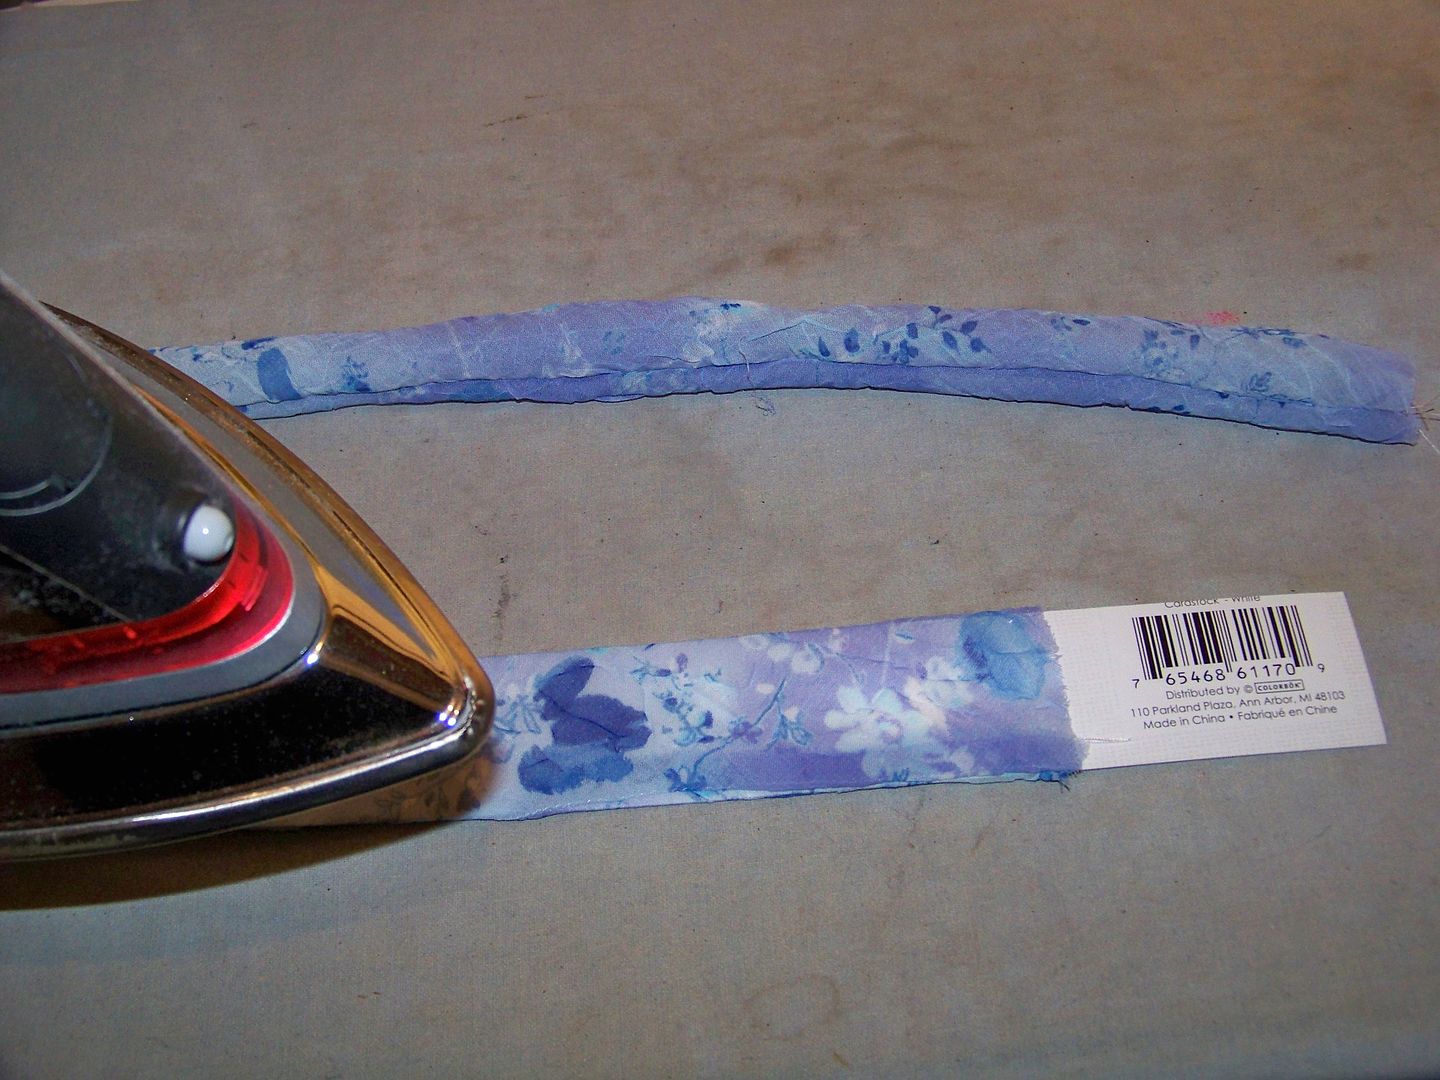 |
| Sticking a piece of poster board inside the sash tubes made pressing them so easy . |
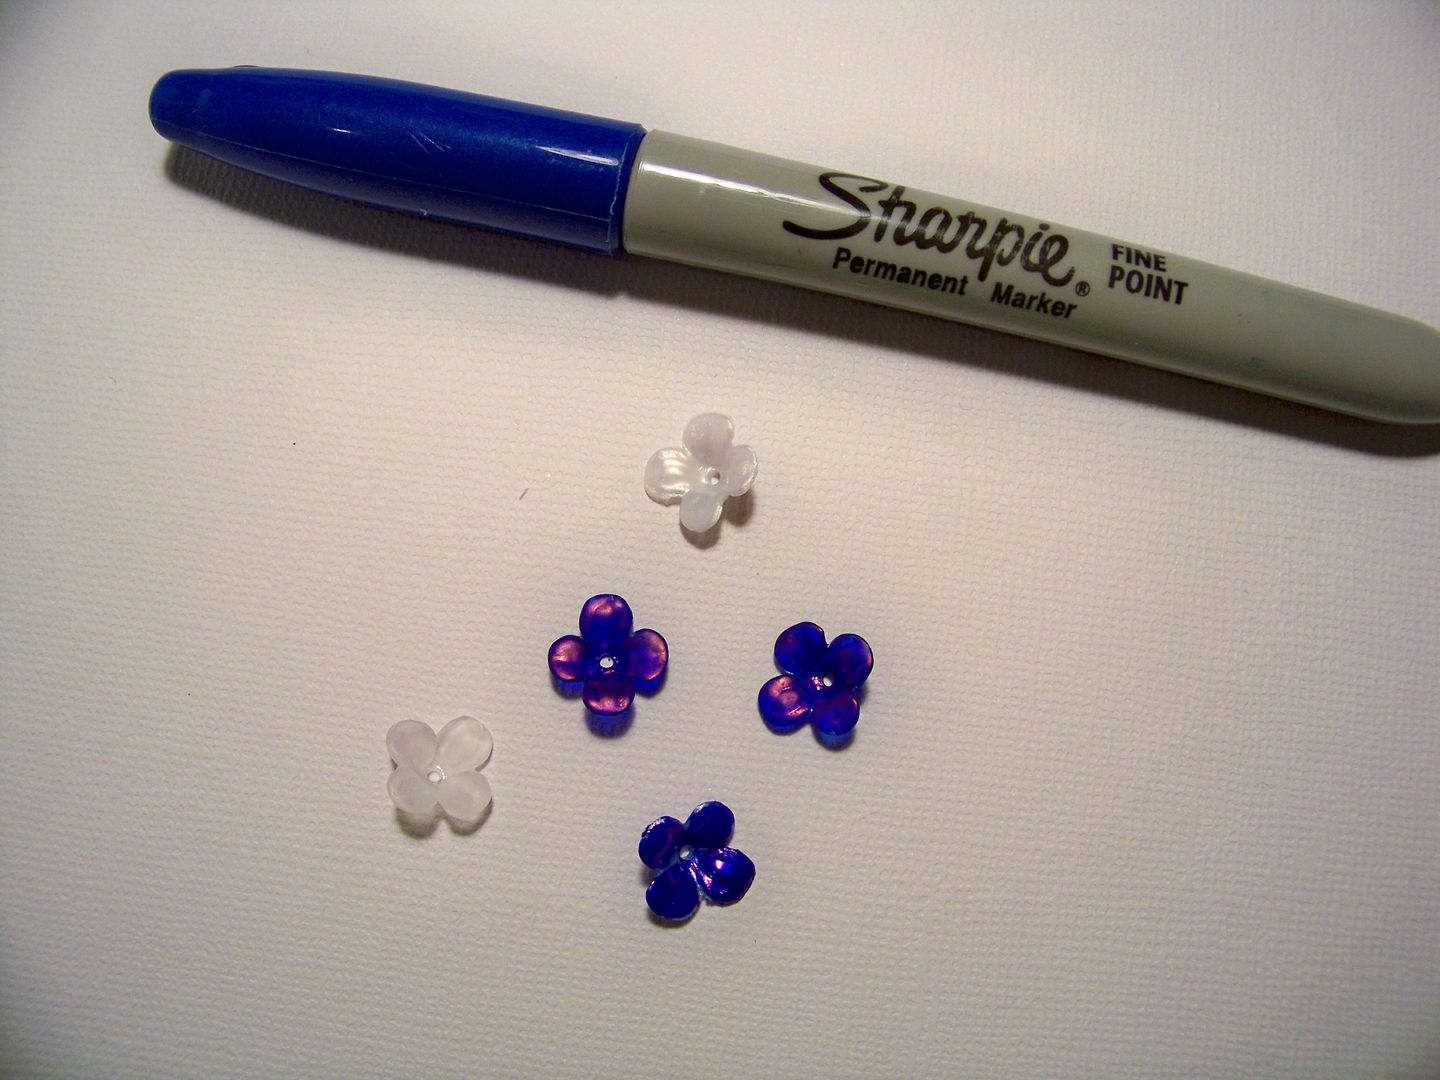
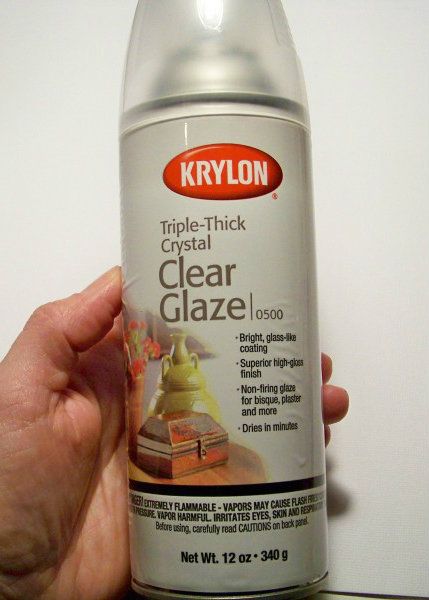
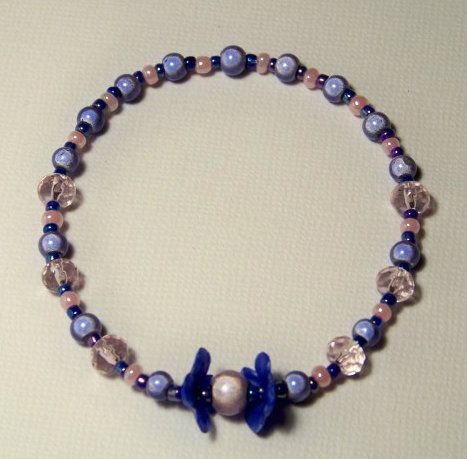
To accessorize the little Valentine party dress, I made a necklace. I was determined to use only my stash for all the materials for this challenge so I had to create some blue beads-- something that would look as close to violets as I could get. I used a blue Sharpie to color some white petal spacer beads and sprayed with multiple coatings of Krylon Triple Thick Clear Glaze to seal them. Once dry, I used them as the focal point of the little necklace.
 |
| I like Stretch Magic .5mm clear cording for doll and girl jewelry! |
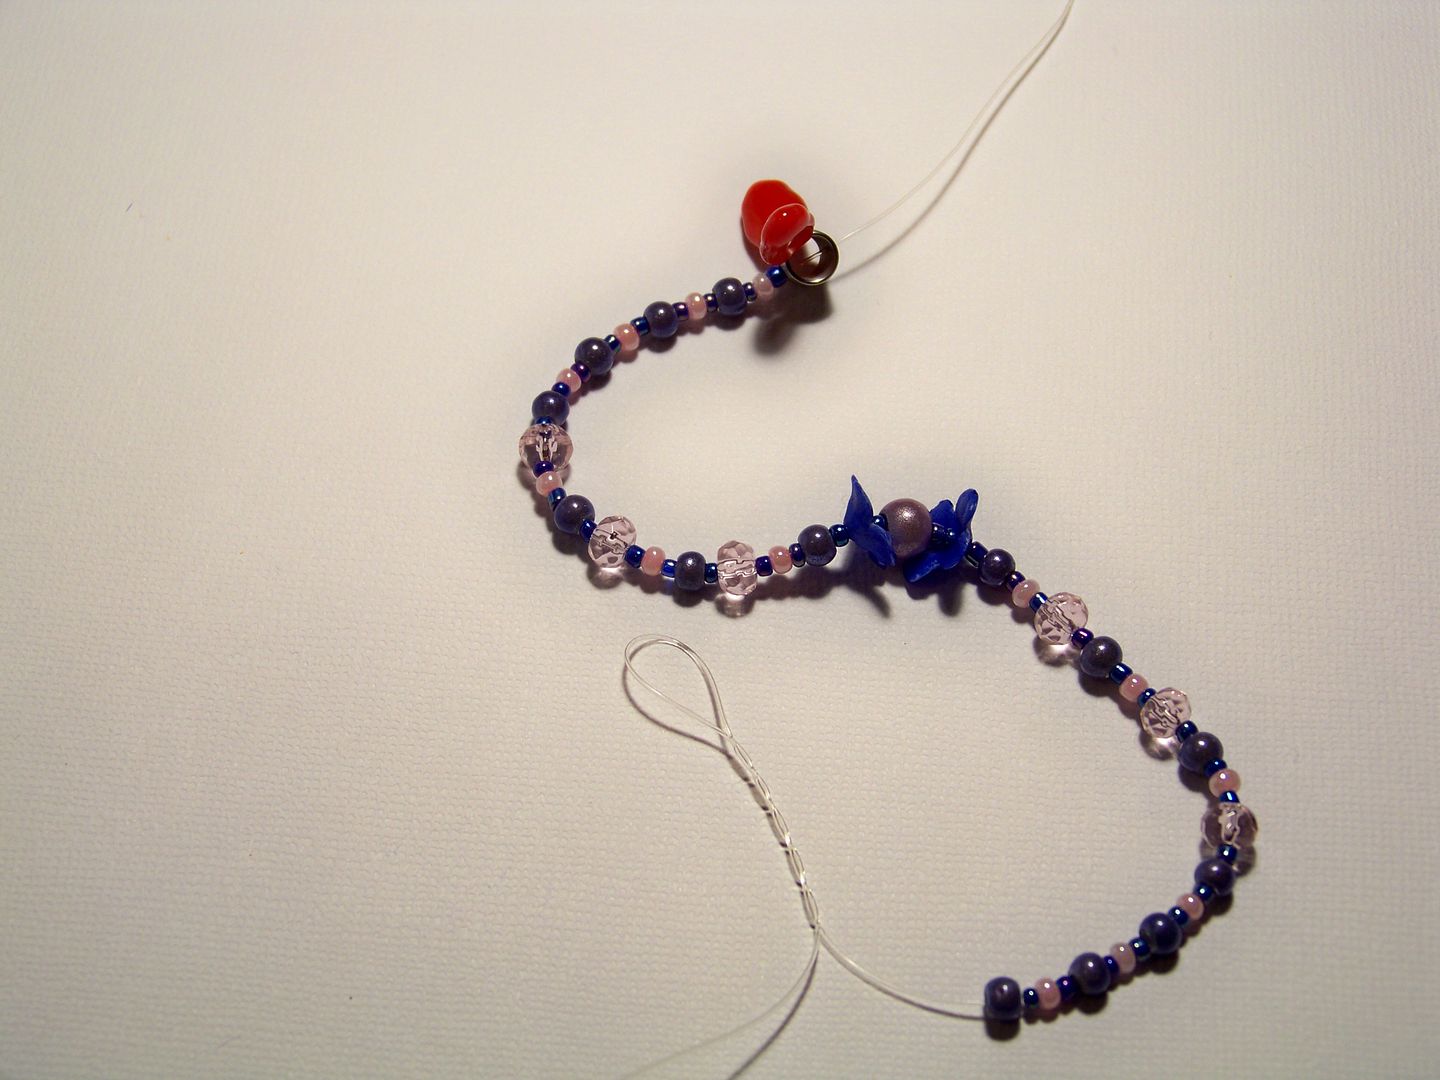 |
| Once strung, it was about 7" of beading. |
Shrug
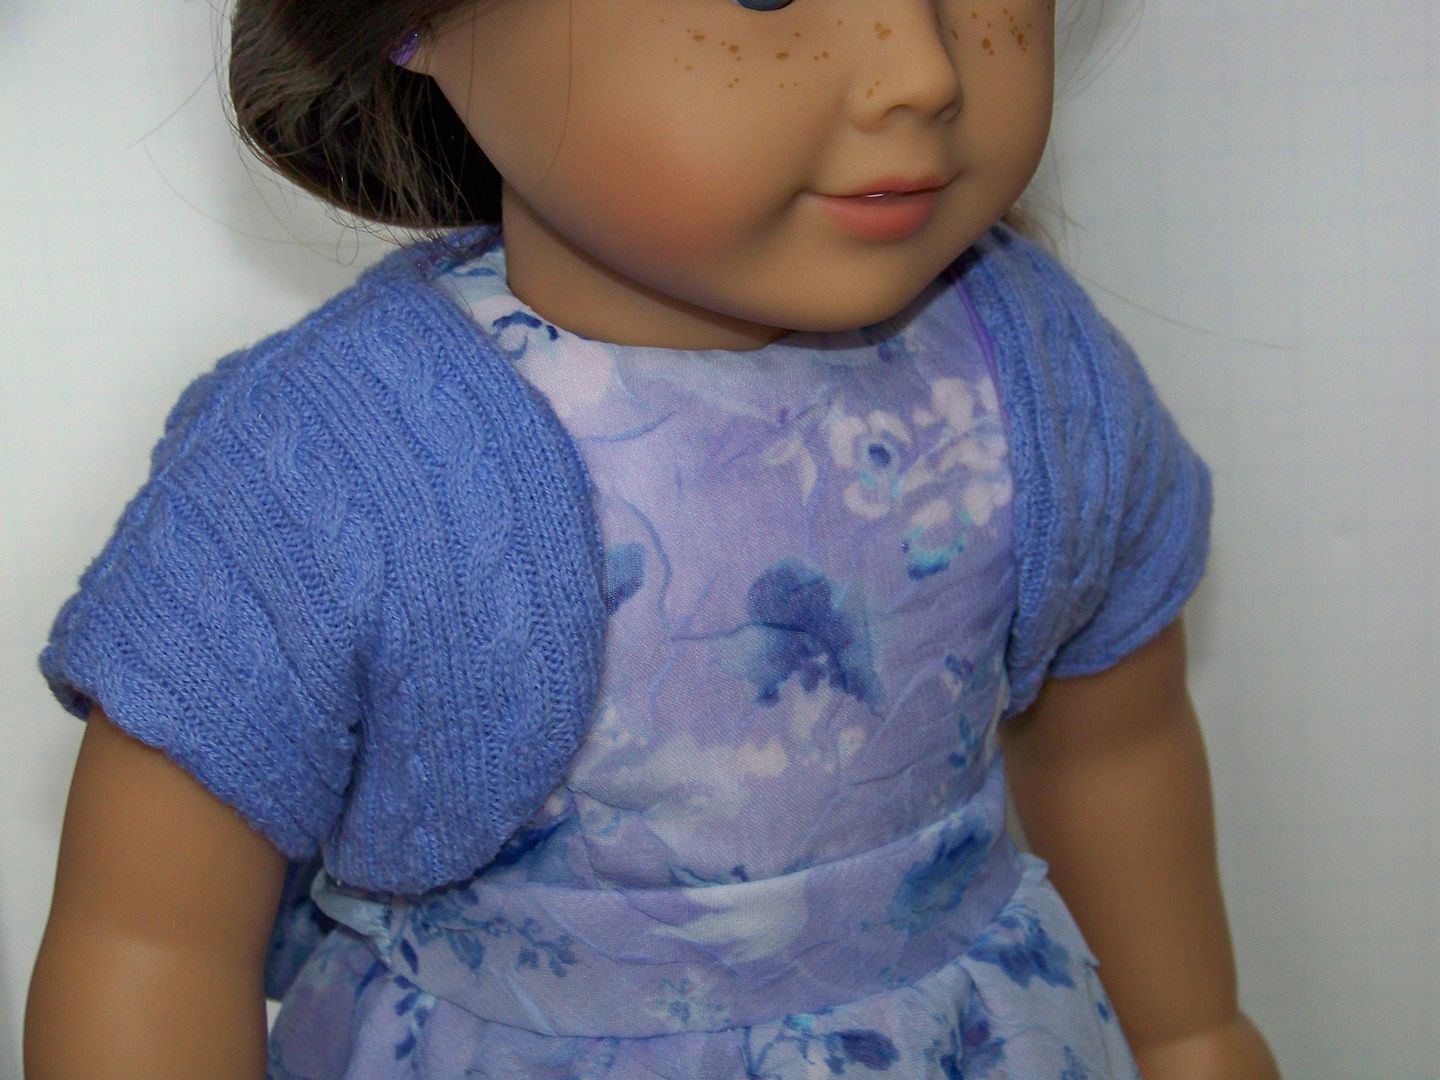
I cut up an old sweater of mine that was headed to the charity pile and instead used Simplicity 3936 to make a shrug. This was such a fast little garment. I decided to line it-- and with only two pattern pieces to make this, it was a snap to do. I underlined the back only to stabilize, then sewed the shoulders of the sweater knit pieces and the shoulders of the lining pieces. Then, I pinned the outer sweater to the lining and sewed all edges except the tiny sides. I pulled it to the right-side through one of those unstitched sides and pressed. Then I cheated a bit and simply put the right-sides of the sweater together and sewed the side seams, sweater and lining all together, and serged the raw edges.
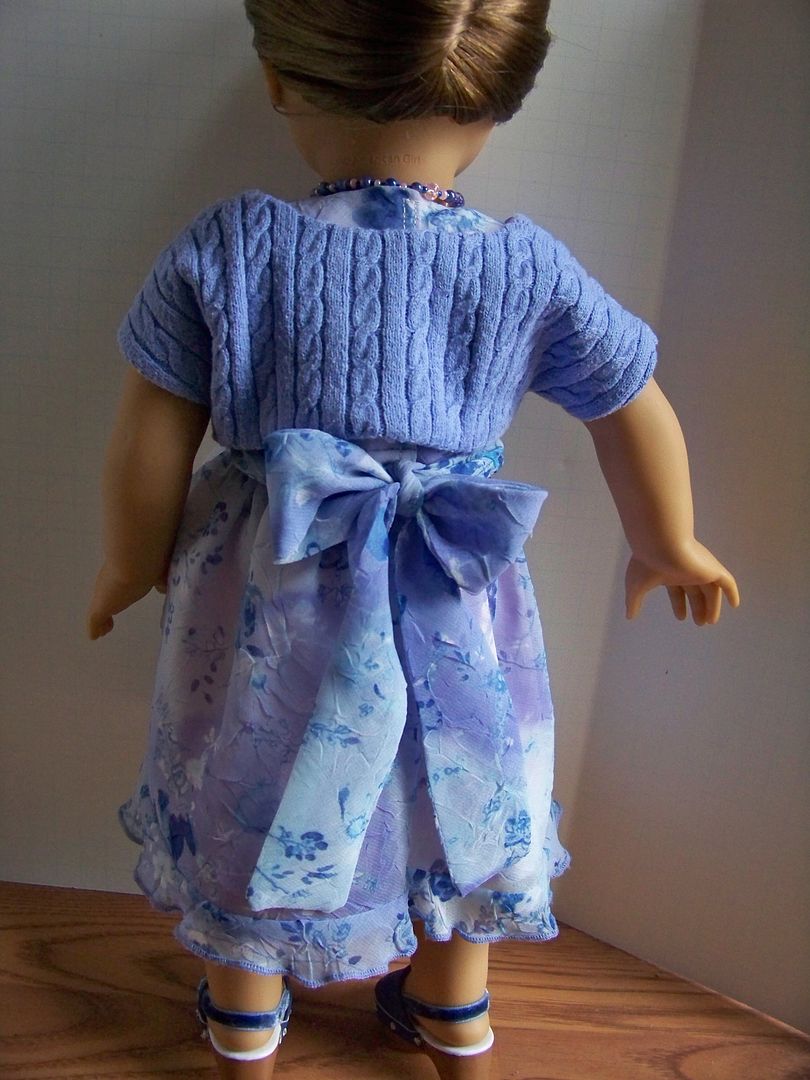 |
| What I like about using this pattern is that shrug is a cropped garment and doesn't impede the sash bow. |
Bouquet
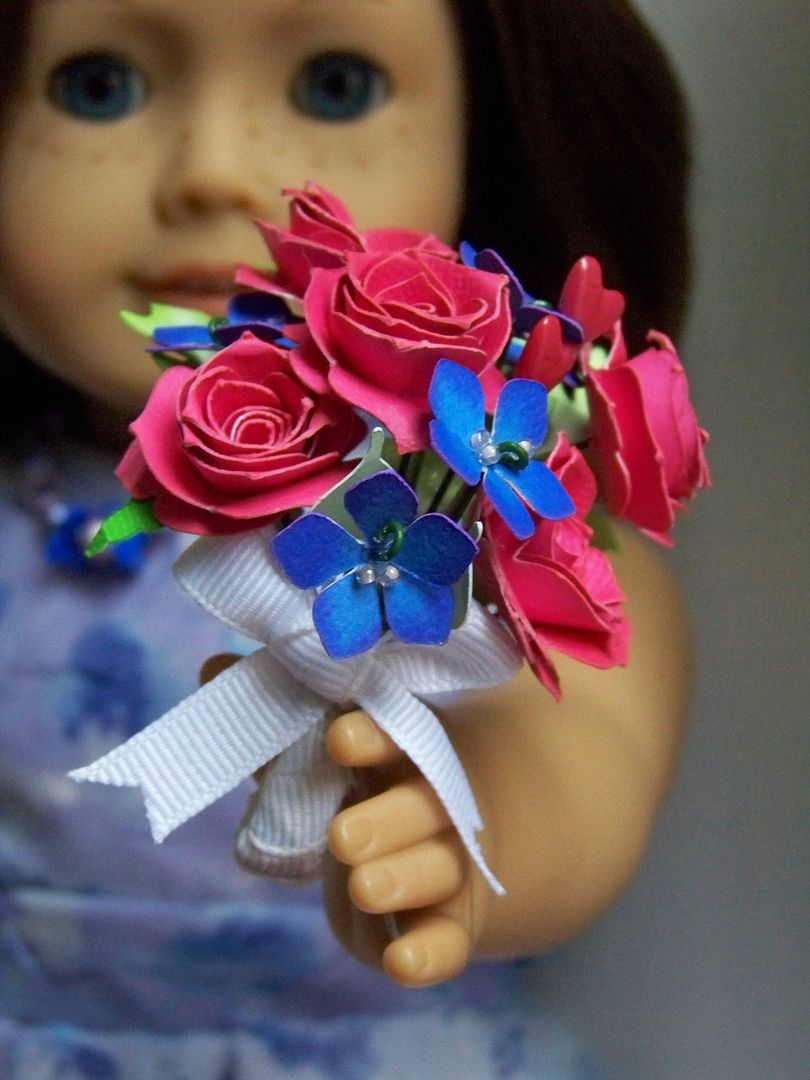
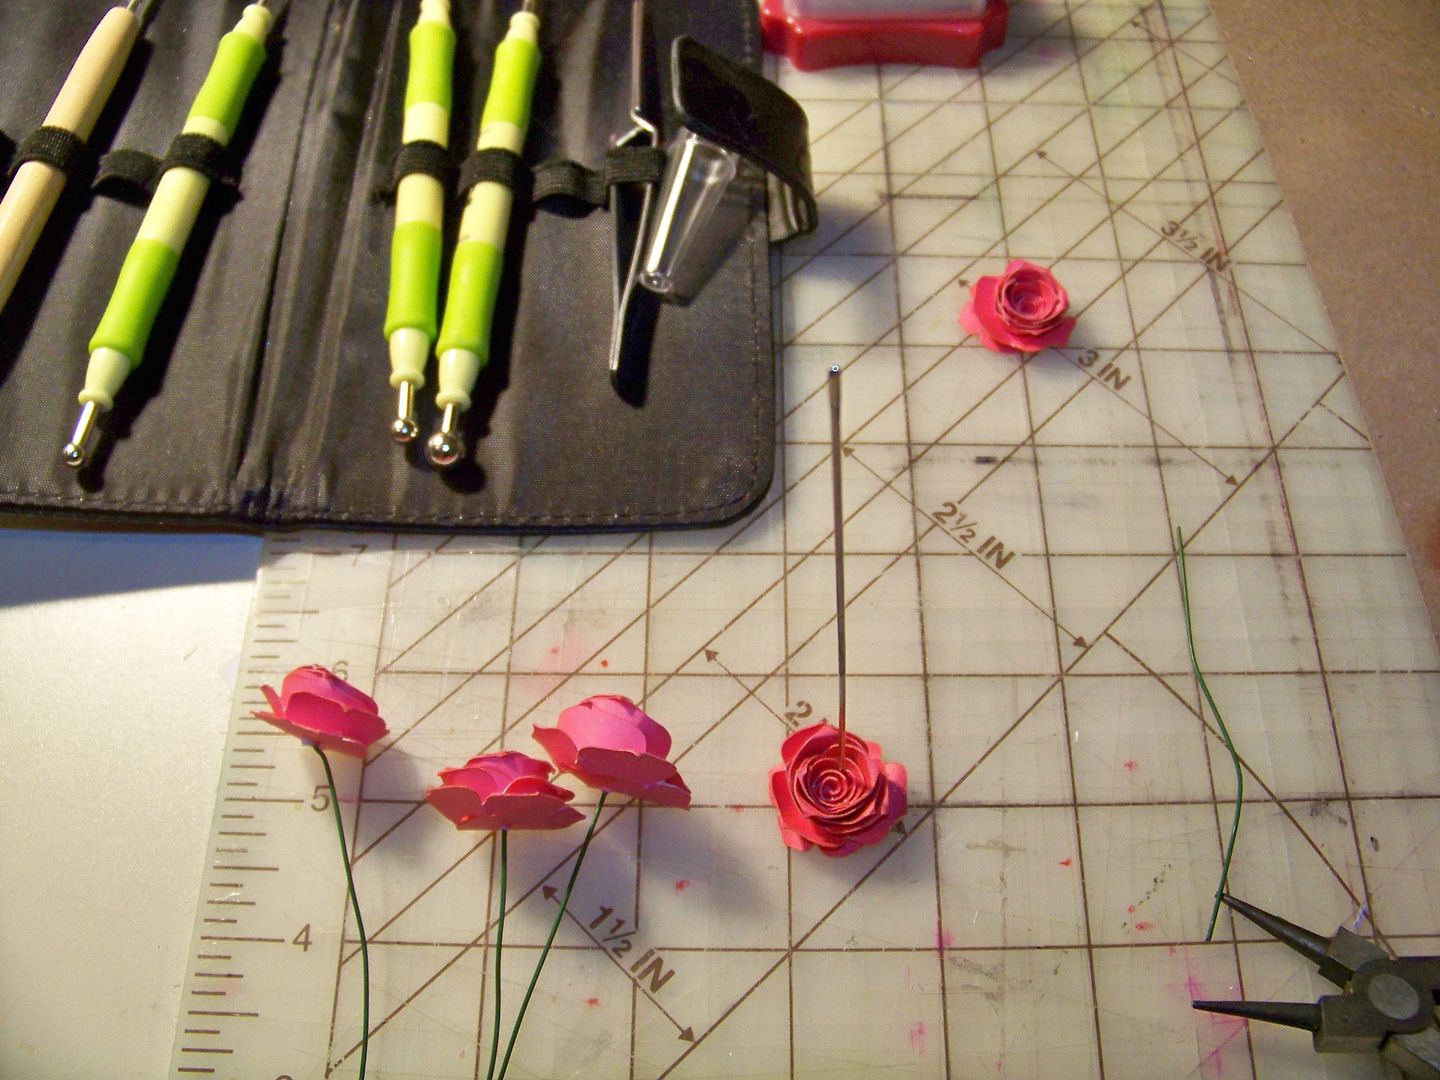
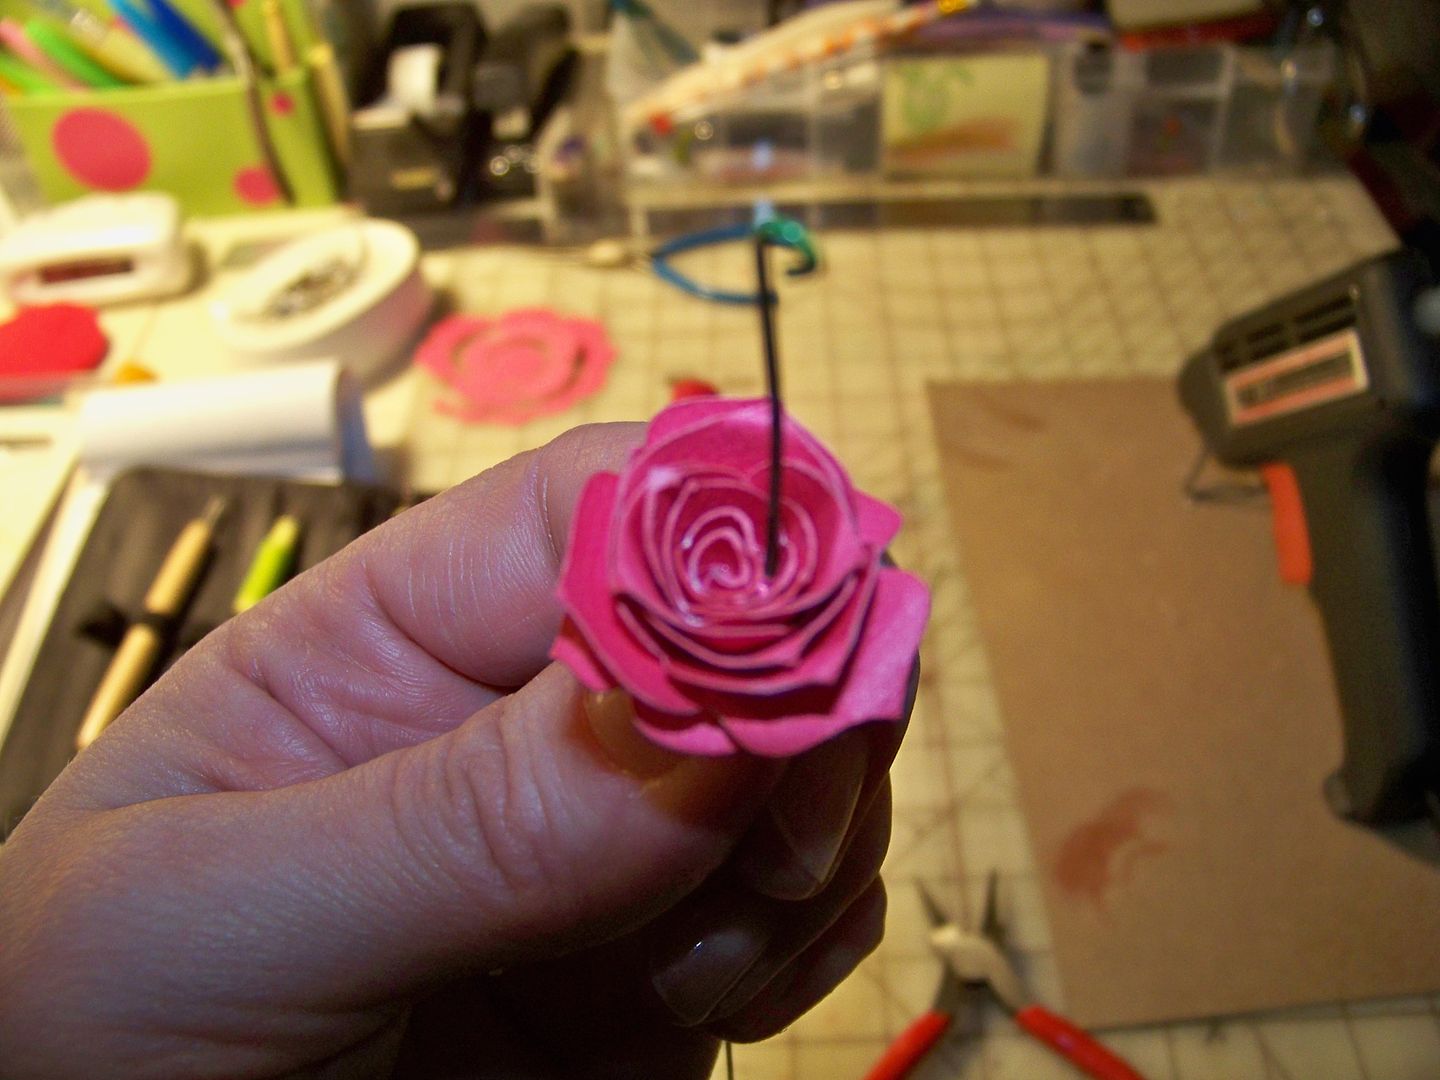
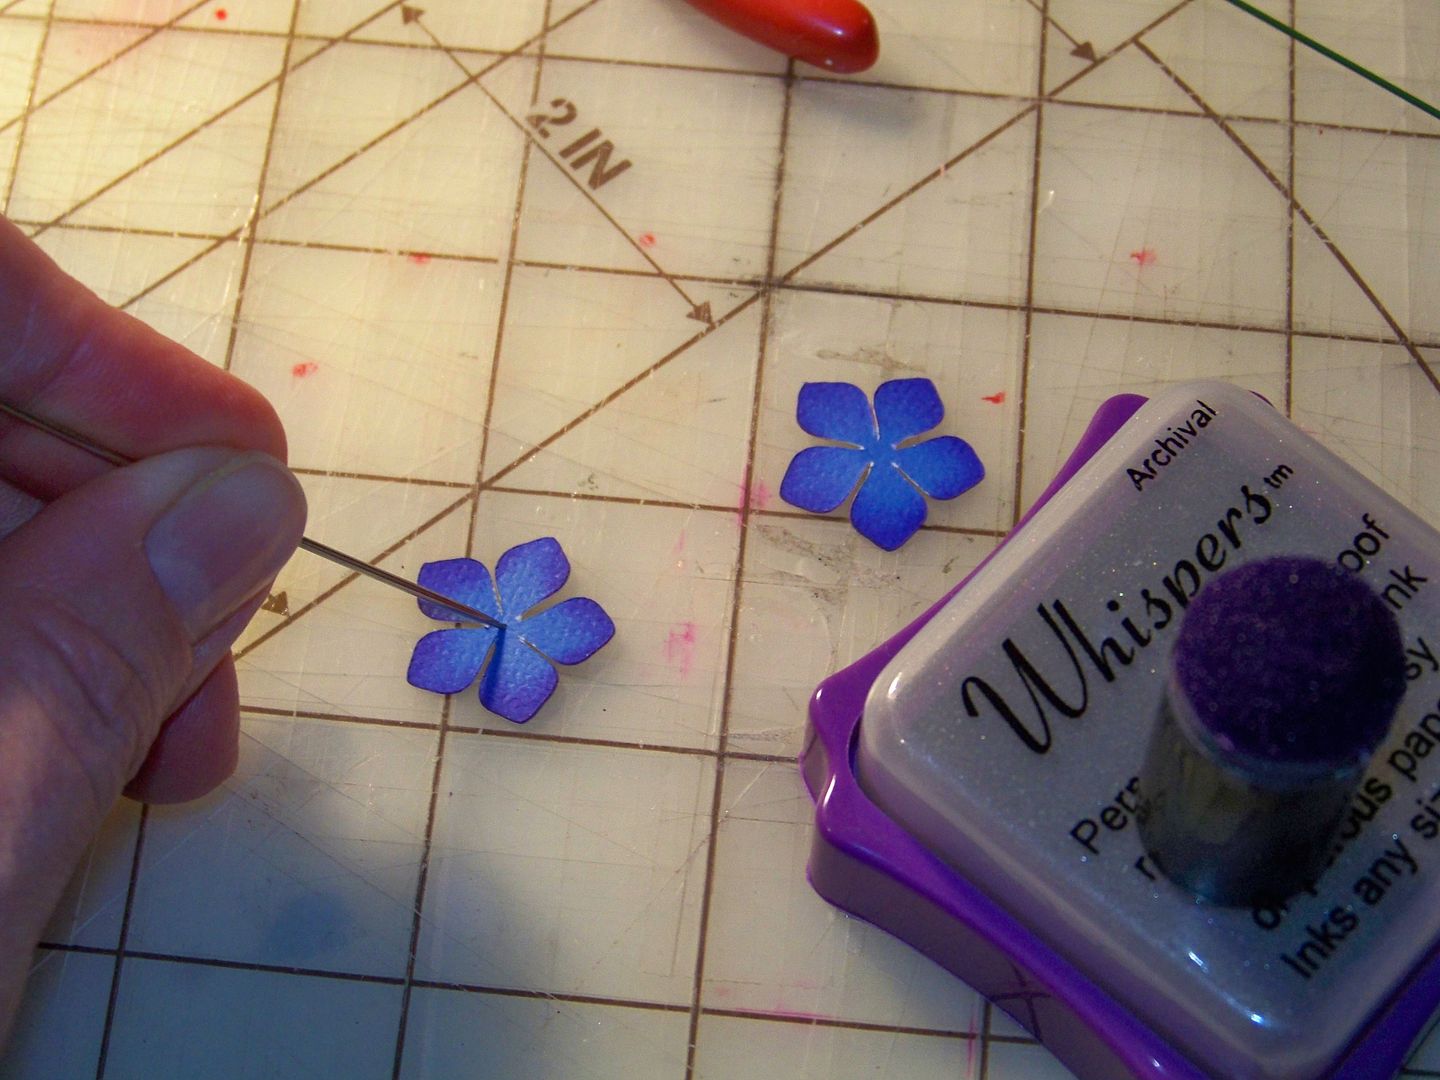
Lastly, I wanted to make a little Valentine nosegay for the doll to hold. Using tips I have learned on how to add stems to paper flowers from Sis Patterson's Paper, Craft, and Scissors blog, I added wire stems to cut roses and violets made on my Cricut. The roses were cut from Art Philosophy (page 69) at 2-1/2". To put on stems, I simply made the flowers and then used a mattress needle as an awl to poke a hole in the center.
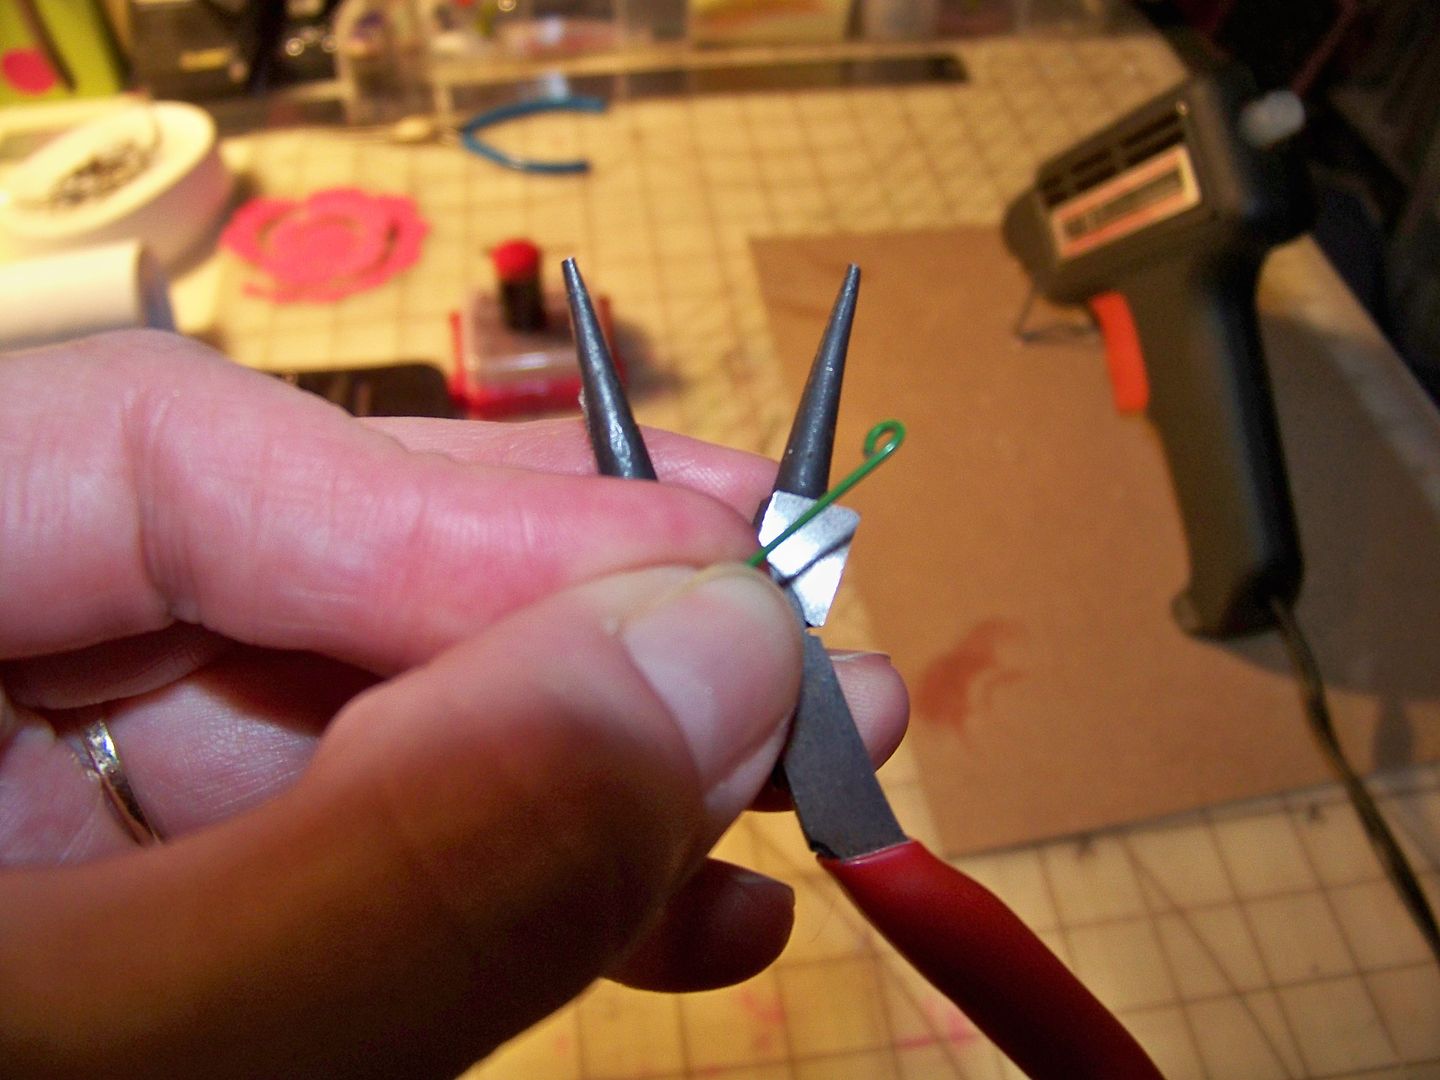
I formed a loop in a length of 20 gauge florist wire and pushed it down through the center of each rose.
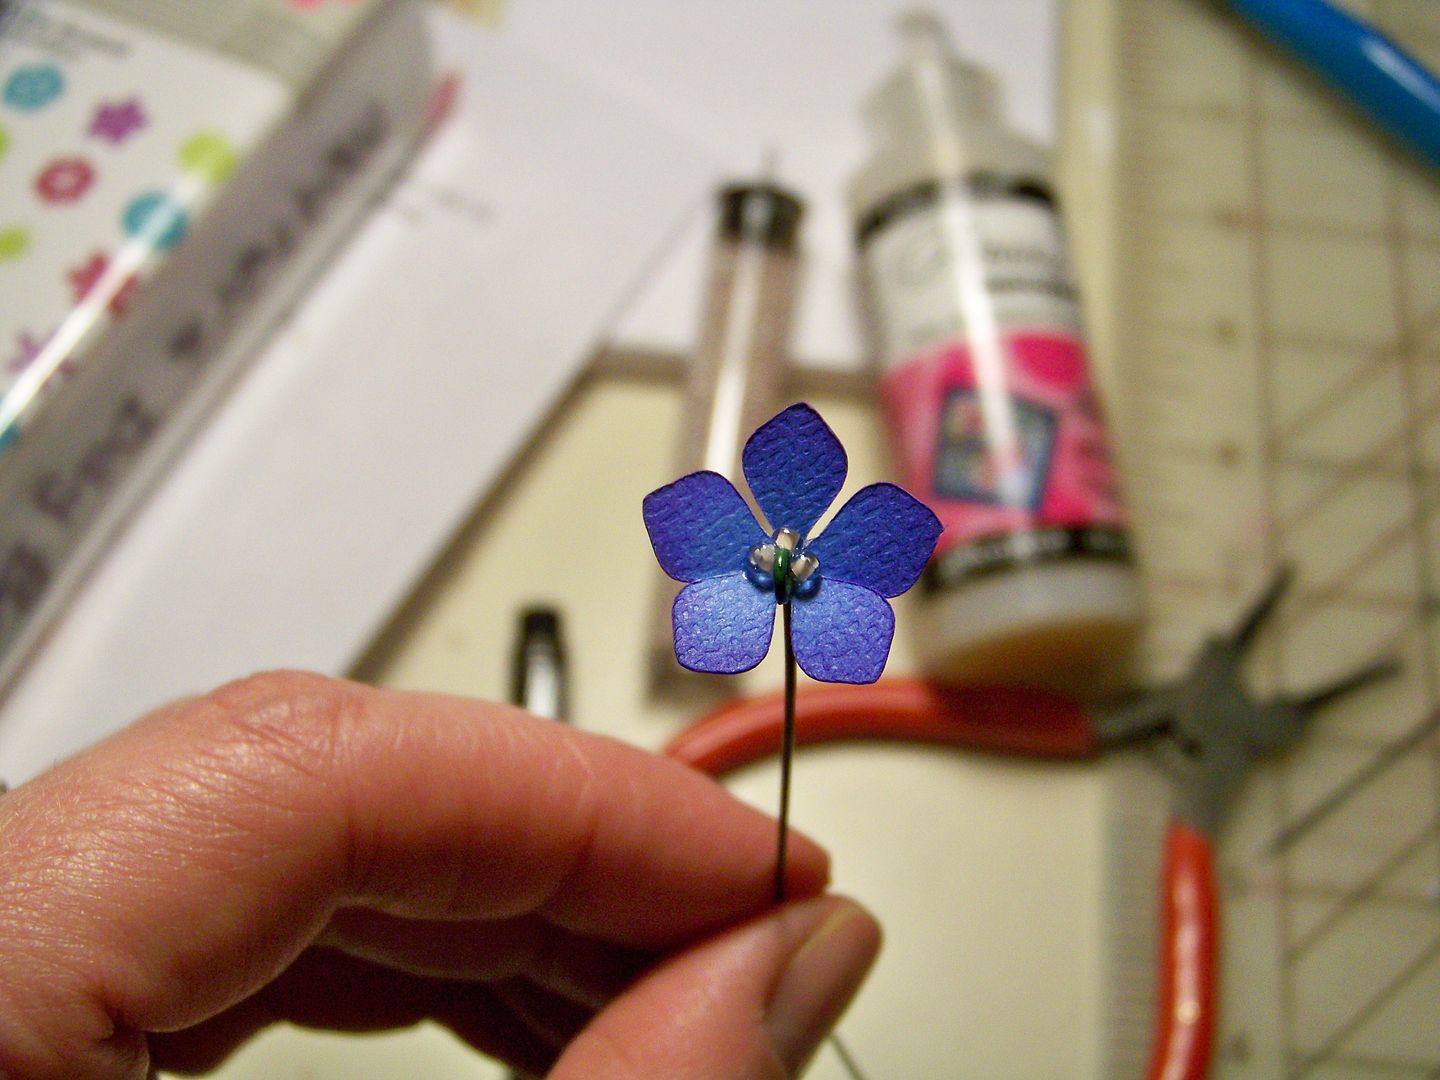
The violets were cut from Mother's Day Bouquet (#5) at 3/4". I cut them from blue and inked them in purple, to create a flower that coordinated with the doll's outfit. I pierced the centers with the mattress needle...
...and placed a bit of hot glue on the backs of each before pushing the looped florist wire through the centers of those. I added a few tiny beads adhered with Glossy Accents.
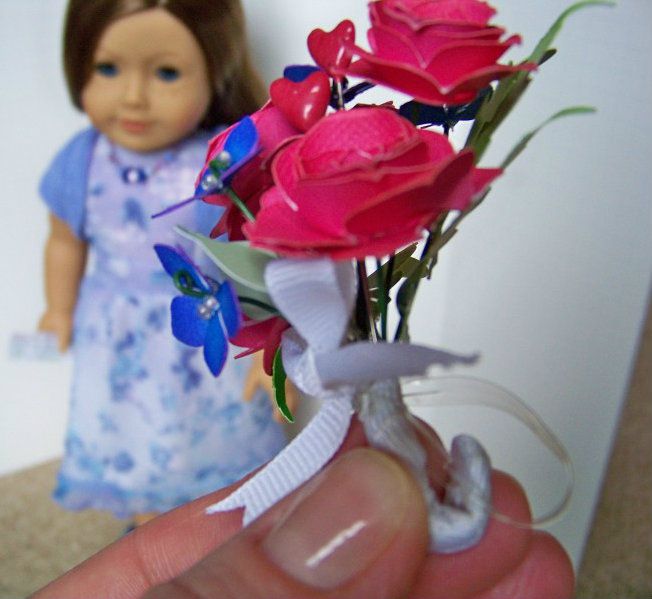
I combined all the stems, trimmed and wrapped with grosgrain ribbon. I added heart-topped stick pins to look a bit Valentine-y. I hot-glued various leaves from Mother's Day Bouquet to fill in and a grosgrain bow.
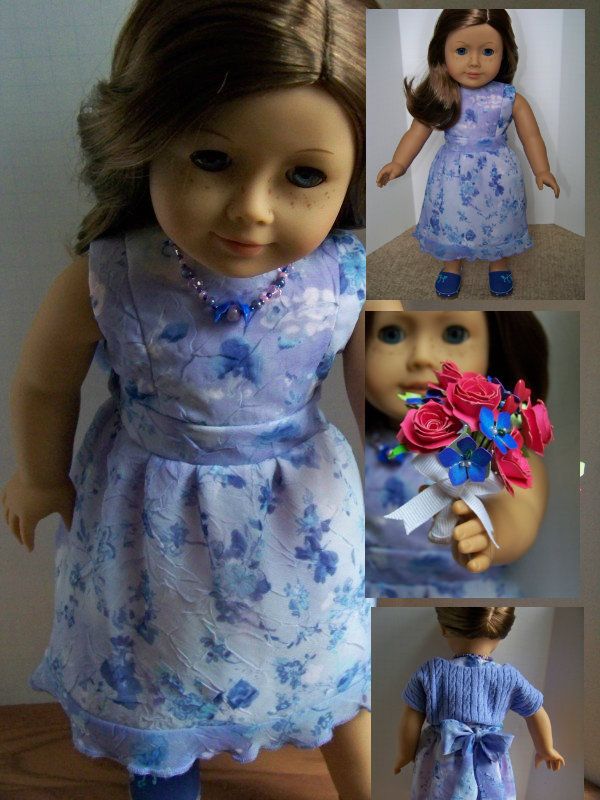
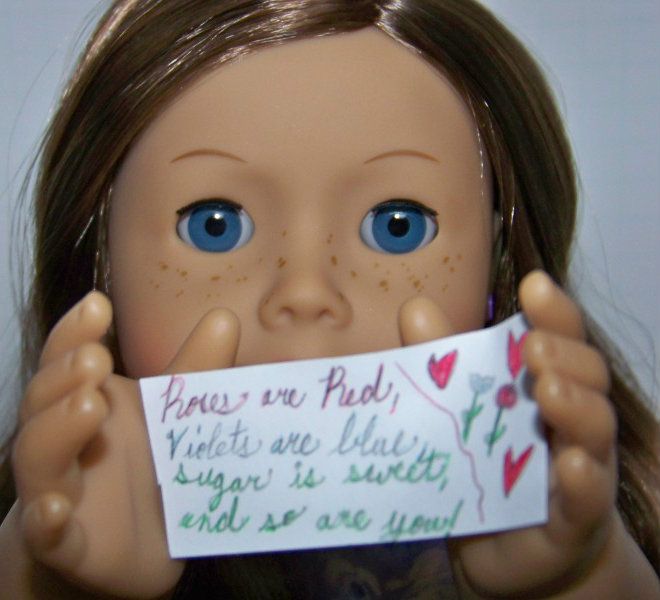
Piper decided to make a little Valentine for her doll to finish off her holiday ensemble...so sweet.
If sewing for American Girl dolls is your cup of tea, you might consider joining the group-- click here for link to learn more. The little pinafores made by others in the group for this challenge have been adorable--can't wait to see more! From what I have read in the messages, it appears that many are like me, sewing for a child or grandchild who has an AG doll.
Thank you for checking my blog today. To see many of my previous projects, check out My Project Gallery (click here).
To see many of my previous American Girl doll projects, check out my Doll Clothing and Accessories page (click here).





15 comments:
Super excited to see this new challenge you are trying out. Love your American Girl stuff almost as I love your paper crafts.
You completely amaze me! What beautiful work.
Just stunning - love the dress, the shrug, the necklace, and the nosegay. I always learn something great visiting you and I am always inspired.
Nadia, The dress and accessories are AMAZING!!! you are such a fantastic crafter.
Oh girl this is so adorable! Every last detail is amazing! I bet my nieces would love this!!!
Very cool! Love all your details.
Another beautiful dress! Love the necklace and bouquet too.
OMG! That was the most amazing ensemble! I love it. It would take me months to make something so special. You are truly gifted and incredible.
Thank you so much for sharing. I get so excited when I see your e-mails with your phenomenal projects.
I am truly amazed! I love the dress, necklace and flowers. Piper is a lucky girl! Wow!!!!
Piper is going to have one fashionable doll!Your talent never ceases to amaze me.
Adorable! Love the little knit shrug!
Another very cute dolly dress! You are the master.
I love how this turned out! It is awesome to see what pattern you started with and what your version was! Love it!
Nadia! I love this!!! Your projects are always incredible. :) Those roses look so realistic!!!
This is incredible! I wish I could sew something other than paper! Cortney would love this! Instead her mama, buys the expensive already made clothes at the American Girl Store. Your daughter is a lucky, lucky girl!!!!
Post a Comment