
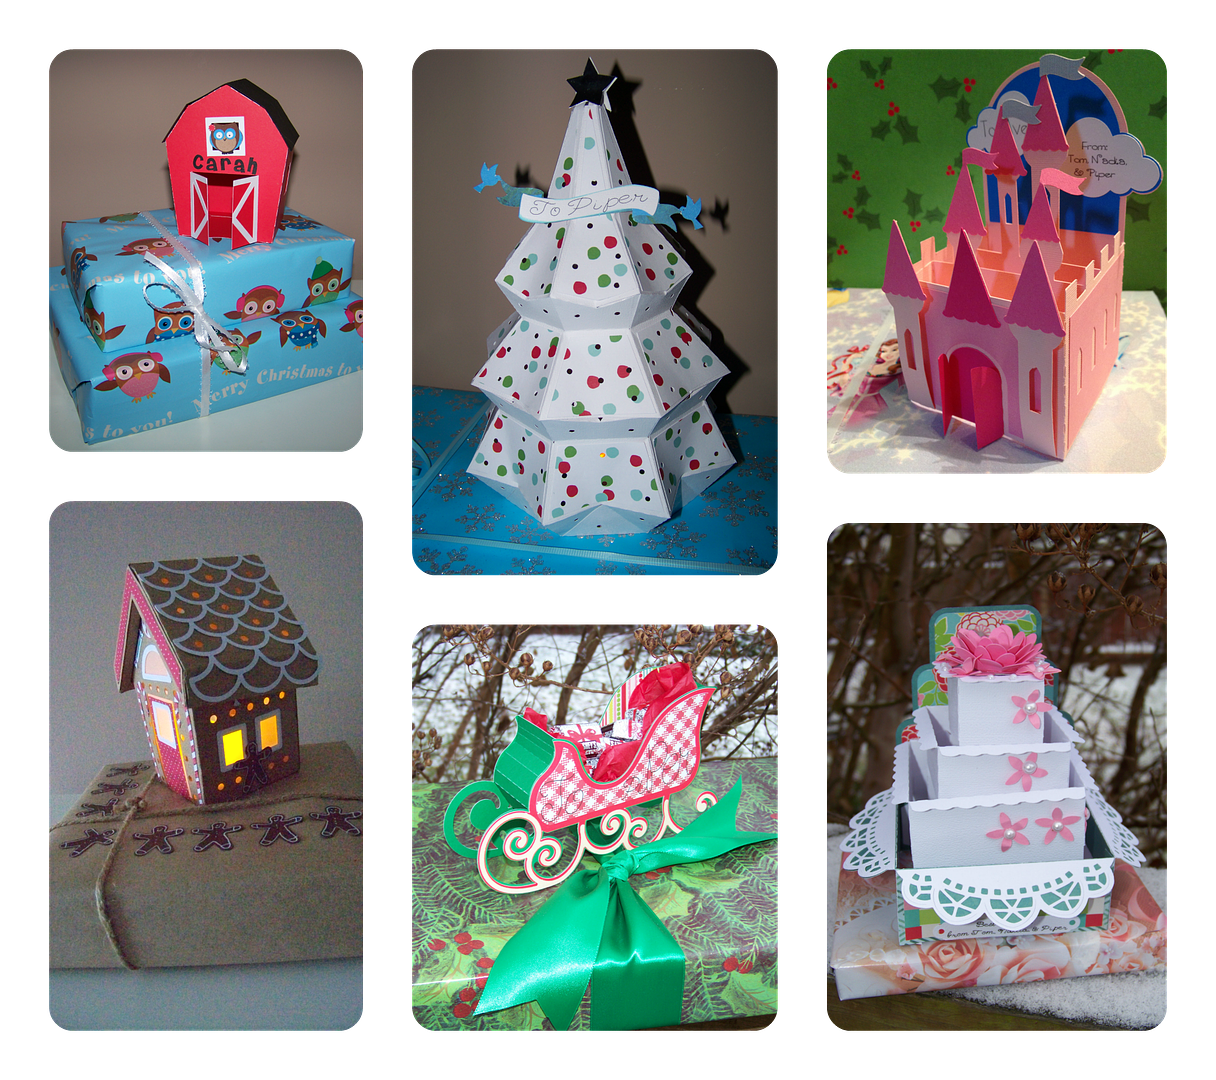
I have been having fun with the idea of 3-dimensional gift tags for some of my packages this Christmas. Some have very few pieces; others are more detailed. I am hoping that all of them add a little magic to my gifts.
This barn is one of the easiest! It is from the Santa's Village svg collection from SVGcuts.
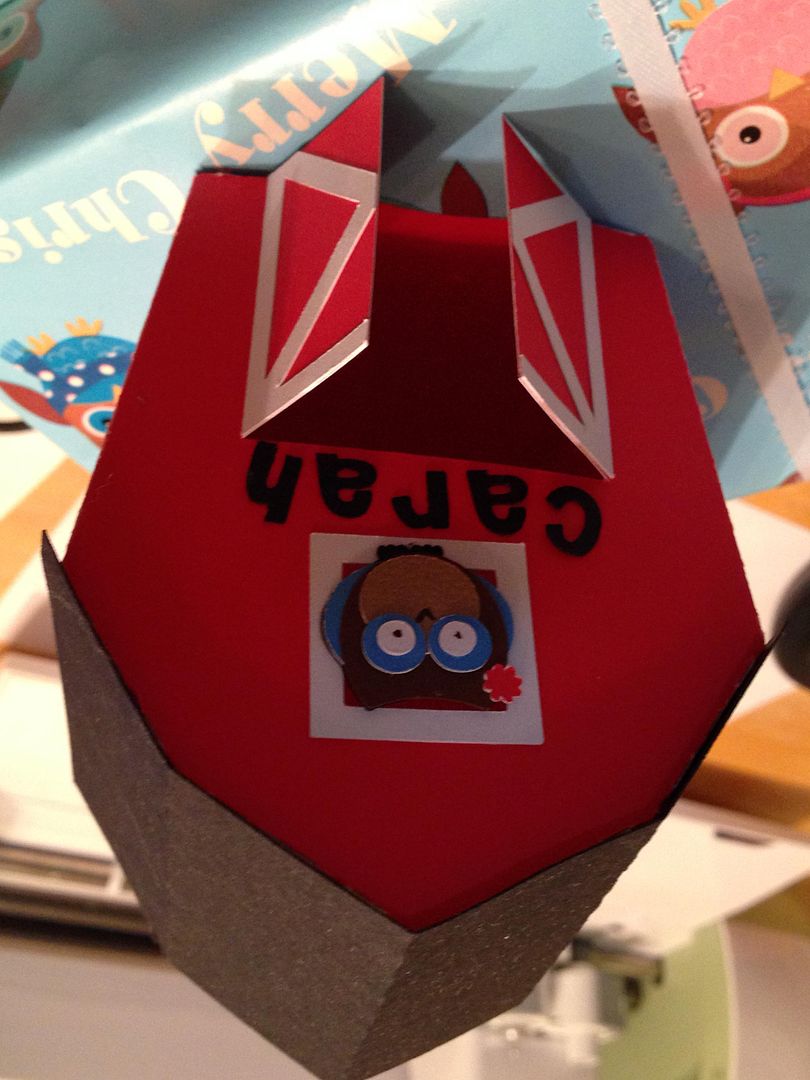
I wanted something fun and dimensional and non-traditional for my little niece. She is also the kind to tear into her gifts with gusto, so I wanted this to be easy and fast to put together (because I know it won't last). I love this little barn for all of those reasons! And a cool feature of this file is that, although the designer made this to be adhered directly to the box she has designed, she also includes a piece in the extras file so that you can add a bottom to the barn! This feature means that you can easily glue it to your package! Click here to see this barn file at SVGcuts.
To make it relate to the Christmas owl wrapping paper, I added an owl svg I had. Honestly, there are tons of owls on Cricut carts, and Christmas ones at that, but this one is from Too Cute by Jessica, from the So Sweet Owls collection. Click here to see that file.
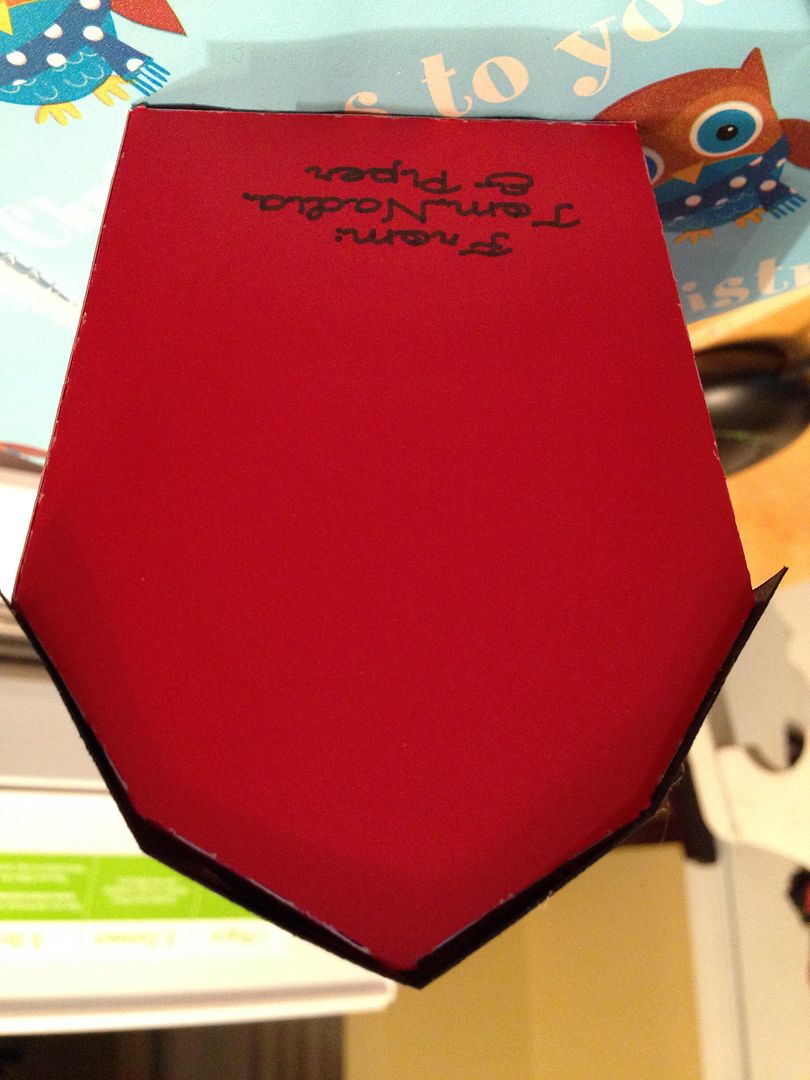
Since this is a 3D gift tag, the recipient's name was cut using a Cricut font on the front. I used the "Has a Writing Style" feature with an American Crafts Precision Pen for the "from" on the back of the barn.
The next one I tried was made using a box card from SVGcuts for a different niece. I had not gotten on the box card bandwagon, but I always take advantage of the free collection offers whenever SVGcuts comes out with a new design, so I have them all, including this one from the Box Cards Kit.
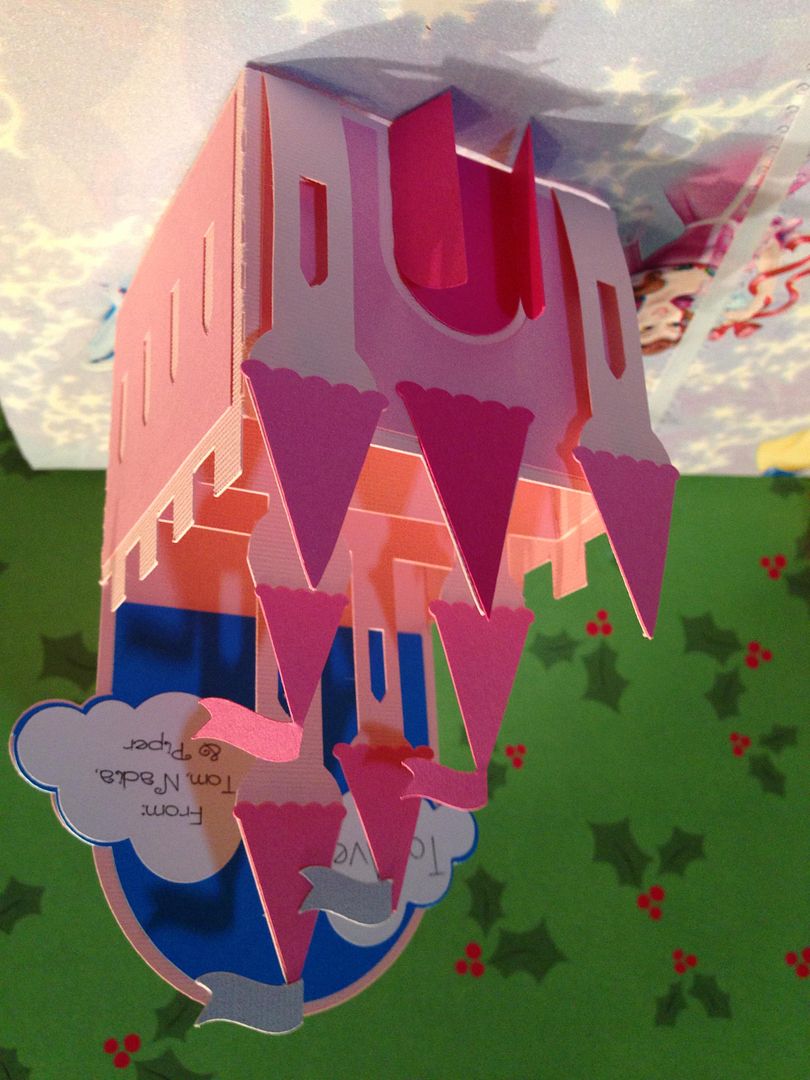
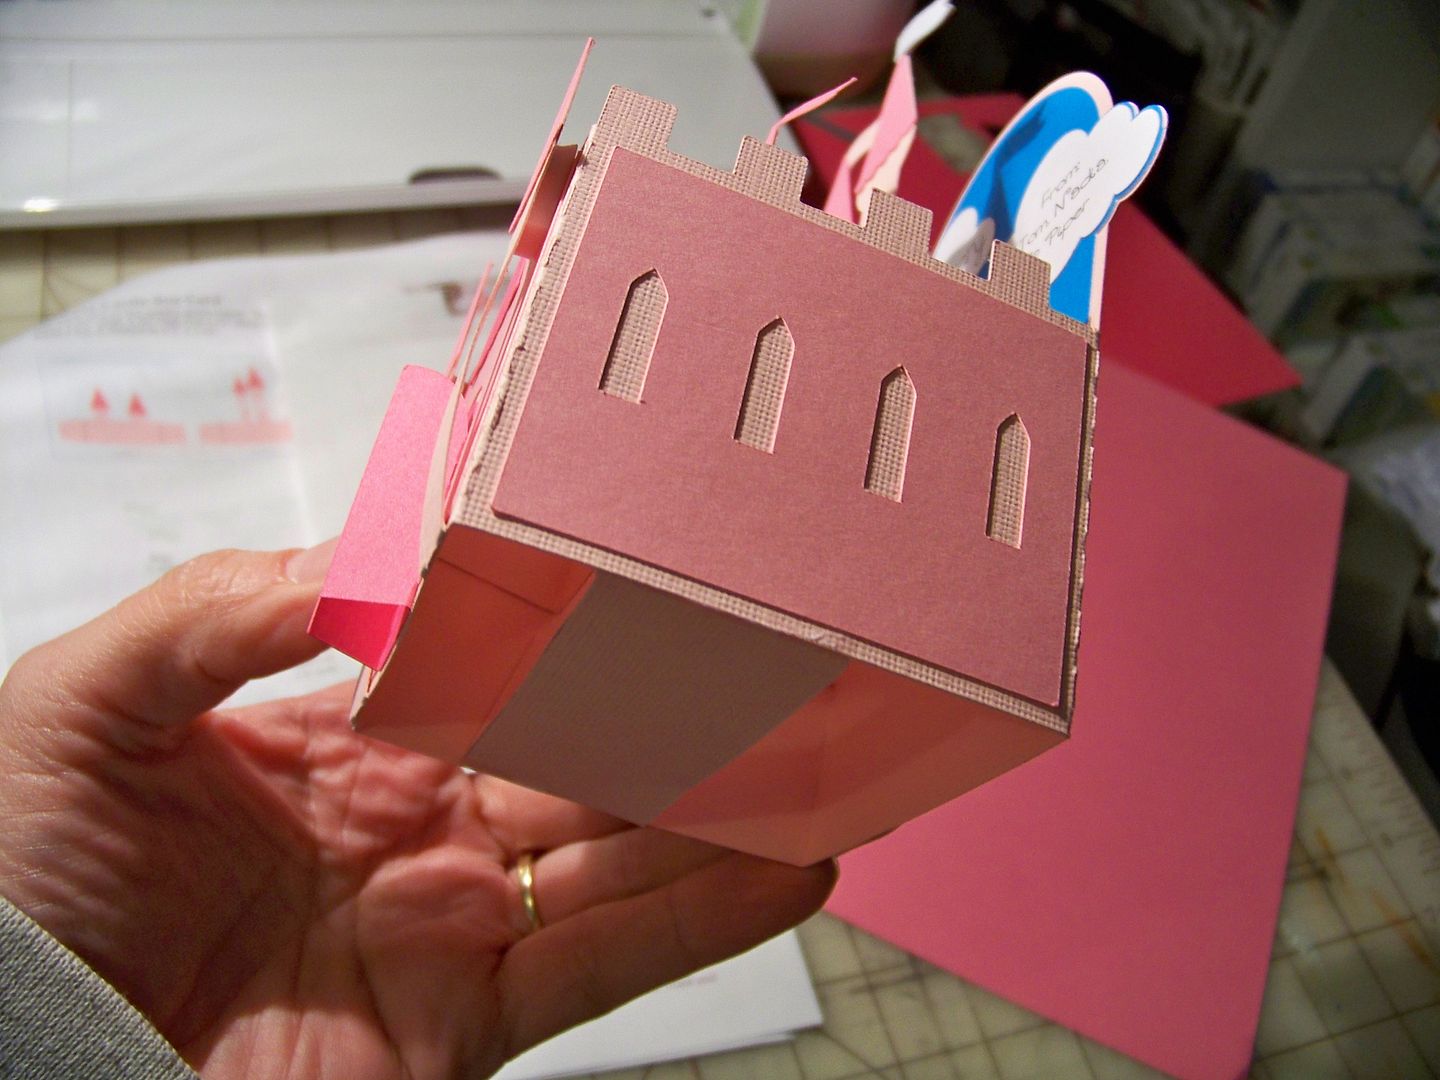
What makes box cards great for use as a 3D tag is that they go together so fast, with all the layers figured out. They are perfectly dimensional and have great themes! This castle box card was made to go with princess wrapping paper. I wanted something quick and effortless because this one is for a toddler's gift! You know this one will be destroyed in no time!
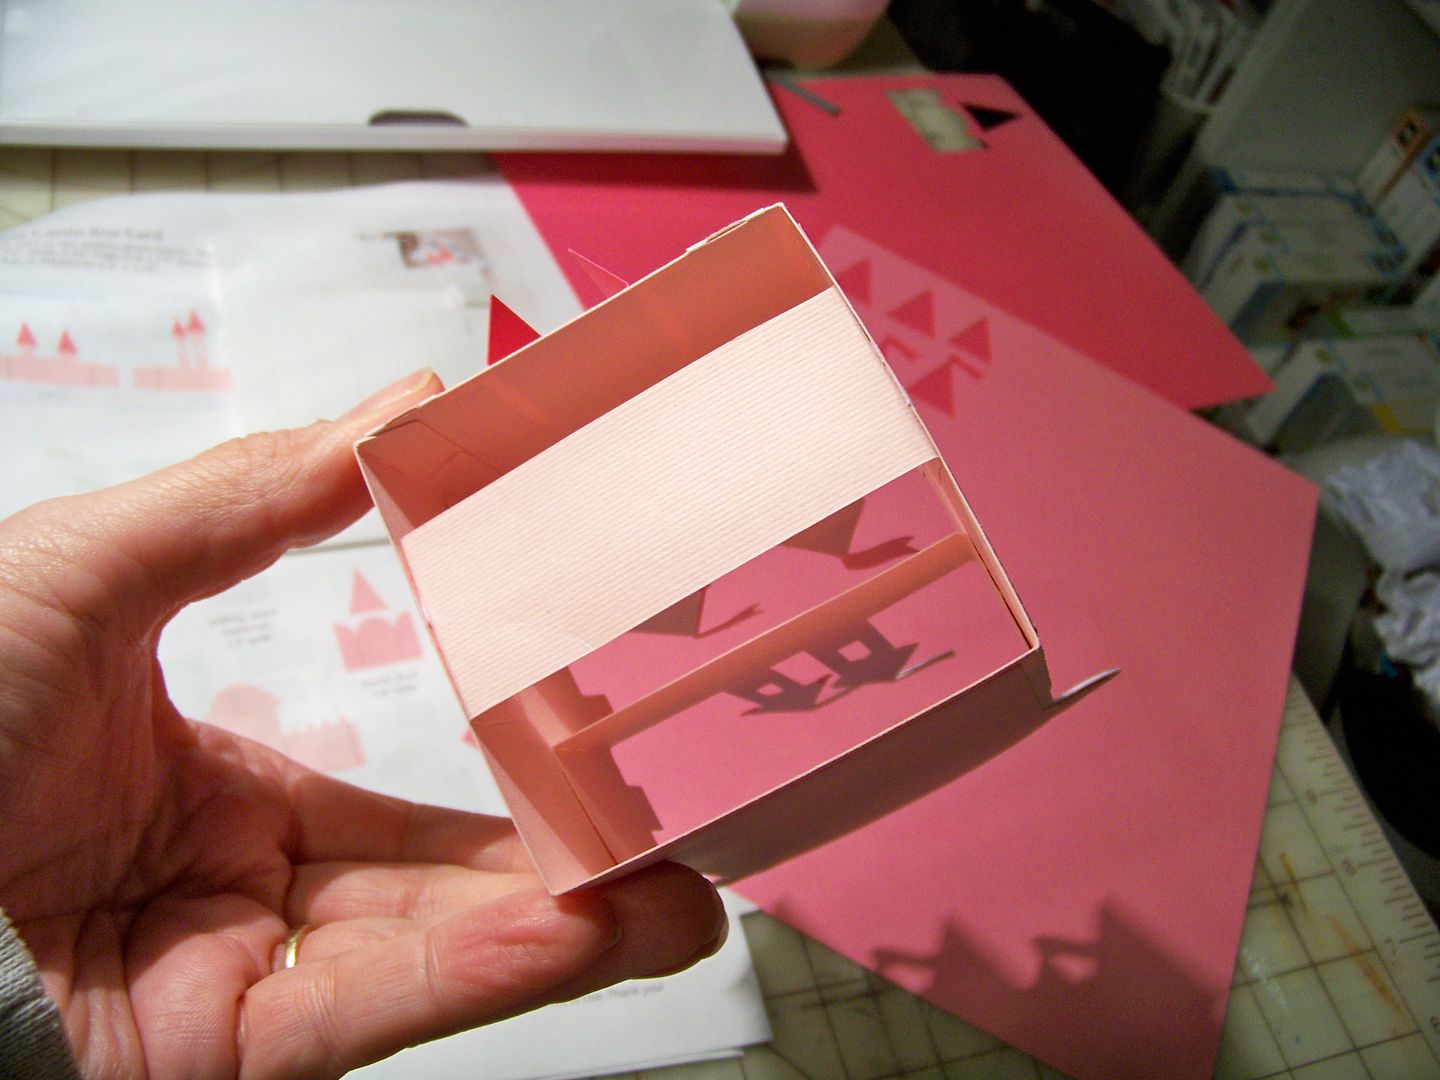
Because box cards are made to collapse to fit into an envelope, I do add a "locking" strip in the bottom. This also gives me a place to add glue to so that I can adhere it directly onto the wrapping paper.
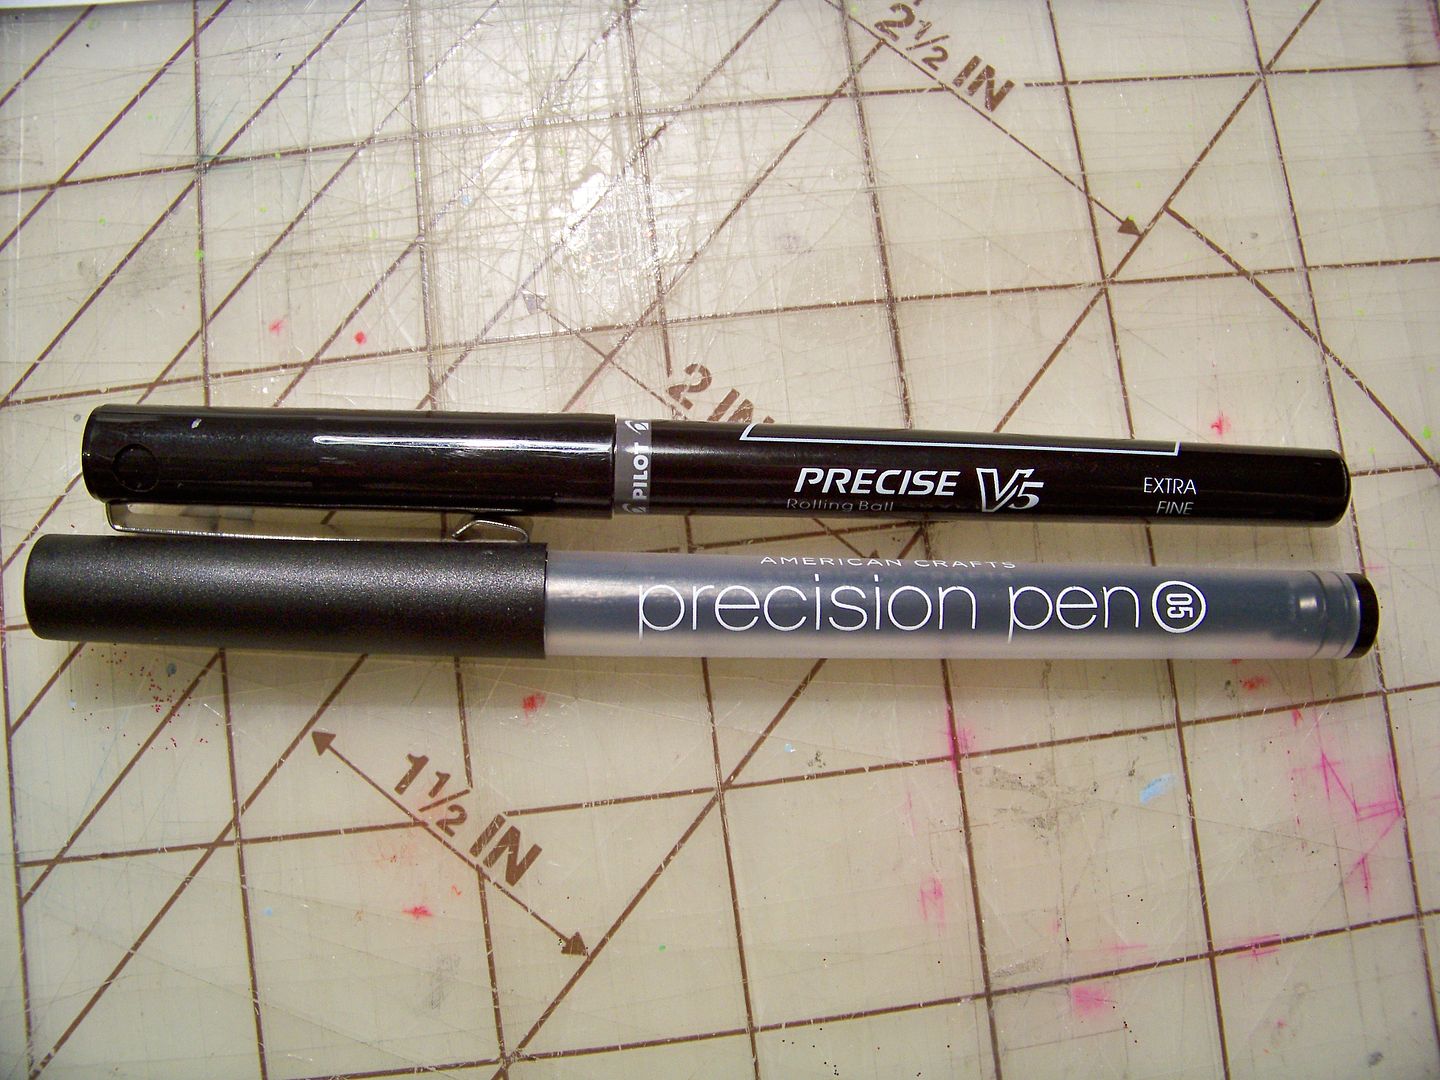
And to make this a tag, I added text to the clouds using the writing feature on the Cricut Explore. This is a good time to mention that the kind of pen you use for these really matters. I used a Precision pen at first and it was just too thick so I remade the clouds using a Pilot Precise V5. To see my post with all kinds of pen options for the Explore, click here.
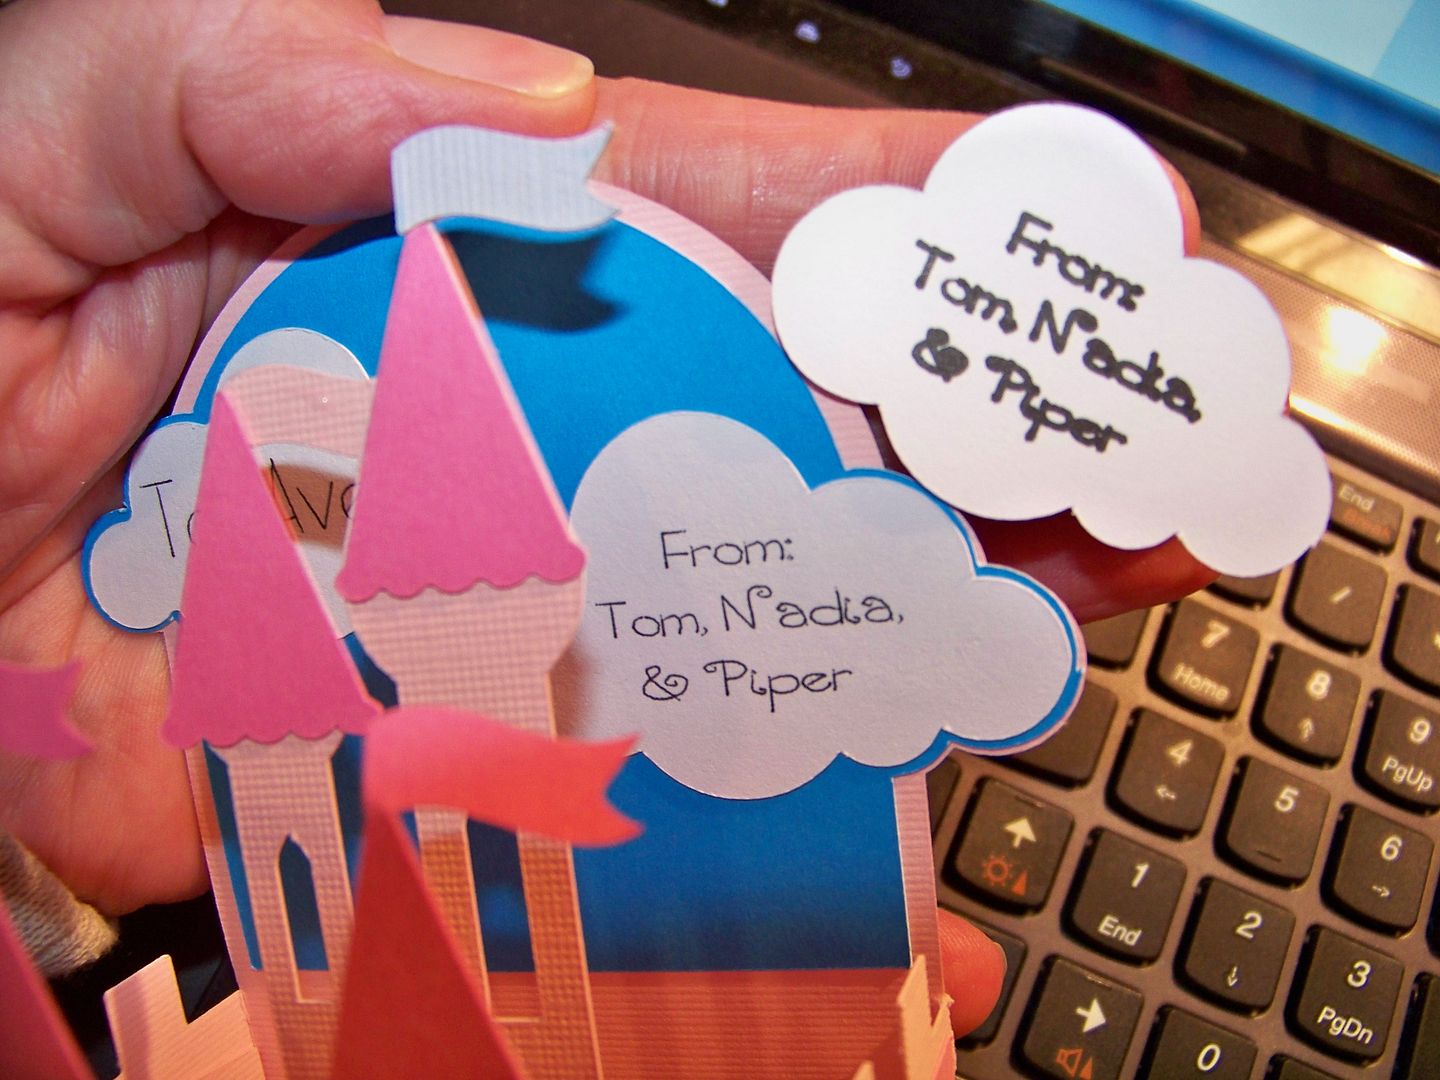 |
| The Pilot Precise V5 pen creates a much better finished tag with this tiny writing. |
The next one I did was for a gift that was opened a couple of days ago!
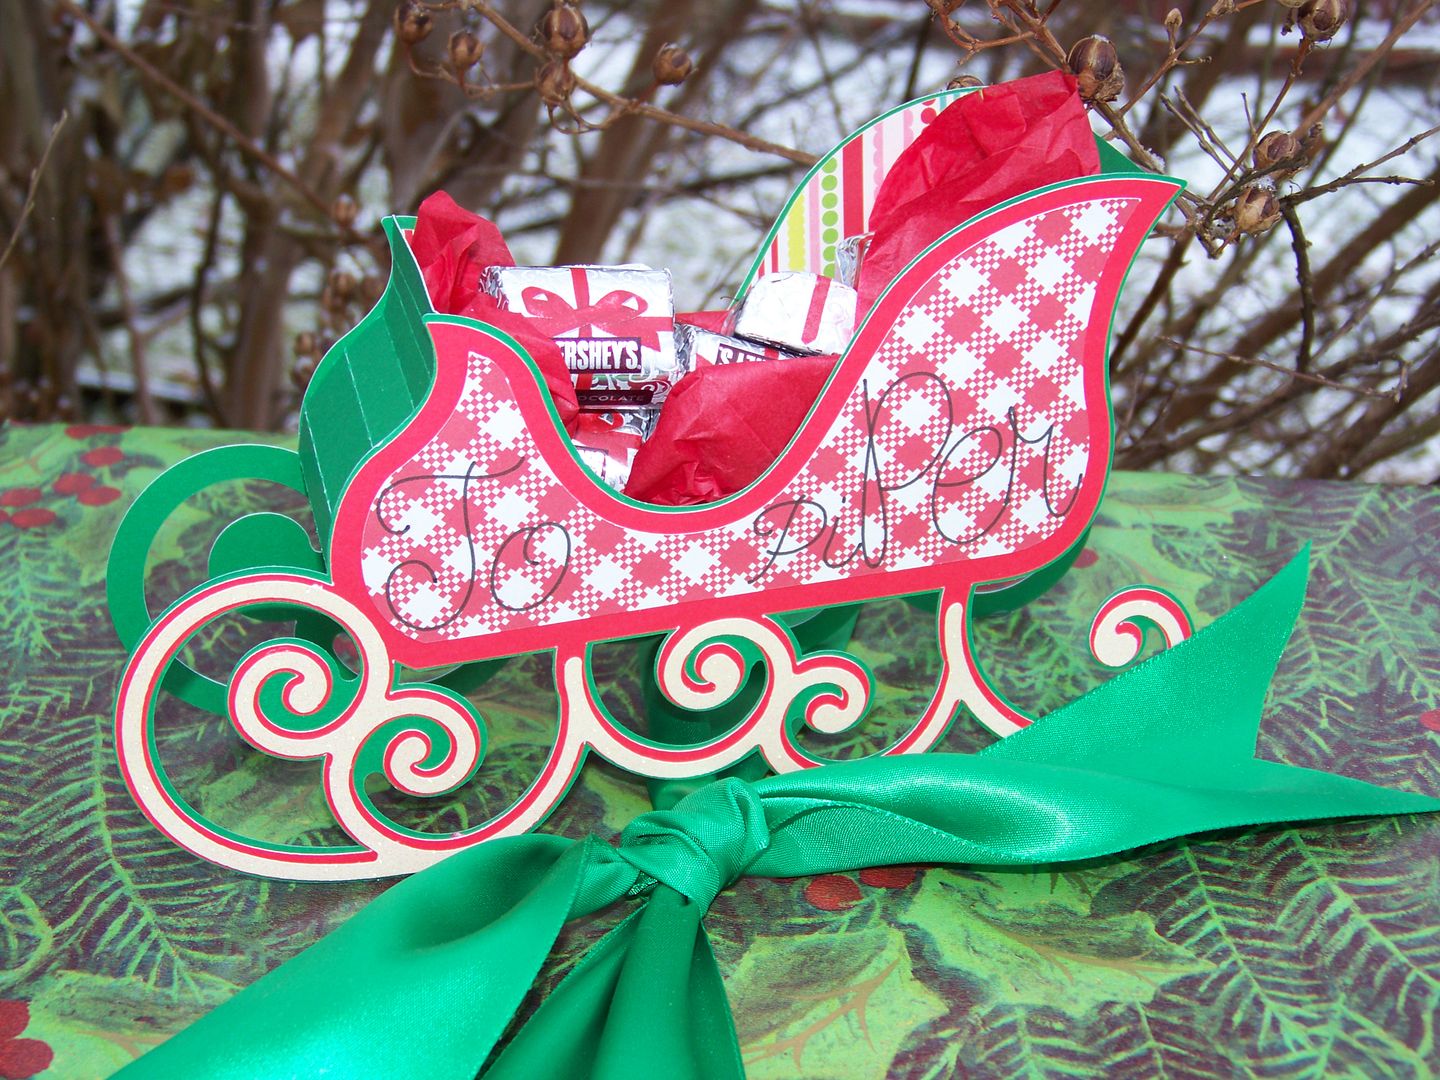
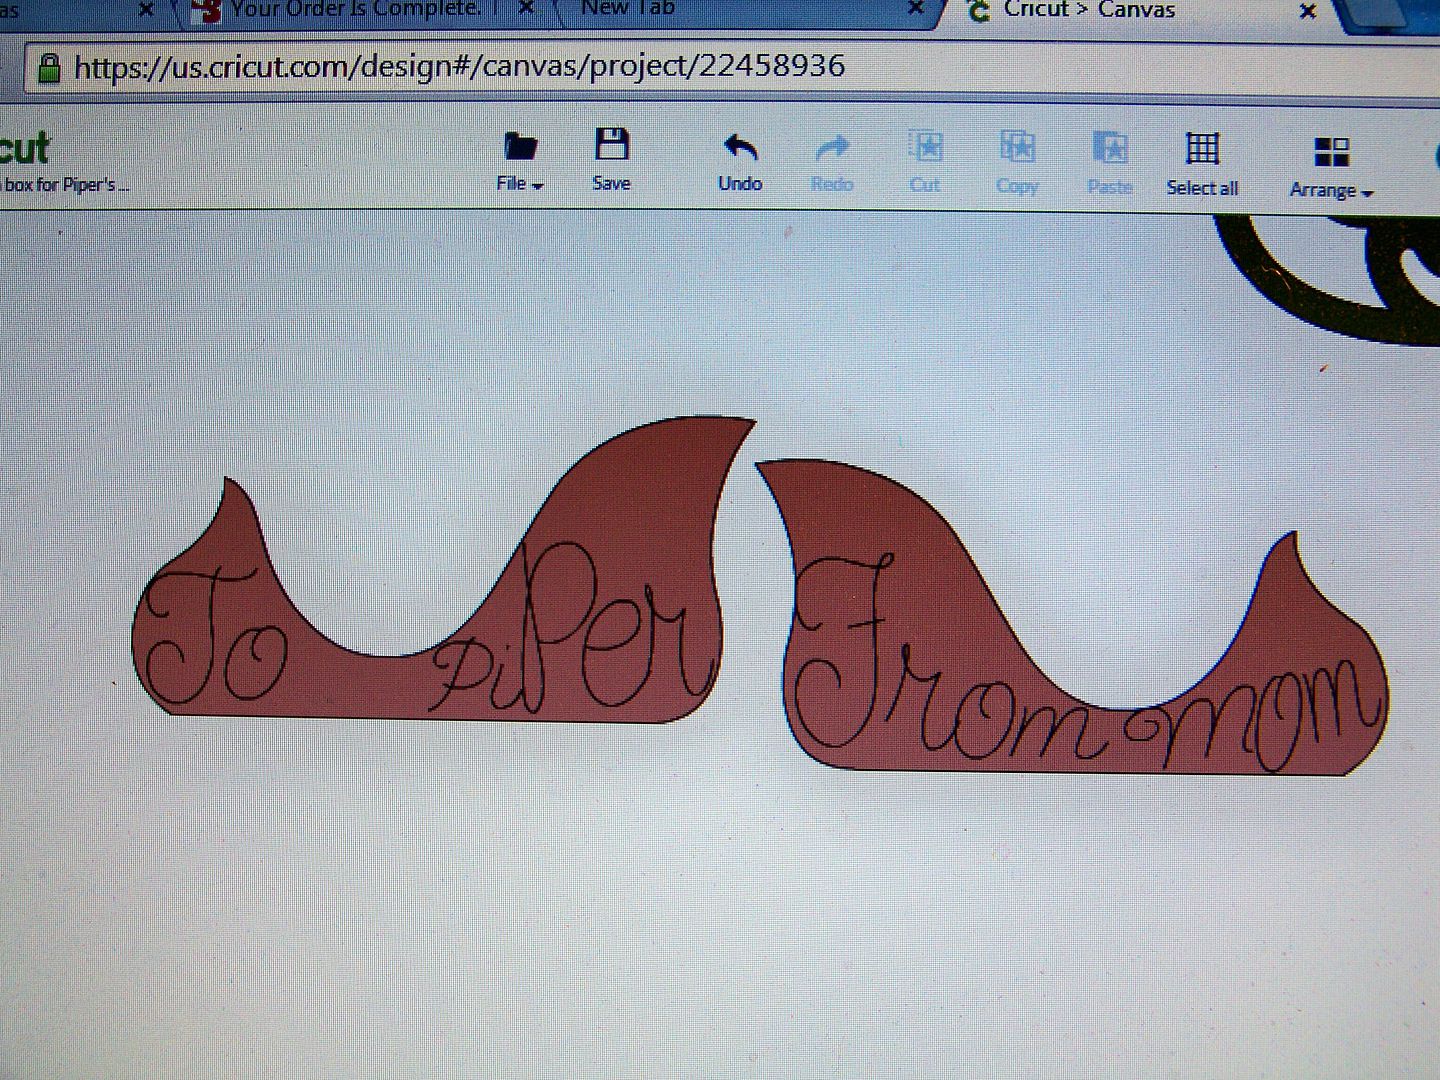
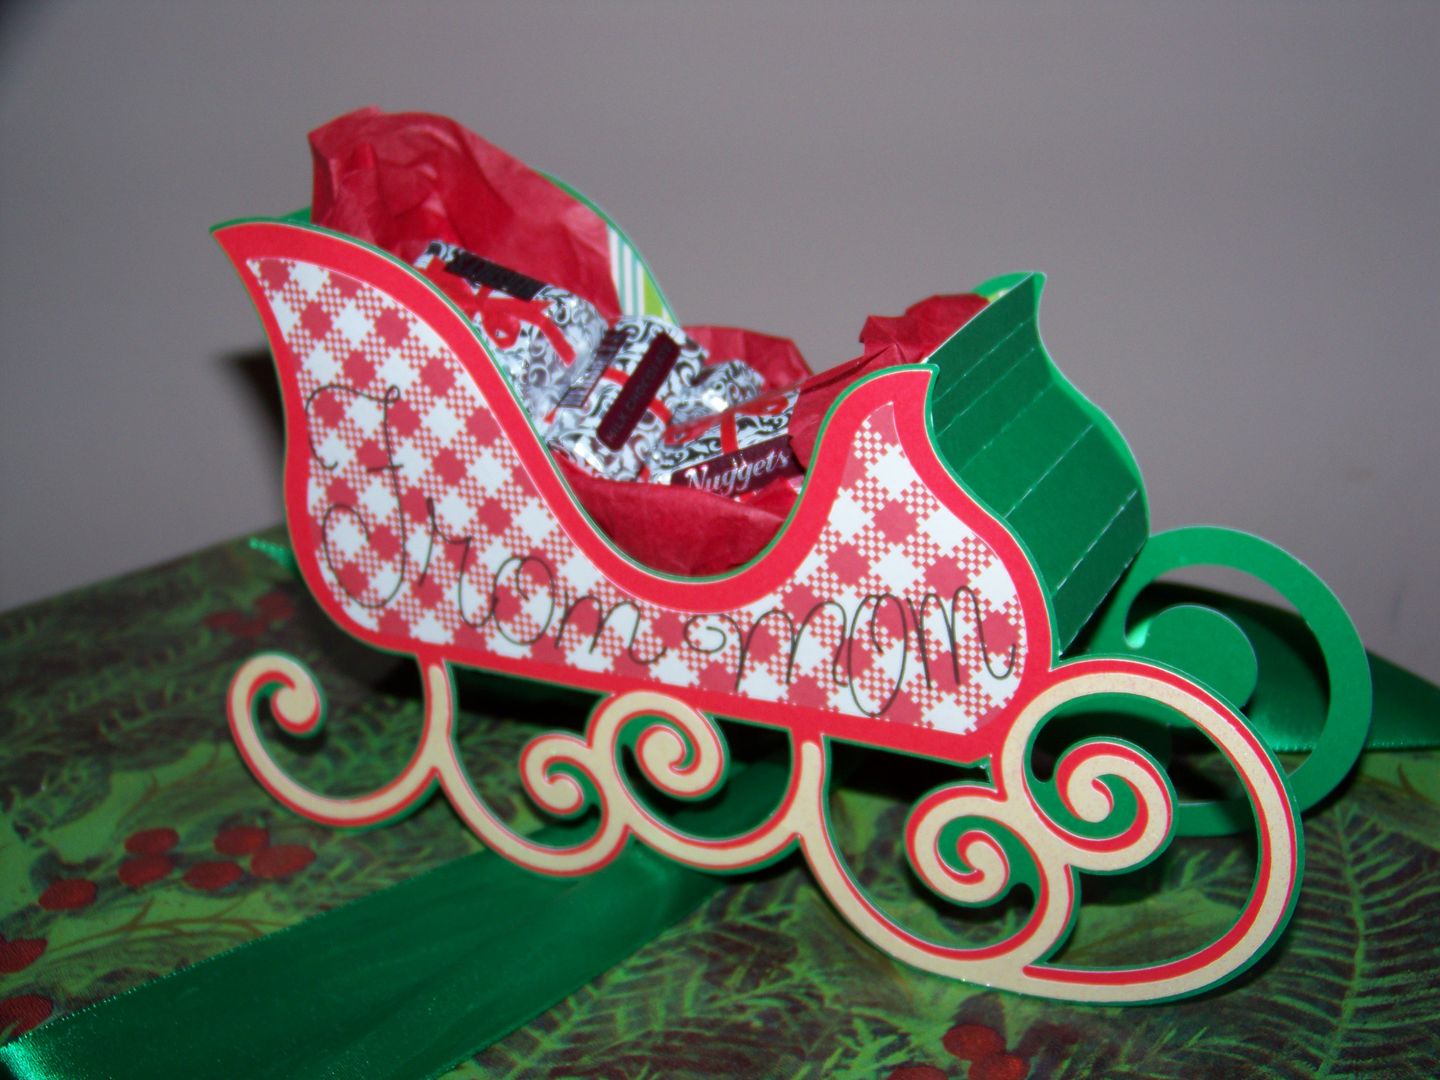
I wanted something super fast because it was going to be opened shortly after being decorated. It was the wrap for the annual Christmas ornament gift that I give my kiddo. She opens this 'first gift of the season' while she watches the Macy's Thanksgiving Day Parade. I chose a 3D sled and used the writing feature and a Precision Pen to write the "to" on one side and the "from" on the other, adding text one letter at a time in order to adjust the size of each letter.
This was particularly fast because it is basically layered sides and a shaped middle that connects them! And it holds stuff! Like Hershey's Nuggets! Click here to find this file for the sled on Santa's Visit on SVGcuts.
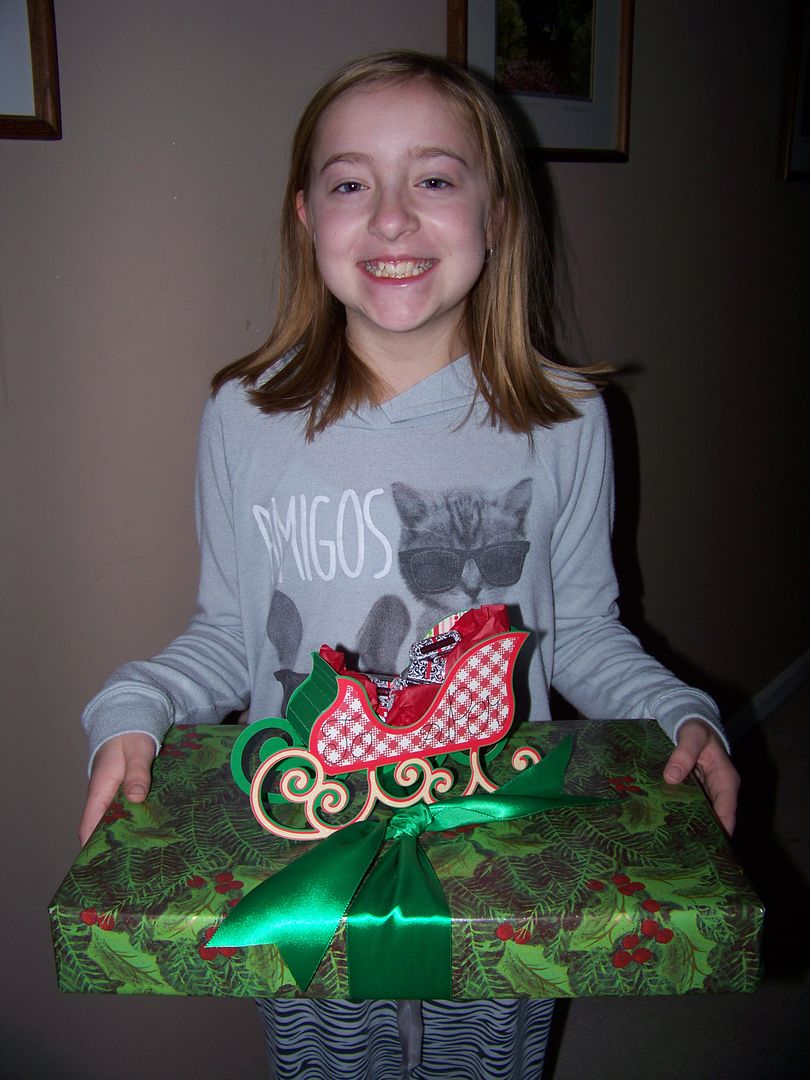
I did put a small puddle of glue under each of four areas of the sled that make contact with the package. My daughter, who keeps all of these for use with her toys, carefully peeled it off of the package before tearing into it. I probably could have just as easily looped the ribbon through the sled rails.
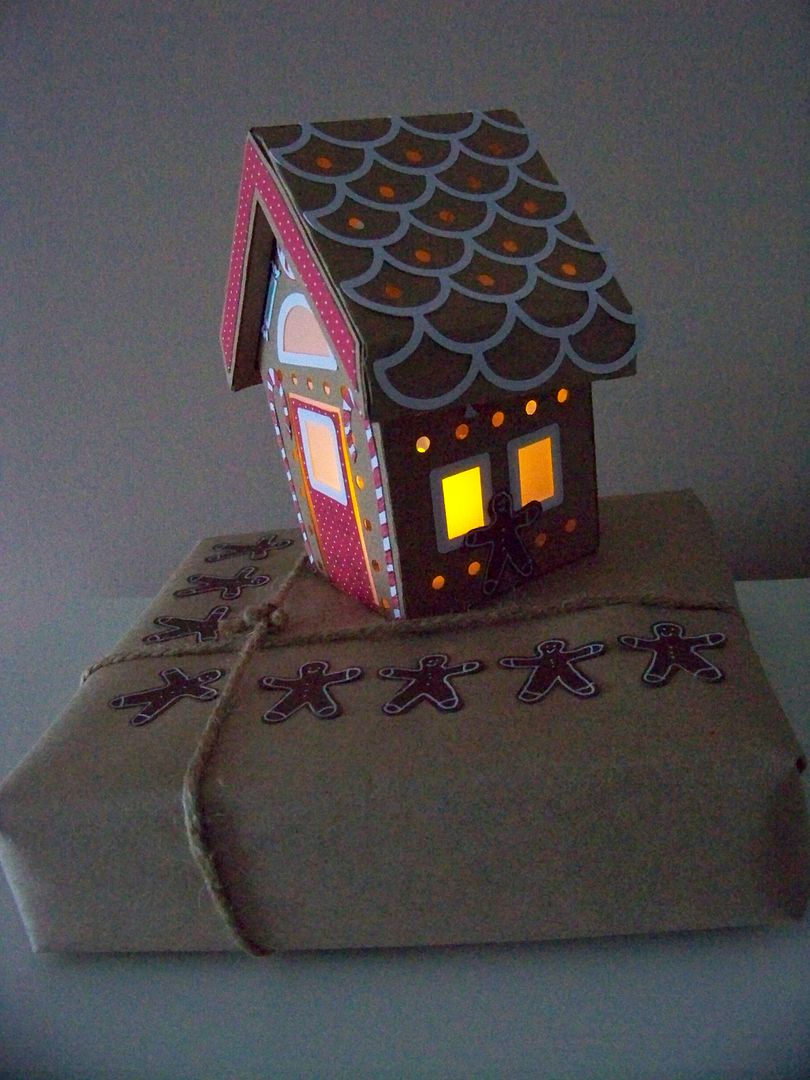
Because my kiddo likes to keep my 3D projects, I made her a special one. This gingerbread house was especially fun because it lights up!
This was one of the very first SVGcuts files that I bought earlier this spring when I got my Explore. I used it for a tree house project. You can see that previous post by clicking here.
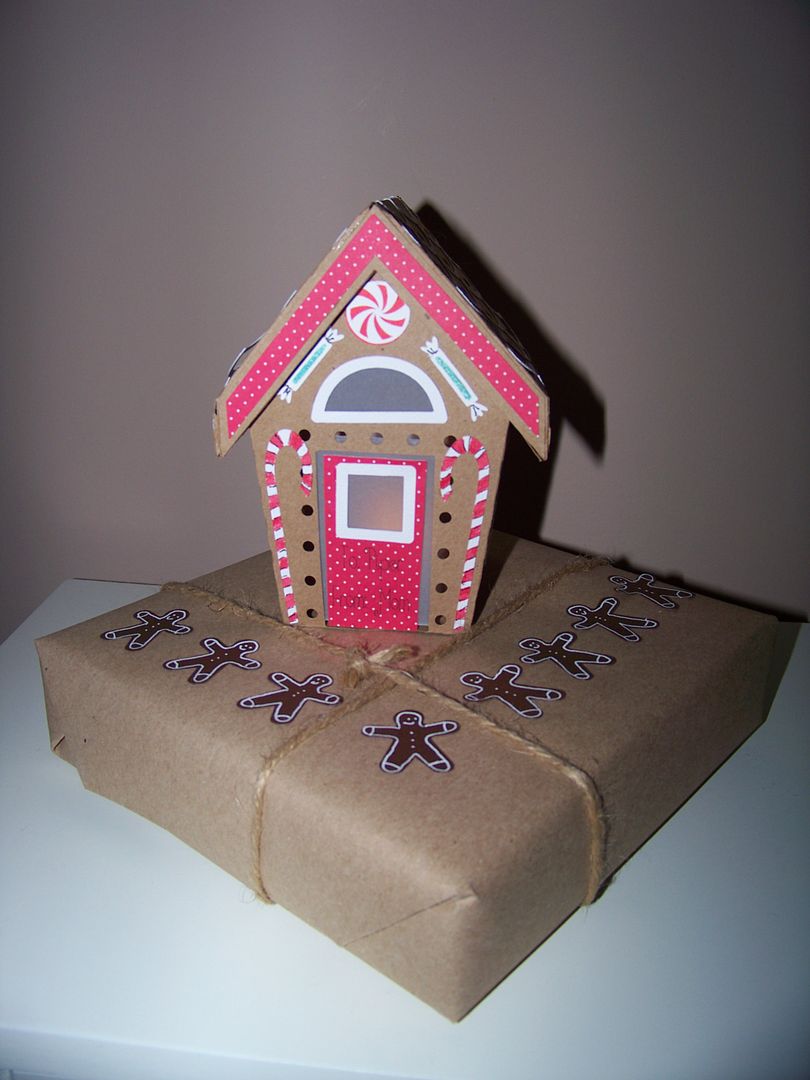
This is part of the Gingerbread Chalet Village and I love this perfect little house with the well-fitting roof/lid! A small electronic, flickering tea light makes it fun! My daughter actually gasped when she saw this lit up! This one was definitely more work than the others, but with that response, it was worth it! I used Cricut images for the candies and gingerbread men. A search in Design Space on "candy" and "gingerbread men" gave me plenty of options! I used white pen to add details to the embellishments instead of teeny-tiny layered cuts.
I used brown mailing paper to wrap the gift and kraft paper to cut the little house. Vellum makes the magic in the windows and around the door. Like the others, I glued the house right onto the paper, but I imagine my kiddo will cut the paper around it to save the little house.
The response was so exciting that I made another light-up 3D gift tag on another of her presents.
This was my Thanksgiving morning crafting: The tree on the NEW Santa's Surprises collection! This one is still FREE until DECEMBER 5th if you type in coupon code FREEGIFT when you place an order for $9.98 in other files!
I used the writing feature with the Pilot Precise V5 pen on the banner from Cricut Rock Princess to create the "to" on this tag.
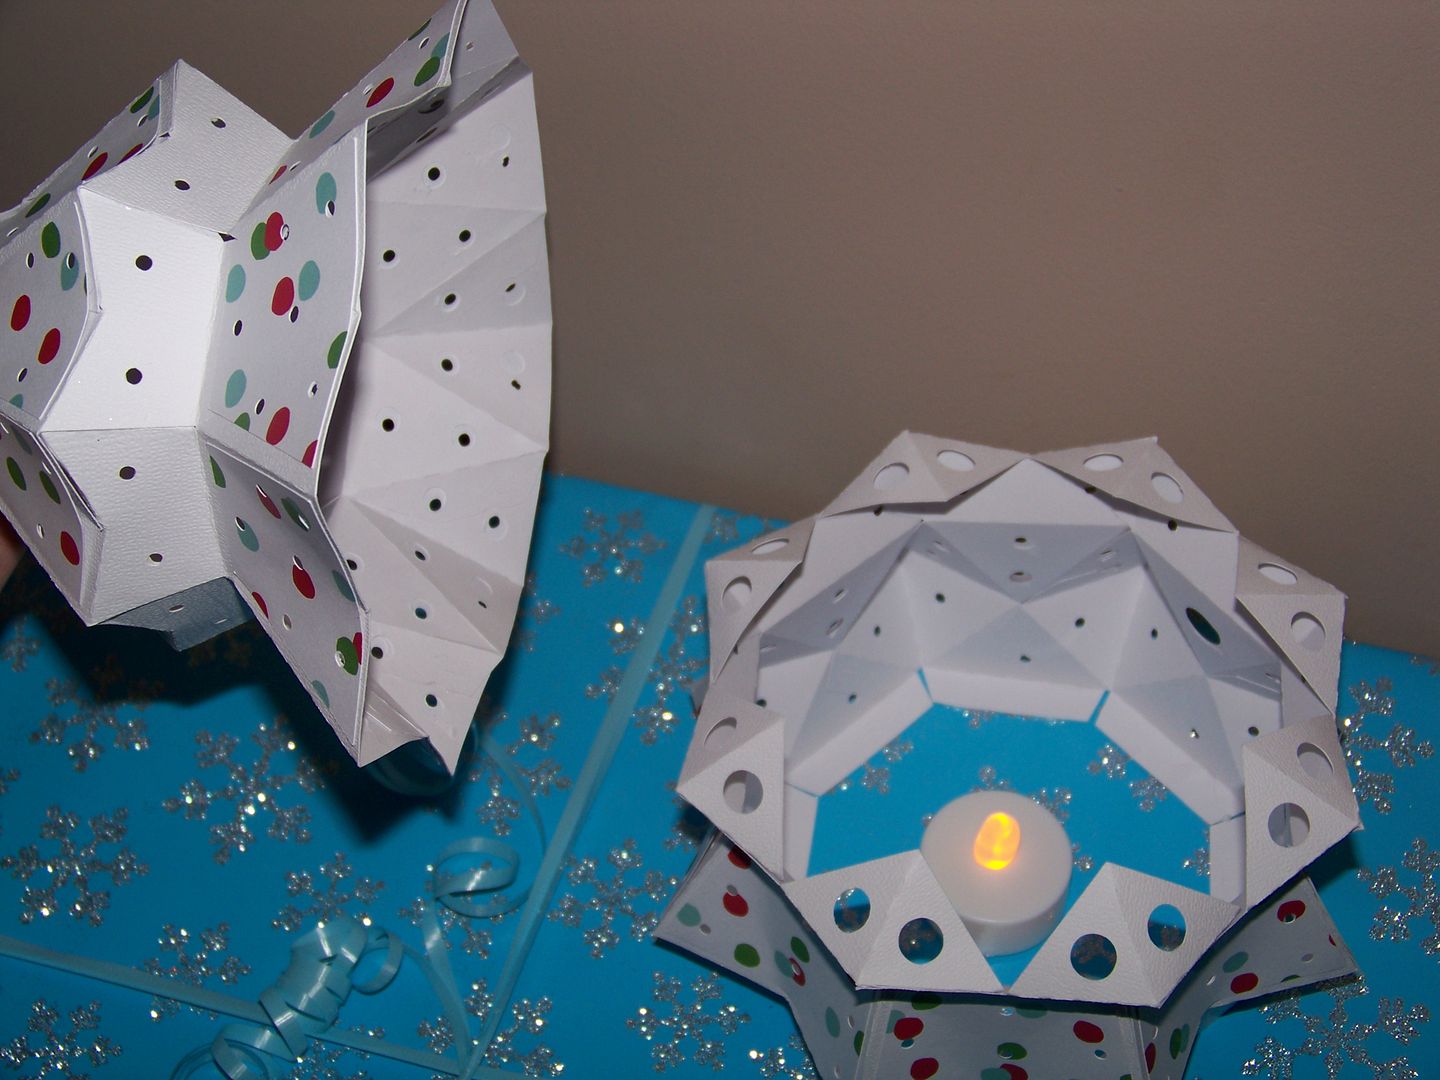
The lid on this one is not tight fitting so a scrap of paper to make a paper hinge helps the lid to stay in place. I did not glue on the bottom piece; I used the tabs and glued them to the gift wrap directly. Another tea light makes this tree light up!
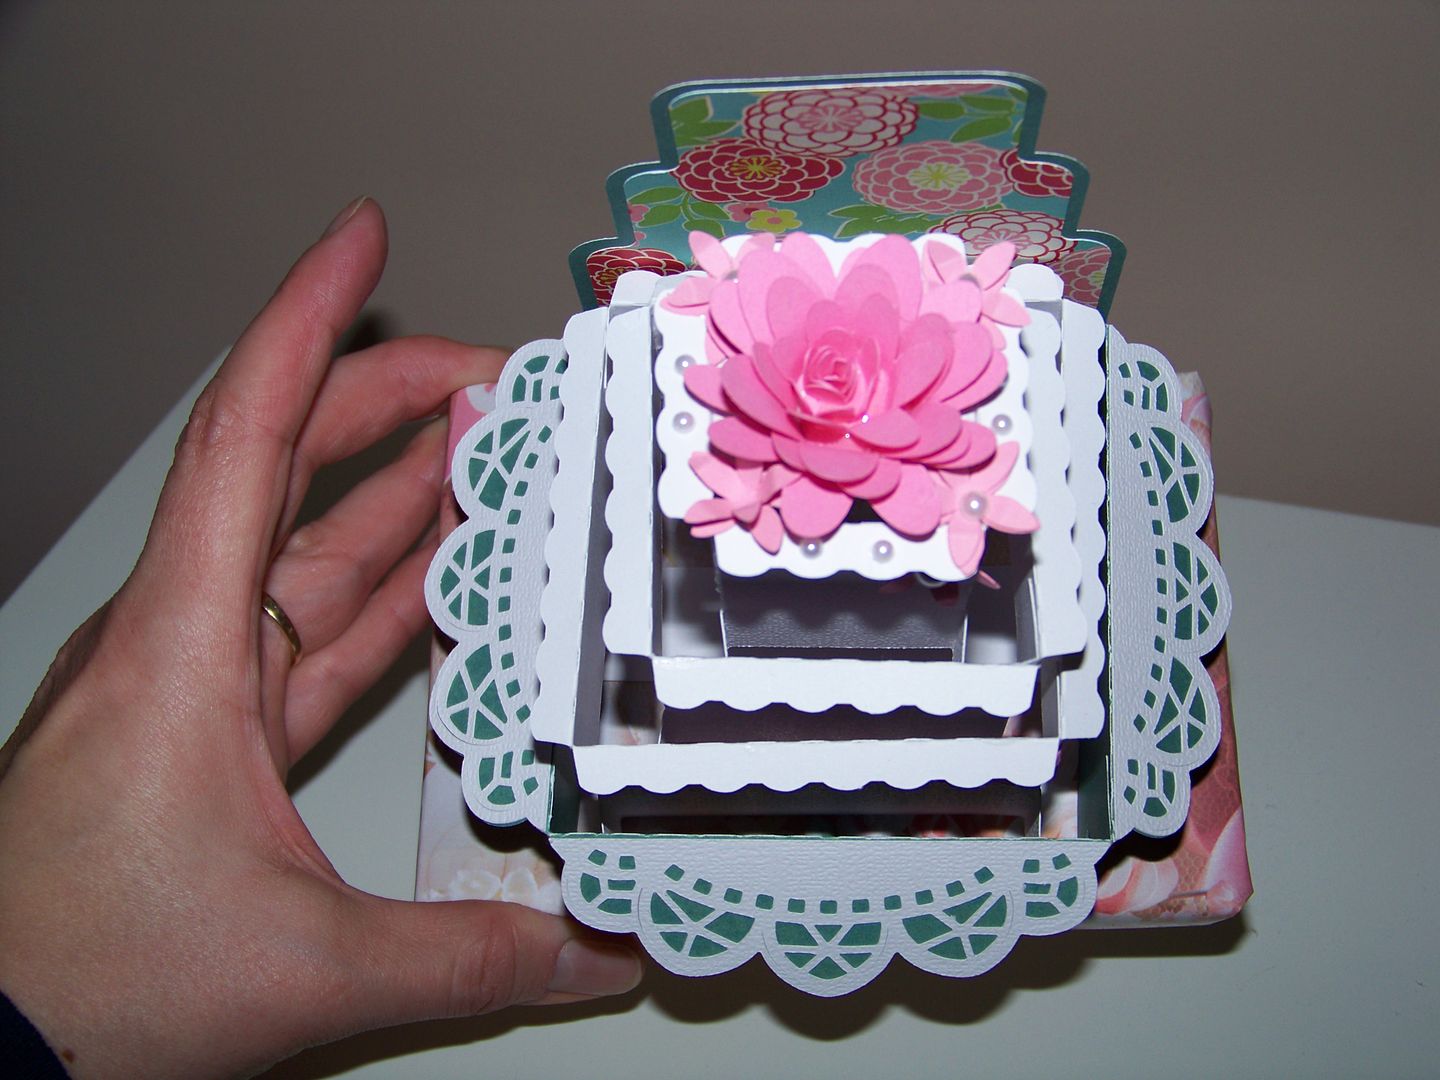
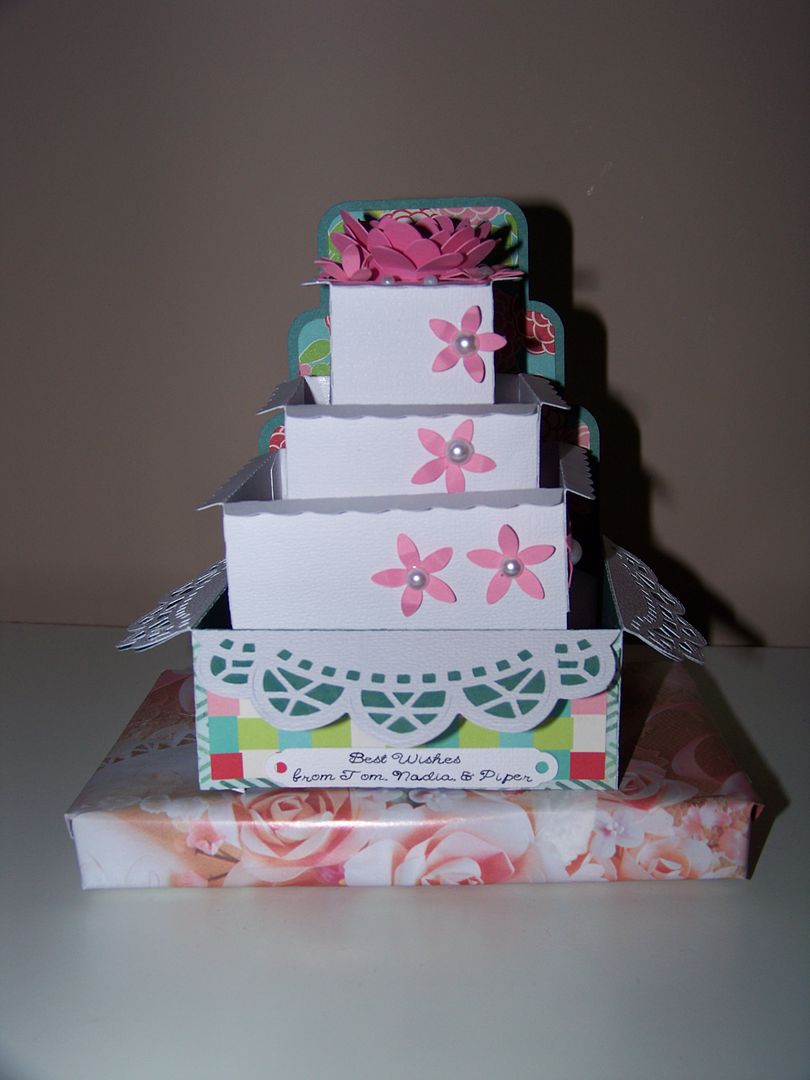
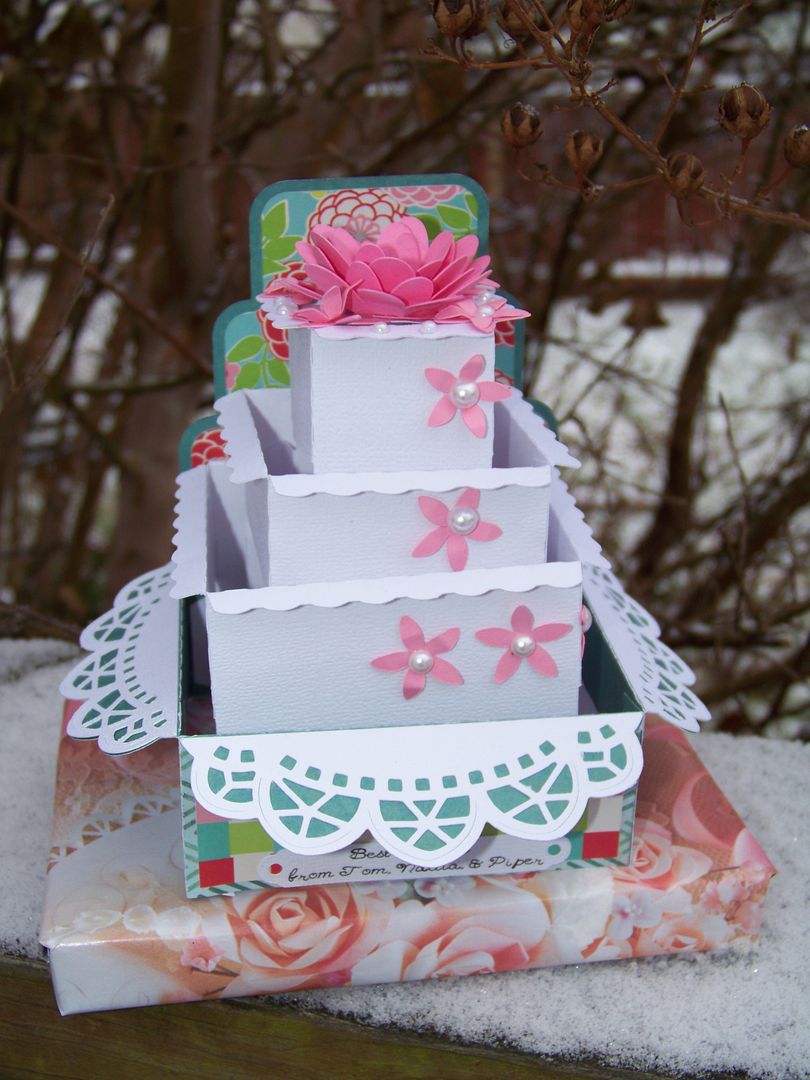
While I was making these 3-D tags/package embellies, I had a wedding gift to wrap and used this idea on that gift too. I used the box card on Autumn Box Cards to make a wedding cake!
I used the writing feature on the placard at the bottom....
And I used a locking strip to keep it straight and prevent it from collapsing as it is designed to do. It also allowed me to glue it in place on the package! I used some Cricut flowers that I had left-over from a previous project.
For a simple gift (an ornament and a gift card), I think this box card dressed it up and made it special!
I had so much fun with all of these! I have been excited to incorporate 3D buildings and boxes in my gift-giving since I got my Explore and started experimenting with svgs! Thank you for checking my blog post today! I can't wait to show you wait I have been working on today!
Quick Links:
3D Barn on Santa's Village - click here.
Owl on the Barn - click here.
Castle Box Card - click here.
3D Sled - click here.
Gingerbread House - click here.
3D Christmas Tree - click here. FREE until 12-5-14 with code FREEGIFT and $9.98 purchase.
Wedding Cake Box Card - click here.
My List of Pen Options for use in the Cricut Explore - click here.





4 comments:
Your 3D tags look amazing!
These are gorgeous just found your blog and love it 😀
Your 3D tags are amazing! I love all the little details! Thanks for sharing.
Michelle
www.michellenun.com
Nadia I love what you're doing with your Explore. The 3D tags r amazing! You're so talented and generous to share all the links. Thanks
Post a Comment