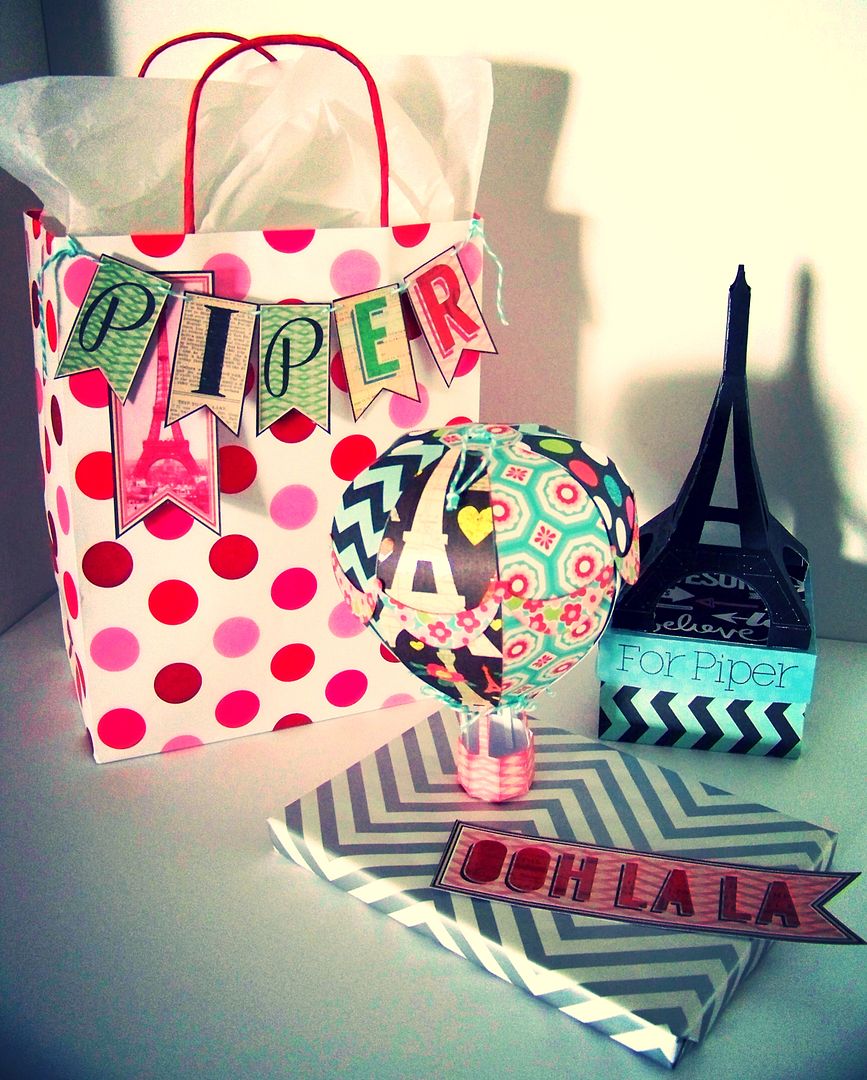
Oh! How much fun it has been to make Parisian-inspired gift wraps and presents... and to order some special things as well for my sweet girl this year for her birthday! This year's birthday has been a bit of a challenge. The week she normally would hand out birthday invitations to her school friends, she was out sick. The next week, there was no school at all due to snow! That has put her sleepover off for a week. Having to also reschedule the family dinner she wanted over the weekend due to icy roads has kind of put a damper on the whole thing for her, so it was time to ramp up the fun.
In addition to the desk that she asked for and knows that she is getting, she is also getting the new American Girl Doll of the Year, Grace Thomas, and this one has a French connection. (My daughter thinks she will have to hope for money from grandparents so she can buy the doll herself. She even told her grandpa, who says he will give her $1 for every year of her age, that she is turning 60. Ha!) I wanted all of my wrappings to make her want the doll all the more to build the fun when we surprise her at dinner. The only problem: the doll is set to be delivered today, and with the weather challenges, I am biting my fingernails on this! But the silver lining, with no doll-sized box for her to see, is that she really has no idea that we have this surprise for her.
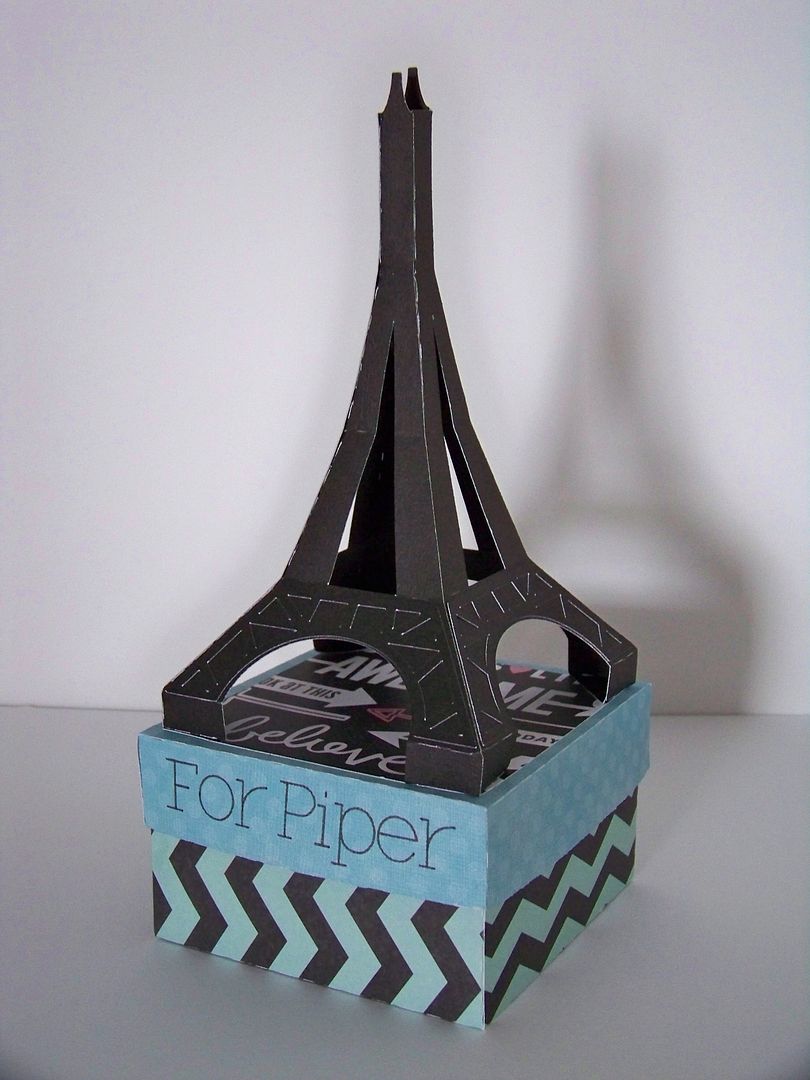
I made this little box for one of her gifts.
 |
| Click here for file. |
This was cut on my Cricut Explore using an svg that I loved! The Eiffel Tower is made to set on the box that is included in the file. The legs of the tower form nice, dimensional corners with flat bottoms that make it perfect to adhere on the lid. There are bottom panels that are designed with cut-outs that give the impression of the tower's metalwork, without tedious cutouts all the way up the design. Click here to link to the svg file I used from SVGcuts. I used the writing feature of the machine to personalize it, using an American Crafts Precision Pen. This pen fits perfectly in the Explore without any aftermarket tools. To see my whole list of pens that will work in the Explore, click here.
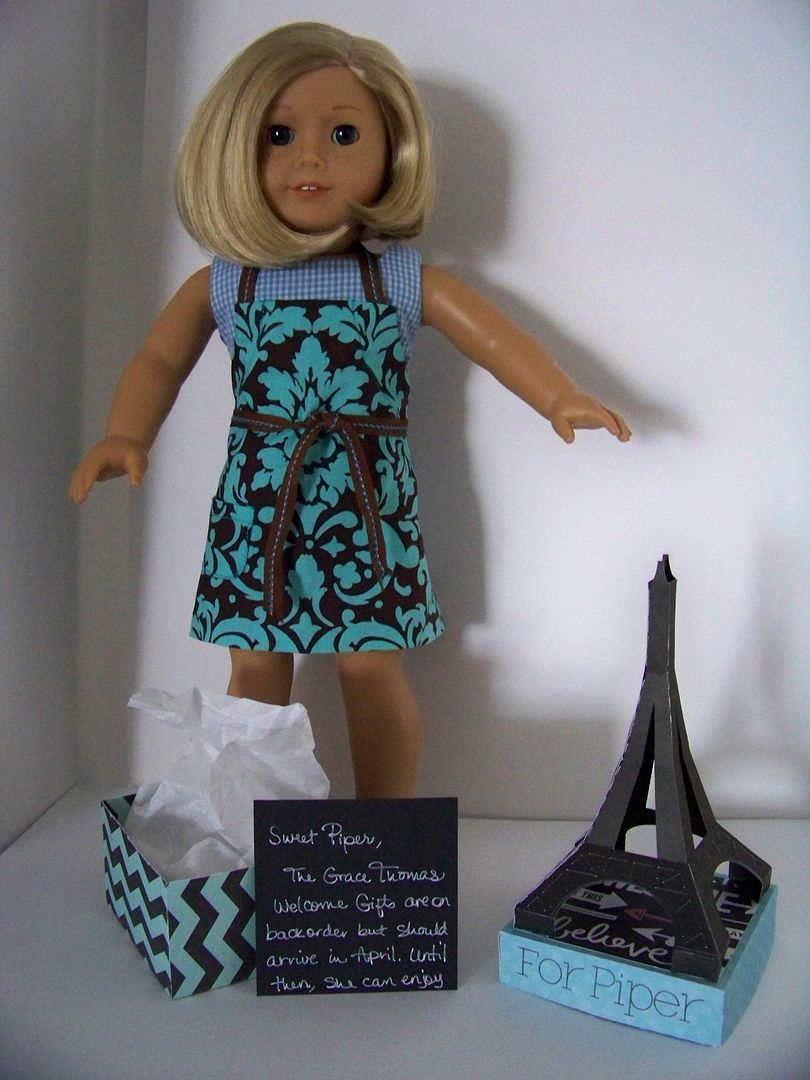 |
| I borrowed my daughter's Kit doll. Shhh...don't tell. |
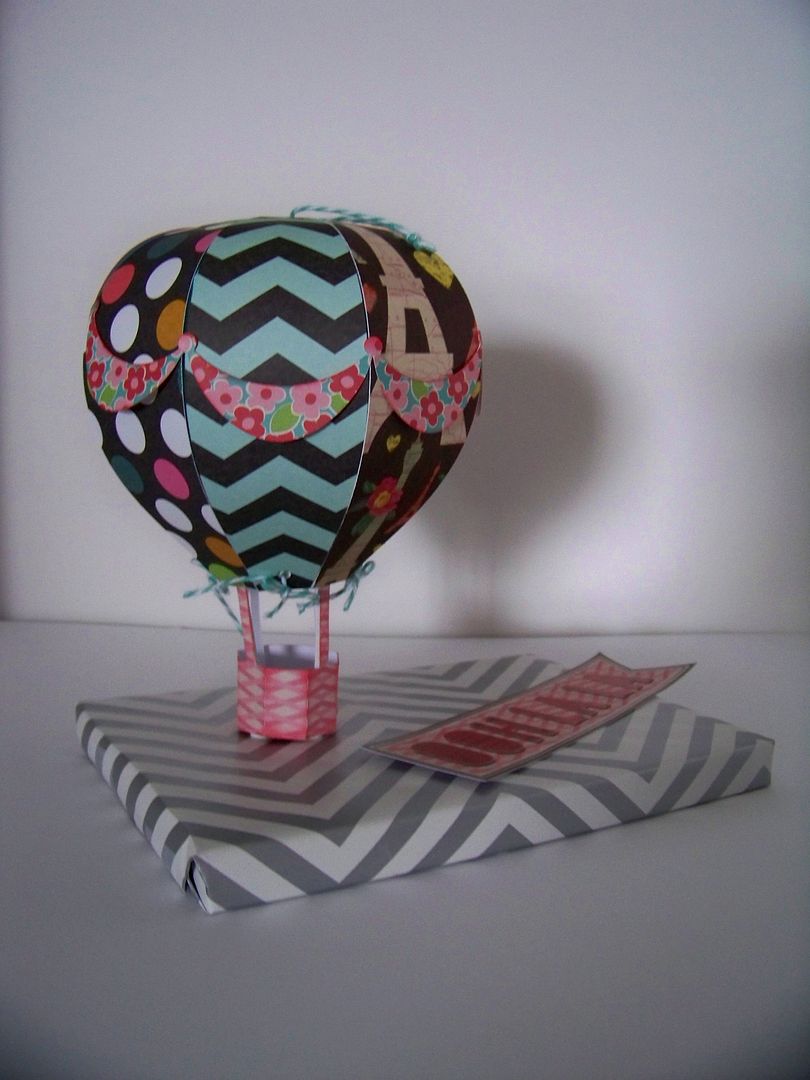
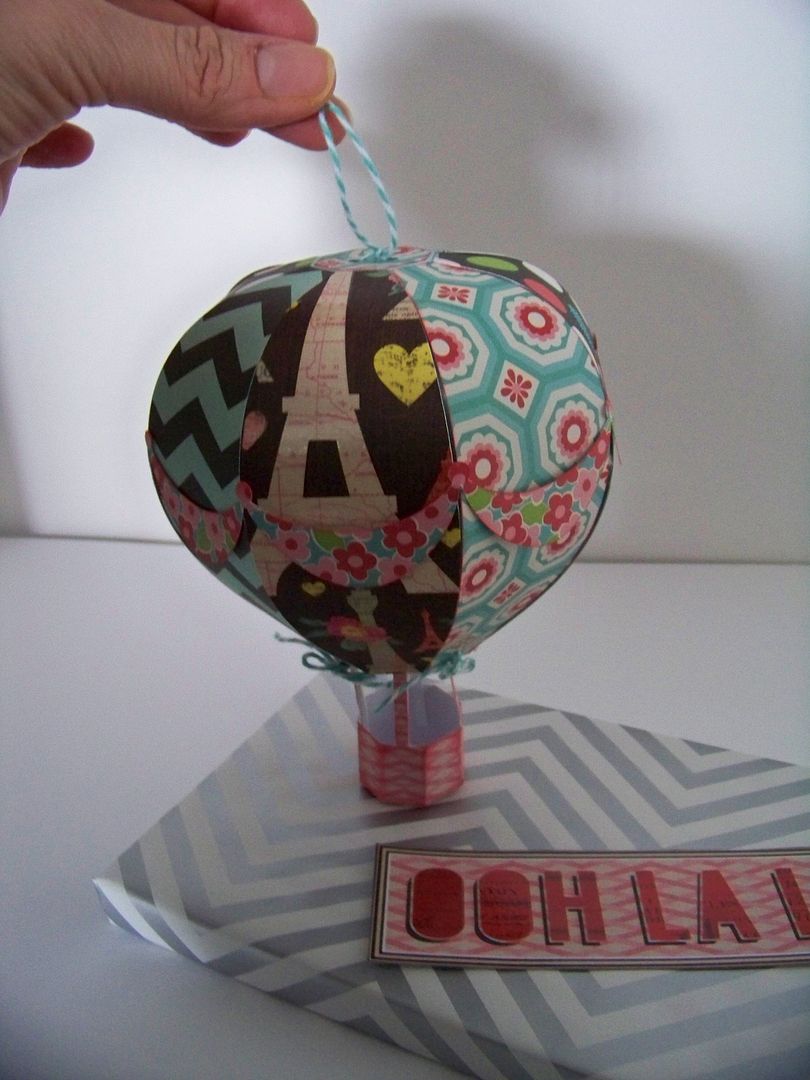
Next, I worked on a 3D hot air balloon package embellishment. The gift inside is a DVD and there is nothing more boring or tell-tale than the way a DVD looks if just wrapped. But, when I put something fun and dimensional on the package, no one ever guesses what is inside. Neat trick, huh? (Or maybe we are all easily distracted in my family?)
I loved making this hot air balloon so much! My husband wanted me to make him one! And I wanted to make five of them to hang in the window over my sewing machine! For hanging it was perfect and I did include a small twine loop on top in case my daughter keeps it to hang. (We'll use fishing line to hang from the ceiling if she decides to do that).
 |
| Click here for file. |
But for standing, such as I have done on this package, I did reinforce the "ropes" that connect the basket to the balloon. I used the thinnest pop-dot foam that I had on hand and cut a thin strip. Then I backed it with a thin strip of white card stock and attached it to the backside of each rope, allowing it to touch the floor of the basket. Without the support, the ropes bent under the weight of the balloon.
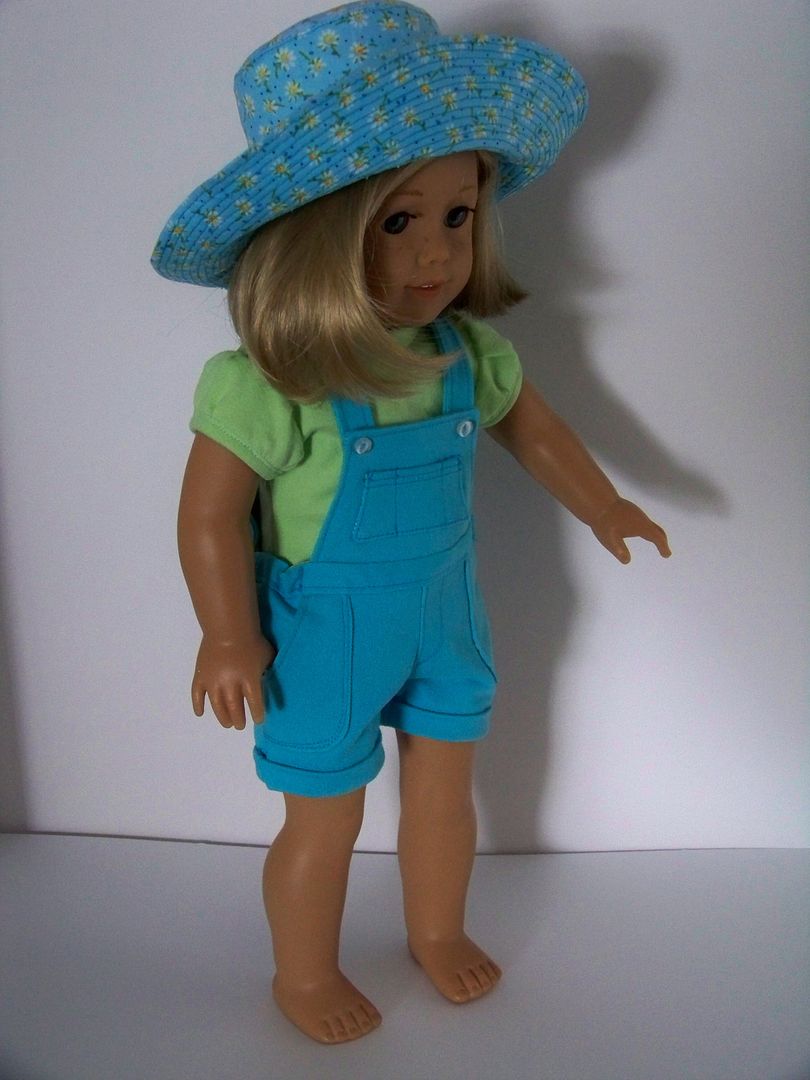
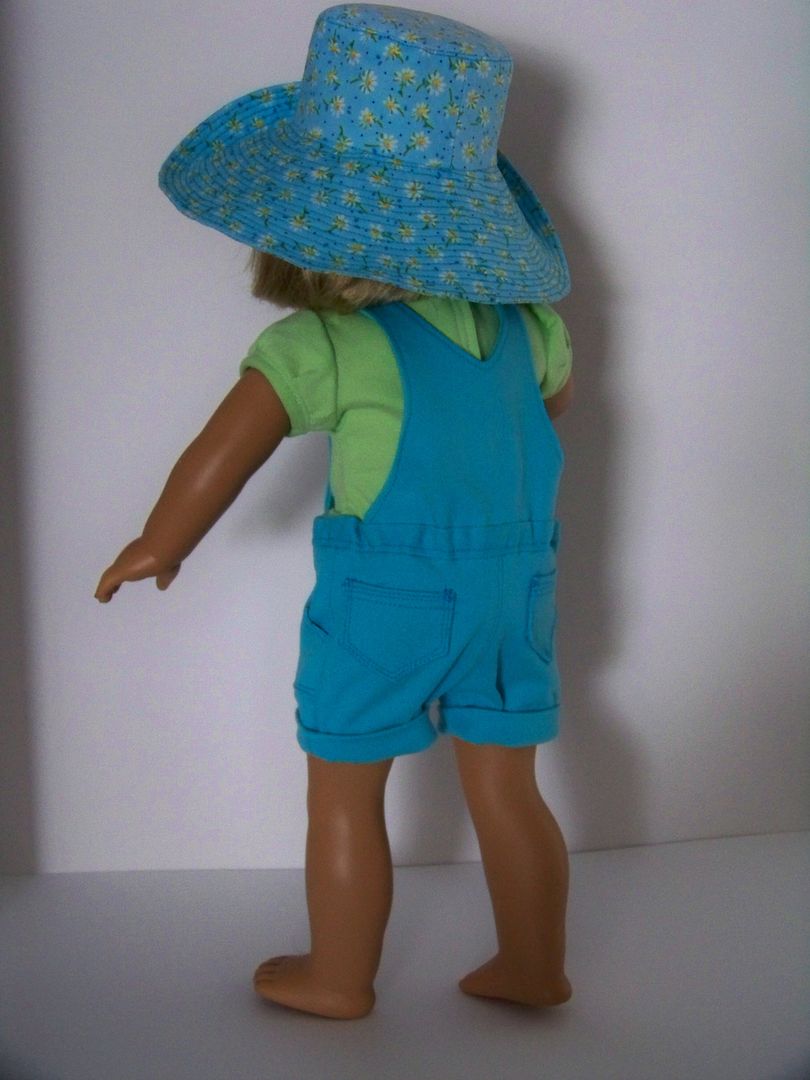
Next, I wanted to try an overall pattern for dolls after my daughter showed me Kit's Chicken Keeping outfit on the American Girl on-line catalog. I wasn't trying to copy the pattern, although it would have been easy enough to do, but rather, I was thinking spring and wanted to make her something cheerful and sunny.
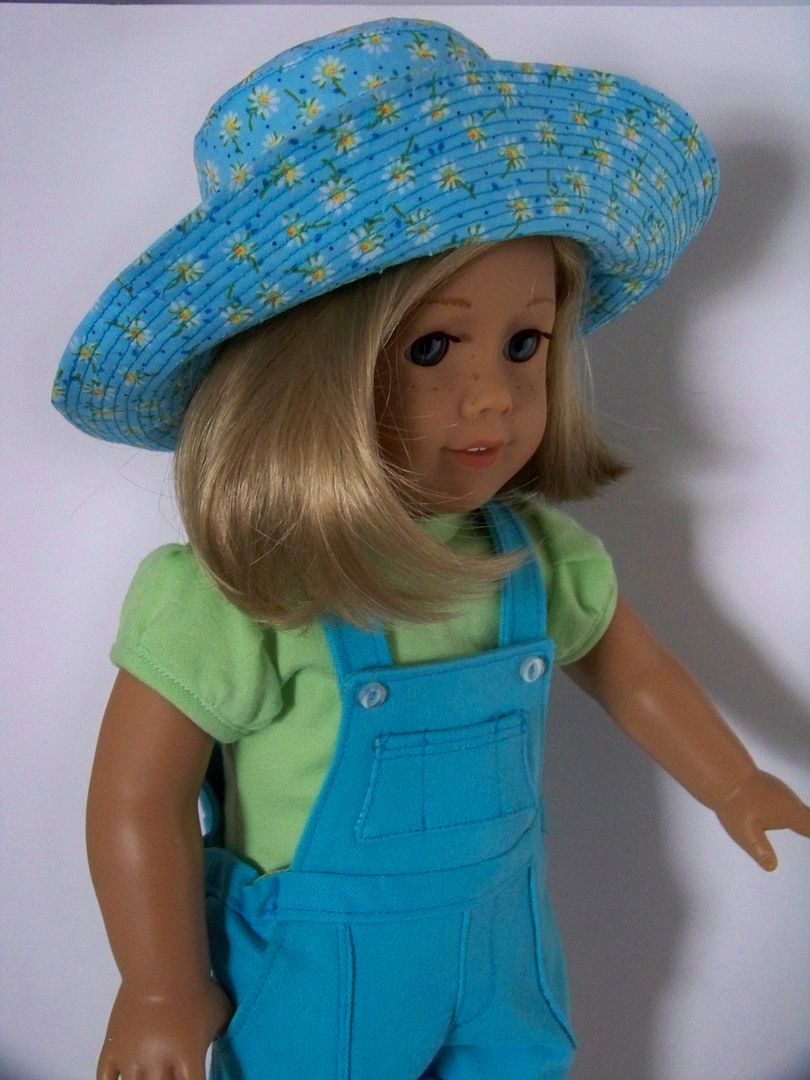
This was a joy to make! All three pieces, hat, top, and overalls, were made with different pdf patterns purchased on-line:
The hat is from Bonjour Teaspoon, the Phoebe Hat.
The knit top is from Liberty Jane's T-shirt Variations.
The short overalls is from Forever 18 Inches' Not Your Mama's Overalls.
For all patterns that you print yourself, be sure that your printer is set to "actual size" and NOT "print to fit." They all have a 1" scale so that you can verify that you printed correctly.
I loved the topstitching on the hat and overalls!
I used colored denim that I upcycled from old jeans. (Thrift shops are my source for colored denim for doll clothing). The knit top was cut from a toddler's size t-shirt that I bought and stashed and recently found among my fabric. The print was from my fabric stash. The overalls go on and off easily-- a real requirement for doll clothes in my opinion. I altered the pattern a bit. There are options for a drawstring casing with cord that ties at the front and an OshKosh-style back. Then there is an option for elastic in the waistband and long straps that criss-cross. The pair I made combined the two without the drawstring or long straps. I would have gone out specifically for tiny overall buckles if not for the snow and ice we received! In lieu of that, I used the snap-backed-button option! I love all the little pockets on these.
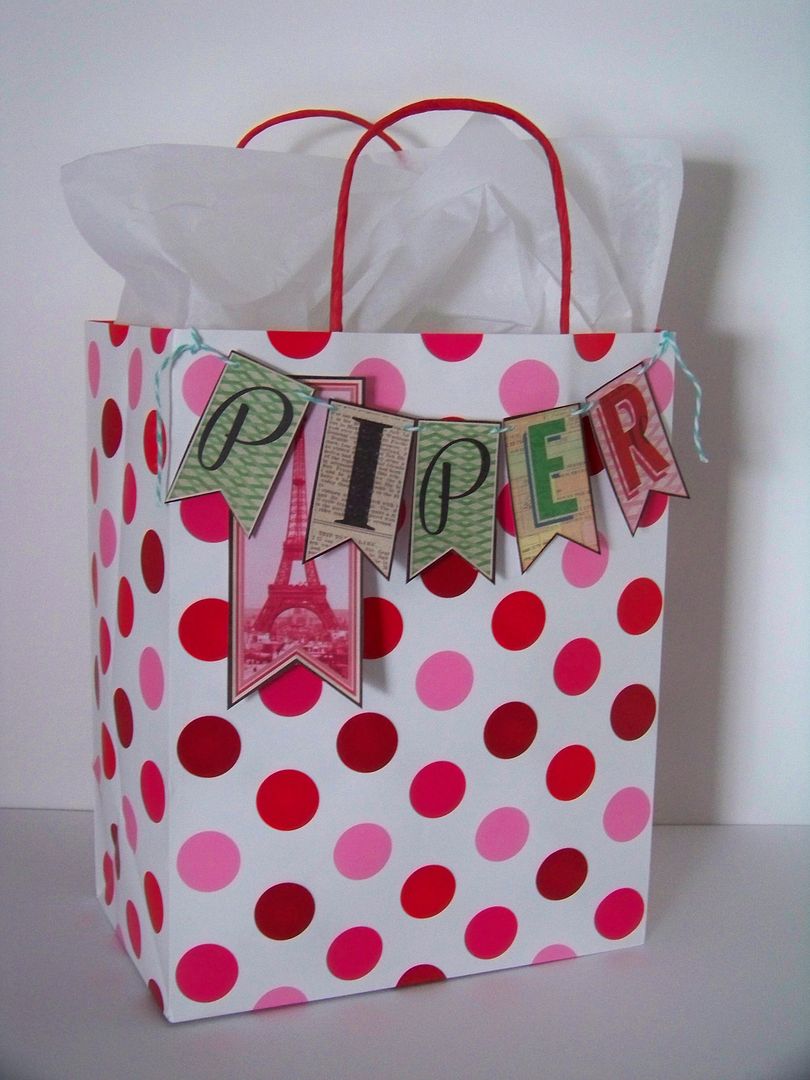
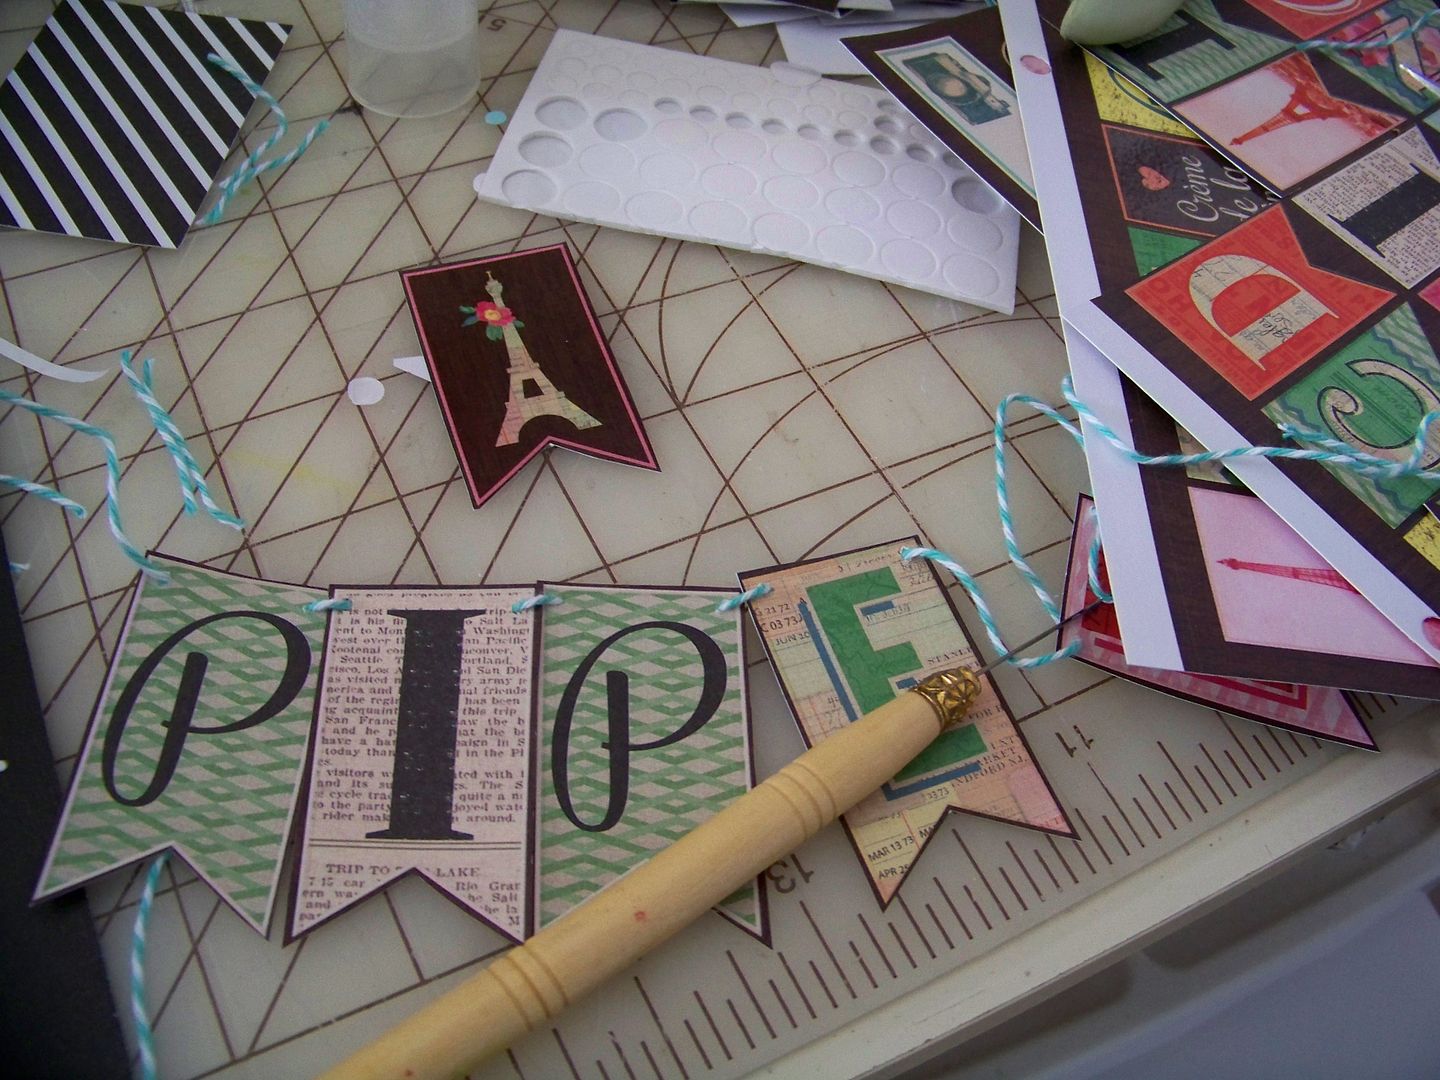
This little outfit was wrapped using a purchased gift bag, embellished with elements from DCWV's La Vintage Boutique stack.
Eiffel Tower Box svg: click here.
Hot Air Balloon svg: click here.
Doll Apron Sewing Pattern: McCall's M6451
Doll Sun Hat: Bonjour Teaspoon's Phoebe Hat. Click here.
Doll Top (worn under the overalls): Liberty Jane's T-shirt Variations. Click here.
Doll Overalls: Forever 18 Inches' Not Your Mama's Overalls. Click here.
My list of pens that fit in the Cricut Explore: click here or go to the tab at the top of my blog.
These are the two paper stacks I used for my packages on this post:
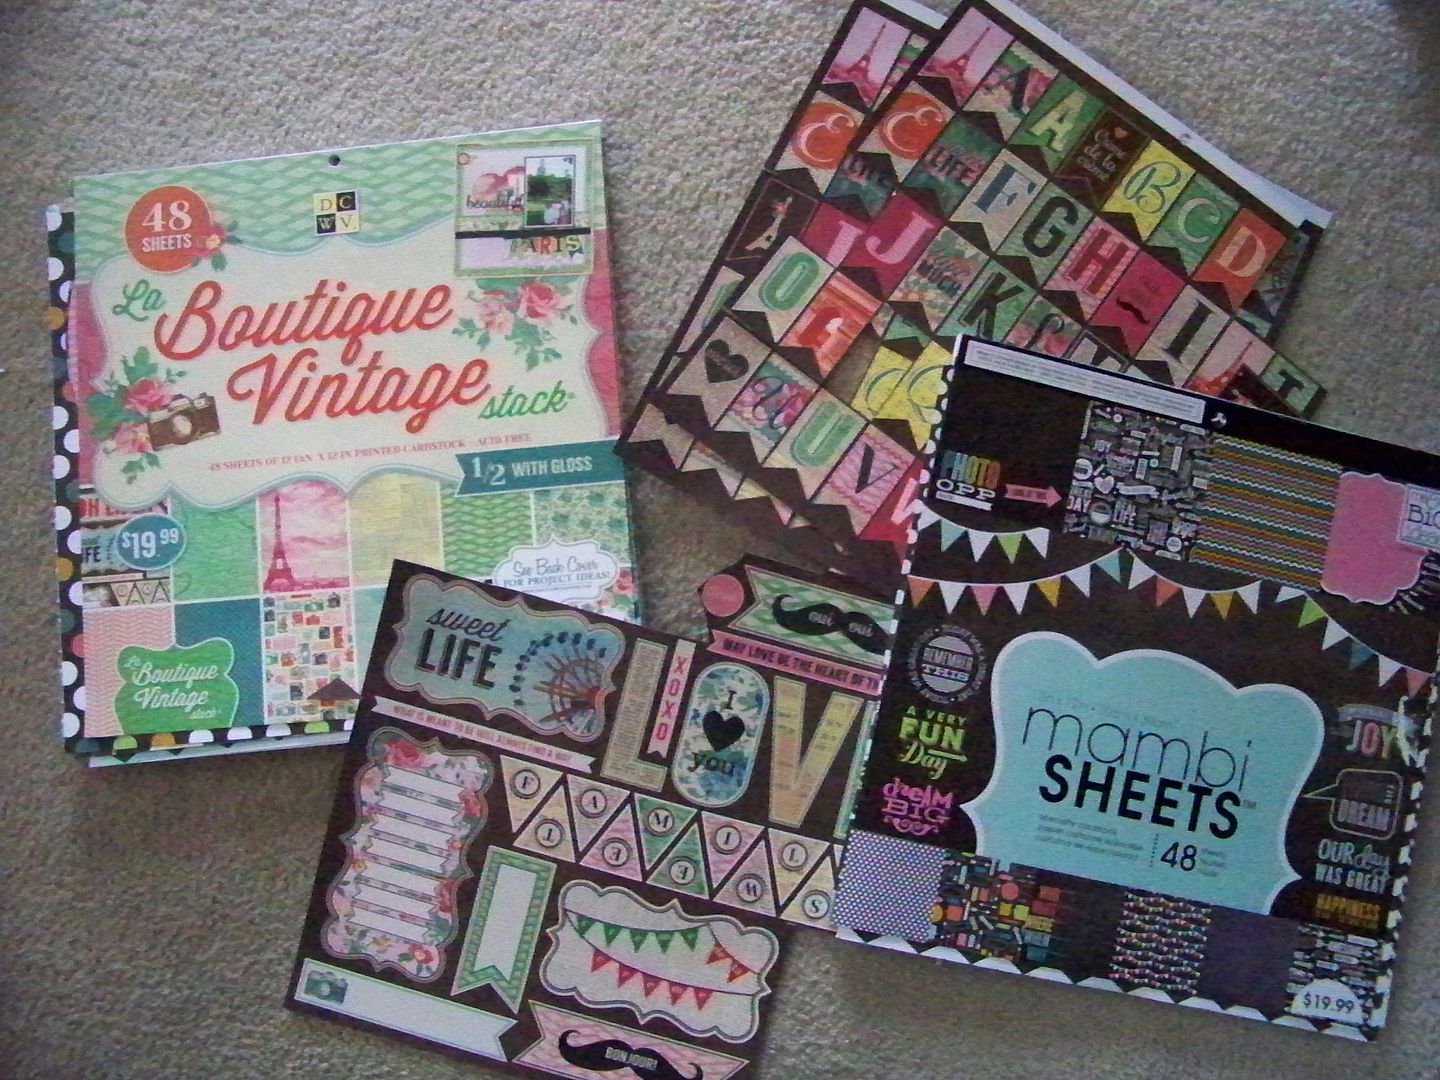 |
| DCWV's La Boutique Vintage Stack and Me and My Big Ideas' Mambi Sheets. |
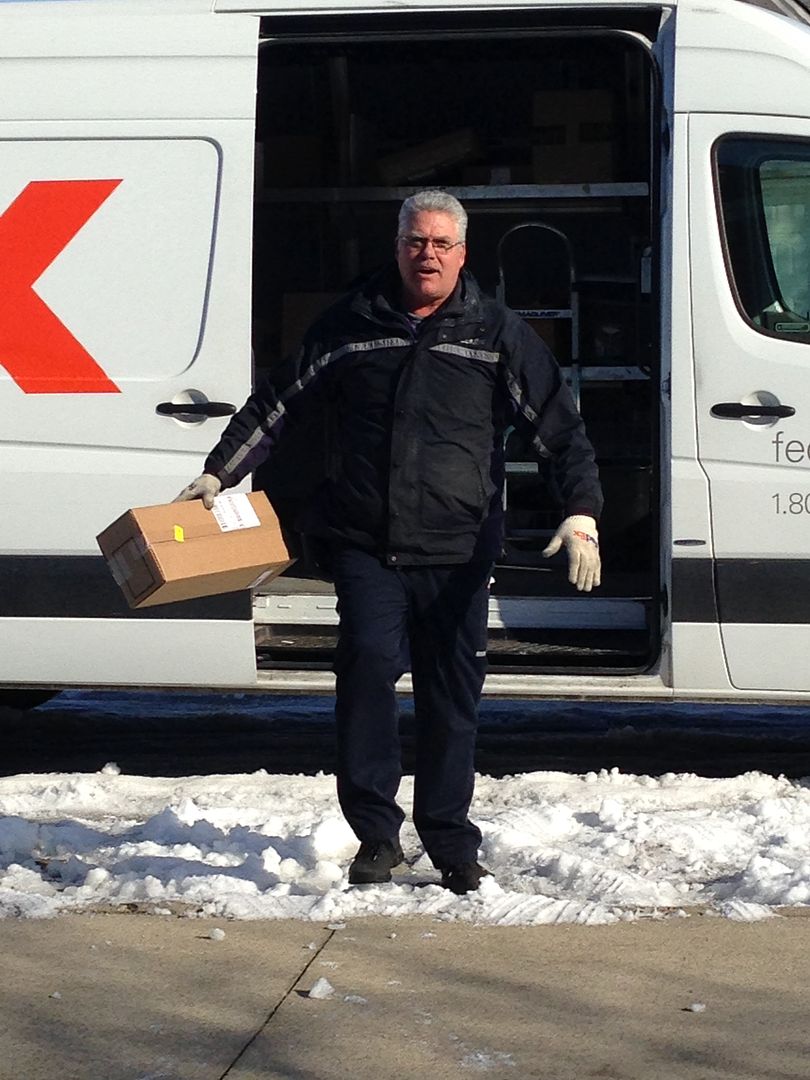
Thank you for checking my blog today! Well today is the day. I am off to pick up cupcakes to drop off at her school and will be peeking one more time to see if Fed Ex has left anything...
Look who's here now!!!! Birthday happiness is saved once again. Ha!
