After many years of wanting one, I finally took the plunge and got an embroidery machine earlier this month! What sealed the deal for me, aside from finding a great price and convincing my husband that this would be a better delayed birthday gift than what he had planned for me, was the fact that several of my very creative paper-crafting friends have the same model and are so generous with sources for the best products and best prices for all the supplies, tools, and files I would need. Two of my "enablers" and mentors in this are Susan of Creations by Suebella 4U and Danita of Danita's Designs. (If you are looking for great tutorials for machine embroidery, be sure to check out Susan's blog!) Secondarily, a number of us recently bought this or similar machines and so we are all learning at about the same time. Still others are getting back into machine embroidery as a result of the enthusiasm for it in our group. The excitement has been contagious! I have loved seeing their projects online and it inspired me to step it up and stop "practicing" so that I could make something gift-worthy for the newest baby in our family!
The machine I have is a one-needle, embroidery-only, 5x7 hoop model: Brother PE770. I have fallen in love with it! I spent my first couple of days with it just going through the manual, learning how to thread it, how to thread the bobbin, how to move objects on the hoop, how to flip and rotate objects. Then I took some great advice and got Embrilliance Essentials and learned how to combine images, how to install alphabets with bx files, how to move and center objects, how to change the stitch order of projects. This software allows the user to print out the final design to size, along with a list of thread colors. It allows the user to watch the stitch-out on the computer so that all the color changes make sense. It has been such an important part of machine ownership that I cannot imagine not having the software and highly recommend this for even the newest of beginners -- like me! I found it tremendously easy to learn. And it was affordable!
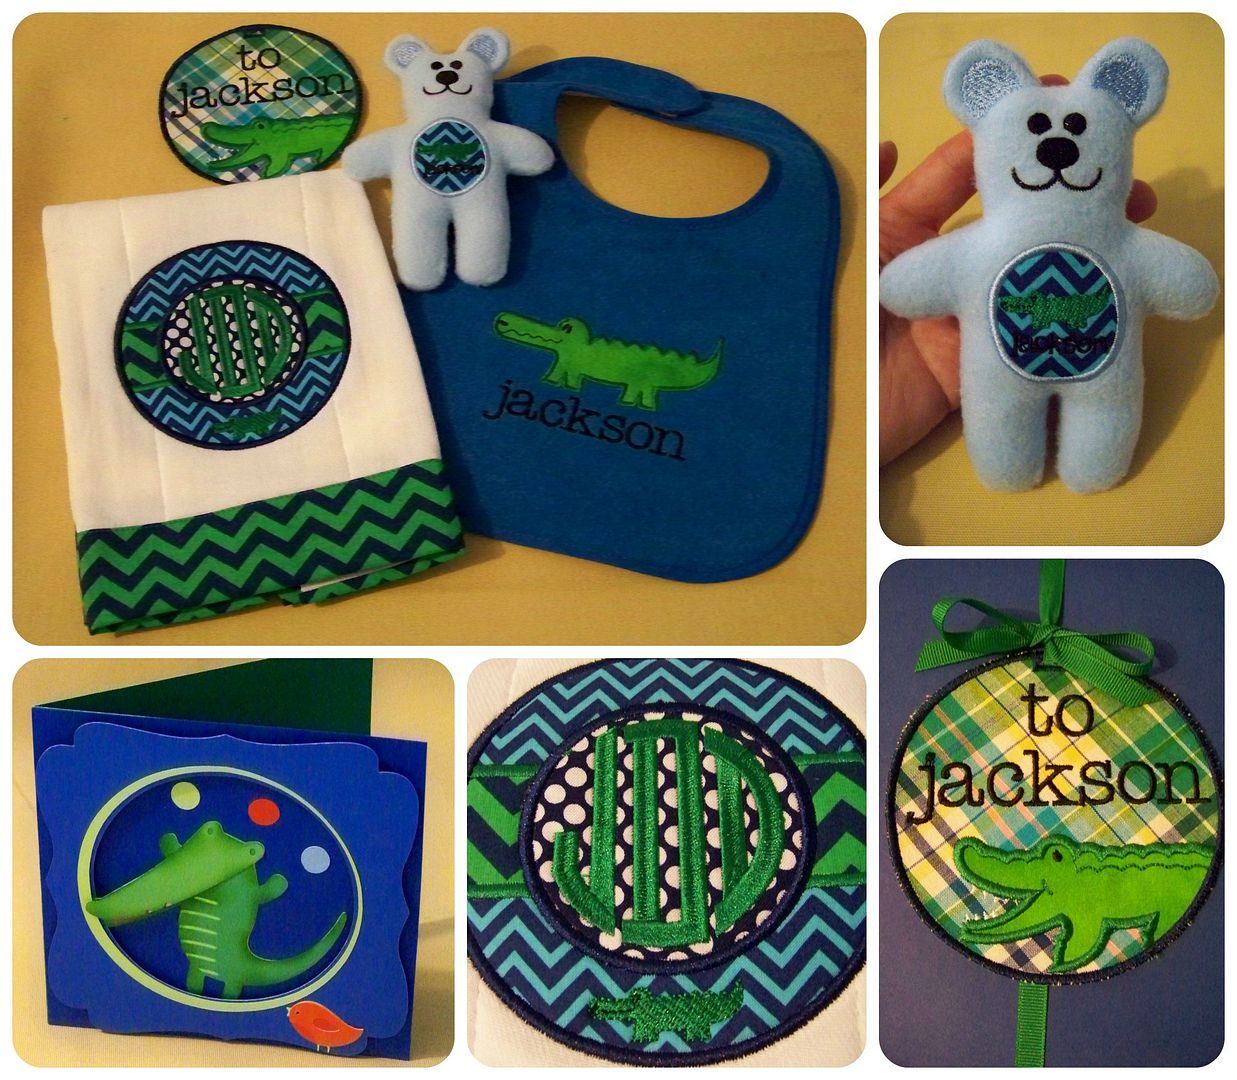
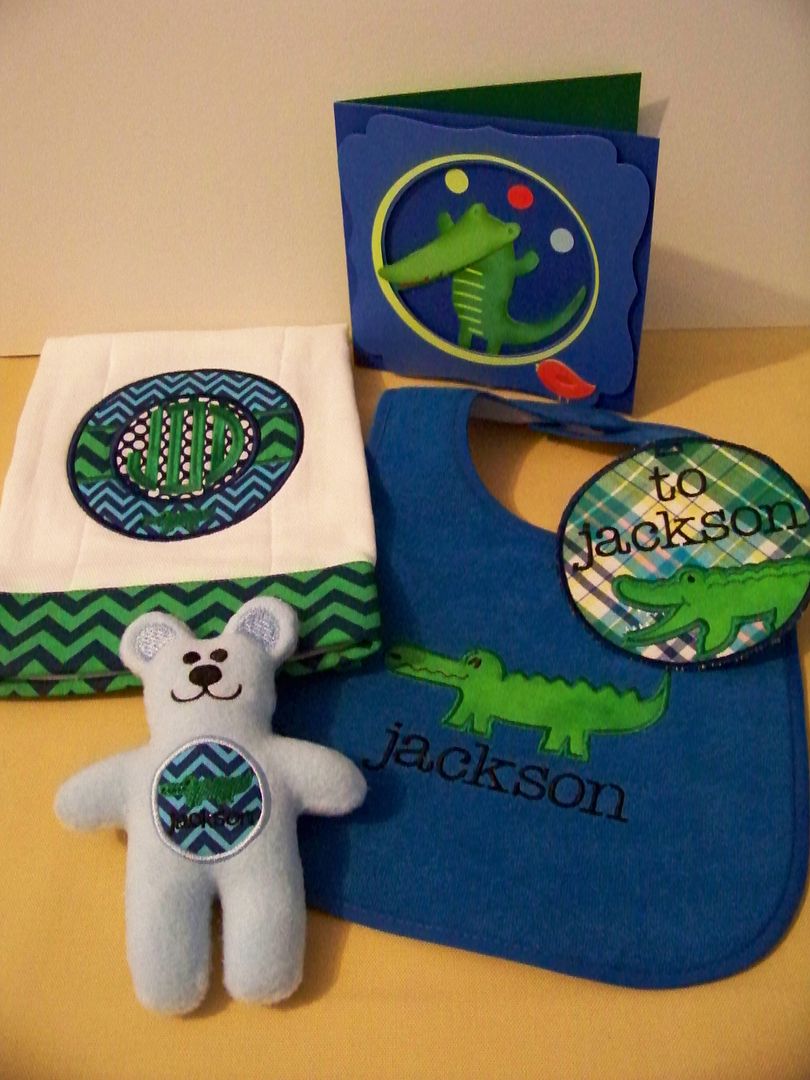
I decided to make a gift set that included a burp cloth, a bib, and little teddy bear.
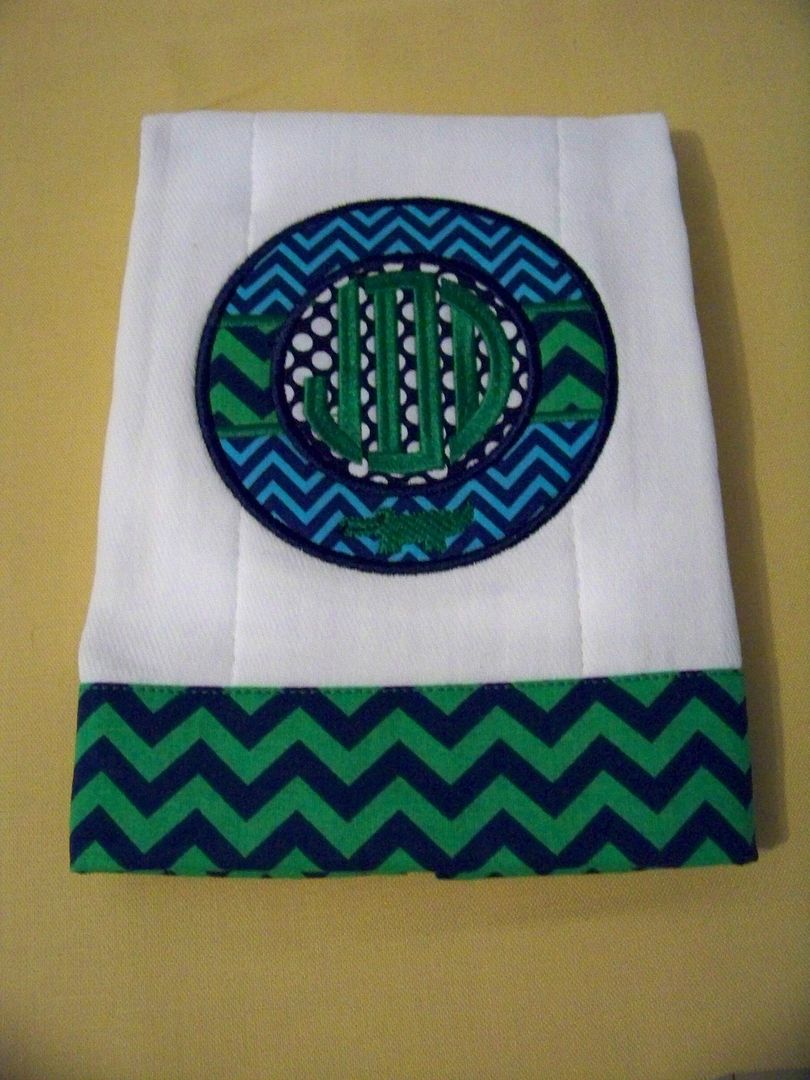
The base of this burp cloth is a Gerber brand cloth diaper from Target. I tweaked a tutorial I found on Notes from the Patch to dress it up a bit before embroidering on it.
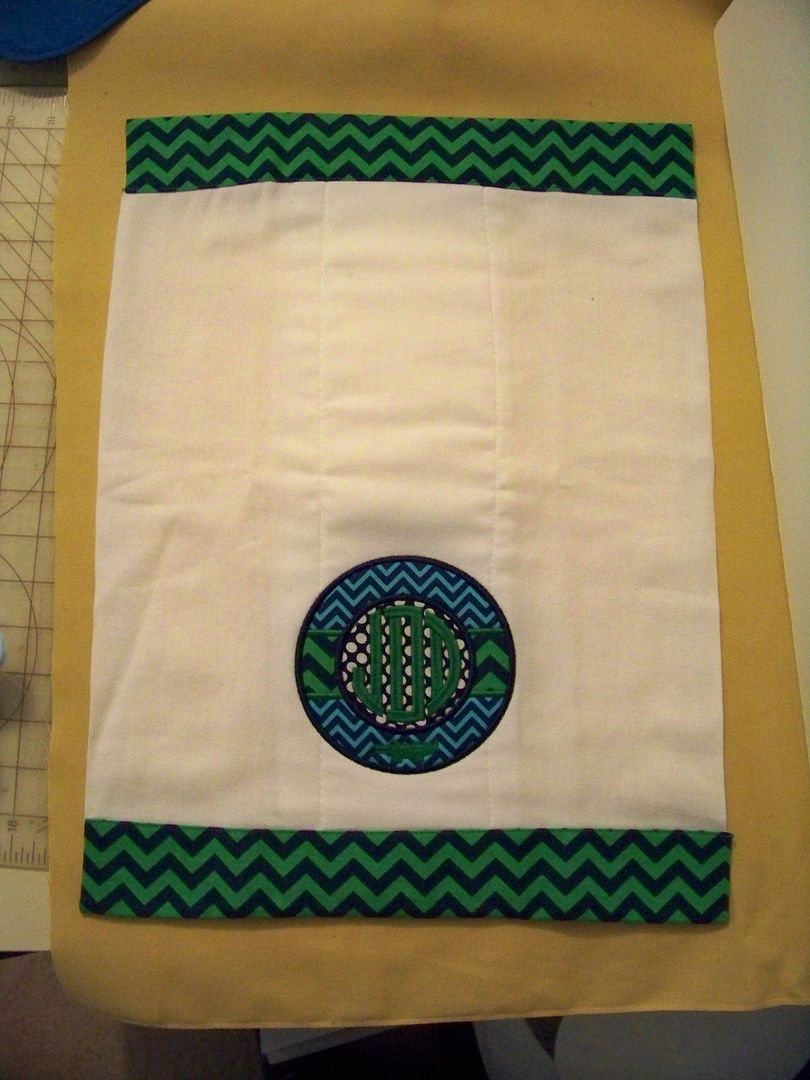
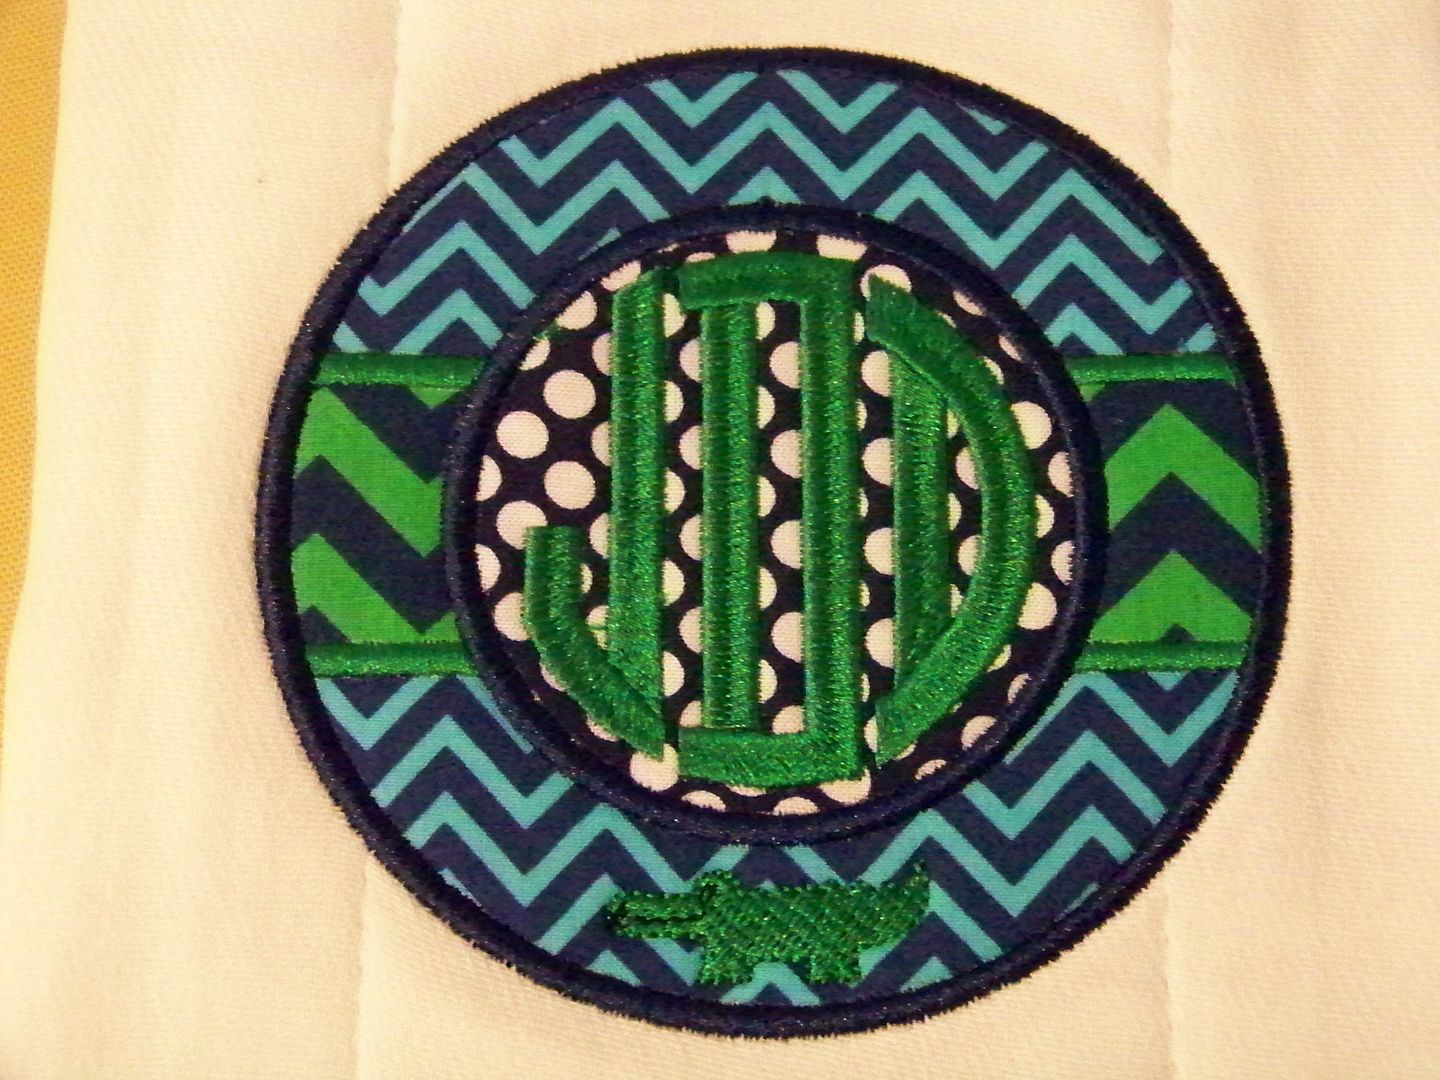
For the embroidery design, I used Lynnie Pinnie's Circle Stripe applique frame. I love this design because it allows the use of three fabrics and I wanted to combine a number of prints in this gift set. (And through the end of the month, there is a great sale going on there!) I used a circle monogram: River Mill's Circle 3-Letter Monogram. The tiny alligator at the bottom is a filled design, Lynnie Pinnie's Mini Alligator. I used two sheets of Totally Stable tear away stabilizer on the hoop, floated the diaper, and used water soluble stabilizer as a topper.
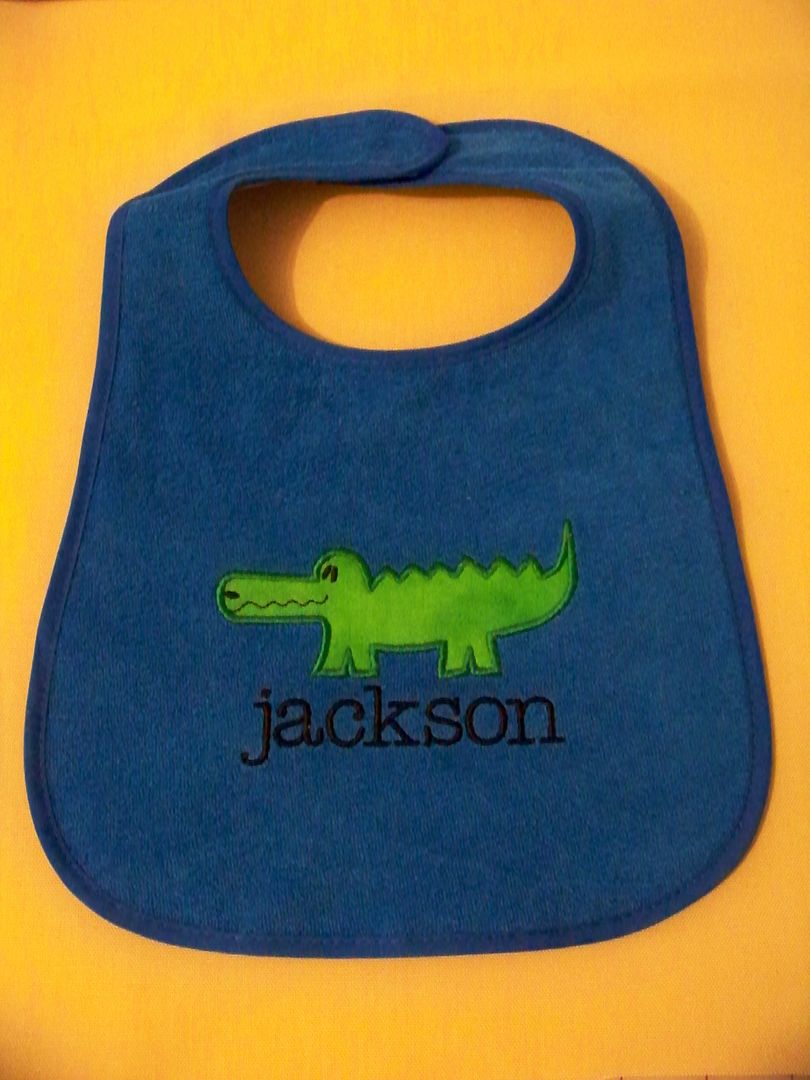
The bib was super fast because I used a plain, vinyl-backed, terry cloth bib from Walmart as a base. The alligator is Lynnie Pinnie's Applique Alligator and the lettering is Lynnie's Type A Lower Case. I hooped two sheets of tear away stabilizer and floated the bib on the hoop. I used water soluble stabilizer (WSS) as a topper.
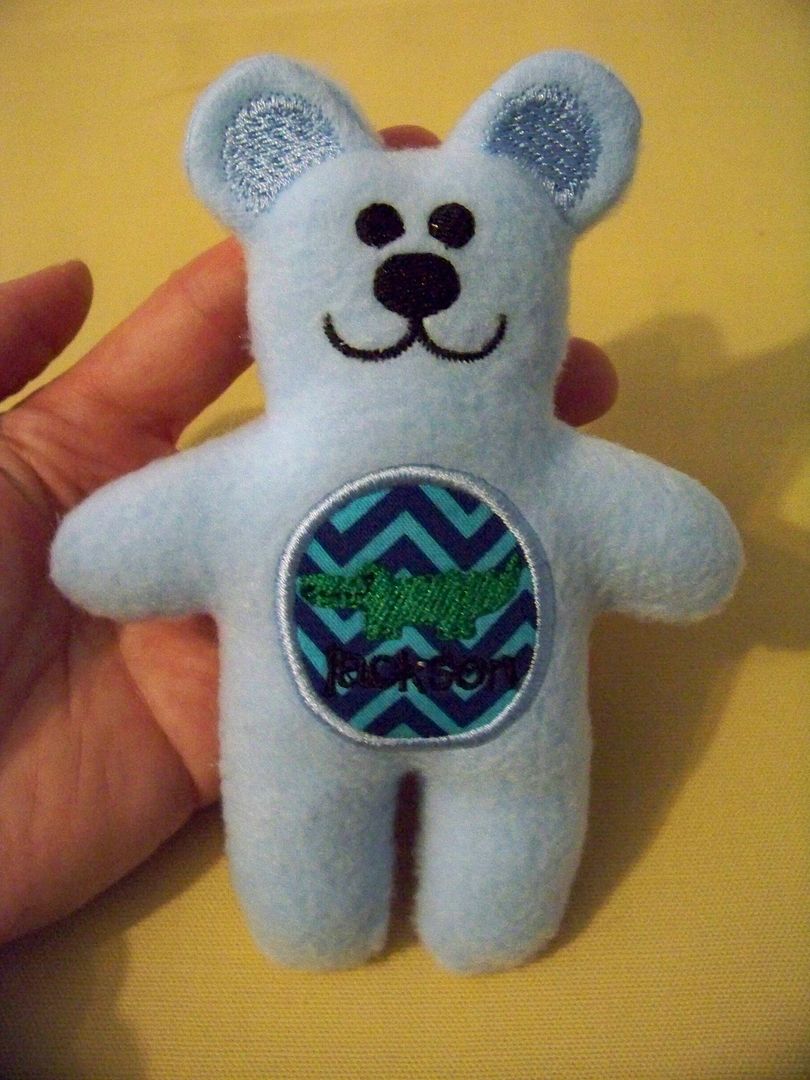
The bear was made completely by the embroidery machine! This was so fast and easy! The file is GG Designs' Bubba Bear ITH. The fleece gets floated over tear away that is hooped and topped with WSS. Adding lettering and another tiny alligator was so easy with the software! The tiny text was 8 Claws and a Paw's Jane Doe Mini and is only 1/4"!
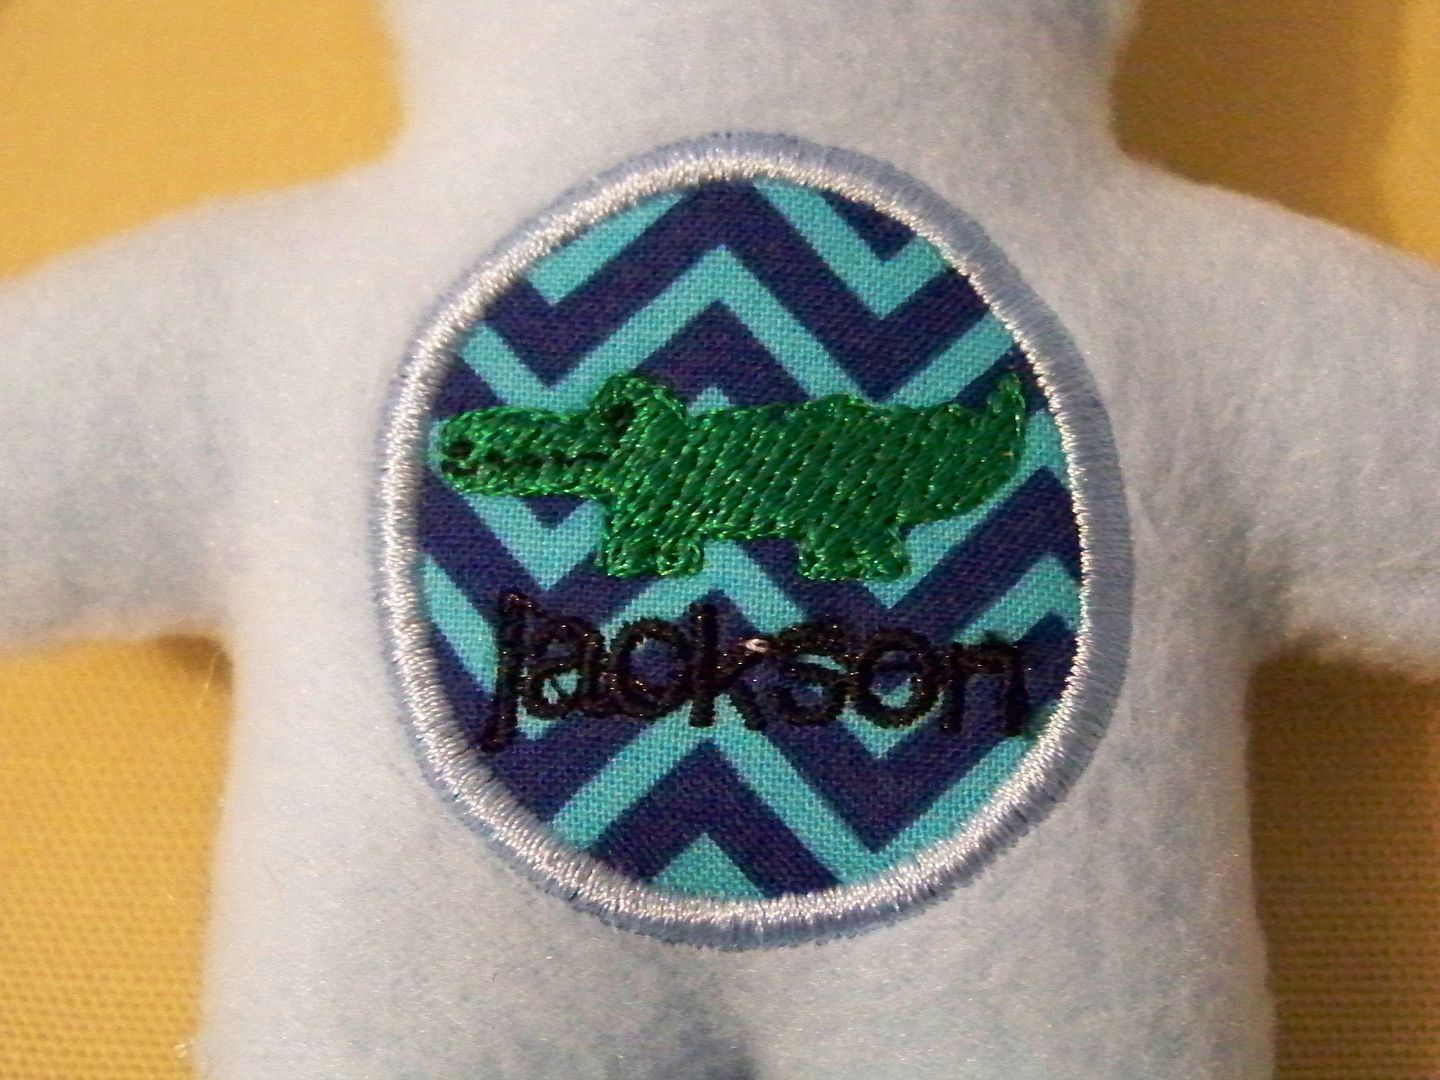
The lesson I learned on this project was to use care to give plenty of contrast between thread and fabric! Next time I will!

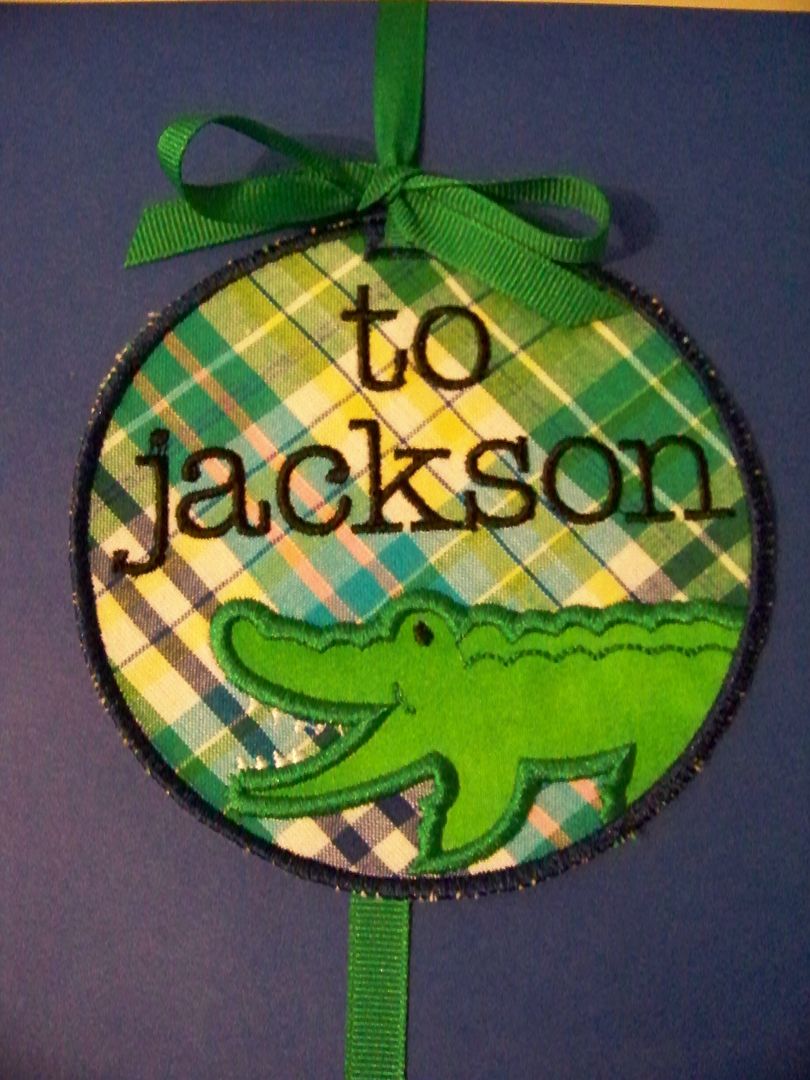
I made a tag for the outside of the package using Lynnie Pinnie's Circle Alligator Frame plus I added the same text used on the bib and a buttonhole from Applique Momma (free design) so that ribbon could be threaded through it. I fused canvas to the fabric using Heat N Bond Lite and then hooped only water soluble stabilizer. Next time, I will fuse to cut away stabilizer (instead of canvas) and also use tear away on the bottom, as the WSS started to rip away while stitching and small fibers from the canvas poked out on the edges a bit.
I love how it looks on the package and what an easy way to decorate the gift box!
Lastly, I made a card.
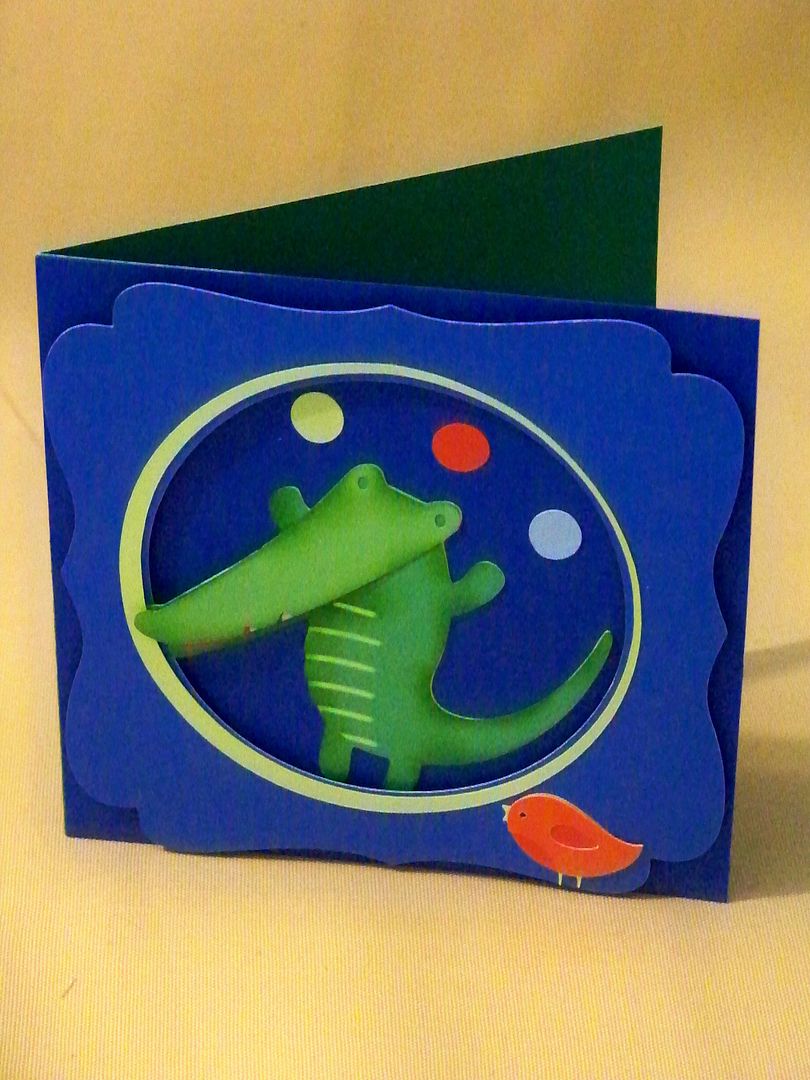
This was so easy using Cricut cartridge Crocs Rule for the critters and Artbooking for the frame. Because I had read in the Facebook Cricut groups that there were some glitches in Design Space today, I used my cartridges and my Expression for this card. I cut the frame at 5" (H) and then used the center point feature to make the circle bigger. Then I used a contrasting paper and cut two nested circles for the inside border. The croc was cut at 4" (H). I inked him in green to give him a little dimension and interest and popped up his snout and the frame. The little bird was from the same cartridge, cut at 1" (H).
Quick Links:
For all embroidery projects, I used pre-wound bobbins, Metro Embroidery Thread, individual stabilizers as detailed above, Sewer's Aid, Organ Titanium Embroidery Needles.
For my card, I used a Cricut Expression.
- Blog for machine embroidery tutorials: https://creationsbysuebella4u.wordpress.com/
- Blog for a variety of creative craftiness: http://danitasdesigns.blogspot.com/
- Tutorial for converting a cloth diaper to a burp pad:click here.
- Circle stripe monogram frame: click here.
- Mini alligator filled design: click here.
- Circle monogram: click here.
- Alligator applique design: click here.
- Font used for "jackson" on bib: click here.
- Mini font used for "jackson" on bear: click here.
- ITH bear:click here.
- Circle Alligator Patch: click here.
- Buttonhole Addon: click here.
- Cricut Crocs Rule cartridge: click here.
- Pre-wound bobbins: click here.
- Sewer's Aid: click here.
- Metro Thread: click here.
- Organ Brand Titanium Embroidery Needles, sharps: click here.
- Totally Stable: click here.
- Water Soluble Stabilizer: click here.
Thank you for checking my blog post today and for letting me share this with you!
5 comments:
Soooooooo wonderful! I would have used them for my daughter had these things been around then lol. It's good to hold onto the old Cricuts for days like these. I'm getting used to the Explore, but I guard my Gypsy like the precious thing it is.
BTW Craftsy has a lot of embroidery classes. (I only buy them at a 50% or more off sale). What I also like is that they have a 100% satisfaction guarantee, so if you don't like the class you have up to 30 days to get a total refund.
Wow, how wonderful. Your creations are so professional. I would love to have a purely embroidery machine one day. I can do a bit on my sewing machine - and really need to find the time to explore its capabilities more. Ali x
You really jumped up to speed quickly! I love your creativity and color choices. Glad you jumped on the embroidery bandwagon with us! :)
These are all fabulous! I still have yet to break out my sewing machine and learn to sew. Love what you did with your new toy! The card is adorable. I look forward to seeing all your upcoming amazing projects :)
Nadia, I am always in awe of your creations. I look forward to your blog posts as I know it will be something gorgeous like this. Your instructions and links are so helpful. I do not own an embroidery machine, but after seeing this post, I may have to put it on my wishlist. :)
Post a Comment