
The soap challenge this month uses a technique called Intaglio. You say you have never heard of doing this technique on soap? Neither had I! Intaglio is usually thought of as a print making technique of engraving but we were instructed to pour a super thin base of soap in the bottom of a slab mold and cover with a contrasting color to create a surface that could be carved. That thin layer became the top of the soap and we removed parts of it to expose the contrast while creating a pattern.
My first attempt was actually soap #36 in my Soap Gallery (click here and scroll down the page to see that one). That one had too thick a layer for carving. I didn't want to plane it off because I really liked it as it was. I decided that I would work at getting my top veneer thinner and give it another go with different colors and a different idea.
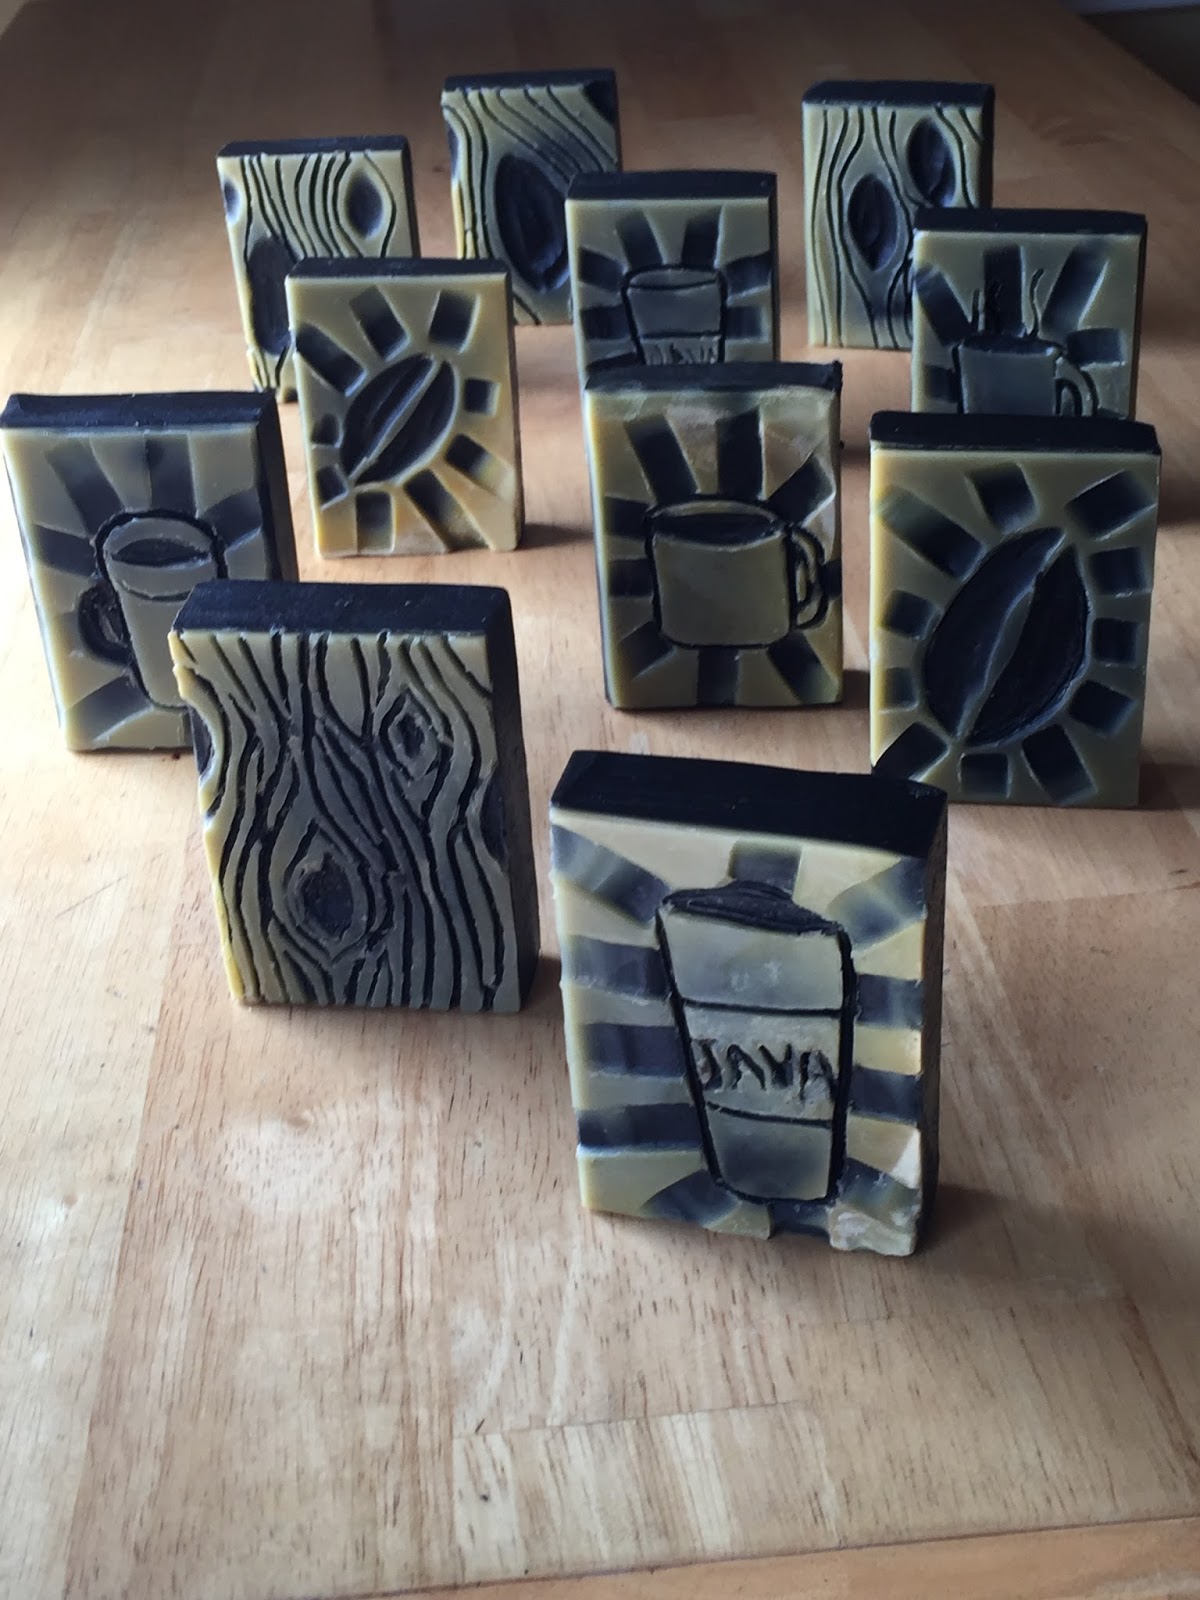
I made a coffee scented soap and initially thought of a faux bois design. I love faux bois!

But I hated that there was no connection between the coffee and the design so I tried some coffee motifs, carving out coffee cups and coffee beans with rays behind them.

I didn't add color to the batter for the top surface because I didn't have a brown (and I had been thinking of faux bois at the time of making the batter), but I did use Bramble Berry's Espresso fragrance oil that promised that the soap would turn dark. I could see a difference in just a day between carving and going back to clean up the 'crumbs'. You can see it in the two previous photos! I am gambling that as it cures it will be more brown and hoping it won't be as dark as the black charcoal base.
My recipe and process:
This soap is #43: Coffee. The recipe was part experiment and part using up odd amounts of oils I had in my soaping cabinet to make room for new stuff or before they get old! I wanted to see if I could "feel" a difference in using sunflower oil with the vitamin E it provides without adding vitamin E as I have been doing recently. I wanted to use up the bottle of that, the olive oil pomace that I bought before understanding how it is made, and I wanted to use up the last bit of grocery store lard before moving to a new supplier of preservative-free, organic lard (to explain my weird percentages of oils).
My Recipe: 30.77% sunflower oil, 20.51% coconut oil, 20.51% olive oil pomace, 13.59% lard, 5.13% shea butter, 4.36% cocoa butter, 5.13% castor oil. 33% lye concentration. 5% super fat. Soaping temps: 91° oil; 114° lye water. Additives: Powdered sugar was added to distilled water pre-lye. Sodium lactate was added to cooled lye water. Fragrance: Bramble Berry's Espresso fragrance oil mixed with 1T kaolin clay. I used the lightly scented quantity per their fragrance calculator and it was plenty.
Once it traced, I added a thin layer of batter in the bottom of my slab mold, trying to keep it as thin as possible. This will eventually turn dark per the supplier's website but now it is a buttery yellow.

To the remaining batter, I added 3 teaspoons of activated charcoal that I had mixed with 2 tablespoons of my oil mix that I reserved before adding lye. I mixed in 2.7 oz of brewed and squeezed espresso coffee grounds (the amount in my husband's coffee maker-- probably needed more for the exfoliation I wanted).

Because I soaped hotter than usual and mixed to a heavy trace, my soap was ready to unmold within a few hours. For carving my designs, I used a lino cut tool, ceramics tools, and my peeler.

My first cut was the faux bois design but before it was even finished or cleaned up, I started thinking a coffee theme design made more sense.

I used a stylized coffee bean and coffee cups for my designs.

Having the top layer thin is really the key to doing this!


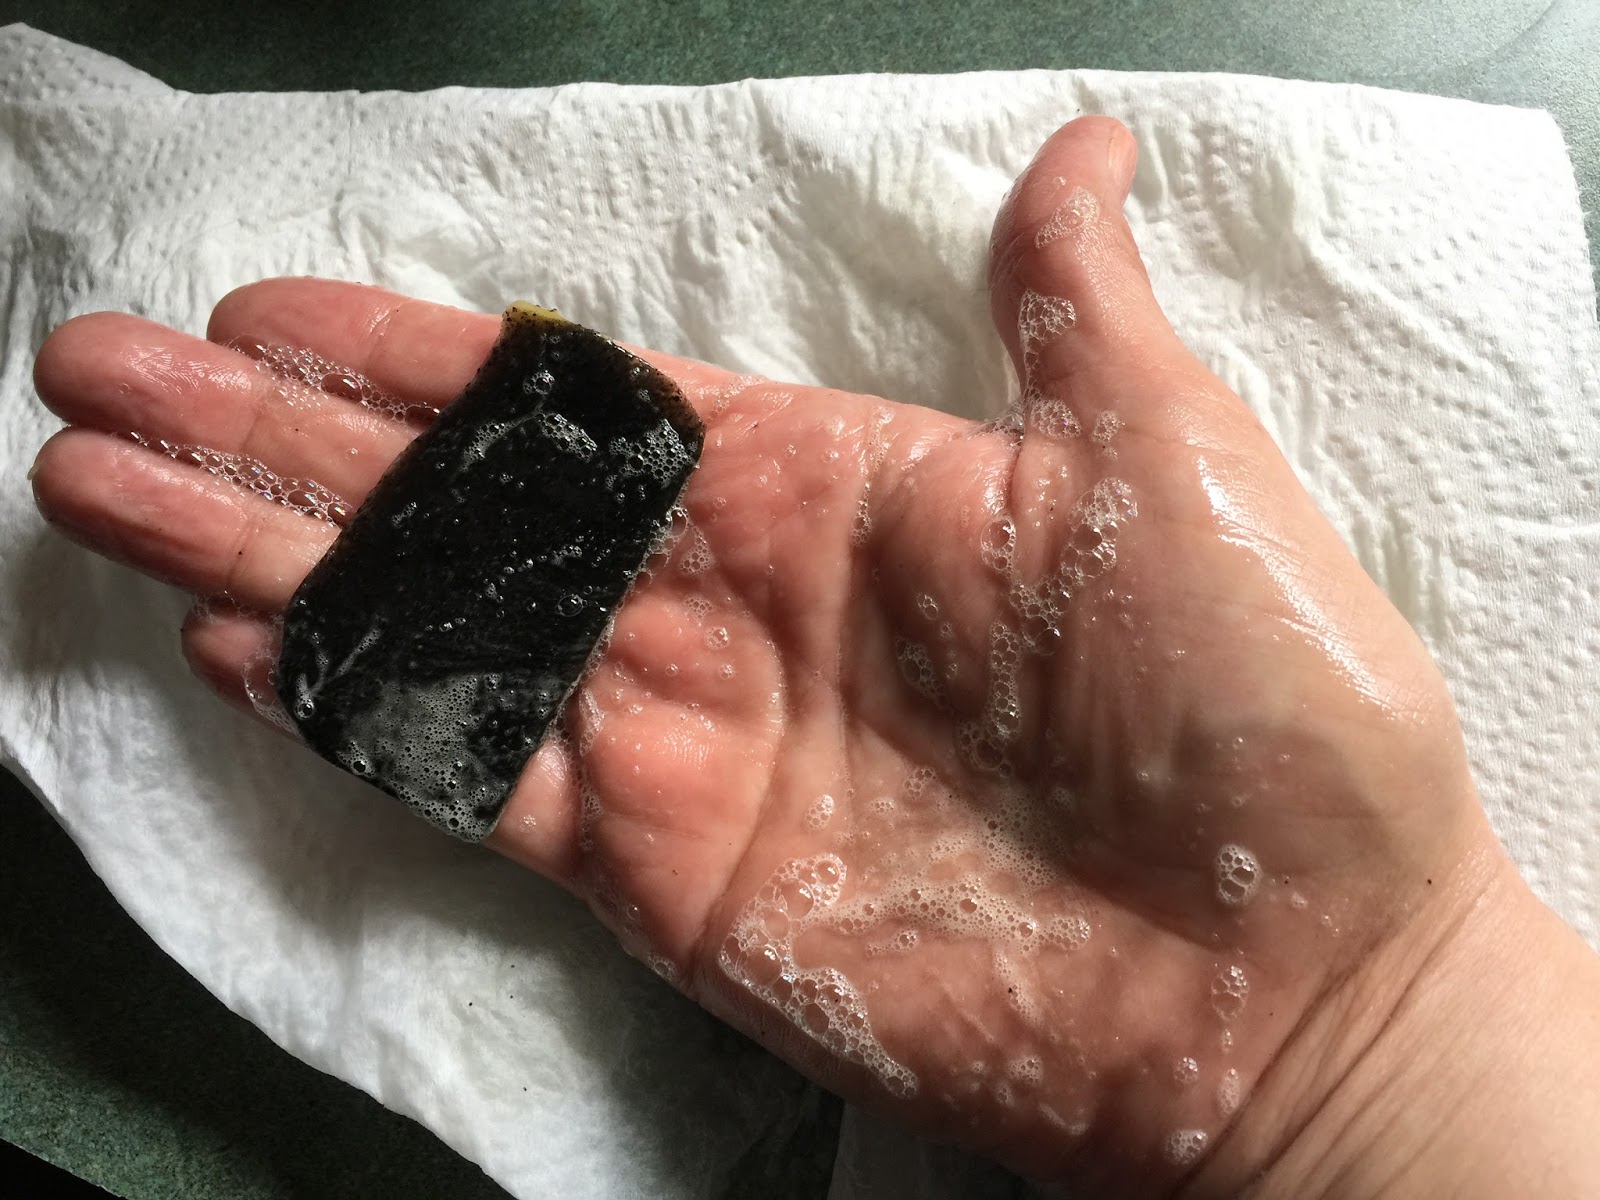
I am still learning how much is too much and how much is not enough when it comes to activated charcoal, but the good news is that this soap doesn't seem to have a gray lather.
This was a fun challenge and definitely nothing I would have tried without the Soap Challenge! I just peeked at the soaps other people have done for this challenge and already posted and I was blown away by the talent and detail. My soapy entry is so simple comparatively, but fun is fun and soap making is addictive so I am so grateful to have had a chance to play along! I can't wait for these to be cured so I can test again and see if I can tell a difference with this oil mix. And I am curious how this scent will be in a couple of months. Thanks for checking my blog post. To see all the 42 soaps I have made, along with their recipes, notes, and links to stuff I learned to make them, check out my Soap Gallery page on this blog or click here.
5 comments:
Great job, Nadia!! I love the coffee theme!! The beams coming out are super cool! The really thin layer gives some nice dimension to the images. I bet they smell amazing too!
I just love your theme for your soap and the designs are perfect. Bet they smell awesome, I love that fragrance from Bramble Berry.
Really cool coffee soaps! I like the light layer and the super thin veneer is not easy to achieve. The designs are neatly done as well. Great job!
These are amazing, Nadia! Don't you dare sell yourself short. These definitely earn a place in the very top of the entries. The way the top layer is slightly translucent gives such an amazing quality to your wonderful carvings. I just wish I was able to take a big whiff!
I love how your soaps turned out! The lighter top layer looks so beautiful with the darker layer beneath. It really makes your soaps stand out. And what an awesome theme - coffee! I bet they smell wonderful!
Post a Comment