NOTE: this tutorial was last updated on July 9, 2015 to reflect changes that were made to Design Space.
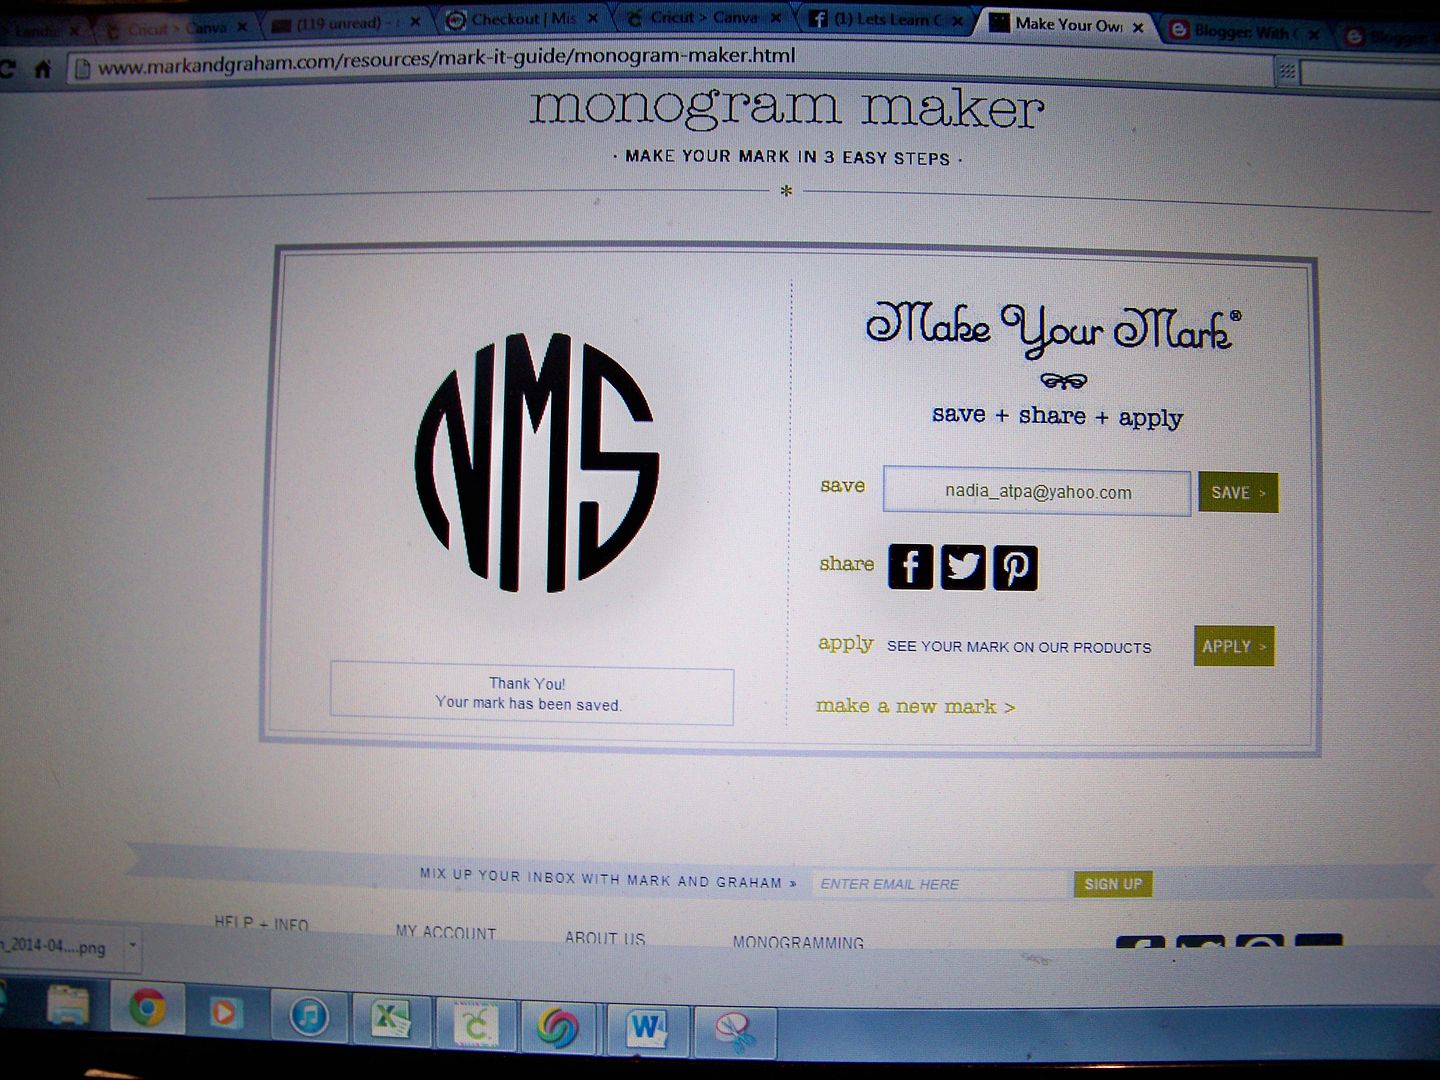
OK, let's get started! Go to Mark and Graham (click here) to get a monogram image.
Enter your initials. The program will re-arrange the letters so the last name initial is in the correct place. Select the style you like-- there are twenty-seven to choose from! You will see a preview.
Now, at this point, the site tells you that you can click save+share and it will be emailed to you, but honestly, it takes a while to get the email and some of mine were never emailed so instead I do this:
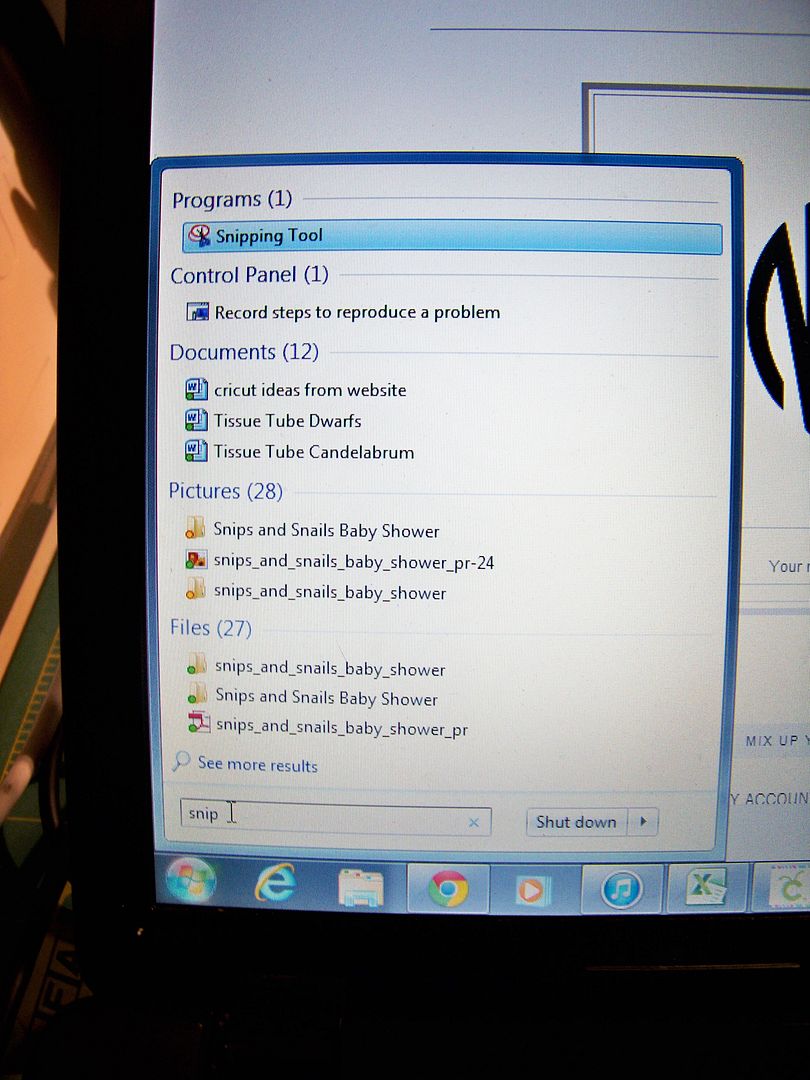
- Use the Windows snipping tool on your computer (click start and in the search box type 'snipping').
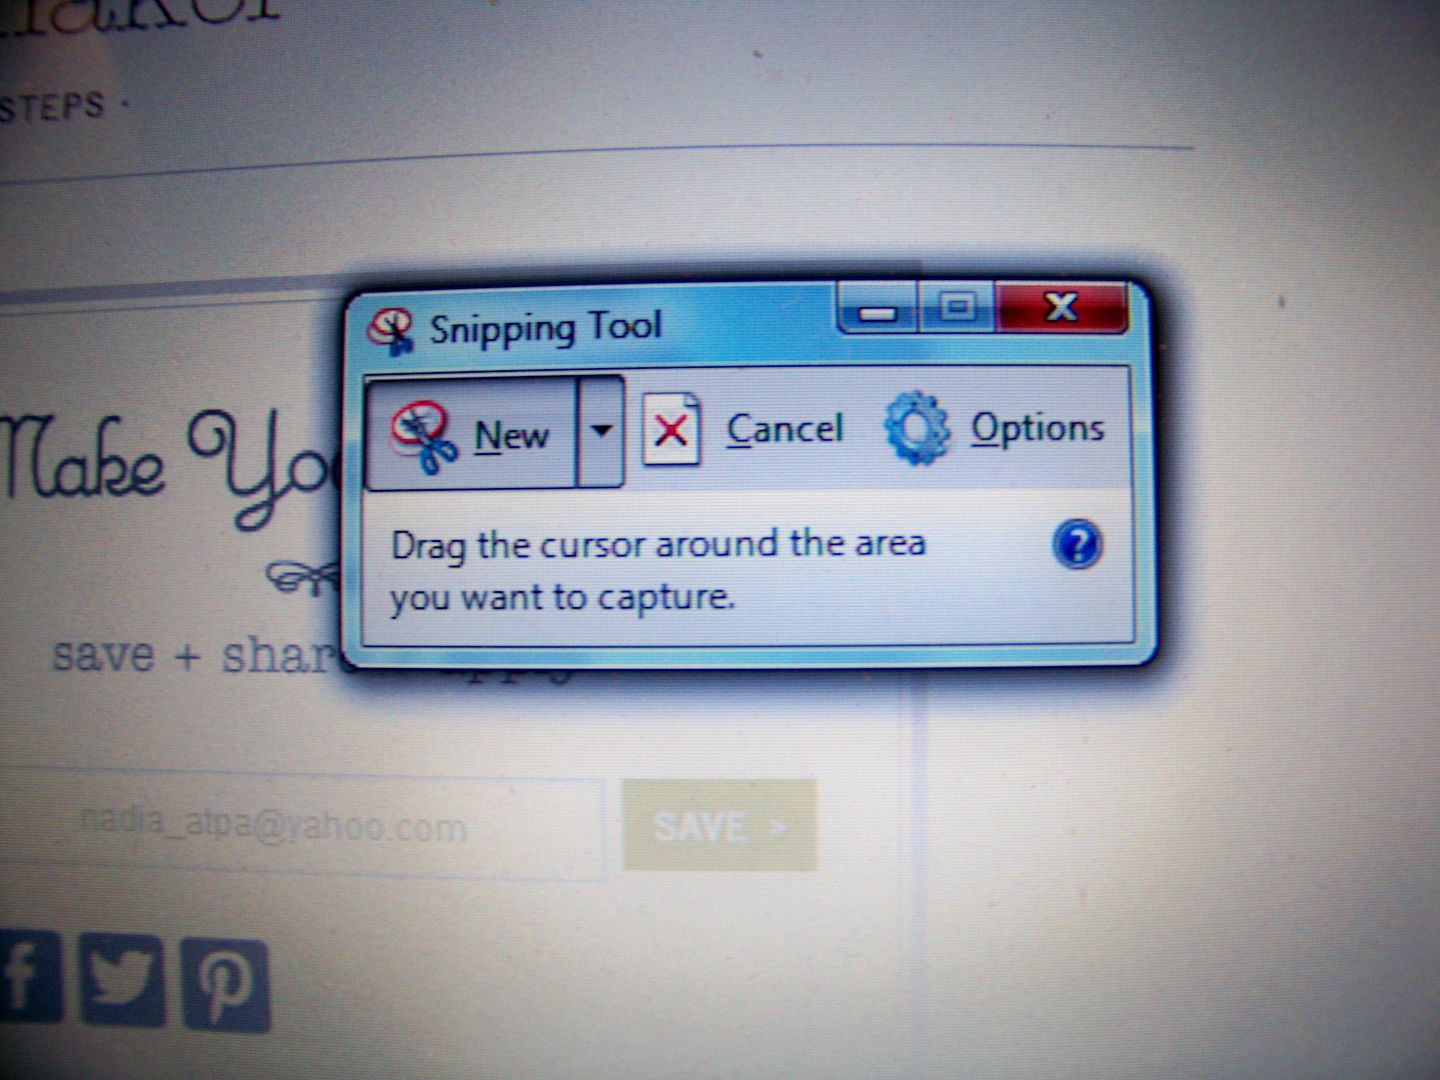
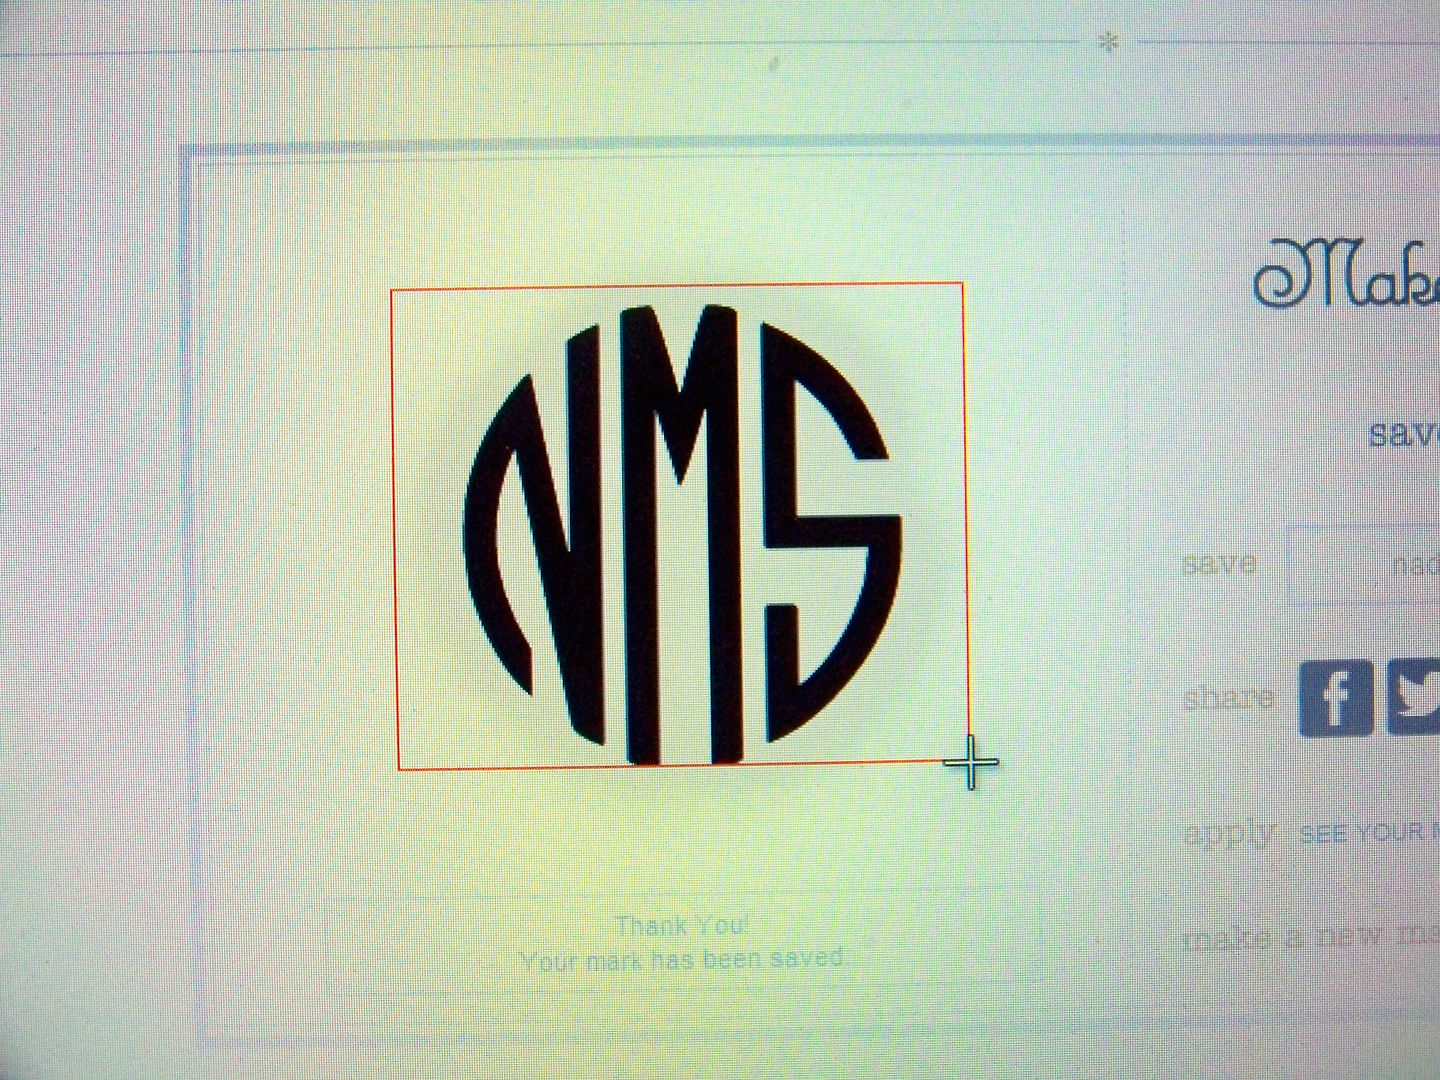
The snipping tool allows you to screen shot anything so you can make it a png file that you can use with your crafting! Simple black and white images are ideal for use with Design Space! - A little box will pop up and you can highlight the monogram.
- A box will pop up with your monogram in it.
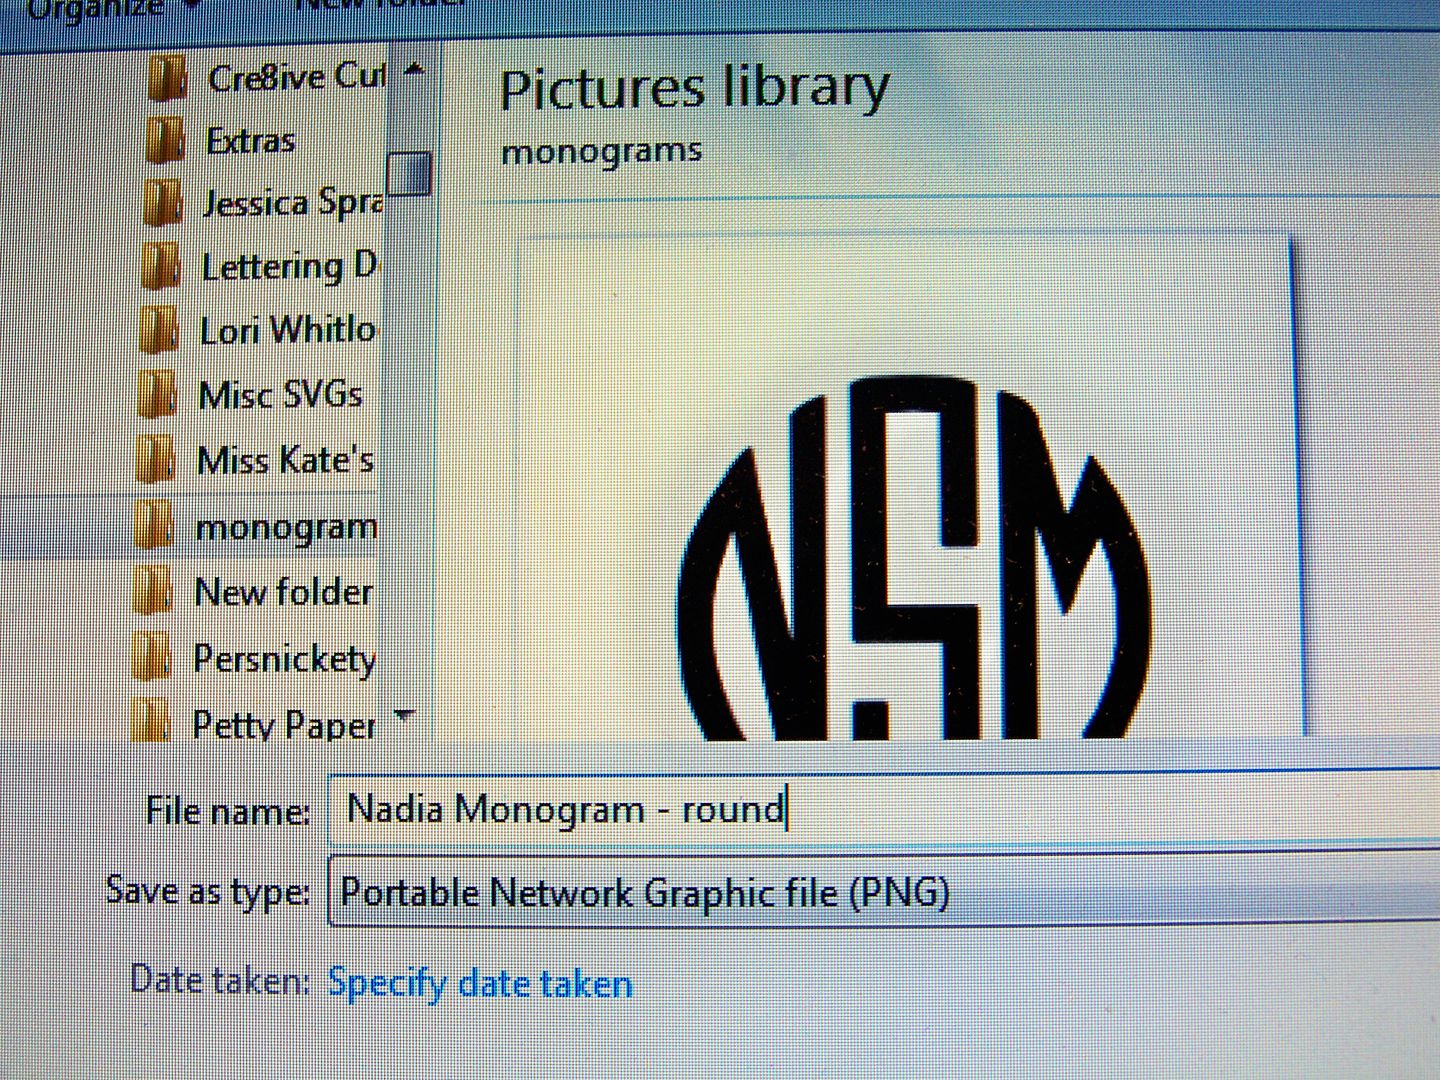
- Click file, Save As. Choose the location you want it saved in on your computer, name it, and see that the saved file type is PNG (default).
- Now you have your monogram ready to import into Design Space.
Go to Design Space and sign in. Select File then New.
Select Upload Images from the sidebar.
Select Basic Upload.
Select browse and find where you saved it previously.
Select the file and click Open.
The file shows up on the screen with a checkerboard around it. The goal is to have that checkerboard in ALL the spaces except your design! Select Simple Image. Then click Continue.
Click on the space around your image and the checkerboard appears around all of the letters. This is exactly the way you need it....
You can test it to be sure that the red outline shows only what you want to cut! Click on the preview button...
Like this.
Select continue and your image, outlined in red (the cutting line) will appear. Change the image name if you don't like what it is named as a default and any tags you might want. Click save.
It will look like this as it saves...
Your image now appears in your library of images.
You can use it as you would any image there by clicking on the image and clicking on Insert Images.
Then your image will be placed on the design mat in Design Space for you to use as you wish!
I hope this tutorial has been helpful to you.
Last updated 7-9-15.



18 comments:
Thanks for refreshing my memory on this process! I appreciate it so much
HELP! I have followed the instructions but each image I upload will not allow me to just "cut" it does the "print then cut". What am I doing wrong?
HELP! I can't figure out what I am doing wrong. I have followed the instructions for uploading images. When I insert the image on my mat, I cannot "cut" it only shows the "print then cut". Any advice?
Kelly - Scroll near the last two pics. There is an "edited to add" that includes a note and photo about unclicking the box that was added when PTC was added. You simply uncheck that box so that it will only cut.
I'm trying so hard to make this work, but I don't have the "Continue to Step 2" option. I don't have the "magic eraser" either. I have the Cricut Explore - am I missing something?? HELP! :)
Oh, Caitlin, I am so sorry! I do appreciate your message however. There were changes, updates really, to Design Space which made my little tutorial no longer helpful. After I read your message, I went in and edited my tutorial to reflect all the many changes! Take another look and hopefully, it will make much more sense to you! This originally posted in 2014 and I have made little changes here and there, but not until your message did I realize how much had changed that I hadn't realized! I hope you can follow along now, if you haven't already figured it out!
Happy Crafting and thank you again for bringing this to my attention!
Is there a way to cut the monogram on vinyl? I want to print my own monogram sticker and can't figure out how to cut when the vinyl doesn't fit in my printer?
Bethany, I am not sure I understand. Yes, you can cut the monogram from vinyl. You can do print then cut, but you can't do it on sticker paper larger than you printer can handle. You could do one letter at a time to get larger. Not sure if that is what you mean.
Great tutorial! Thank you! I am running Vista on my computer and there is no snipping tool. I simply right clicked on the image in Monogram Maker after clicking "save and share" and was able to save the monogram in 4 quick steps.
1. save and share
2. right click "save as"
3. name the image
4. save
:)
Thank you SO much for this tutorial! I've made so many fun projects with monograms now that I know how to do this. Thanks again!
I can not get my image to cut it only allows me to print. I noticed more than one person has had this problem but I couldn't figure out how to fix it with your reply. Please help! This was a very good tutorial I would love for this to work for me!
You must make sure that you have it set to "cut" an have unchecked the print box.
To clarify, once the design is on your virtual mat, look at the Layer Attributes (by clicking "layers") and make sure it is set to cut and not print! Hope that helps!
I love this tutorial. Thank you! Such easy steps to follow. However, when I am ready to cut my monogram, an error message pops up saying "remove exclusive content" and it won't let me cut. Any ideas how to fix this? Thanks!
Miss Wills- I have not seen that message.
So nice of you to share!!!!
Good afternoon, thank you so much for the instructions, you have made it very easy to understand but I am having trouble, everything goes along perfectly until the click preview, once I click preview my initials do not show up in red, the whole box has a red line around it. What am I doing wrong, any help is greatly appreciated. I am new to the cricut software.
Hi, Jusdreamin. The tutorial you are using was originally written in 2014 and updated in 2015, but I just went through the process again to make sure there was nothing really weird that the folks at Cricut have done and I don't see anything. When you say that the red box is around all of your letters, that tells me you did not do the step that is outlined that uses the magic wand to remove the white around the letters (and inside the letters for letters with holes). Basically, I snipped the monogram, saved as a png, opened DS, started a new project, click upload images, select upload image (not pattern fill), click browse, find my file, click open, select simple image and continue, CLICK THE MAGIC WAND WHICH IS CALLED SELECT AND ERASE WHEN YOU HOVER OVER IT, CLICK ON THE WHITE AREAS AROUND THE LETTERS INCLUDING ANY HOLES, click continue, save as cut image (not print then cut), click save, click on the thumbnail of your letters that Cricut will display, click insert images, it will appear on your canvas. Hope that helps. I am using the up-to-date DS and Windows 7.
Post a Comment