I have always enjoyed gift wrapping. I remember, in the 80s, being obsessed with stamping and gold paint on brown mailing paper to make my own wrapping paper after watching a lady on PBS doing that. You may have heard of her, Martha Stewart. (I have been a fan of her projects forever.) She explained how to use dried lemon slices, cinnamon sticks, and fir branches to decorate boxed gifts. (I bought my food dehydrator just for that use when I was 18.) That interest in bow-making, paper decoration, and gift design started in my teens and has only grown with the use of my sewing machine and Cricut die cutting machine.
I love using my Cricut for package decoration. This Christmas, with my busy work schedule, I have had to create a gift tag "factory" in my craft area to get it all done! I have simplified this year, choosing to only create tags instead of fully decorated boxes and bags, but I love how these have turned out and thought I would share some of them with you!
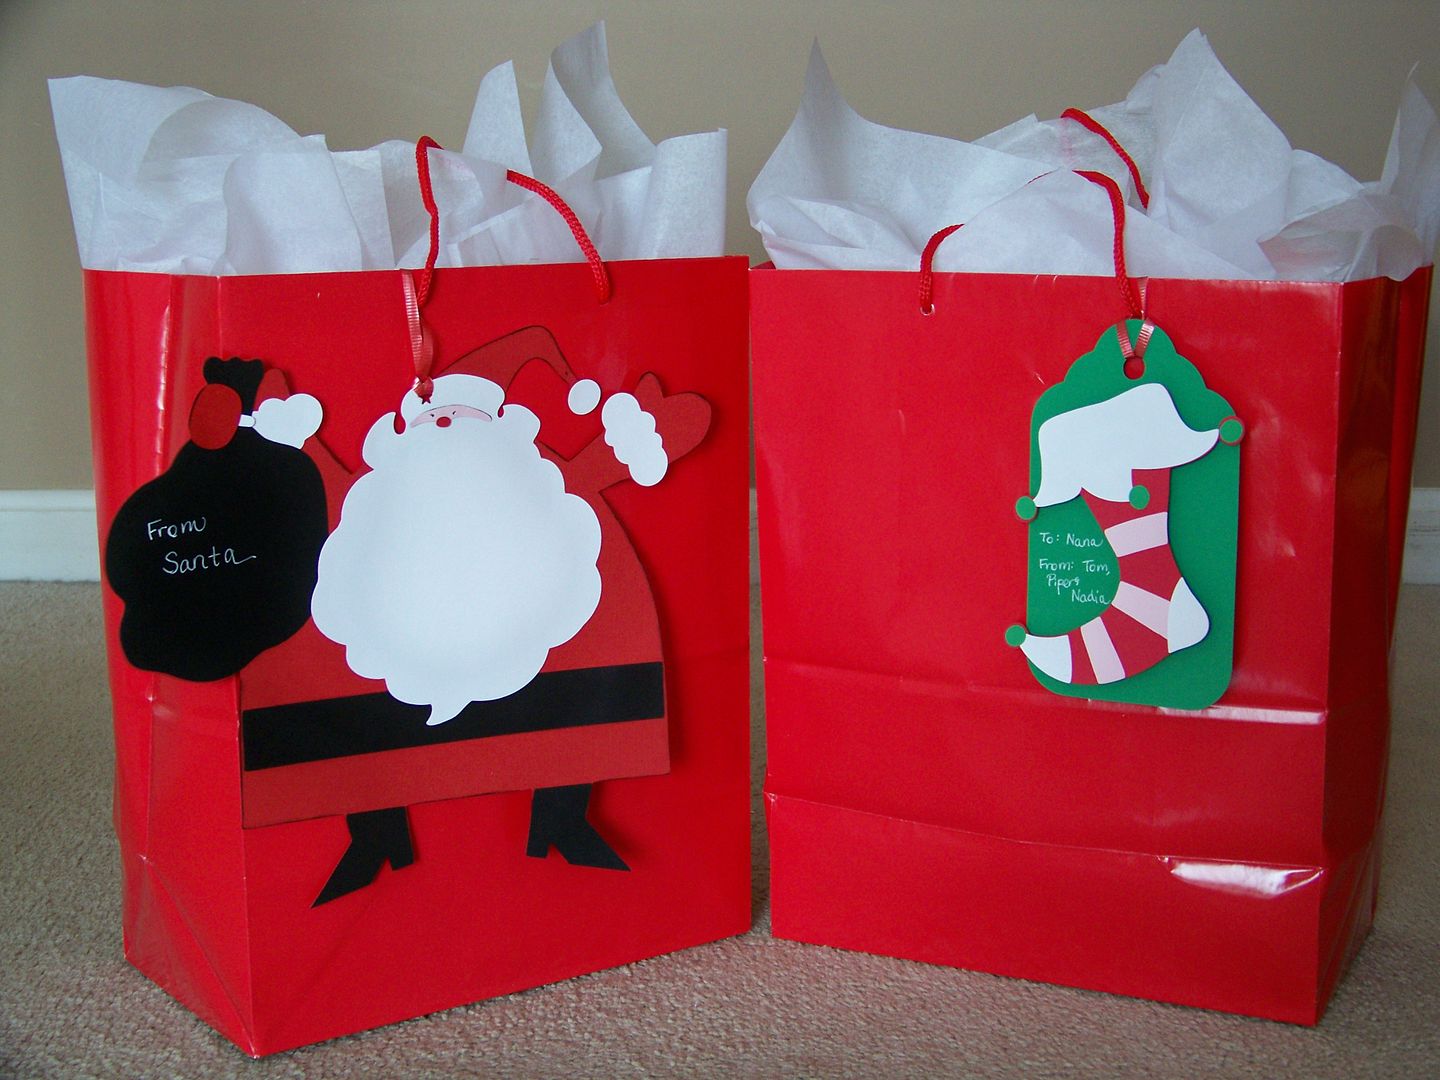 |
| The Santa tag was cut from Jolly Holidays at 9-3/4". The stocking was also cut from Jolly Holidays and cut at 5". The base is one I had on-hand from George and Basic Shapes. I used a Sakura Jelly Roll pen to write my messages. |
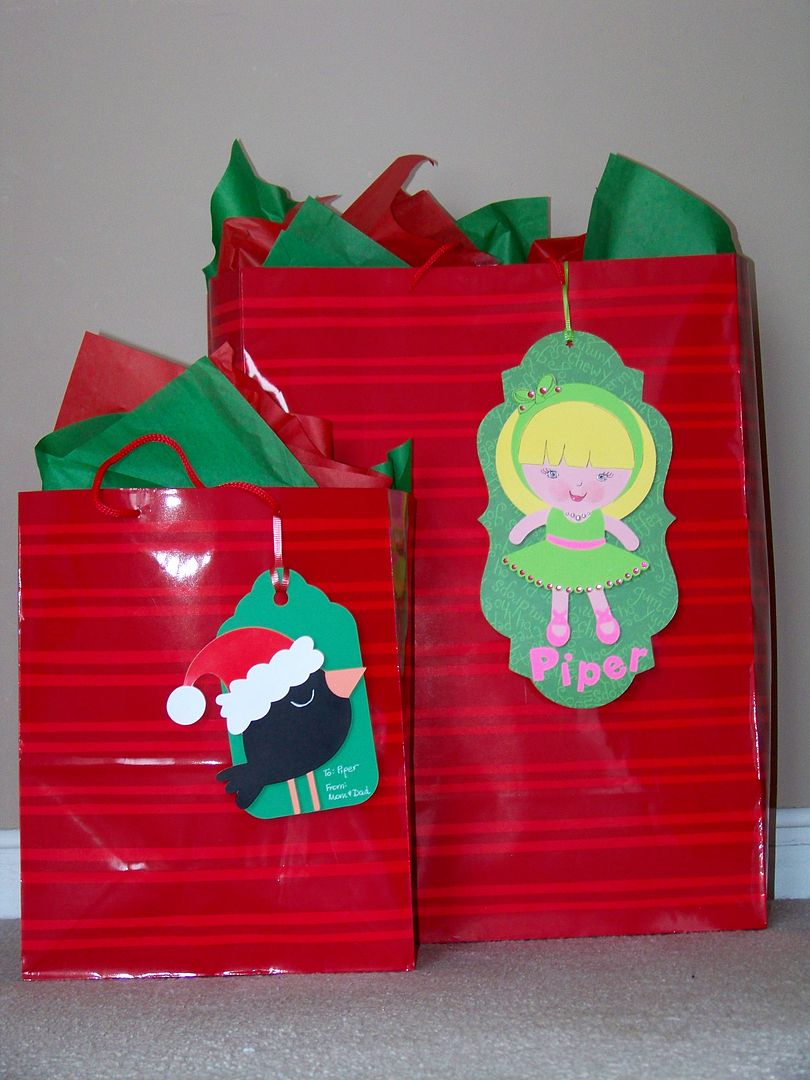 |
| The Santa Bird is cut from Jolly Holidays at 5". The base is one I had on-hand from George and Basic Shapes. The ballerina is from Twinkle Toes, cut at 8"; the base is from the same cart, cut at 6-1/4"; the lettering is from Mickey Font, cut at 1". I drew on the face. |
 |
| These are bucket gifts for the ballet teachers. The pails were from Walmart for $1. I bought tons of them this year! The ballet shoes were cut from Twinkle Toes at 3-3/4". The base is from George and Basic Shapes cut at 3-3/4". |
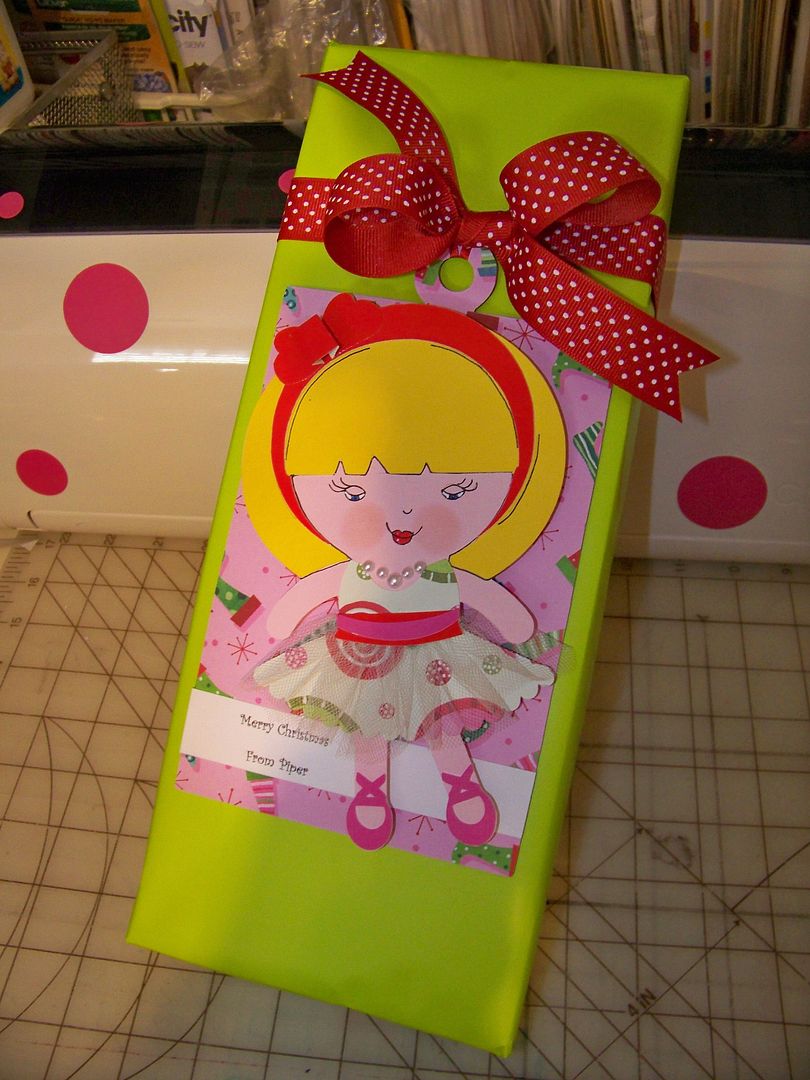 |
| This gift was for a swap at my daughter's dance school Christmas Tea. The character is from Twinkle Toes cut at 7". The base is from George and Basic Shapes cut at 7-3/4". I drew on the face. |
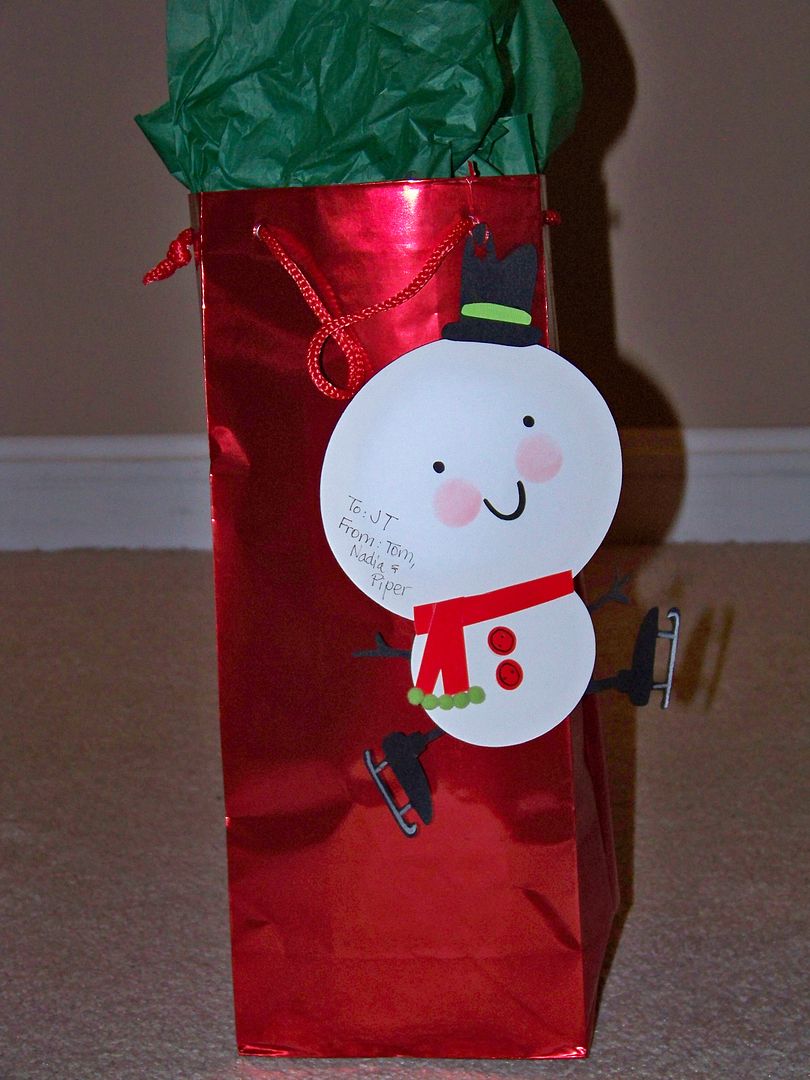 |
| This snowman tag was cut from Jolly Holidays at 8". |
 |
| This tag was cut from Jolly Holidays at 3". I drew on the face and details. |
 |
| This is a candy dish I just found at a local department store. This is a teacher gift. I cut the snowman from Winter Frolic (page 31) at 4-3/4". |
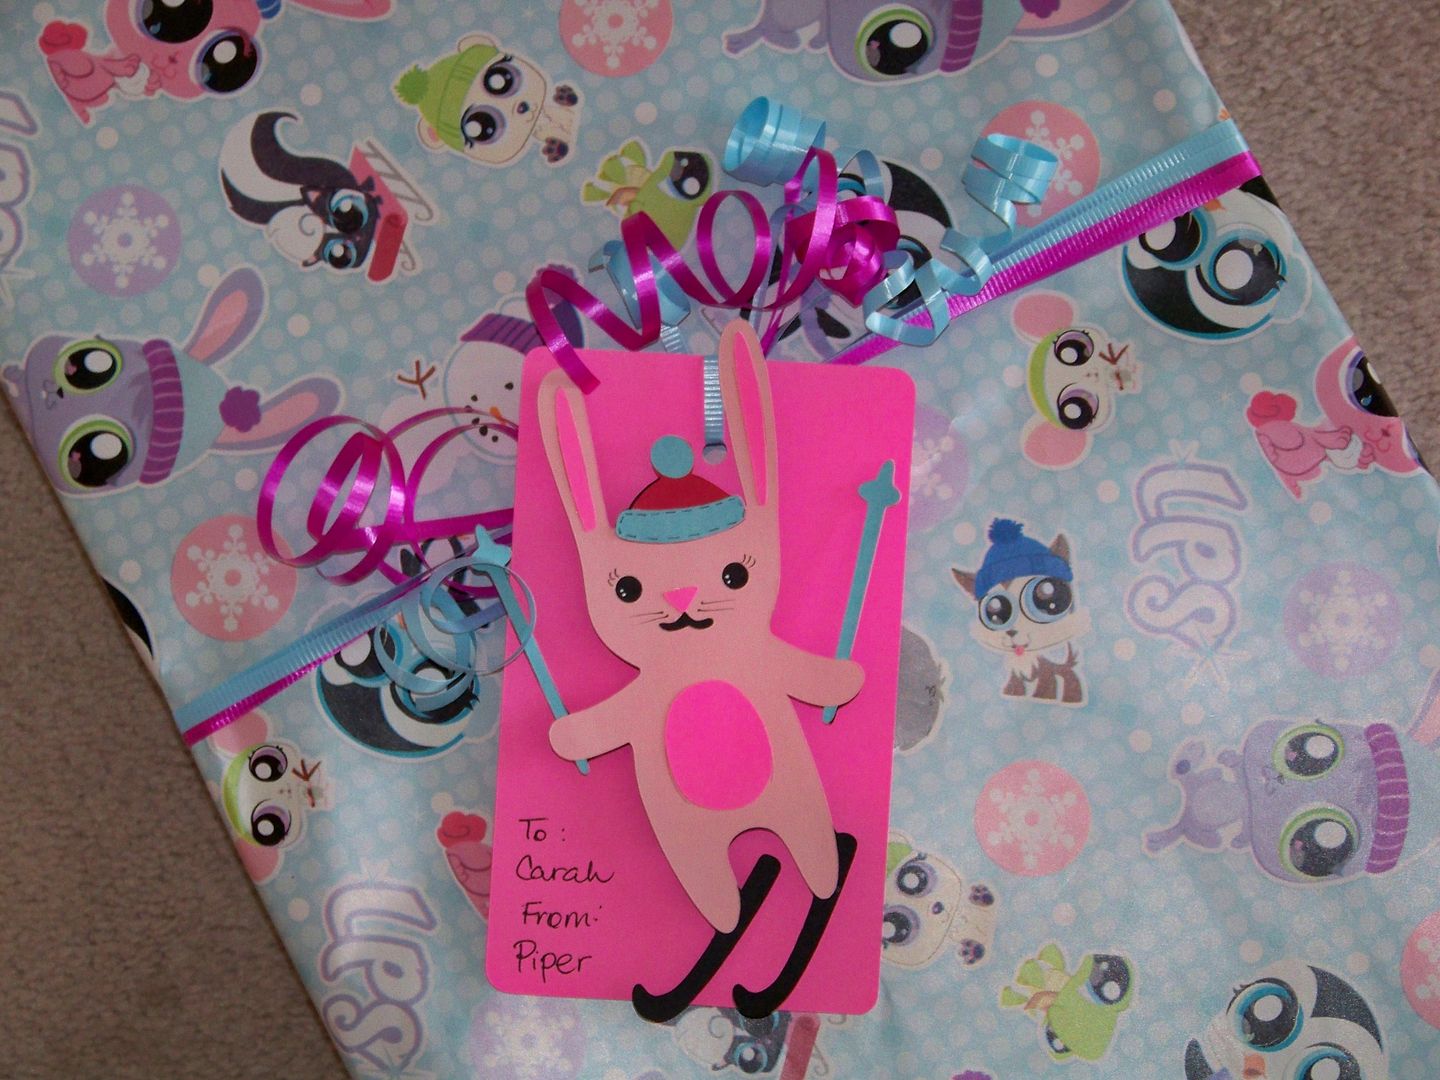 |
| This ski bunny is from Winter Frolic (page 33), cut at 6". The base is from the same cart and page, cut at 3-1/2". |
 |
| These are gifts for all the kids in my daughter's class. These are bags I found at Deals packaged as 2/$1. Who says blue and pink don't say "Merry Christmas"!? They each have a unique snowflake, cut from Winter Lace at 3-1/2". The base is cut from George and Basic Shapes at 5-1/2". I found Jolly Rancher candy canes in fun colors and lots of great colors of curling ribbon for $2 at Walmart. |
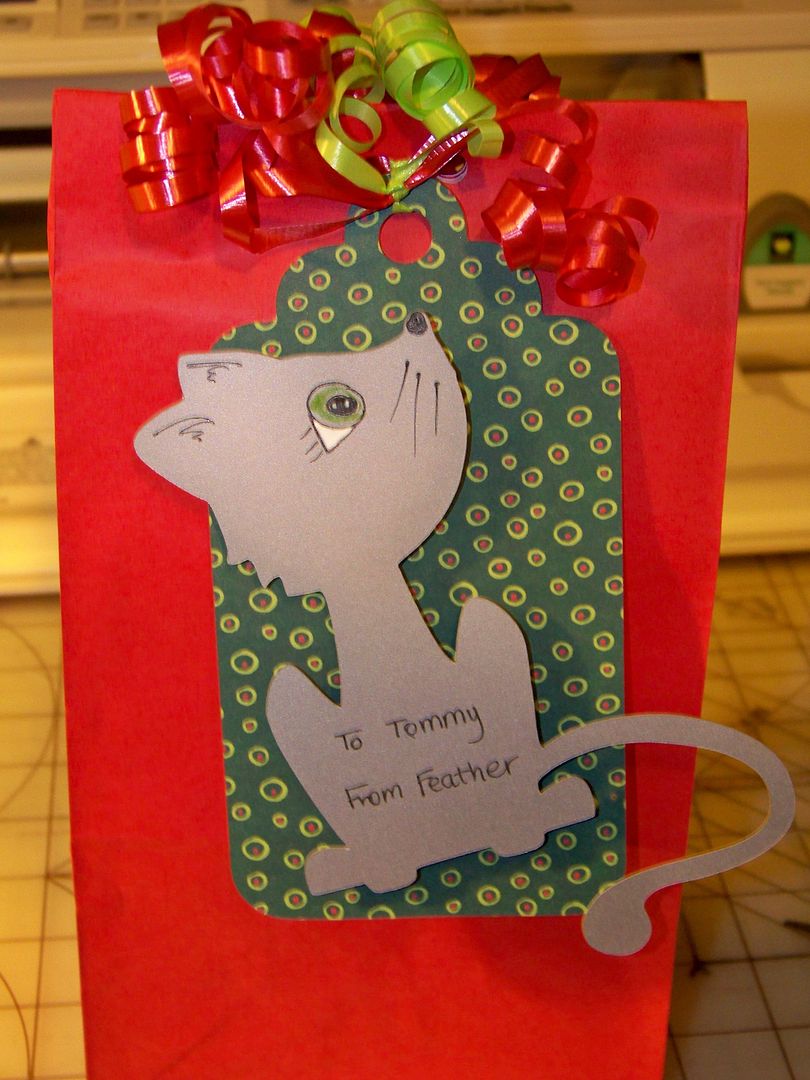 |
| This is a gift from our cat! I used Four Legged Friends (cut without the layers and simply hand-detailed) at 5-1/2". I used a tag from George that I had on hand. |
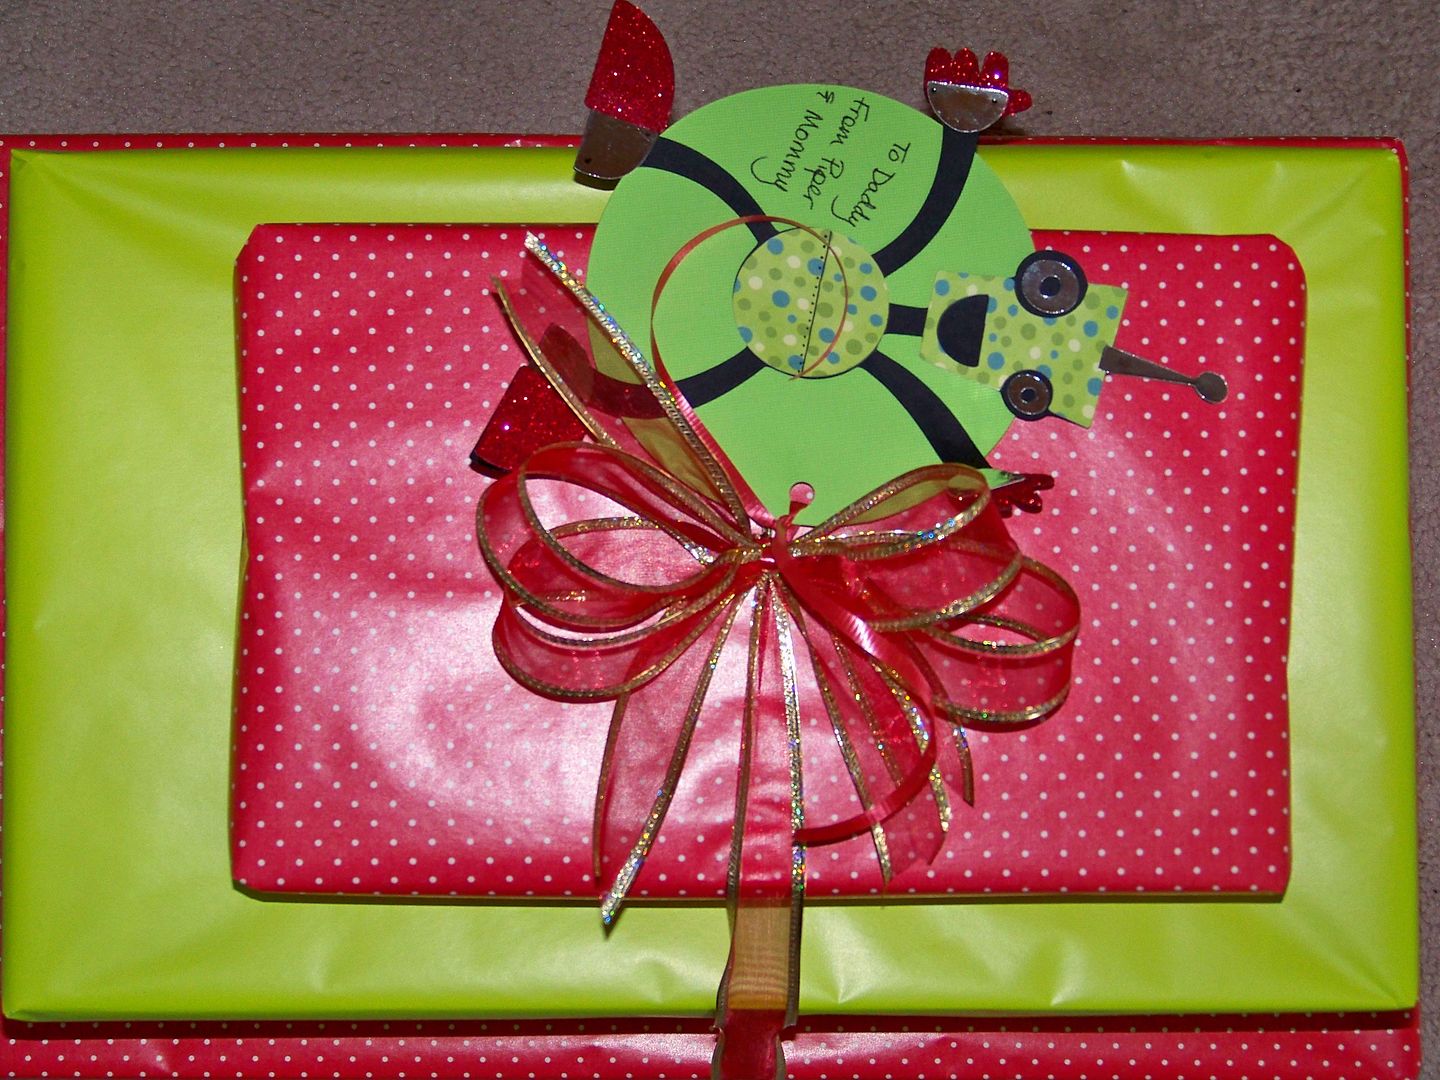 |
| Christmas robot? Yes, if the recipient is a toy robot collector! This tag is cut from Robotz at 7". The circle base is from George and Basic Shapes, cut at 4-1/2". |
|
|
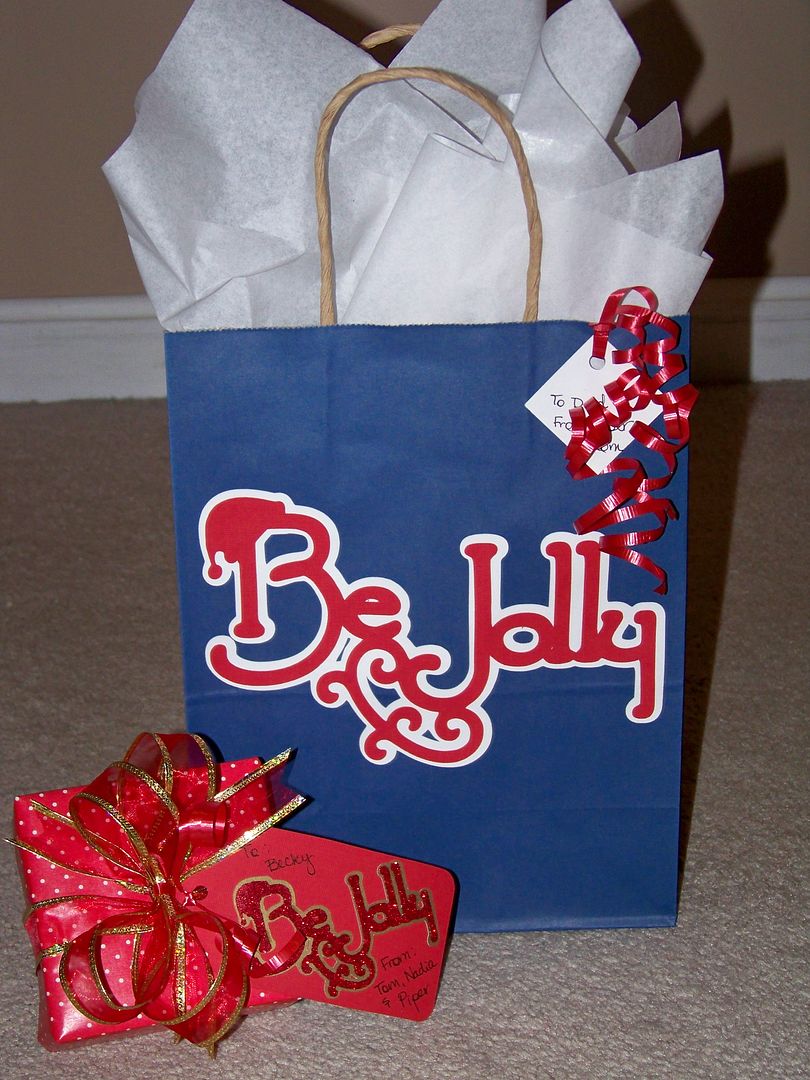 |
| Both 'Be Jolly' tags were cut from 3 Birds on Parade at 2" and 4-1/2" respectively. The base for the small tag is from George, cut at 4-1/2". |
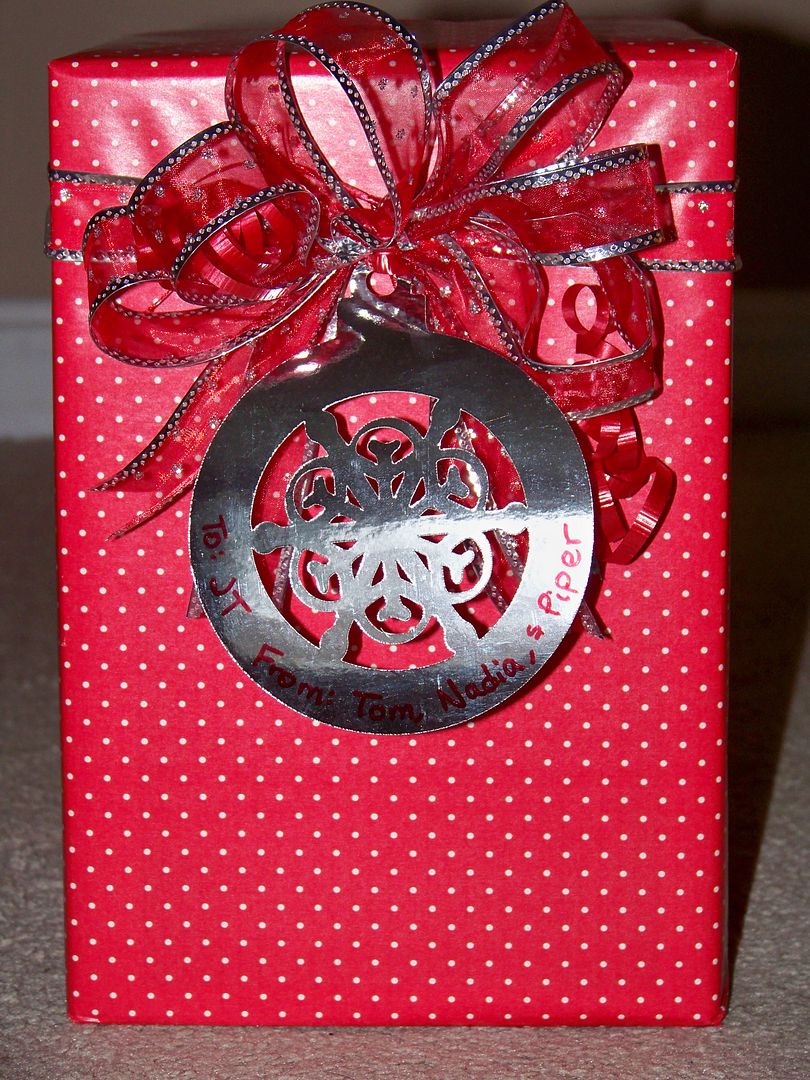 |
| This ornament tag was cut from Joys of the Season (page 61) at 4-1/2". |
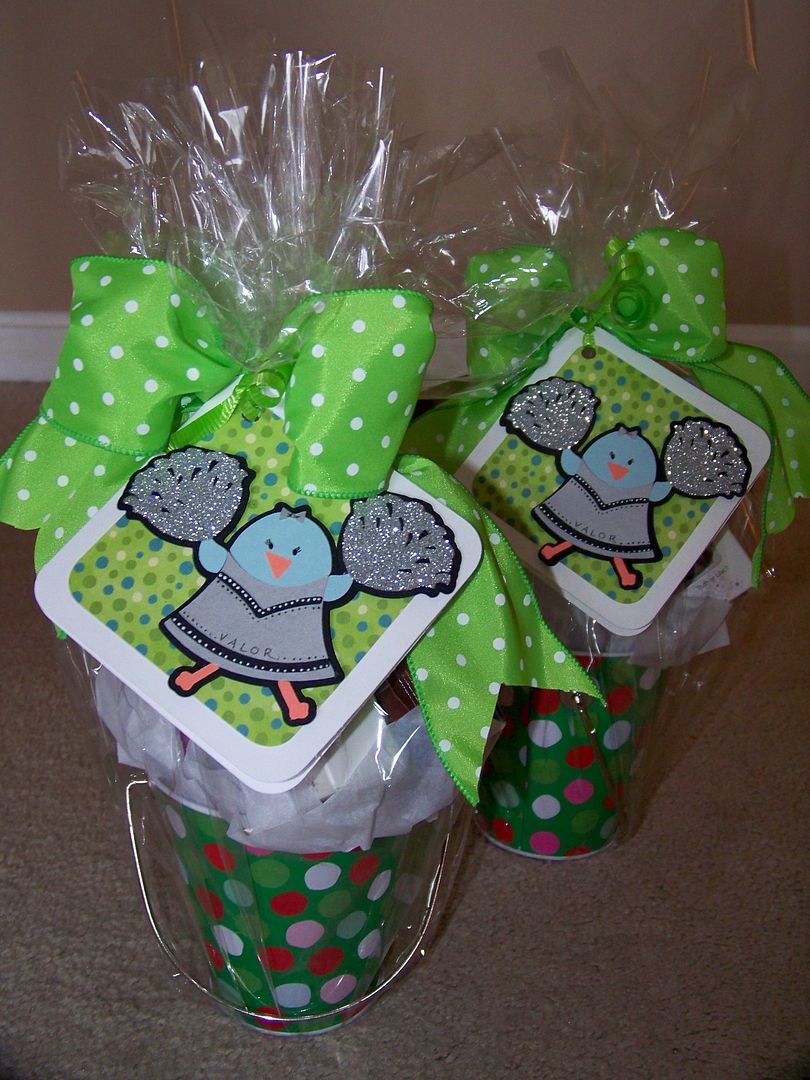 |
| More of those Walmart buckets! These are for the cheerleading coaches. The tags were cut from Going Places at 4". It makes a little card, perfect for a little message inside! The cheering bird was cut from 3 Birds on Parade at 3". The poms were put through my Xyron and glittered. |
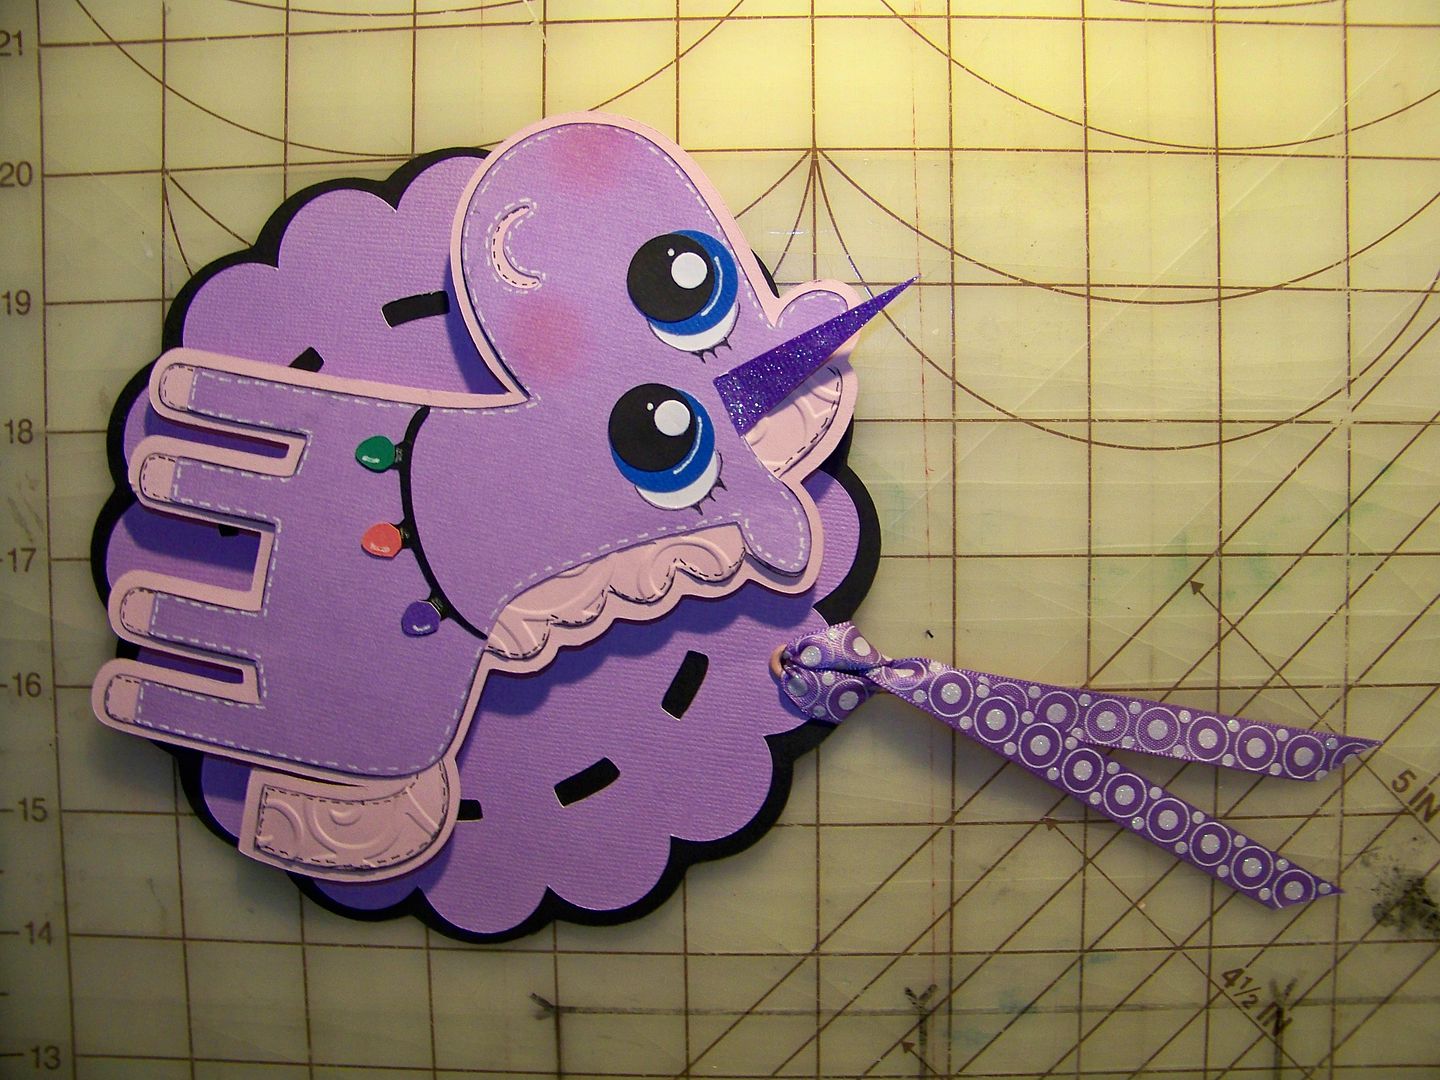 |
| I created a couple of tags to go with the Littlest Pet Shop paper I found. My daughter calls these "big-eyed creatures". I used 5/8" and 3/4" punches to alter the eyes. The unicorn was cut from Create-A-Critter at 5" (page 59). The lights are from the same cart (page 73), cut at 2-3/4". I detailed with a Sakura Jelly Roll pen, Zig Millenium 01 pen, and gold gel ink. The base was cut from Mini Monograms (real dial size 5-1/2" stitched and 6" for shadow). |
 |
| The penguin was also altered from Create-A-Critter at 5". I found a fun photo clip as a tag holder. |
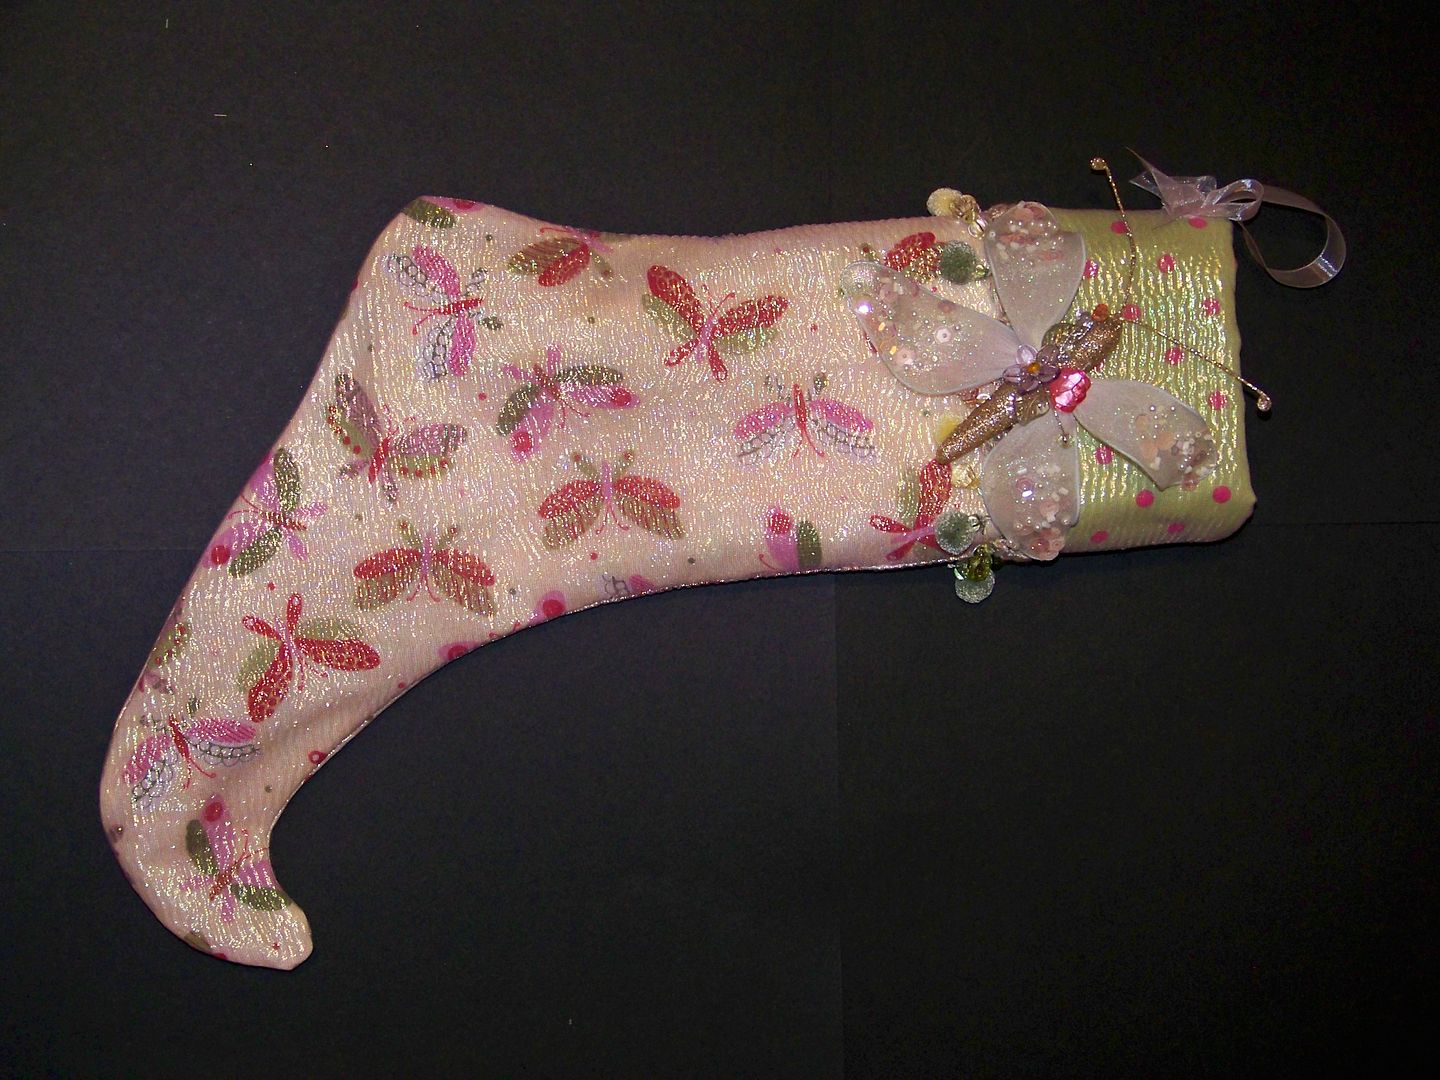
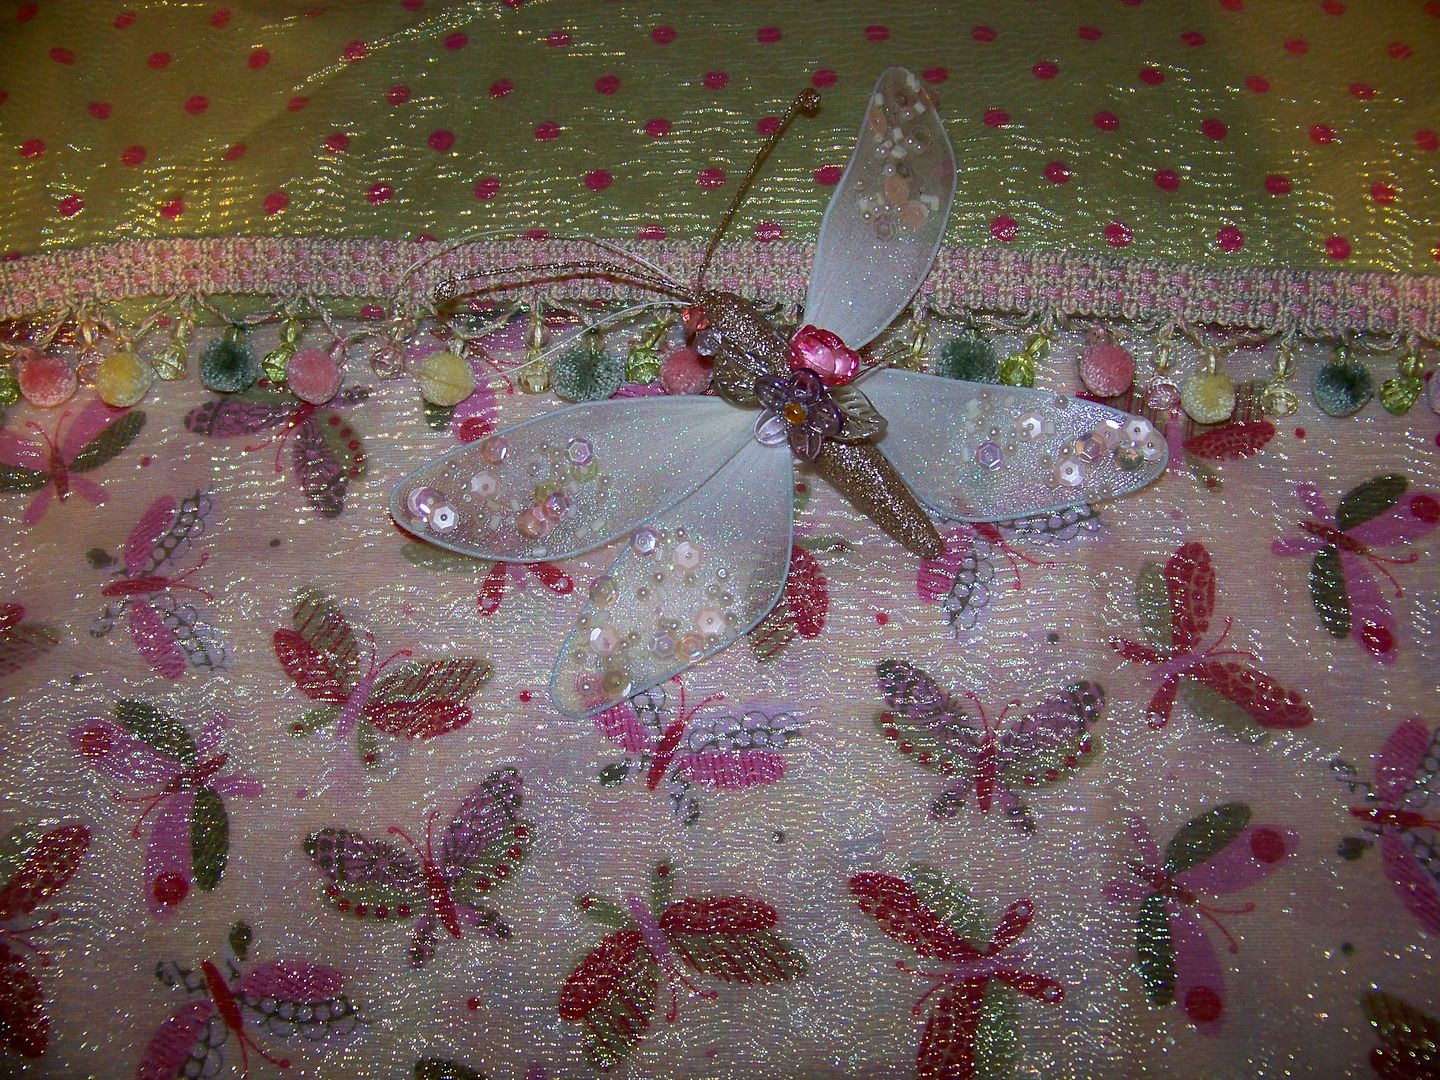
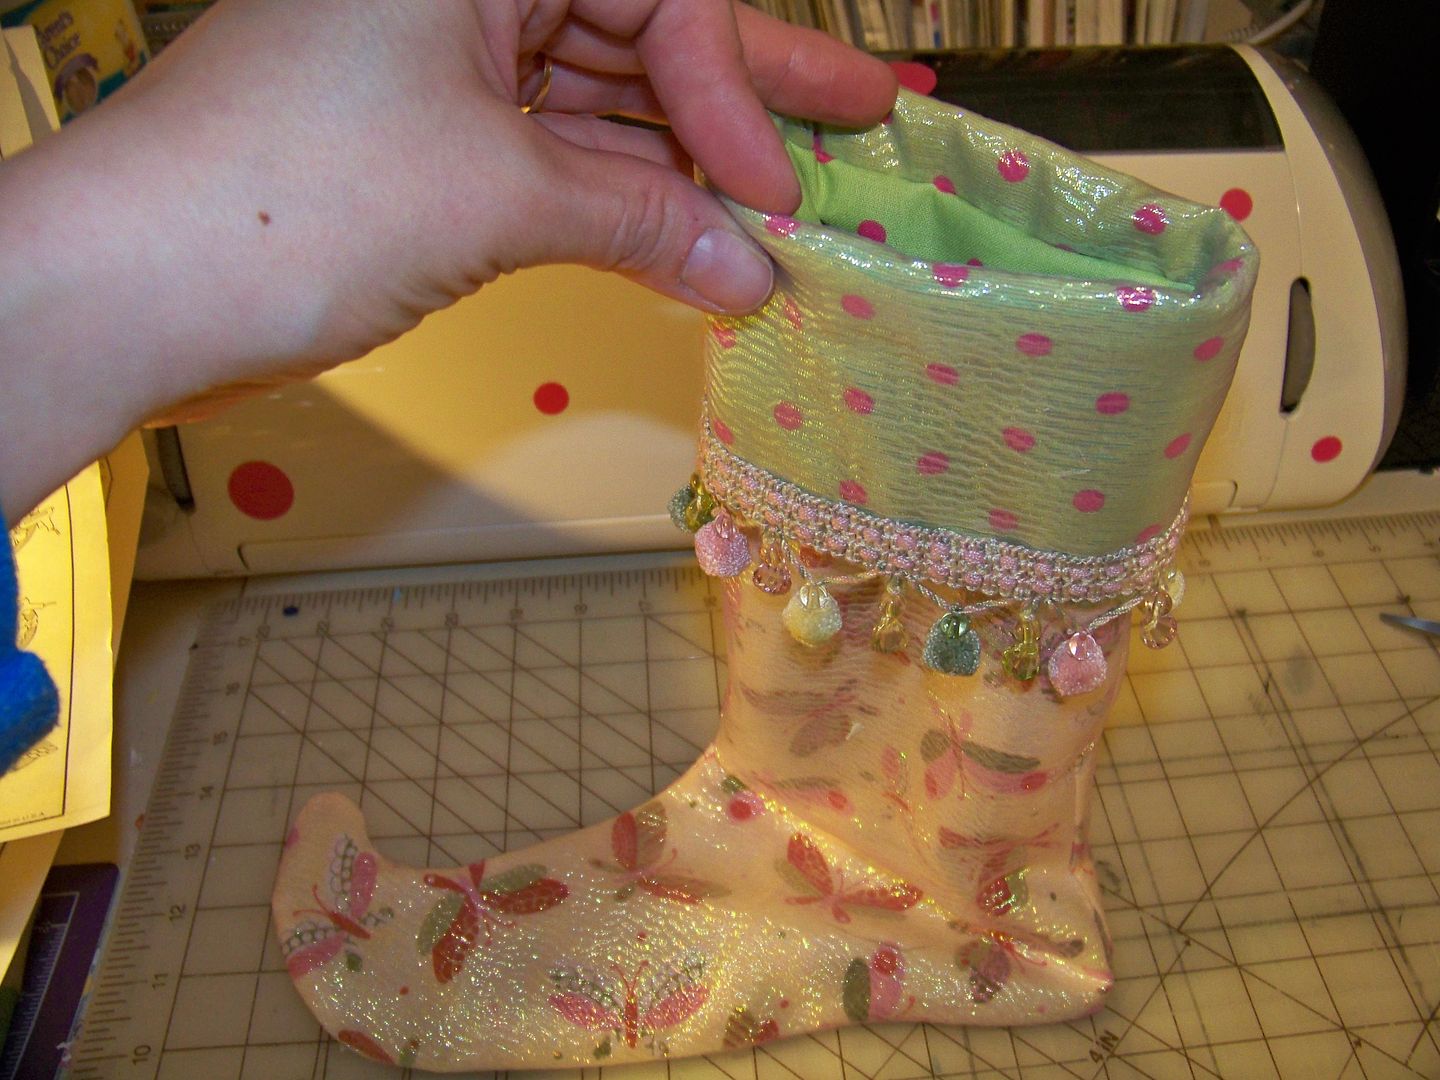
In addition to paper wrapping, I love to make stockings as a gift wrap. This year, I only made one. It was for a Circle message board swap. One of my favorite ways to add sparkle to sewing projects is to add a sparkly, sheer overlay to my base fabric.
Using this technique, I was able to match the butterfly ornament that would be my stocking embellishment. This was a purchased ornament that I loved.
This stocking was made for someone who has a connection to the symbol of butterflies, so I knew I would be using that image all over this stocking! I had a fun polka dot to use for the cuff and lining. I found a trim that blended with the other materials.
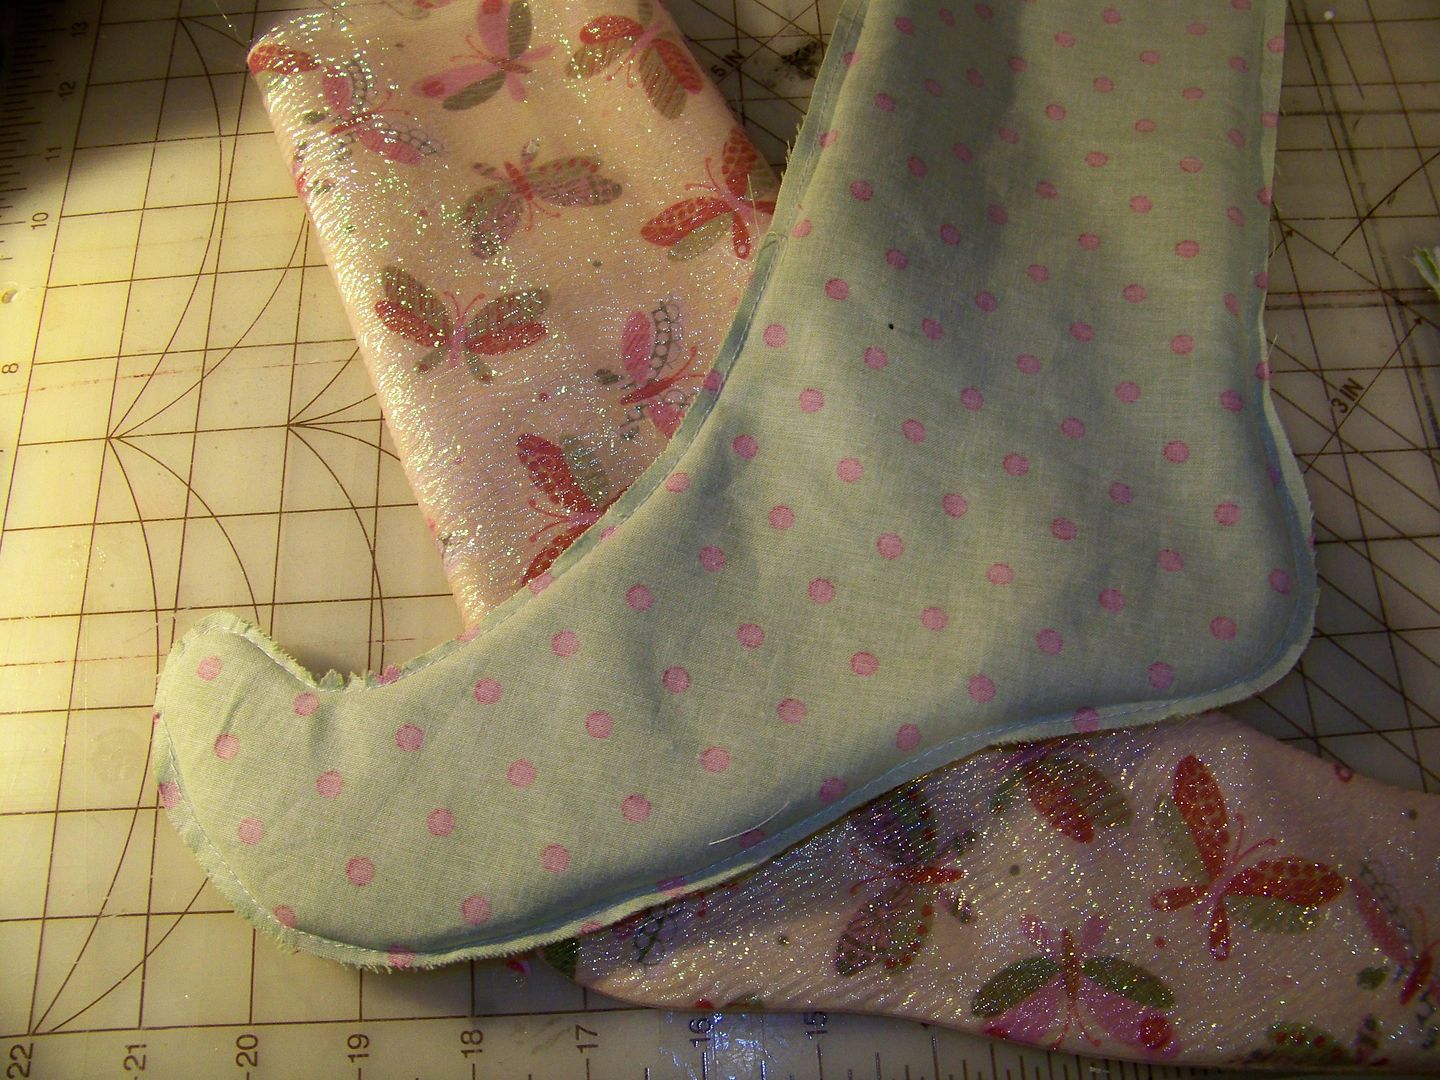
I have a favorite stocking pattern that I use every year, over and over again, but any stocking will do and making your own pattern can be as easy as tracing a stocking you already have and adding seam allowance. My stocking pattern has a curled up toe and a cuff. I love those features!
When cutting out, I simply cut duplicate pieces of the sheer. I sandwich them with the base fabrics and stitch them all together. I also use a felt or batting in the cuff to give it body. You can simply interface that area, but I like the loft!.
Simply stitch around your stocking and trim all seams. For the cuff, I cut it so there is only one seam. I cut a decorative cuff (with the sheer overlay) and a facing. The facing is not necessary if you will be stitching your cuff down in place.
I like lined stockings. The person who receives a stocking tends to really examine it to get out all of the goodies, so I like it to be finished on the inside! Simply cut and trim using the same pattern piece you used for the outer stocking. I tend to turn it and press and then turn it back so the right side is on the inside, but turning is not necessary!
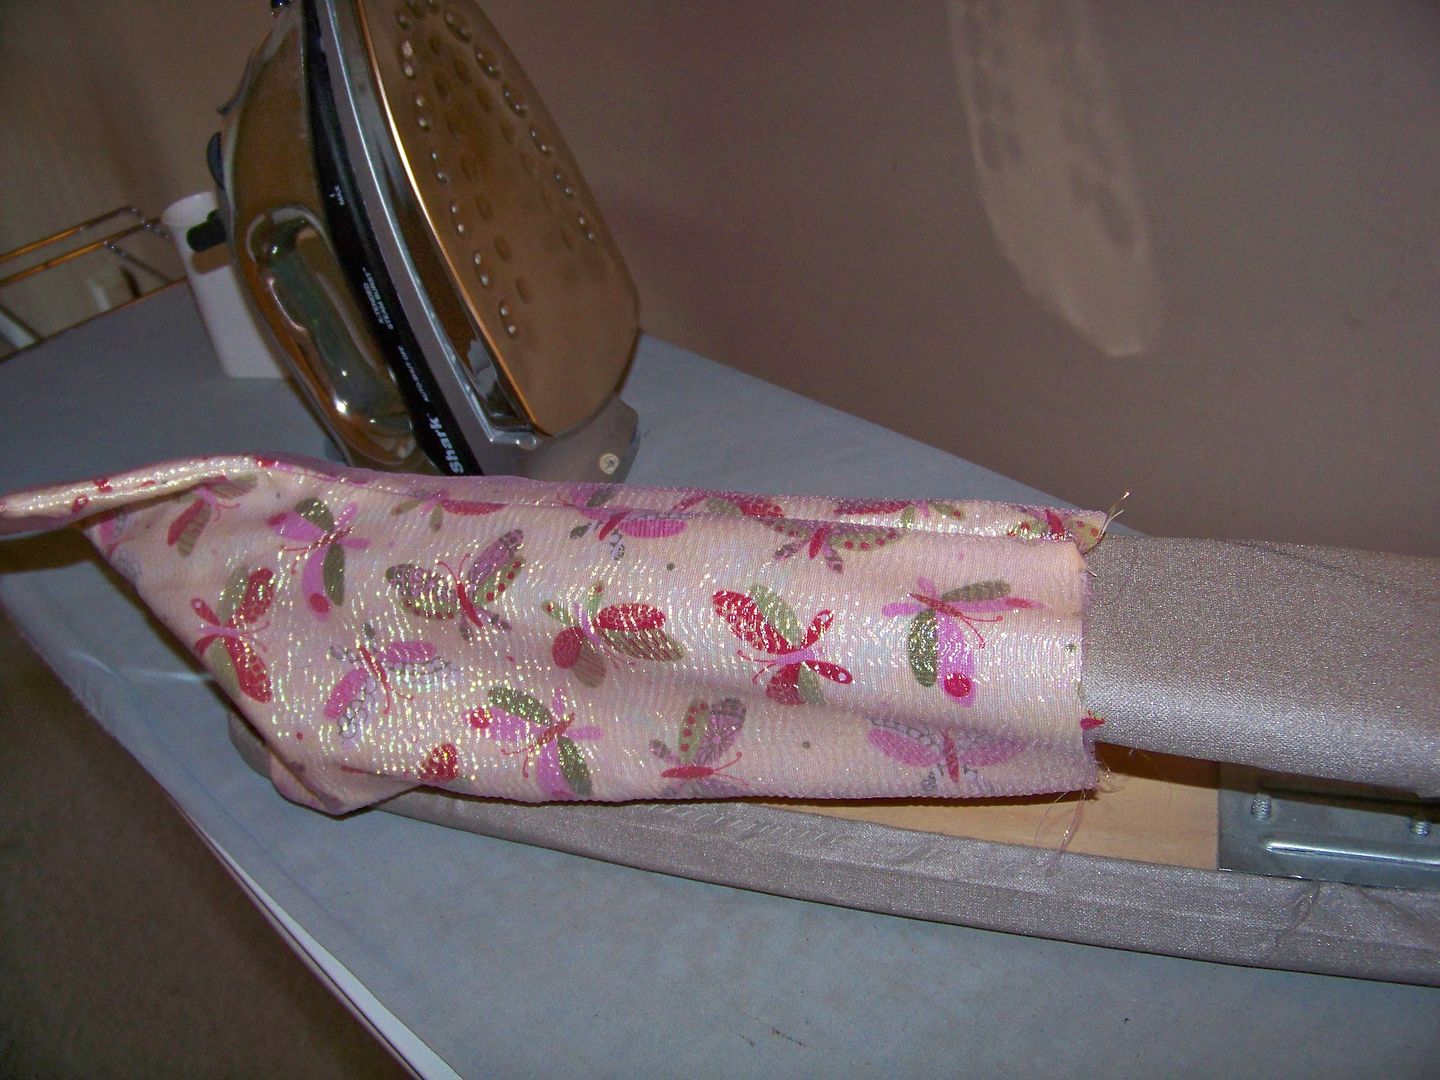
When pressing your stocking, press open the side seams using a sleeve board. I press the toe end flat!
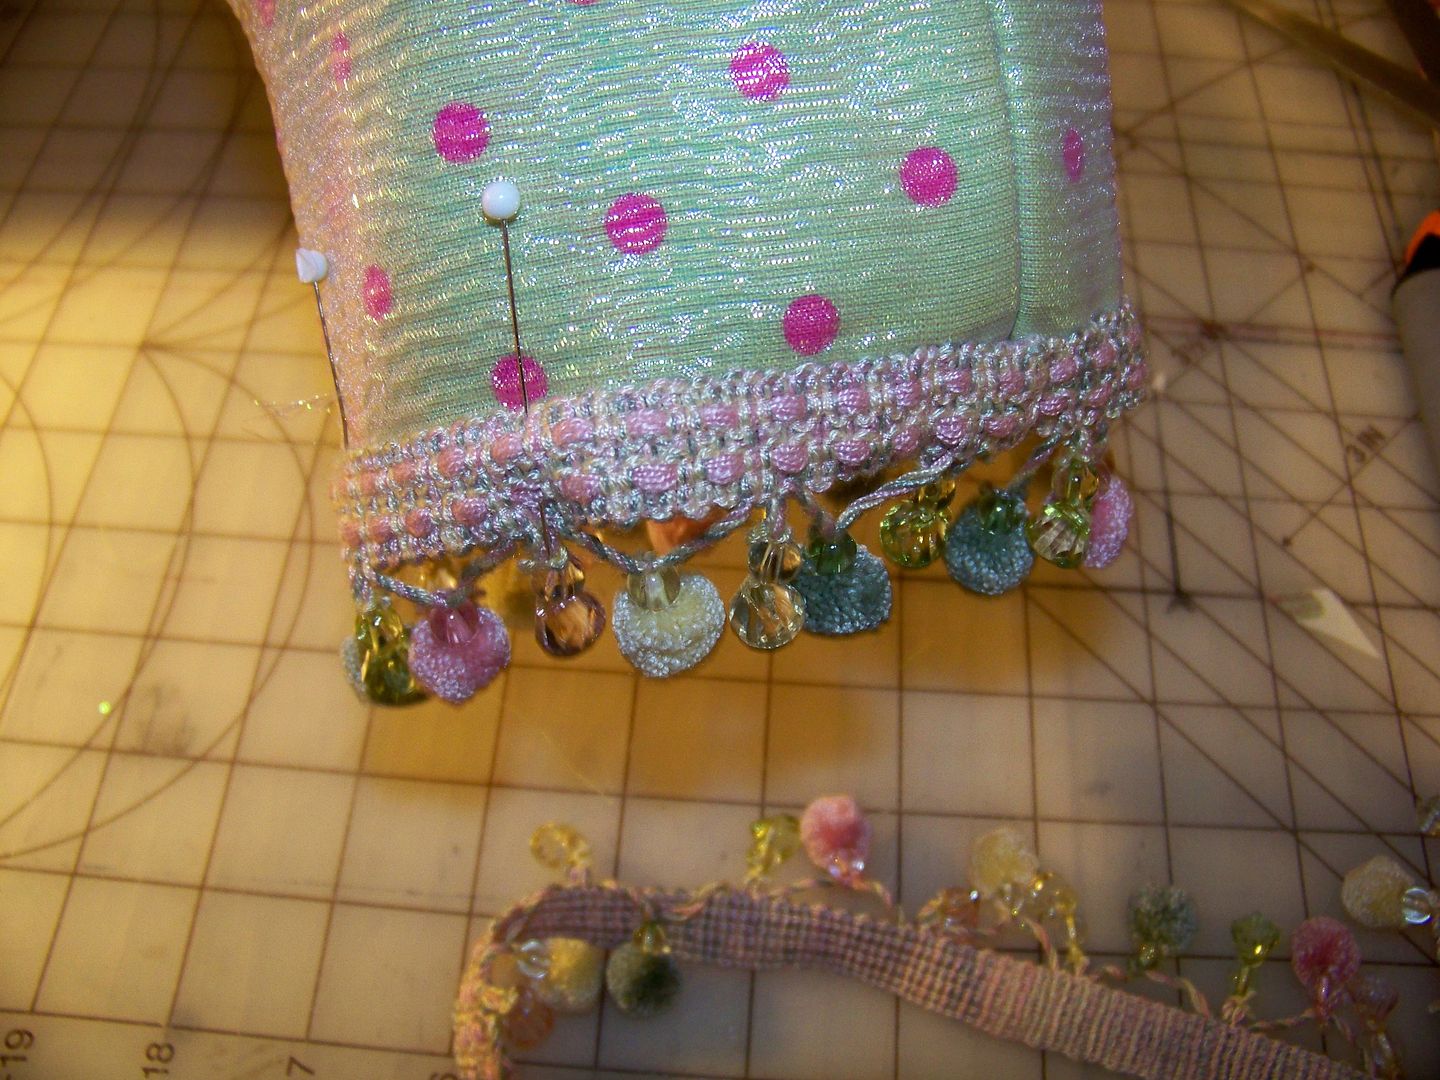
The cuff is next! Separately, sew the side seams of the decorative cuff and cuff facing (if you are sewing a facing). Then, place them right sides together and stitch the upper edge to join them. This is the edge that will get turned down and embellished. Turn so the right sides are out and press the seam flat. I stitch on the decorative trim at this point.
Next, stuff the cuff into the stocking. The right side of the cuff is next to the lining of the stocking with all raw edges even.
When you look into the stocking at this point in the construction, you see the facing side of the cuff inside the stocking. Stitch the top seam. Trim the raw edges to about 1/4". Turn your cuff out.
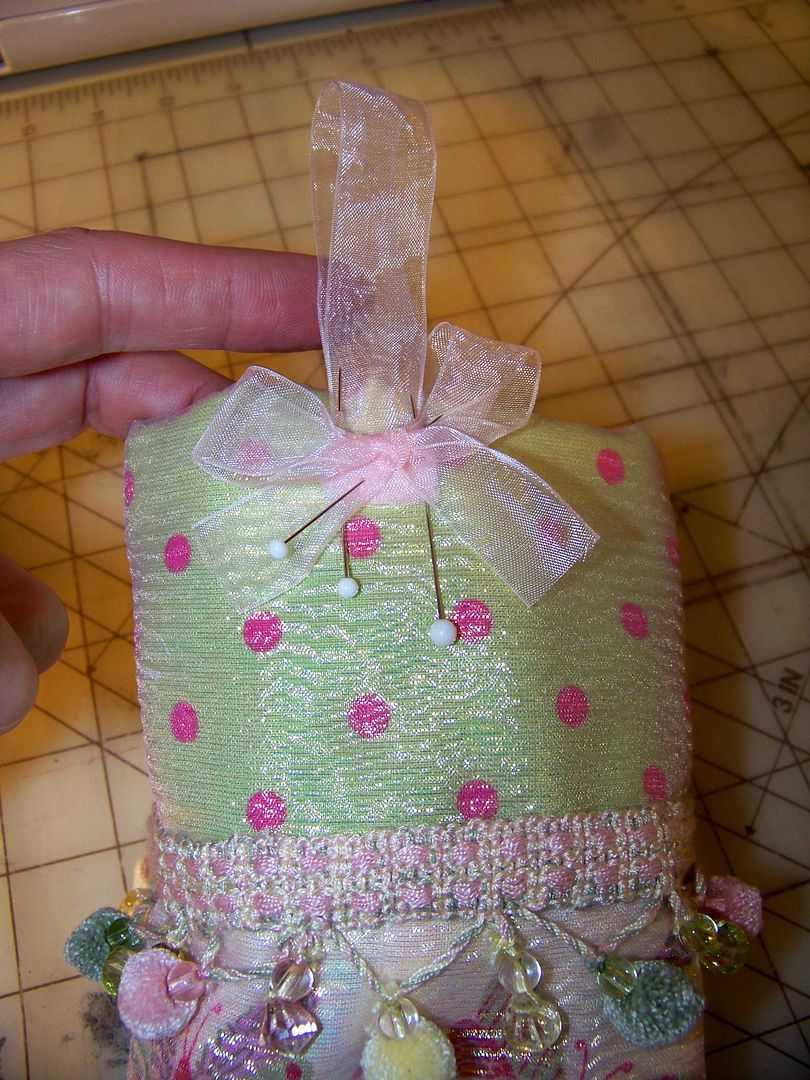
I add a decorative hanger to the outside of the stocking. I like this organza ribbon with the other material choices! I hand-stitch this in place. I also tack down the cuff.
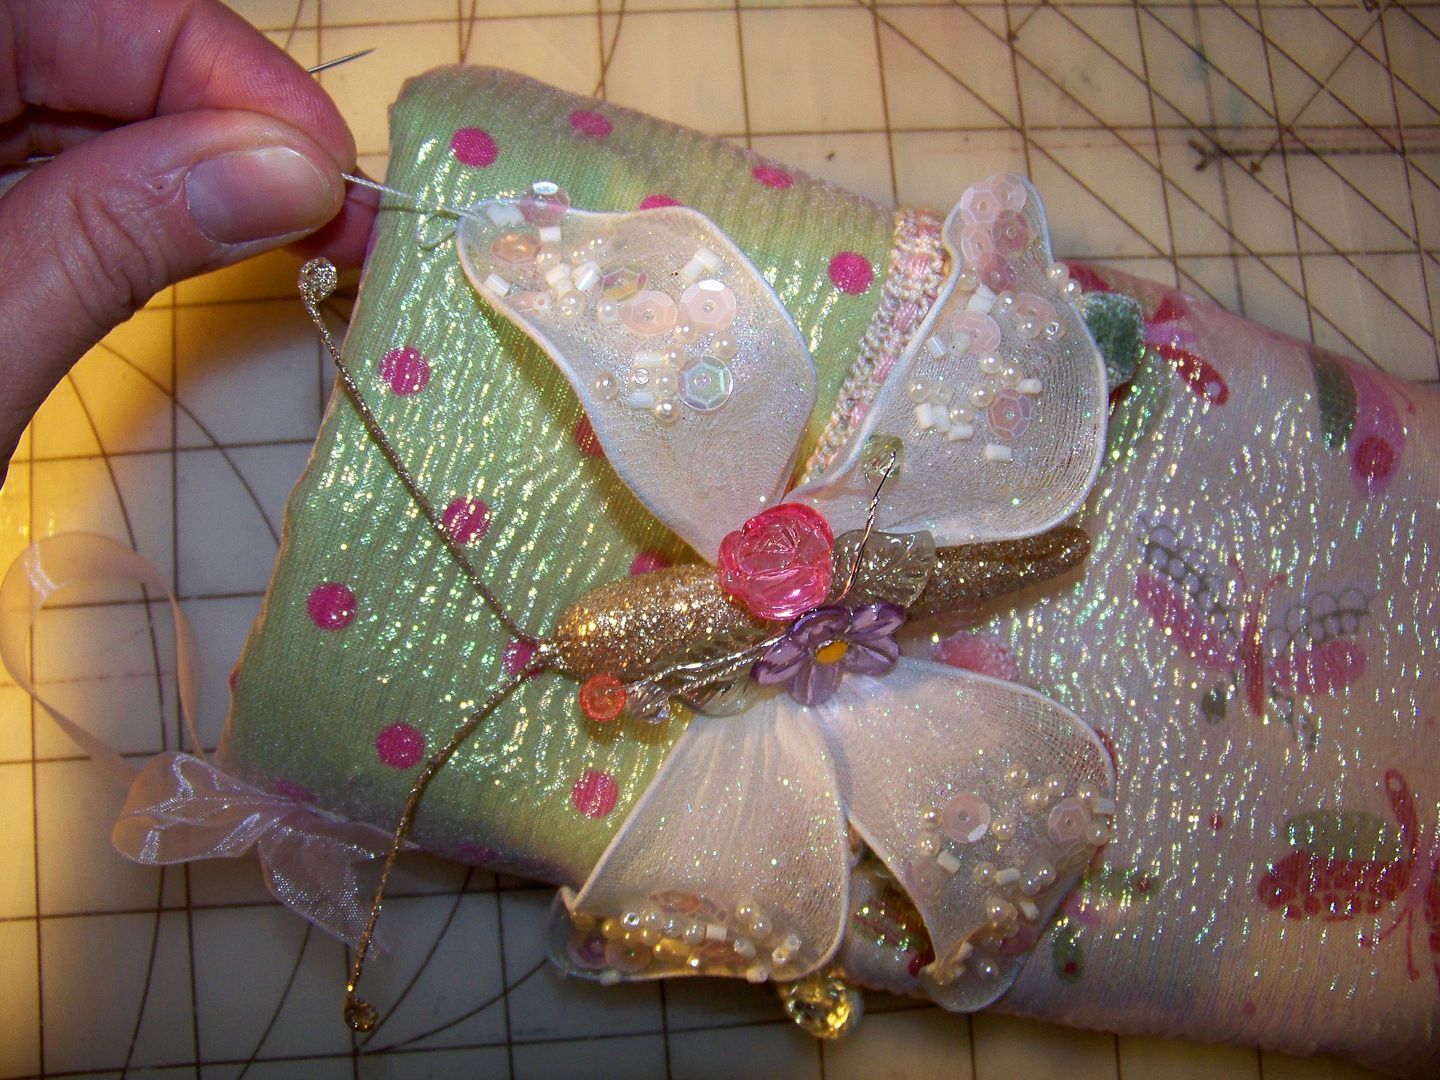
I tack on the ornament with a few hand stitches.
Thank you for looking at my gift wrappings! I hope you are having fun purchasing gifts and making some too!


5 comments:
YAY!! Nadia's back!! I can go back into therapy again!! especially since I don't have even a quarter of that done!! oh how I have missed the complexes you give me! All seems right in my world now.
Hahaha Allison. I am sooo glad to be back. I am getting old and these little events my husband does are making me old too soon!
I seem to have had my creativity sucked out of me. I am struggling with ideas for SweetSassyDiva's blog due today!!!
I am hoping something will come to me!!!
What fun that was going thru
your tag parade! Hahahaha
I think my fave was the penguin.
I do love that stocking tho! :)
TR
Nadia,Nadia,Nadia...
What can I say!
The tags are awesome, and thank you for all the directions on the beautiful stocking (Not that I have the time to make one; but just thinking about it makes me happy)
I am having a not so great month, but coming to your blog has cheered me up. Thanks!
Nadia, Merry Christmas!!!!
Loving all your gift tags, what fun. And your stocking is just fabulus and I love the materials. May you and your family have a Blessed and Merry Christmas.
Therese
Post a Comment