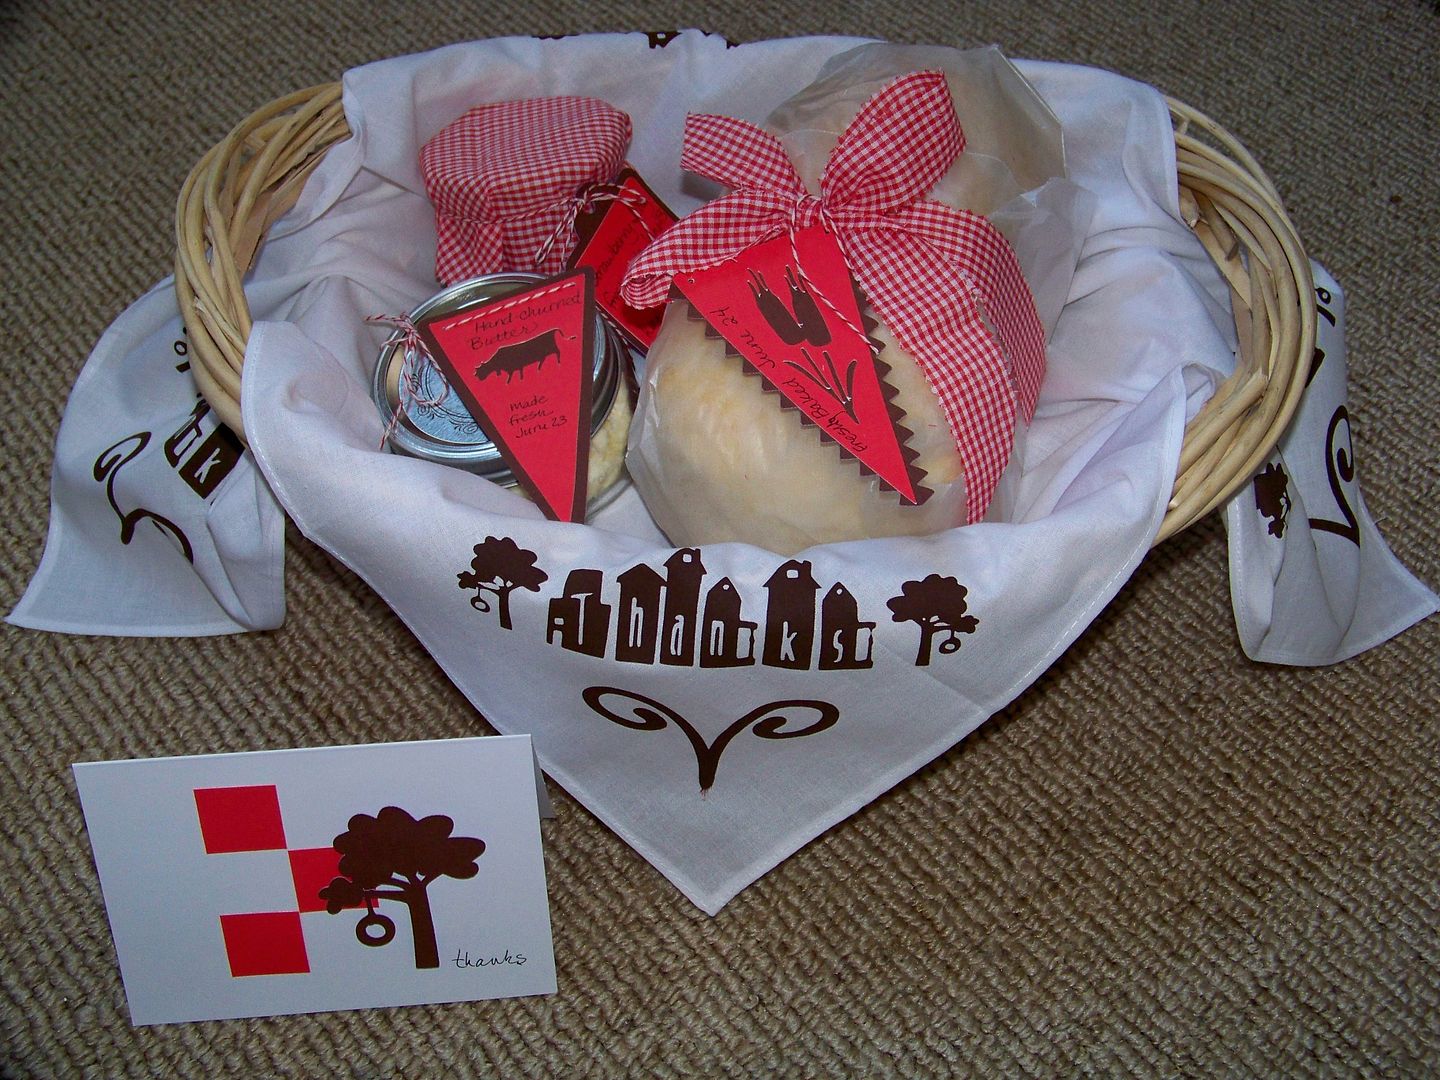
I decided that I wanted a "neighborhood" feel somehow combined with the idea of food. I figured out that I would use red, white, and brown for my colors. For my basket projects, I chose images from Cricut cartridges Pop Up Neighborhood, Jubilee, Preserves, Picturesque, and Country Life.

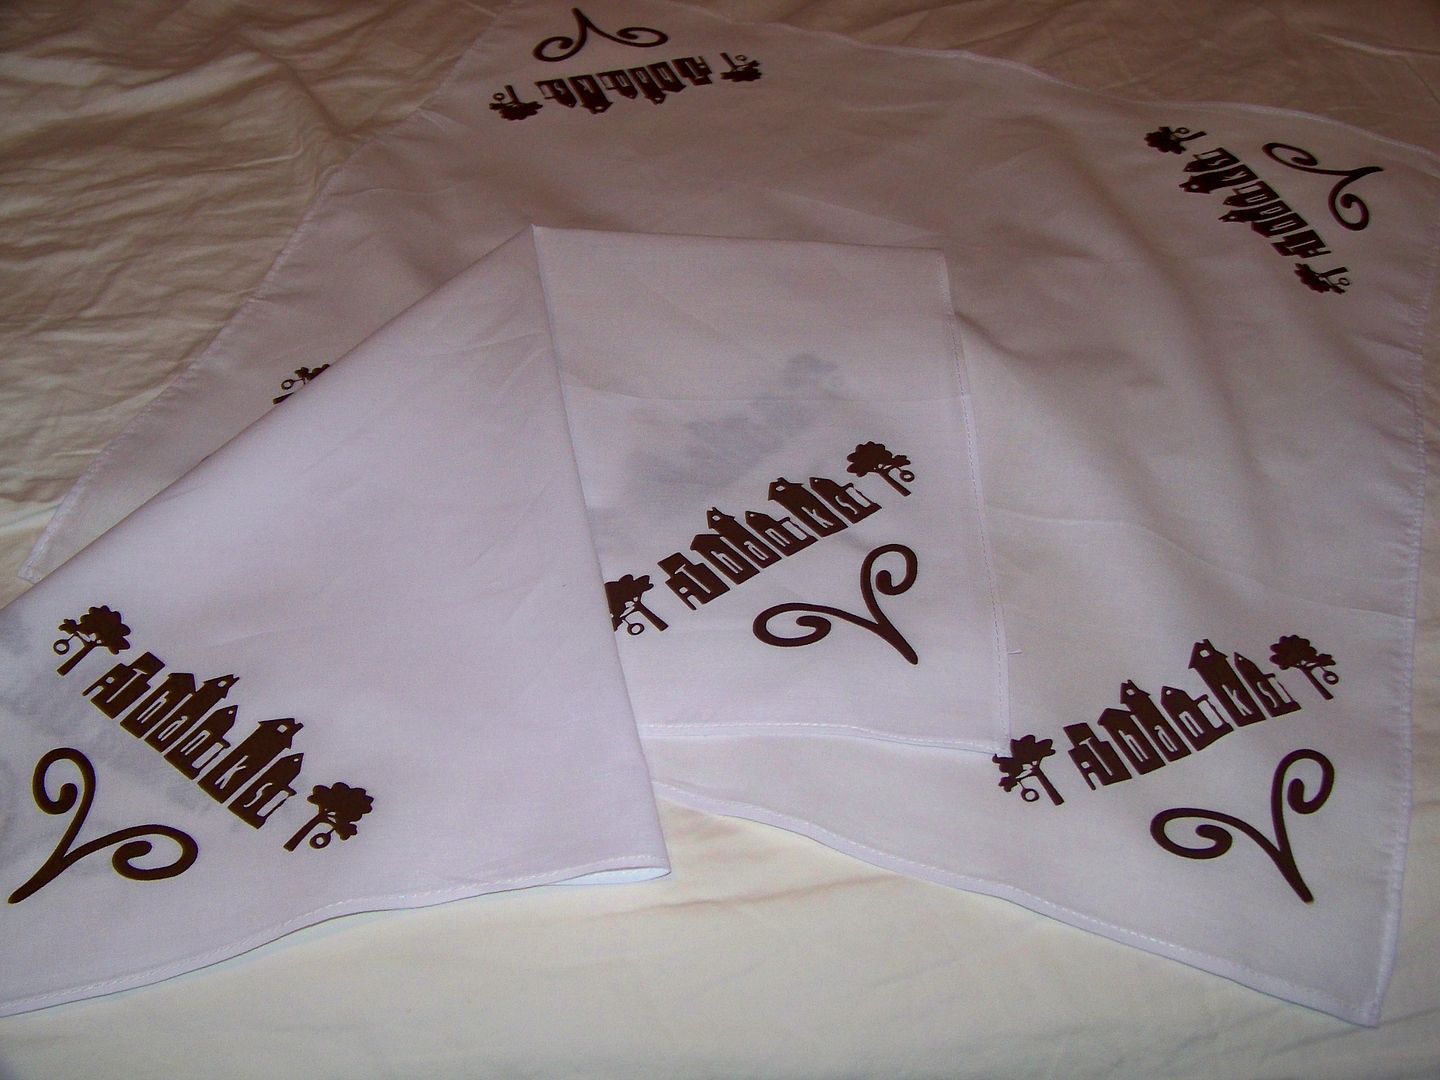
Next, my basket liner...
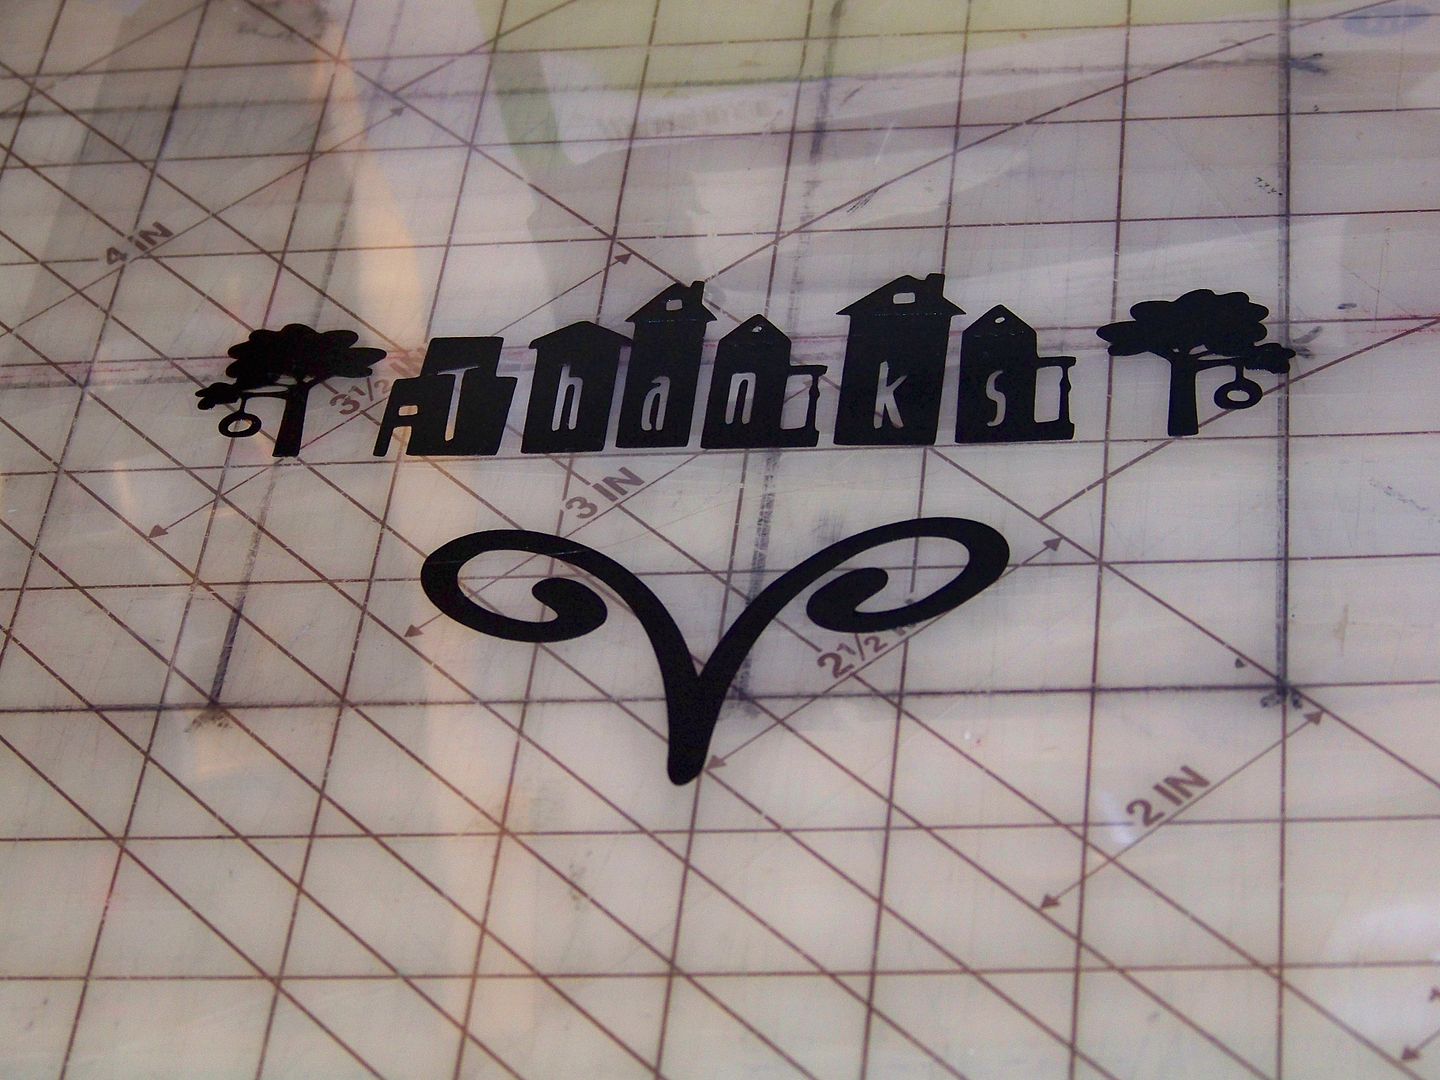
I knew the Yudu element would take the longest due to drying times. I loved using the Jubilee village font for this project. This font is the reason I purchased this cartridge so long ago! I cut my elements for the Yudu screen out of vinyl and adhered them to a piece of acetate in order to burn my design into the screen. I taped the acetate to a cutting board with a measuring grid so I could line up my elements.
To see the steps to using the Yudu, check out my Yudu page on this blog.
I used direct (liquid) emulsion for this project and I am in love!!! The emulsion that I purchased was from Ryonet and I watched the video on this link to learn how to apply it on the screen. (The same link will take you to the product that I used). You must give a good amount of pressure in the process of applying the emulsion and you will hear a 'zip' sound if you are doing it right. It is a very thin layer of emulsion that you apply first to the back of the screen, and then to the front.
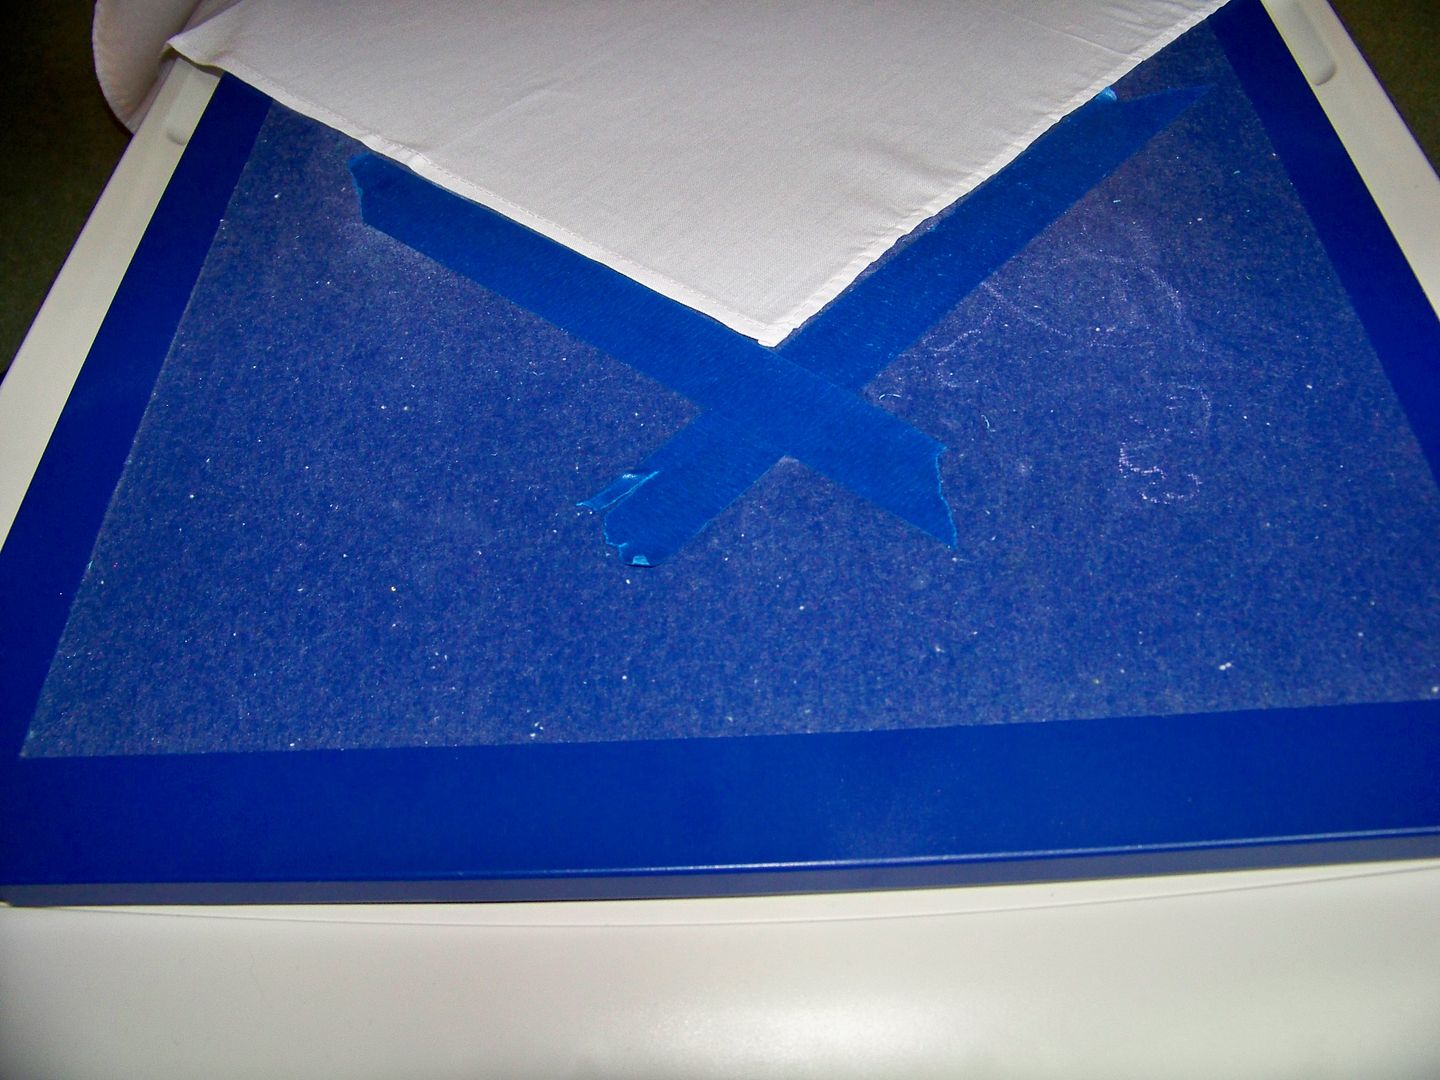
Once my design was burned on the screen, I pressed the cloths for the basket liners and screen-printed each corner. I figured out that if I taped the placement for each corner of the napkin on the platen, I would be able to quickly place them perfectly each time.

On to making the butter...
While I was recently at a trade show working with my husband, a couple at our booth started talking about making butter with me--I have no idea how we landed on that subject. (I often happily attract crafty folks and foodies at venues which wouldn't seem to foster that). They later sent me a link to Robert Krampf's video on making butter. He is a scientist, so with scientific explanation in easy-to-understand language, he gives his recipe on the video. Decades ago, my aunt taught Pioneer Living to middle schoolers from curriculum she created and I very well remember how long butter took to churn! Robert Krampf's video promised butter in just a few short minutes so I had to give it a try! His secret is to set the heavy whipping cream on the counter at room temperature for 12 hours to allow the lactic acid to build and the butterfat to crystalize. He also uses a controlled "shake" that breaks down the fat more effectively. I am not sure if it was really his better methods or if my memory was tainted by my kid interpretation of time, but this did seem to happen pretty darn fast!
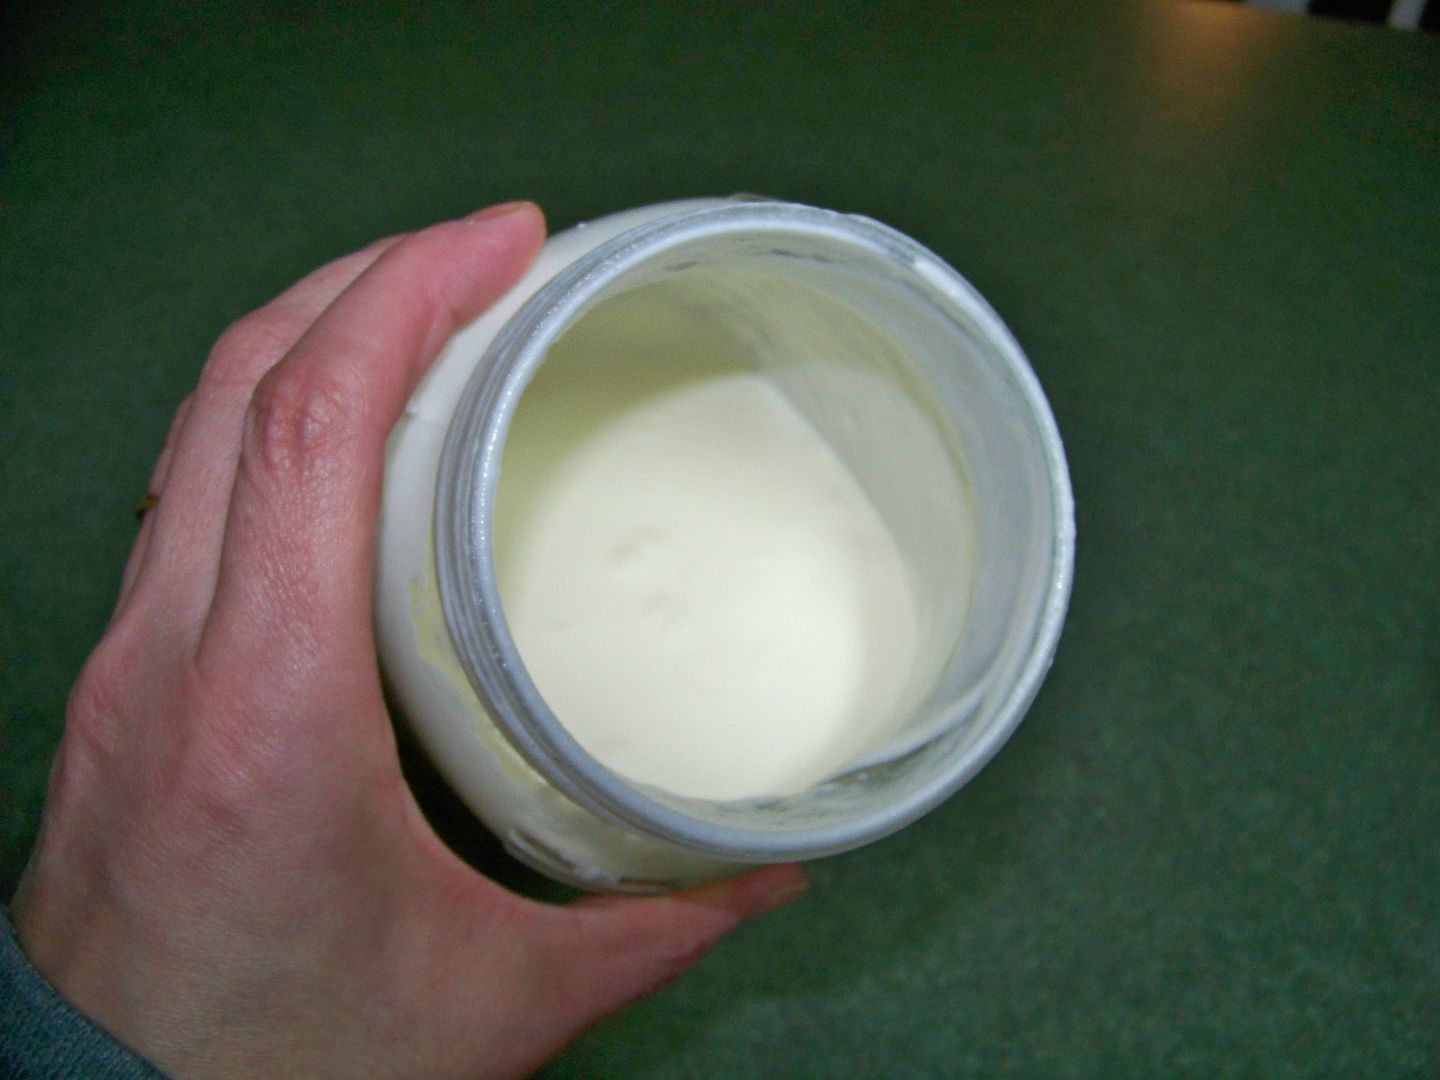
Now, I will say that he suggests shaking the jar for two to three minutes. After three minutes, I had this:
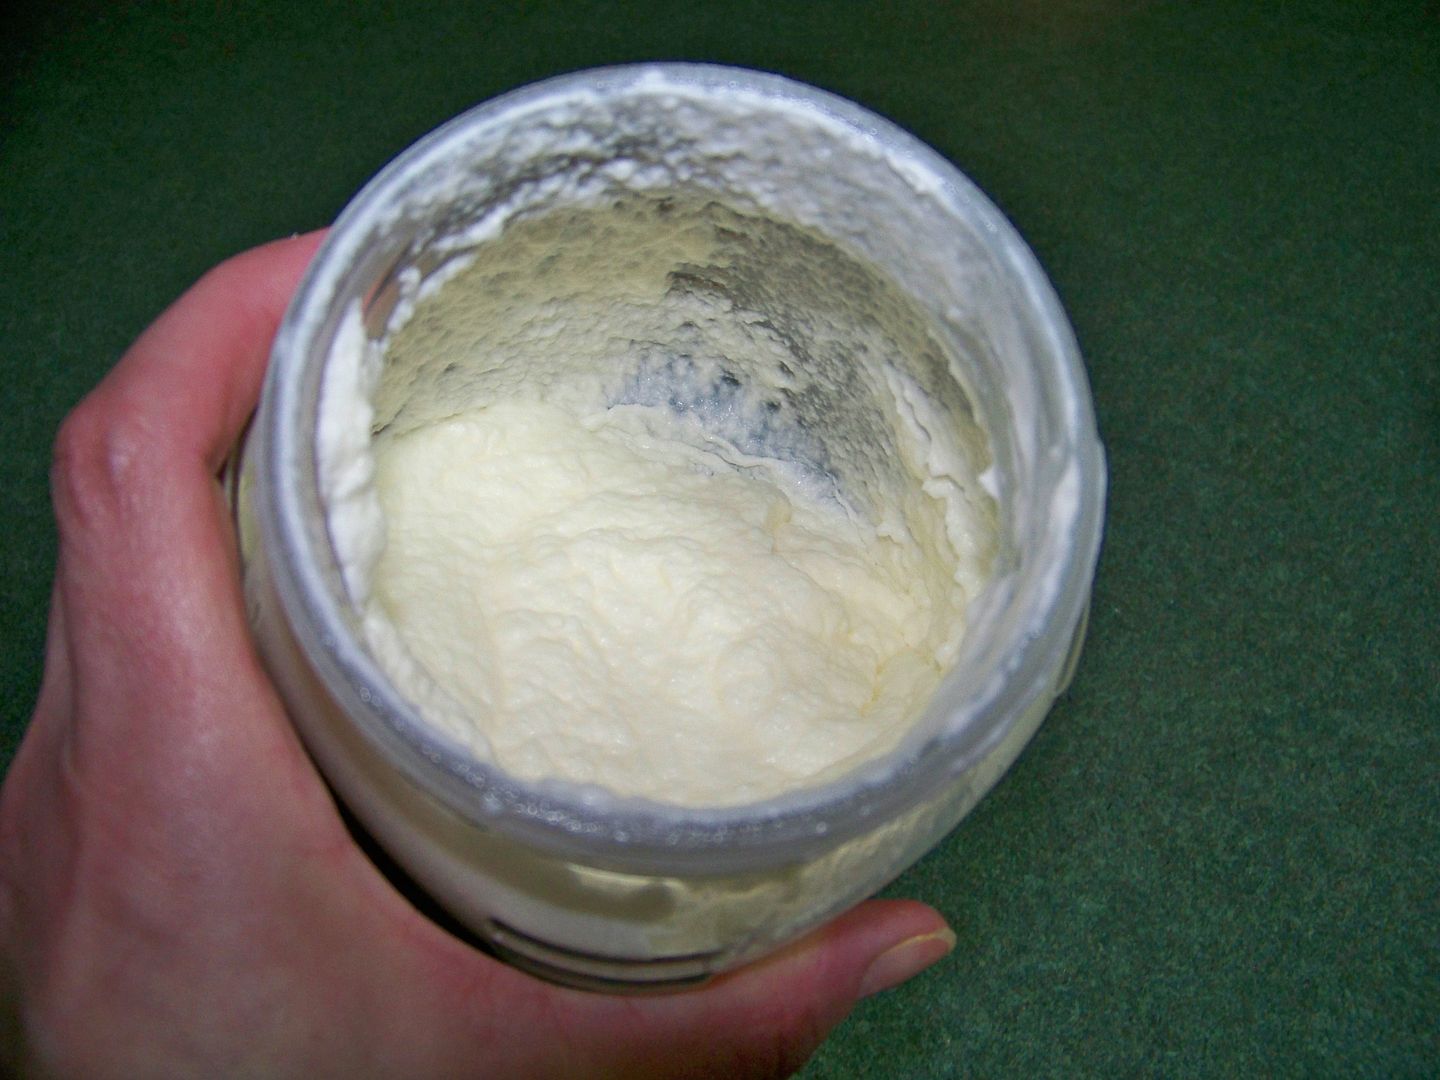
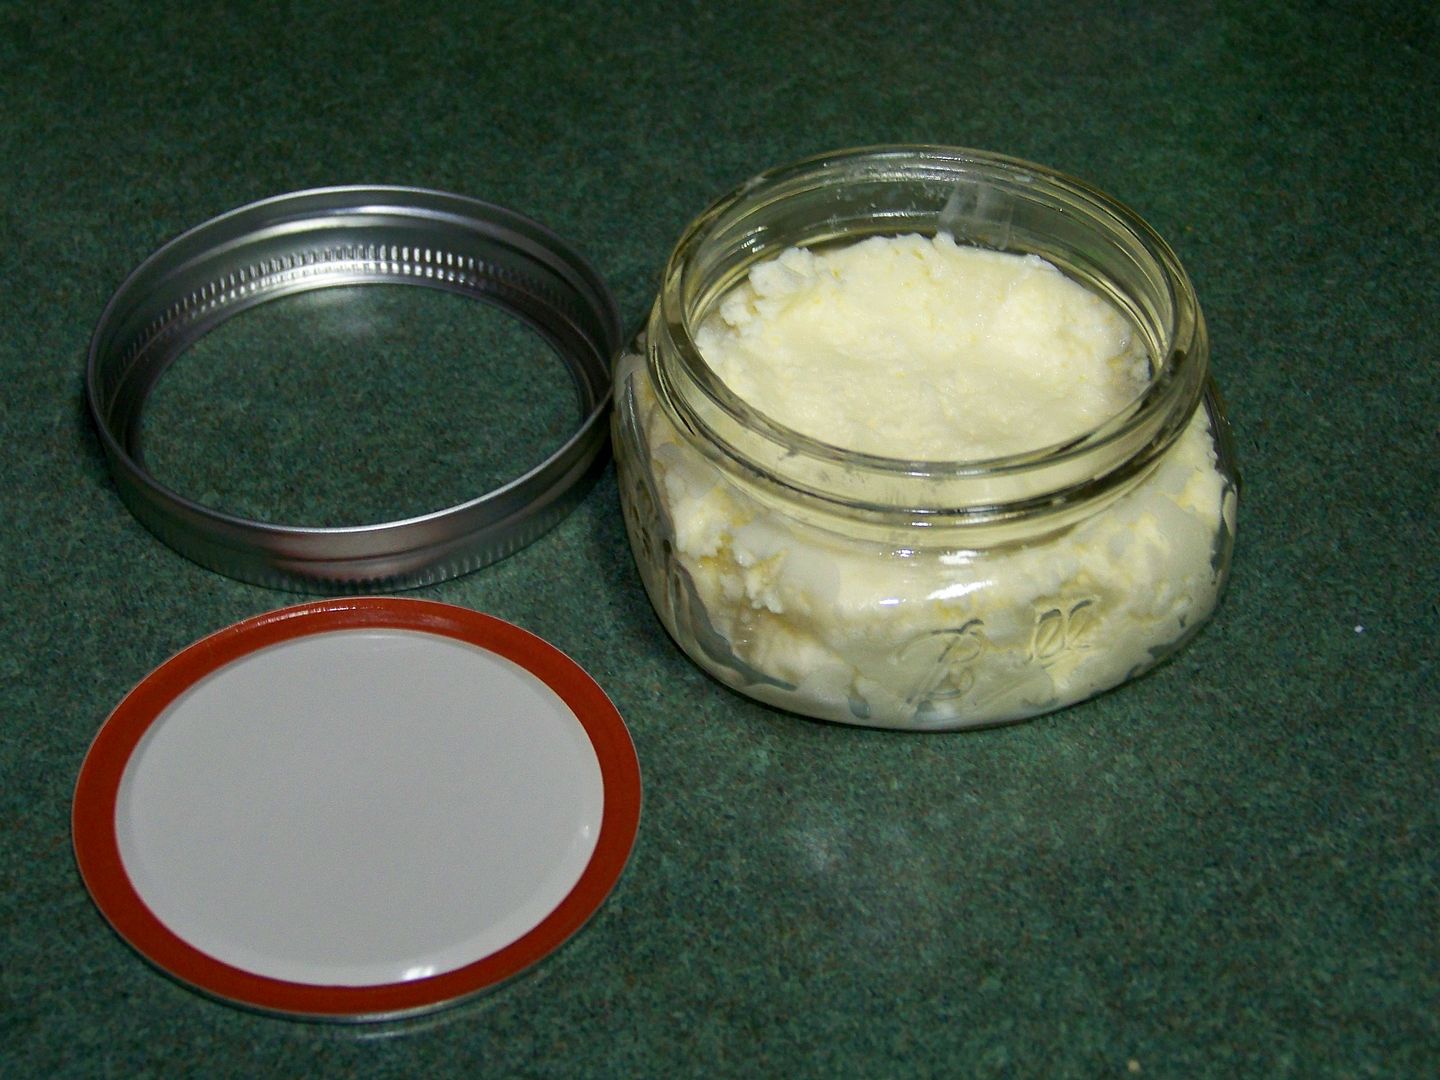
After one more minute, I had the proper consistency that matched what he showed on the video. (Yes, I was using a timer!) The buttermilk is separated from the butter!

I poured the buttermilk off and washed the butter as instructed. It was perfect!
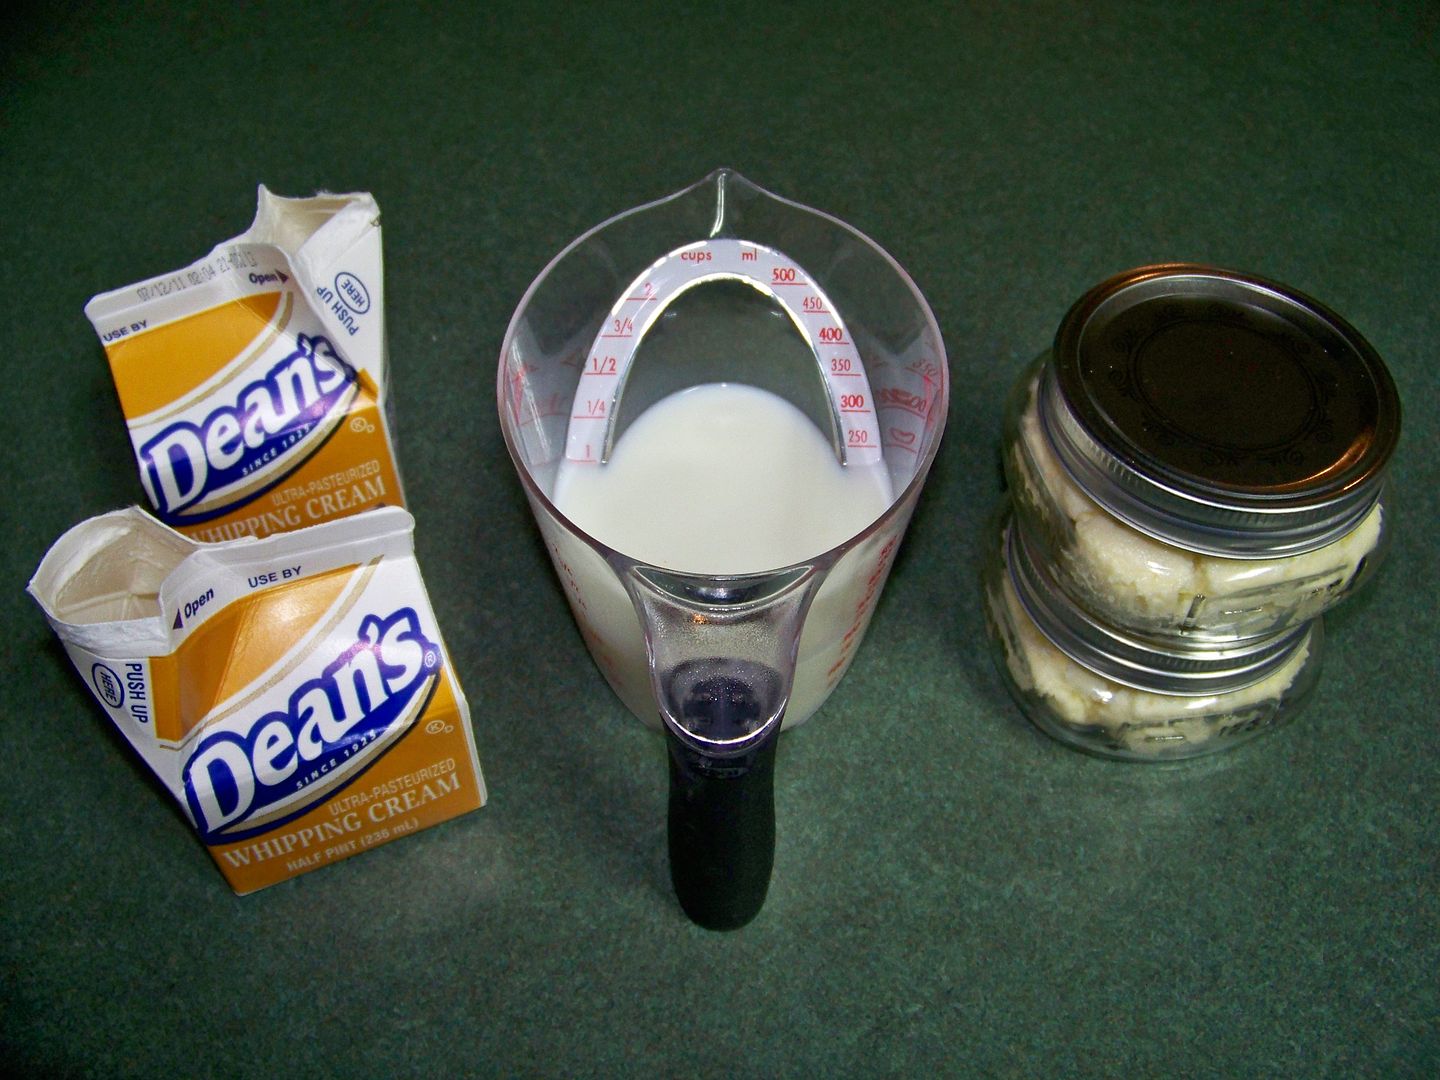
I made a second batch since I had two gift baskets to complete. This time, I set my timer at 4 minutes. What was the difference you ask? The second batch took one minute less but my arms were more sore! Maybe he had some genius in his version of the recipe, forcing me to add a minute at a time. Either way, you can think of it as a homemade Shake Weight (which you will definitely need if you eat much of the butter). The funny thing to me was that from two half-pints of cream, I filled two half-pint jars with butter and had 1 cup of buttermilk for baking!

 |
| My tag was created from the Country Life cartridge, page 45, cut at 4-1/2". I attached it with some of the wonderful baker's twine that baker-extraordinaire, Diana Carter, shared with us at the Cricut Circle Crop in Louisville. (Now that is a woman who knows how to make a cookie!!) |
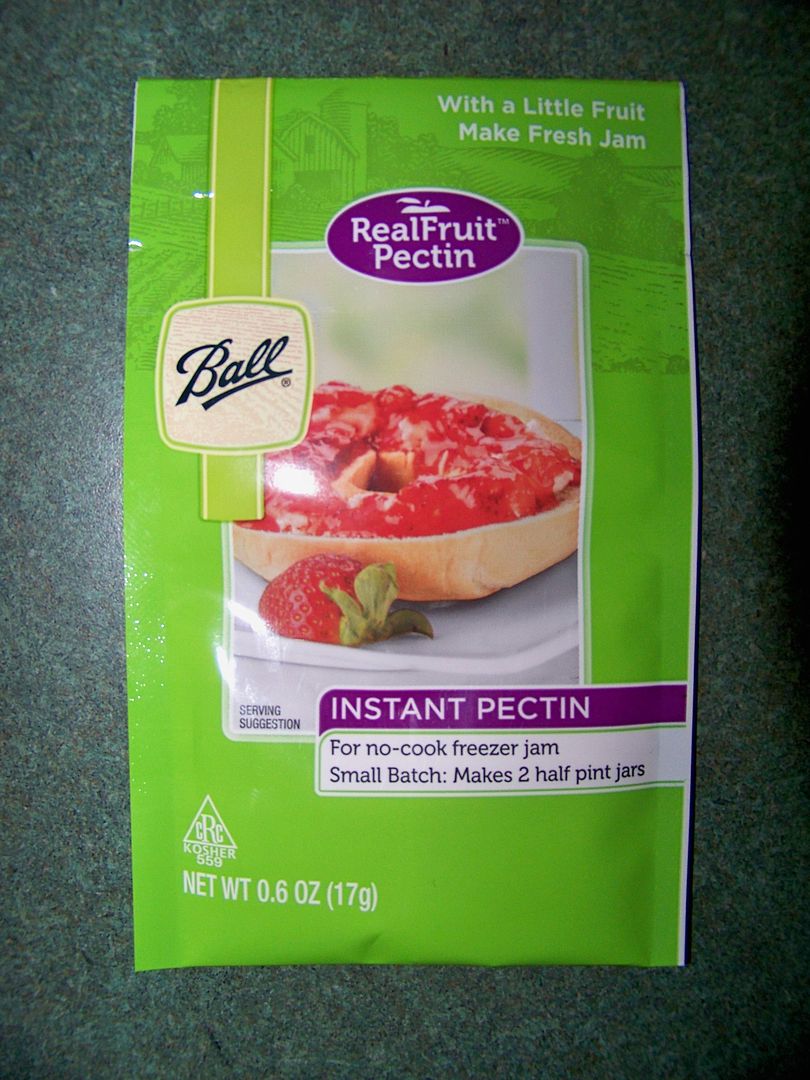
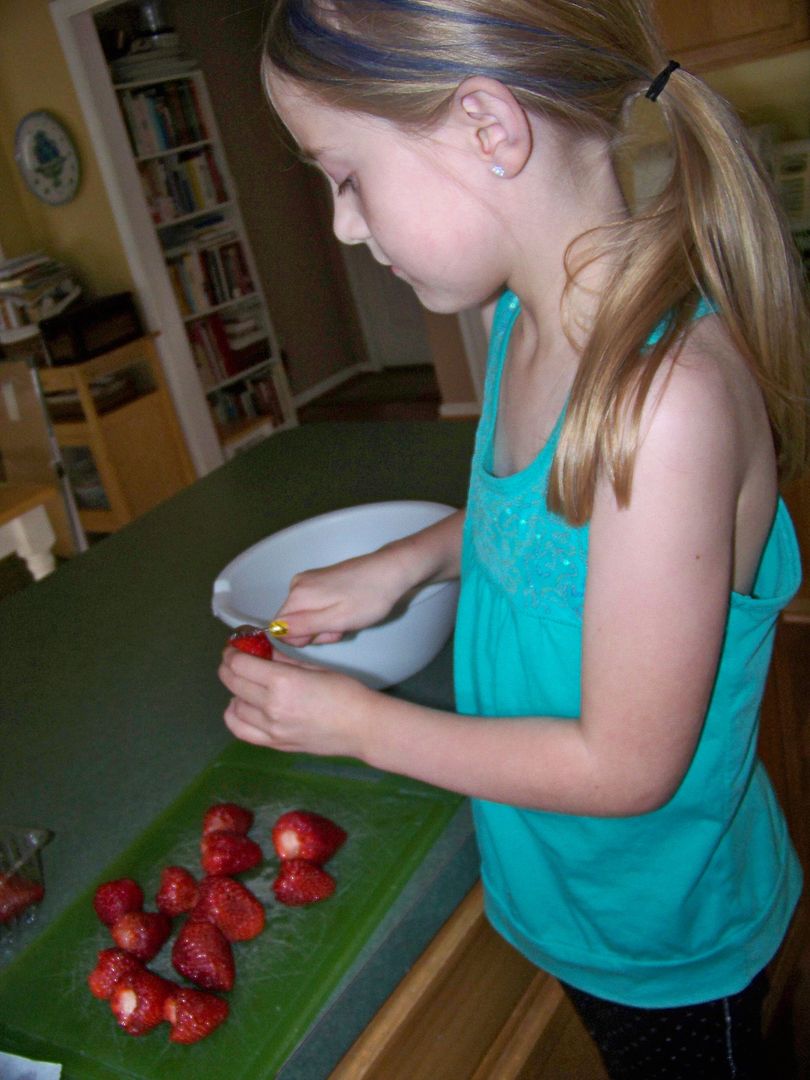
On to the jam! I completely cheated on the jam. The way I see it, if you have fresh berries and sugar, you can't go wrong, so I got some instant pectin and freezer jarrs.

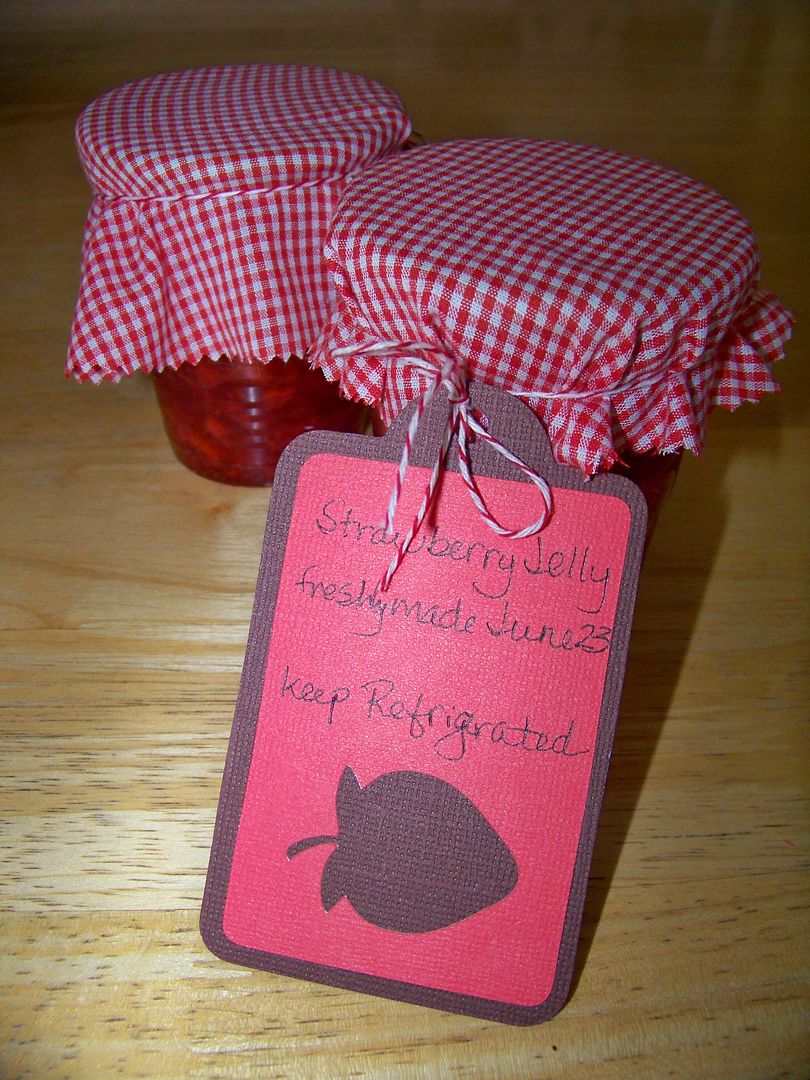 |
| This tag was cut from the Preserves cartridge, page 53, at 4". I pinked circles out of the cotton gingham for lid toppers and used more of Diana's twine. |
The bread was next. Again, I was cheating by using my bread machine, but this is a really good recipe (my daughter's favorite, in fact).
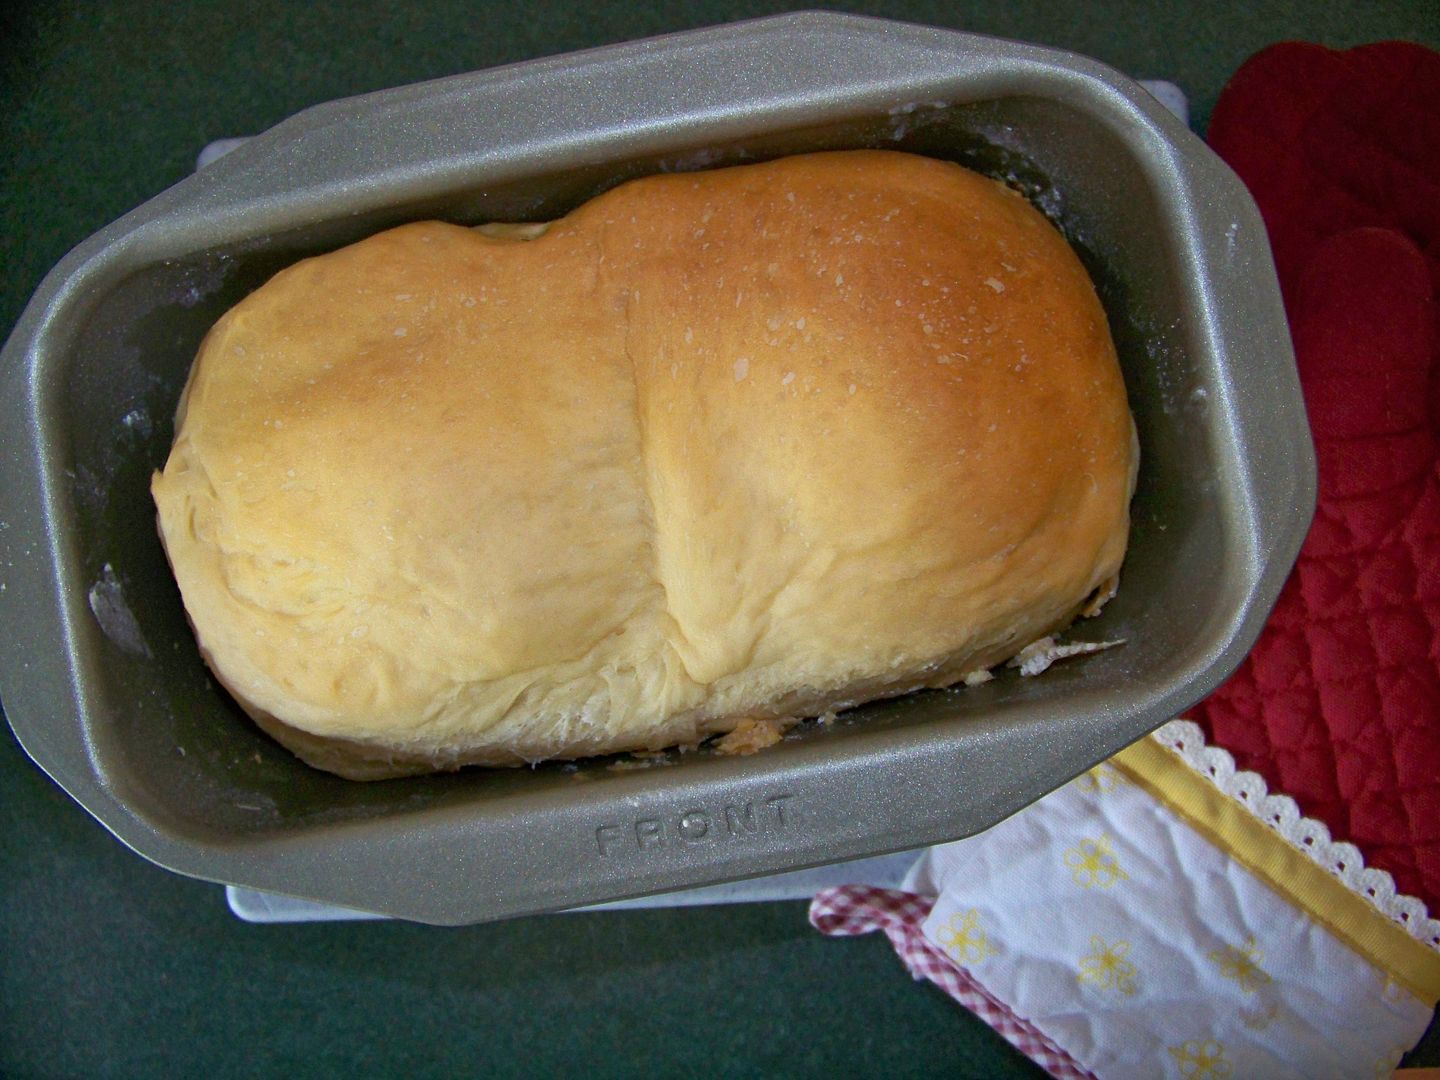
Bread Machine Potato Bread
(for a printer-friendly version, click here)
(for a printer-friendly version, click here)
11 ounces water, 80 degrees F
2 tablespoons butter
3-1/4 cups bread flour
1/2 cup instant potato flakes
2 tablespoons dry milk
2 tablespoons sugar
1-1/4 teaspoons salt
1-1/4 teaspoons bread machine yeast
Add water and chopped up butter to pan. Add dry ingredients, except yeast to pan. Tap pan to settle dry ingredients, then level ingredients, pushing some of the mixture into the corners.
Make a well in center of dry ingredients. Add yeast.
Lock pan into breadmaker.
Program for1-1/2 pound loaf, basic bread, medium crust. This recipe is suitable for time delay.
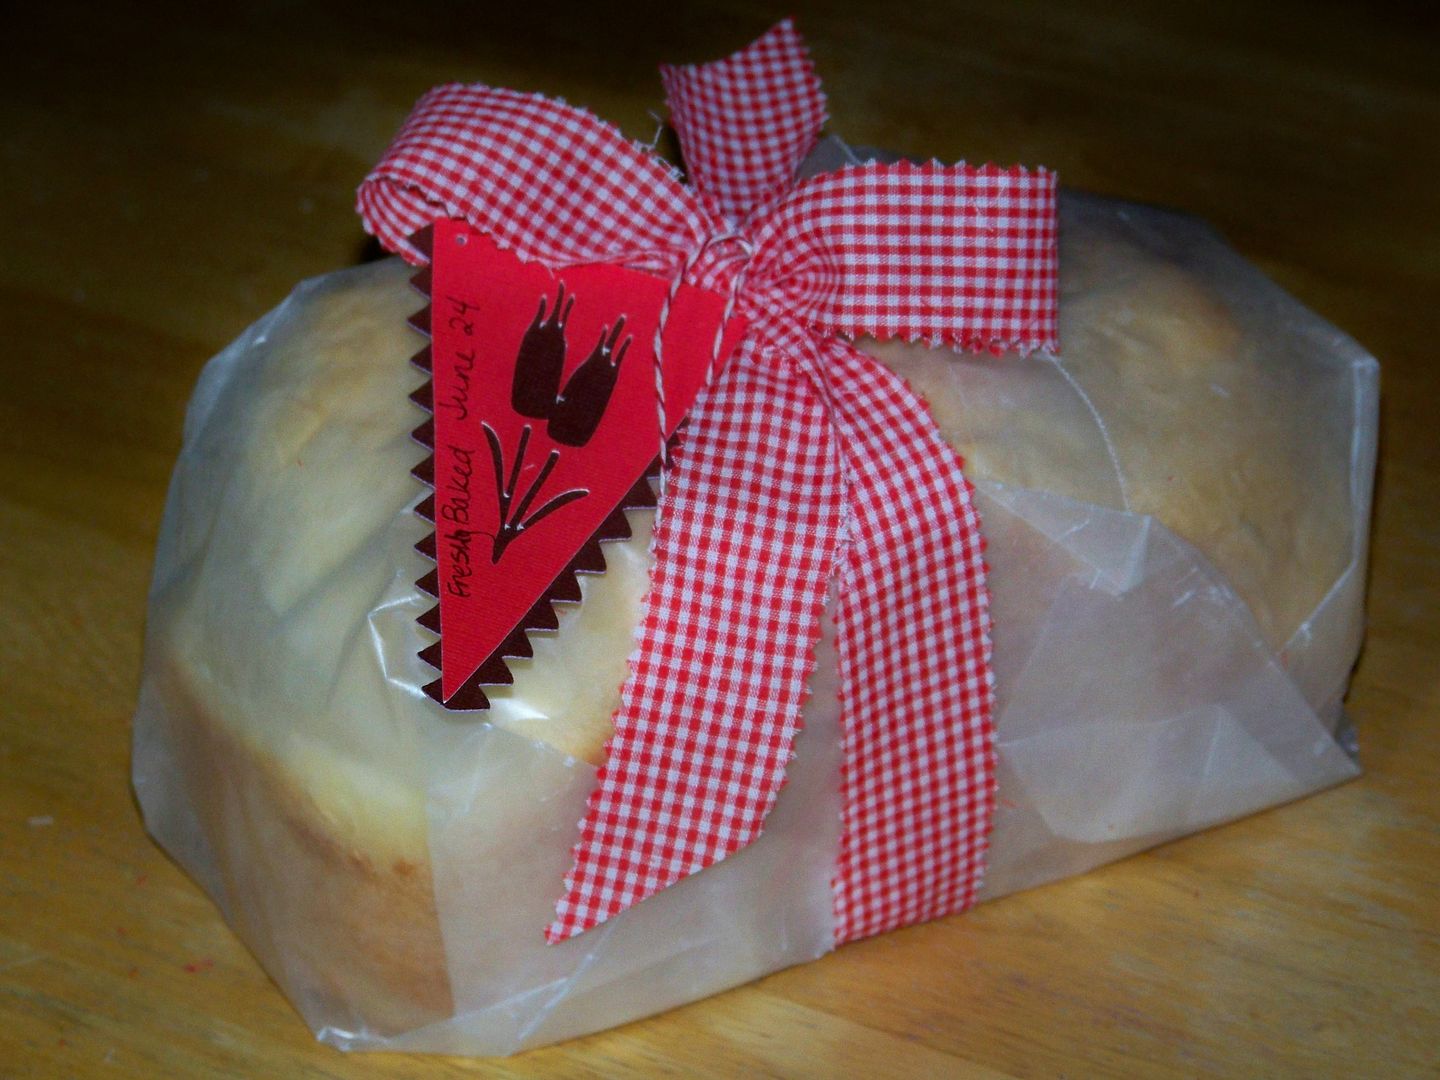 |
| This tag was made from Country Life, page 45, cut at 4-1/2". I cut more gingham with my pinking shears to make a fabric ribbon to tie around the wax-paper-wrapped loaf. |
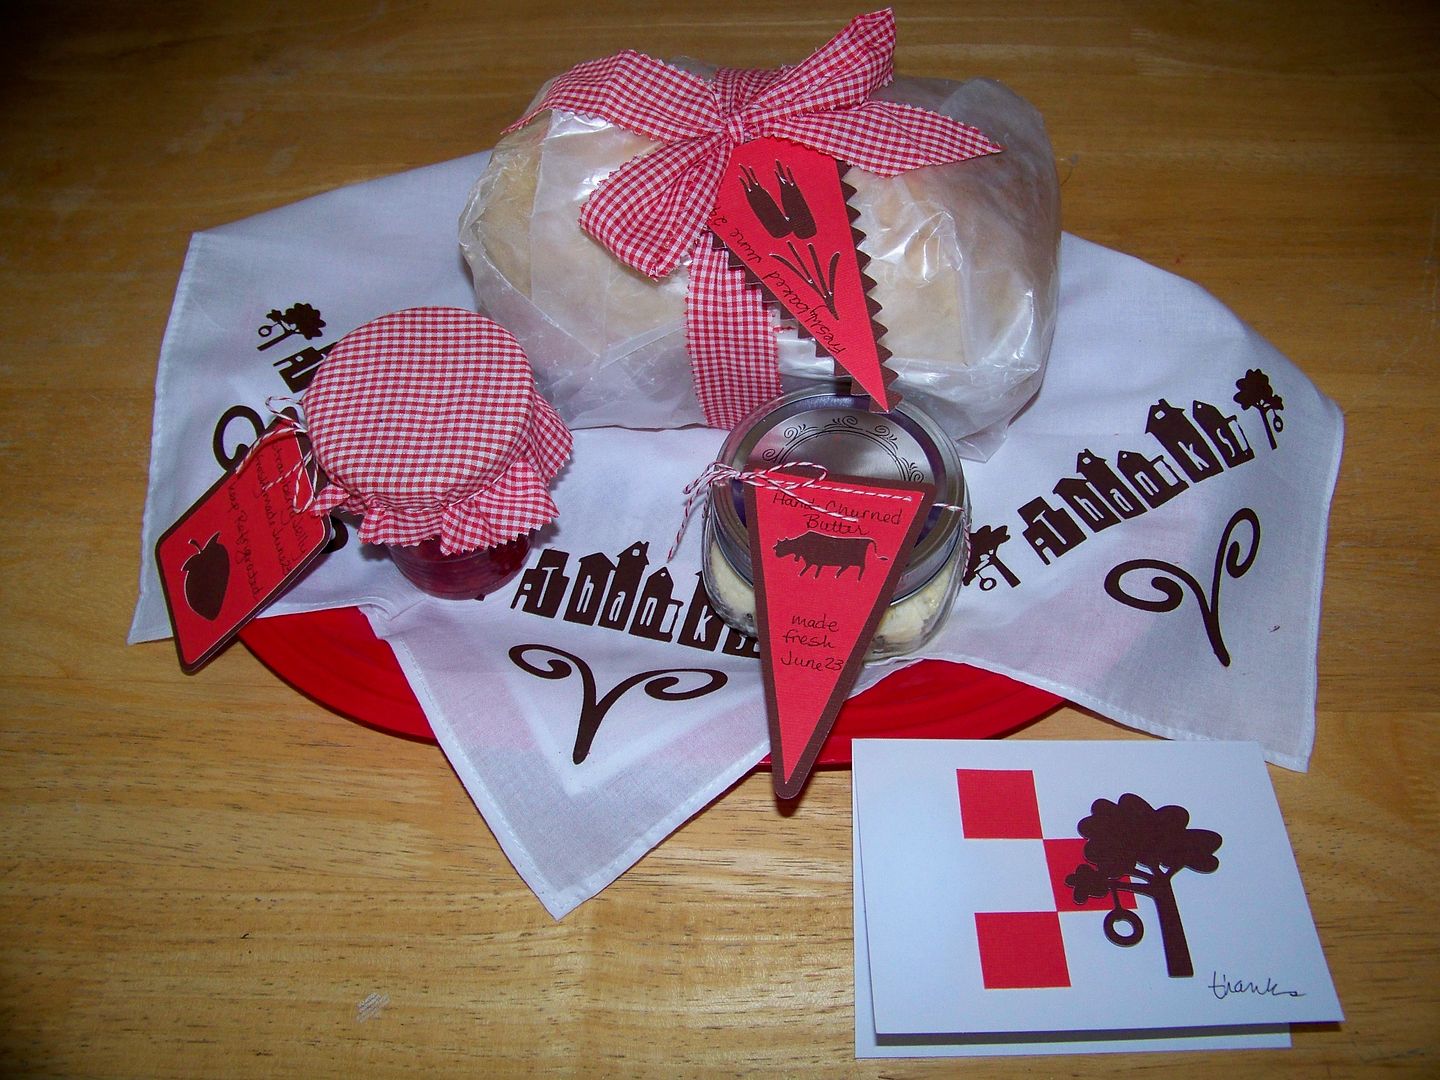 |
| I used a red tray in lieu of the willow basket on this one. |
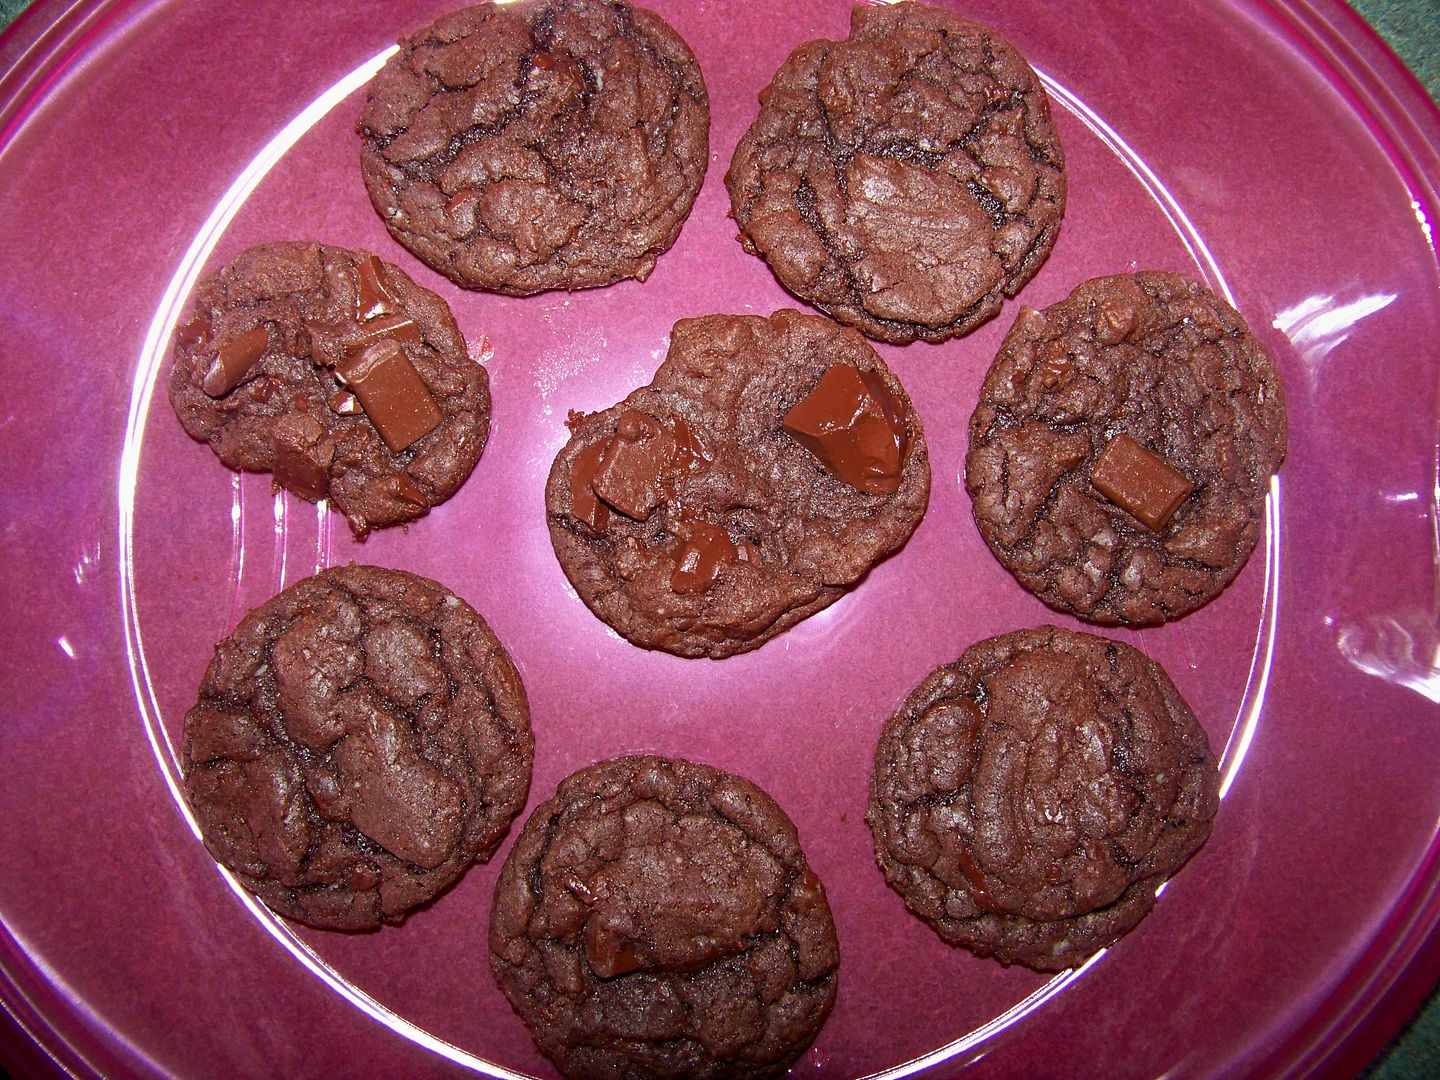
Devils Food Chocolate Chunk Cookies
(for a printer-friendly version, click here)
1 box Duncan Hines Moist Deluxe Devils Food Cake Mix
1/2 cup butter-flavored Crisco sticks
2 eggs
1/3 bag semi-sweet chocolate chunks
plus 2 squares chopped up Sharffen Berger semi-sweet Dark Chocolate
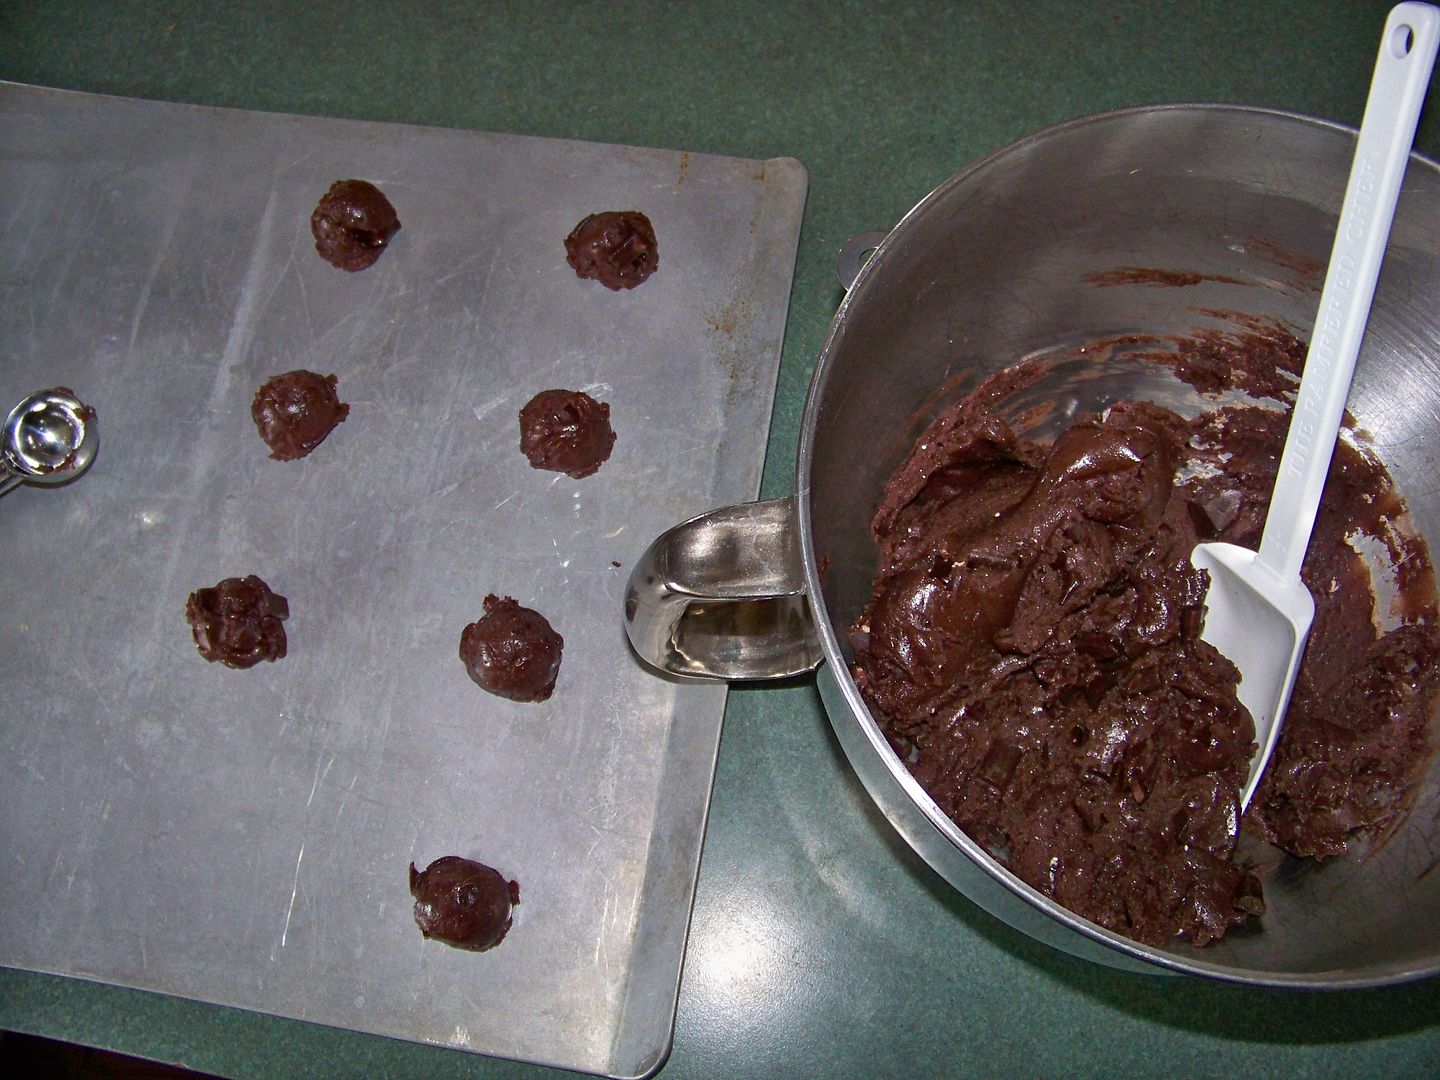
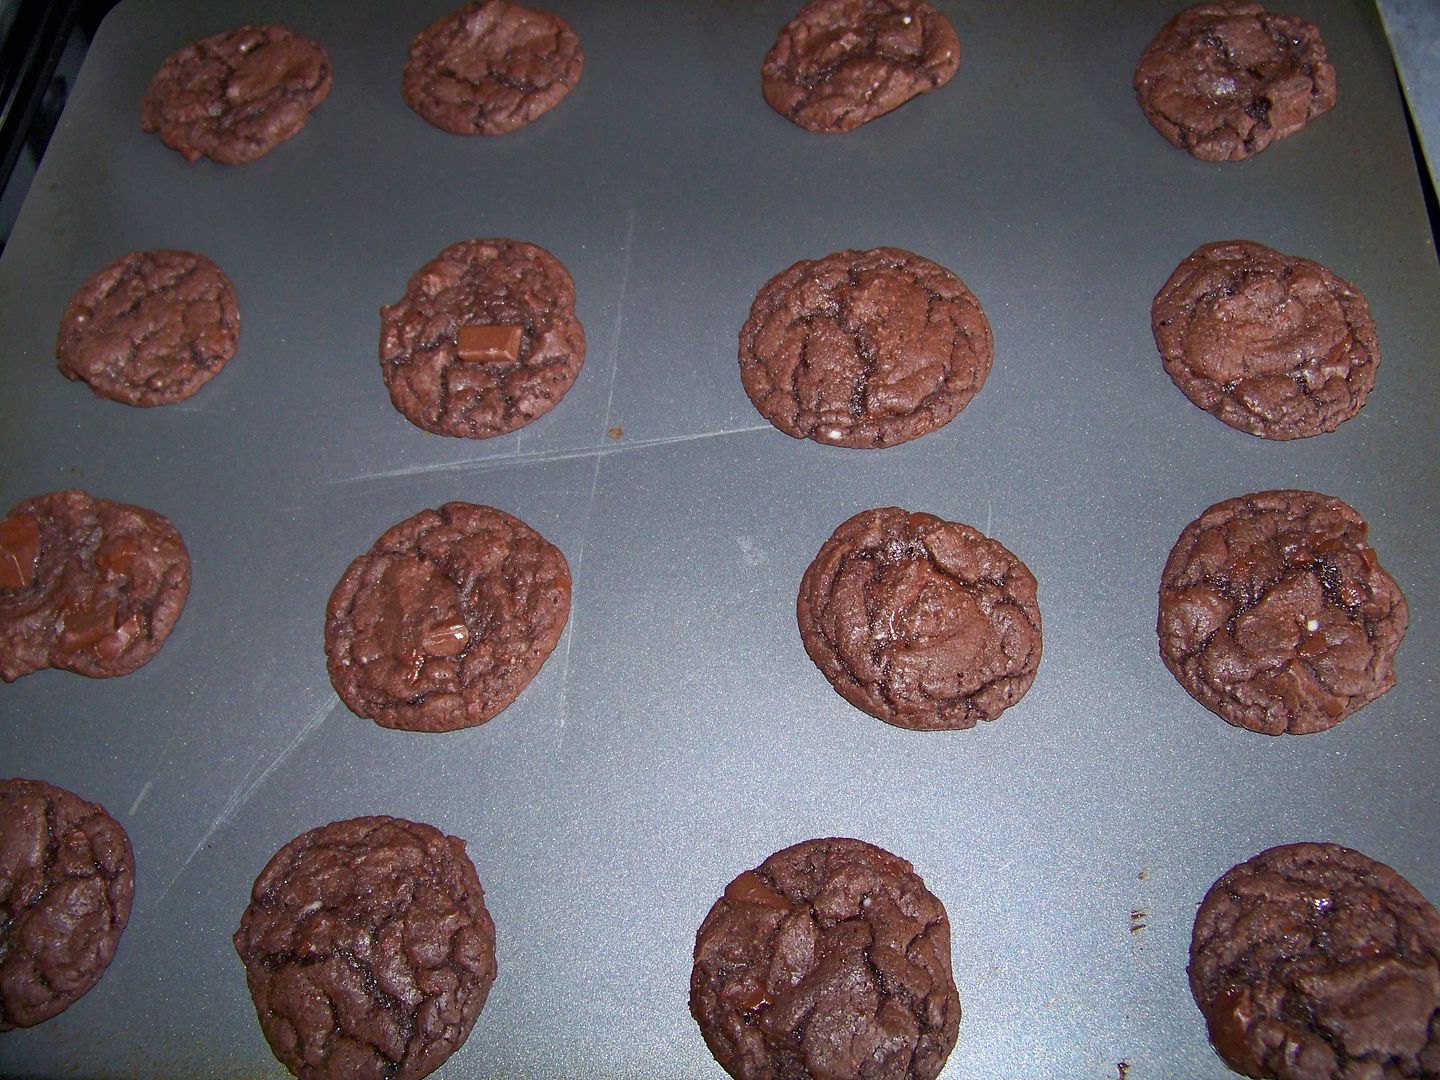
Preheat oven to 350 degrees. Place all ingredients in the bowl of a stand mixer and mix. This makes a very stiff, glossy dough.
Use your nifty Pampered Chef cookie scoop to drop the dough by tablespoons onto ungreased cookie sheets. Bake 10 minutes and allow to rest on the pan for 5 minutes before transferring to a wire rack to cool completely.
10 comments:
WOW that was a lot of work.. I am sure they appreciated all the goodies that were in the basket.. I don't have a Yudu... never thought I would use one.. but you did a beautiful job.
Looks like your aunt taught you well. Holy Cow! Your own hand churned butter?!?! This is an amazing gift basket made with so much love and appreciation. I love the napkin too! I'm gonna have to try that. TFS!
I volunteer to house sit for you next time!!! I am sure the neighbors were exceptionally pleased with their gifts, and I am exceptionally pleased with your instructions - can't wait to try them all - including the Yudu which still sits in its enormous box home in the dining room.
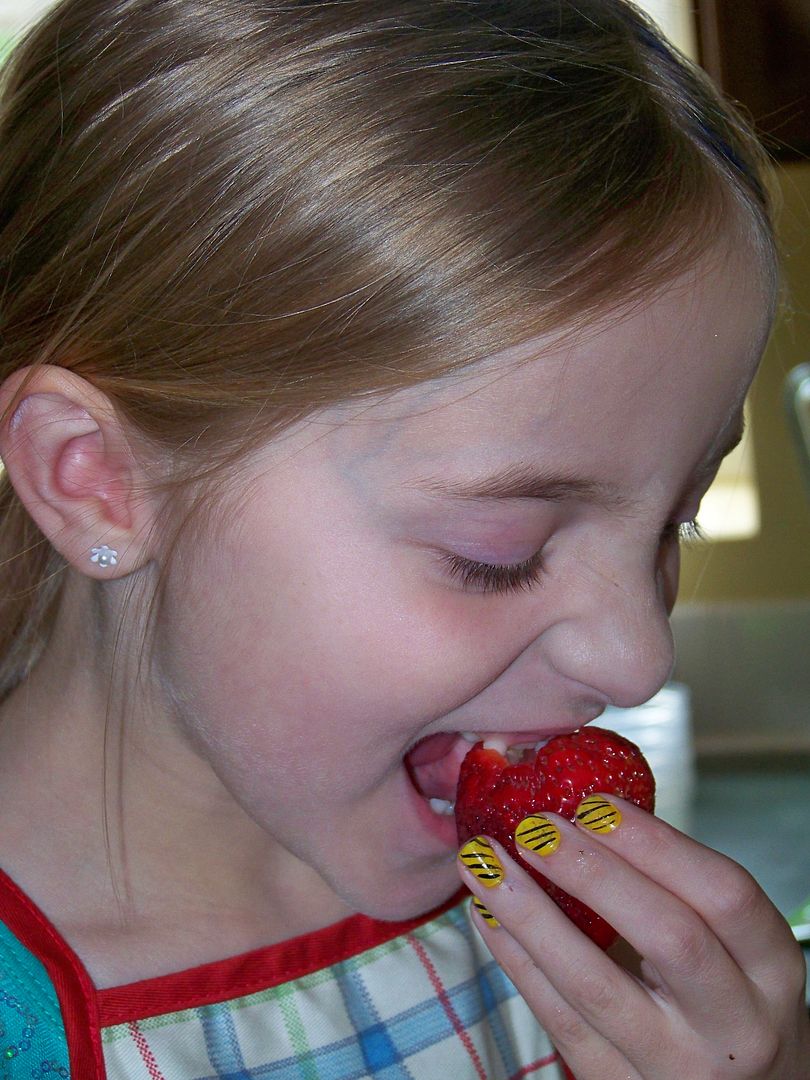
Loved reading this post. I just want to come over and hang out at your house...magic really does happen there...cute little helper you got there (especially with all those stripes)! i'm going to try your butter technique and that bread recipe! thanks for the inspiring post!
Nadia I'm so glad I met you at the Louisville crop. You're so inspiring and full of such great ideas. I'm sure your neighbors were pleased with the baskets they were just wonderful. Can't wait to see everyone in Cincy.
I have a feeling you have some very very god neighbors..this is a very special thank you
Very cool:)
I absolutely LOVE what you did here. A little bit of everything!! You always have such wonderful projects on your blog Thanks for sharing with all of us, and because of that I would like give you the "The Irresistibly Sweet Blog Award"
Suzelle
www.craftsandmorebysuzelle.blogspot.com
what an amazing gift...i want one:) too funny about the butter:)
All I can say is WOW!
Post a Comment