Sunday, July 29, 2012

Angels Among Us...one of them is Gina Piazza

I believe in divine intervention.

I don't know how many times it has happened to me that someone says just the right thing or offers just the right opportunity when I know they have no idea how much it means to me at the time.  It often happens right out of the blue.  I will pray a special prayer to myself and someone will use those very words to comfort me---words they could never have known I prayed.  I have heard sermons that I felt were written just for me, but could not have been.  When I was Methodist, I once broke down in tears to my minister, in his office, just before church was getting ready to start.  The sermon he gave to us during that service was so much the answer to my worries that he even pulled me aside after church to swear that the sermon he gave had been written weeks before.  I fully believe it was written for me, whether he knew it or not.

It always shakes me.  It always makes me cry grateful tears.  It has happened all of my adult life.

And so it has happened to me again.

My friend and wonderfully talented artist, Gina Piazza, sent me a complete surprise in the mail yesterday.  I cannot tell you how much her kindness changed my whole outlook!  I was instantly reminded that the best thing I have gained as a crafter is the lovely collection of friends I have acquired.  Those kind spirits have come to mean so much to me!  

So, if you don't know Gina Piazza, you have to check out her blog (click here).  You can also see other things she has made for me and for my daughter by looking at my Art From Friends page, or click here.

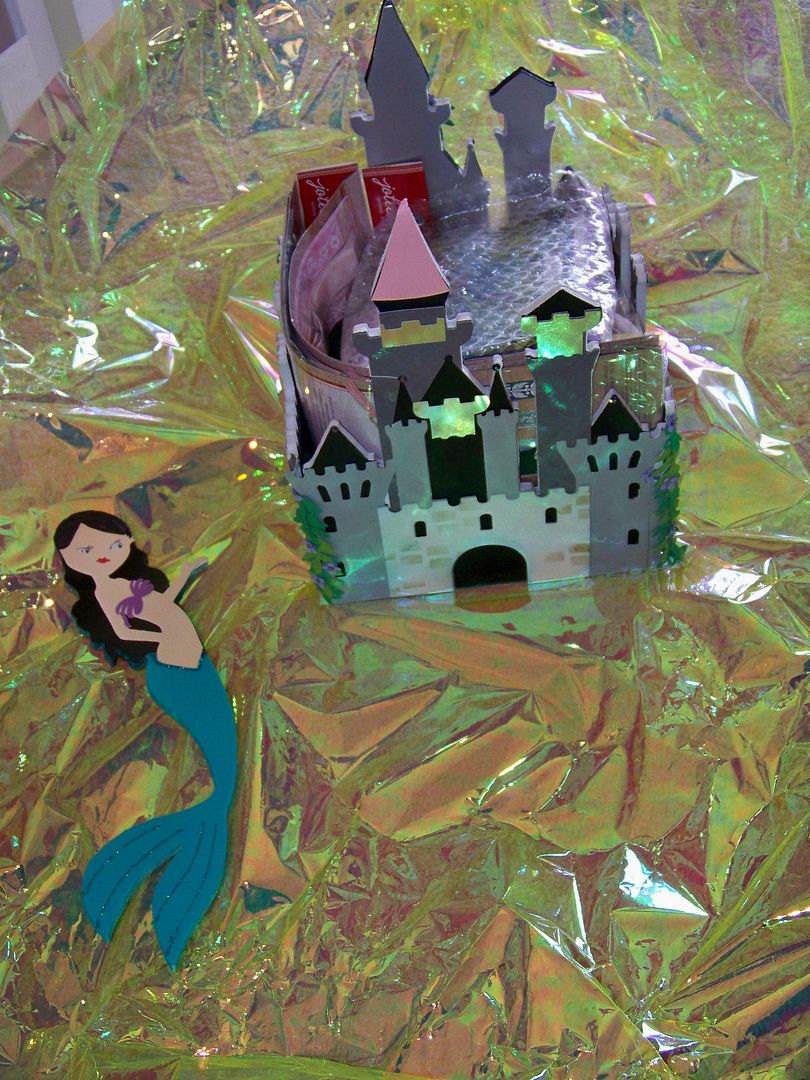
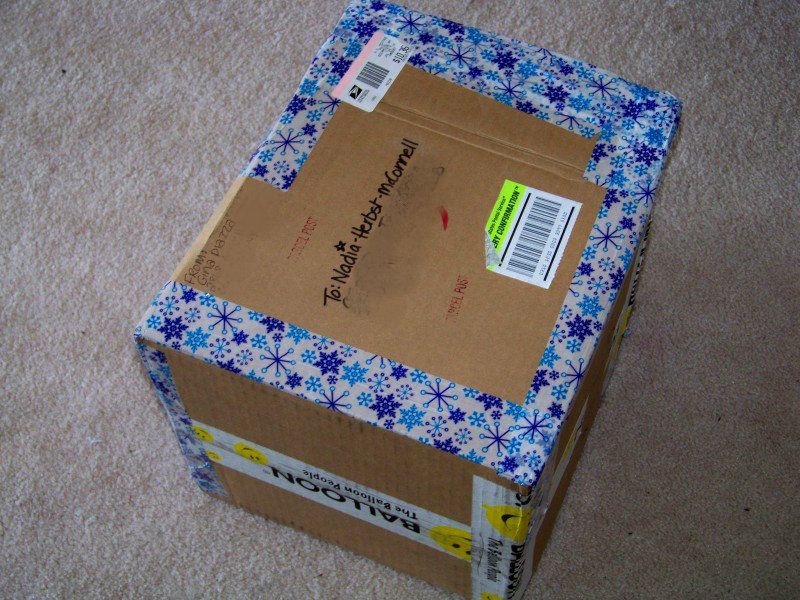
This is what she sent me yesterday....


I opened it to find.....


Magic!

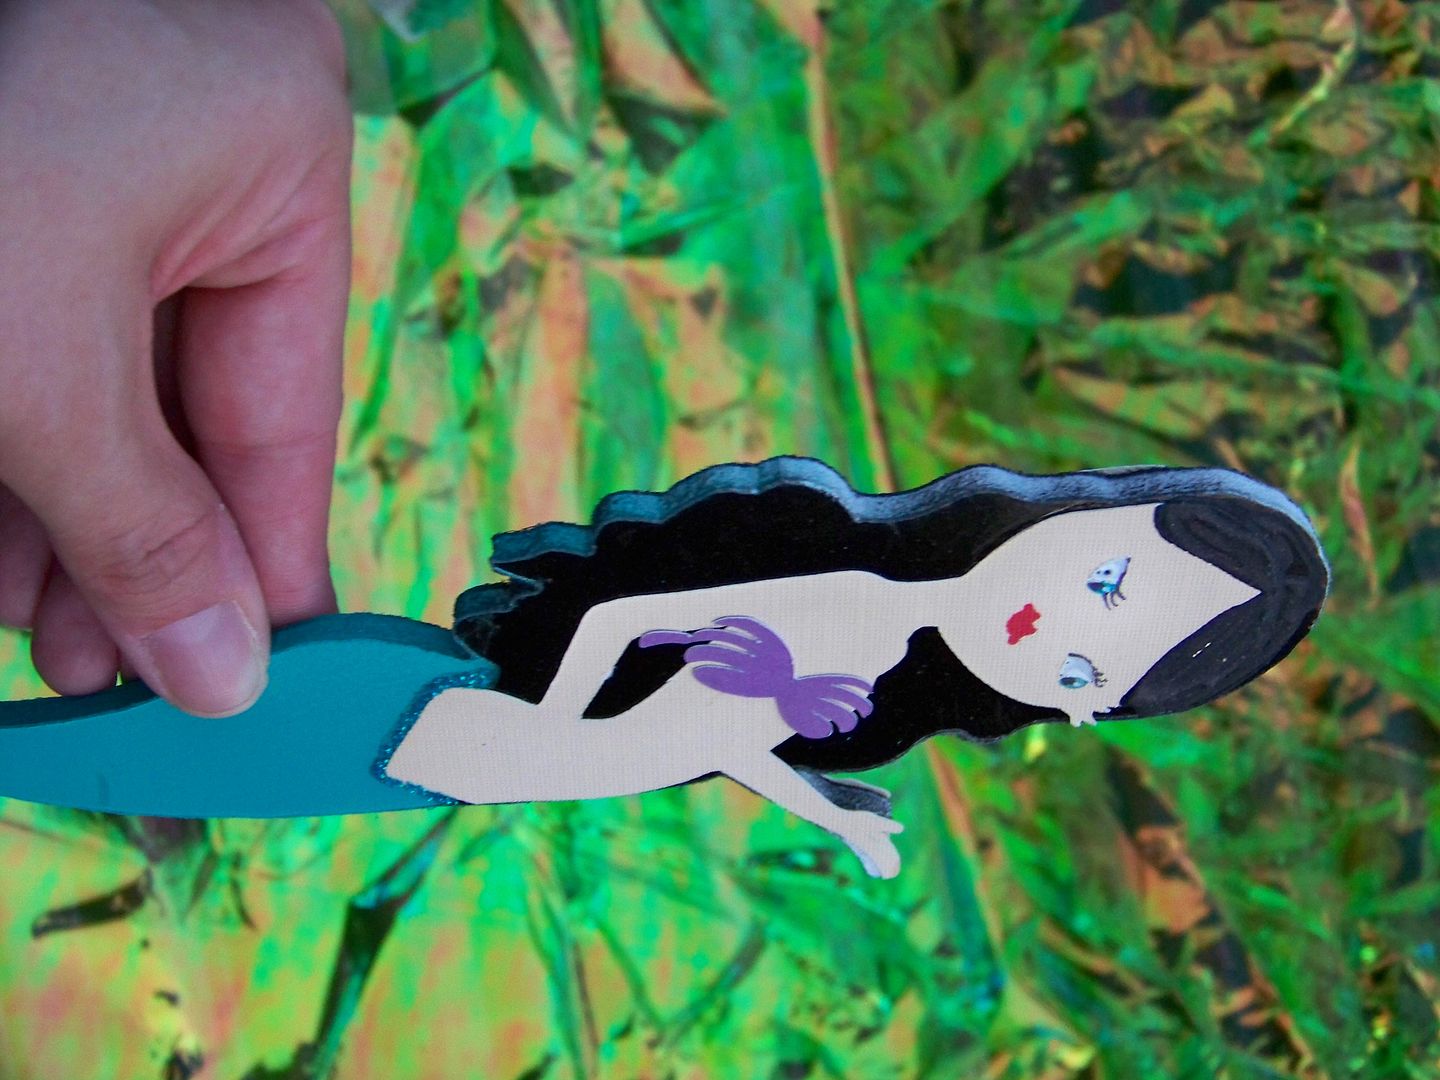
There was a mermaid--- totally signature Gina!  Altered figure, mounted on foamcore, painted... Perfect!


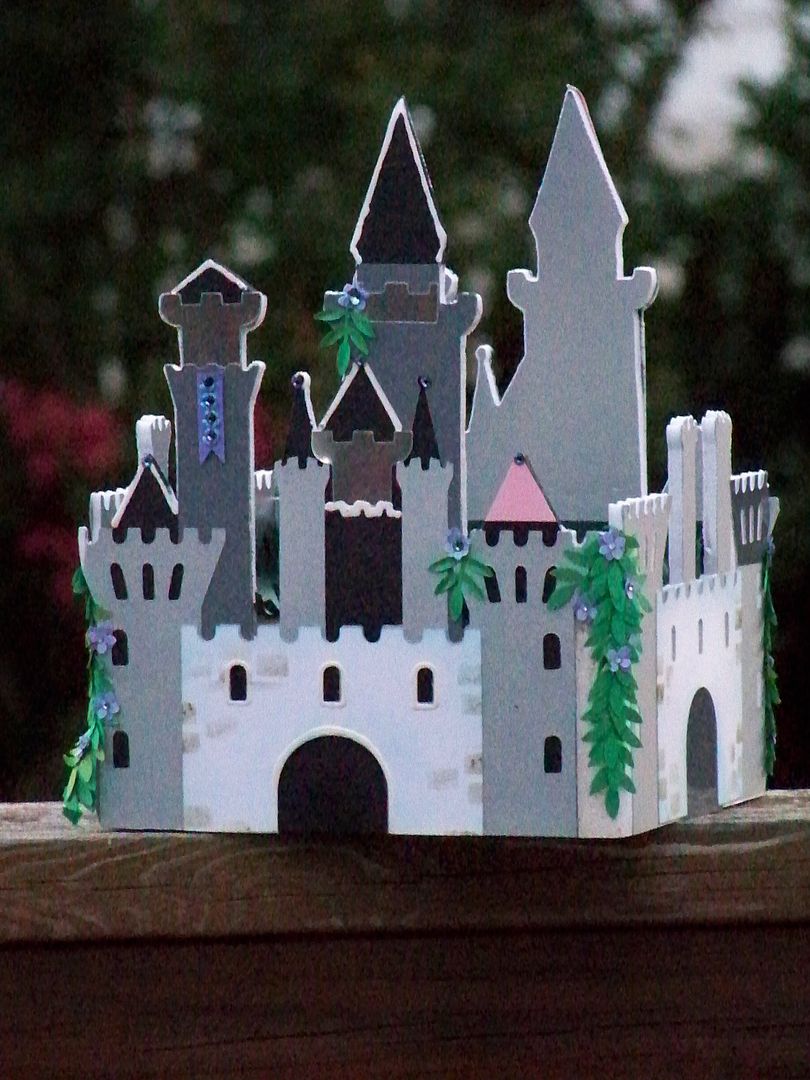
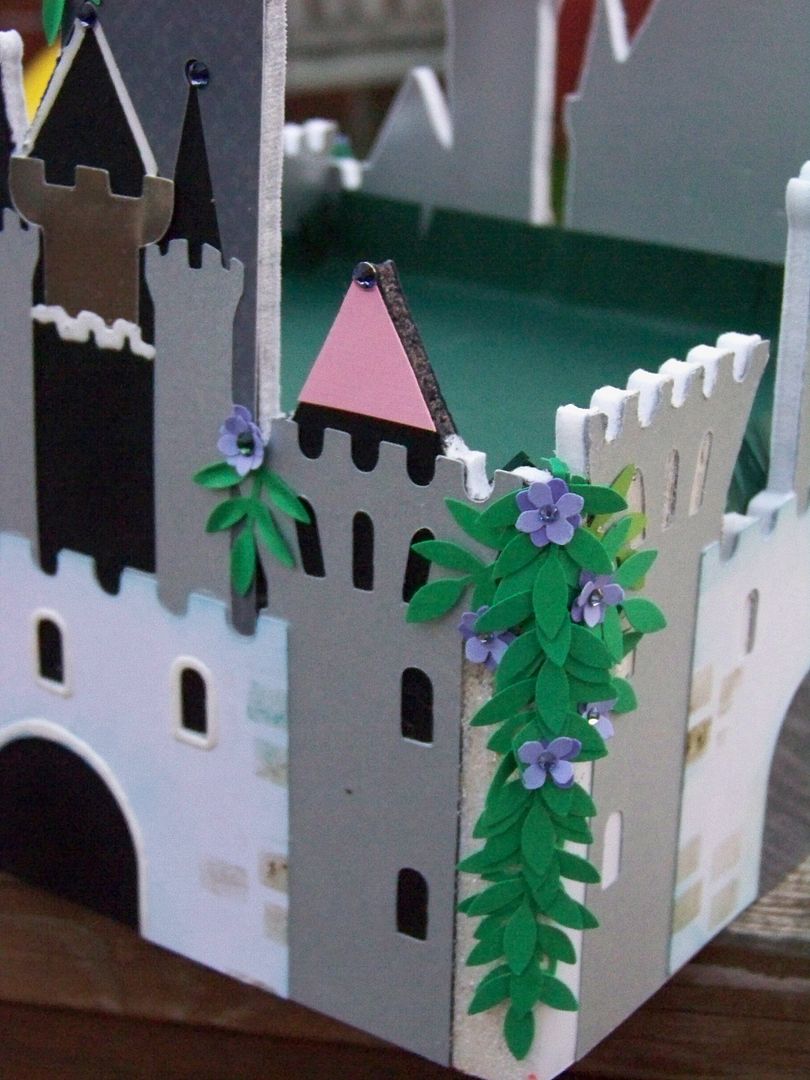
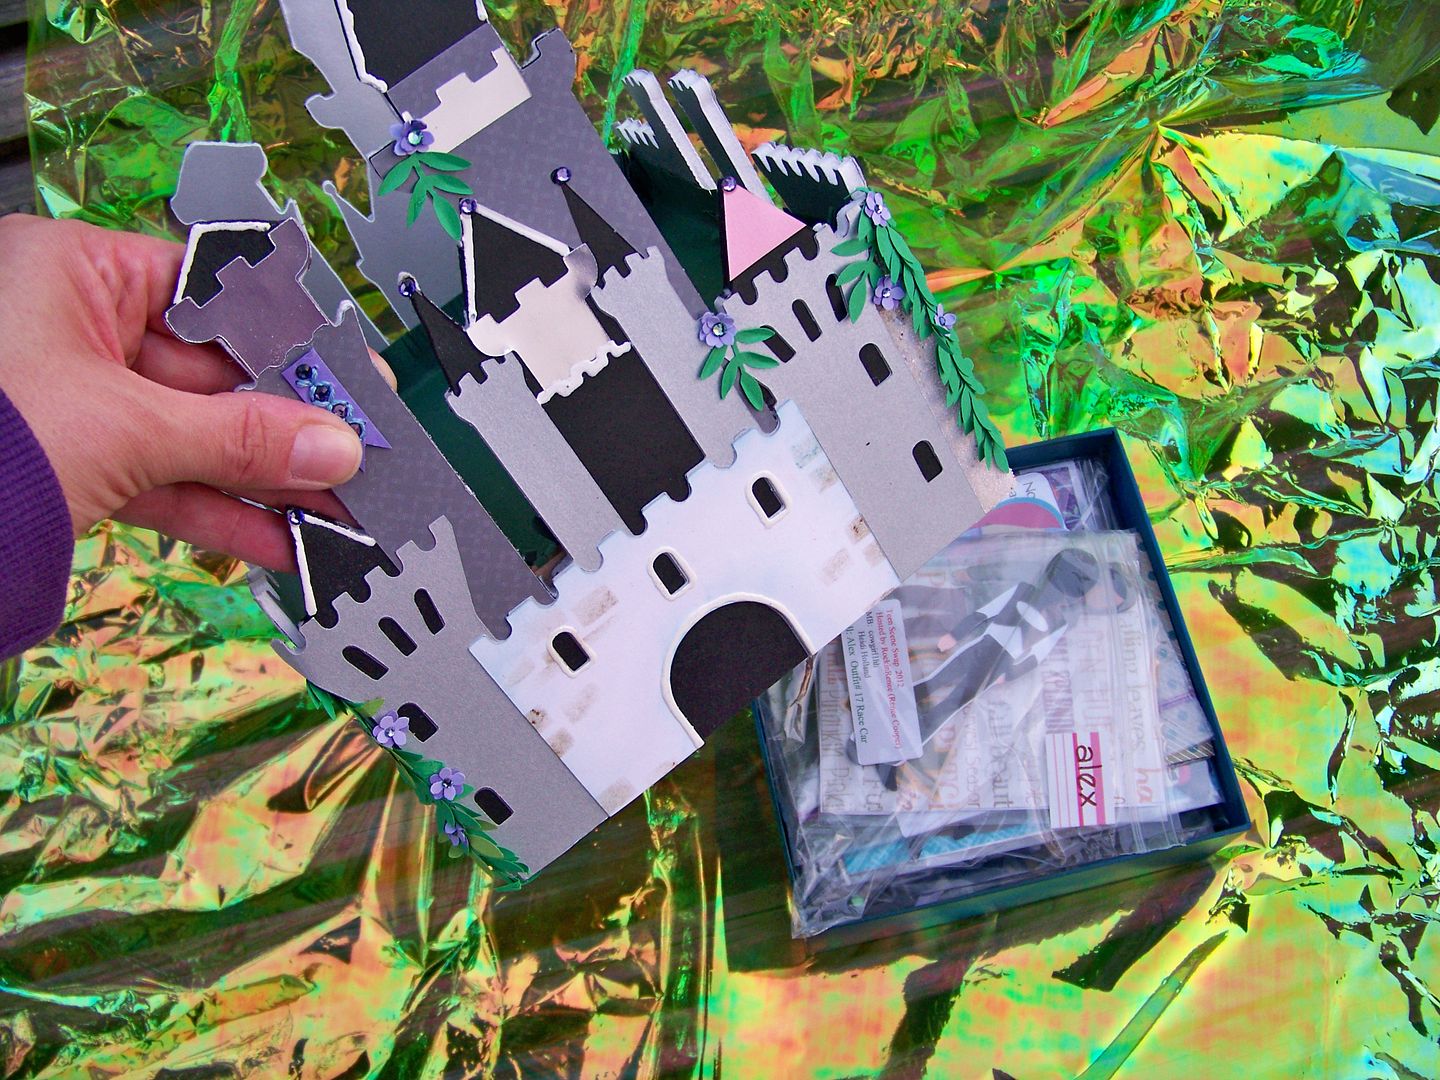
There was a castle!


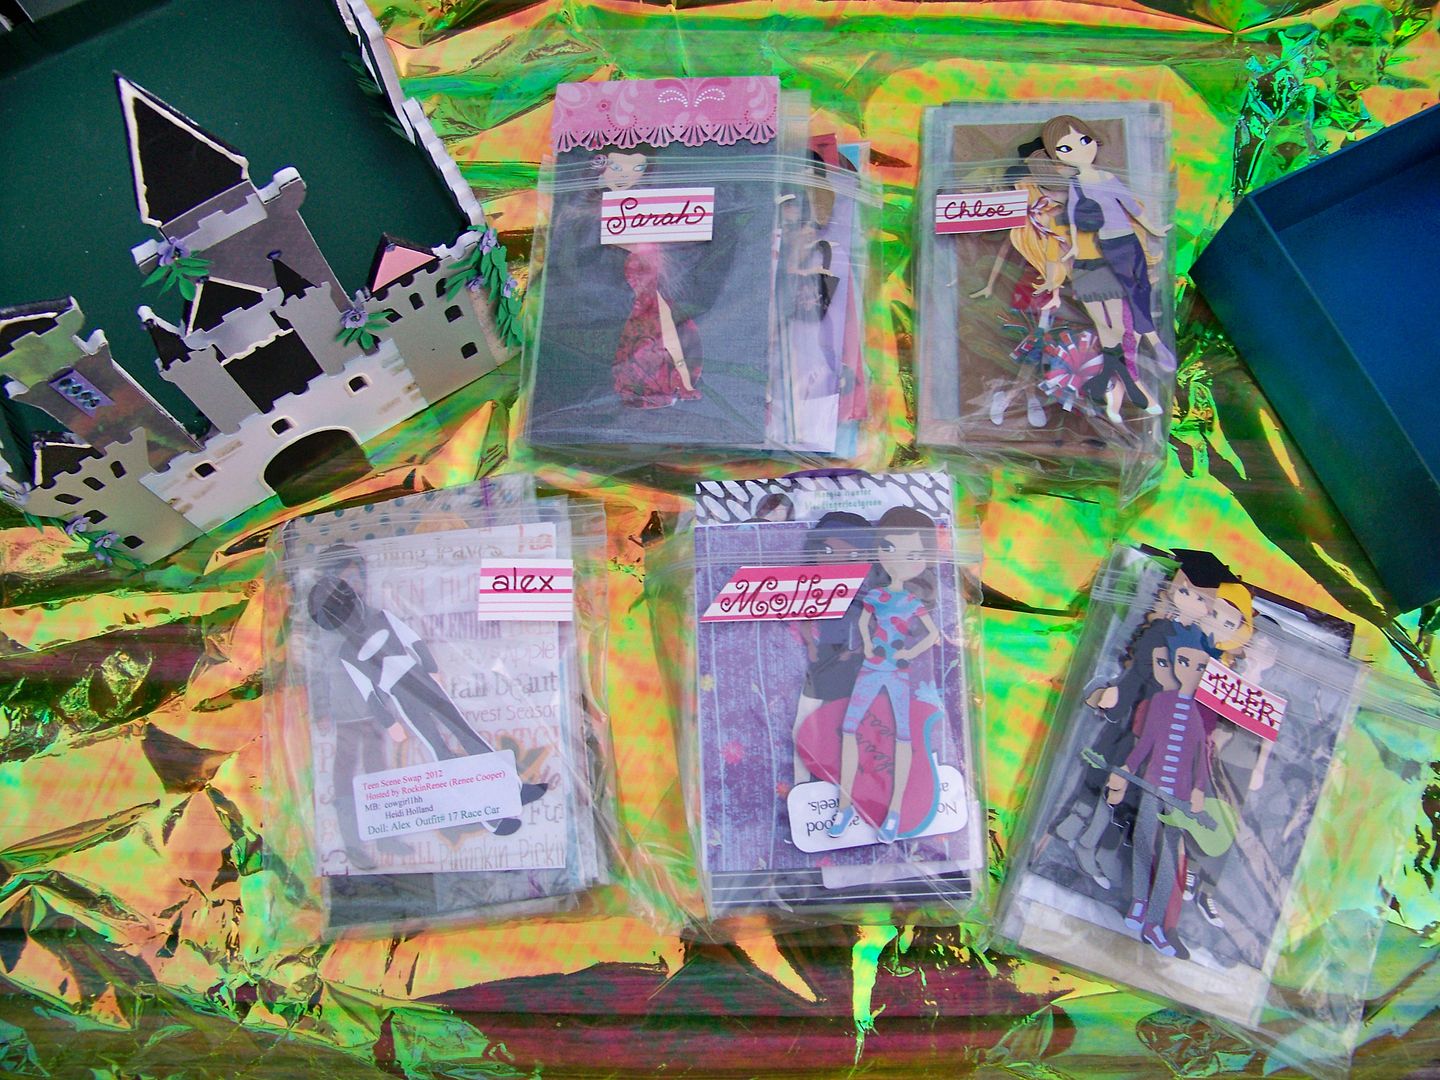
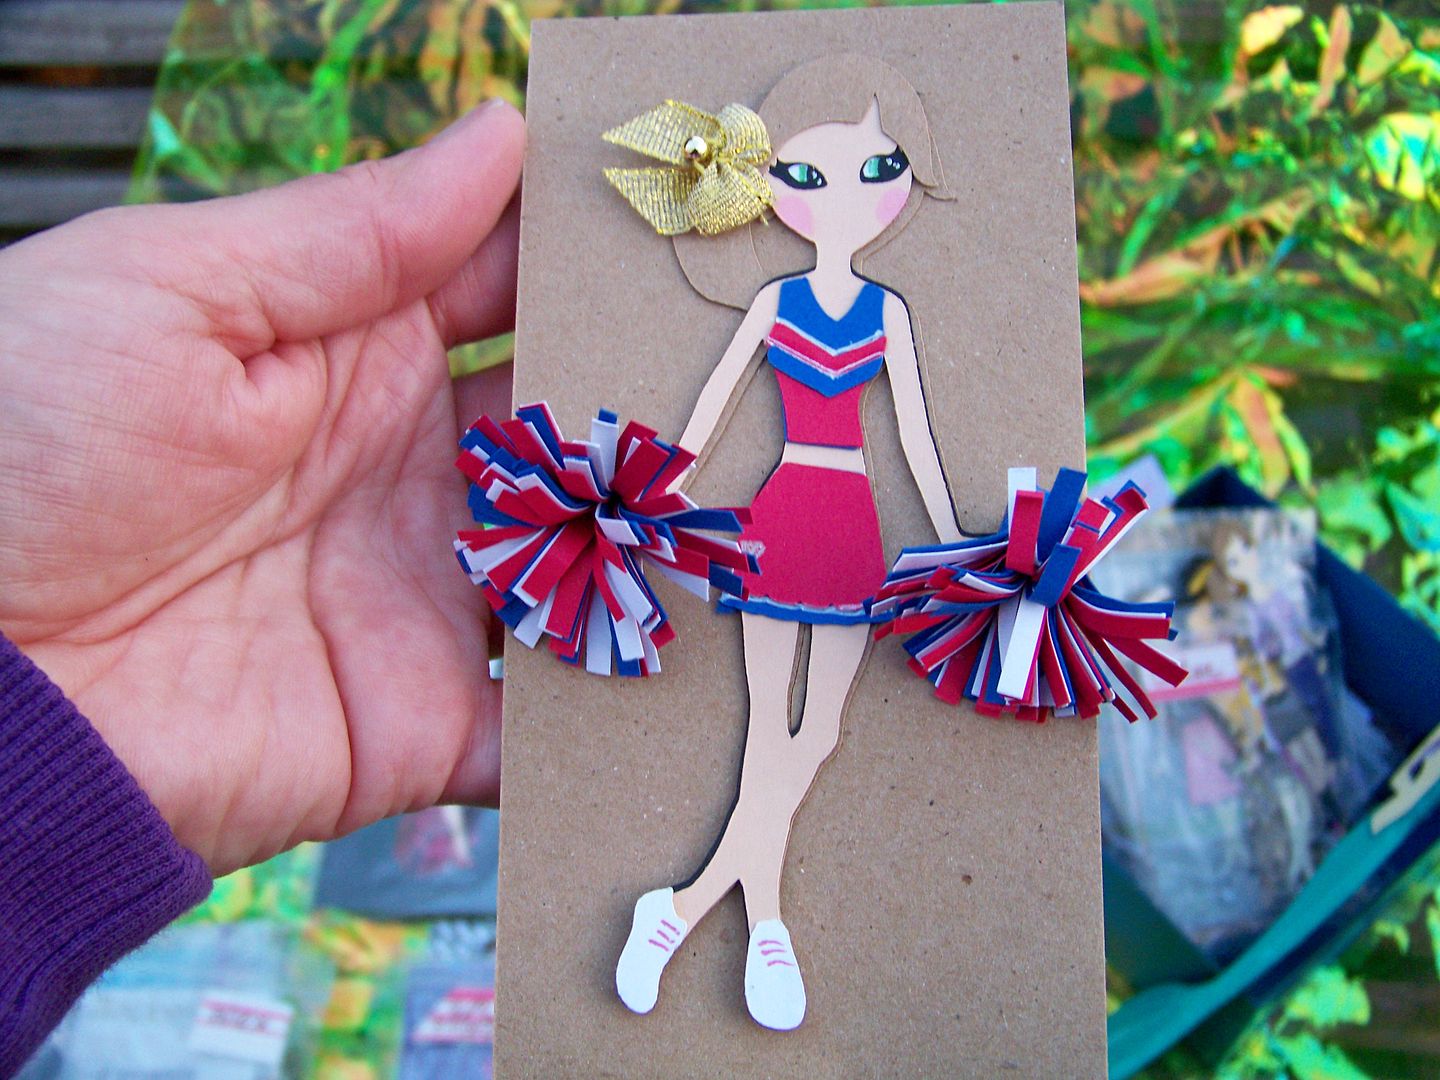
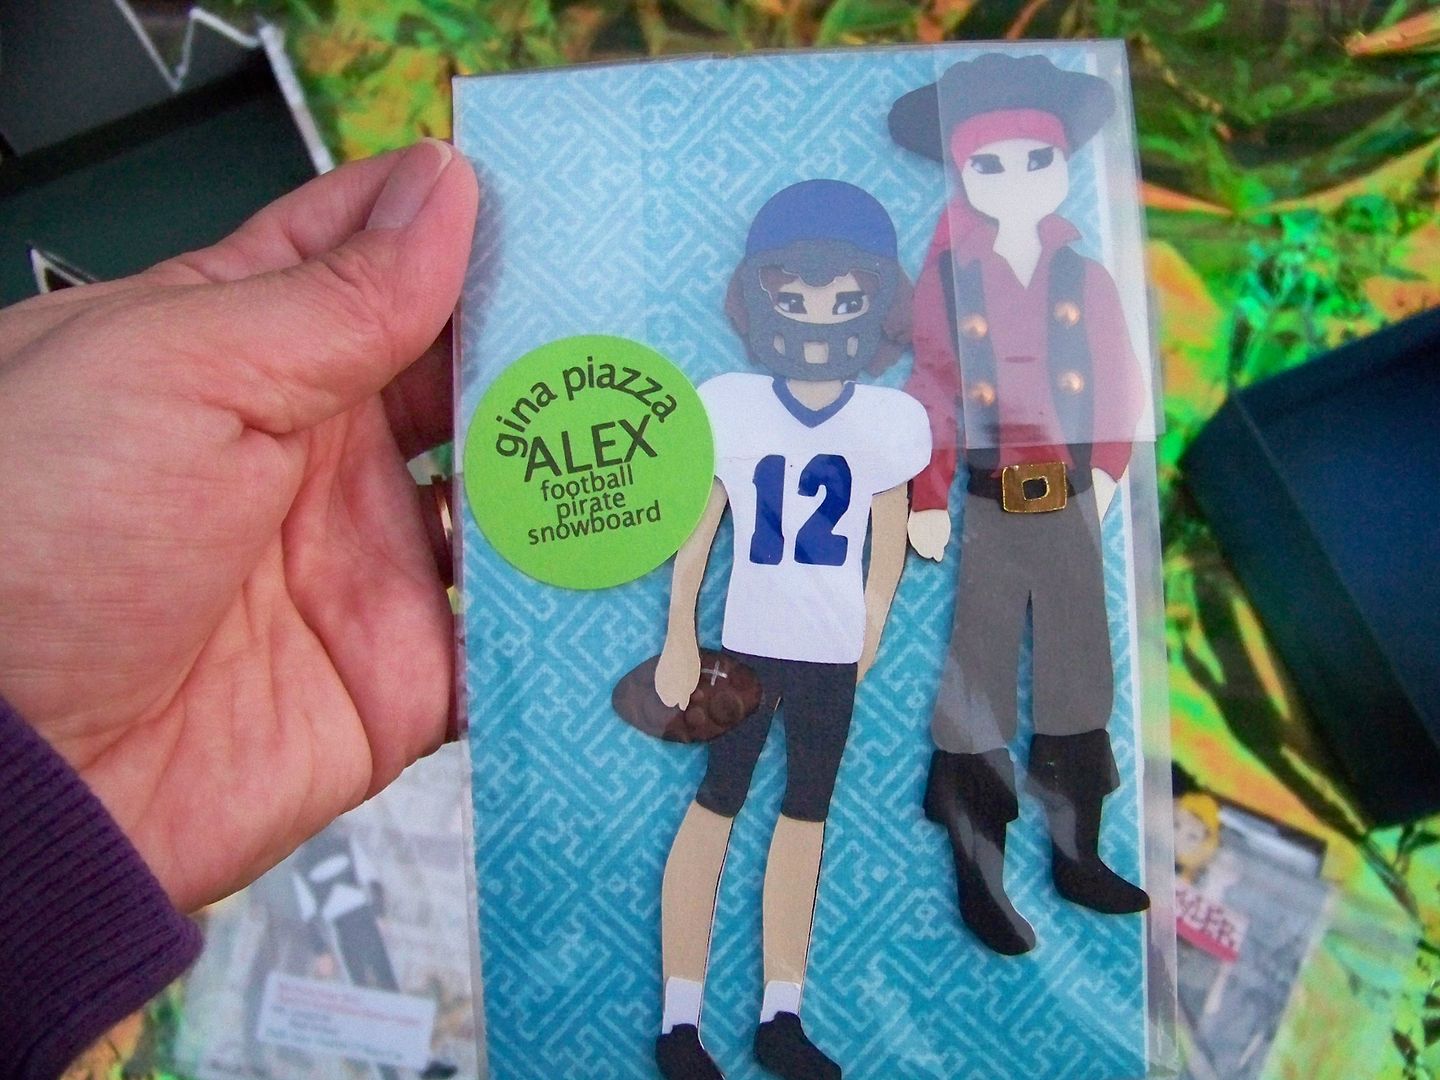
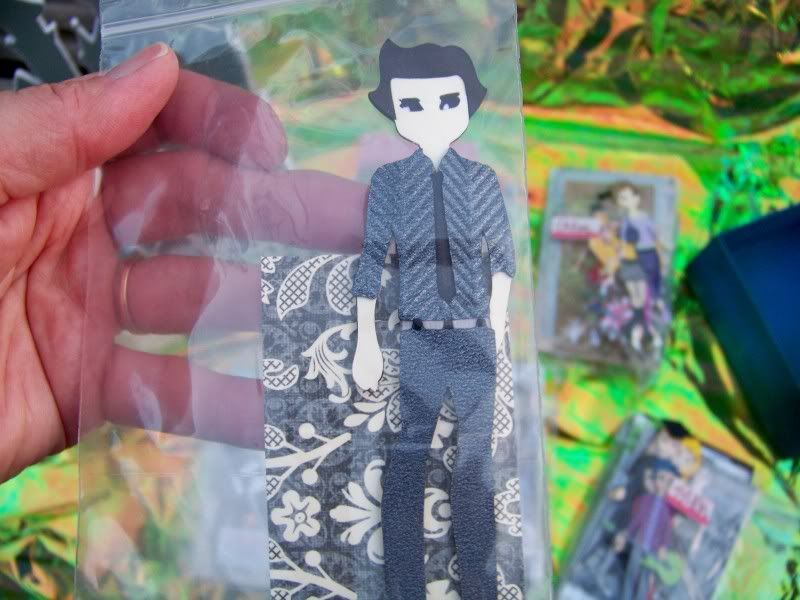
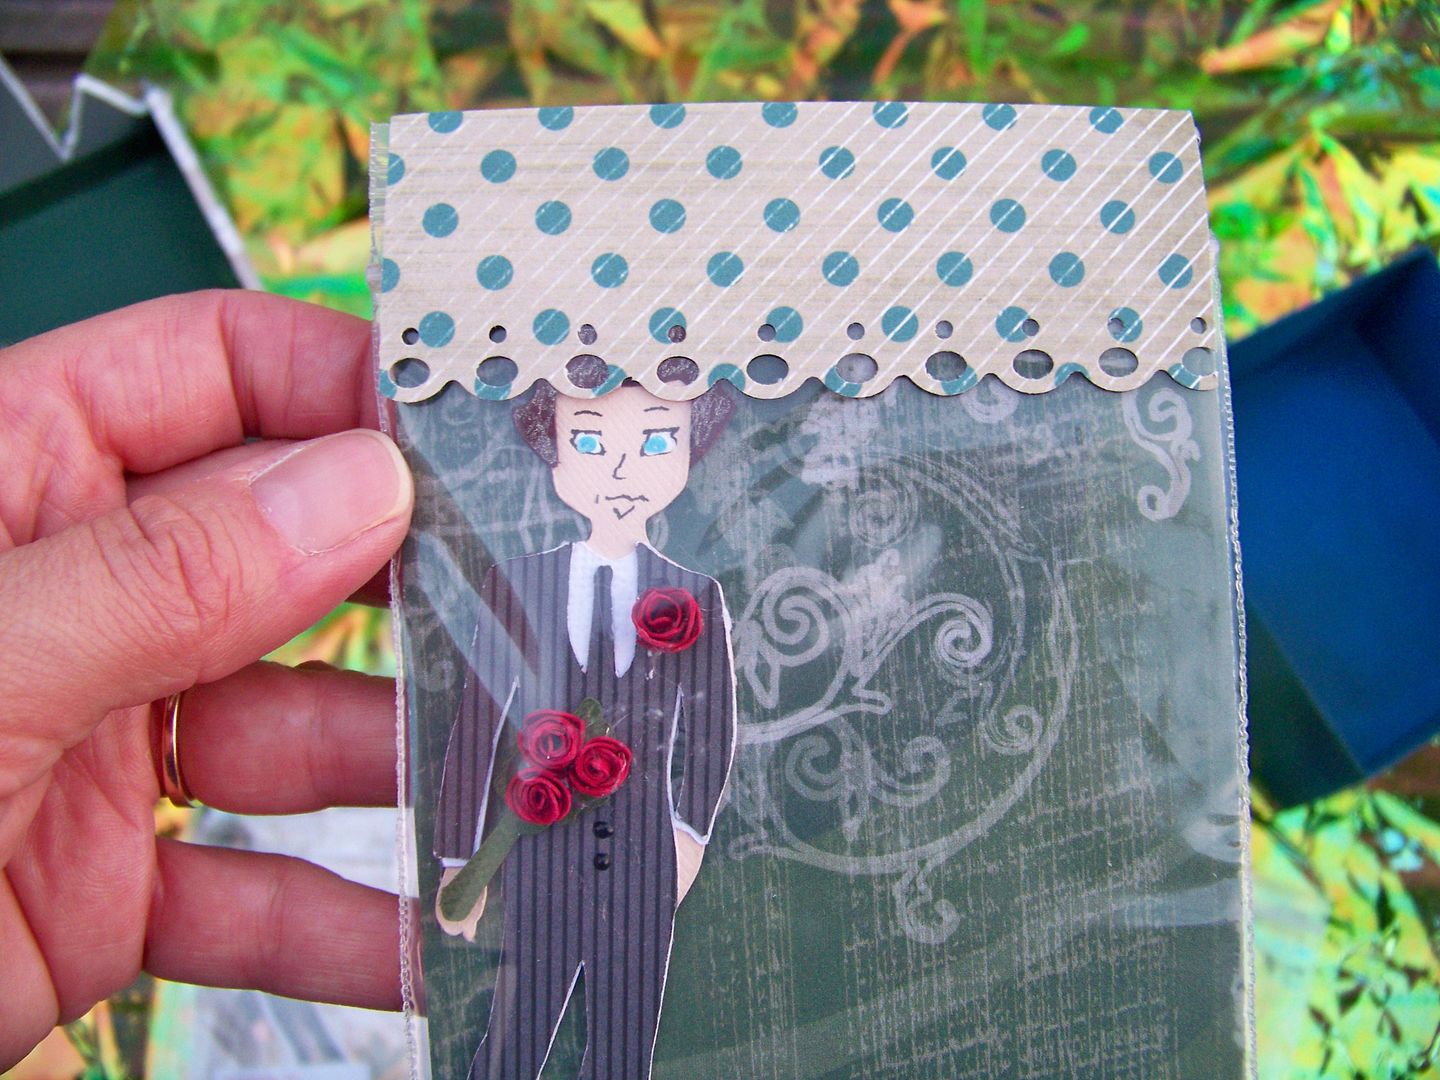
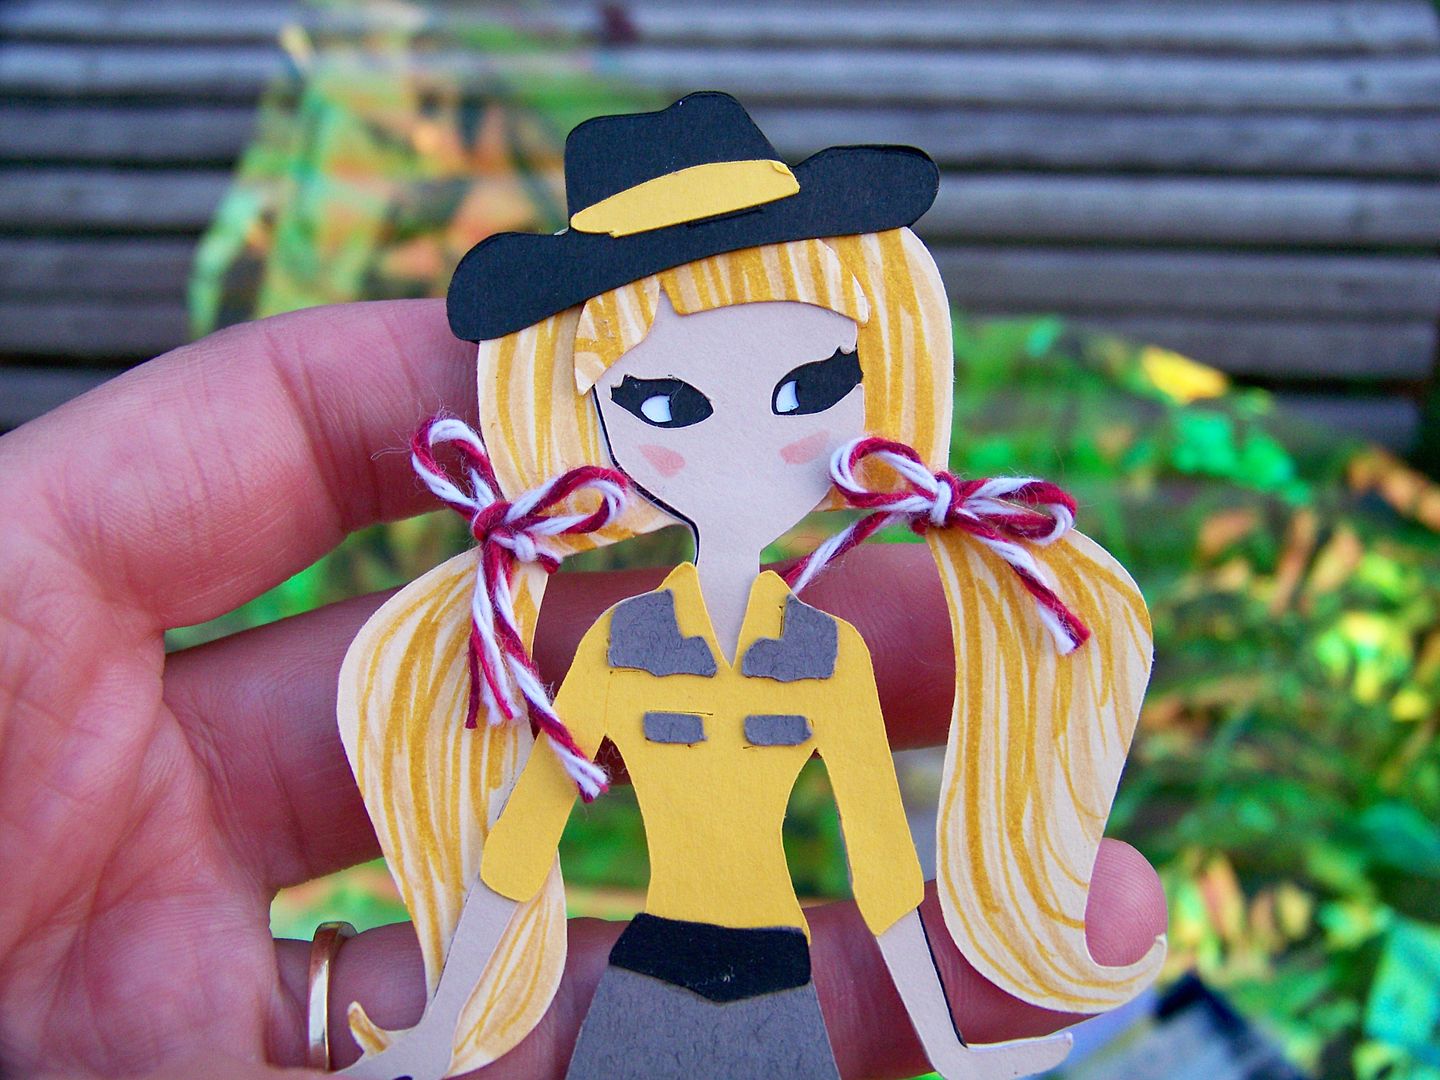
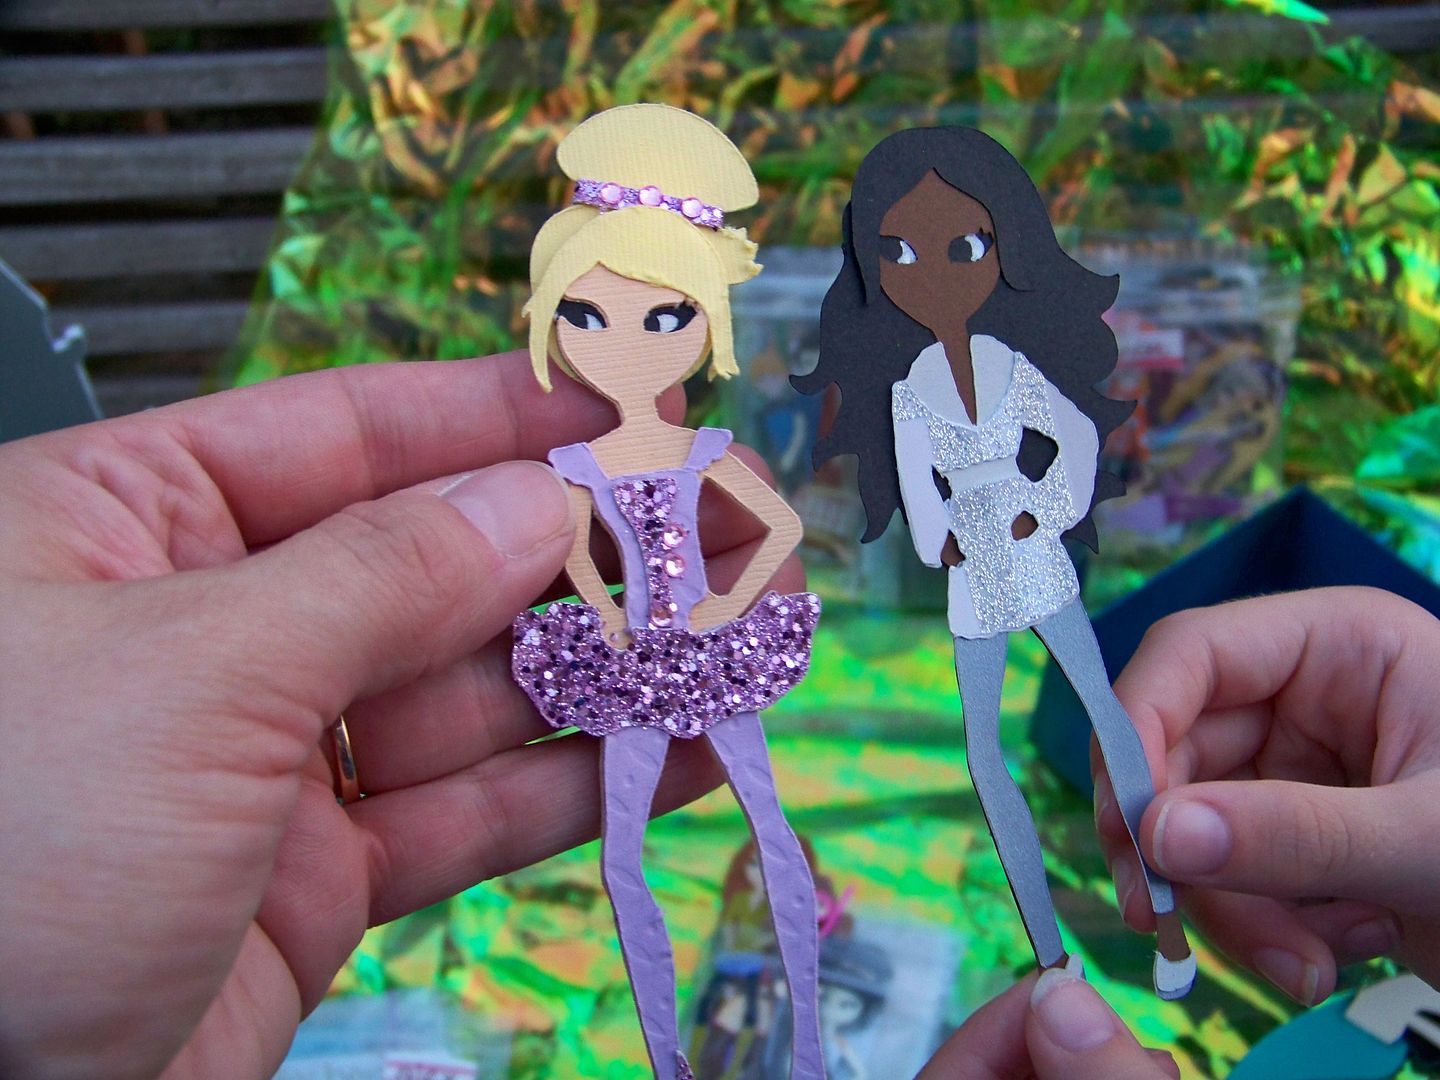
On the top, she had placed a packet of paper dolls!  Paper dolls from the swap.... the swap that I was too busy to participate in!  I opened them and felt like they were little reminders of the talented crafters in the Cricut Circle who had made them!  Like little crafty spirits!  And they were AWESOME!!

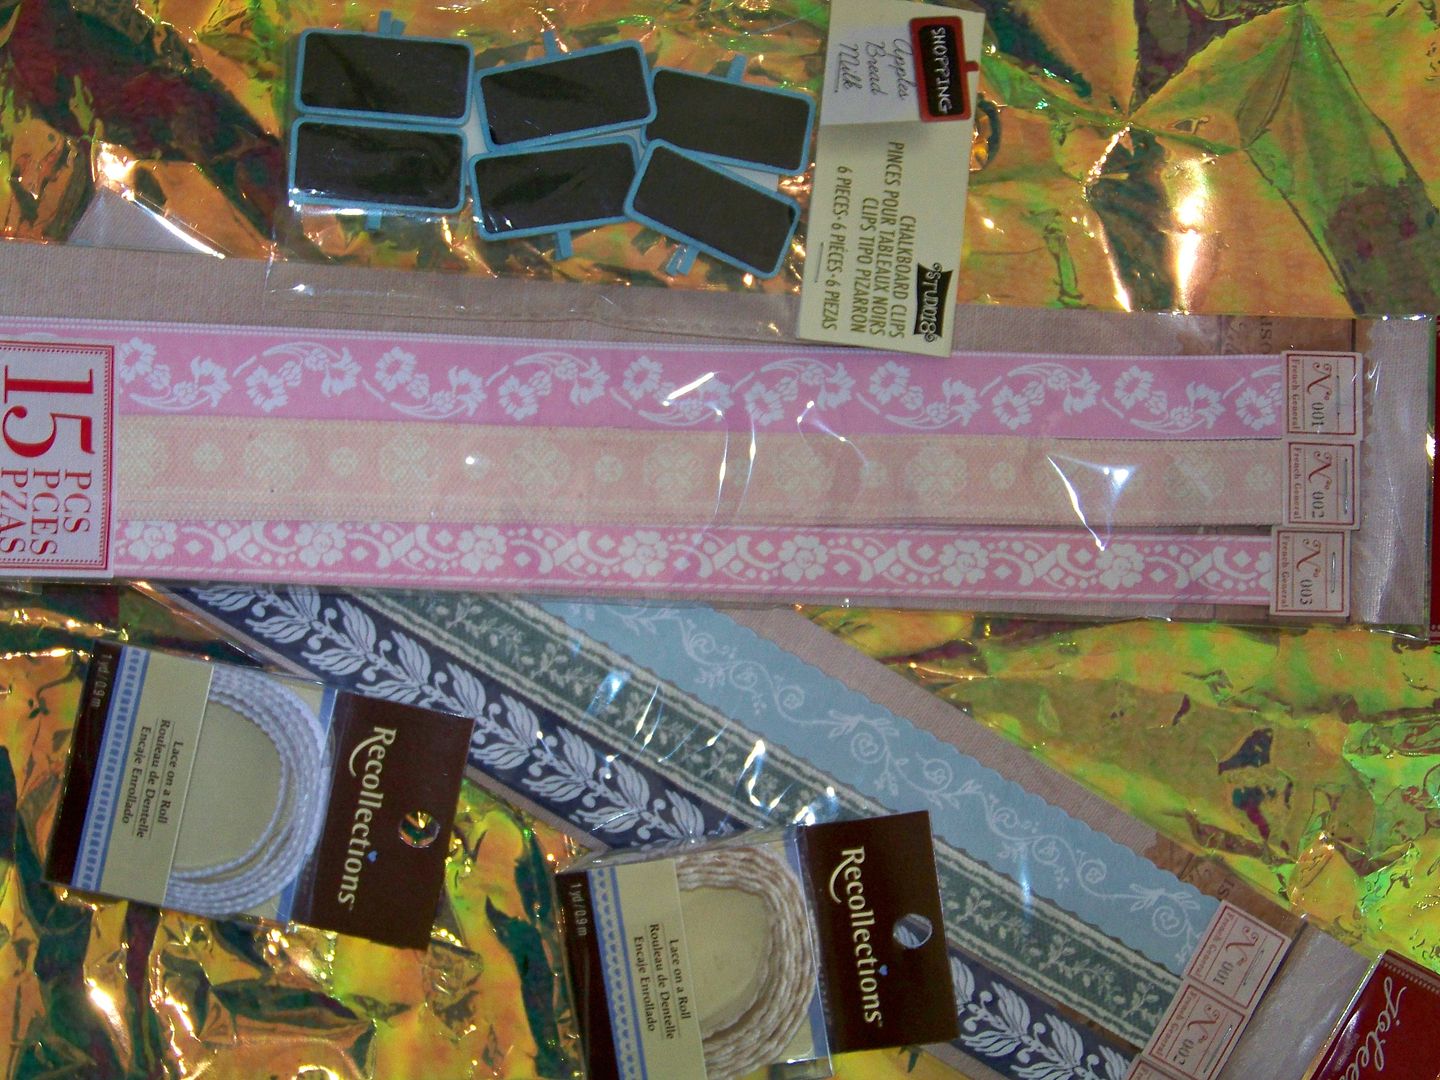
And there were some fun supplies for me!


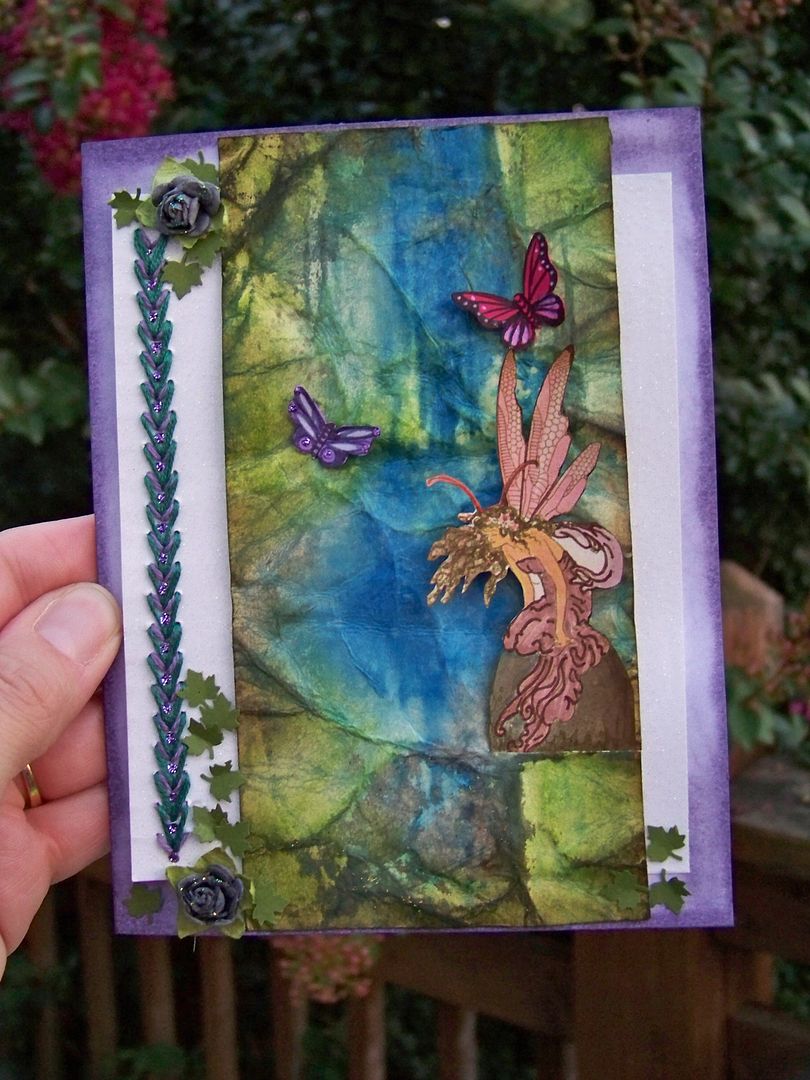
And there was a sweet note... that note was what did it.  First of all, the card she made was pure art!


And it was sooooo 'Gina'!  Her note had me in tears.  She said that she had been planning this gift since Renee, the organizer of the swap, had announced the swap. She noted some of the unique and beautiful touches on the dolls that their makers had done.  She said she wanted me to have a 'cut book' of all the dolls.

All the dolls?  I only saw Sarah.  THAT'S WHEN I REALIZED HER CASTLE WAS A BOX!...And I had ALL the dolls!


They are treasures!  There are tons of them!  I was so impressed with them and learned so much!  I found techniques I want to try!


If you want to see them all, head over to Renee's blog!  You can start with the "Tyler" dolls (click here) and work your way back.  She has photographed them all from her swap and they are a joy to see!

Then I had to break the news to my helper that I wasn't sharing them!  Note the frown-y face.  Piper was in love with them, each one becoming her favorite.


I know this sounds crazy, but it was as if Gina had sent me crafty spirits that were telling me to "hang in there."  I couldn't even take these pictures until this evening because it just touched me so much that I couldn't look at them without getting teary.

The other BIG news in Gina's note is that we might just get to meet again at an upcoming crop!  YAY!!!  So what's there to be upset about.... gee.... I can't remember anymore.

Thank you, Gina, for your friendship, for your thoughtfulness, for your talent, and for your kindness!  You are an angel among us!
Wednesday, July 11, 2012

Hello, Sunshine!

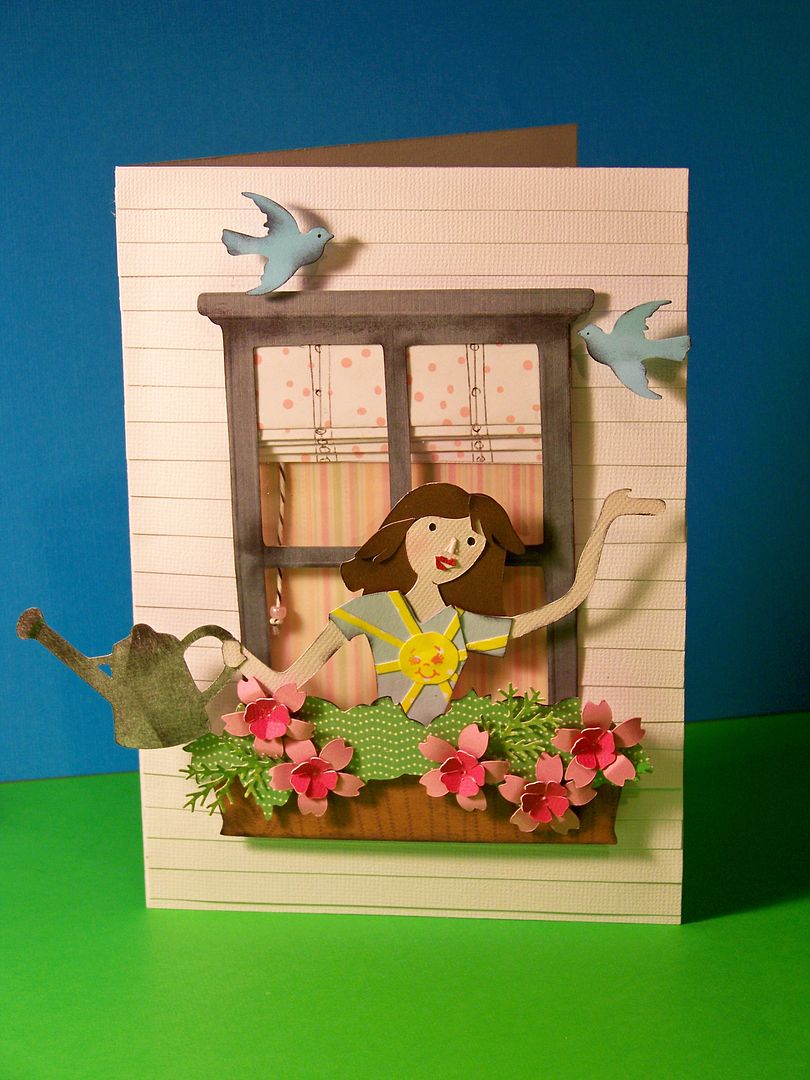
I recently saw two challenges and thought they would be fun to combine into a card!  I have been looking at all the window-style cards on Pinterest so the current challenge on Bitten By the Bug 2 intrigued me!  I have also had a set of Peachy Keen stamps in my collection for a bit, as well as chalks, and wanted to find a reason to use them so the current Peachy Keen Stamps Blog challenge was just perfect.  I created this card...


  • The figure was cut from Cricut Country Life at 9" (page 32 - layer 2), altered somewhat with hand-cuts.
  • The hair was cut from Paper Doll Dress Up (page 47) at 2-1/2".  I inked and chalked her.  I hand-cut her facial features.  I popped up her head 1/2" but adhered her lower body flush.
  • The t-shirt was hand-cut.  I used PK-560 face stamp for the t-shirt graphic.
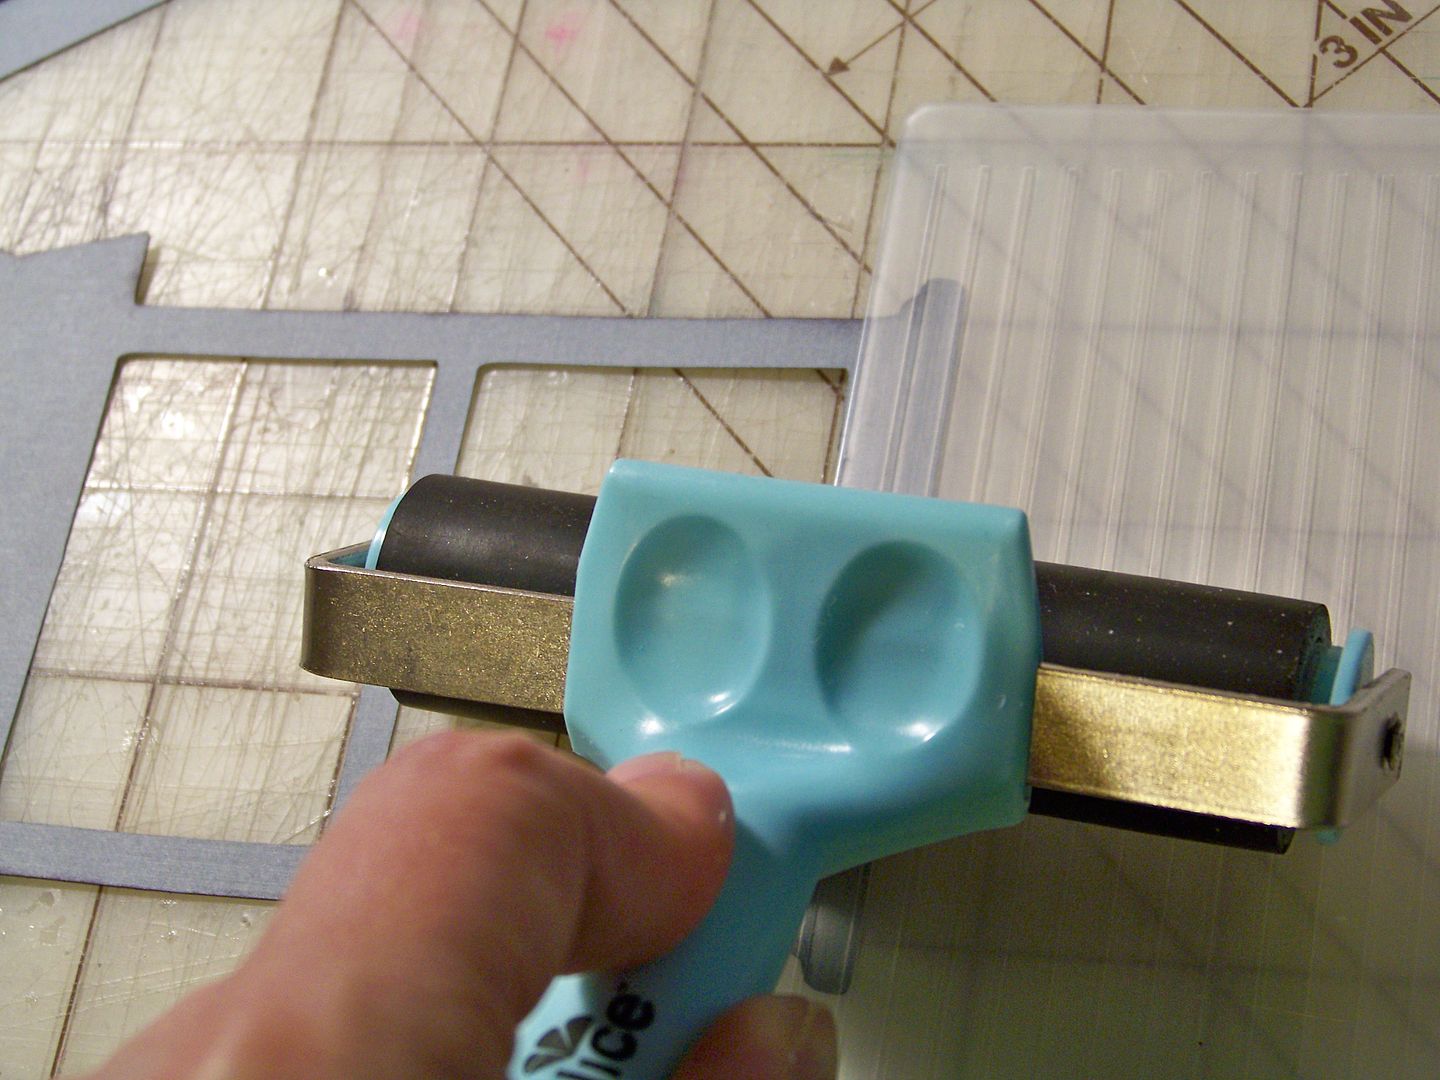
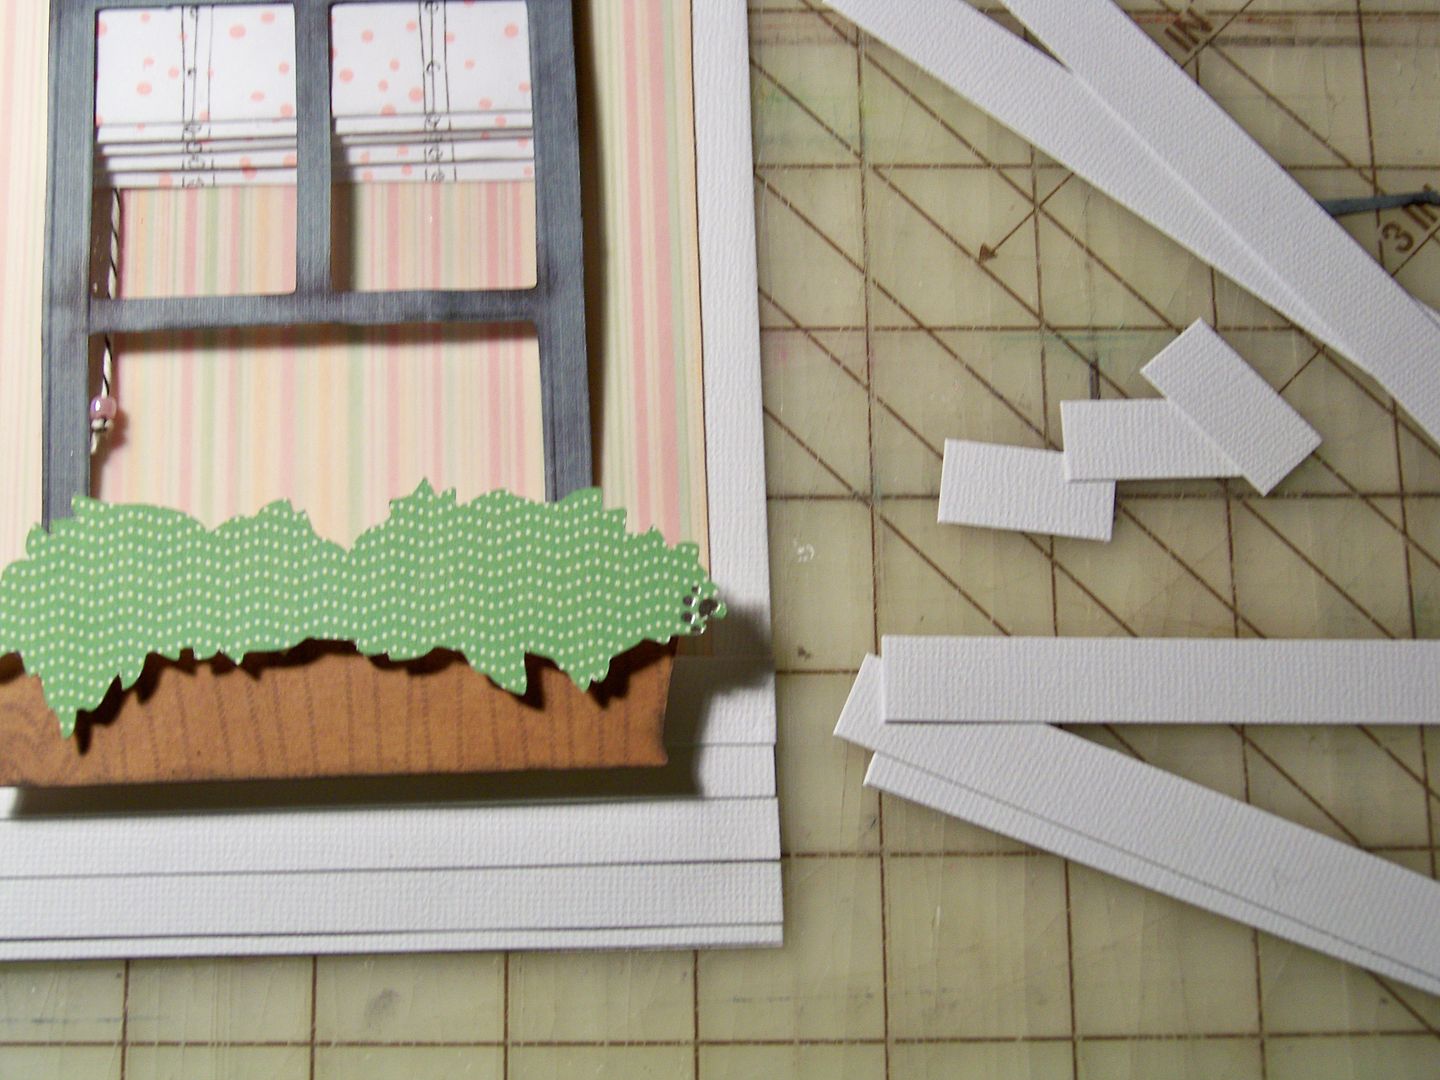
  • The window and window-box were cut from Spring Cottage at 5".  I hand-cut the bottom bit of woodwork out so that the window would be 'open' so the figure could stick out of the open window.  I placed recycled Cricut clamshell acetate in the upper window for panes of glass.  I used a Cuttlebug folder and a roller to hand-press grooves into the woodwork.  I used a combination of ink and chalk to give the woodwork depth.  I popped up the top layer of the window box 1/4".


  • I wanted it to look like the back of a Roman shade, so I hand cut that and drew in details with rings, cords, and tapes.  (I know, I know, this should be a white lining fabric!  I really debated using the polka dots -- now you know the silly things I worry about!)  I created a braided cord and pull via bakers twine and a bead.  I placed vellum over the print used behind the window to mute the colors a bit.
  • I hand-cut 1/2" strips to create wood siding.

  • The watering can was cut from Garden Soup (page 52) at 1-1/2".
  • The flowers were cut from Pagoda (page 56 -1" and page 57 - 1/2").
  • The birds and branches were cut with a Martha Stewart punch.  The birds were popped up 1/2".  
  • The card finished at 5"x7".  The inside sentiment was printed on the computer:  Hello Sunshine!


Thank you for checking my blog post!  You can see many of my previous projects in My Project Gallery.

Wednesday, July 4, 2012

Happy 4th of July!


Happy Independence Day!

For a little surprise for my daughter, I have a Fourth of July present.  We don't usually do gift-giving for this holiday, but she has been wanting something special so I thought it would be a fun time to give it to her.  For the first time in years, my husband and I are not working out-of-town on July 4th-- so that's even more reason to celebrate together as a family!

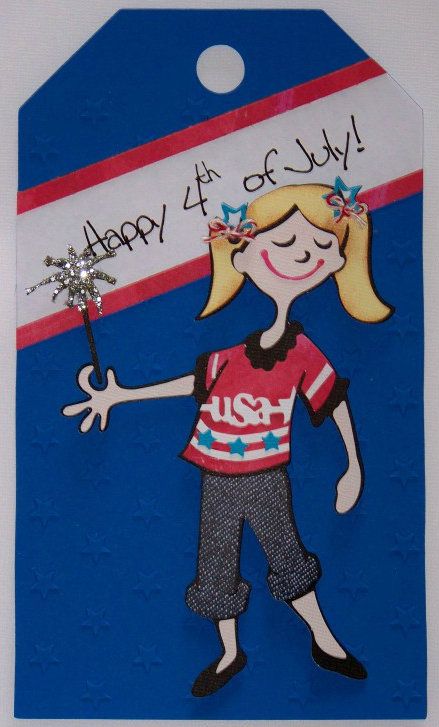
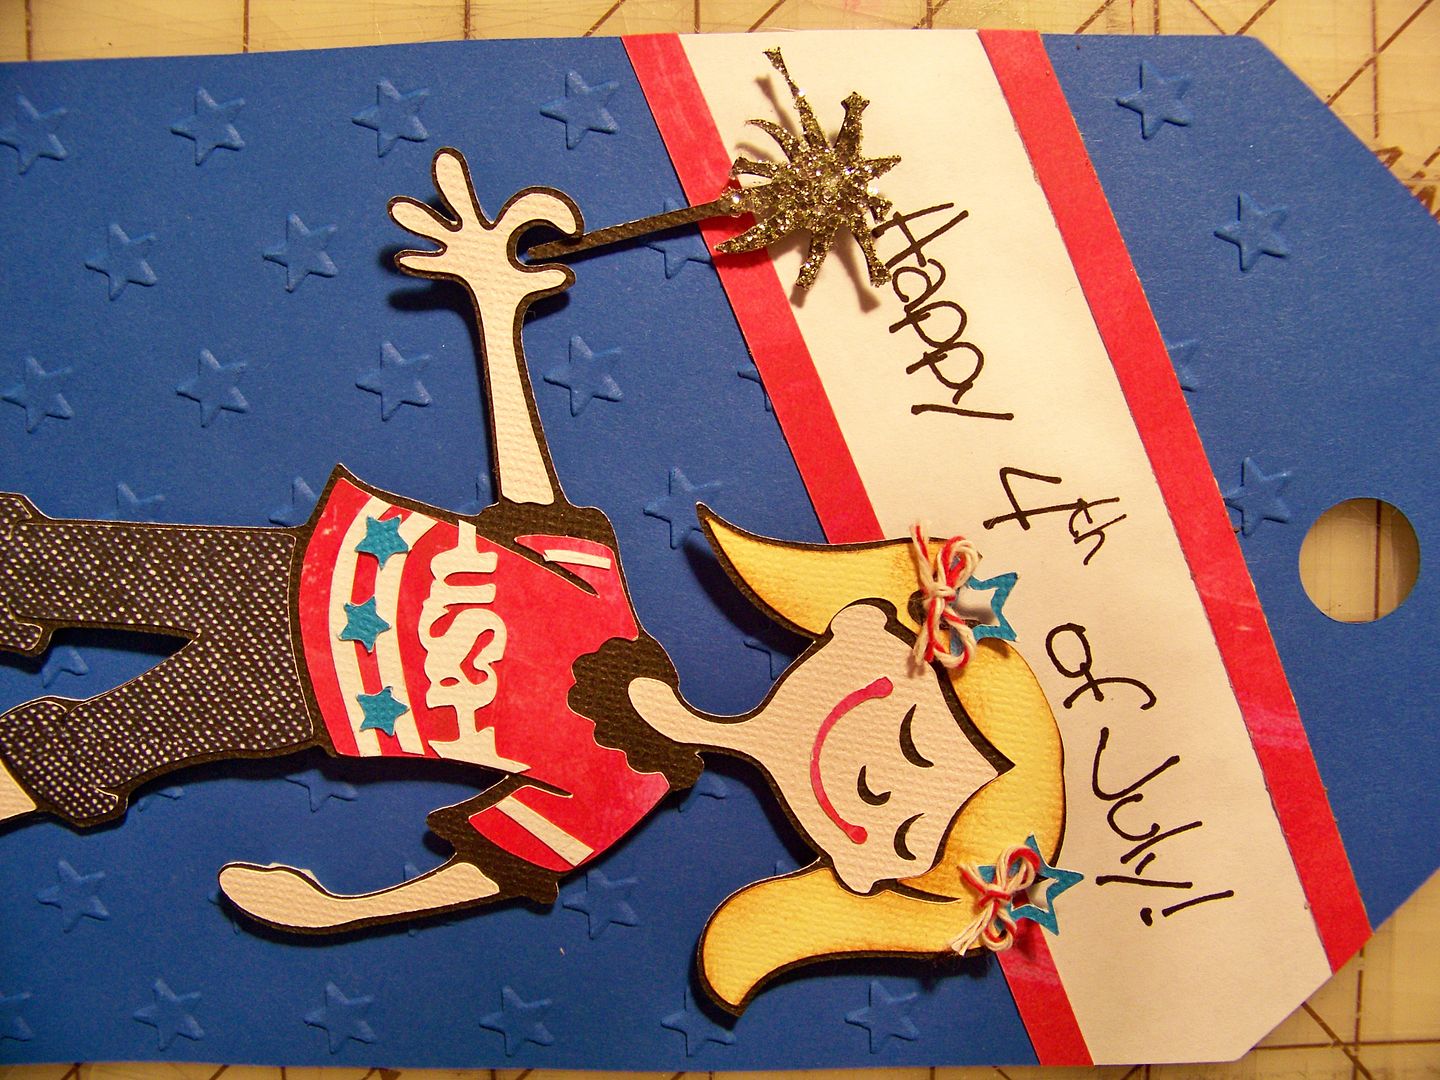
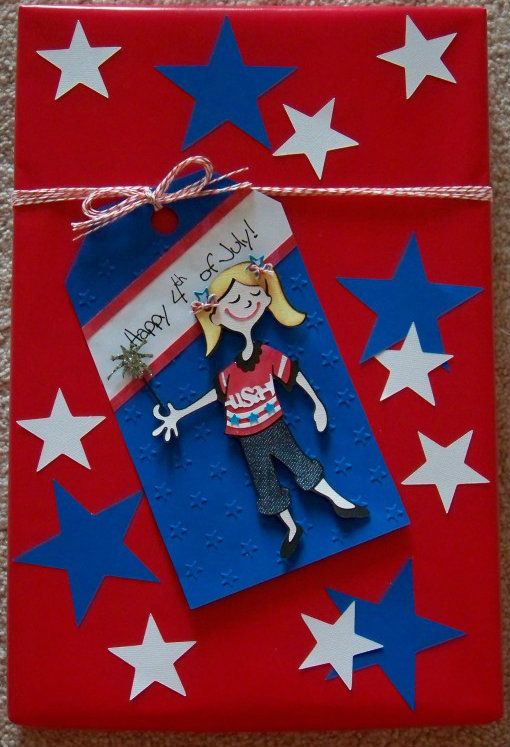
This is my challenge project for the Cricut Circle Blog Weekly Challenge #61:  Stars and Stripes.  The challenge was an easy one so I jumped on it for my gift tag!


We were required to use at least three stars and stripes and at least two Cricut cuts on a project of any type.  My tag cuts were done on the Expression using cuts and cartridges as described below:

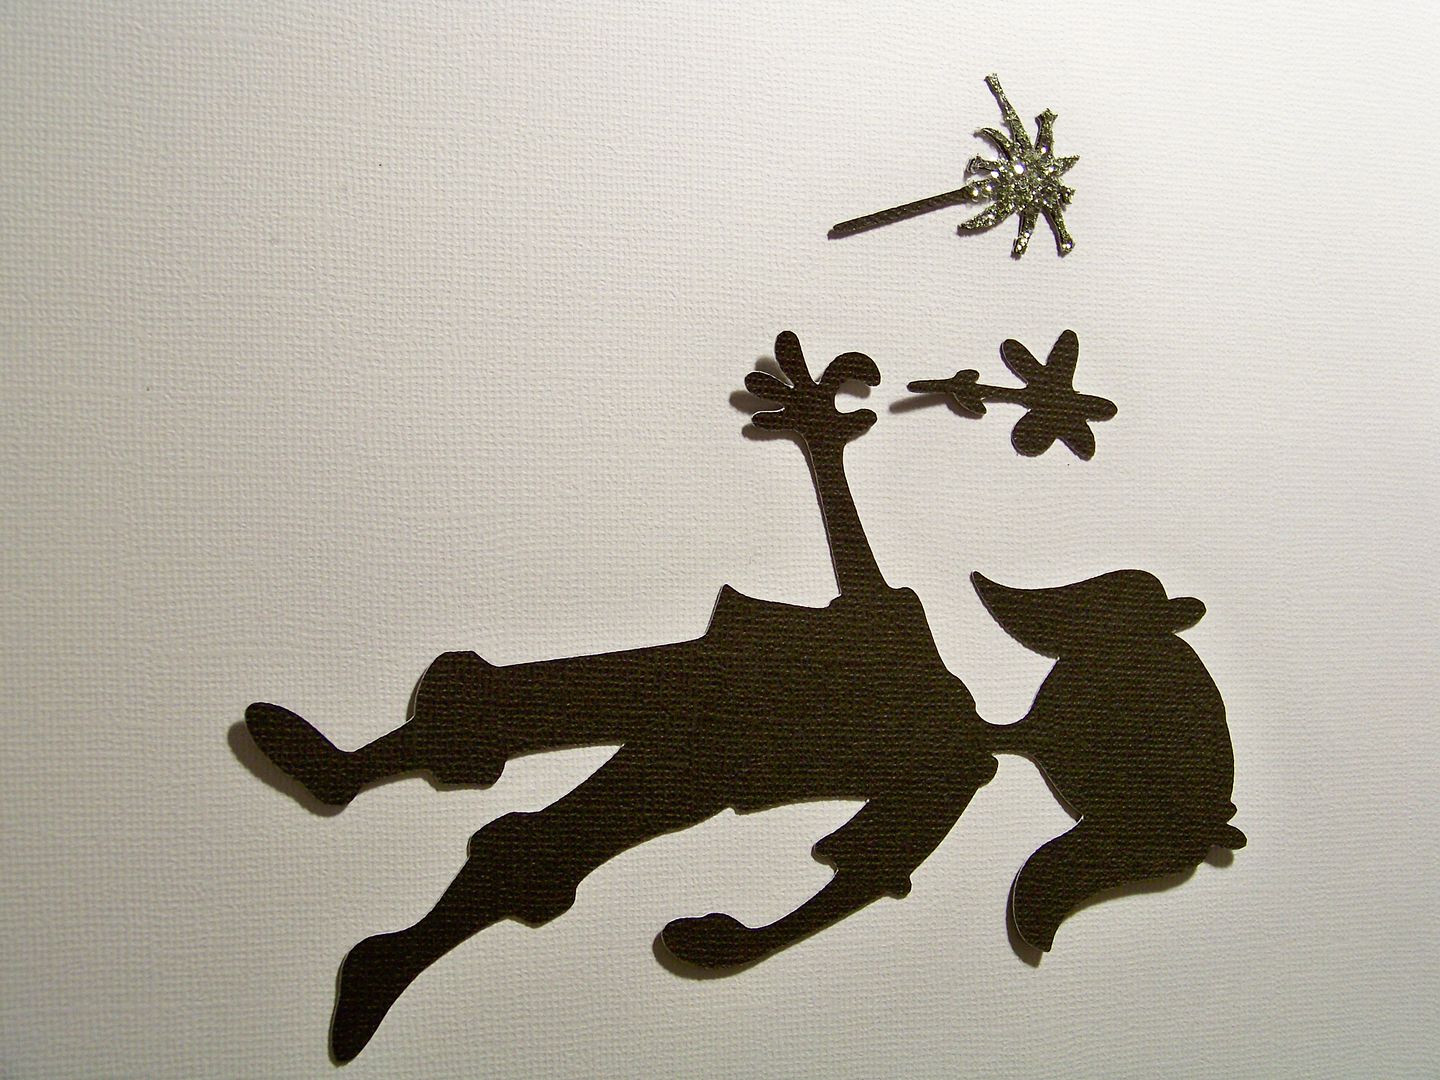
  • Girl:  Block Party cartridge, cut at 6".  I discarded her flower so she could hold a sparkler.  I added bows and stars (see below) to her hair.  She is popped up with 1/8" pop dots on the finished tag.
  • Sparkler:  Stand and Salute, 1-1/2".  I used a mix of fine and chunky glitter for the surface.
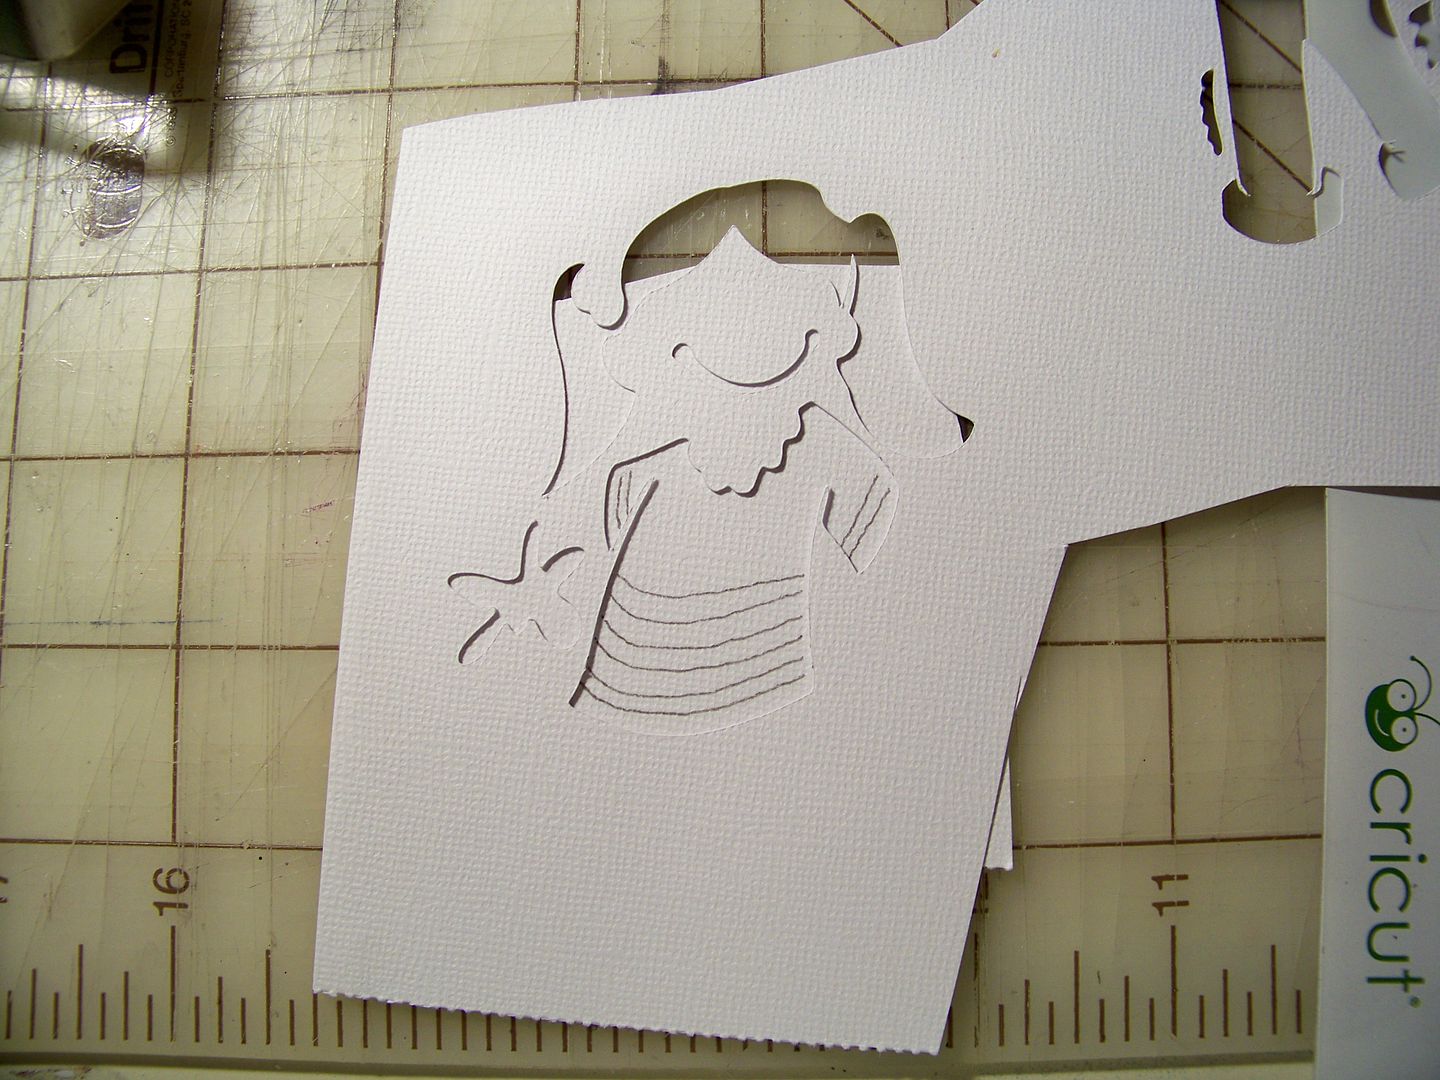
  • I hand-cut the stripes on her shirt using a stencil as a guide made from the negative space around the same t-shirt cut.

  • USA design on t-shirt:  Stand and Salute, 1/2" (border page 63), trimming off the stars to make it fit.

  • Stars in her hair and on her t-shirt:  Stand and Salute 1/2" (border page 32).  The stars on her shirt on the negative space of the cut; the stars in her hair are from the border, cut apart.
  • Tag base:  Art Philosophy, 8" (page 60), embossed with a Cuttlebug folder from "Skyward Set."

  • Banner:  Text printed with 'Tall Paul' font at 48 point.  Banner and red stripes were cut via paper trimmer.
  • Stars for the package:  Stand and Salute, cut at 2-1/2" and 1-1/2".
I used this tag on the gift package.


And I got it all done before she woke up!!  Yippee!
Thank you for checking my blog post today.  You can see many of my previous projects by viewing My Project Gallery.  Best wishes for a happy and safe Independence Day!

Edited to add:  I am feeling a little 'linky' today so I have also linked to BBTB2, Die Cuttin Divas, Cooking with Cricut, and Exploring Cricut!

Monday, July 2, 2012

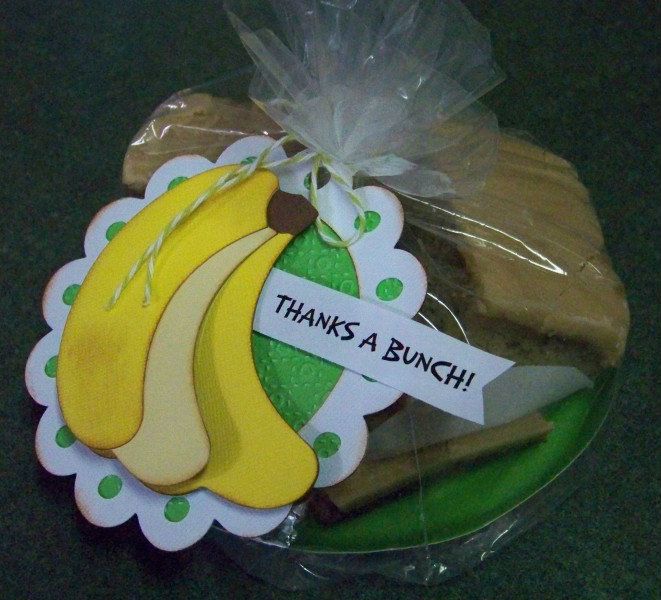
Thanks A Bunch!


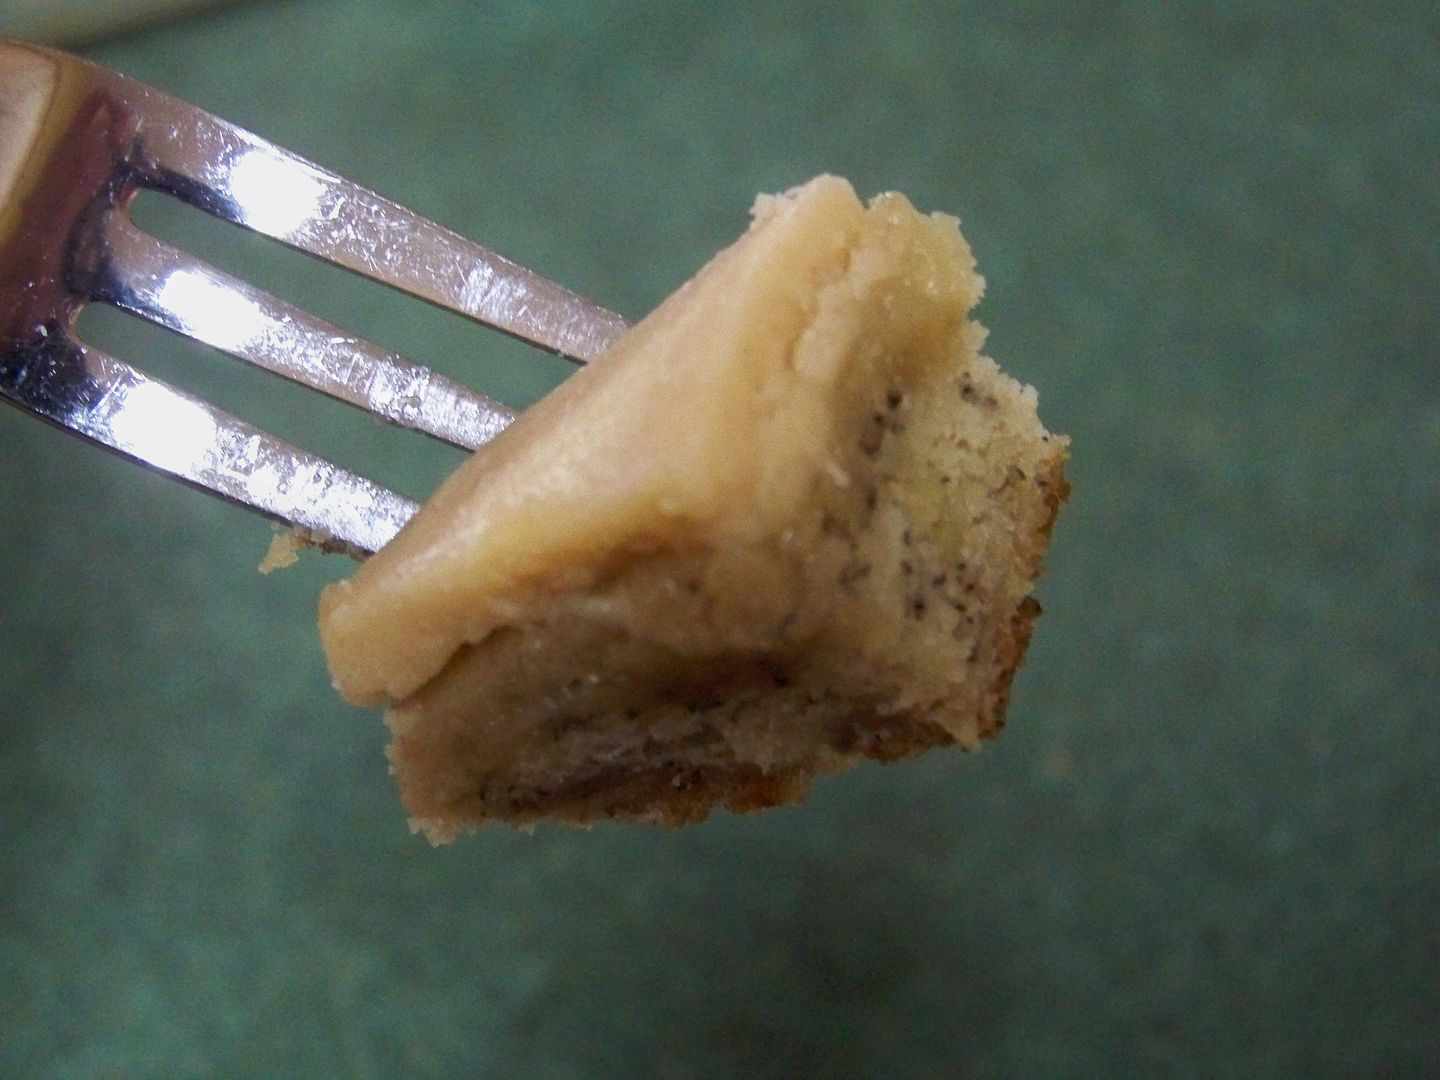
Piper and I did a little baking for her grandparents this weekend.  These are Banana Bread Blondies with Browned Butter Icing --- little thank you gifts.

I found a great recipe online at Life's Simple Pleasures.  You can find it by clicking here.  Jess shows how to get the butter just right and notes in her post that she took the recipe from Christy at The Girl Who Ate Everything (click here for that one), where that blogger also gives baking times for using a regular loaf pan or mini loaf pans instead of the 10x15 jelly roll pan.  The brown butter icing is the cooked kind of icing and is perfectly paired with the banana bars (or any bar or the spoon or the bowl).  I like that wonderful brittle top quality matched with the creamy, melted-in part that lies on the very moist cake.  So easy yet all from scratch (perfect for giving), bakes in under 30 minutes... and a good one to do with a kiddo!  This makes enough bars for giving to two households as well as plenty for sampling here!


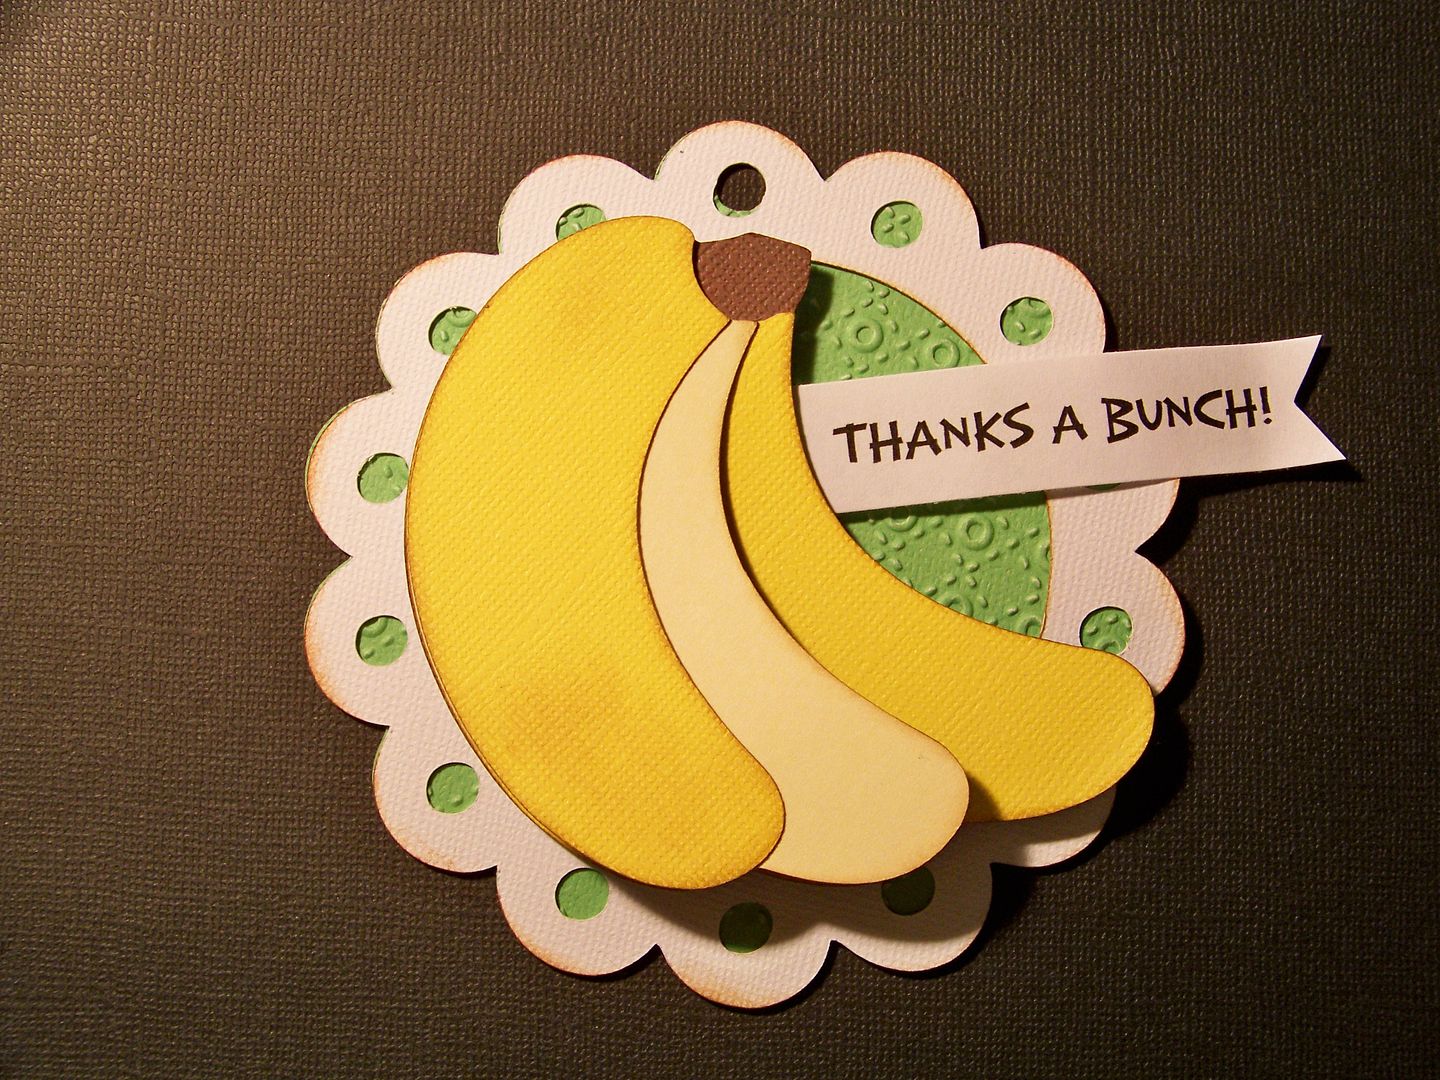
I made a quick little tag to go on them.


  • The bananas were cut from Wild Card 2 (page 41) at 3-1/2" on the Expression.  Inked in brown.  The top layer was popped up using 1/4" pop dots for the bottom of the bananas only; the top was adhered flush.
  • The scalloped circle tag base was cut from Art Philosophy (page 41) at 4-1/4".  The green base was embossed using the Cuttlebug.
  • The sentiment was printed from the computer using Microsoft font Exotic Island BTN at 18 point.  I hand-cut the little banner.

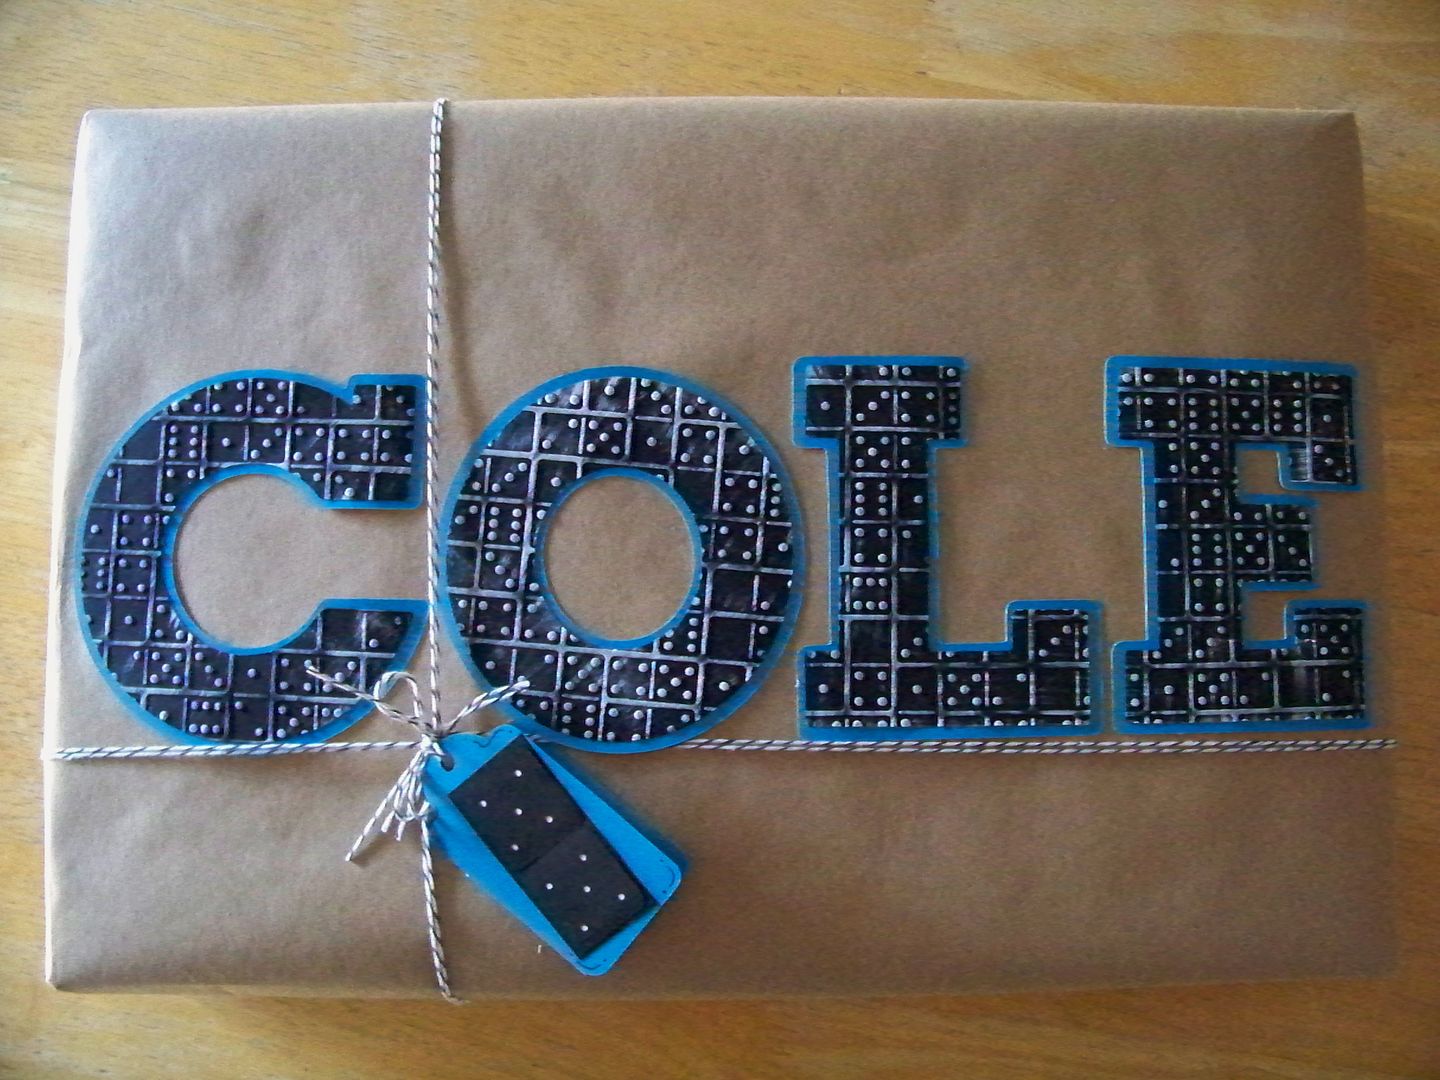
I also wanted to share a couple of fun birthday wraps from a recent birthday party for siblings.


This one is for a boy who is very obsessed with Dominoes right now.  He builds Domino rallies and requested more so this is  filled with hundreds of the black wood kind of dominoes.  I got a fast lesson in which dominoes are used for this type of application and found a great source for black, wood, double-six, "building dominoes" in bulk at EAI.  Click here for a link to their dominoes.  I used Birthday Bash for the letters and the Cuttlebug Dominoes folder to emboss dominoes on them.  I used a white acrylic paint and a dry brush to paint over the  raised areas to accentuate the pattern.


This is for his sister--one of my daughter's little friends from school.  I used their pirate pool party theme as a guide and the Imagine cart Buccaneer for the parrot, banner, and "Happy Birthday Matey" above the banner.  The child's name was cut using Cricut Blackletter.  I folded the banner according to the way it was printed and popped up the center 1/2".
Thanks for checking out my post today.   We are in the midst of a very hot, dry summer here in Kentucky!  I hope that you are keeping cool wherever you are!

But wait! There's more! Click 'older posts' above!

But wait!  There's more!  Click 'older posts' above!