Tuesday, May 8, 2012

Something Old Something New Challenge


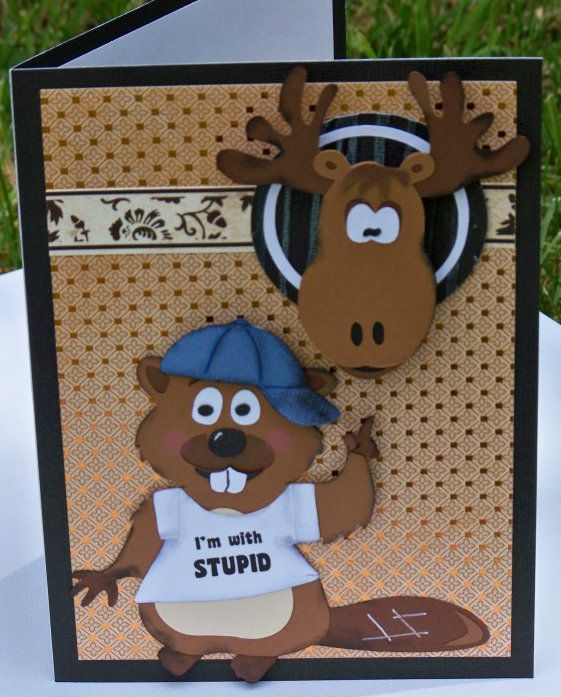
 This is my entry for the Cricut Circle Blog NSD Crop:  Something Old Something New!  I cracked myself up with this concept.  (My husband was less than amused, which goes to show you can't please everyone).  This challenge required using one older cartridge and one newer one.  I chose Everyday Paper Dolls and Go Canada!

For the crafty details (everything was cut with the Cricut Expression unless otherwise noted):

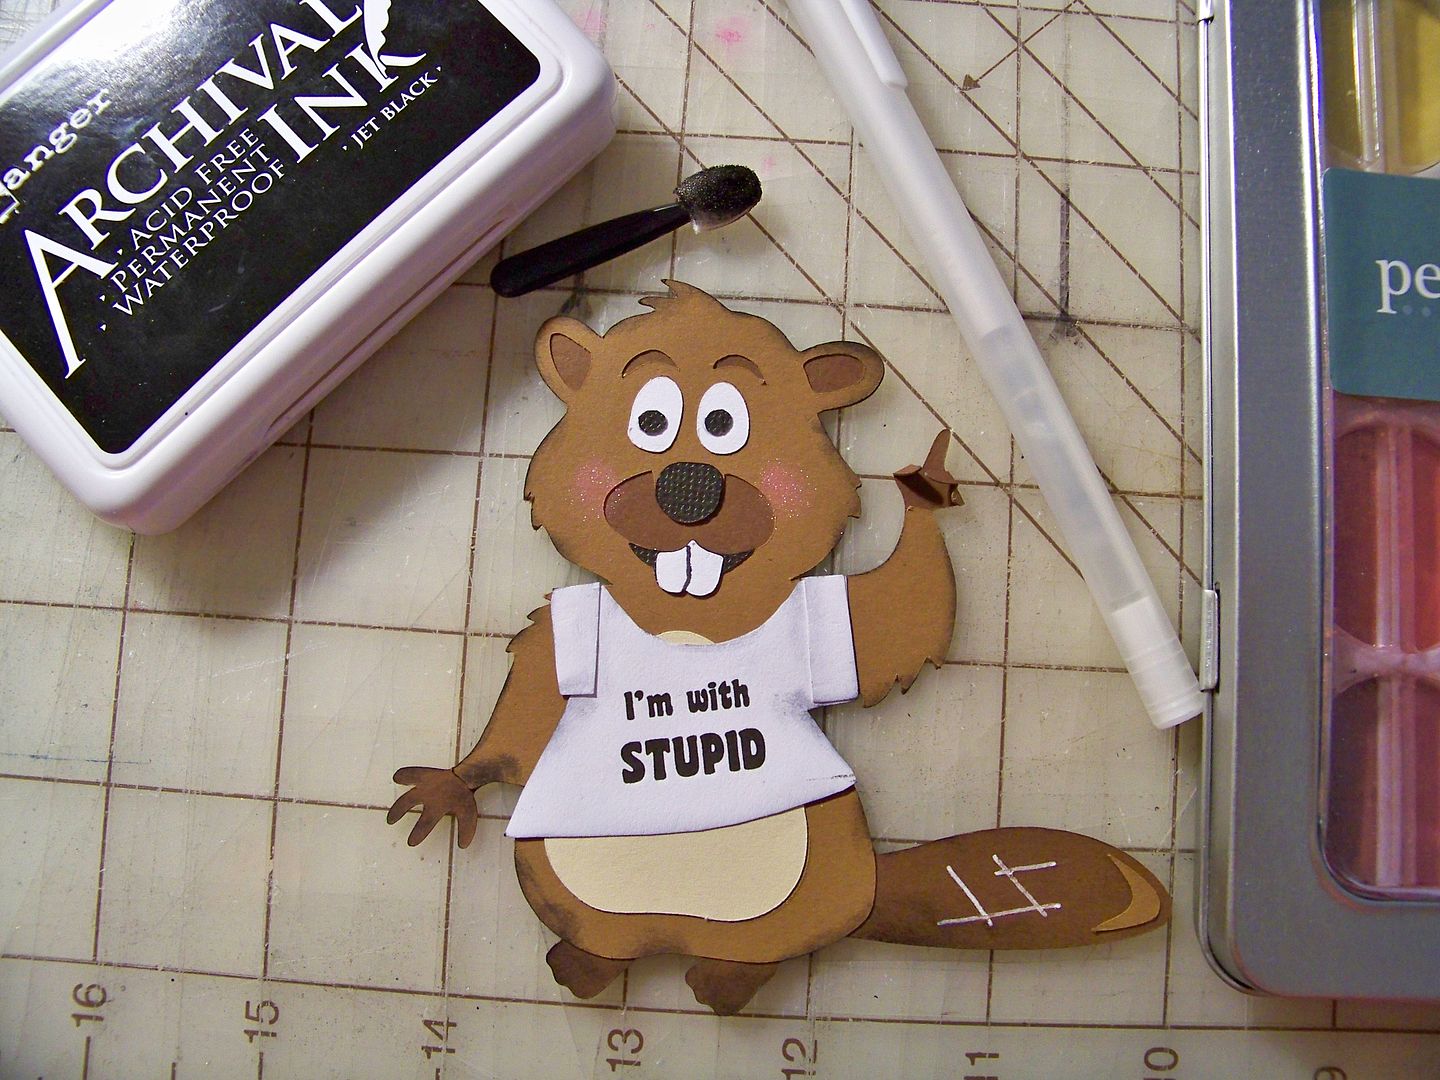
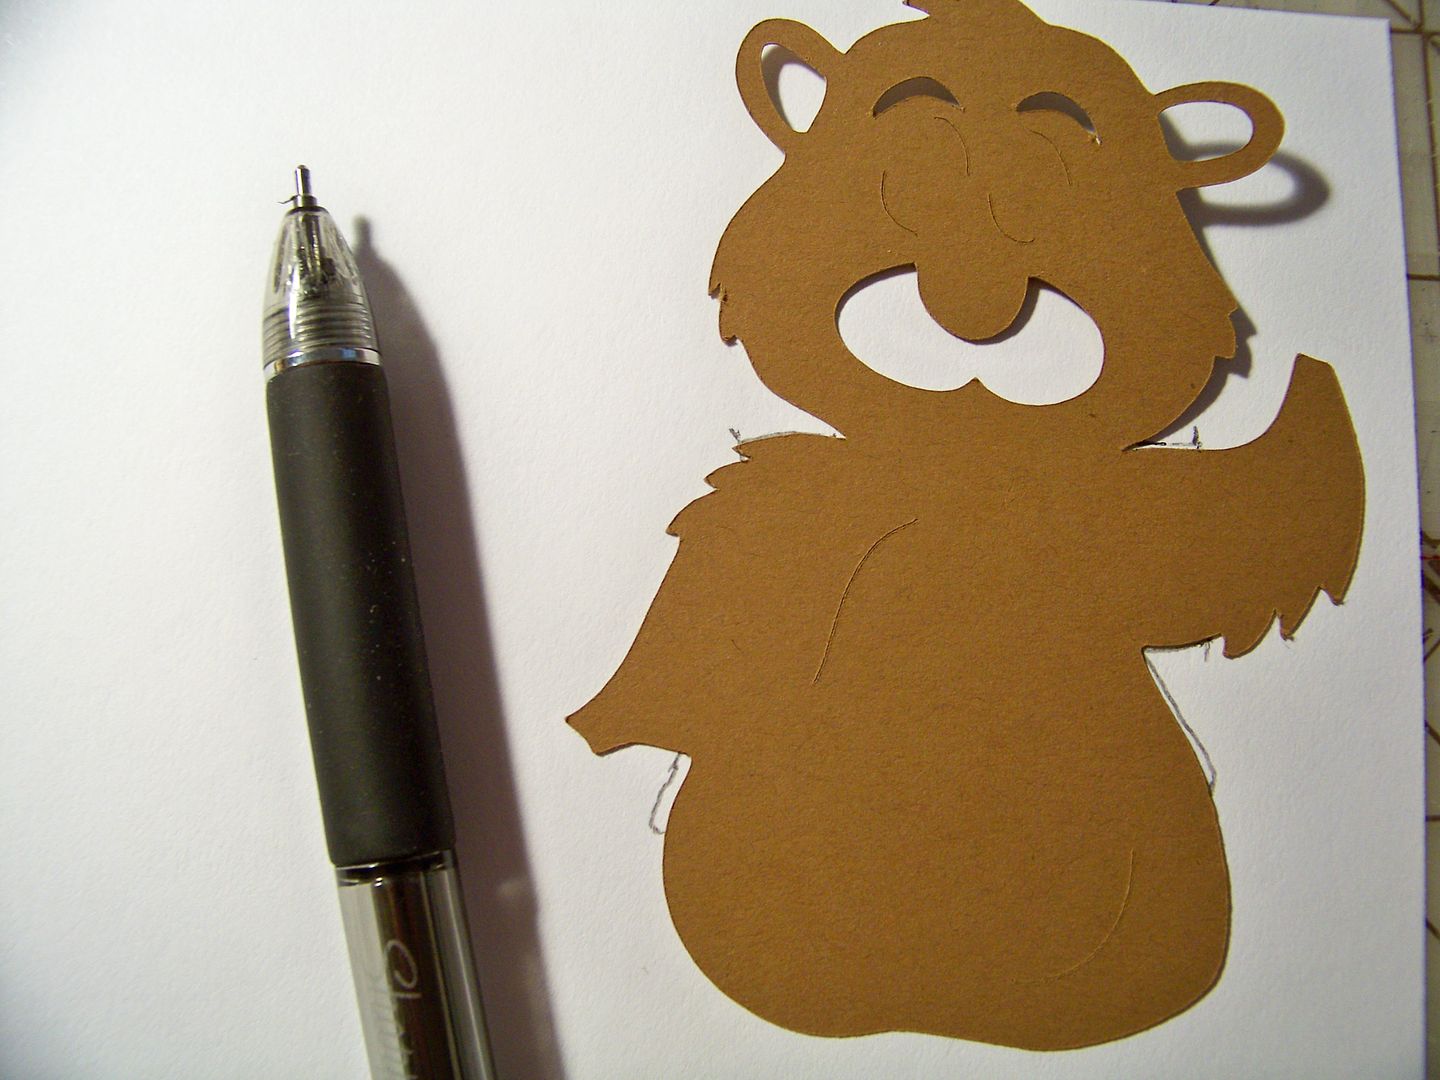
I started with the beaver from Go Canada! (page 32), cut at 4".  I bought this cartridge just for this cut.  I had so much fun developing this little guy's personality!  He reminded me of every little boy I knew in elementary school growing up.

I hand-cut his t-shirt by first tracing the top layer, cutting out and then adding a couple of pieces so the sleeves would look rolled up.


I inked him in black, used pearlescent chalks for his cheeks, and detailed his tail with a white gel pen.  (I later added a little shine to his nose with the same gel pen).  I bent his feet up a bit.


I ran the t-shirt (before gluing on him) through my printer and added text from Microsoft Coaster at 14 and 20 point.  I inked the shirt in black to give it a little grubbiness.

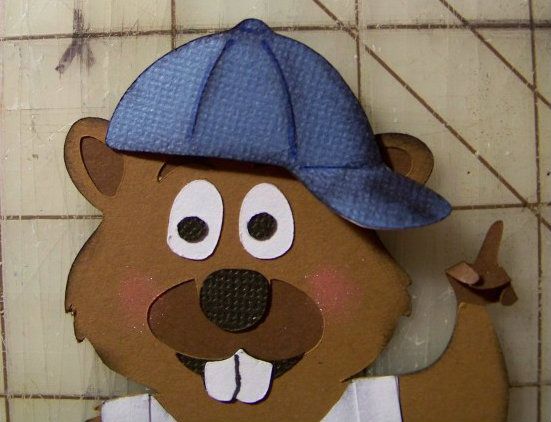
I cut his hat from Everyday Paper Dolls (page 69) at 3-1/4".  I inked it heavily, bent it at the score lines to give it volume, and turned up the bill a bit.  I popped it up with 1/16" pop dot in the center only, allowing the sides to bend down.


I bent his fingers to make him point and glued his thumb in place.

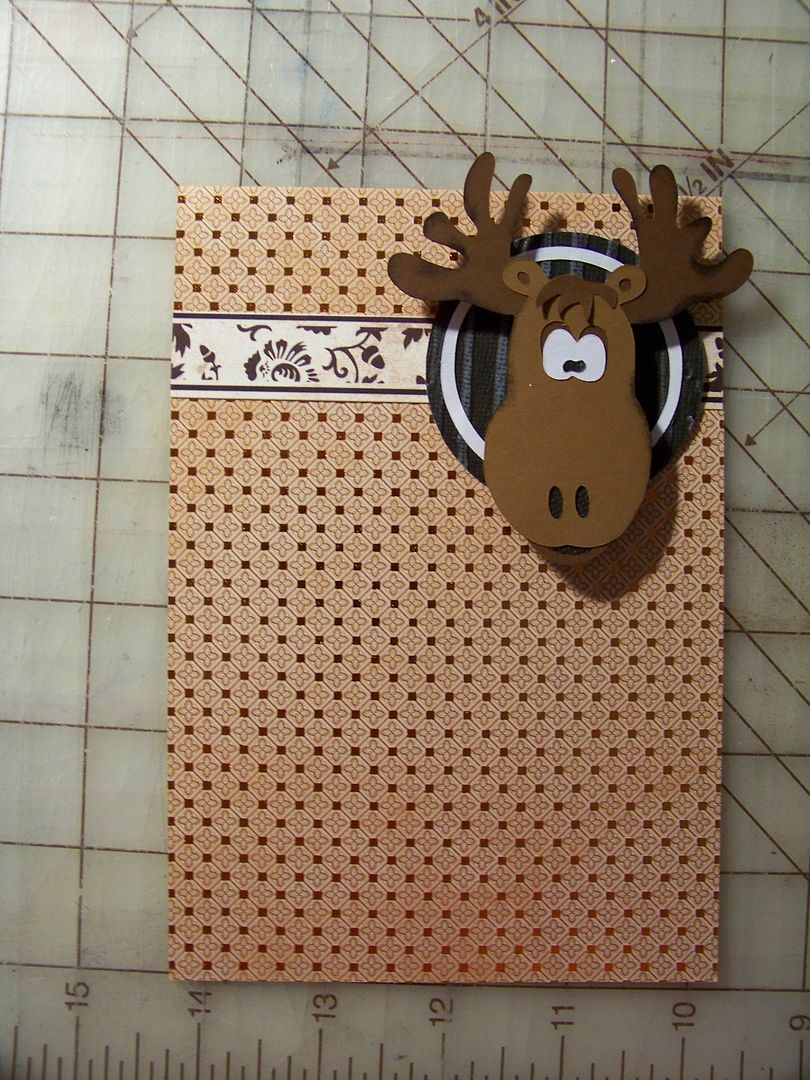
I cut the moose from Go Canada! at 3-1/4".  I used my Cuttlebug on the base and ran a white ink pad over it to emphasize the embossing.  I snipped off the antlers and chin from the base so that I could pop up the head 1/4" off the base.  I bent his bangs up a bit for dimension.


I used a 4-1/2" x 6-1/2" piece of cardstock and handcut a strip from a striped paper to create a wallpaper border.  I added the mounted moose head.


I adhered the beaver flat except for his pointing arm, which I popped up 1/16".


I folded down a 7"x10" piece of cardstock for the base to create a 5" x 7" card and adhered the mat to it.  I also added a 4-1/2" x 6-1/2" white mat to the inside to make it easier to write a message.


Yay!  One more challenge completed!  Thank you for checking my blog today!  To see many of my previous projects, click here to go to My Project Gallery.

Monday, May 7, 2012

Cartridge Winner & My Gift from Barbara Stewart

So much to share!  I received a gorgeous mixed media book today from Barbara Stewart... but before I share photos of that, my Master of Ceremonies has graciously agreed to draw the winner of The Good Old Days Imagine cartridge!

I want to thank you all for your kind comments on that post.  Heck, you would have been in the drawing even if you typed, "Sign me up, Chick-o," but instead, I received many unexpectedly sweet messages! 

OK- here's the thing:  we are old-fashioned here at the Glittering Eyes blog.  We don't do random.org, we instead find a child who will work for Reese's Cups and ask her to draw a name from a hat.  Yep, it's a little bit Mayberry, but that's just how we like it.  (Mostly, I have just convinced Piper that she is the star of the blog when she helps me and that is enough to tip random.org out of the boat.)

Well, Ms. Impatient is ready to get going with this!So... without further ado....the lovely Master of Ceremonies takes her bow....


Reaches deep into the hat... makes a comment about Lidsville.....tells me she is glad she didn't have to wear the paper hat like I wanted her to do....mixes up the entries....


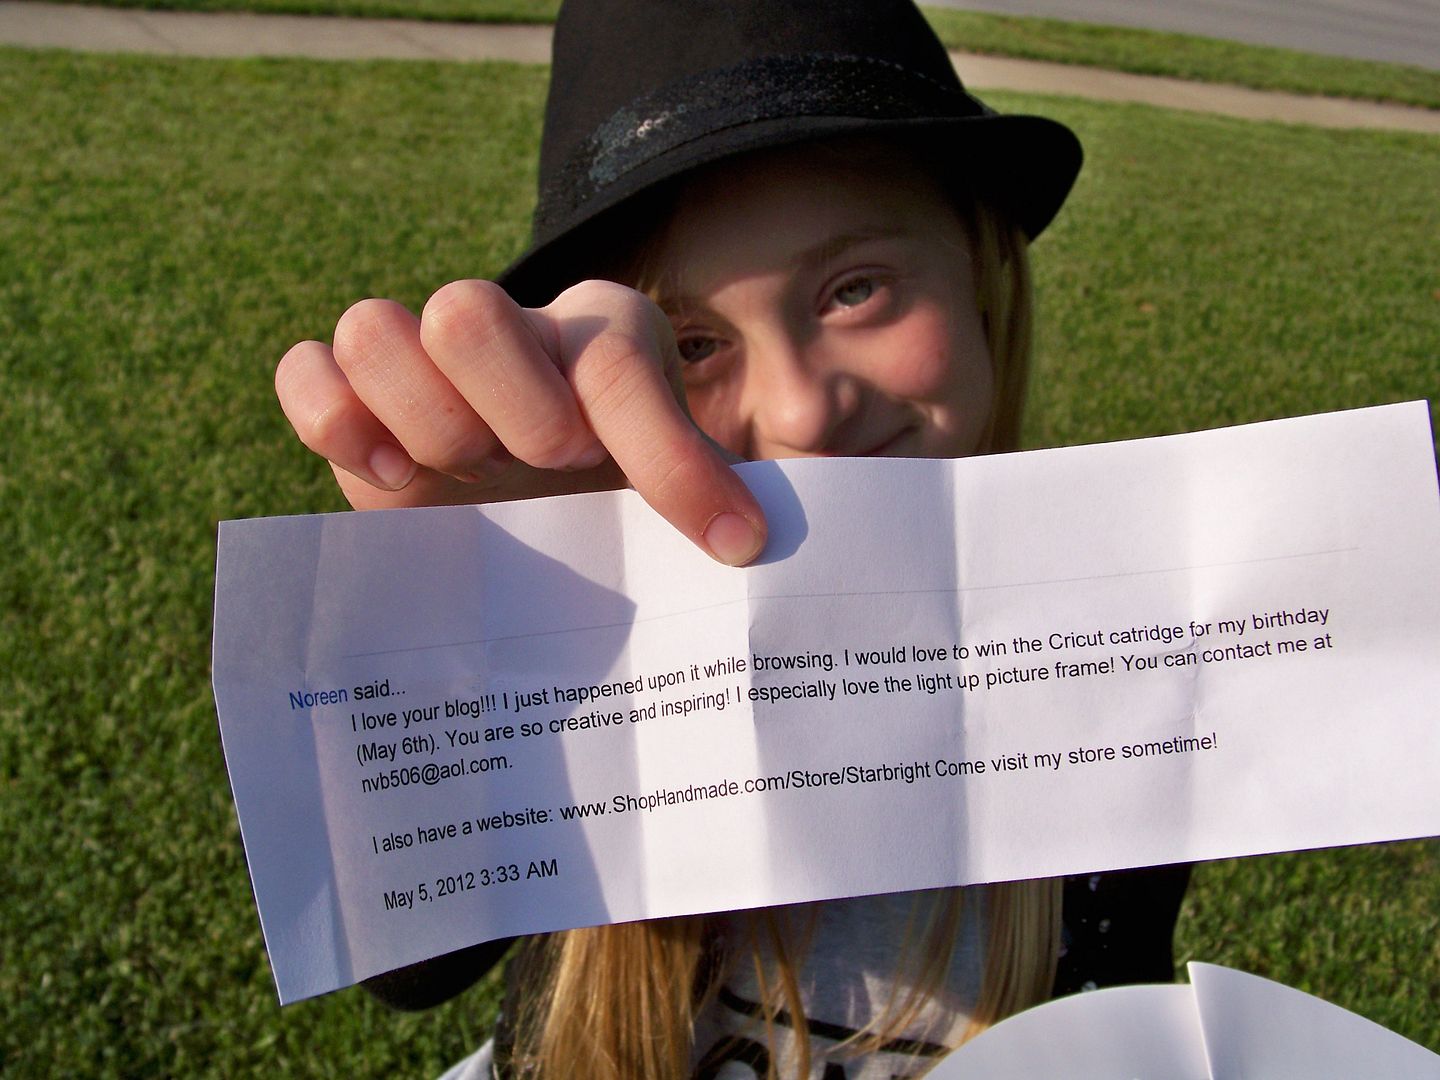
....and pulls out.....


Congrats Noreen!  I will email you shortly for your mailing address!  


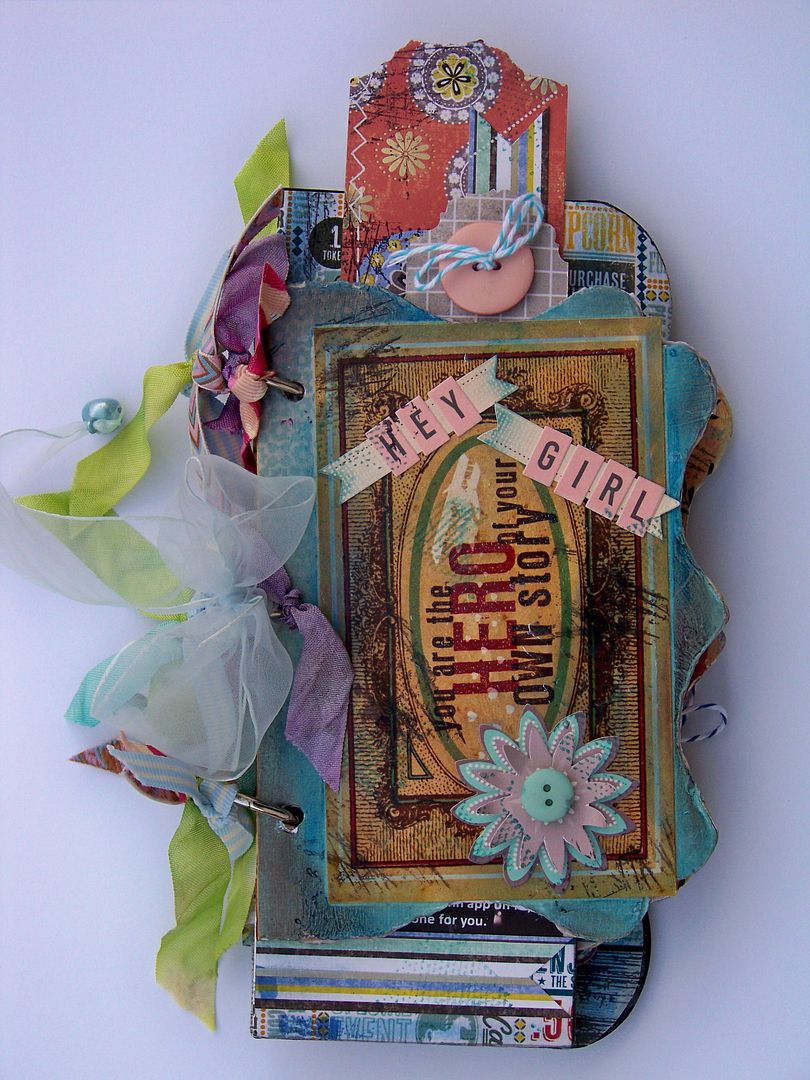
And now.... I want to share a very special gift that Barbara Stewart (barbarastewart1 on the Cricut Circle message board) sent to me! 

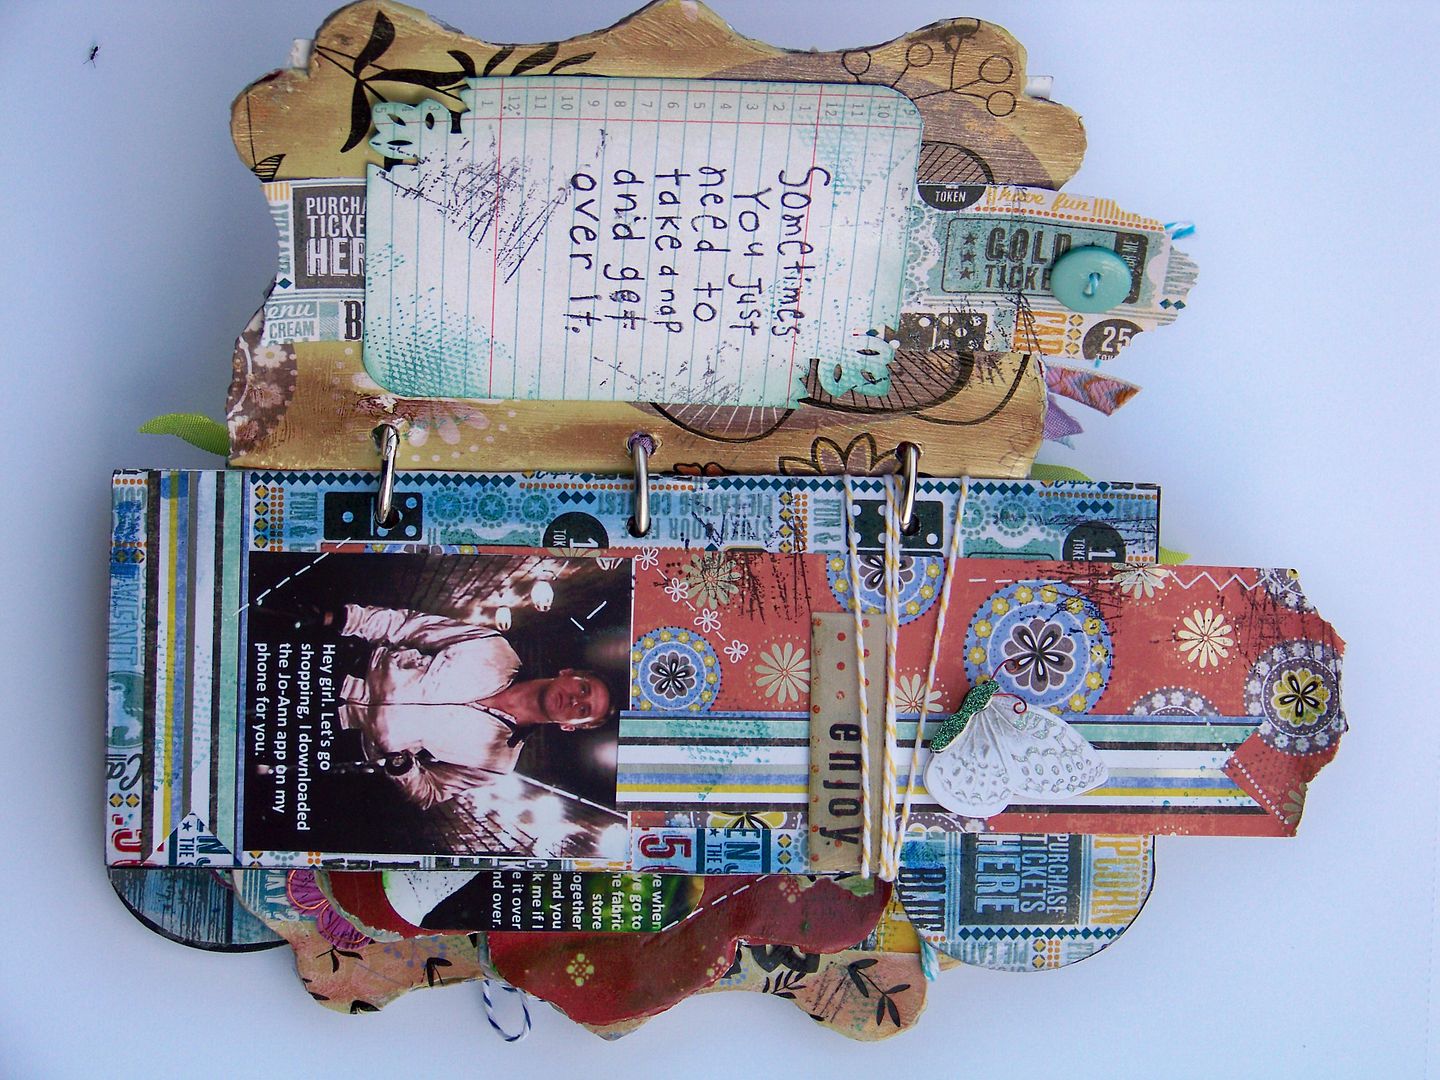
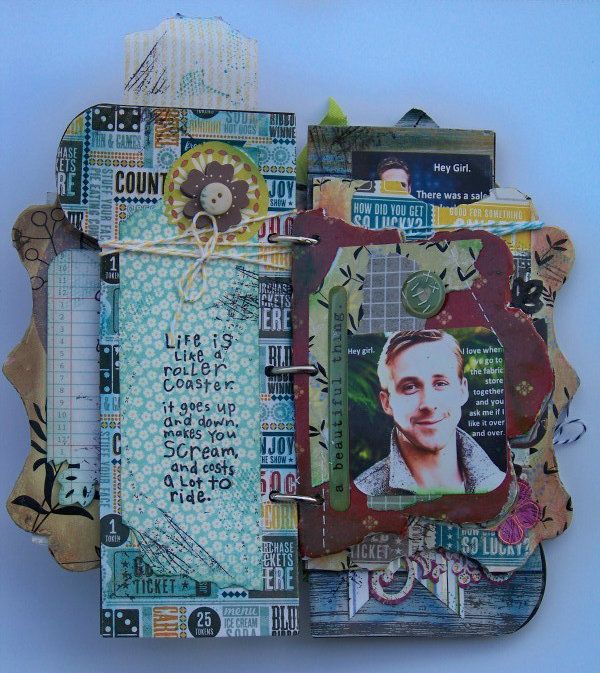
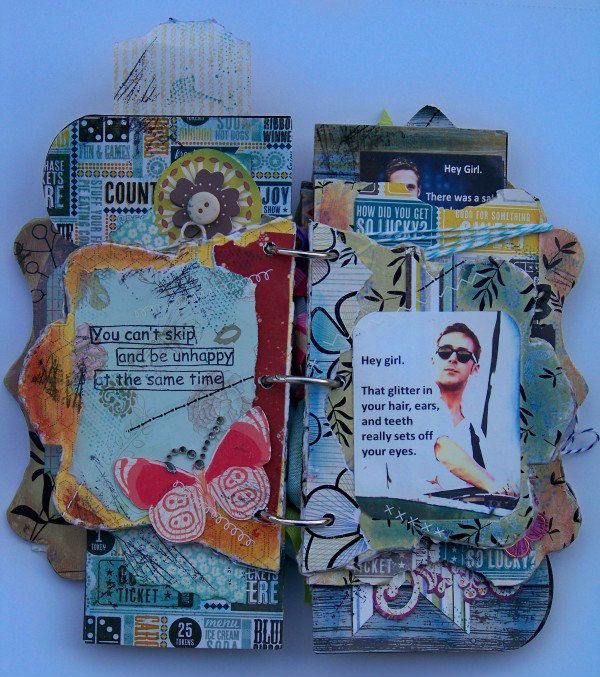
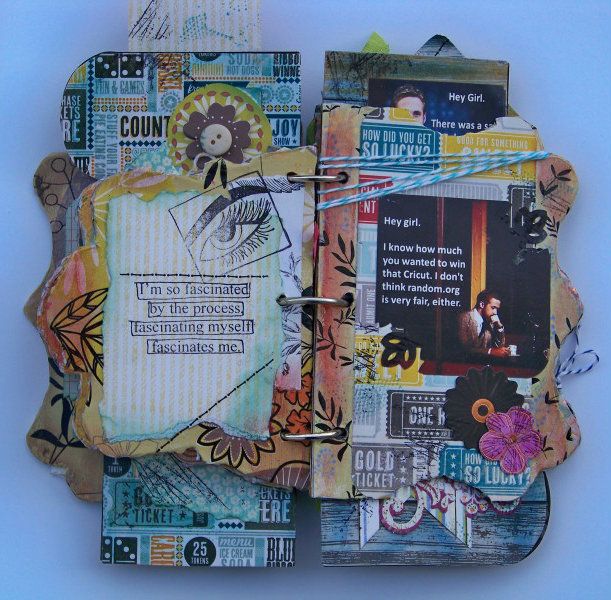
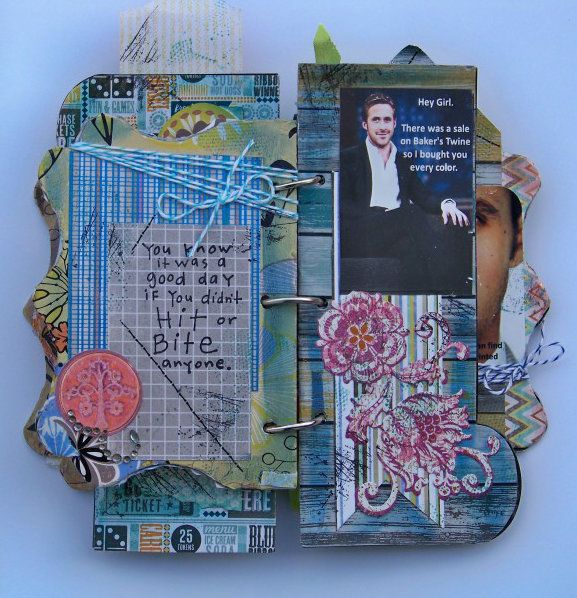
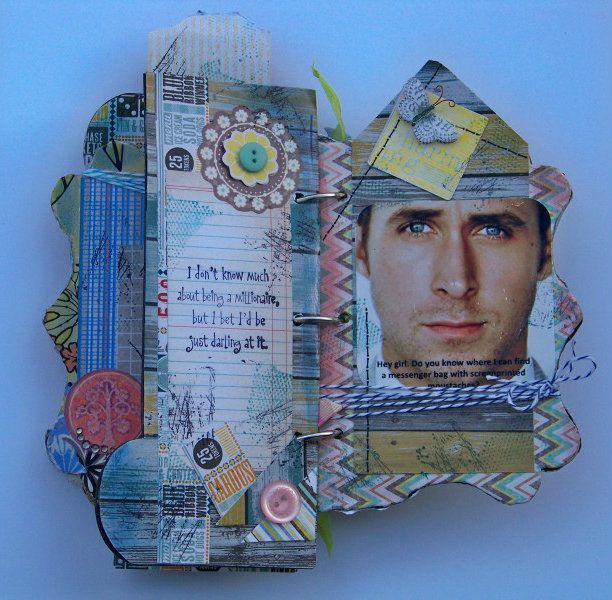
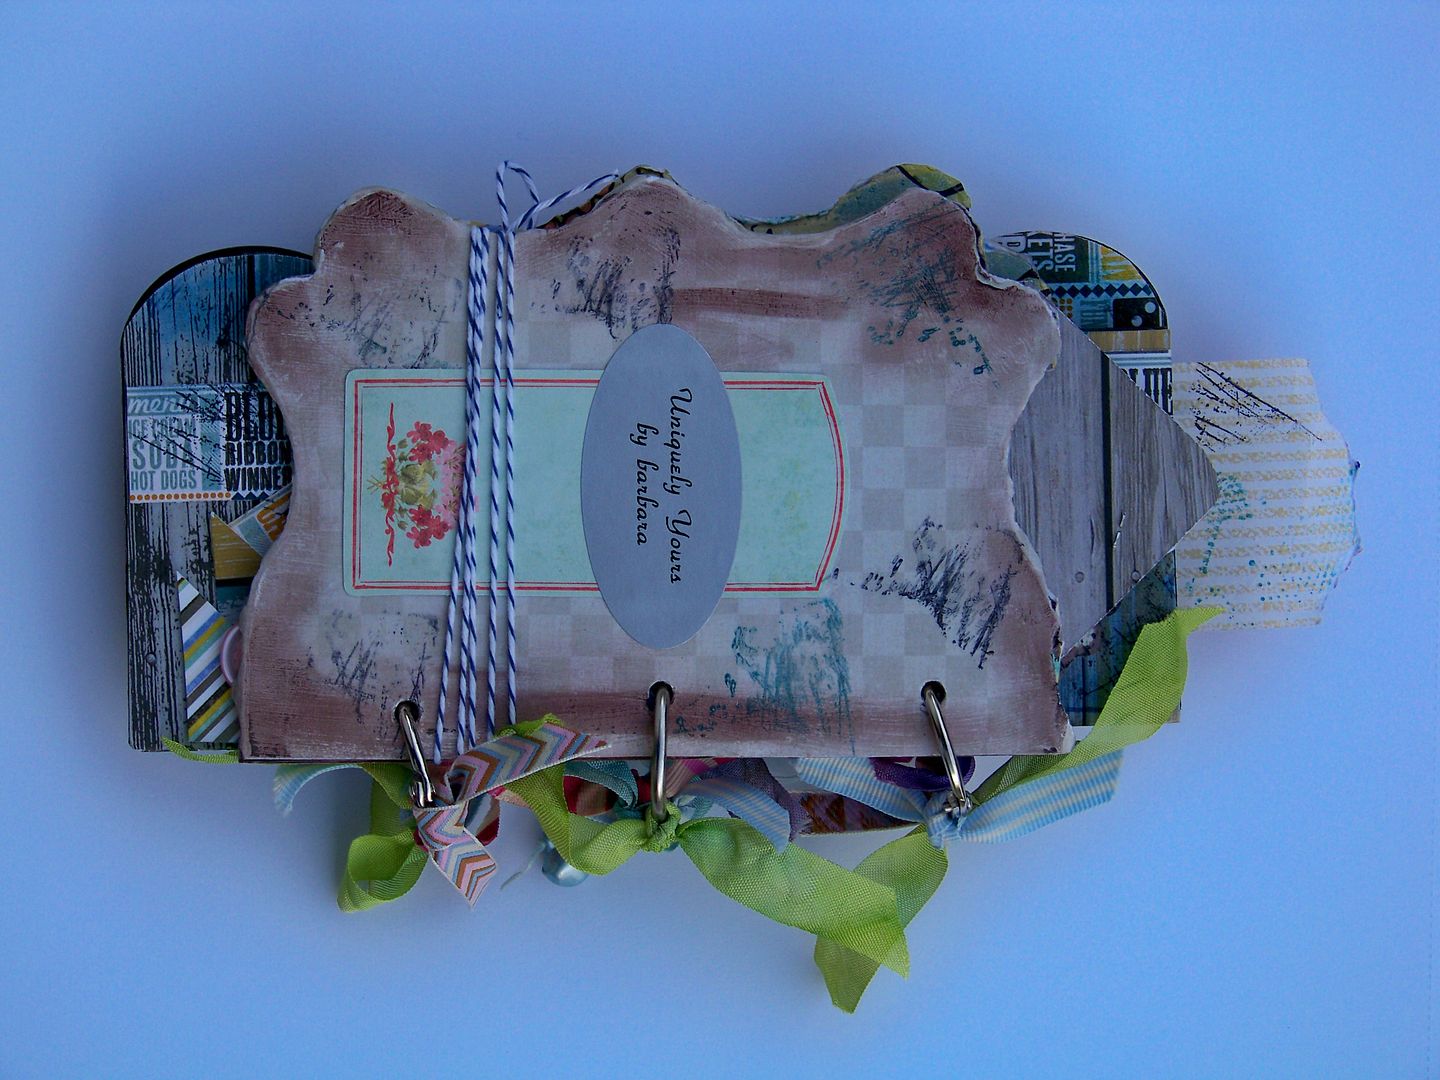
Barbara has posted some of her incredible Smashbook mixed media creations on the Good Morning thread and I have drooled over them.  For this book, Barbara was inspired by the Ryan Gosling "Hey Girl" posts that we laughed about on the message board.  What I love about this is that Barbara's personality, sense of humor, paper crafting skills, energy, and style all shine through!   This book is characterized by shaped, heavy board-like pages layered with multiple papers, textures, and embellishments.  She has found a way to magically keep the mood and palette continuous throughout while using dozens of different elements.  The way she has put this together is pure magic to me and has touched my heart!  I wanted to share with you some pictures.  


I love the weight and organic shape of the pages, the tactile quality of the project, and the spirit and humor that is all Barbara!  Thank you, Barbara, for sending me such a fabulous gift!  I just love it! It is pure treasure!

Thank you for visiting my blog today!  This was fun!  If you are lost on what this "Hey Girl" and Ryan Gosling stuff is all about, click here to check it out.  (I promise it will make you laugh!).  I am still working feverishly on challenge projects from the past weekend on the Cricut Circle Blog, hoping to have one to post soon!  

Recipe Challenge: Chatty Chickens


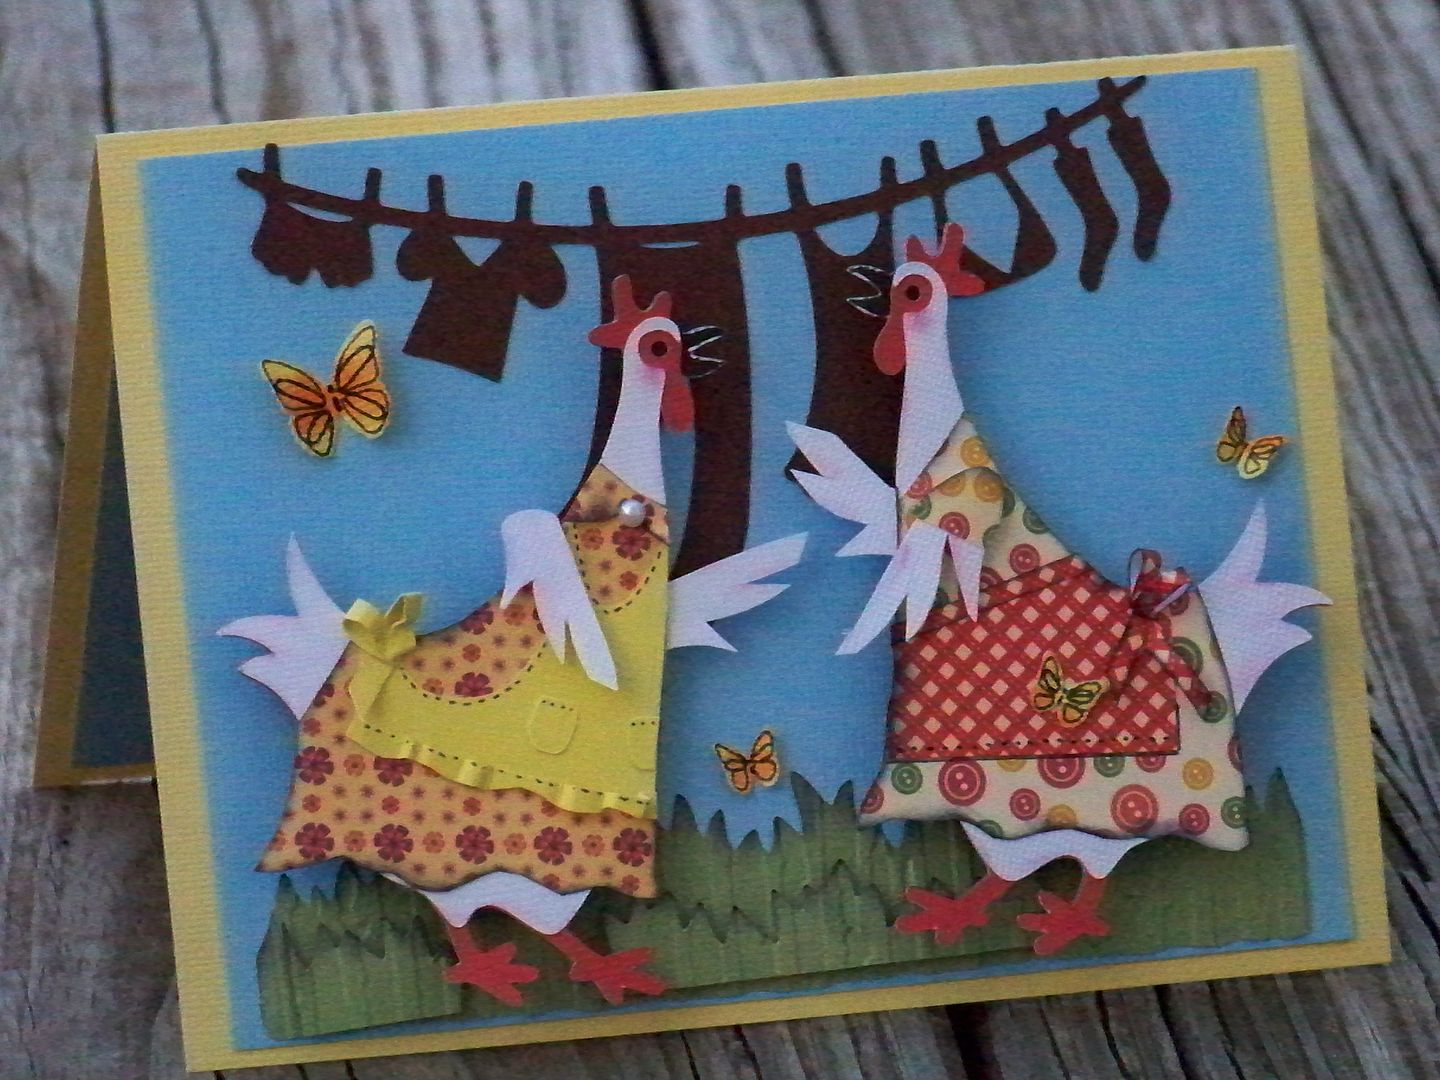
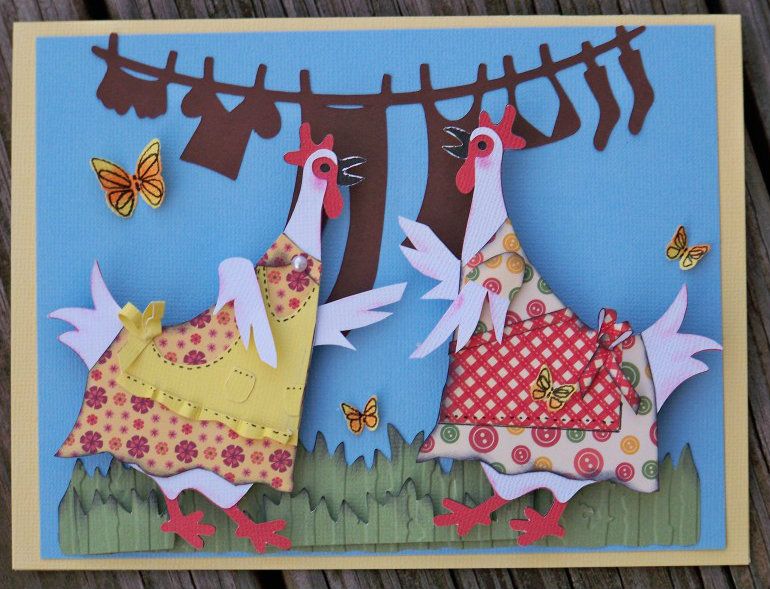
 This is my entry for the Cricut Circle NSD Crop Recipe Challenge.  To say that I enjoyed this challenge is an understatement!  We were given a "recipe" to create any kind of project for this challenge:
  • At least three Cricut image cuts
  • Three patterned papers
  • A Butterfly, bird, or bug
  • Machine, pen, or hand-stitching
  • The color yellow
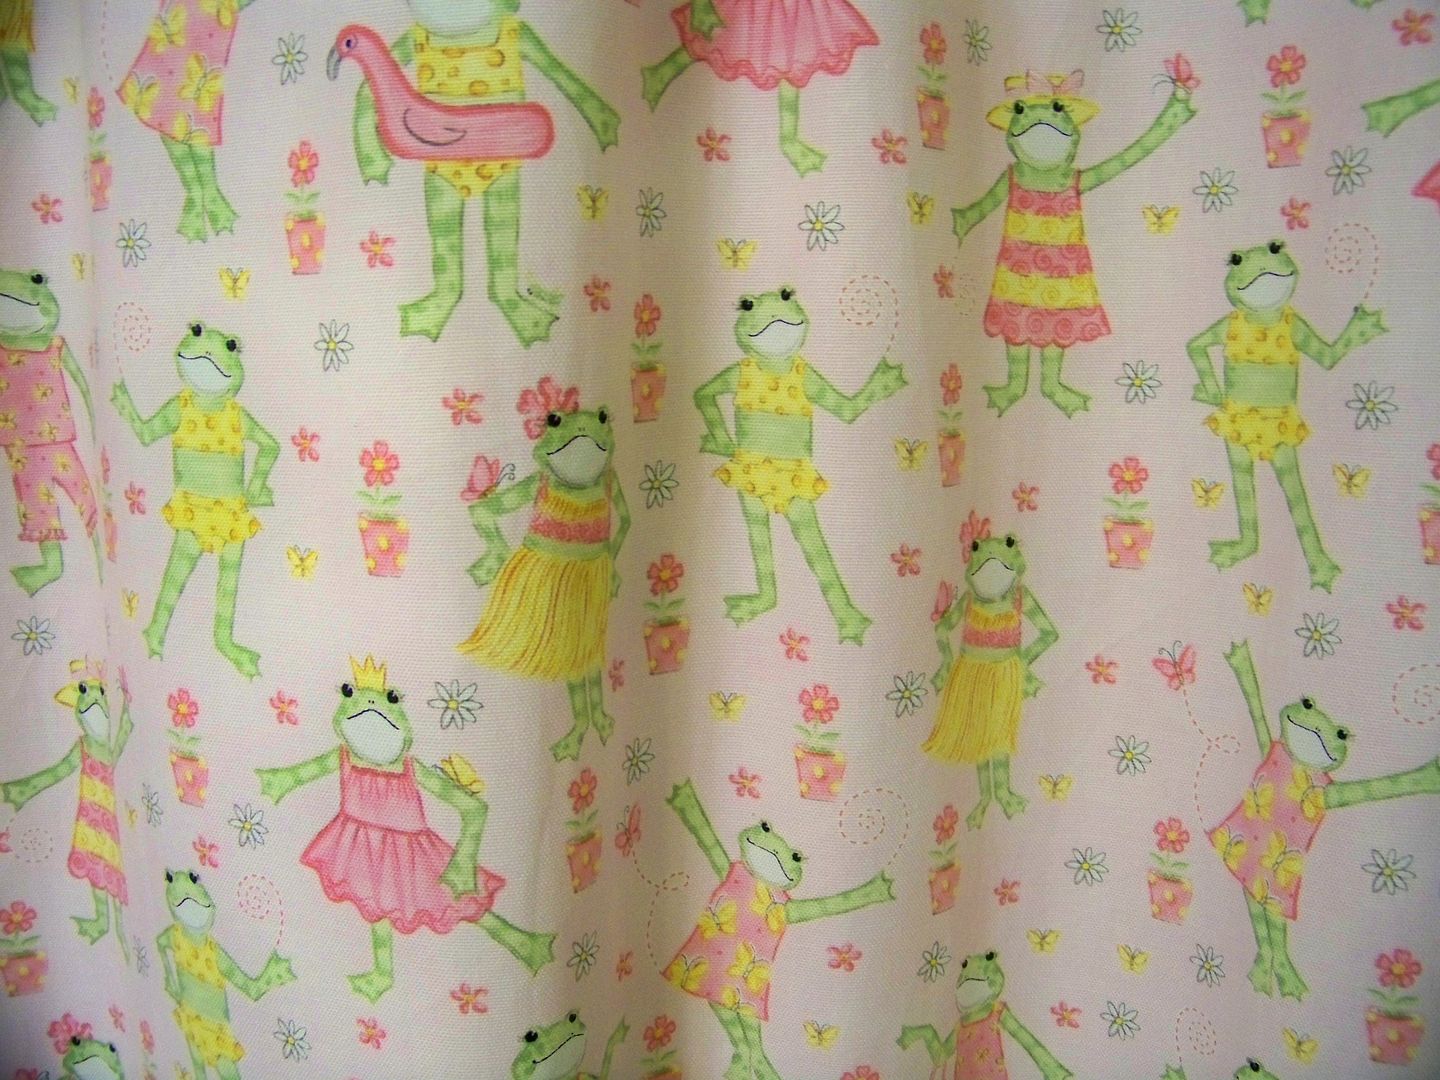
Anthropomorphic animals have been on my mind after seeing Jayme McGowan's Pinterest pinboard with this title (and thanks to her that I even have a term for 'critters in clothing') but it wasn't until I paid attention to my daughter's shower curtain (that I sewed years ago) that I decided to try this.


For the crafty details (all the cuts were made on the Expression unless otherwise indicated):
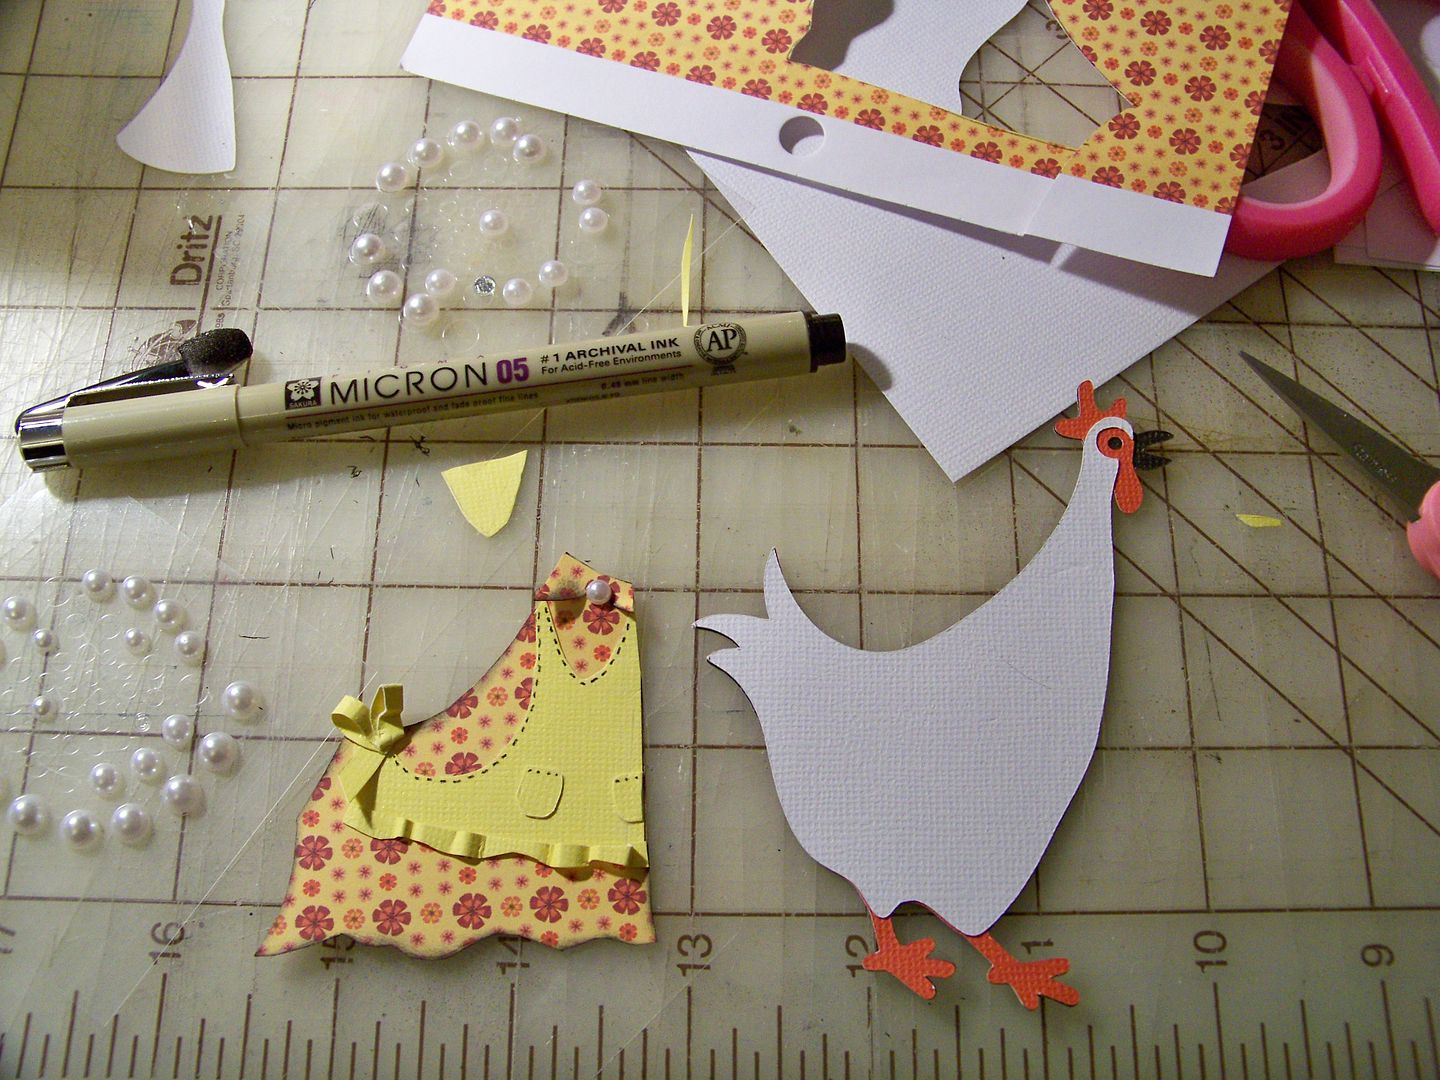
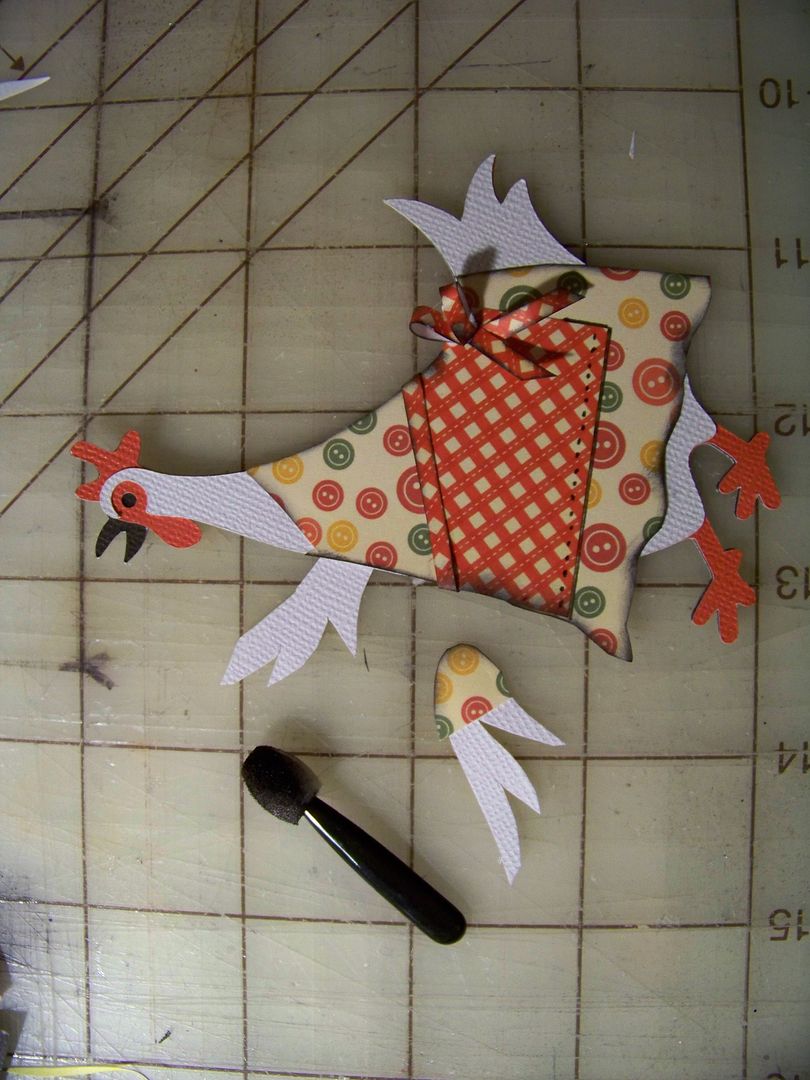
  • The chickens were cut at 4" from Noah's ABC Animals (page 27), flipping one.  I hand-cut their wings and little dresses with aprons.  I used a Micron pen to add "stitching".  I popped them up 1/4".  Their front wings are popped up an additional 1/16".


  • The clothesline was cut from Country Life (page 59), cutting at 3".
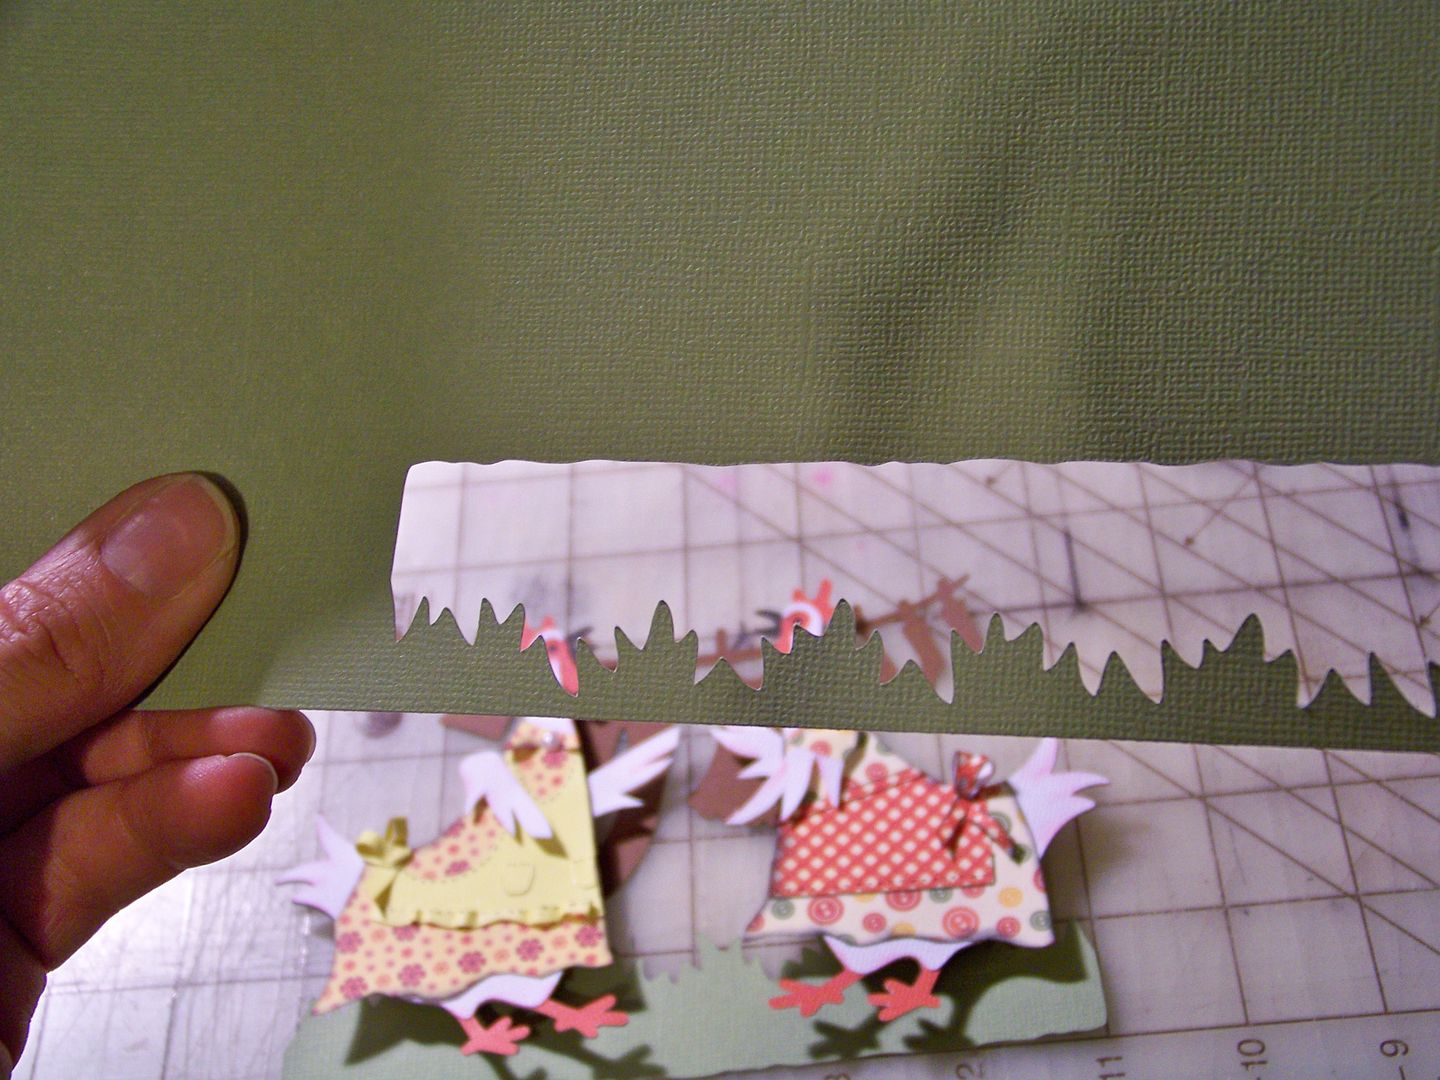
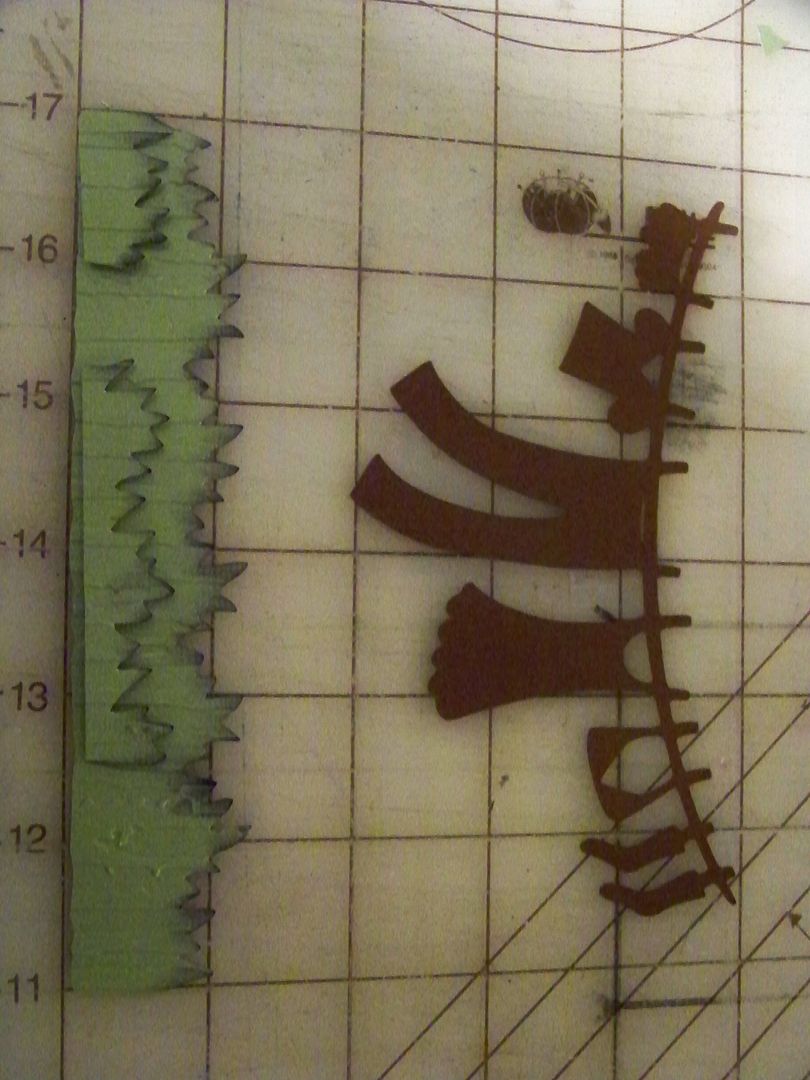
  • The grass was cut from Paper Doll Dress Up (page 78), cut at 1-1/4" (6" Fit-to-Length).  I used a Cuttlebug folder and inking to add a little texture to the grass.  I also used the negative space from the cut to add a raised layer of grass, popped up 1/16".  


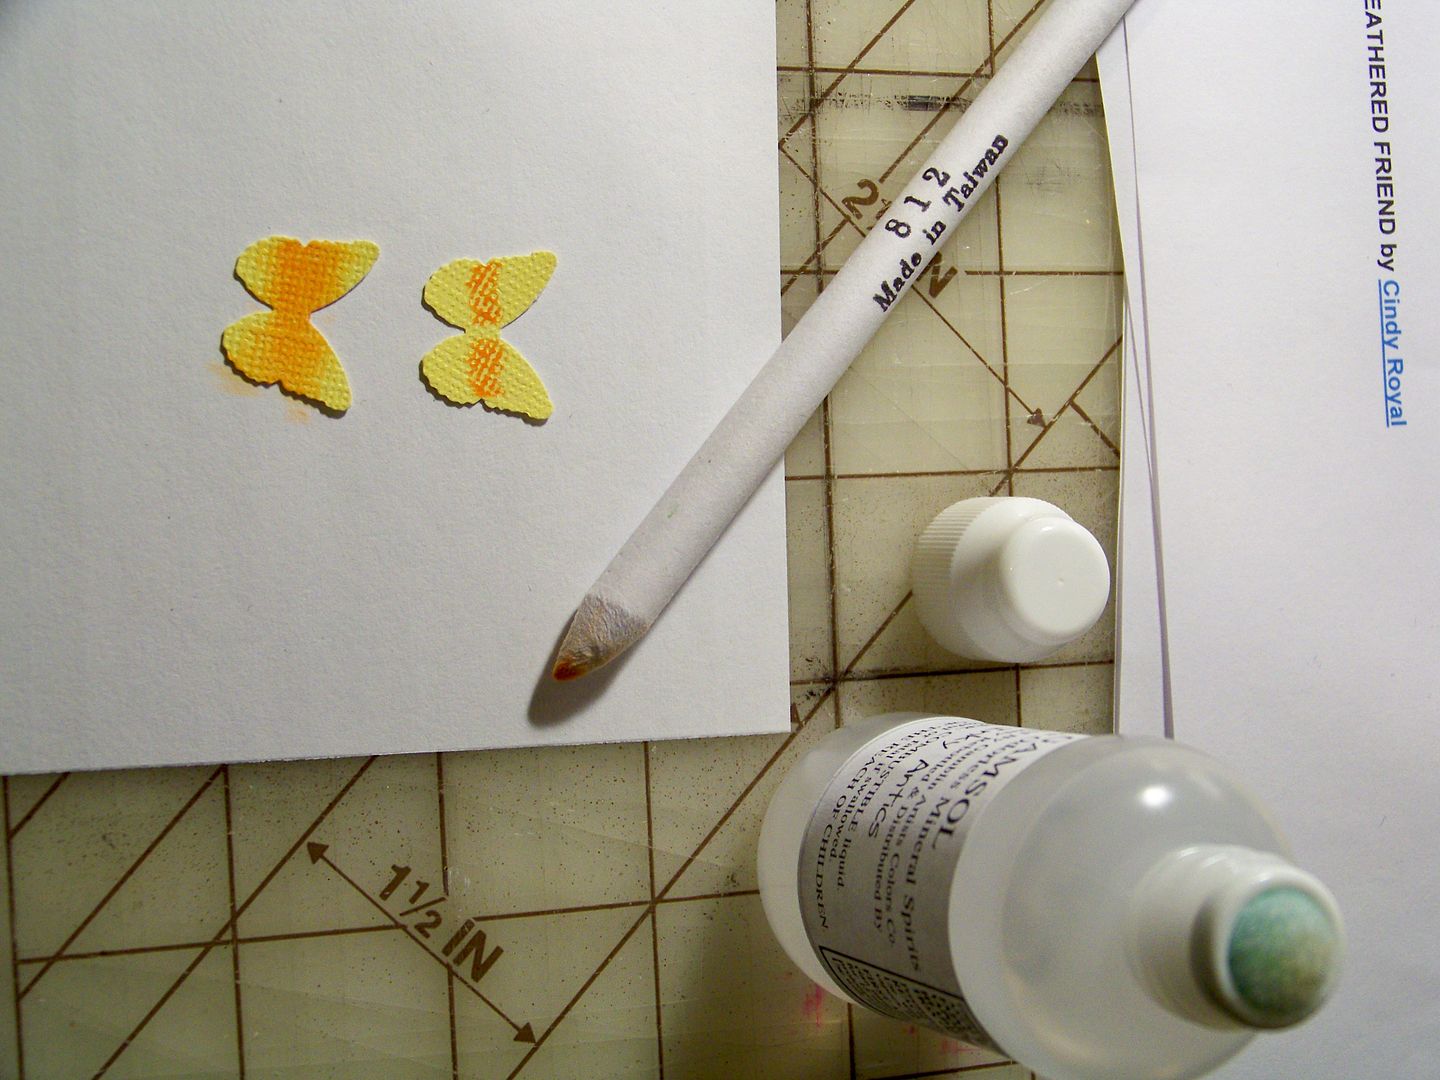
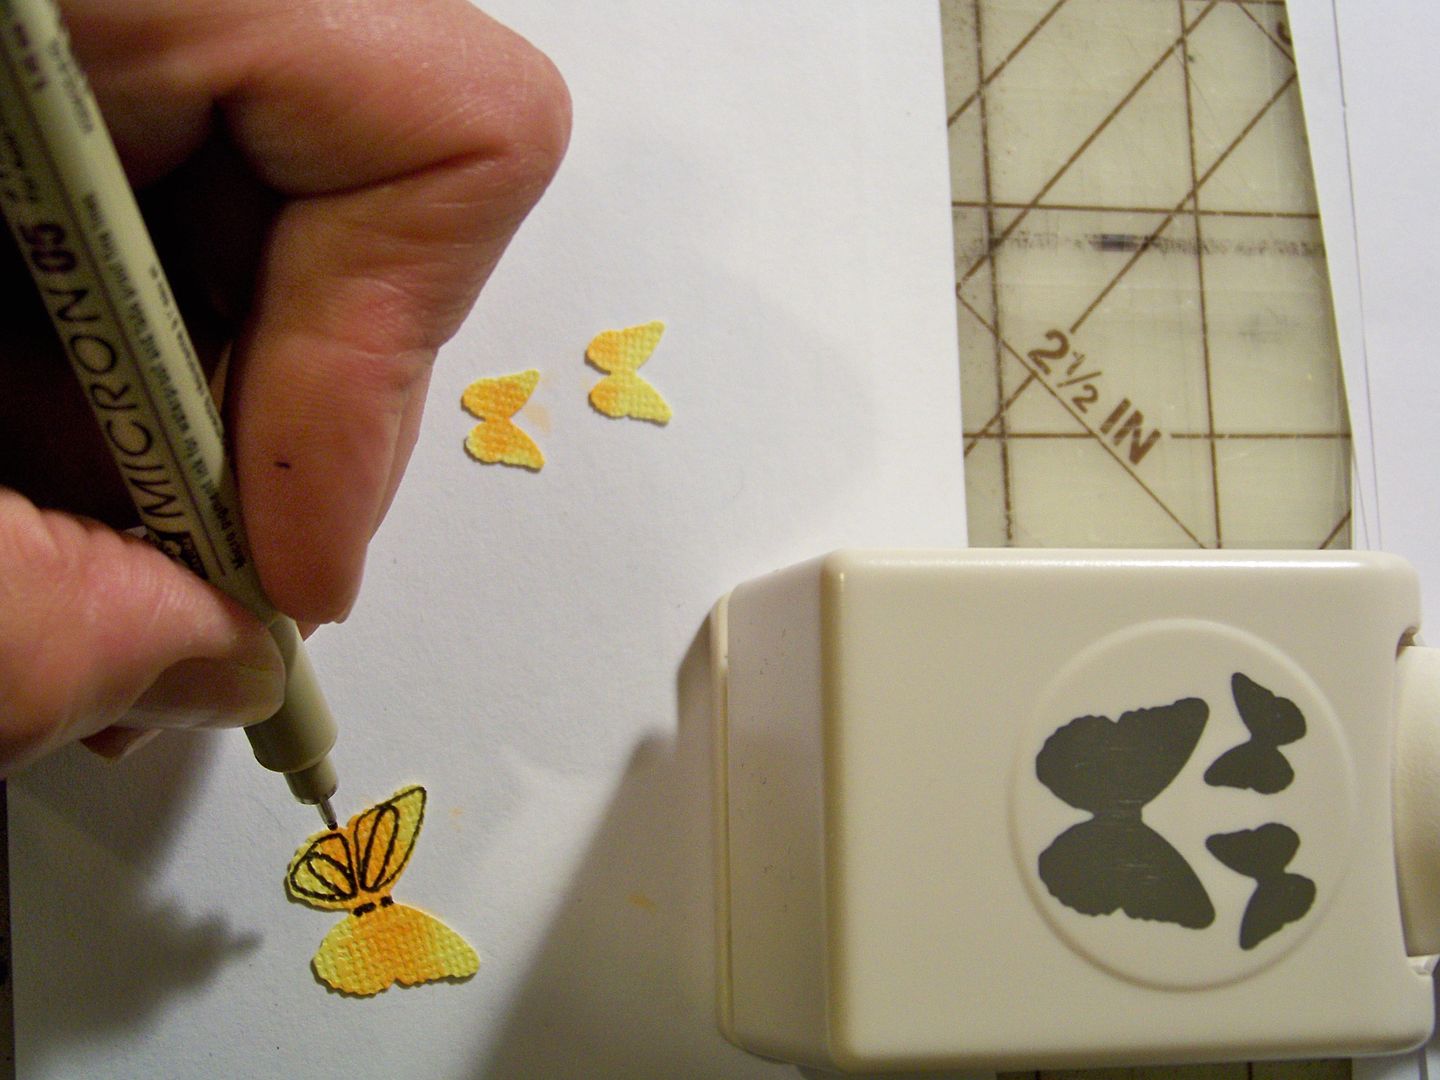
  • The butterflies were cut using a Martha Stewart punch.  I colored them with colored pencil blended with gamsol and detailed with a Micron pen.


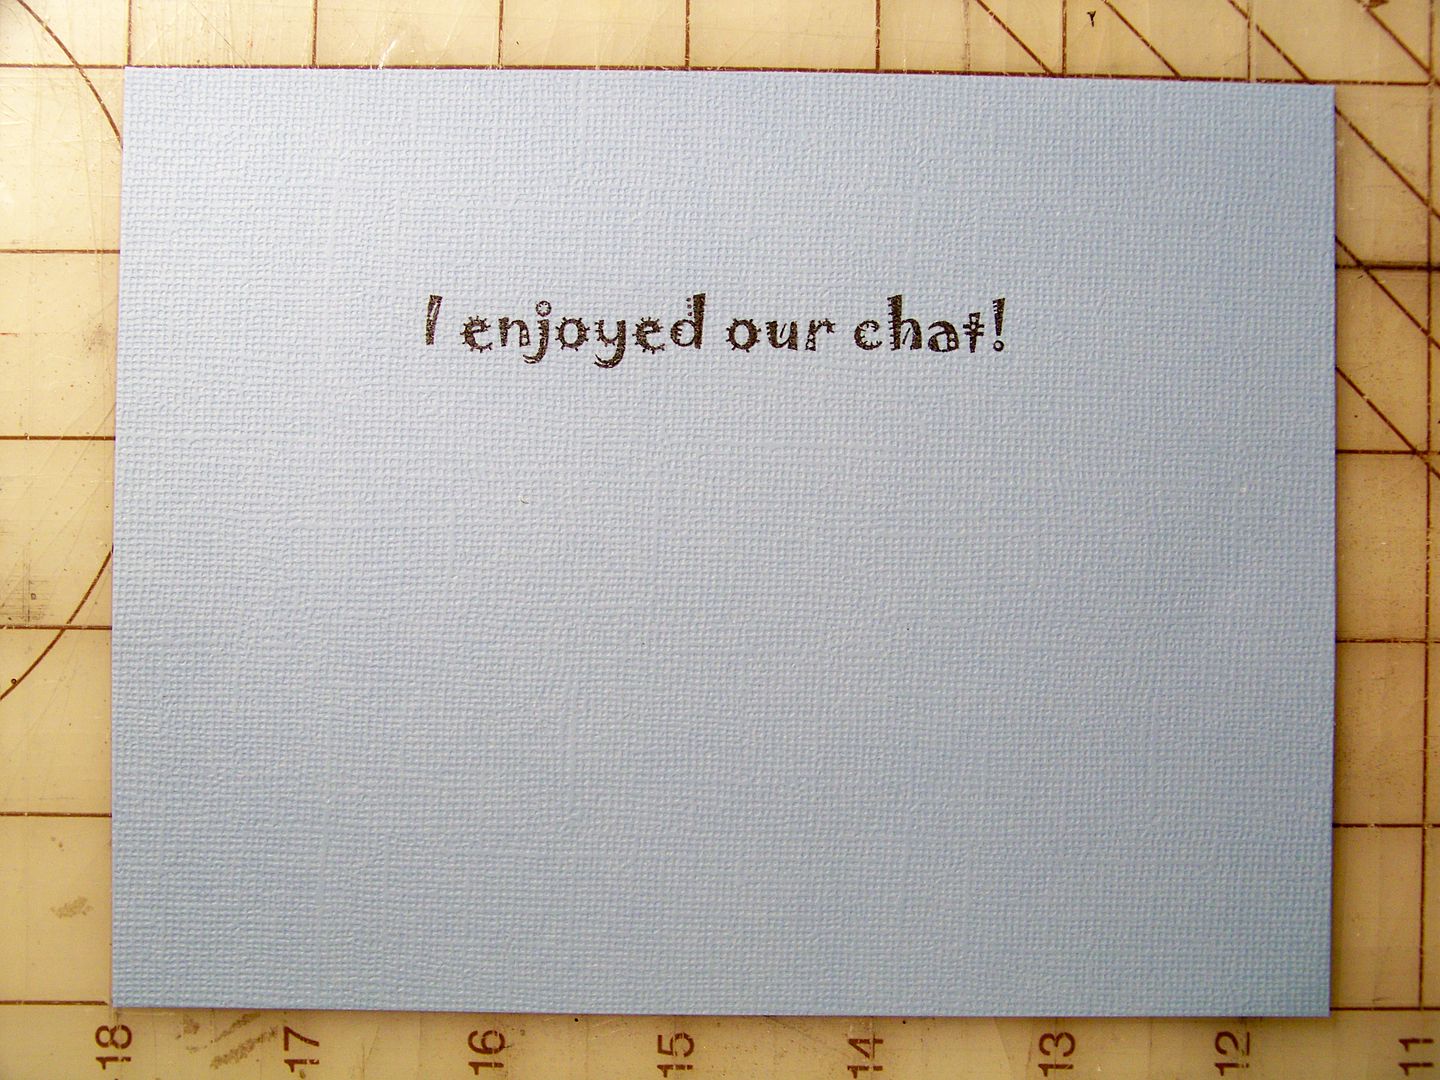
  • The inside text of the card was created by printing with Jokerman at 24 point.

I added a bit of white gel ink to their little beaks to help them show up against the dark clothes on the clothesline.


The card finished at 7" x 5-1/4".  This project was so much fun for me!  And YAY!  Another challenge completed!!

Thank you for checking my blog--- come back later today for the winner of The Good Old Days cartridge.  That will happen later this evening when my Master of Ceremonies gets home from her piano lesson!  

As always, you can see many of my previous projects by clicking here to go to My Project Gallery.


Sunday, May 6, 2012

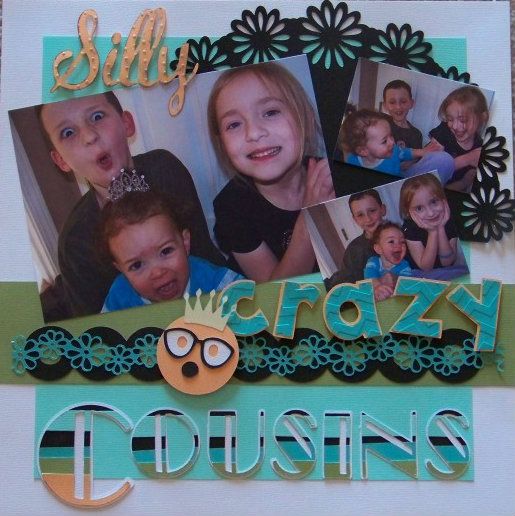
Color Challenge: Silly Crazy Cousins

I love a challenge!  The color challenge on the Circle Blog threw me for a loop though, for some reason.  I had an idea and cut my elements and.... nothing.  After the Mess On Your Desk timed challenge (my previous post), I got a fun, creative boost, changed the photo, and started fresh!  I found some old photos of my daughter and her cousins on my computer and the silliness inspired me to go in a new direction.


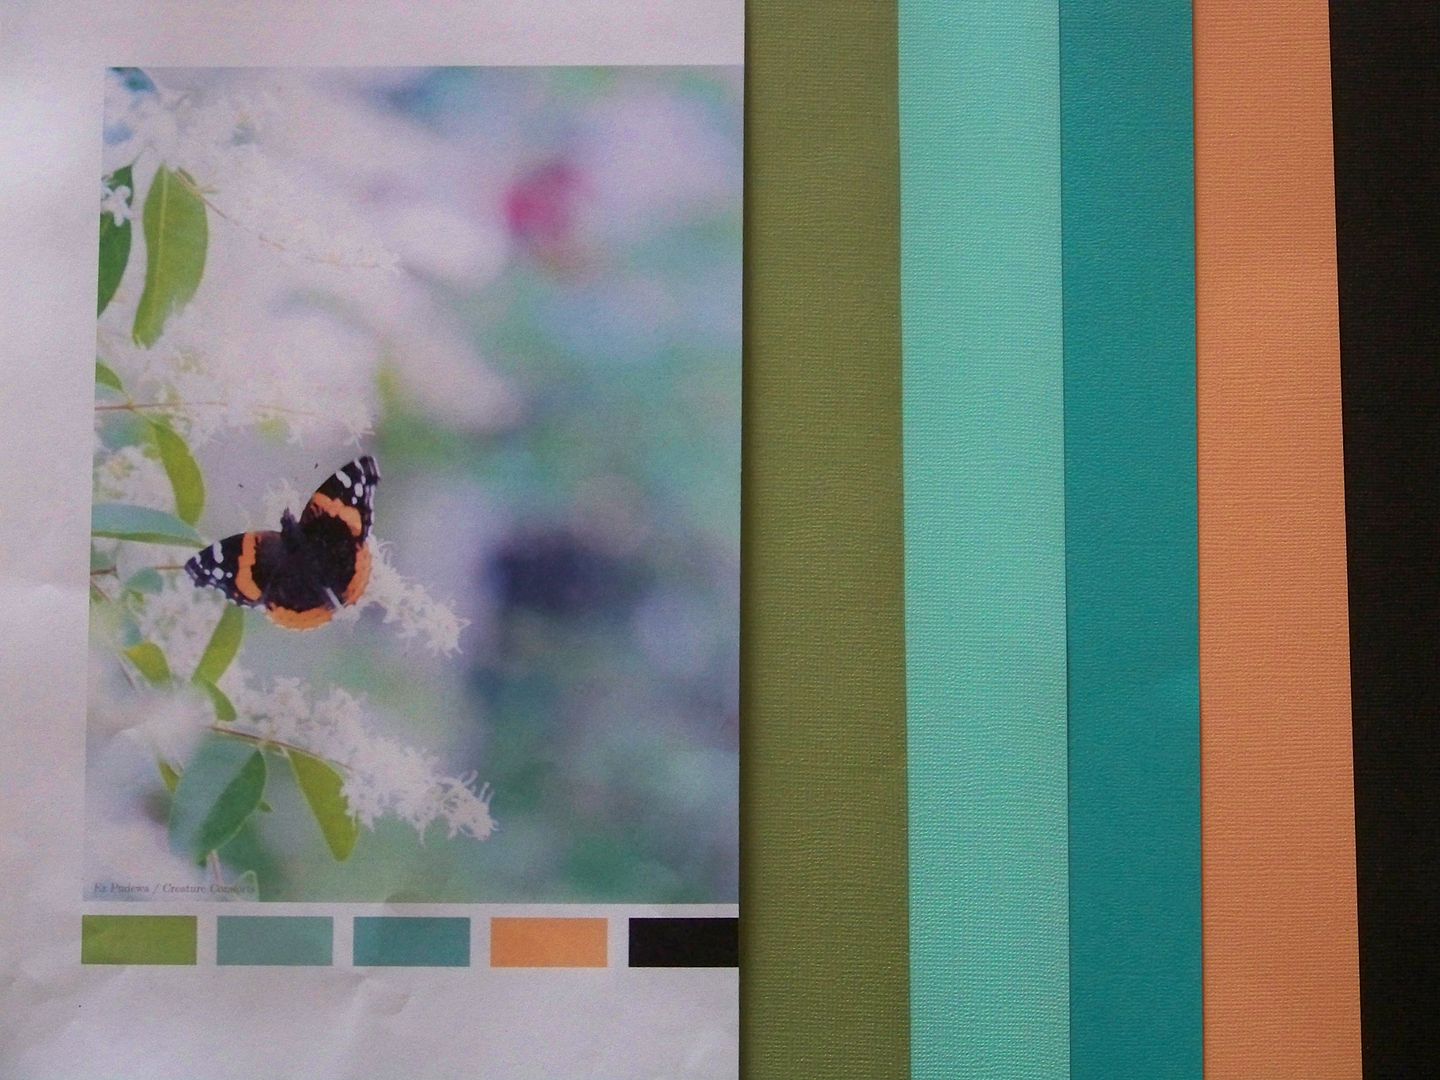
This is my entry for the Cricut Circle Blog NSD Crop:  Color Challenge.

We were given a picture with a color palette to use and I actually had the papers!  *miracle!*


For the crafty how-to:

  • I hand-cut the aqua base mat and green stripe.  
  • The daisy border was from Paper Trimmings (page 37), cut at 1"  (Fit-to-Length was 11.5").
  • The Circle border was from Elegant Edges (page 24), cut at 1-1/4" (Fit-to-Length was 11.25").
  • The semi-circle with daisies was from Pretty Pennants, cut at 5-1/4" (Fit-to-Length was 9-3/4").
  • The face was from Paper Play (page 12), cut at 8".  Popped up at 1/8".
  • The crown was from Rock Princess (page 39), cut at 1".
  • "Crazy" was from Mickey Font, cut at 1-3/4" and embossed with Cuttlebug Chevron.  Popped up 1/16".
  • "Silly" was from Quarter Note, cut at 2", embossed with Swiss Dots, and inked.  Letters were not welded, just cut and glued together.  I overlapped the two "L"s a bit.  Popped up 1/16".
  • "Cousins" was from Art Deco, cut at 2-1/4" for the "C" and 1-1/2" for other letters.  I created a wonky-striped paper from which to cut the letters.  Because of all the adhered layers, I used multi-cut 3.

Thank you for checking out my blog post!  I have several more Challenges from the Circle Blog NSD posts to try to crank out.  Hoping to get at least one more done today... fingers crossed!

To see many of my previous projects on my blog, click here for My Projects Gallery.

Saturday, May 5, 2012

Mess On Your Desk Challenge

Wow!!!!  What a fun Friday and Saturday on the Cricut Circle!!  Jana Eubanks has provided us with a two-part webinar featuring 25 (?) techniques for embellishing die cuts, we had a live chat with our Circle Message Board friends and the Circle Design Team, we've played the craziest games (learned some speed typing on those!), have had four great challenges --more to come-- and some time to finish those (I hope to post mine in the next few days!), and we've even had some timed challenges!

This is the first timed challenge that I have been able to do!  In addition to a 2-hour limit to complete and link, this challenge only allows us to use the stuff on our desks and trash baskets!!!

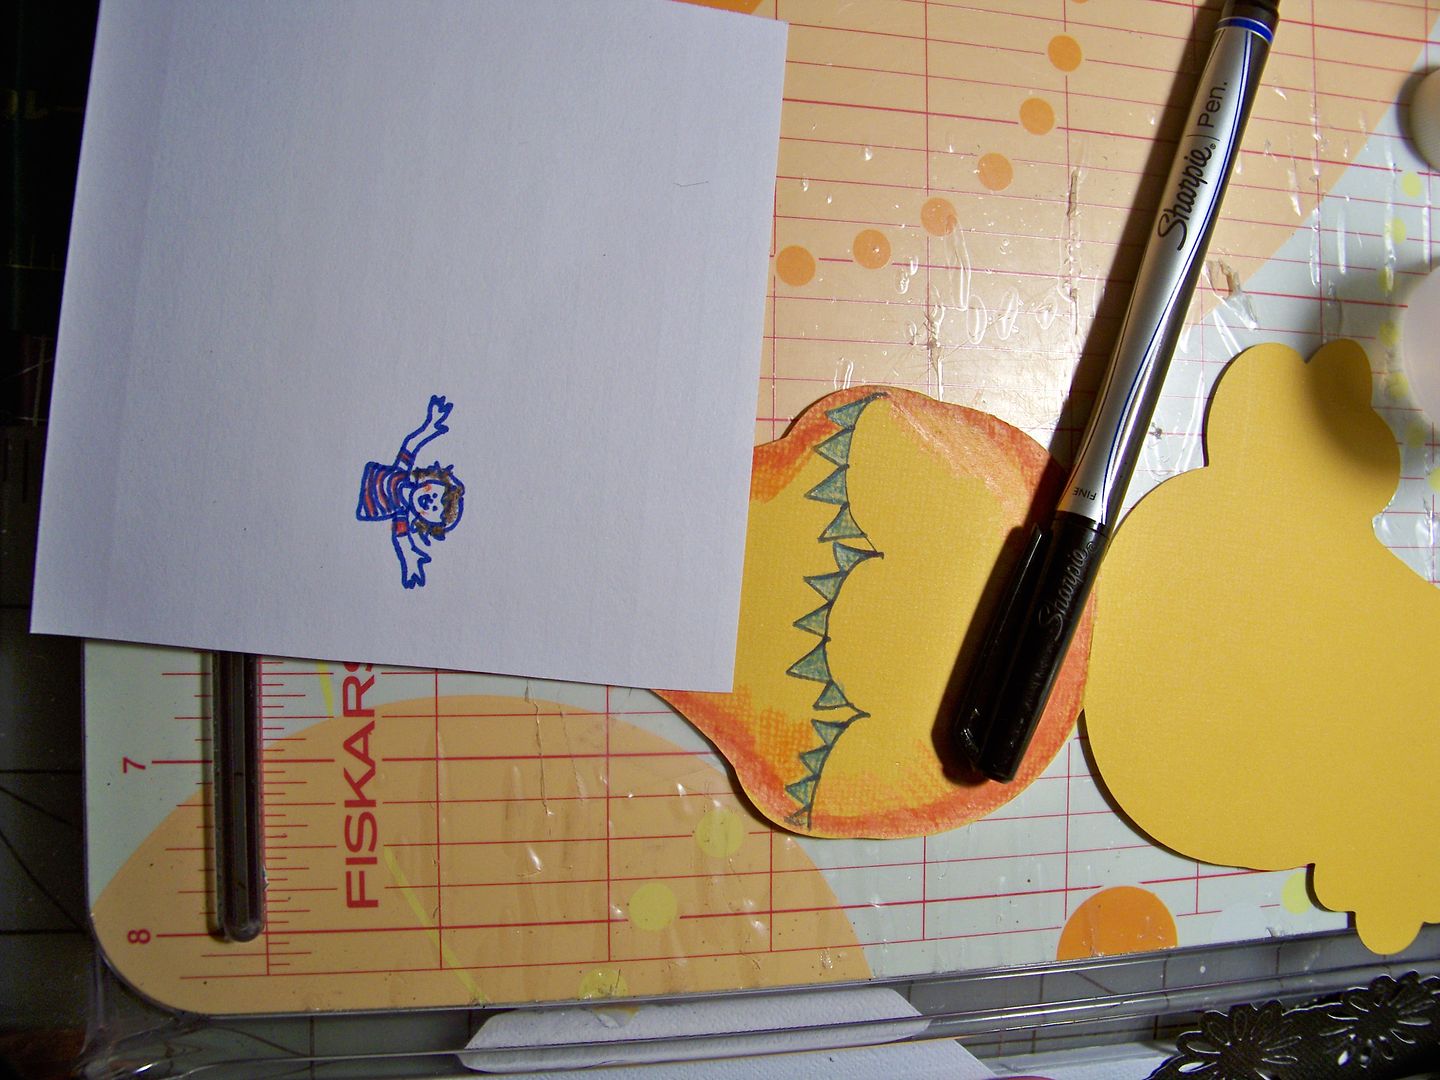
So, here's what I had to work with (I wasn't desperate enough for the trash but that is only because I am such a messy crafter and the old work desk had plenty of stuff):


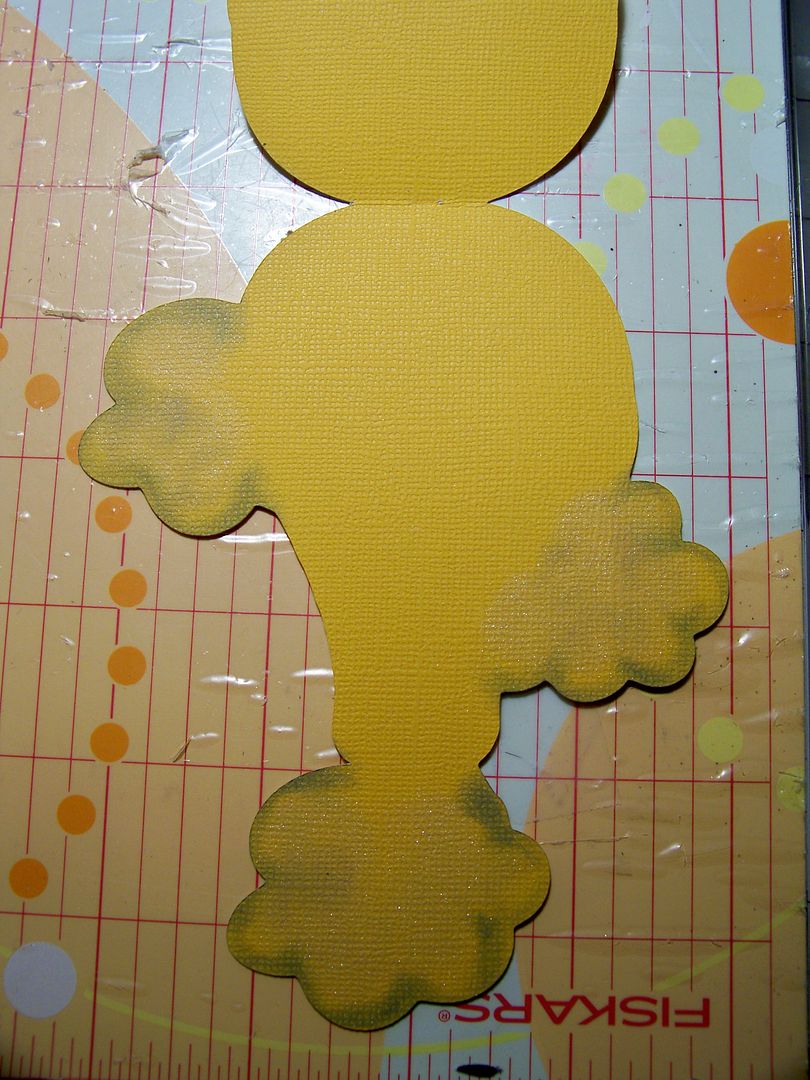
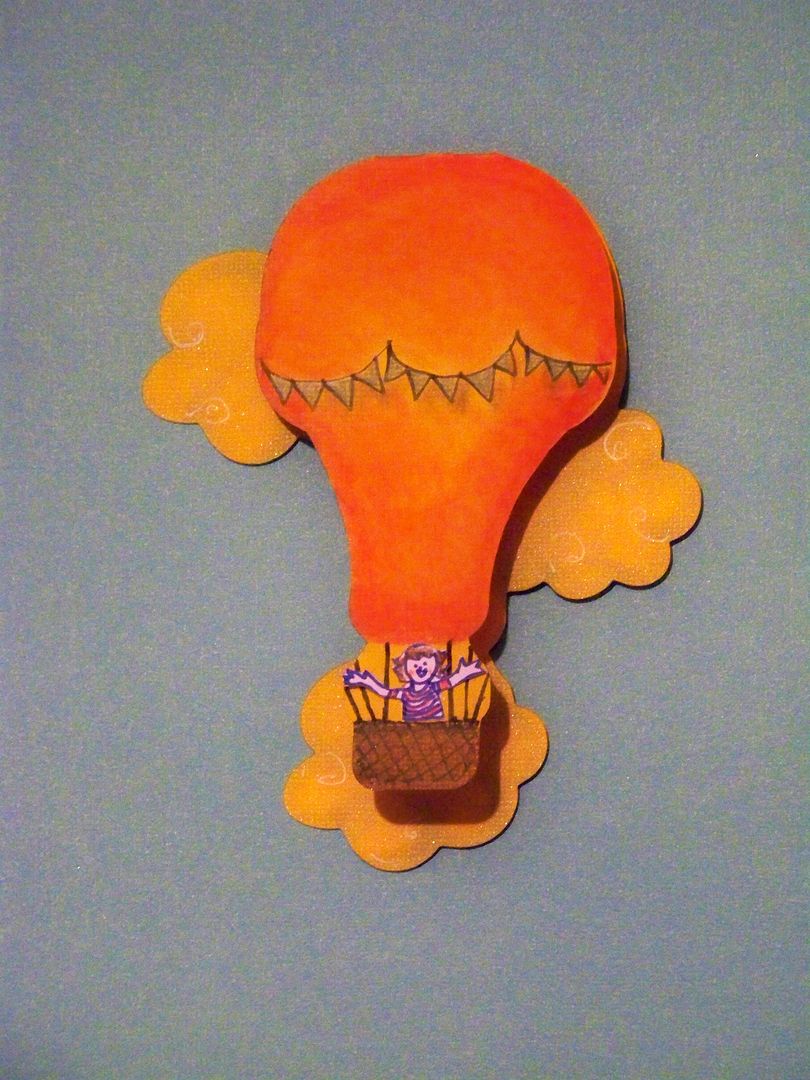
I was working on the color challenge when this challenge was posted so I stopped everything.  I almost cannibalized my cuts for the color challenge when I spotted all the hot air balloons I had cut a few days ago from the Wild Card 2 cartridge, hoping that Piper could use them for her thank-you cards to send for the First Communion gifts she received.  I abandoned them when I realized there were too many pieces for her to enjoy that idea... and as you can see, I don't exactly throw stuff away quickly.

My problem was that I had to make a card with at least one Cricut cut... and I hadn't cut the coordinating pieces... and since they weren't on the desk (nor was the cartridge) I couldn't just cut them... so I used techniques from Jana's webinar to finish one of them!

I used chalk to create the clouds.... and I used awhite pen to doodle.


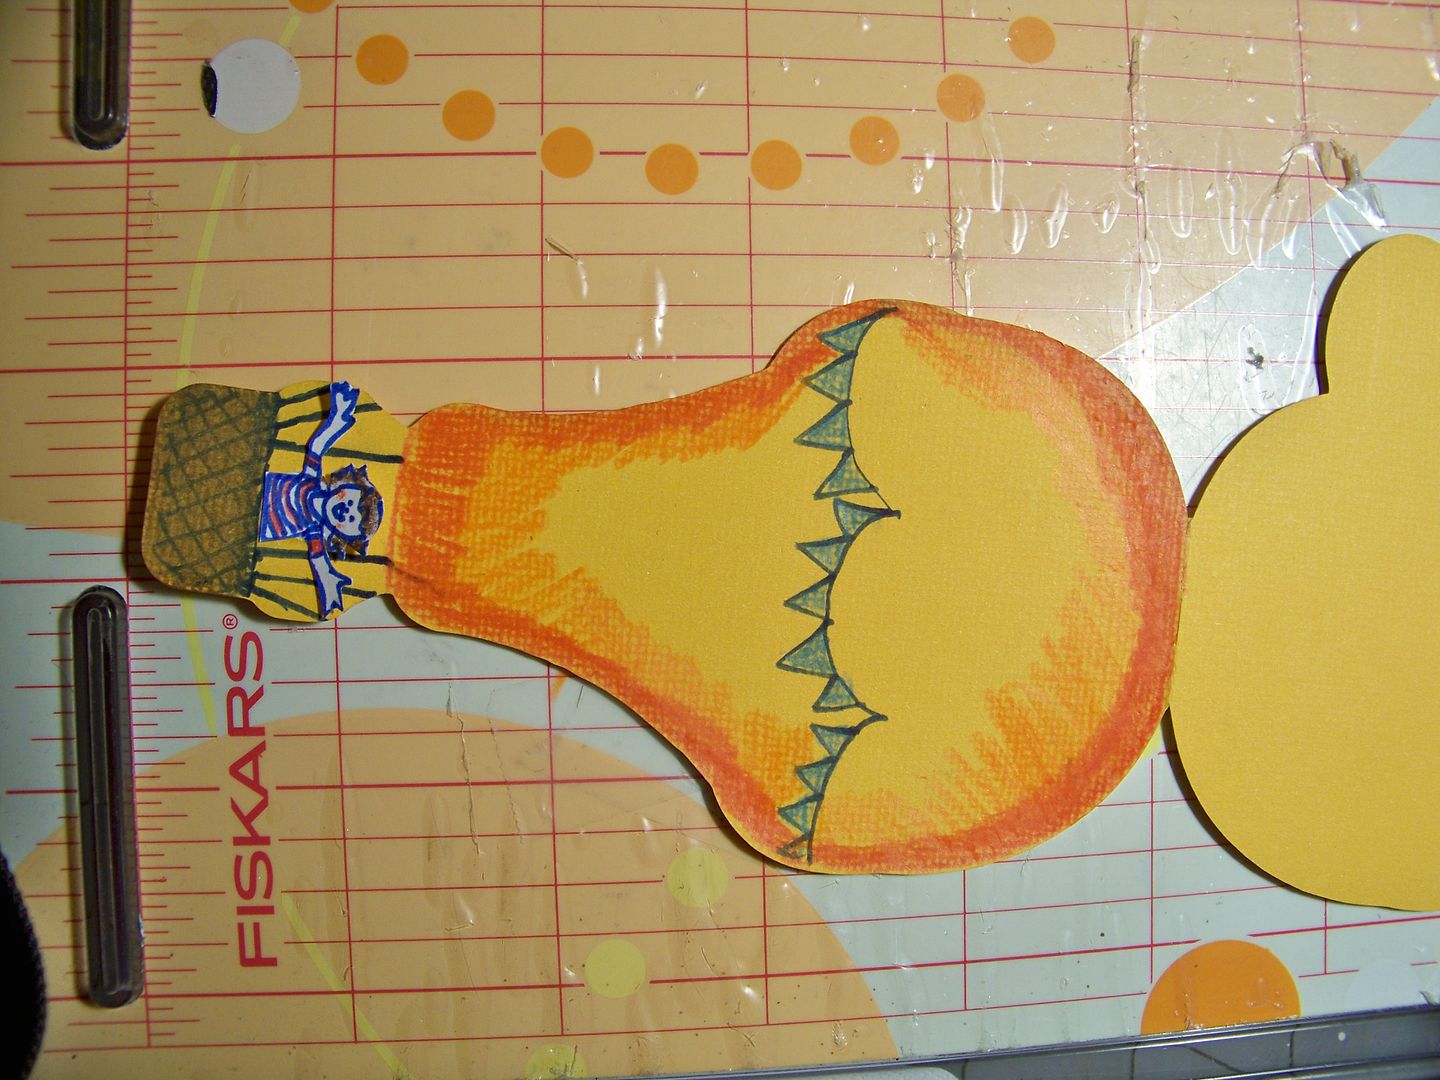
I also doodled a little person to ride in the balloon using an index card that I use to take notes, and I added a banner to the balloon.


I used colored pencils to try the gamsol technique we were shown...first coloring the edges with colored pencil...


Then I used the paper nub to blend with gamsol (colorless mineral spirits).  I added dark chalk to make shadows under the pennants.


Well, okay, I need to practice this gamsol technique quite a bit more to lose those stroke marks... but since I am a few minutes away from the deadline... it will have to do for now!

Thank you for indulging me in this less-than-stellar card... Yay!  I might just get this posted in time!

Friday, May 4, 2012

Milk and Cookie Doll Party and Banner Challenge Entry

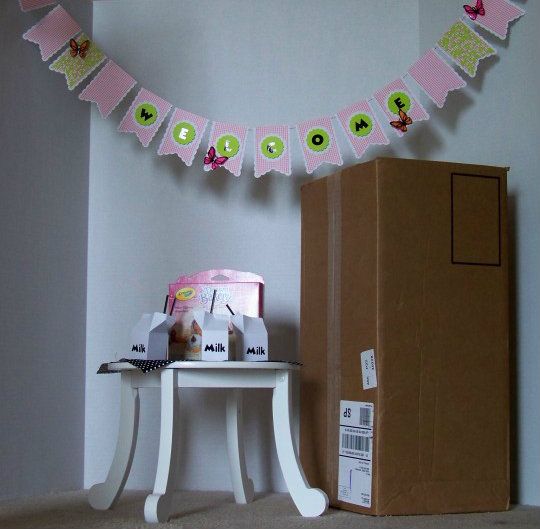
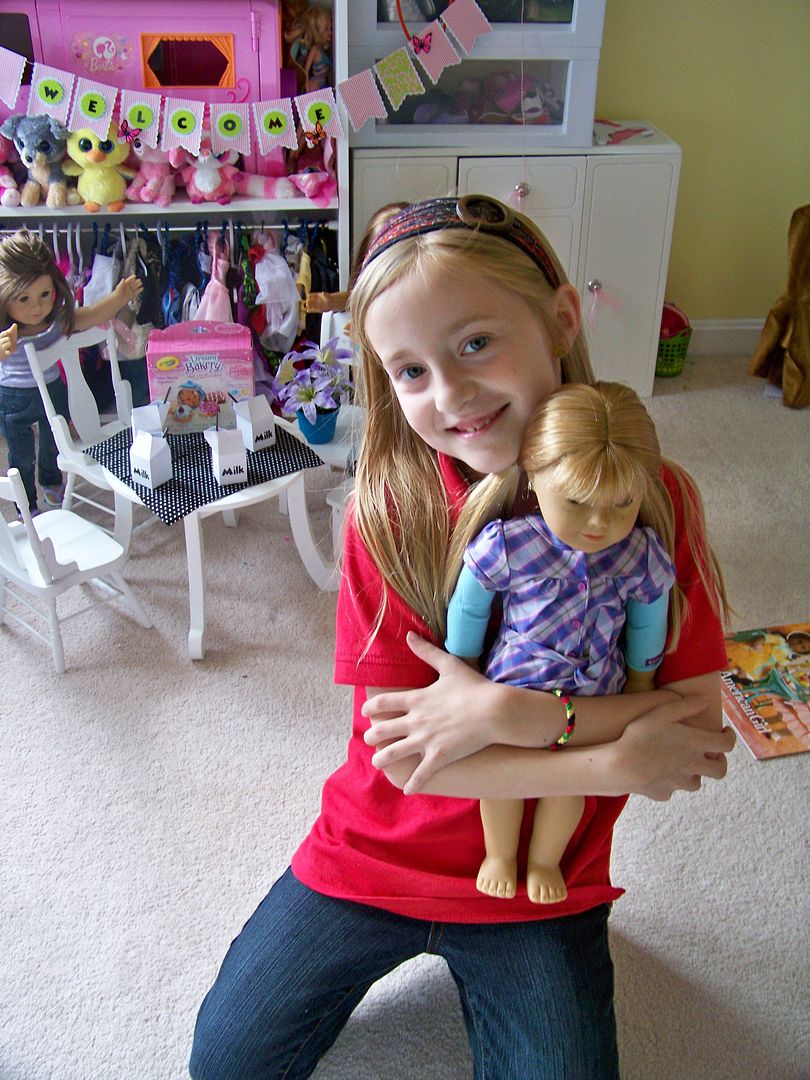
My daughter has been bugging me for days.... She used some of the money she was given by family in her First Communion cards to buy some things from the American Girl Doll site, including another doll.  She has been so excited about this.  She set up her other dolls in careful anticipation of their new friend's arrival... they are all dressed up and positioned with their arms up to show their unbridled excitement :),  and they have a gift for the new doll... REALLY!  I made the mistake of showing her the tracking info after it was emailed to me and she has bugged me daily to re-check it and report the status of its location.  She knows the package is due to arrive today... and it did!

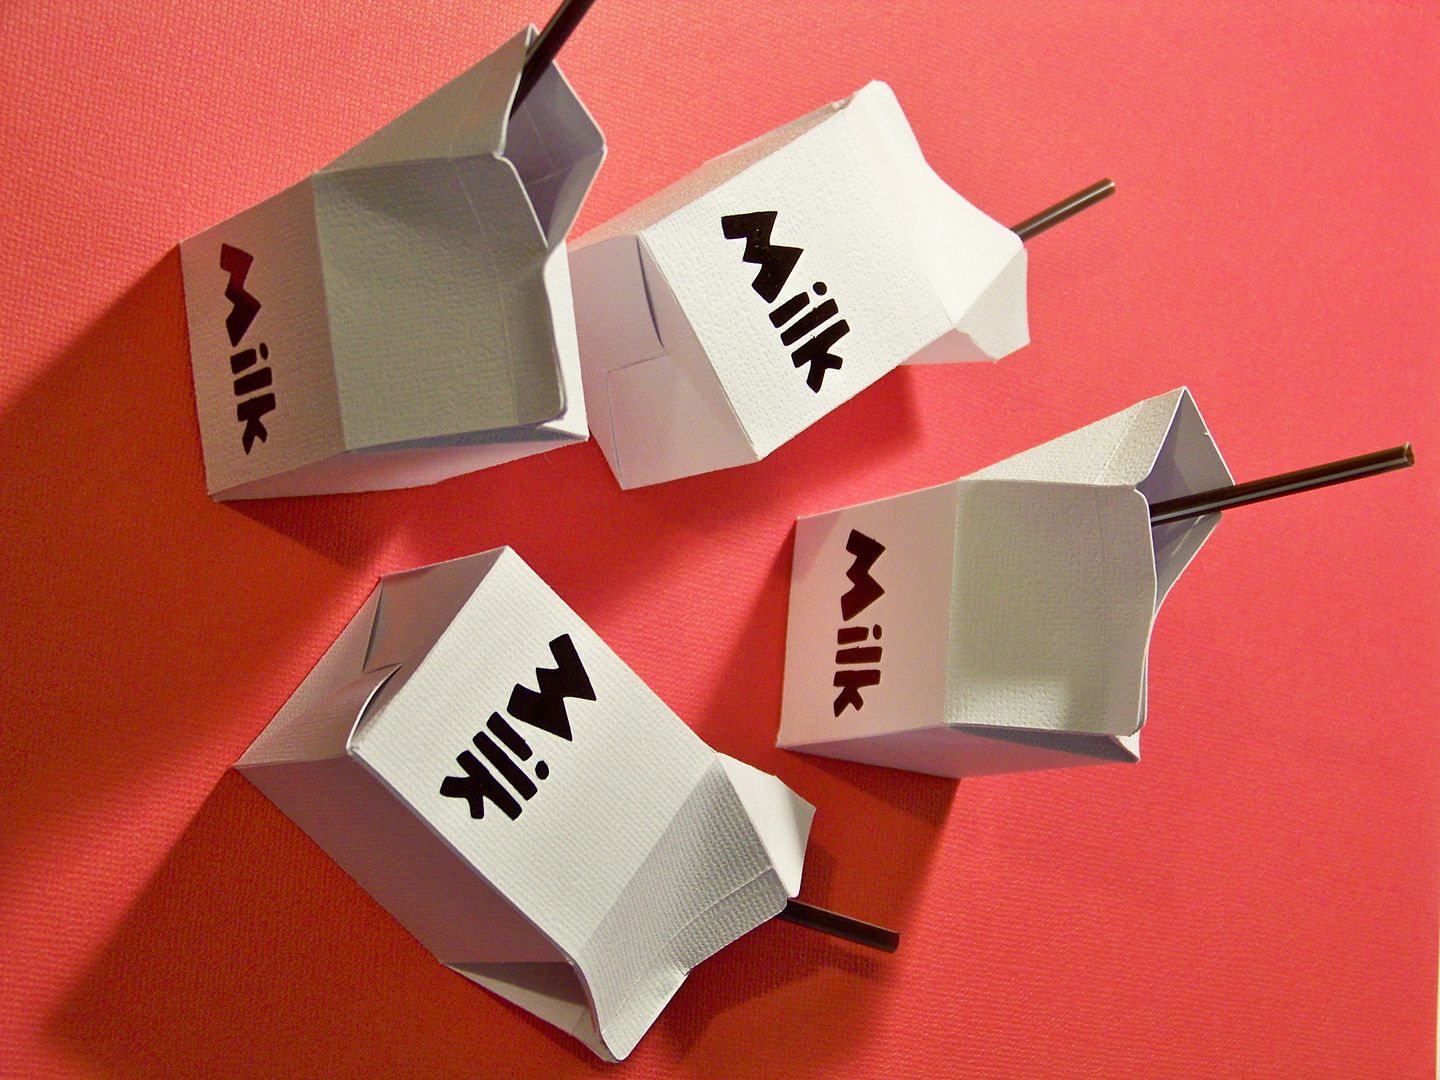
To make it extra fun for her (as if that is needed), I took time today to make a little make-believe milk-and-cookie welcome doll party to surprise her when she got home from school.  I started by using Tags, Bags, Boxes, and More 2 to create little milk cartons.


I love the scoring on this cartridge, but I don't use a scoring tool (I don't own it --- yet), so I score by simply adjusting the blade depth to 2 and the pressure to 2 for scoring, changing it back to my regular settings for cutting the outline.  I cut down coffee stirrers to make little straws.

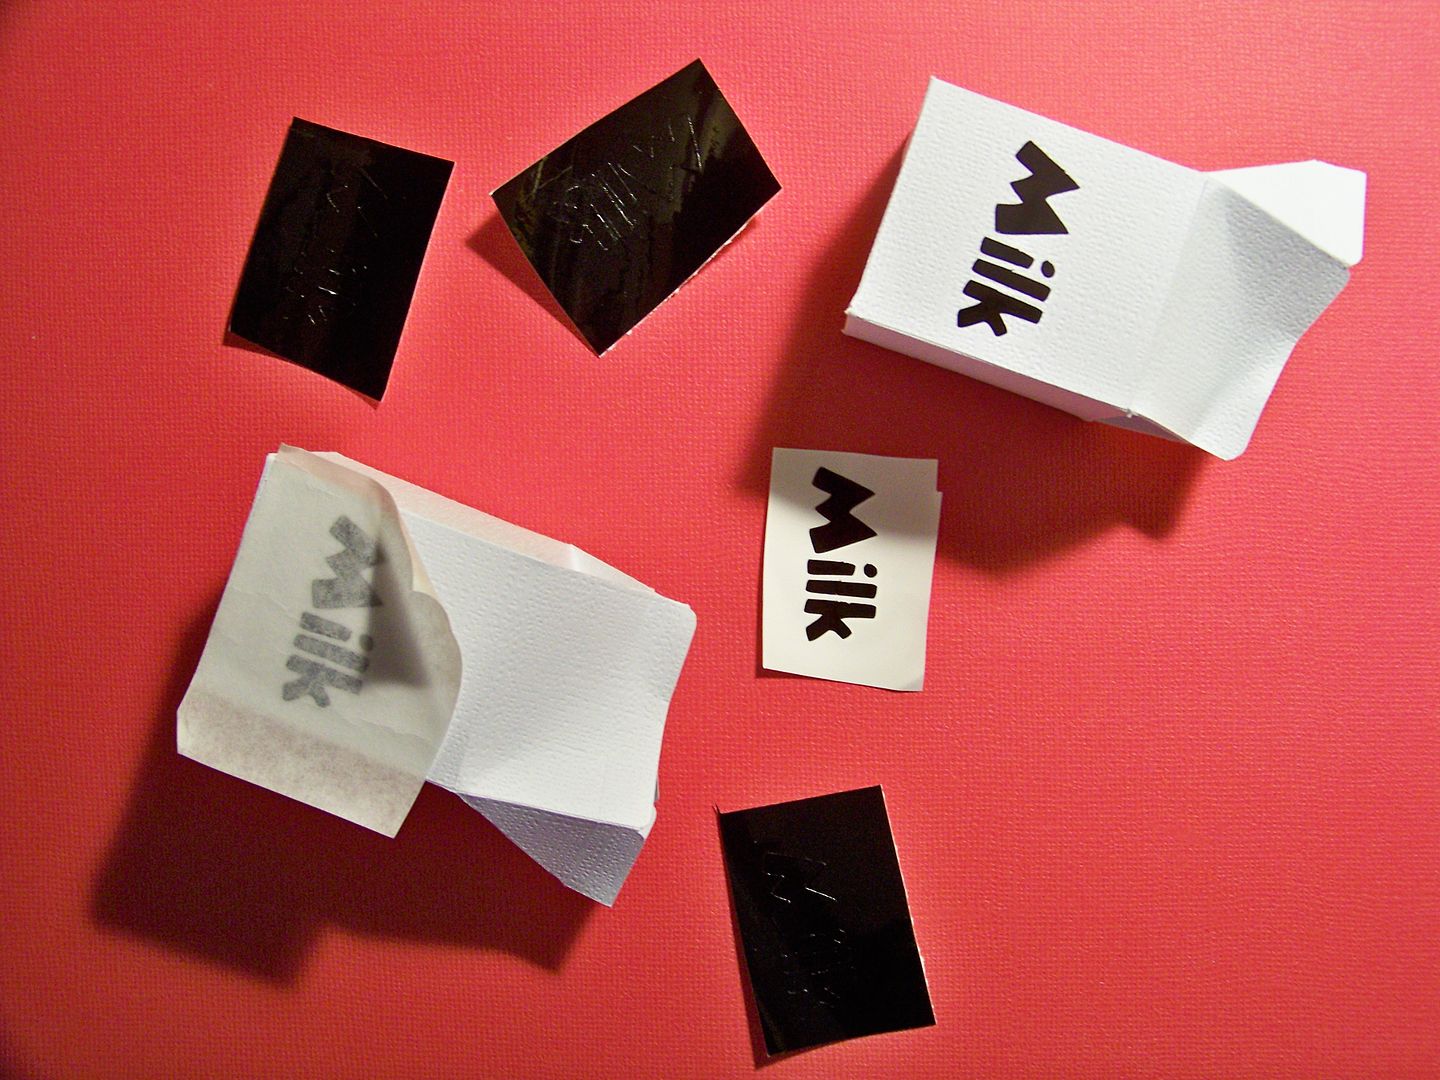
These were cut at 4" on my Expression.  The text was cut from Mickey Font at 1/2" in vinyl (using pressure 3, blade depth 3, and speed 3.)  Adding the vinyl was an after-thought, but because the cartons are so little, they gained sturdiness so it was a breeze to add the text after the cartons were assembled using transfer tape.


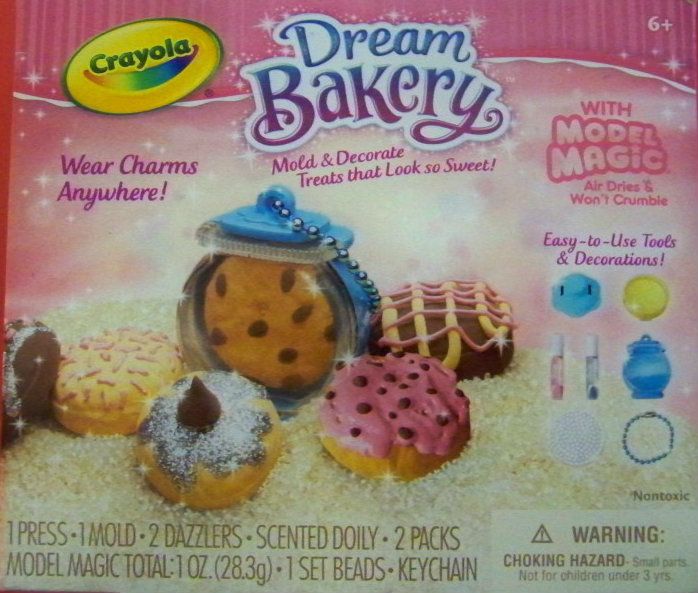
For the cookies, I bought a little kit for my daughter to make them herself from air-drying clay!  She loves making things for her dolls, often finding projects in the American Girl Magazine or from things she creates on her own!  I am hoping this will be a fun activity for her this weekend when she is at her Nana's house!


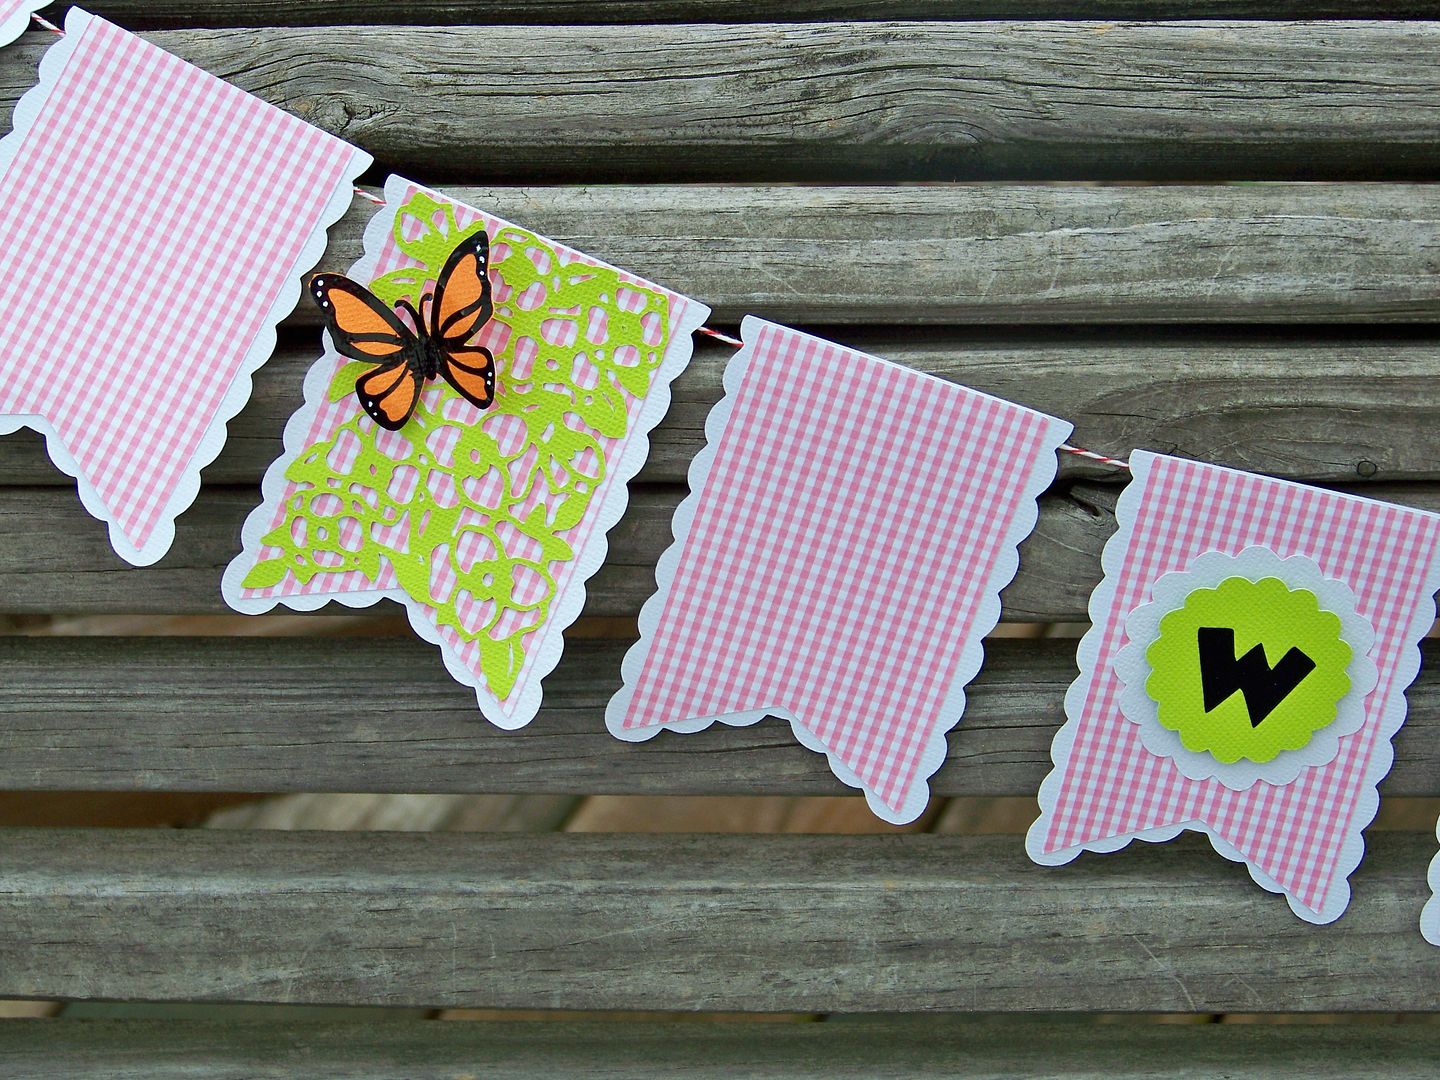
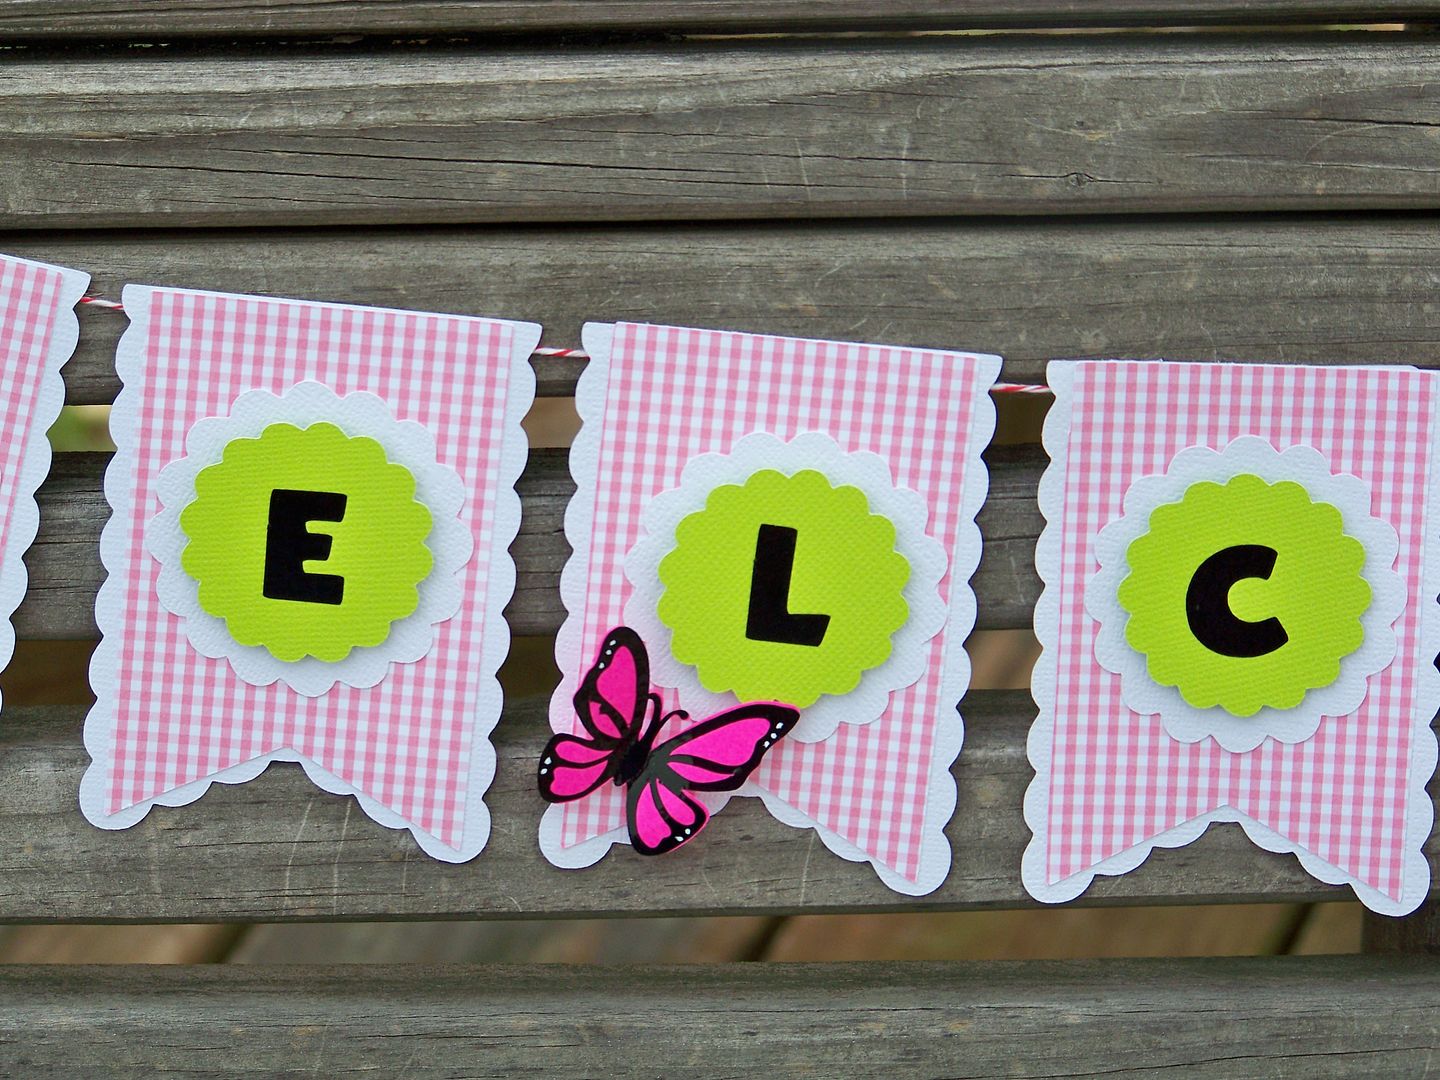
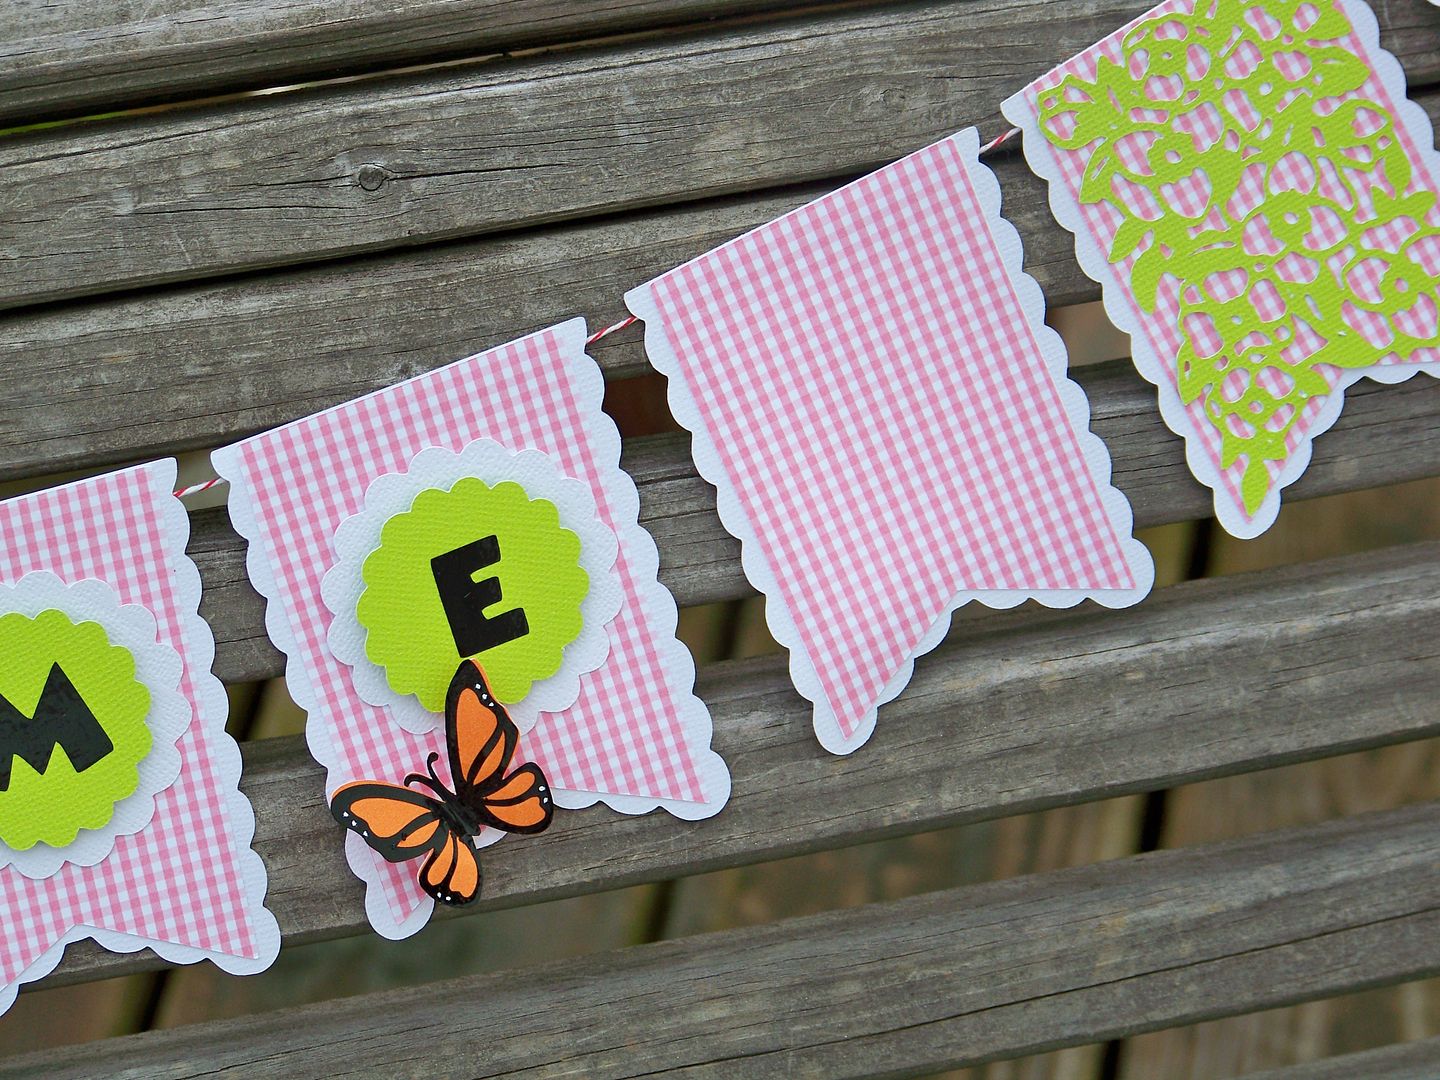
I created a 'Welcome' banner for the party using the Pretty Pennants cartridge.


I cut the pennants at 3-1/4".  In addition to the base cut, I also cut a scallop.  For two of the end pennants, I cut a decorative layer.


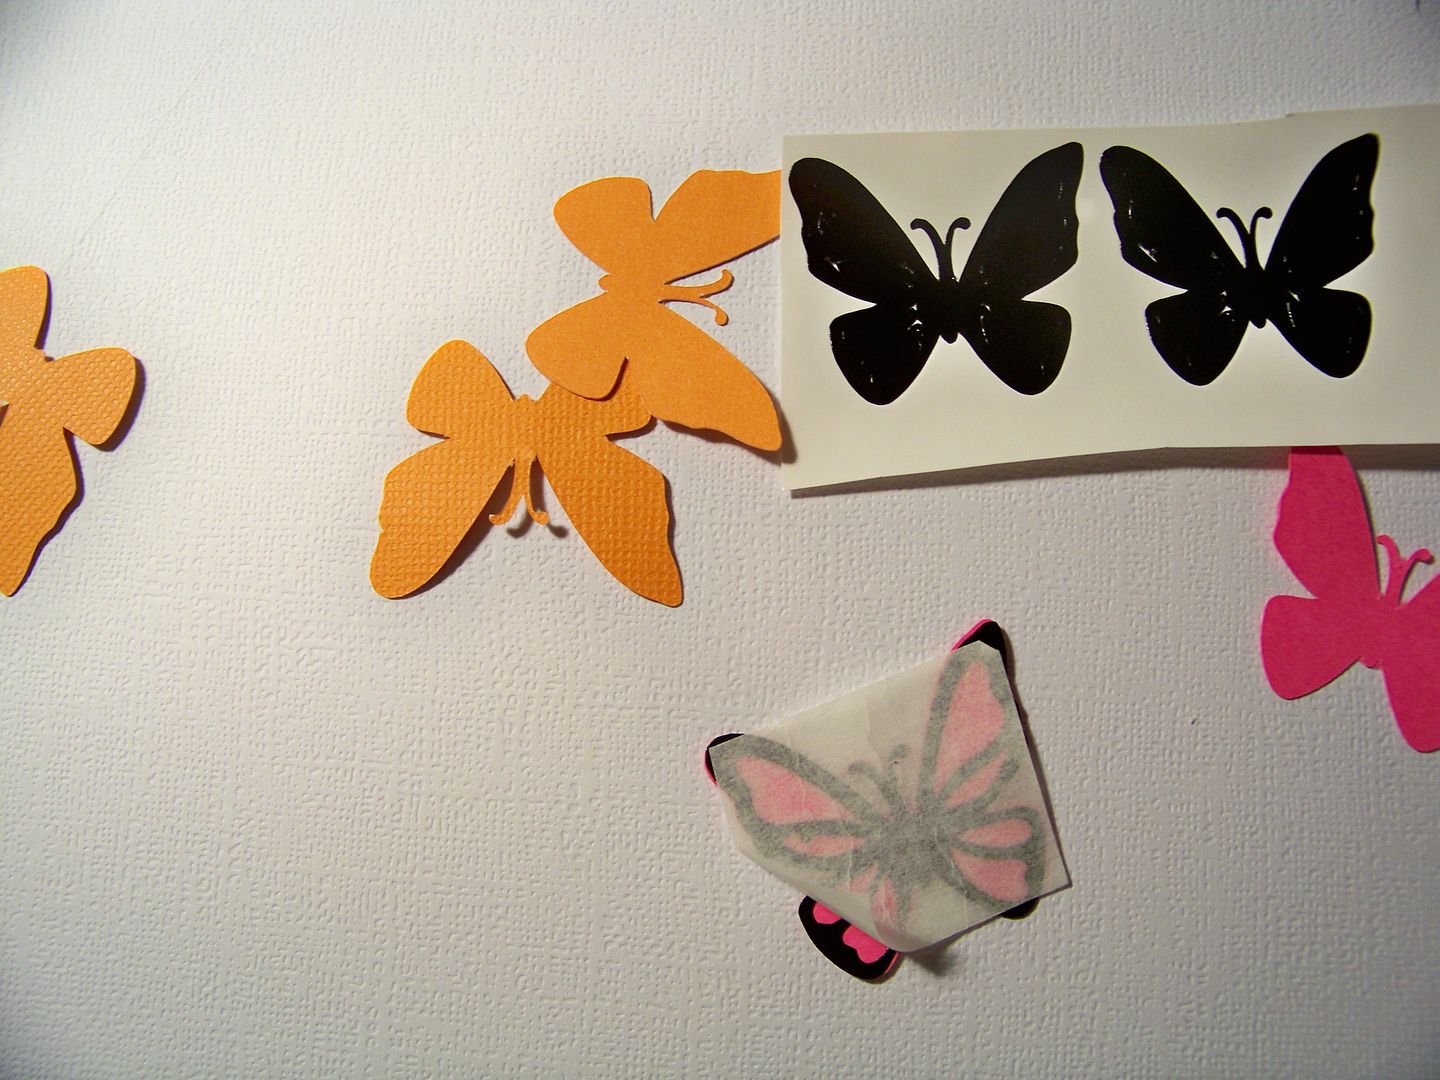
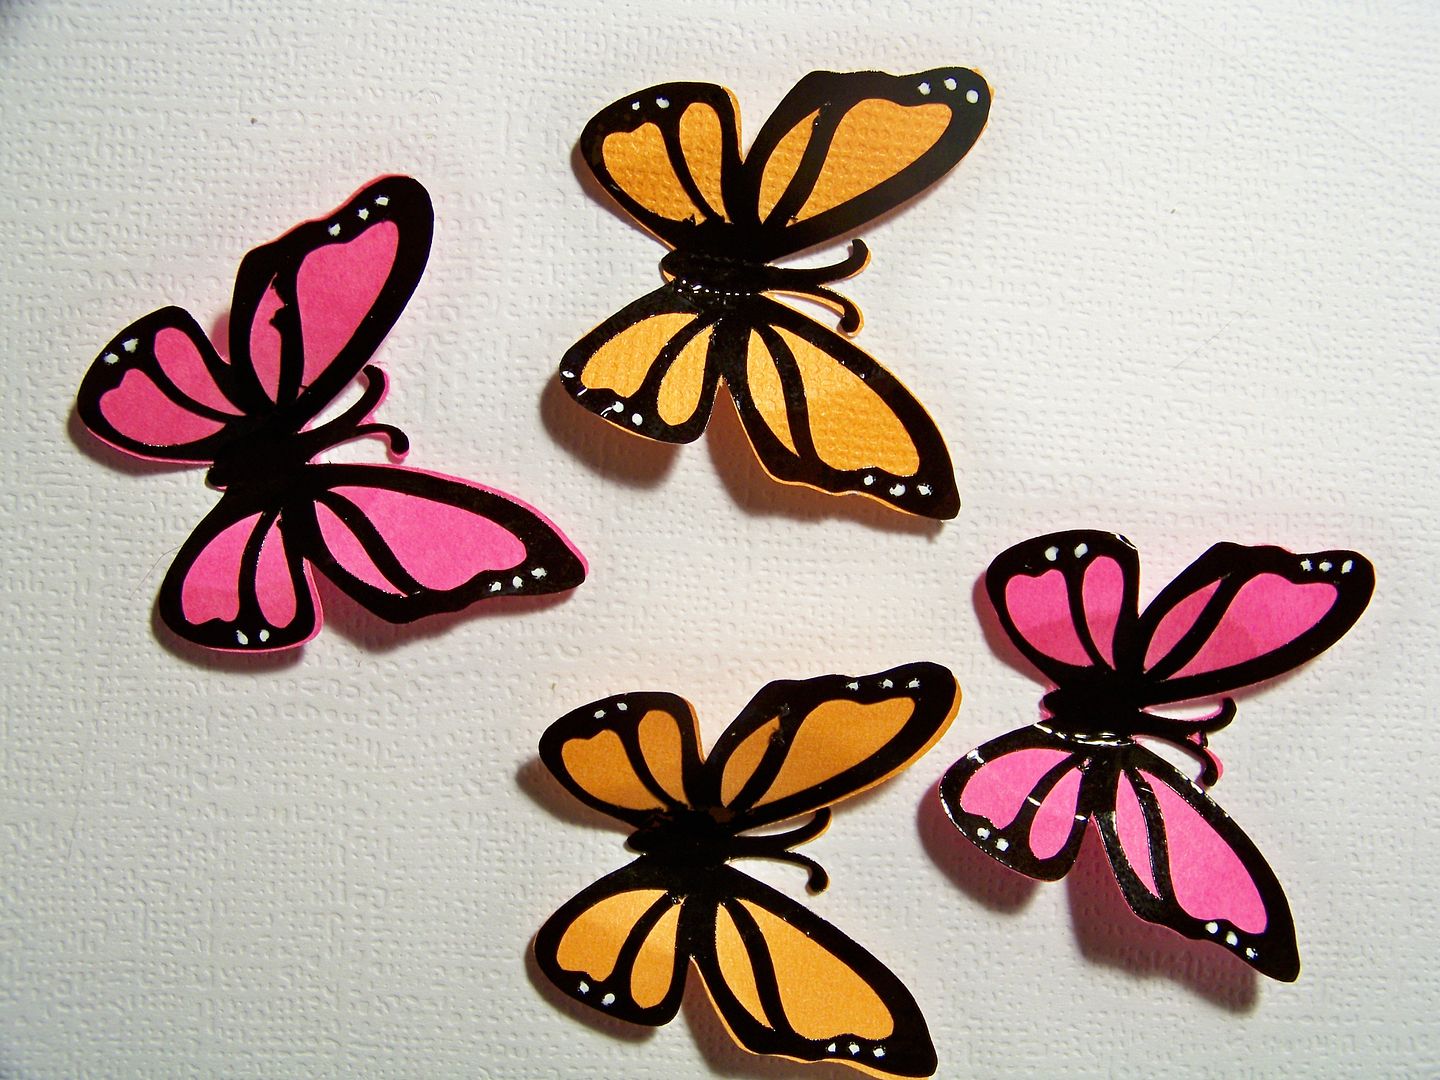
For the pennants with the letters, I used Mini Monograms for the scalloped circles, cut at 1-3/4" and 2-1/4", and Mickey Font for the letters, cut from vinyl at 3/4".  I placed pop dots between the scalloped circles.  I accented them with butterflies from Paper Trimmings at 1-1/4".  I cut the backgrounds of the butterflies from card stock and the black outline from vinyl, using transfer tape to apply the outline onto the backgrounds.  I shaped them and added little gel pen accents.


This banner is my entry in the Cricut Circle Magazine Challenge for this month as well!

Well, of course, she was in heaven....can't wait to see how those little cookies turn out.


Thank you for checking my blog today.  To see many of my previous projects, click here to go to My Project Gallery.


But wait! There's more! Click 'older posts' above!

But wait!  There's more!  Click 'older posts' above!