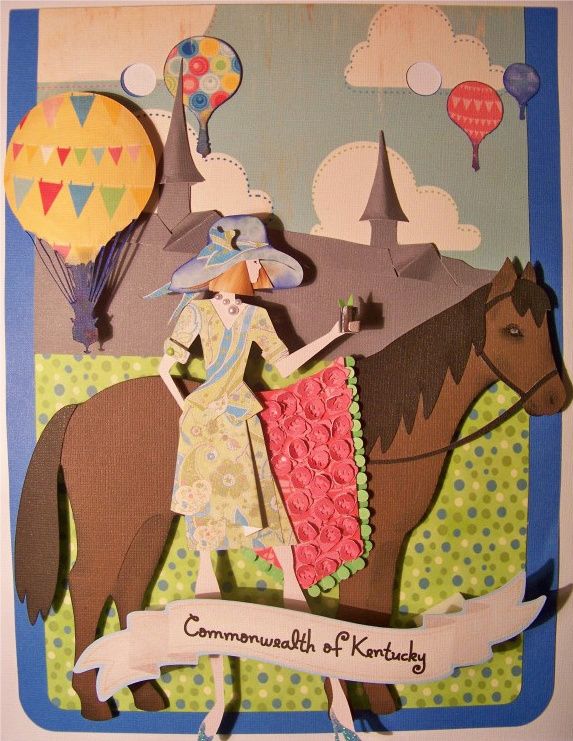
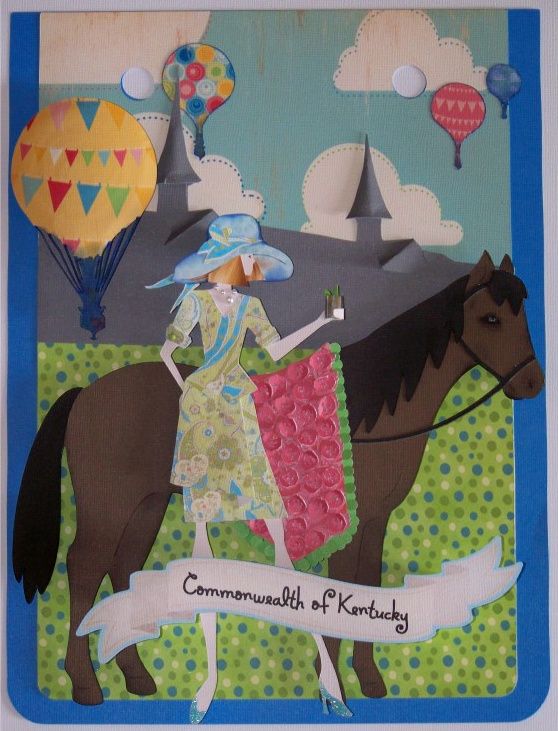
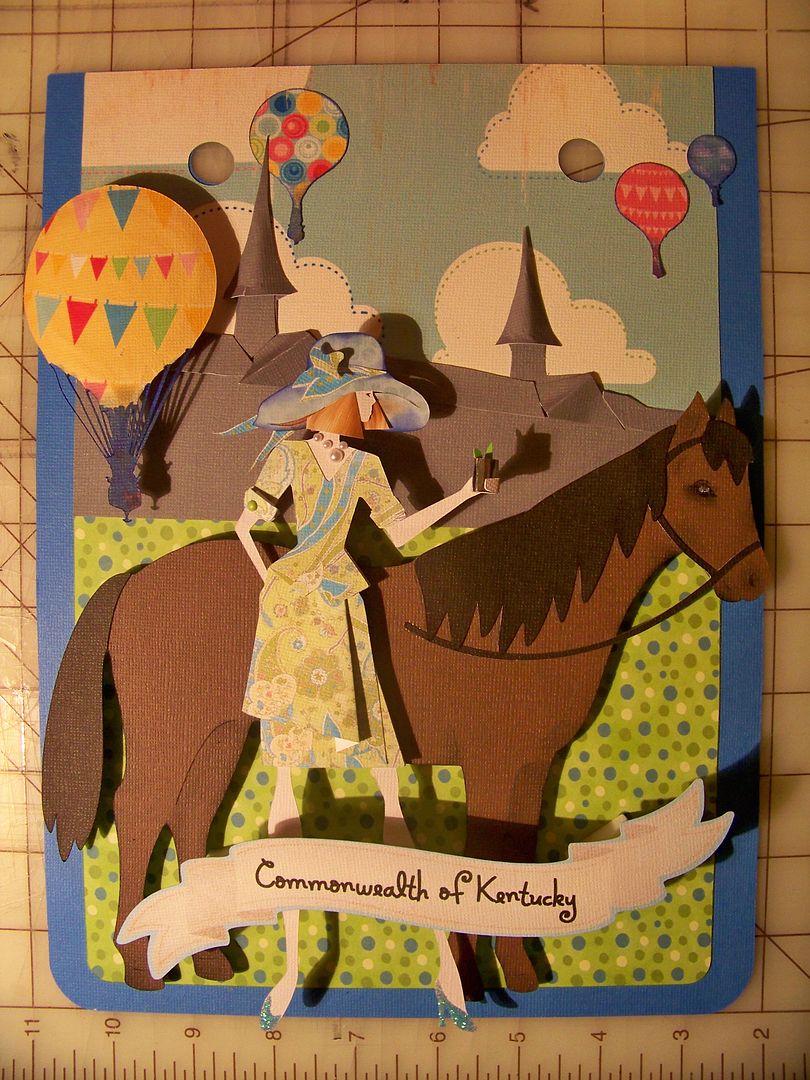
According to the popular saying, "Kentucky is known for good whiskey, fast horses and beautiful women." ...And I would add: the Kentucky Derby, bluegrass, and Derby hats on ladies at Churchill Downs! I used those images on my Kentucky pennant for the Roadtrip to CHA pennant contest!
Requirements of this contest were to use the Birthday Bash cartridge for the pennant, cut at Fit to Page for 12x12 paper size. We were given choices from all of the pennants on pages 58-70 which is every shape of pennant possible! All entered pennants will be joined together for a beautiful banner to decorate the room at the up-coming Circle event in Mason, Ohio.
I chose a rectangular pennant so that I could focus on a standard space for my composition.
I chose a cloud paper from Hopscotch that I had printed for another project but never used, a solid blue for the outer pennant, and a blue and green polka dot from my stash. The outer pennant was cut on the Expression at Fit to Page, which was 11" on this machine. The others were cut at that size relative to the outer pennant. I cut across the green polka dot paper and placed it to create a horizon line.
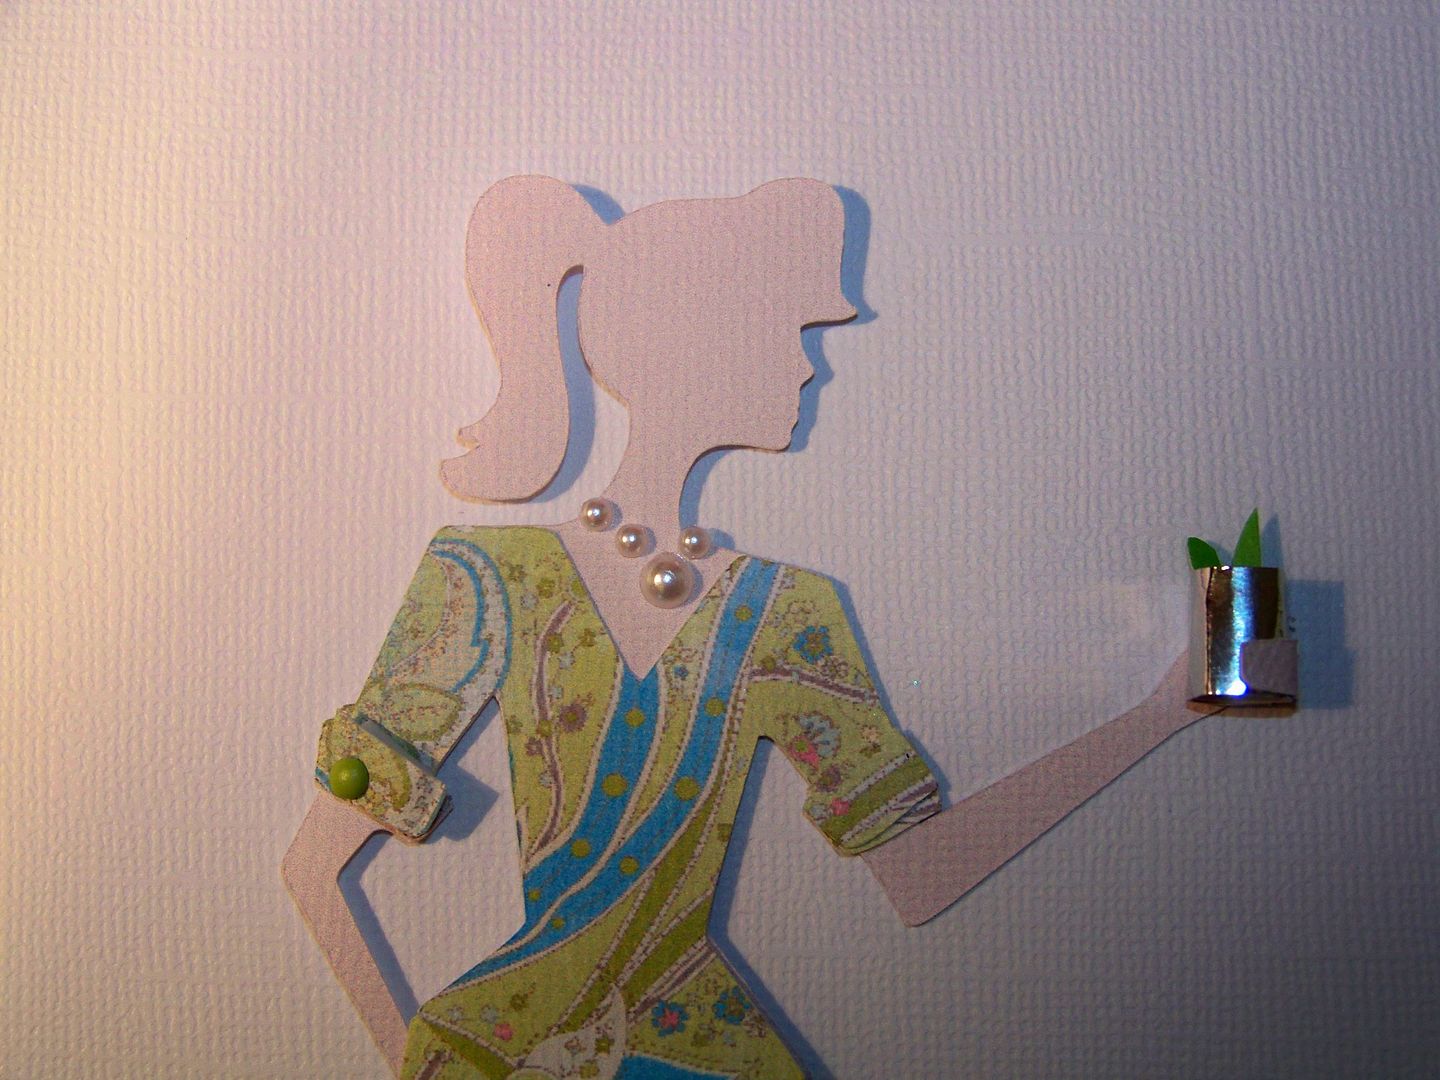
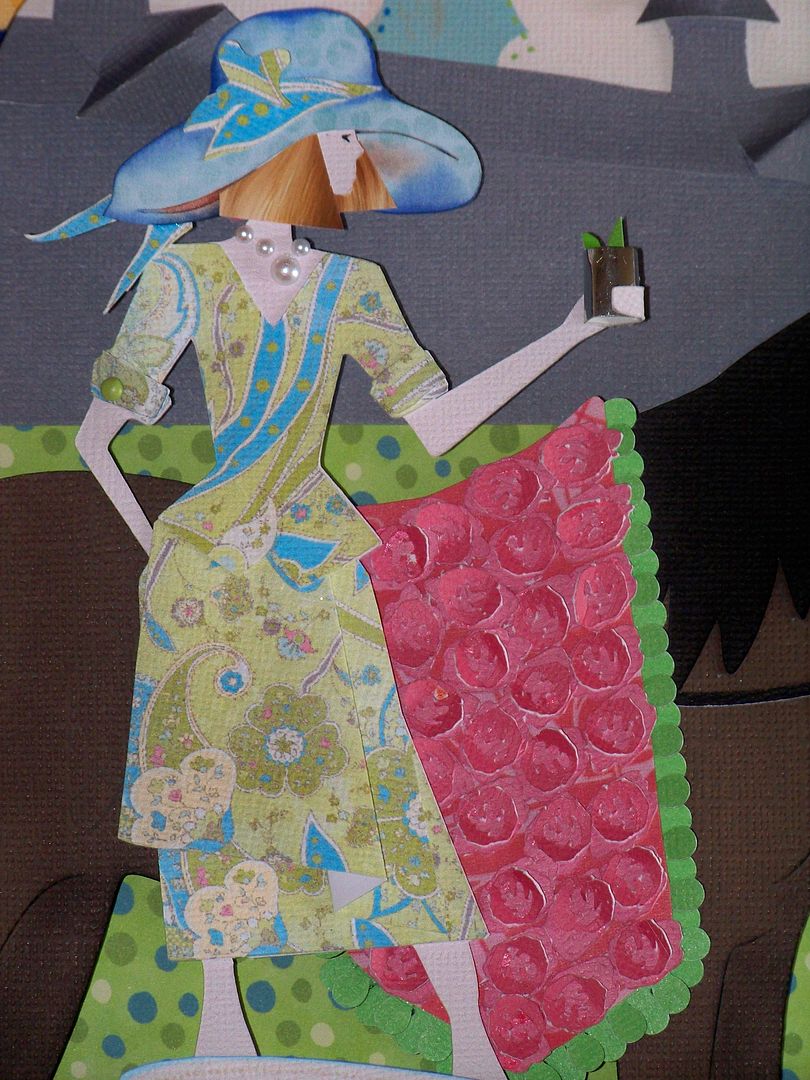
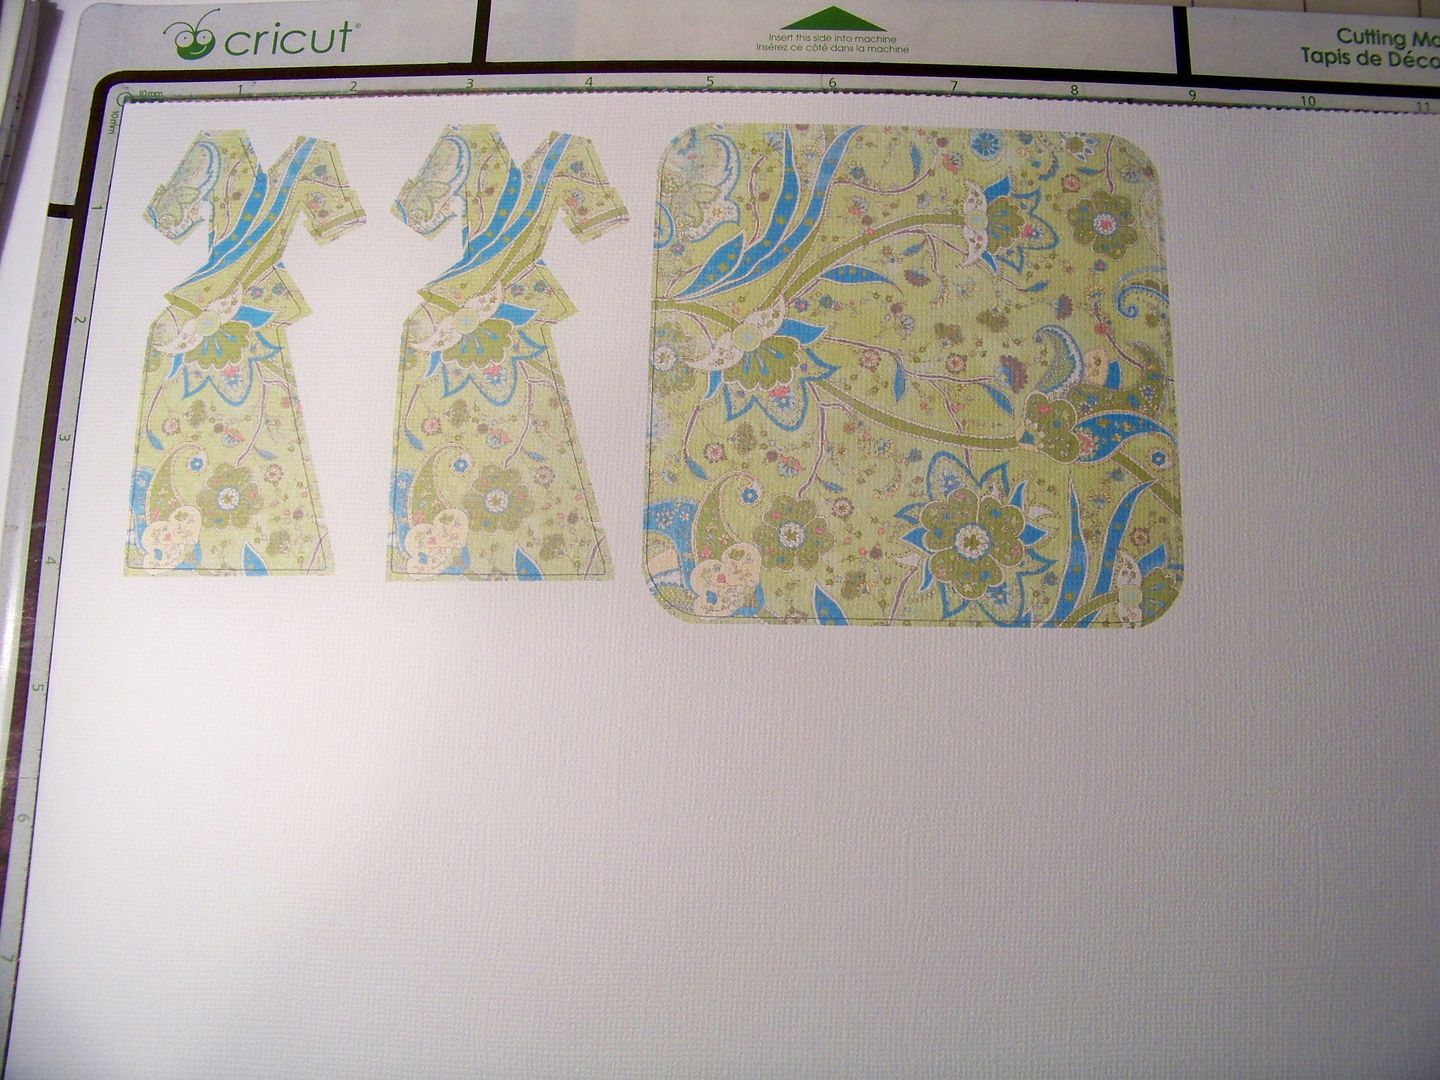
I started with the figure, since getting her to work out would be pivotal for this project. I used Forever Young, cutting her on the Imagine at 8", using RGB 250, 229, 210 for her flesh color. I cut her dress using Blossom for the print. I actually cut two dresses and a 4" square. The extra dress and square were cut just to give me extra "fabric" to use so that I could alter her dress, making it a bit more couture. I used a 4" square so that the fabric print scale would be similar to the dresses. There is no formula for that, by the way, I just looked at the screen and adjusted the size of the square until the scale of the print matched the flood-filled dress.
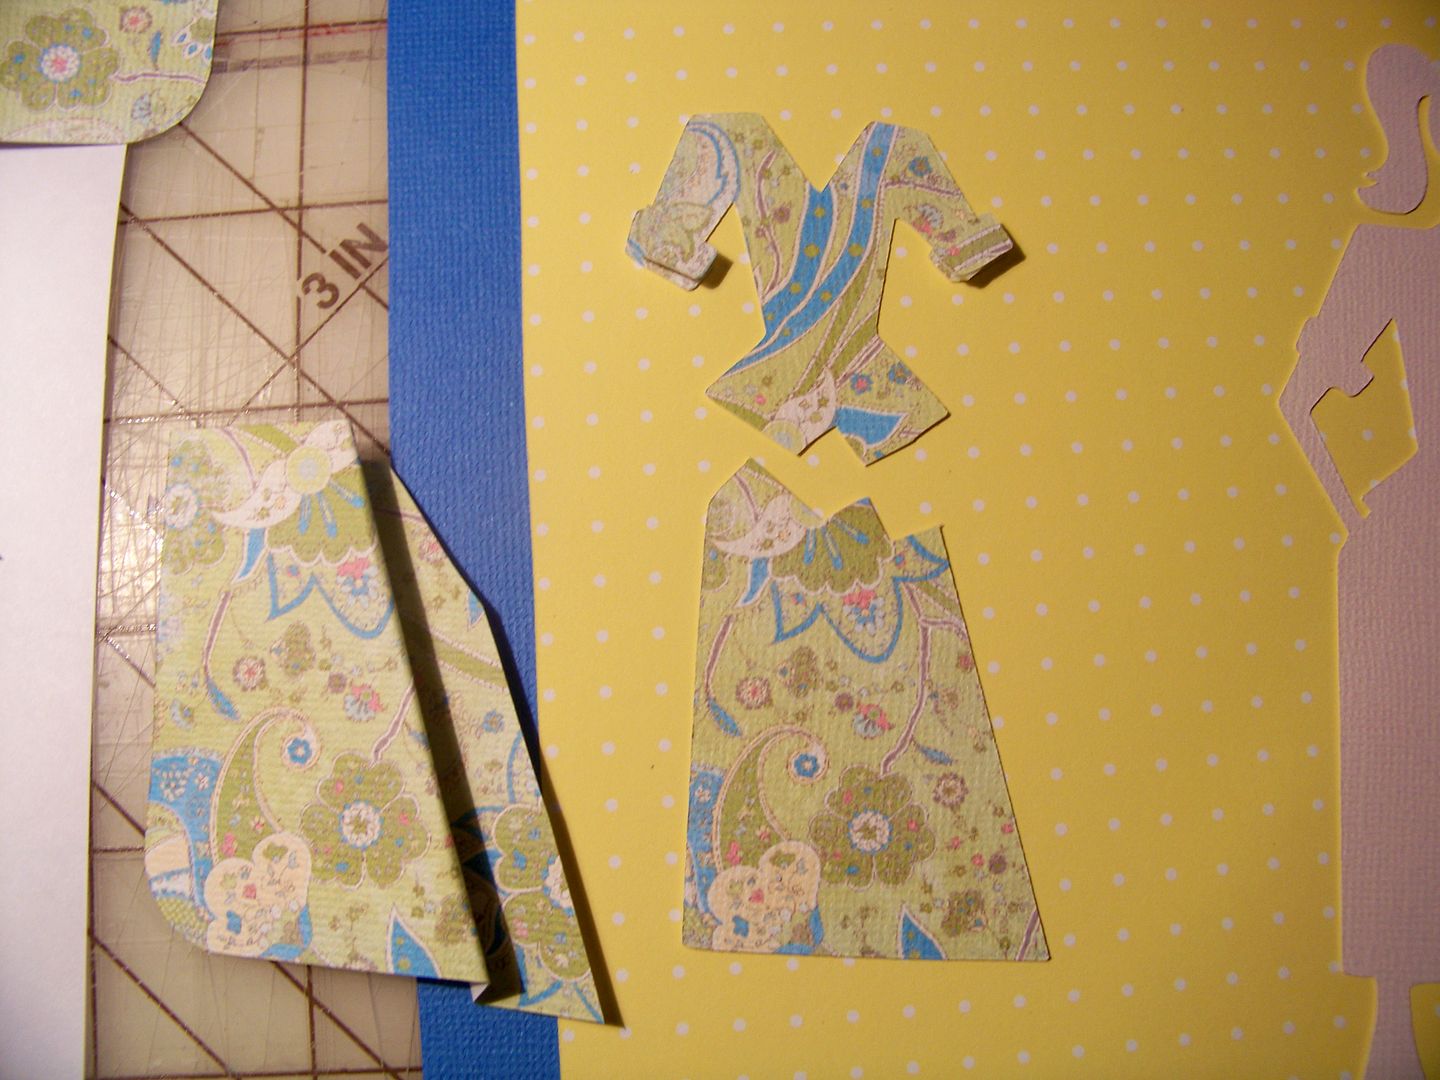
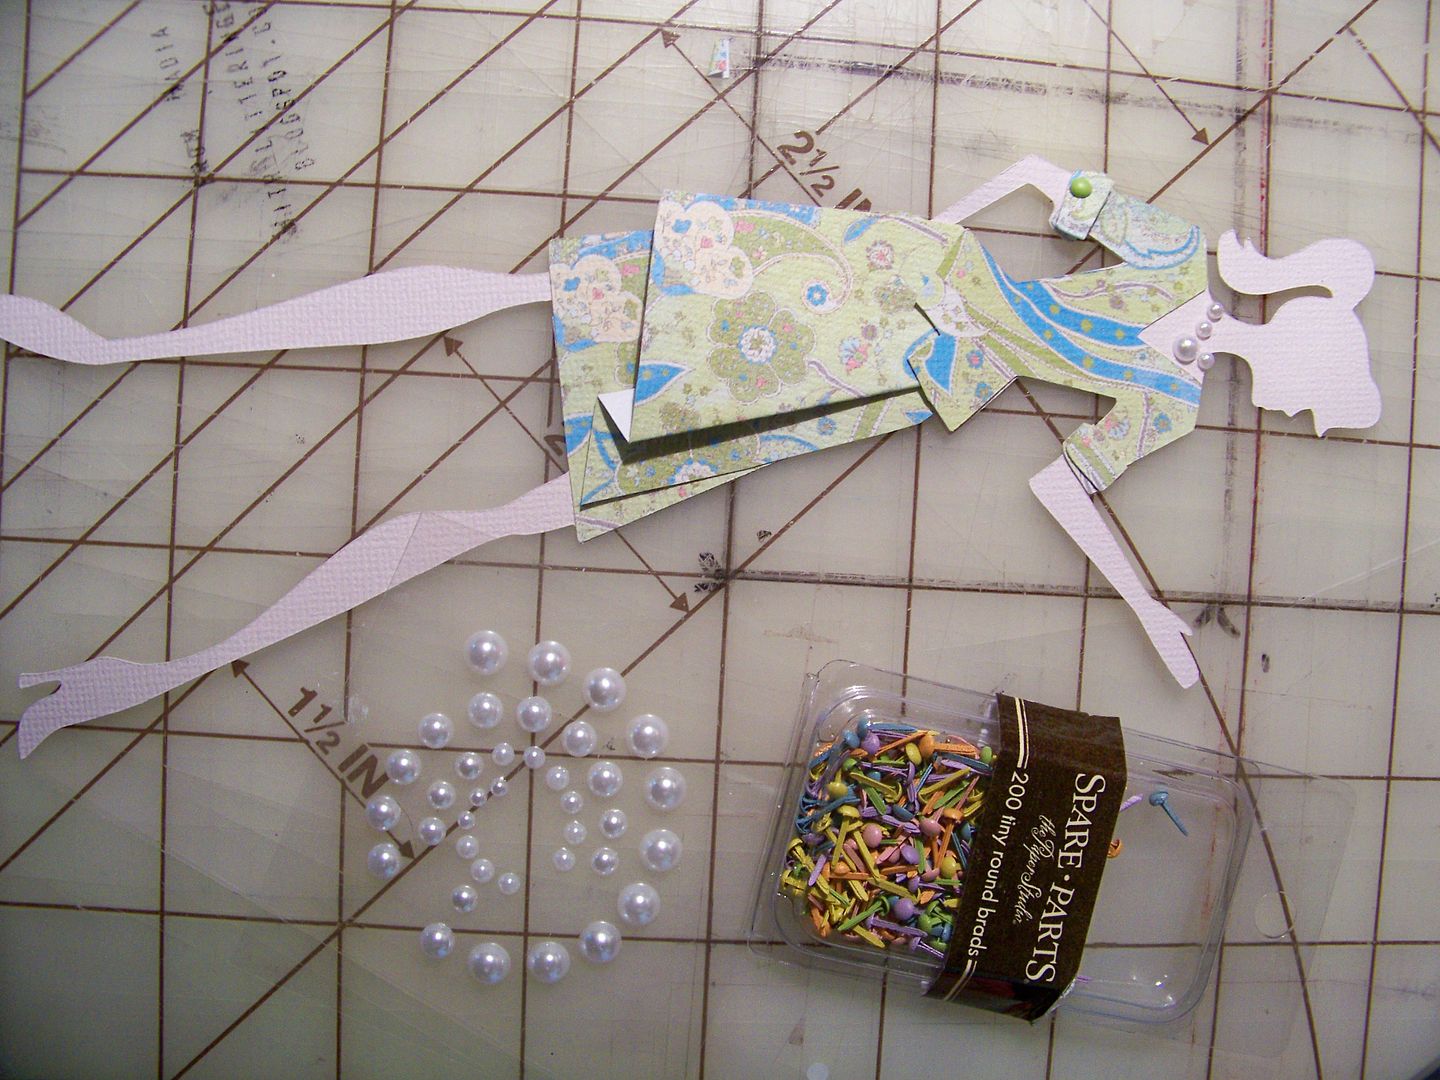
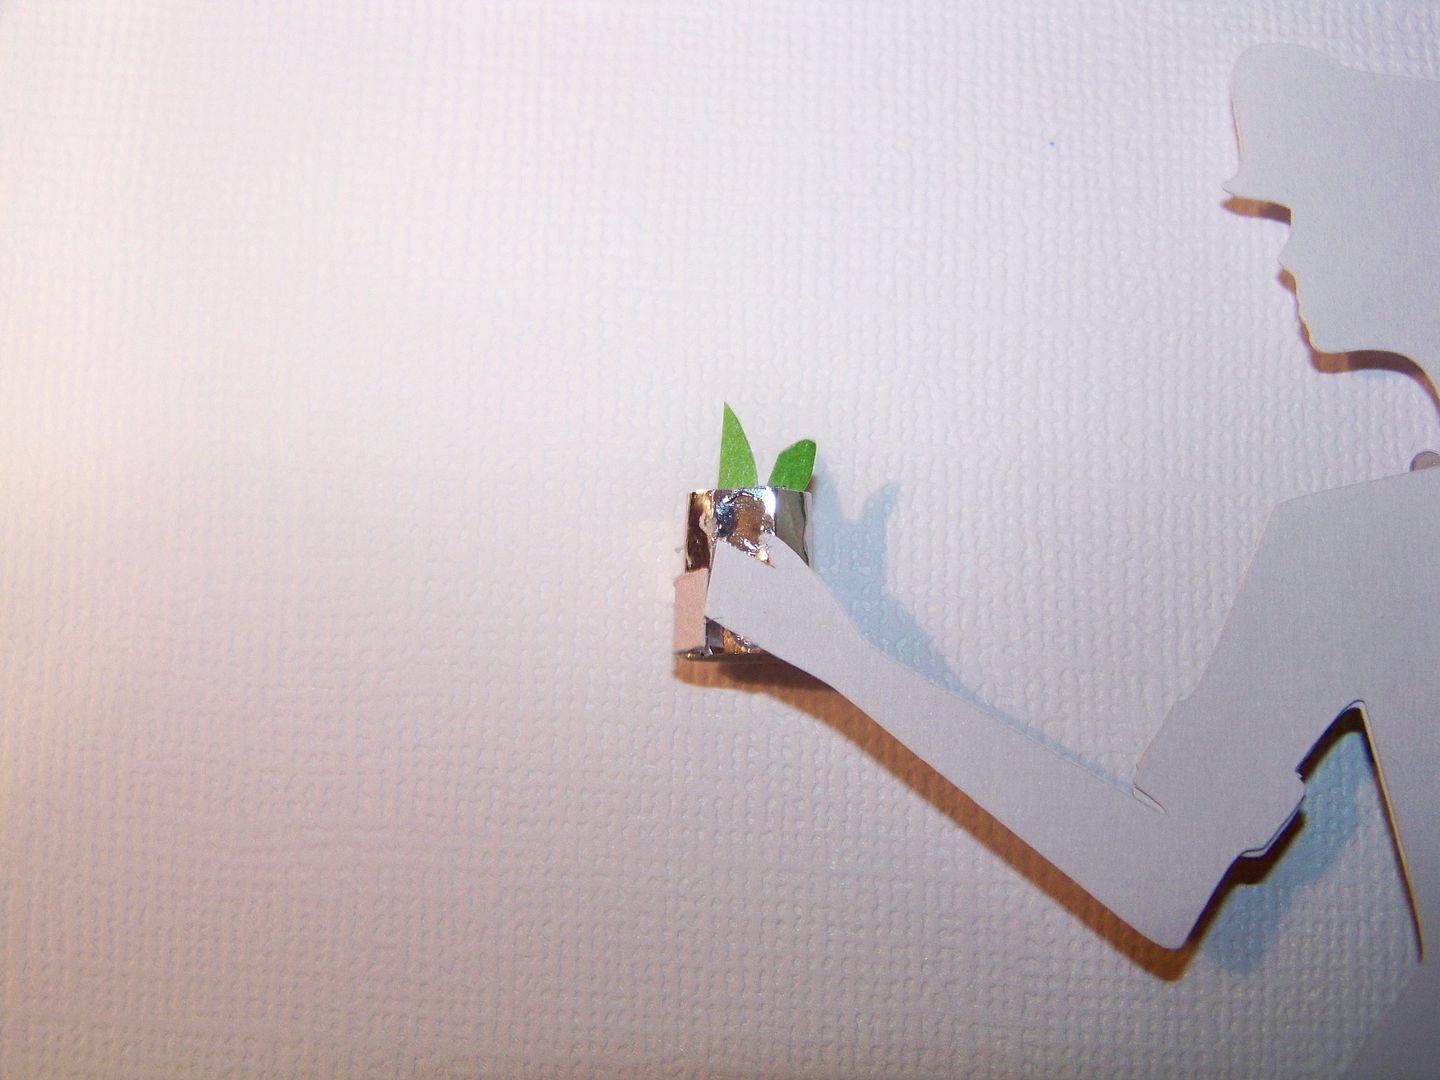
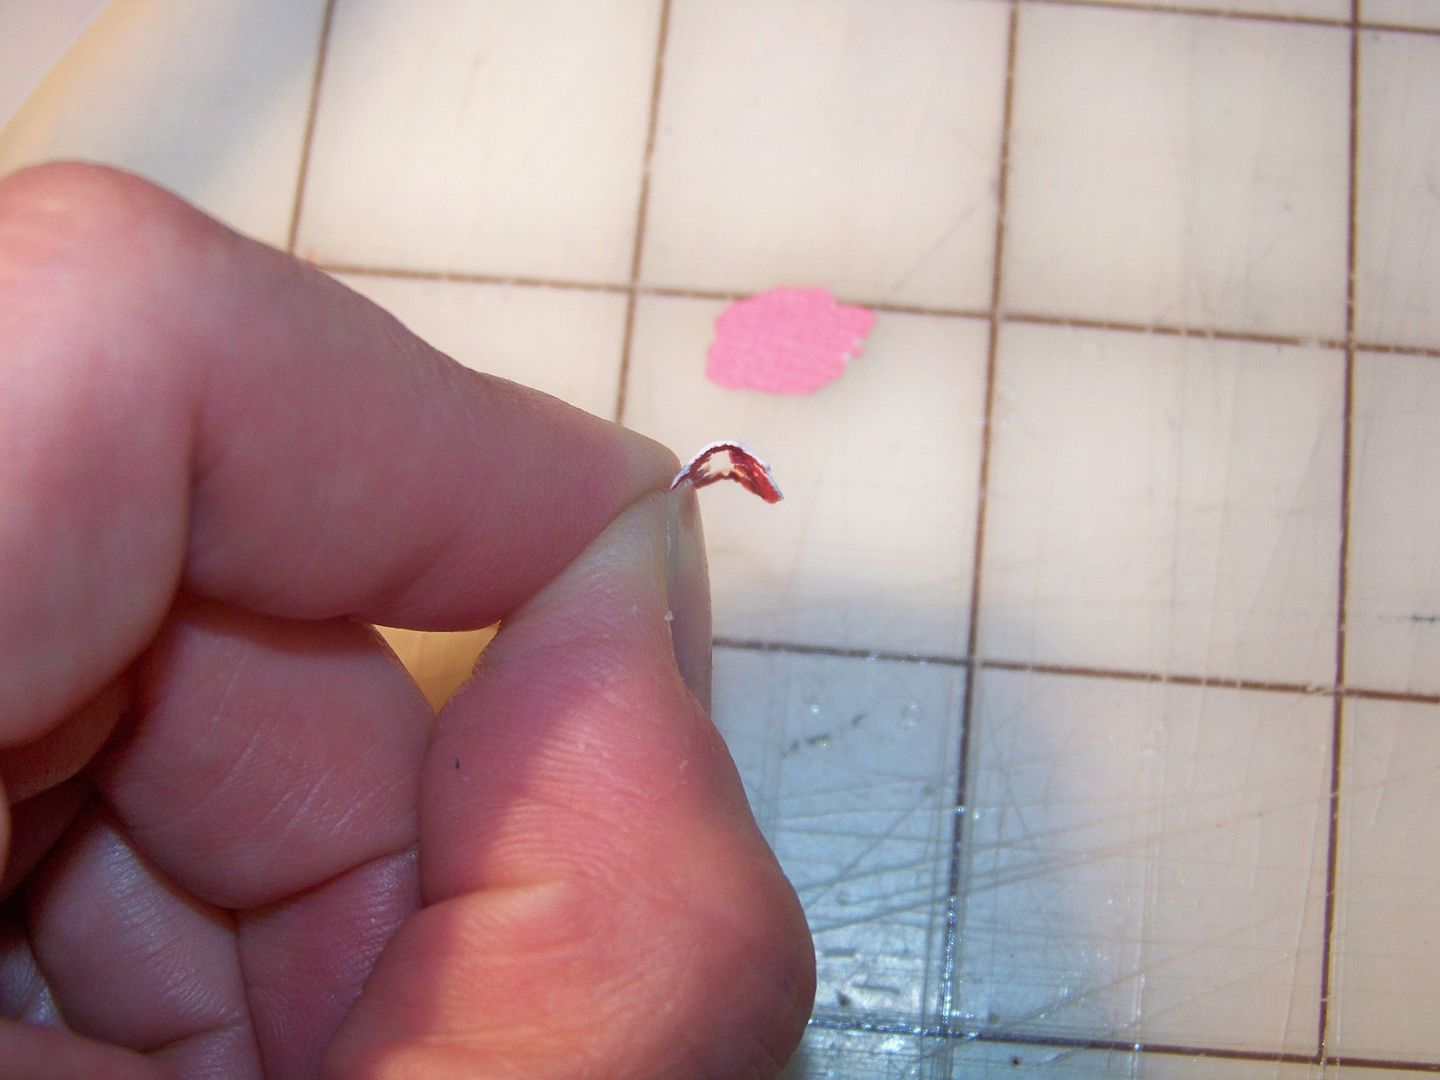
I cut extra cuffs, then embellished the figure with adhesive pearls and a mini brad. I used glossy accents and glitter to make her shoes. I created a mint julep cup by hand-cutting metallic paper (traditional julep cups are sterling silver, not the novelty printed glass that they sell as collectibles!), rolling and gluing to make a mini tube and adding a little "sprig of mint" by cutting a couple of tiny green leaves and gluing them to the inside of the cup.
I cut her hand, flipped it, and glued it to the front of the cup to look like her hand is wrapped around it.
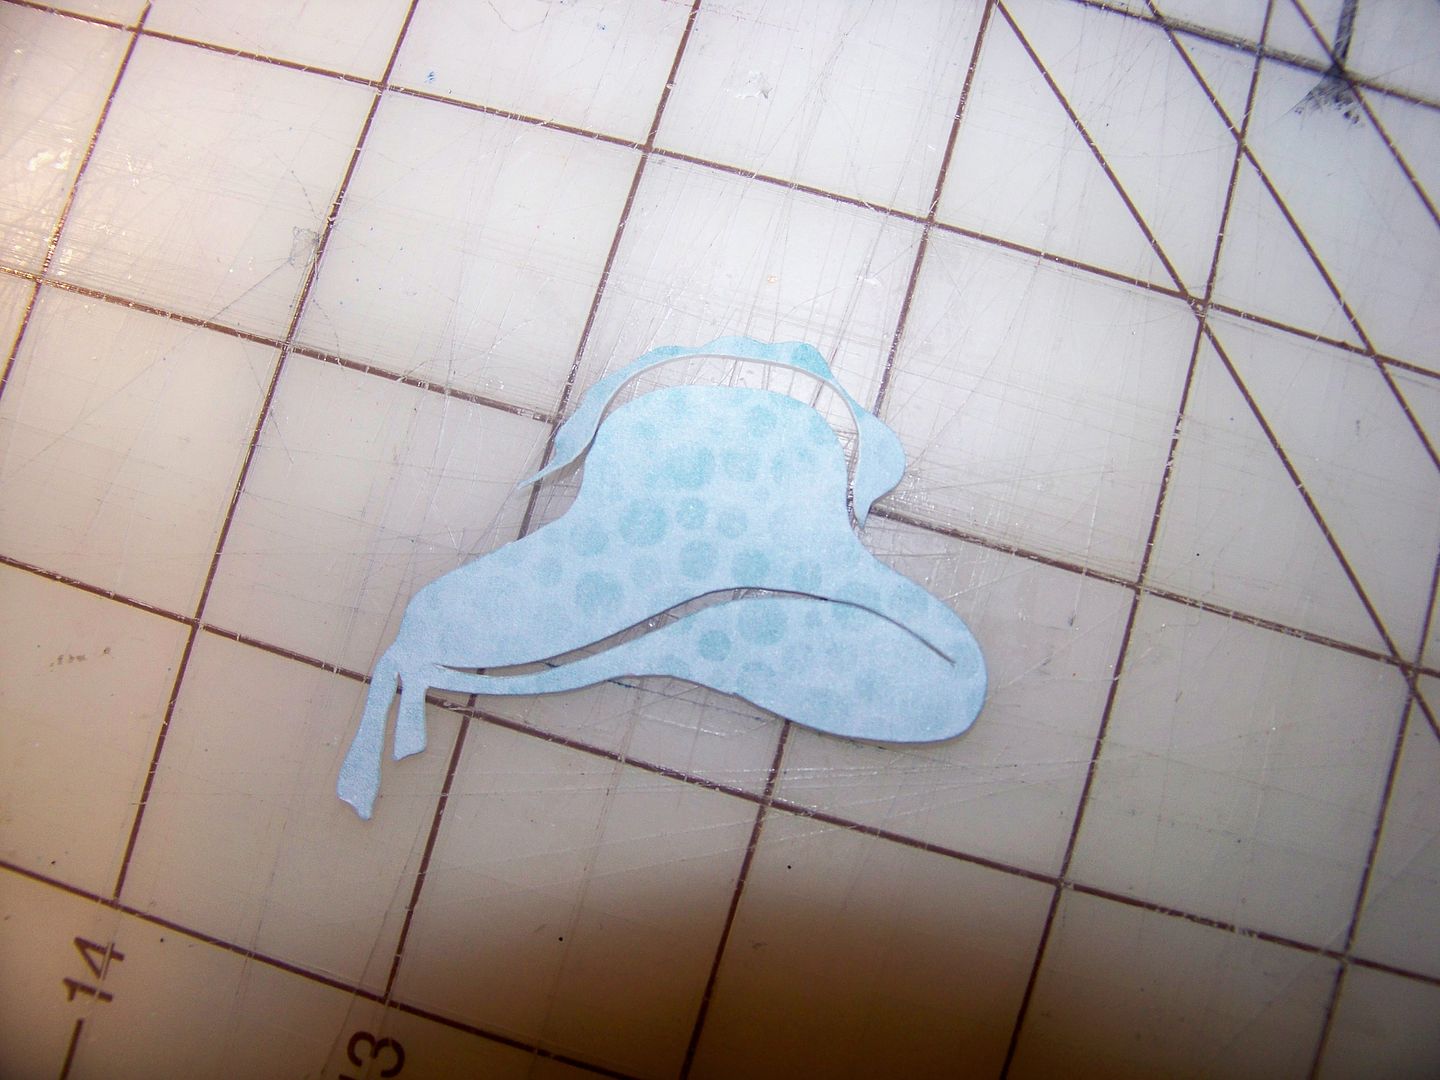
I cut her ponytail off and made a Derby hat for her to wear by cutting the hat on Heritage at 2" on the Imagine, flood filling the shape with a pattern from Enjoy the Seasons. I trimmed off the hat stand and shaved the top of the hat off a bit.
I inked the hat heavily and used some of the leftover dress "fabric" to cut some hat embellishments, gluing some flat and popping up some elements. I had planned to leave her without hair or facial features, like a fashion drawing, but my husband and daughter made enough comments to change my mind. (Everyone is a critic these days, I guess). Her hair was cut from a leftover birthday invitation -- that is printed on hair from a Tangled invitation! I chopped it up and tucked on under the hat and glued in place. The tiny indication of an eye was added with a Zig fine pen.

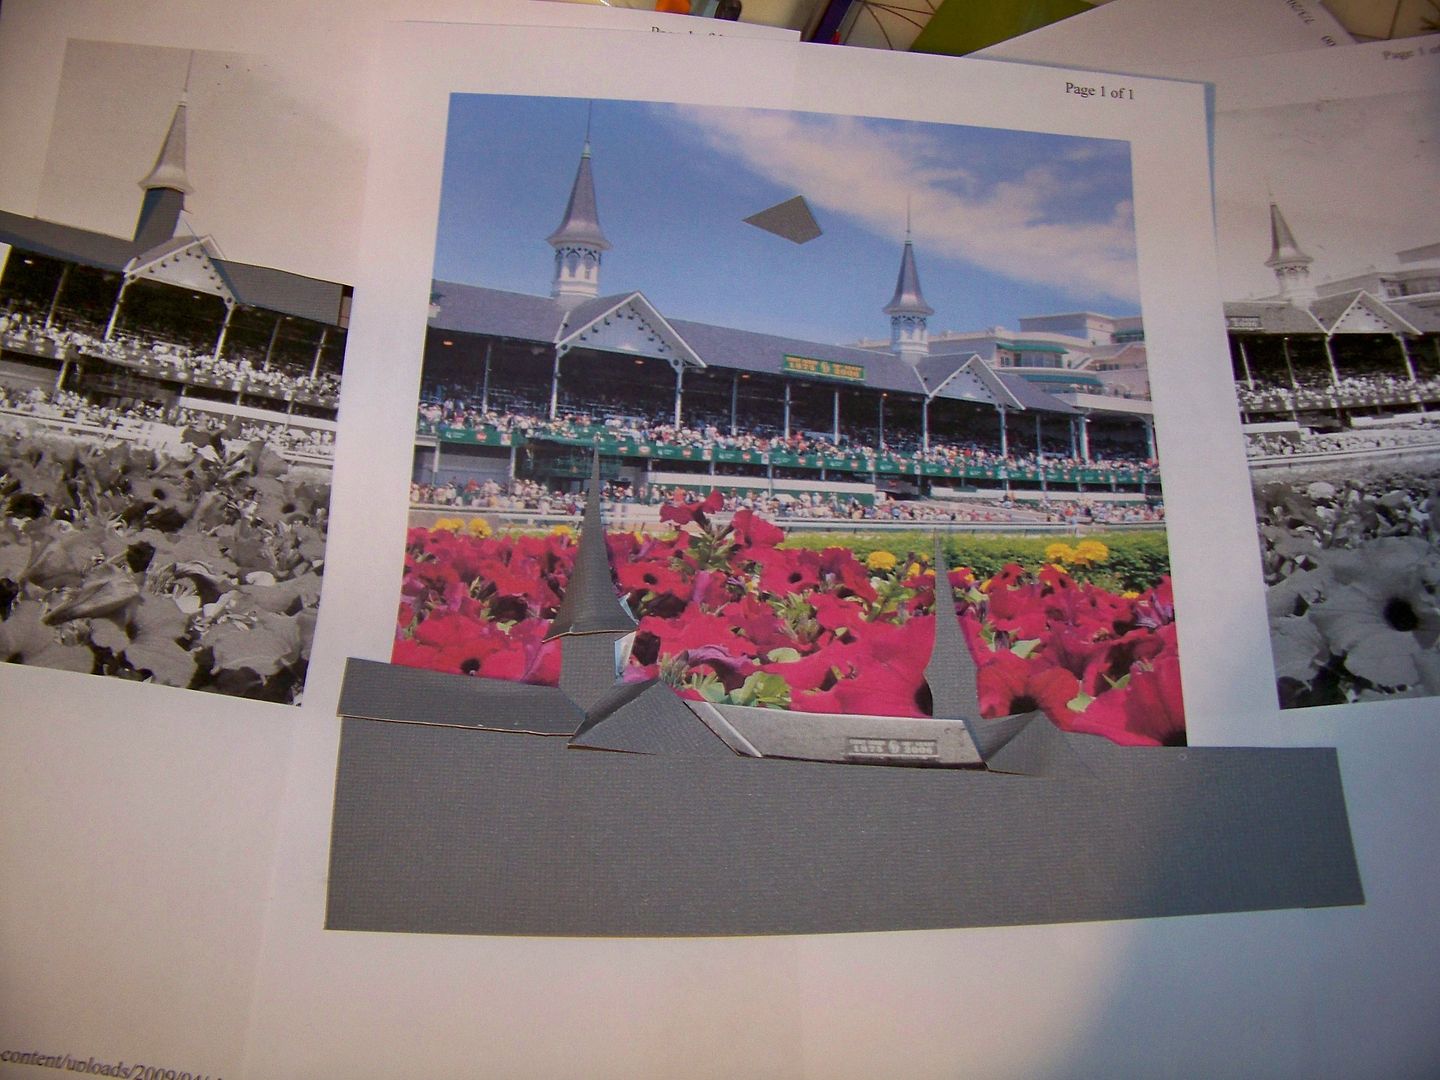
I knew I wanted Churchill Downs represented and checked to see if there were any spires on any cartridge. Failing to find one, I used Google Images to print off a picture of the landmark and then copied it in black and white to cut it apart for a pattern. I used those pieces to cut the building from gray textured cardstock. I duplicated the cuts for the roof and spires, folding and bending to create the 3D effect, and gluing right on top of the original cut.
One of my favorite things each year is the Hot Air Balloon Race during Derby Week. We also go to the Balloon Glow the night before. It is such a magical view of the sky that I wanted to be sure to include balloons on my pennant! I cut hot air balloons from Summer in Paris at 4", 2", 1-1/2", and 1", flood filling each image with patterns from Hopscotch. I inked the balloons heavily. The rope detail was too fine for the Imagine to cut and maintain on the small balloons, so I trimmed the balloons smooth. This worked out well since you don't see that kind of detail in real life when balloons are that far away anyway! Again, I used Google Images to be reminded how balloons look as they cluster and hang in the sky so I could place my balloons correctly.

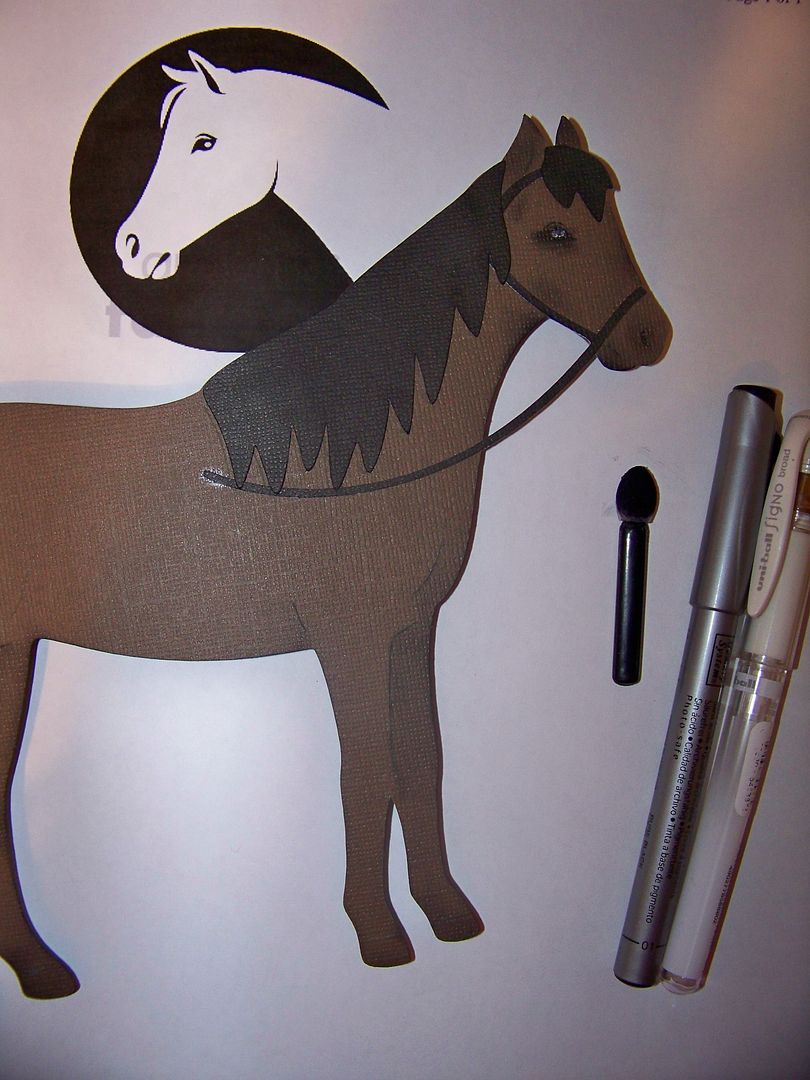
The horse was the image I was putting off cutting! I knew we didn't have a race horse or thoroughbred on a Cricut cartridge. (I actually requested that a future cartridge be developed with a racing horse and jockey from Provocraft's Shannon Lerner at the Louisville Circle event!) I knew I wasn't prepared to hand-cut a horse so I used one of the horse cuts from Old West (page 46), hoping that folks "in the know" would forgive me and accept this as artistic license! This horse was cut on the Expression and flipped. I inked it in black and had to draw in an eye since I had that detail on the lady. I used Google Images again to answer what a horse's eye looks like!
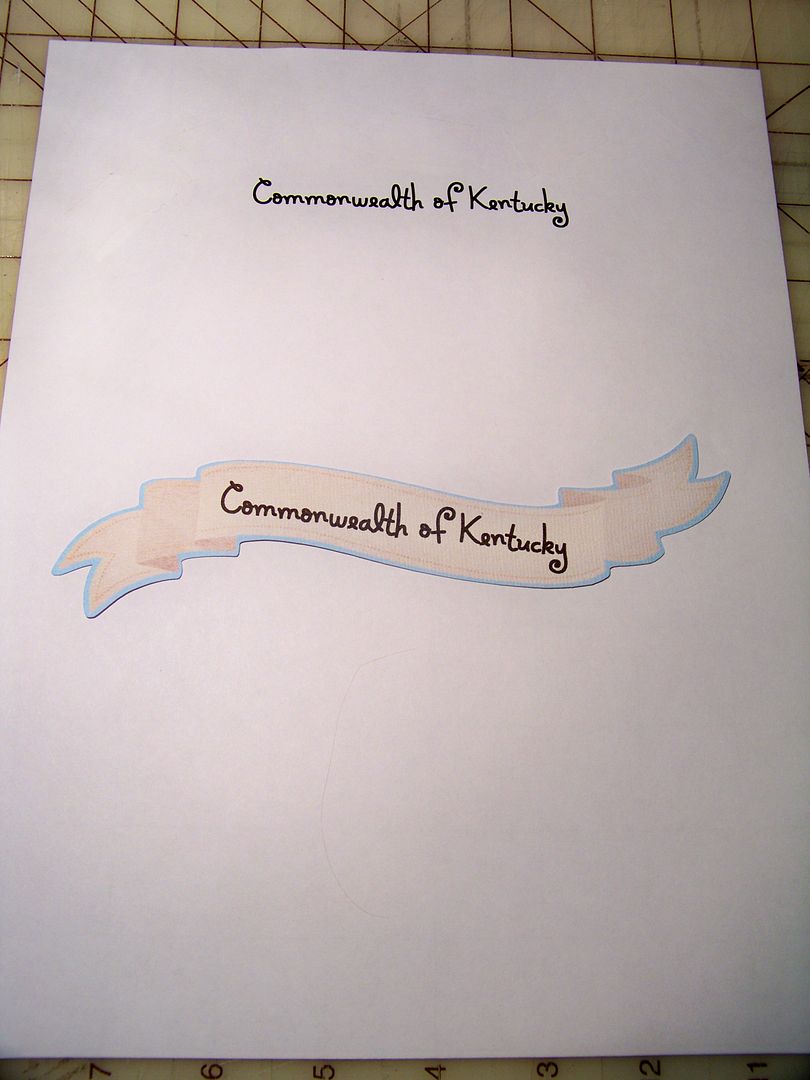
I cut the banner from Enjoy the Seasons (page 12) on the Imagine at relative size 10.5". I used my Yudu as a light box (since it was already out and plugged in) to place the cut over text I had printed on the computer (Microsoft Holiday Springs BTN font in bold at 32 point).
I taped the cut over the text and ran it through the printer again to get it printed on the banner.
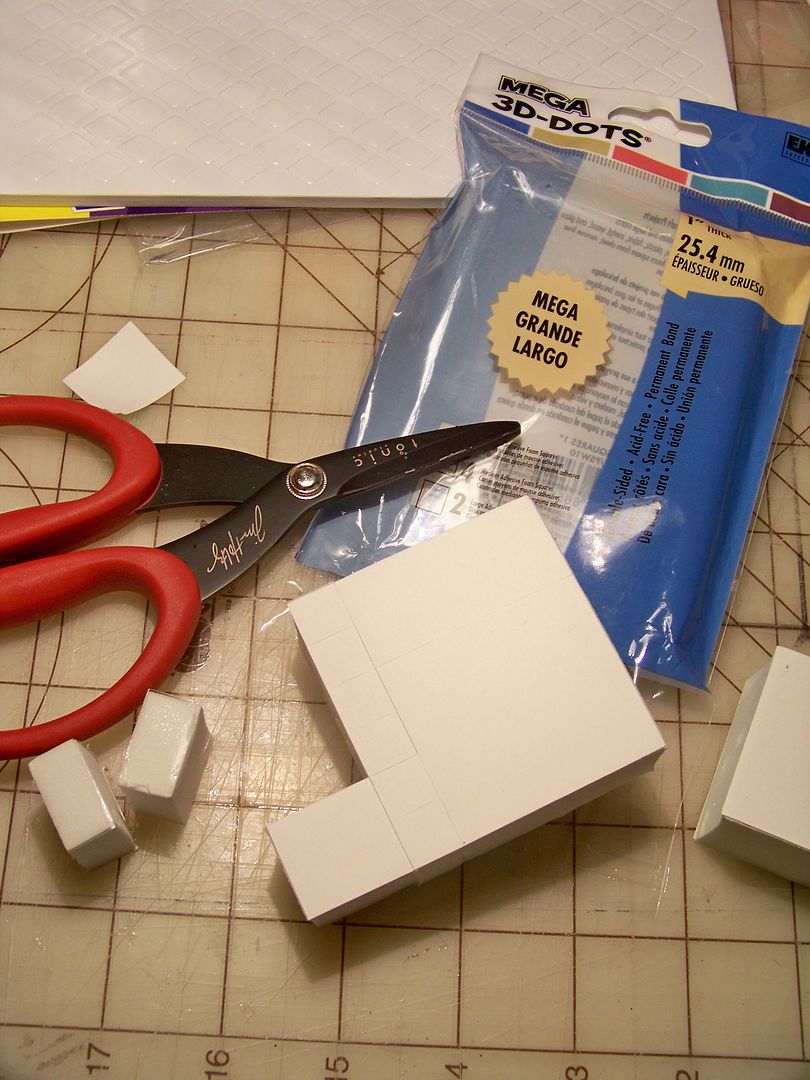
I popped everything up to add a little depth-of-field to the elements. I popped up the banner 1"; the figure at 1/2", the horse at 1/4", and the 4" balloon at 1/2". All other elements were glued flush to the page. The 4" balloon had been curved a bit to get a 3D effect. Because of this, the 1/2" pop dots only raised it 1/4".
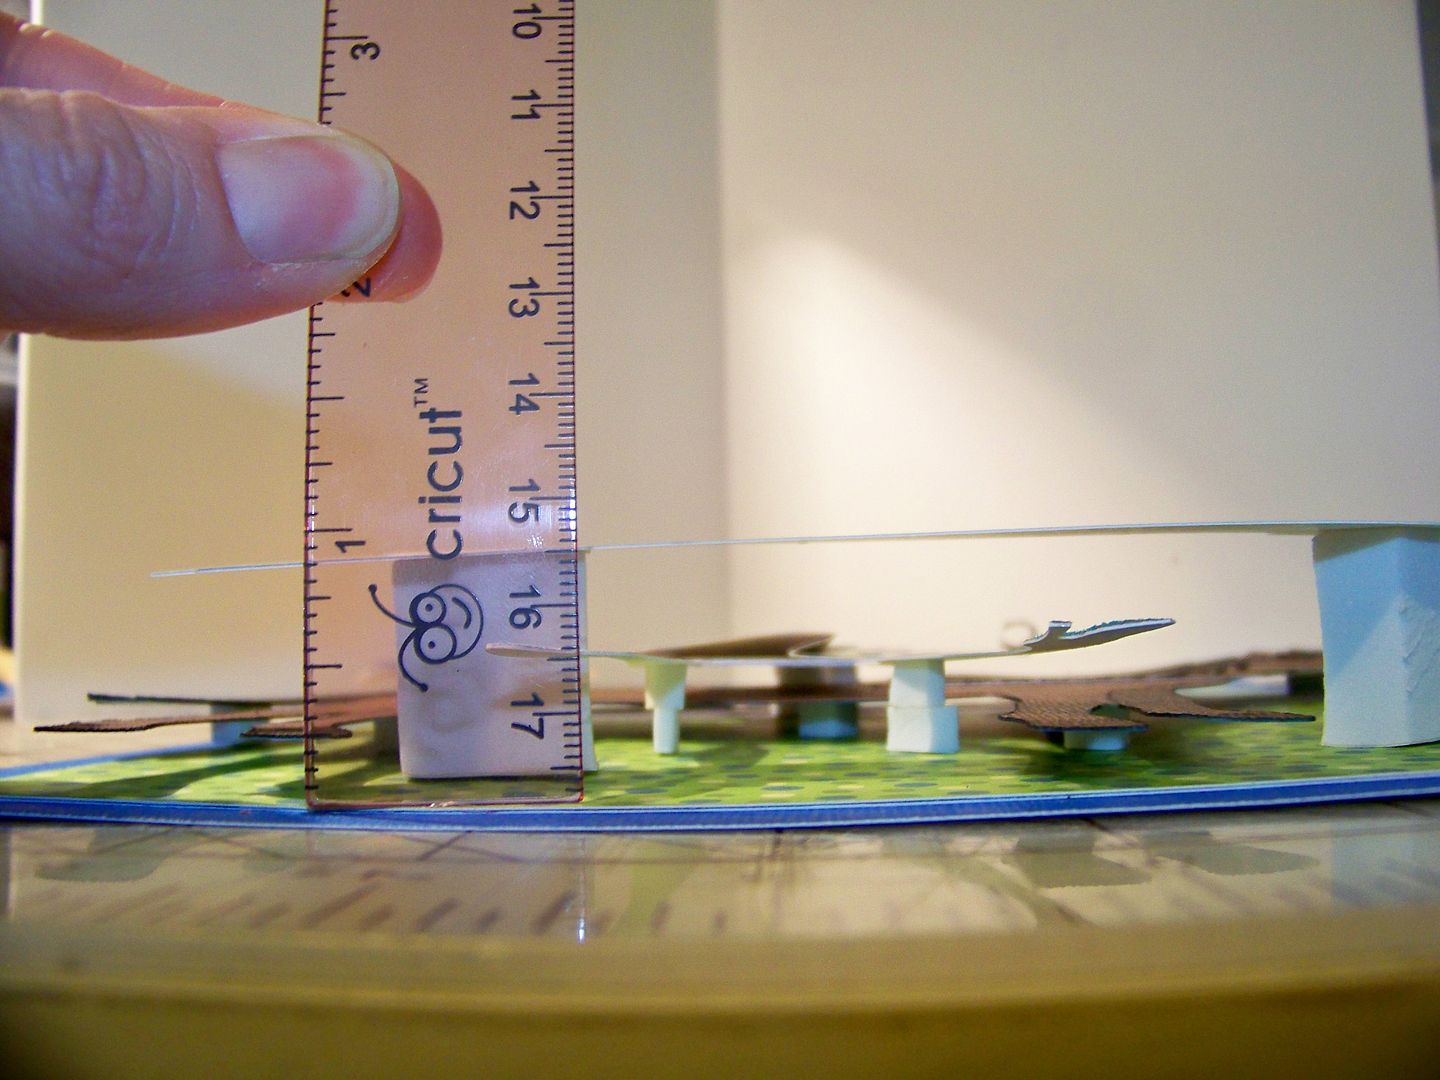 |
| You can see the kind of height achieved from the use of pop dots. |
I used non-stick scissors to cut the foam pop shapes to fit my die cuts. I found that if I adhered the foam to the die cuts but not to the page, I could see how the elements would work at final height, but still have the flexibility to move the elements as I created new things!
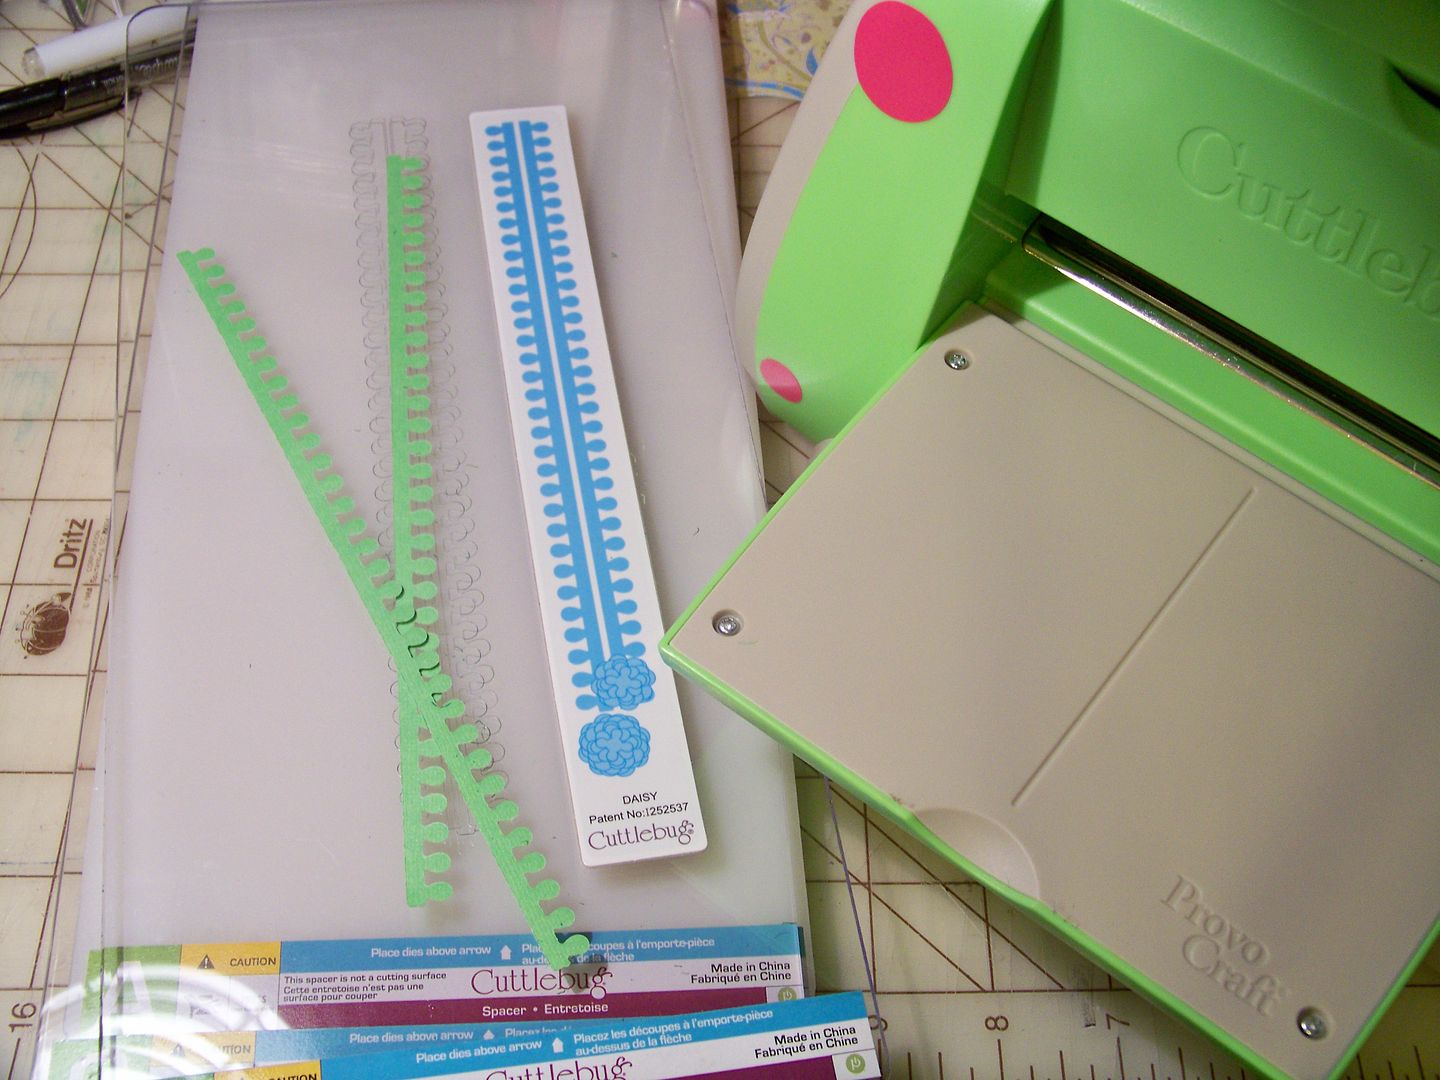
This was very helpful when I decided to add the blanket of roses! I hand-cut the base in a color similar to the red in the hot air balloons. Not only did I want another icon for Kentucky representation, but I also wanted to pull that color down the composition. I used the leaf die from the Daisy Quilling Kit to cut the leaf border for the blanket.
I placed two layers of leaves as a border, staggering them and adhering to the back of the blanket. I cut my roses from Rock Princess (page 49) at .4" on the Imagine and used tweezers to glue and place on the blanket.
Because this was a teeny cut, using the layers as you would for a larger cut simply would not work. I chose instead to use the base cut and the shift to get two shapes for my roses. Then I bent the shift cut and glued the center to the base cut to create these little 3D-effect flowers. (A bit more artistic license since the roses on the actual blankets are tight in the bud).
I did not place roses on the space hidden behind the lady. I placed and glued the blanket on the horse and adhered all the pop dots for all the elements onto the paper, finishing my pennant!
There are so many rich images in my mind of Kentucky. Quilts, food, town squares, rolling hills, rich farmland, the Louisville skyline, our Thunder Over Louisville fireworks display, the State Fair, the building-sized Louisville Slugger bat, bluegrass music, Owensboro BBQ, the St. James Court Art Festival, the Cathedral of the Assumption, Actors Theatre, the Ohio River fossil beds, Mammoth Cave, the Belle of Louisville Steamboat, My Old Kentucky Home in Bardstown, the flower gardens in front of the Capitol building in Frankfort, the Kentucky Horse Park in Lexington, our Louisville Originals eateries and stores... I could go on and on. I love the rich history, the colors, and the people of the Commonwealth! I wish I could have used all of these images on my pennant!
My favorite element that I made on this pennant was the mint julep cup. As a teetotaler, I have never had a glass of bourbon, but I put it in my meat marinade, brownies and fudge! All of this has me thinking of my bourbon balls. I thought I would share my recipe as a little Kentucky gift from me to you!
Bourbon Balls
(for printer-friendly version, click
here)
Melt 6oz semi-sweet chocolate . Add 1/2 cup bourbon and 3 tablespoons corn syrup.
Combine 2-1/2 cups vanilla wafer crumbs, 1/2 cup sifted powdered sugar, and 1 cup finely chopped pecans. Add to chocolate mixture. Mix well. Let stand 30 minutes. Form into 1" balls. Roll in powdered sugar. Let stand in a covered container several days to mellow. A fair warning: the liquor is not cooked out of these. Enjoy!
Thank you for visiting my blog!


