 |
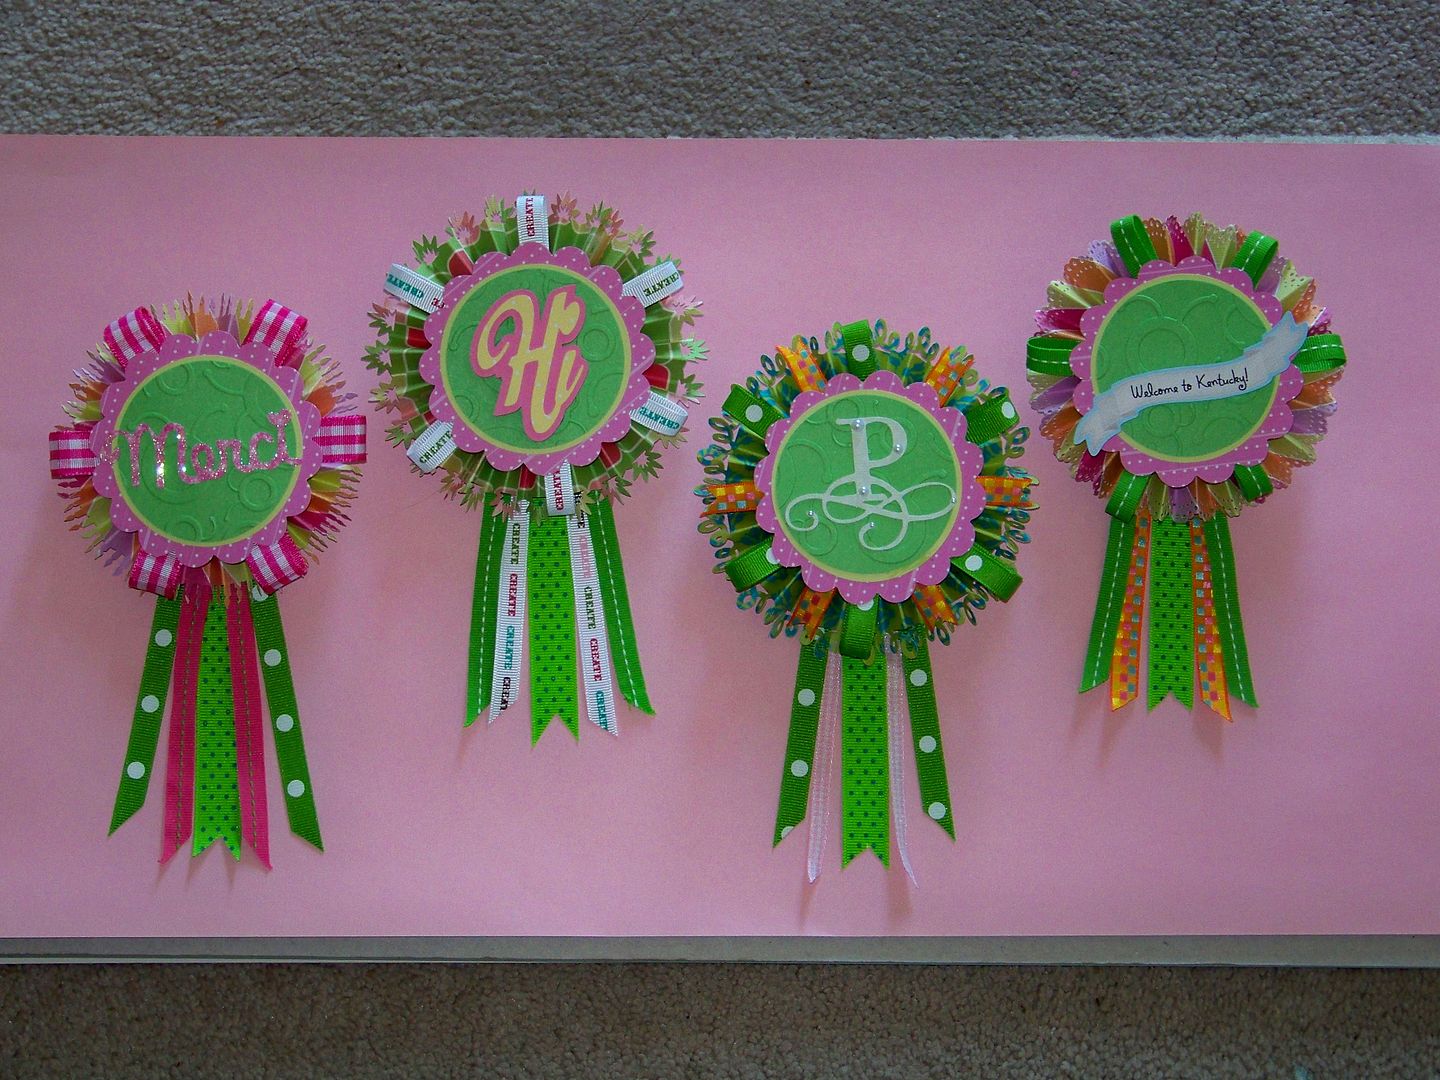
| These are my versions of the Bravissimo collection! |
I thought you might like these too!
I started by cutting the circles and scallops for the fronts. For each award, I cut one of each from Mini Monograms:
4" circle
4" scallop
4-1/4" circle
4-1/2" circle cut from white for the back (will not show from the front)
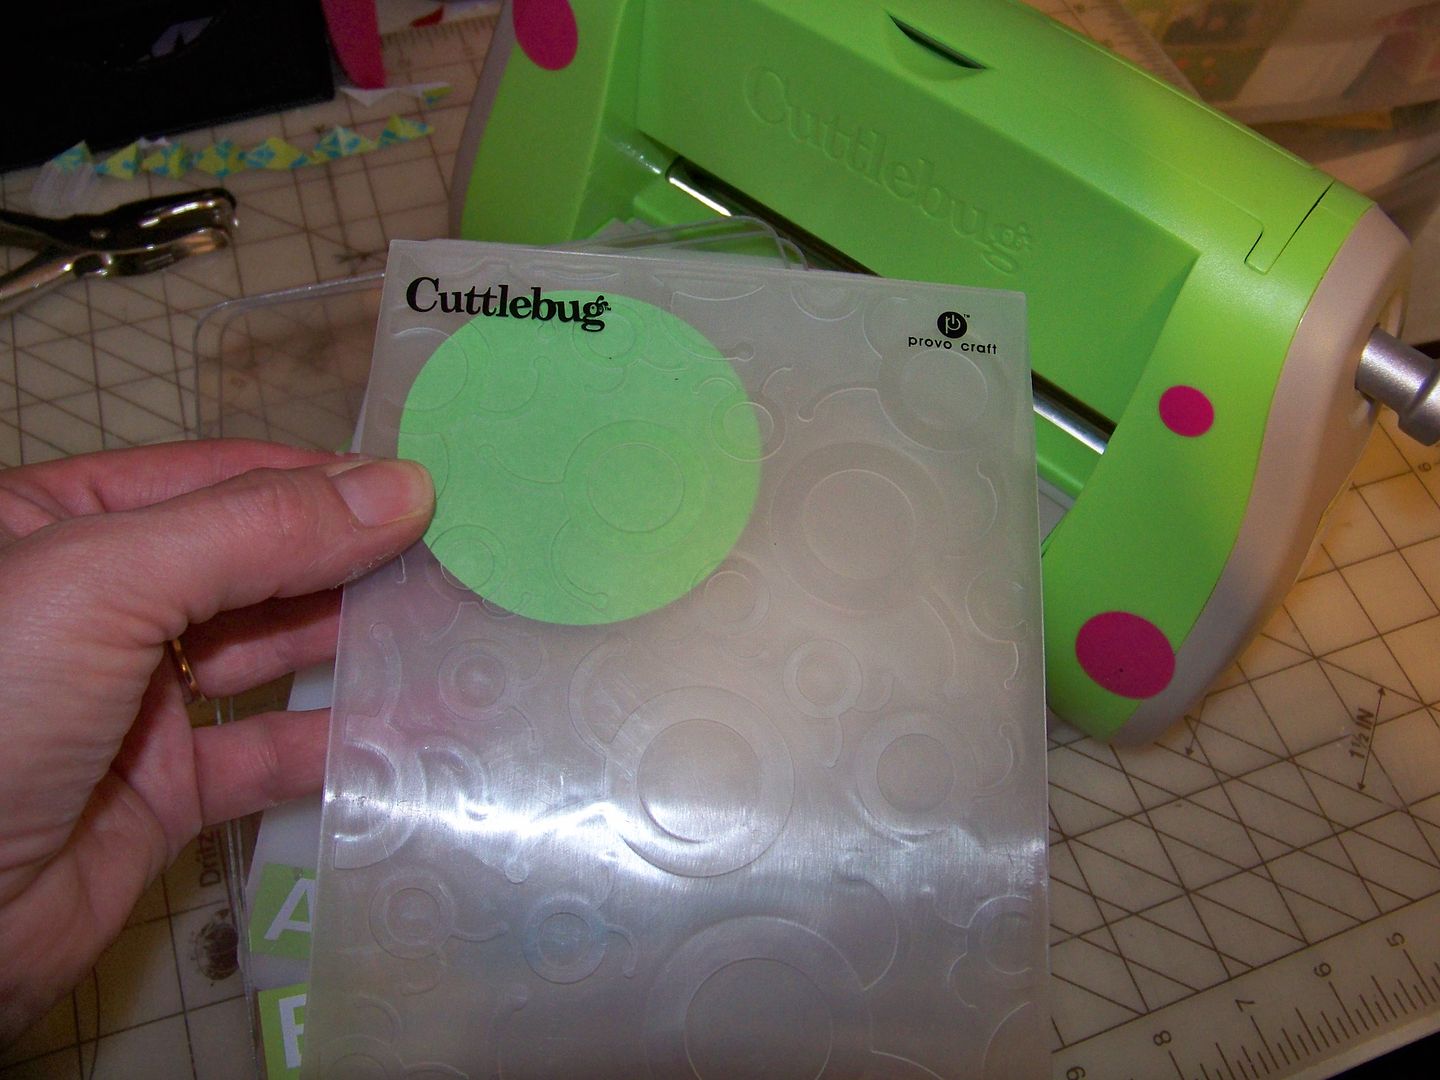 |
| I embossed the 4" circle. I placed the 4-1/4" circle behind it and the scallop behind them both. They are adhered together with ATG tape. |
I used hot glue to adhere the center of the rosettes to a small square I glued to the fronts and backs. The squares will not show in the end.
I think the edge punches and choices of papers really added fun elements to the rosettes.
 |
| This is paper is from Berries & Cream. The birthday candle edge punch is from EK Success. |
 |
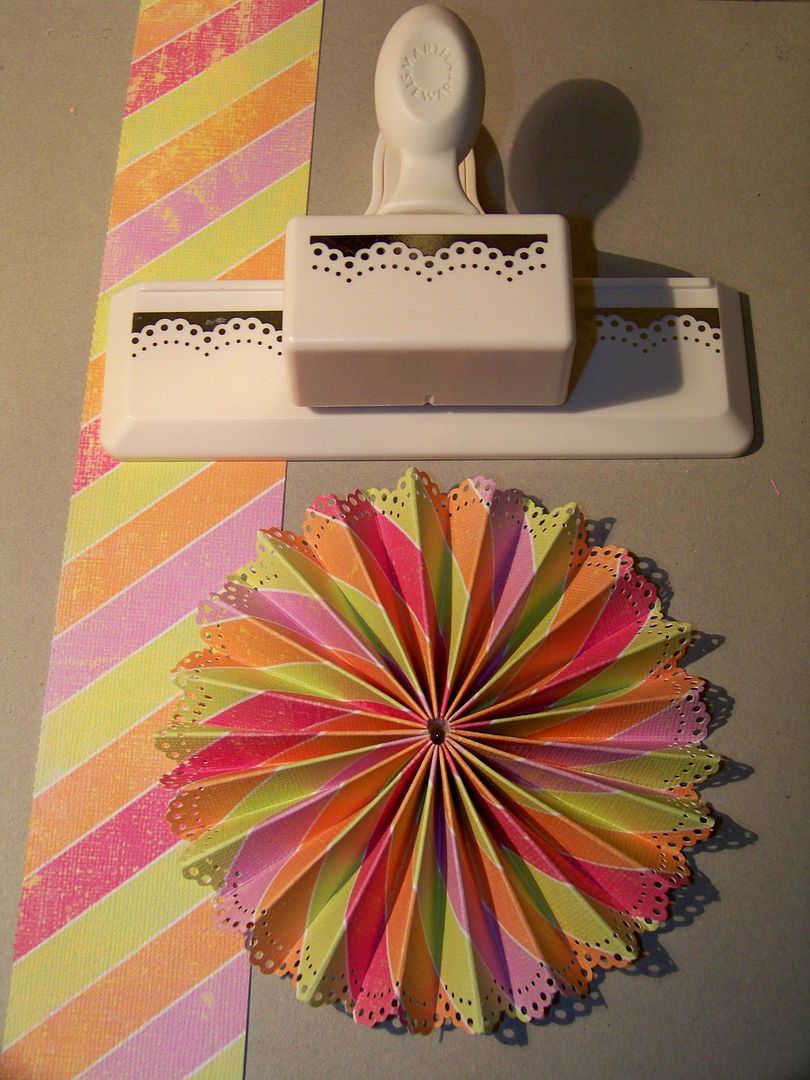
| This is paper from Hopscotch. The sunburst punch is from Martha Stewart. |
 |
| This paper is from Imagine More Cards. The loopy punch is from Martha Stewart. |
 |
| This is the same Berries & Cream stripe but this rosette was edged with a Martha Stewart eyelet lace punch. |
Between the circle layers and the rosette, I placed loops of ribbons. These are made from folding each 4-1/2" ribbon strip and placing 6 of them on the rosette.
 |
| The ribbons were adhered with hot glue. |
 |
| The square of tails was also attached with hot glue. |
Next, I ran the white 4-1/2" circles through my regular printer to put my name and blog address on it. I used the Martha Stewart mini hole punch to make a small hole for a brad to fit. I placed the brad on so the head was on the wrong side of the circle.
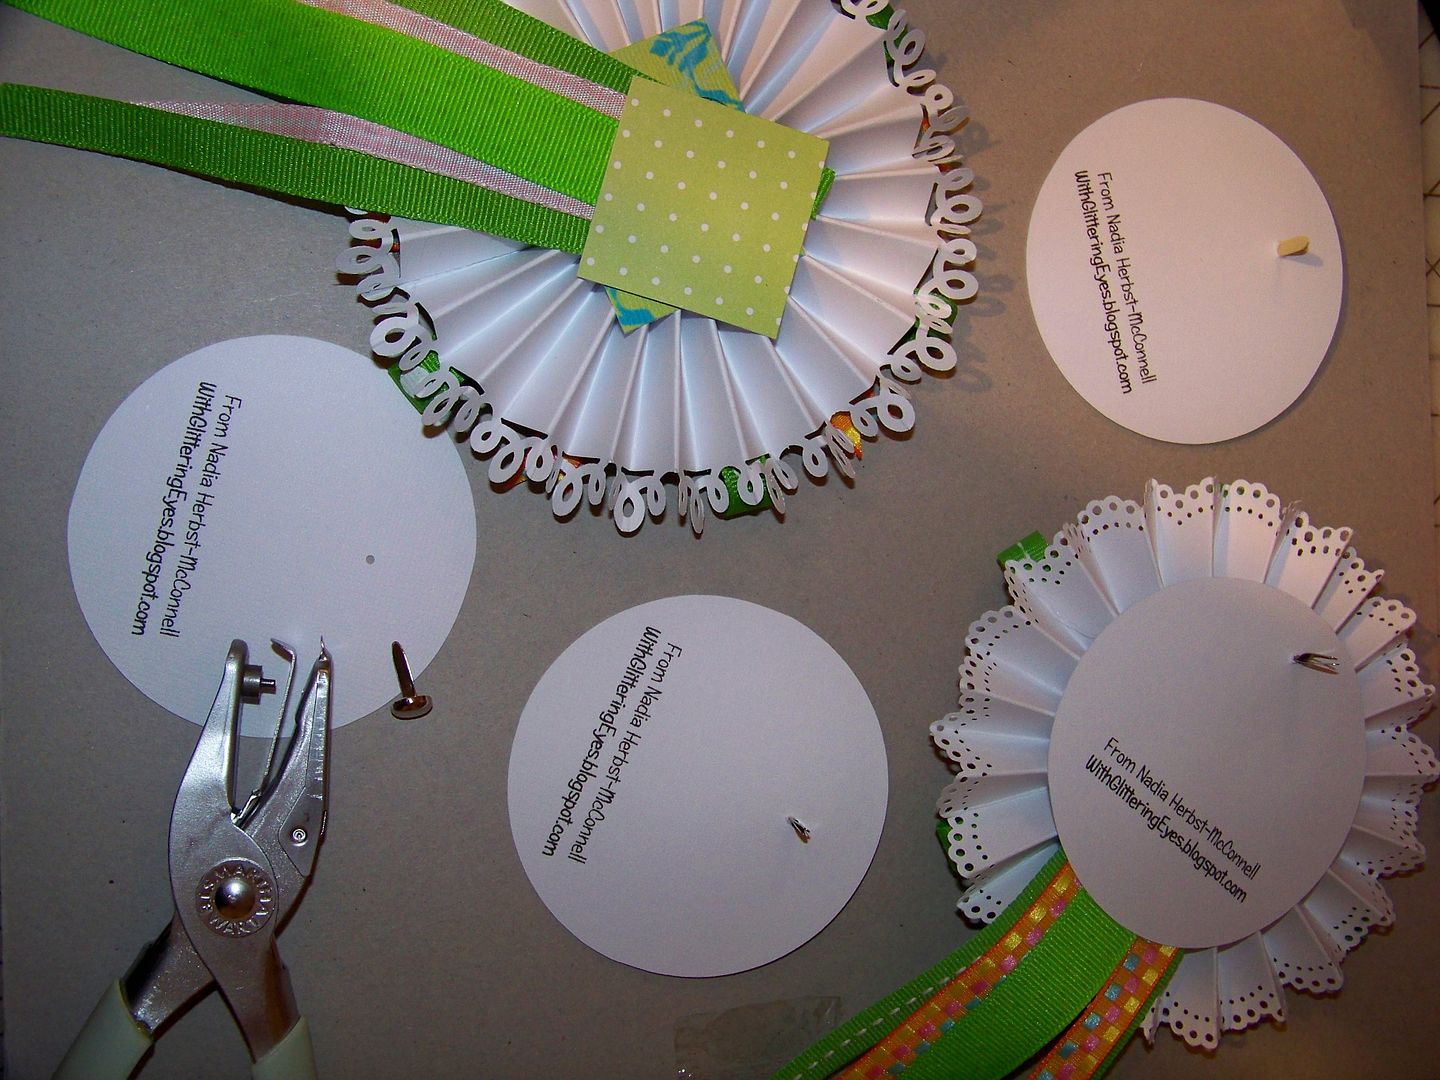
I punched a small hole in the gift bag and attached the award to it, opening the prongs inside the bag.

These are my finished ribbons:
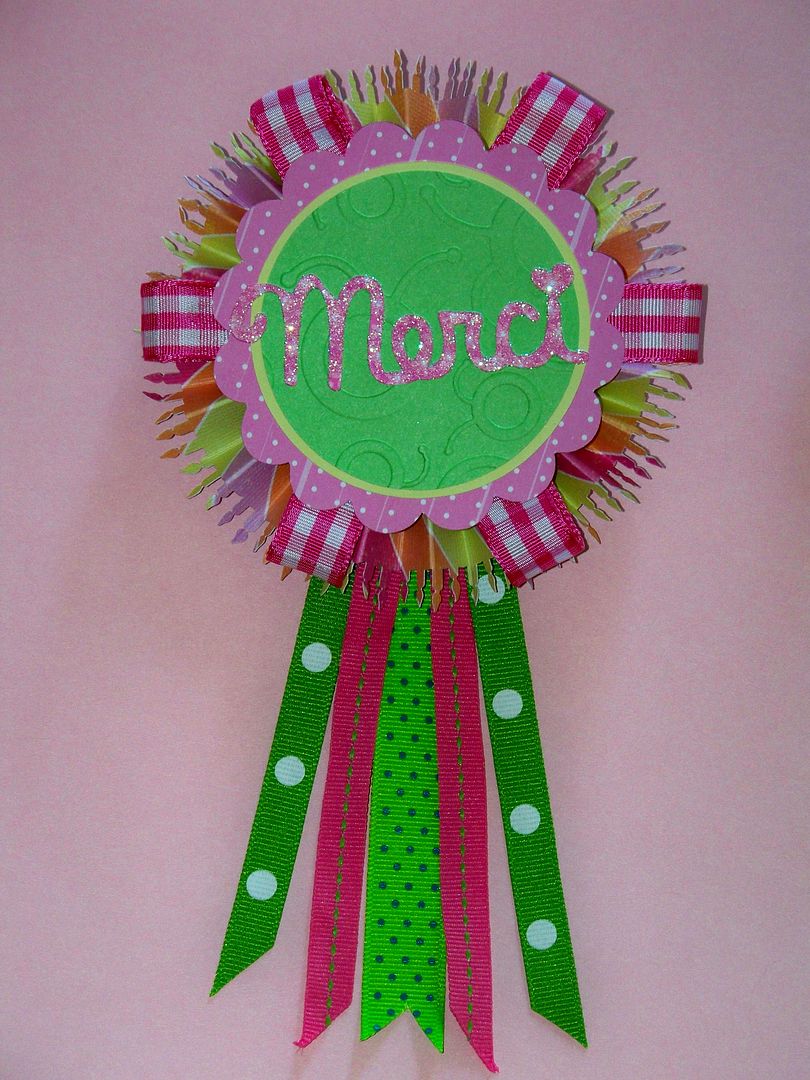 |
| I used "Merci" from Create-A-Critter. The cut was run through the Xyron and glittered. It was run through the Xyron again to adhere it to the embossed circle. |
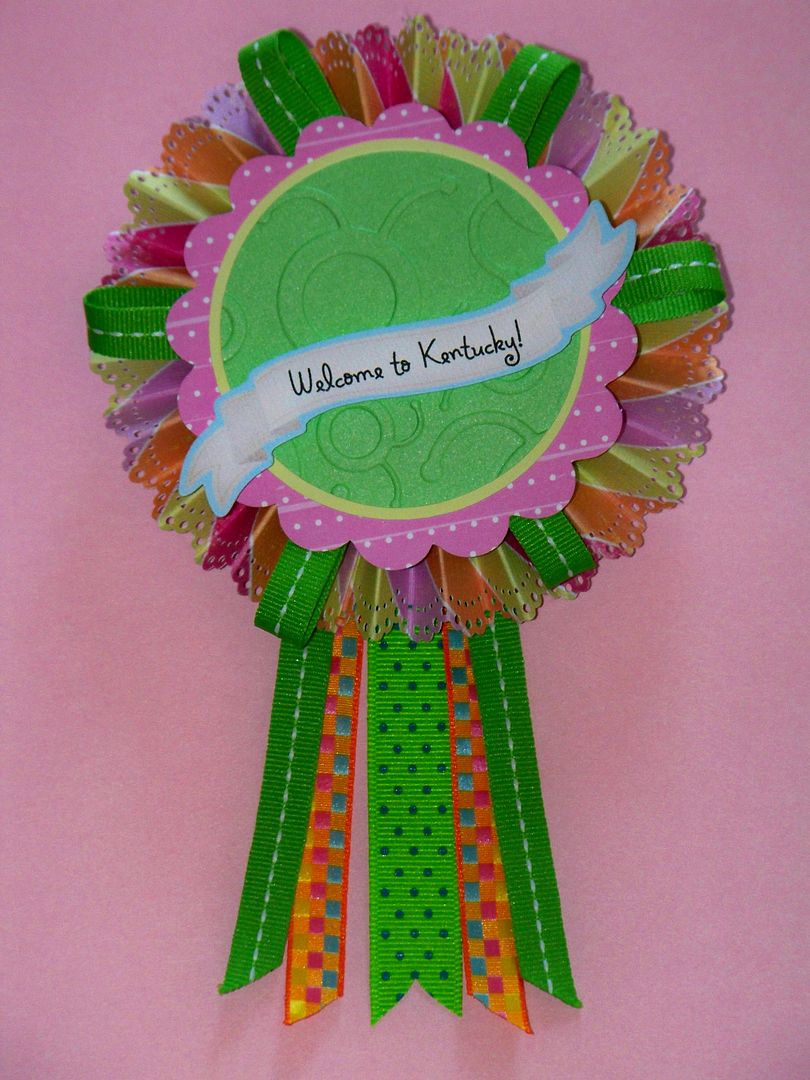 |
| The banner was cut from Enjoy the Seasons (rel size 5.7"). I ran the banner through my office printer and printed the text with Microsoft's Holiday Springs BTN (20 point size). The banner is adhered with 1/8" pop dots. |
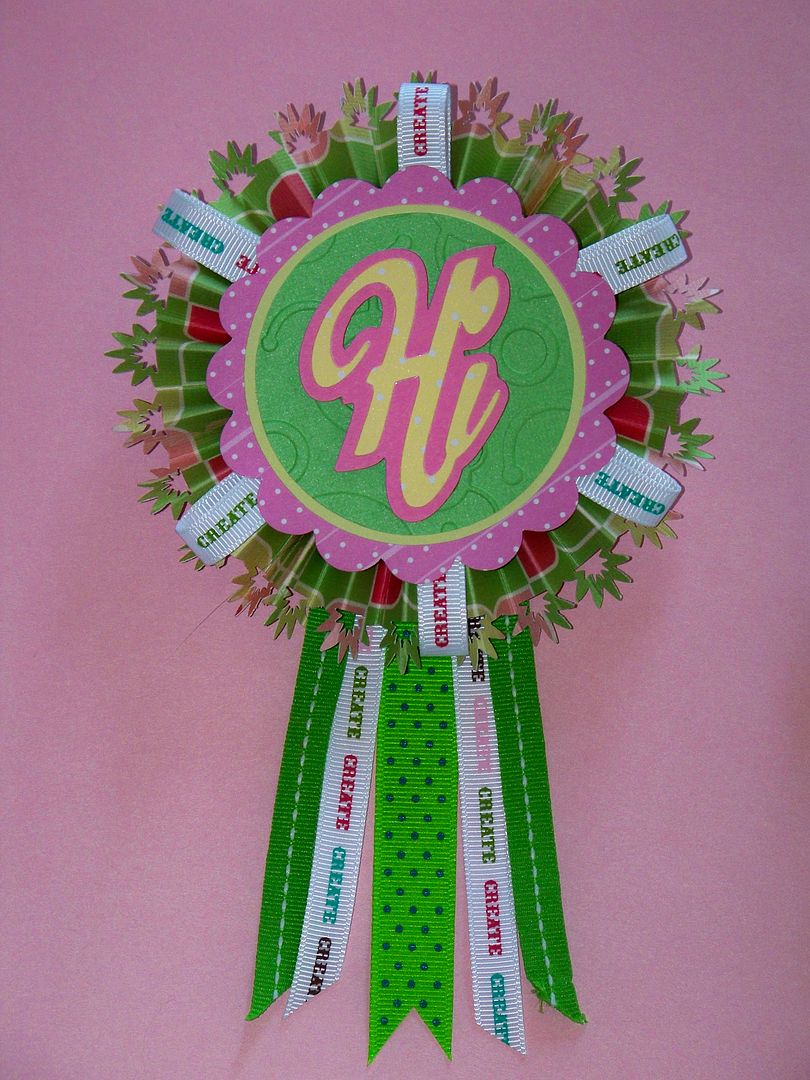 |
| "Hi" was cut from Sentimentals at 2" with shadow. It is adhered with 1/8" pop dots. |
 |
| The monogram is from Tie the Knot at 2". I ran it through the Xyron to adhere it. I added adheive pearls to accent. I also added additional ribbon (unlooped) to the rosette for added color. |
There are so many possibilities for making these. I want to try making some with my new Baby Boutique Imagine cart for some black and white ones! These will be so much fun to make at Christmas time to decorate my packages. I think they will be fun for birthdays too!

Thank you for visiting my blog.
12 comments:
Fabulous !!!
Hugs
Adele
Oh Nadia these are wonderful! I seen them the other day when I finally made it up to Lexington and my mind was going 100 mph with many ideas also! Love the ones you made and of course, love the embossing, lol!
((Hugs)) Theresa
I love this idea! I might borrow it to make ribbons for my students at the end-of-the-year awards ceremony :-D Thanks for sharing!
Another super duper achievement to mark other super duper achievements. Thank you for sharing how to make them - it is very generous, and they are lovely!
Nadia!! Brilliant! Like yours better, and going to try this for a project soon. Thanks for sharing!
Oh my gosh
You are so creative. I love them!
I love yours better! So cute!!!
Opps forgot to say I'm going to scraplift this idea!
;)Melody
They turned out just adorable.. love the idea of using the punch on the edges.
These are FAB-U-LOUS!!! I absolutely love them Nadia. :) Thank you so much for the step by step instructions... my DD's would love to make some of these.
Lori
These are just brilliant :D. TFS!!!
Nadia, these are all awesome!!! Luuuuuv them!
Post a Comment