This one I am submitting for the Circle Magazine ornament contest.
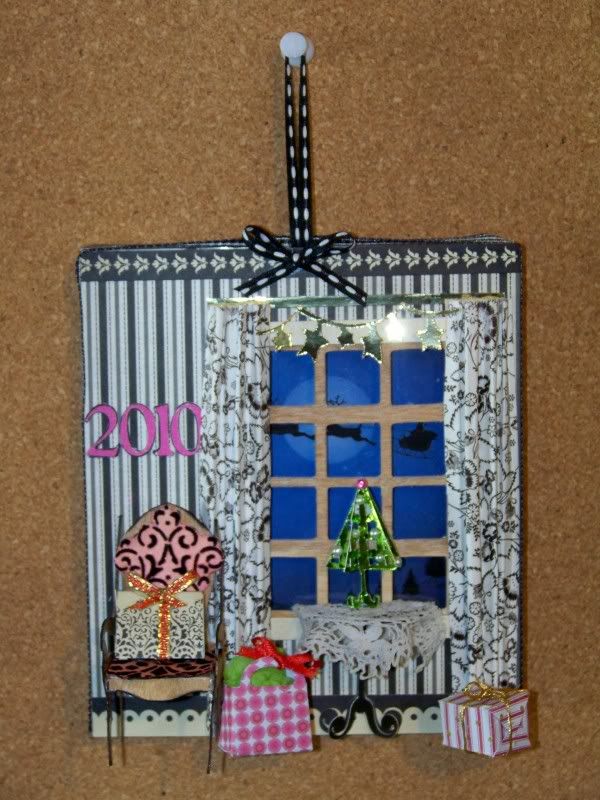
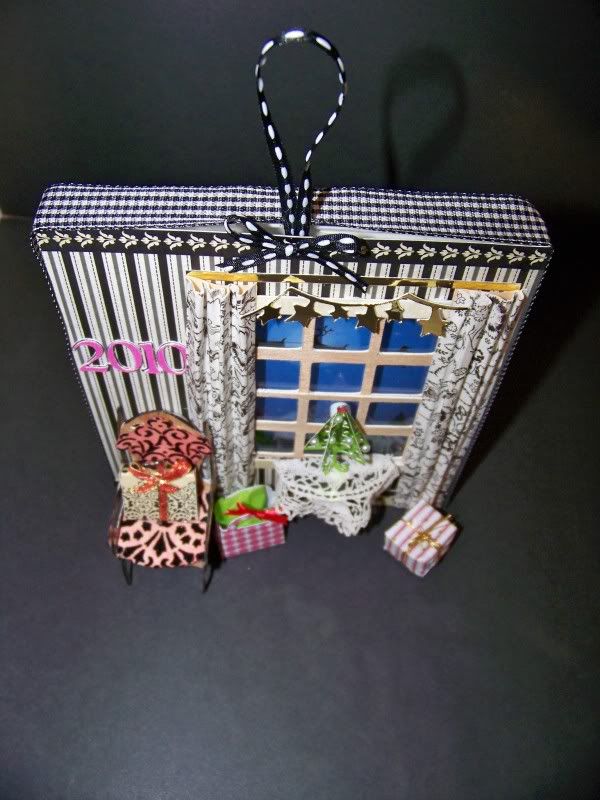
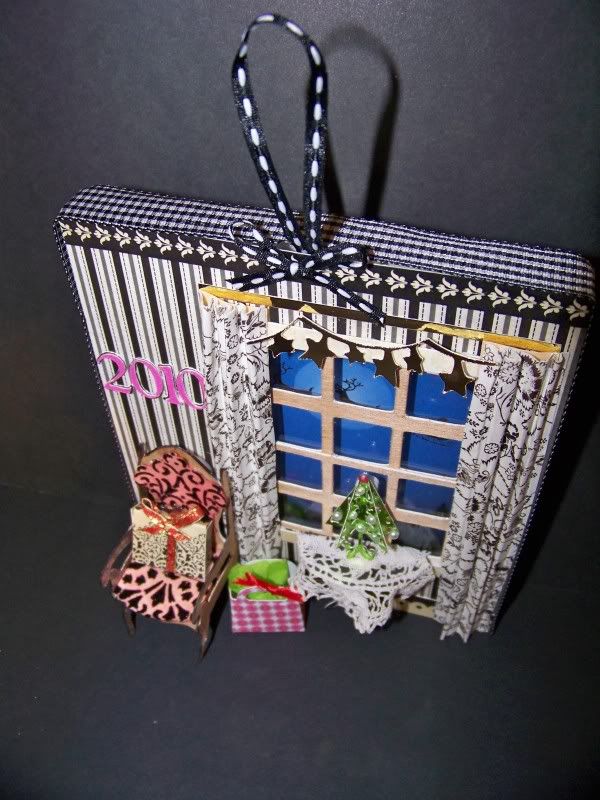
I was really inspired by Therese Leyden's 3D Paris Apartment and decided to incorporate a Cricut 3D die cut chair and to create a couple of 3D items from 2D cuts. This ornament hangs and is free-standing when on a table top.
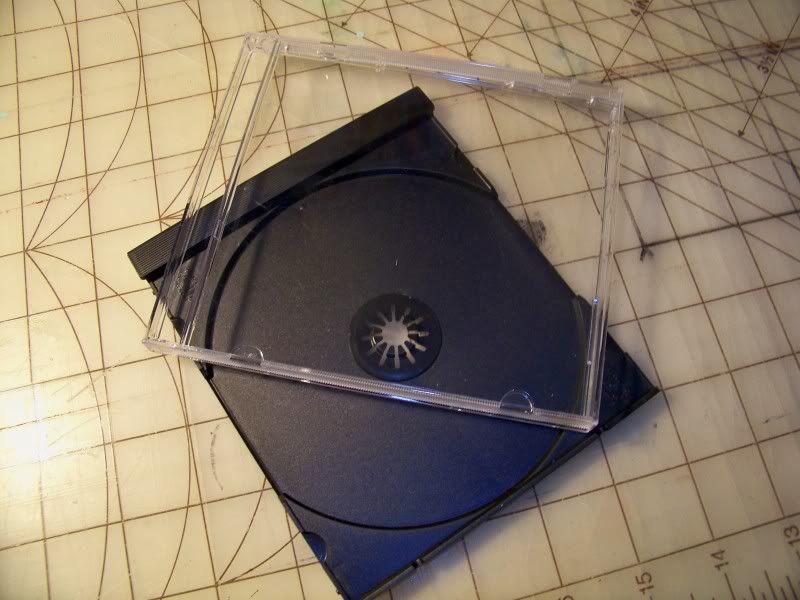
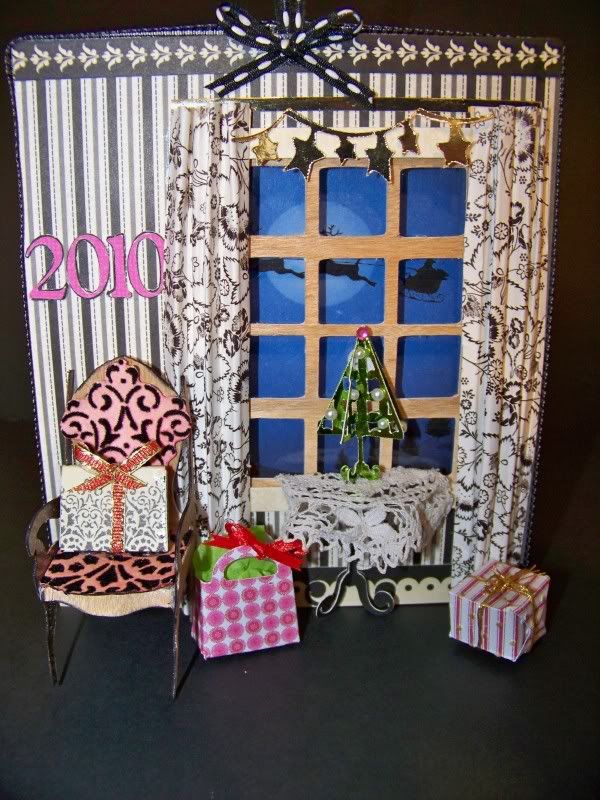
I knew I wanted a window. I had initially thought of a dome window, but started thinking about a flat window after seeing an ornament in a store. I started with a CD jewel case, removing the black CD holder insert.
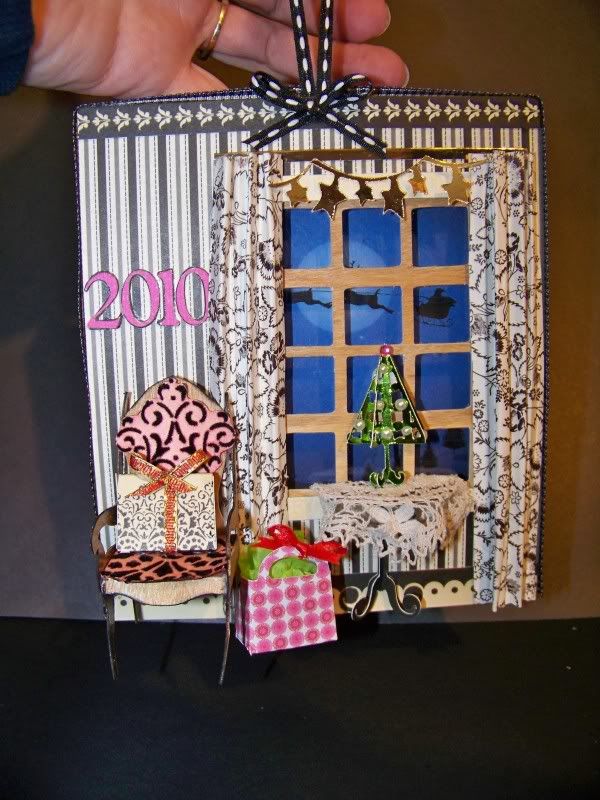
 I wanted to use some wood veneer paper that I had purchased when I was experimenting with flowers for the necklace challenge. The wood is a bit of a challenge, requiring a multi-cut of 2, max pressure, speed 3, and blade set at 6 (no need for a deep blade housing). It has a tendency to chip off of the paper backing on small or intricate cuts so I knew I would not be able to use the chair's lacy back and opted for an upholstered look. The chair is from Summer in Paris, cut at 3". I used Glimmer Mist on the white paper side to color it. I assembled the chair, using my scoring tool in order to fold it into shape without breaking up the veneer. I glued flocked paper (that I had misted in pink) to the chair for upholstery.
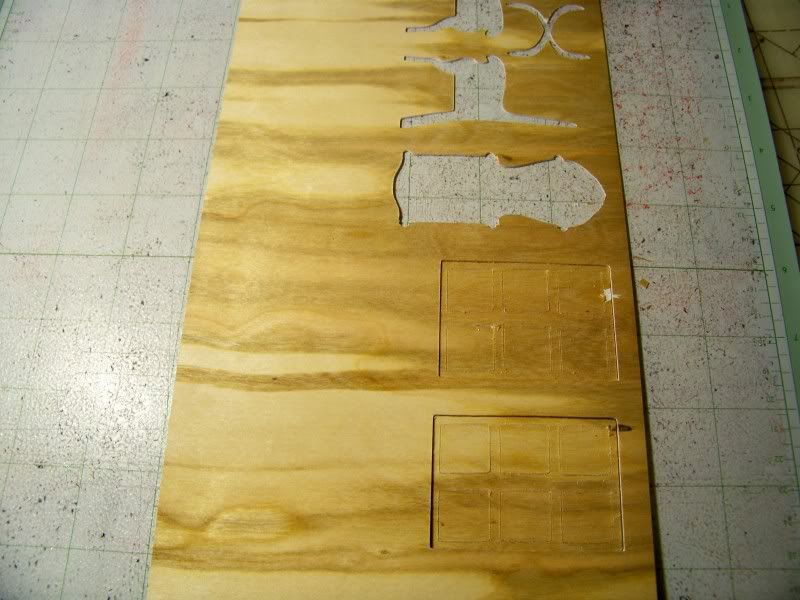
I also cut the window panes out of the wood. These are are from French Manor (page 36), the layer cut only. I cut two at 4".
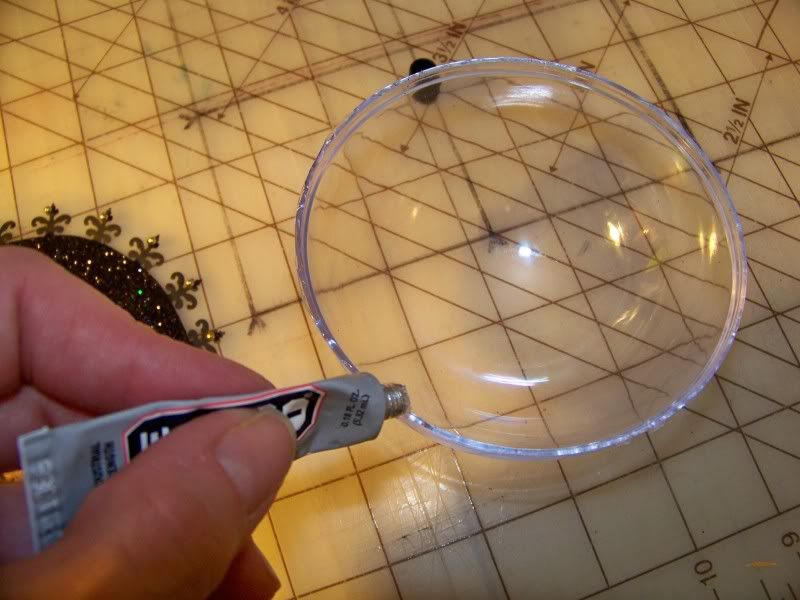
I found a Santa flying in front of the moon by finding a Google Image and printing it. I used double-sided tape to attach it to the inside of the jewel case, using the window pane die cuts to determine placement. On the outside of the case, I glued the panes, using E6000 glue (perfect for non-porous materials like plastic).
 I cut the paper for the wall, cutting out the window. This was glued on using the same plastic adhesive. I found some coordinating papers for floorboard, top border, and drapes. I attached paper strips for the window sill and upper woodwork.
For the drapes, I accordion-folded the papers to simulate the pleats, cut the bottoms with pinking scissors, and anchored the tops and bottoms to squares cut to the finished size to keep the pleats tightly in place.
I cut a strip of metallic paper for the curtain rod. The star garland is from Joys of the Season, page 70, cut at 3/4".
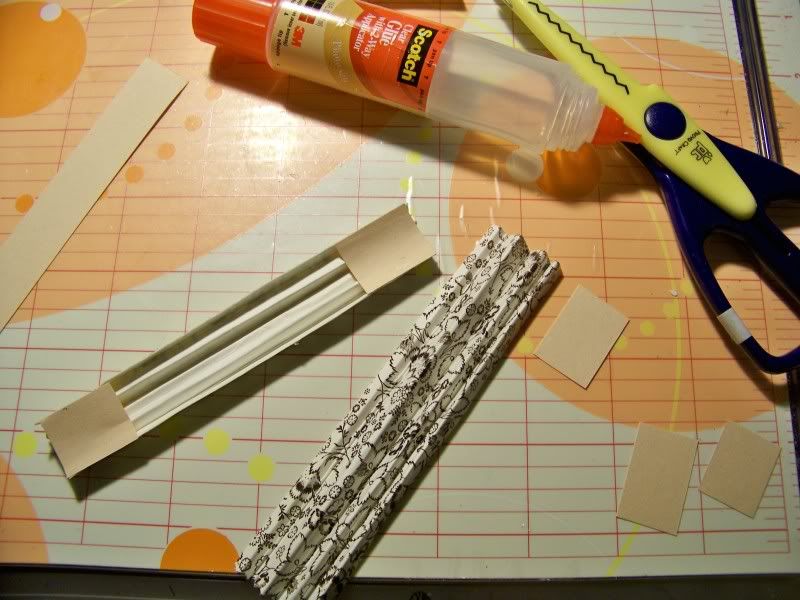
The table is made from a bird cage base from Serenade. I cut it twice at 1-1/2", folding one in half and gluing it on top of the other.
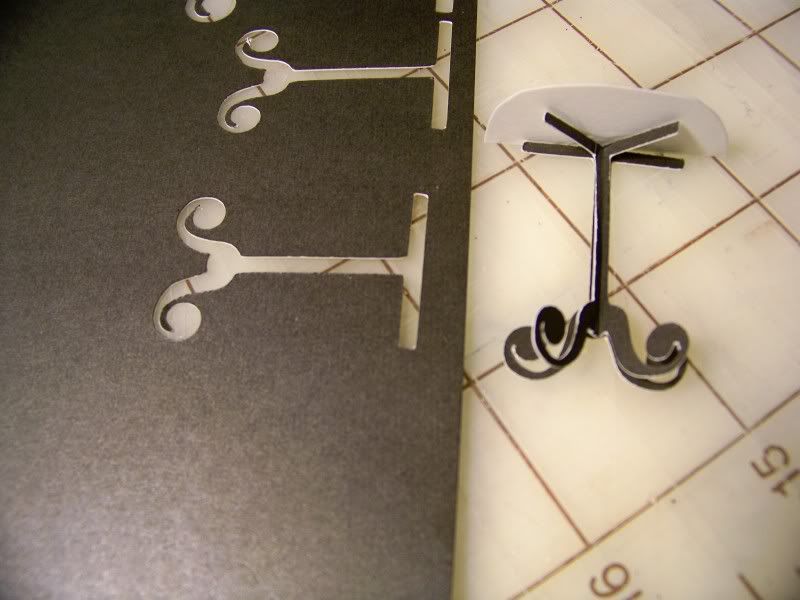 I cut a semi circle top and glued it on. I used a bit of lace trim from my stash for the tablecloth. I cut the back and glued it on, then cut a scallop for the front.
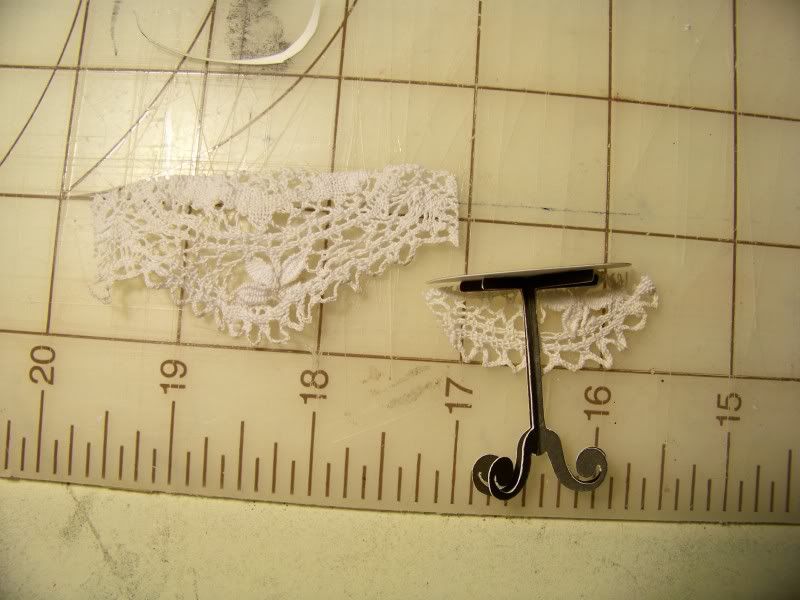 The metal tree centerpiece is cut from Joys of the Season. I cut the tree from page 63 at 1-1/2" twice, folding one and applying it to the center of the other. This is assembled just like I assembled the table! I added pearls and a jewel at the top. It is attached with layered pop dots off the window.
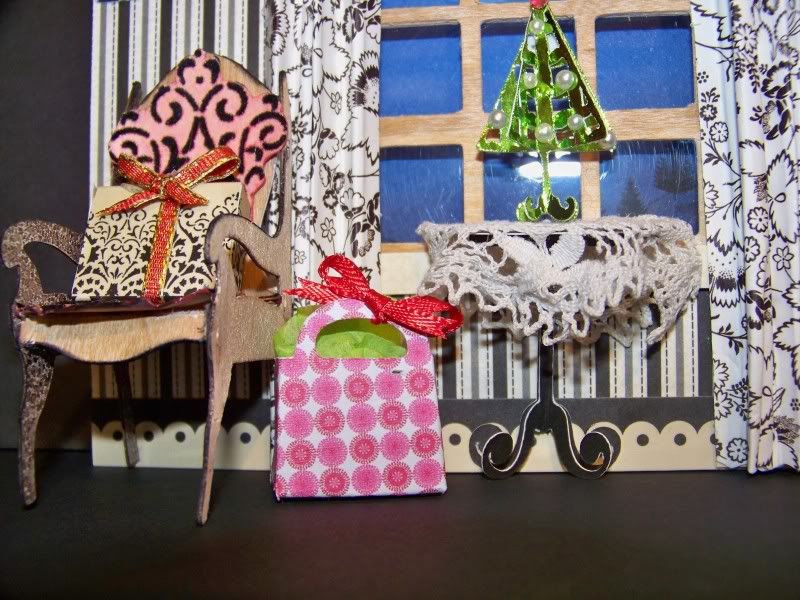
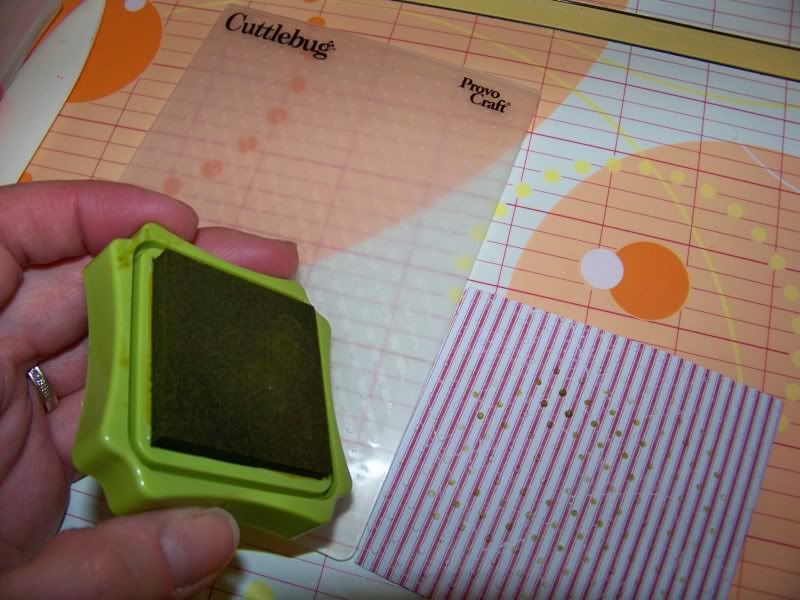
I hand-cut the wrapped gift on the chair and glued it on. The gift bag is from Tags, Bags, Boxes, and More, page 115, cut at 1-1/2". I just added a little tissue paper and a ribbon. I attached it at an angle to the drapes using a pop dot. I created a third package by embossing dots on a striped paper using my Cuttlebug and the Swiss Dots folder, lightly rubbing over it with a stamp pad to accentuate the dots, then folding a box and tying with gold cord.
I like to have at least one or two special ornaments each year. I like them best when they have the year, or some other detail to represent the year. This is something I started doing for my daughter, going to the trouble to write out stories about the ornaments family members have given her. It is part of our tree-trimming and decorating to talk about who an ornament was from or what it represented.
I decided to add the year to this ornament. The numbers are from Plantin Schoolbook, cut at 3/4" with a shadow.
I finished the ornament by cutting a ribbon hanger and gluing it inside the jewel case. I covered the back of the case with paper and the sides with ribbon.
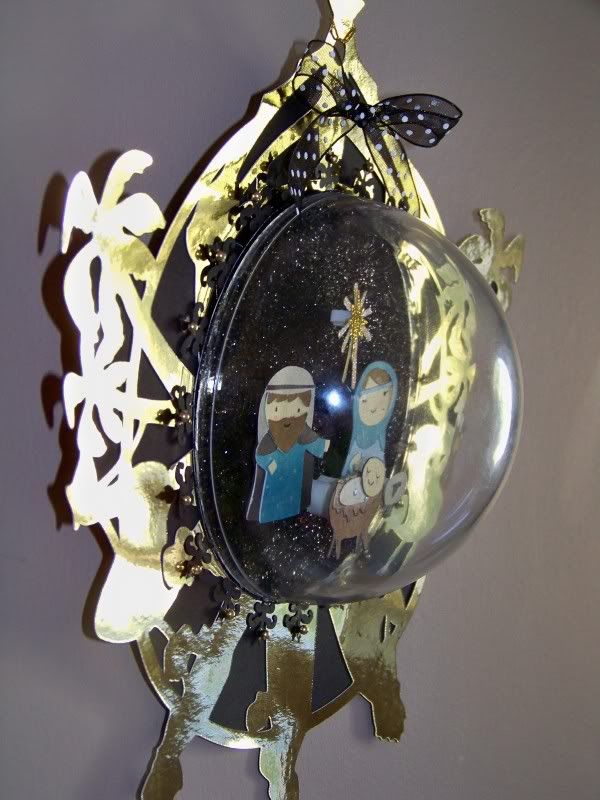
I still wanted to try one using a clear dome in which to create a scene.
Just for fun, I came up with this...
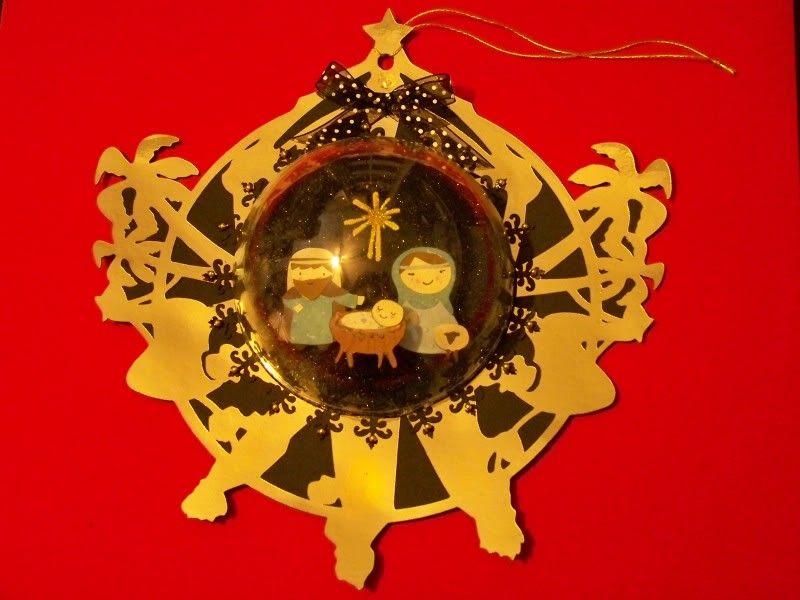
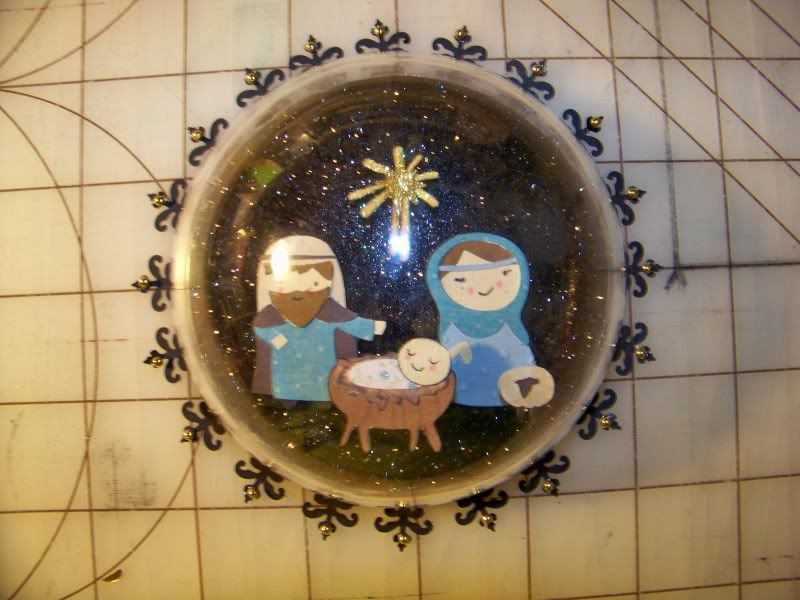
I started with black glitter paper. I created a nativity scene using Cricut Winter Frolic, each cut at 1-1/2". I glittered both layers of the star. Mary's little dress was run through the Cuttlebug to get those little dots. Each piece was applied using glue dots and foam dots, stacked to allow the figures to pop up at different heights.

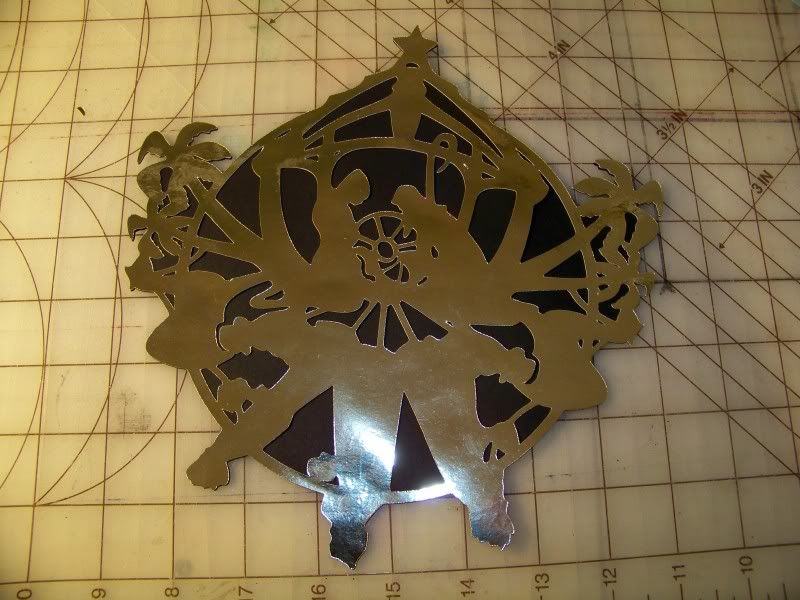
I decided that I wanted something to frame and complete the ornament. I love the beautiful snowflakes on the Cricut Cartridge When It's Cold Outside. The nativity cut is one of my favorites. I cut it at 8-1/2" in gold paper and also cut the backing out of black and adhered them together.

15 comments:
These are AWESOME! Thanks for sharing!
Lauren
Great work --good luck in the contest. pattyk
Oh Nadia,
The ornaments are so beautiful...
I always am amazed & happy when I see anything you create; thank you for always sharing how you did things
Oh my goodness would you look at these projects! The "scene" with the chair? Really exquisite!
First! That is THE SMALLEST E6000
I've ever seen! hahahahaha
This ornie is THE WINNER! A prophetic
declaration. ;)
And the dome ornie..... awwww
I just love it! On this and the other
one I just love the added pearls. Such
a small yet "so important" embellishment.
Well done. :)
Whats next...
always watching,
TR
Well, I have found over the years that my chances of glueing the cap on the E6000 increase the longer I have it. Soooo, now I just buy the packs of multiple little ones. Once it is opened, I only have it a few months and then it is used up. So far, no glued on caps. I guess I am a messy glue owner! I have been so desperate in the past after discovering that in mid-project that I have cut open the side and squeezed it out that way. Is that pathetic or what?! Well, not anymore :)
Beautiful ornaments :) TFS!
Simply stunning! Seriously how do you have time to do these projects? I'm in awe! :)
-Kate716 (from cricut mb)
Nadia, Once again you did it! How awesome are these ornaments. Not just one but two beautiful creations. I love how you find uses for out of the ordinary items like the cd case (cleaver). You have inspired me to get my self going on creating for the holidays now that Im home from work and vacation. Hope to talk with you soon.
Therese
Holy Cow! This is the coolest thing I have seen in a long time! It's just absolutely incredible!!! Thanks so much for sharing! I have to scraplift this one!
How creative! Using a CD case-how did you even think of that!!! Loved the ornaments.
this is stunning!!! What detail. Your works are all masterpieces
Therese! I wasn't paying close attention until now! I am so glad you are here. Your project really has inspired me!
I cannot wait to your next project!
Nadia
I just love your 3d ornaments. They are truly amazing.
Your work is amazing!! I love your attention to detail and your creativity. You create works of art.
Post a Comment