 |
| This is my entry for Weekly Challenge #25: Use Your Imagine-ation Challenge! |
And then, the magical part that was required for my complete transformation into an Imagine owner: they lowered the price and then discounted it further for Circle members. Now it was less than half price and I took the bait!
And I find that I am right -- it will take time to learn how to use the machine to be creative and not to simply print and cut someone else's ideas out. I knew I wanted to get away from the clip art images that come on the Imagine carts - at least in part. For one, they have been programmed to leave a border around some of the cut layers, instead of just cutting that layer's image. It gives the feeling that a sticker has been used instead of a die cut.
I have surprised myself at how much I love using RGB codes along with the traditional cartridges to get the perfect color! I have sought out tons of charts for trendy colors, Disney colors, flesh and hair colors, and Imagine colors. That is the best, most creative feature for me so far! Click here a printable list of links.
I have pushed myself to learn to use the Imagine carts and traditional carts together. I have played with the Cut-to-Size and Autofill features, since I use those so much with the Expression. I miss the Centerpoint feature and happily got to use my Expression for that on a project I just finished for the Circle blog weekly challenge. I forced myself to do a project because I really want to learn and use this machine! I usually don't have to be 'forced' to do challenges, but I knew my project would be pretty simple!
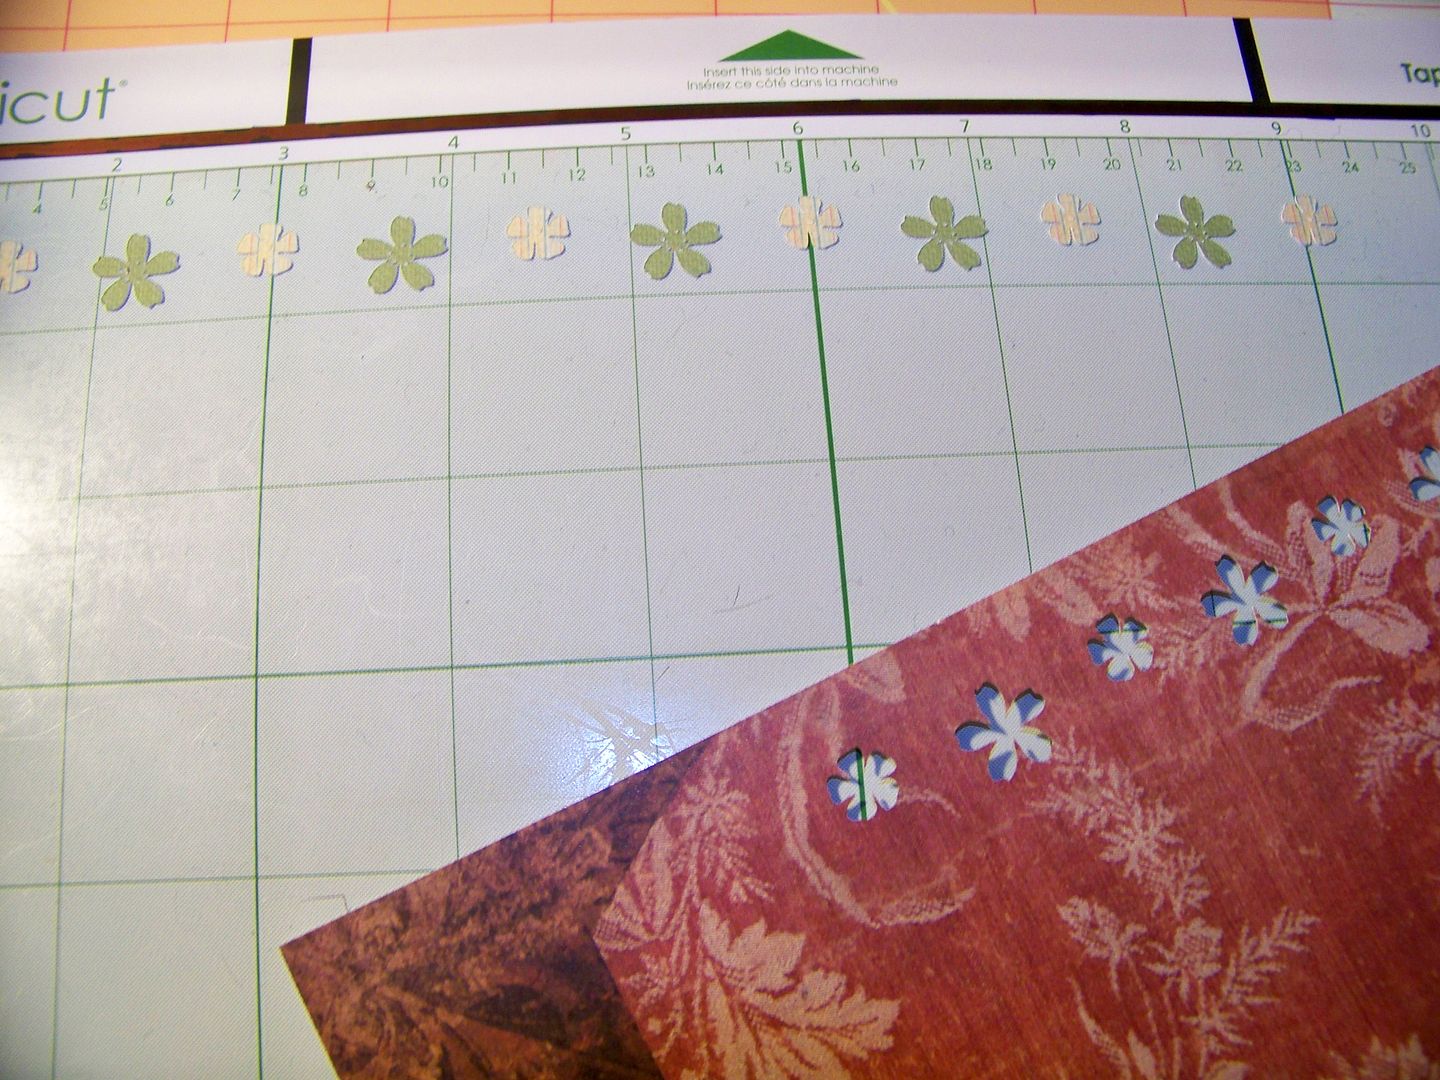
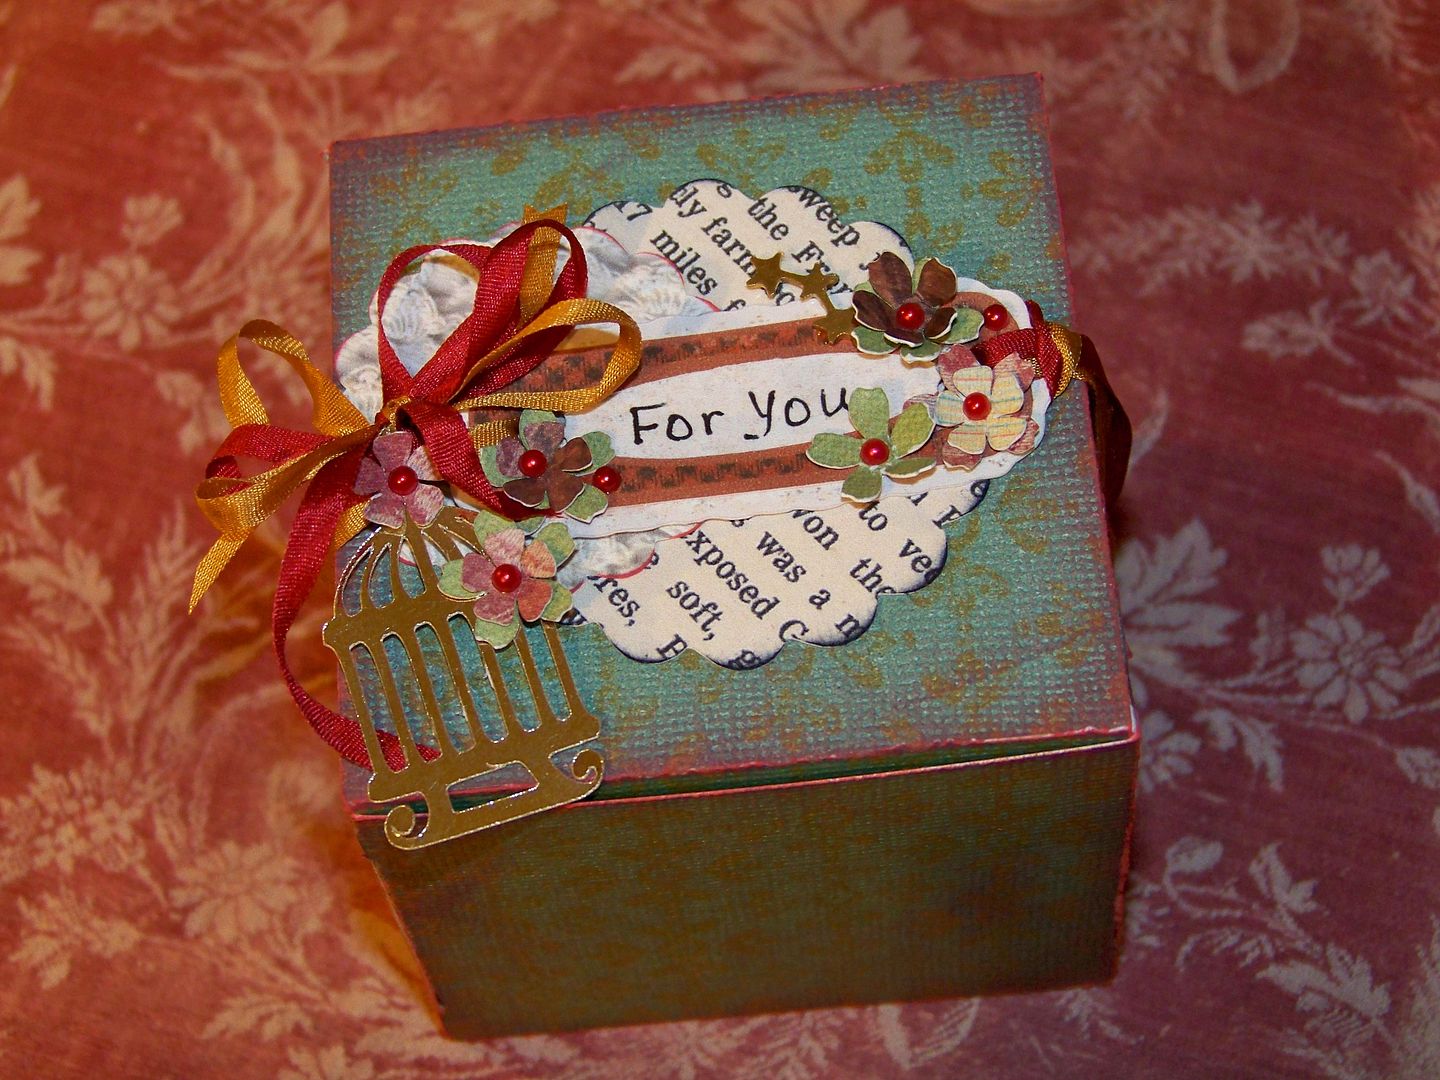
I also used a pattern from Imagine More to print a pattern on a box from All Wrapped Up. I used a beige paper so the inside of the box would be a solid color, while the outside is printed with the added bonus of a shifted color due to using paper other than white! I inked the corners and edges of the box after assembling it.
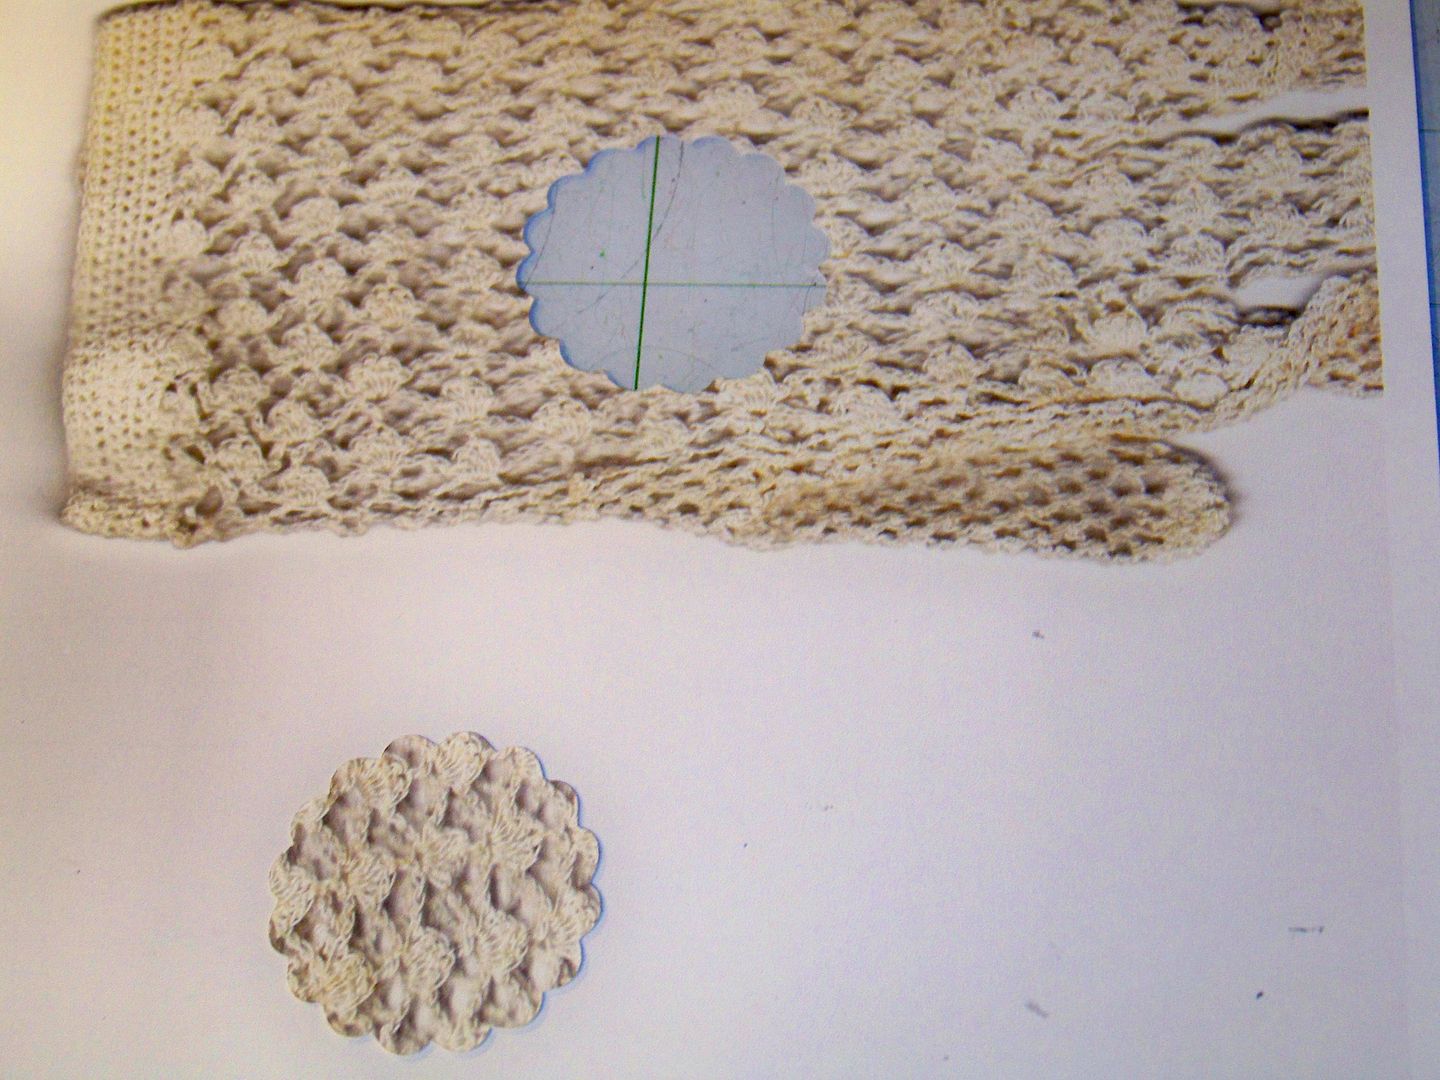 |
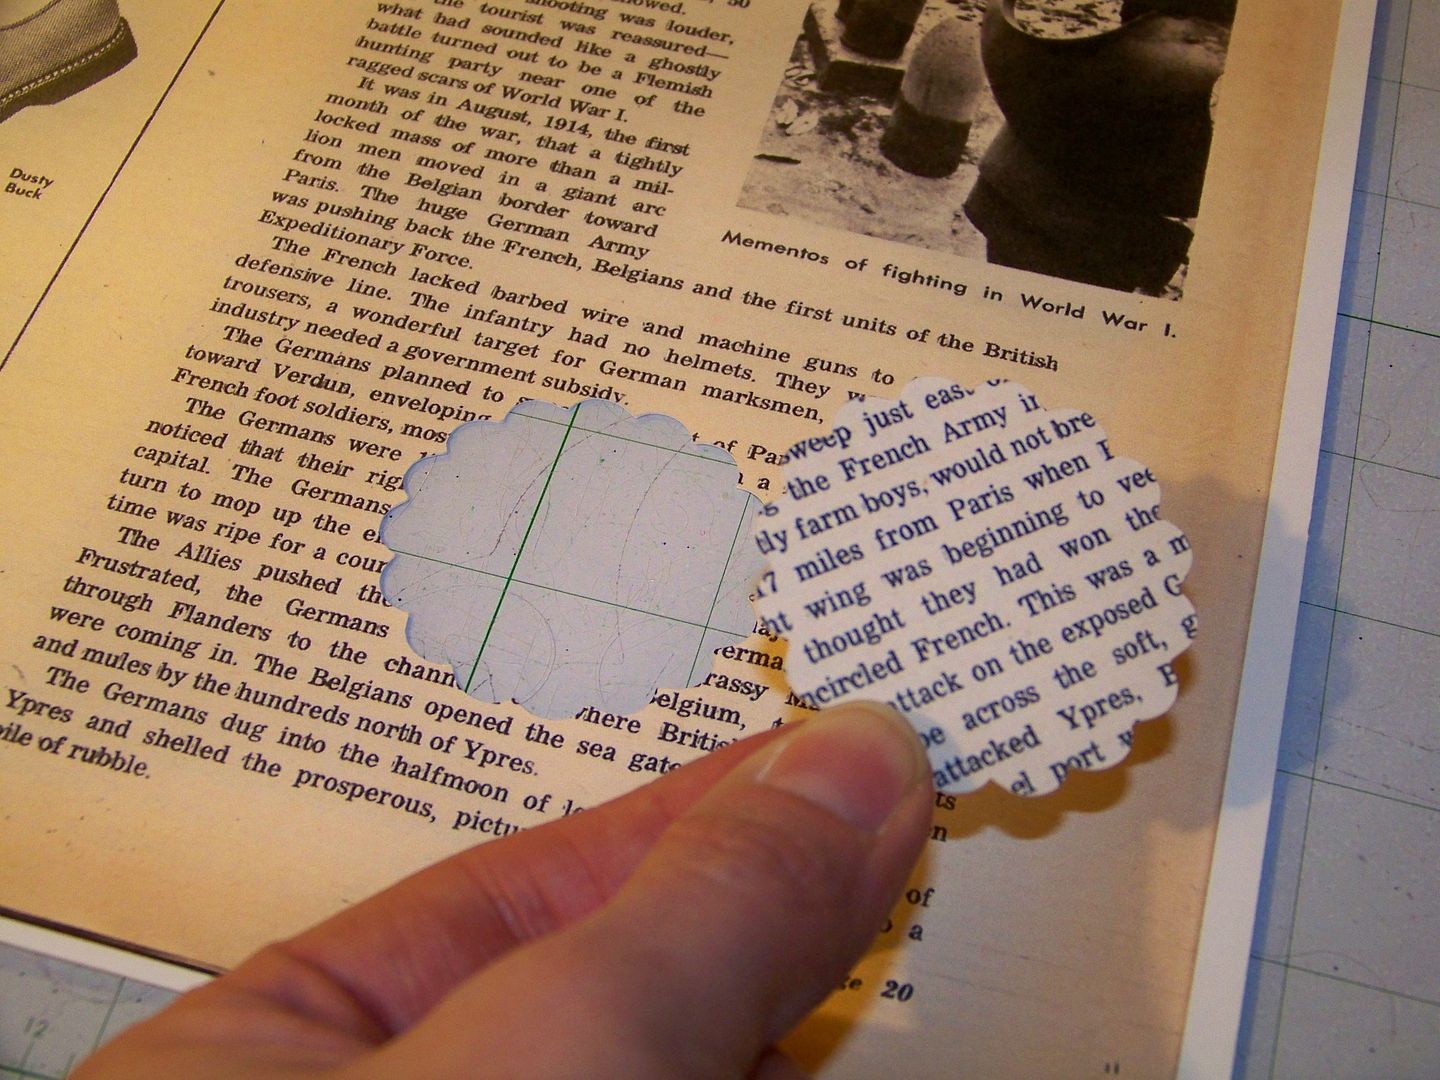
| I also made a color copy of one of my grandma's lace gloves onto cardstock. Using the Centerpoint feature on the Expression and Mini Monograms, I was able to create a lace scallop. |
I have been learning the features of the machine this week and do feel that this is a great crafting investment. I think my comfort level with the Imagine will take time. I don't find the cutting aspects of the machine to be as flexible as the Expression. I am hoping that the release of Provocraft's new Cricut Craftroom will help with that a bit, although I really do prefer to cut and play rather than to design on a computer!
I am waiting for my other bargain to arrive: Lori's Garden. Having other patterns to play with will be fun! I do think that the Imagine will make gift packaging and quick cards a breeze! And with all my agonizing over using the clip art Imagine images, I am really looking forward to new Imagine carts, especially Buccaneer. Thank you for looking at my project and for visiting my blog.
3 comments:
Love how it turned out. Photocopying the lace is a great idea. I frequently do the same.
ISn't it fun running both the machines at the same time. Your box turned out great TFS
FYI...you can adjust the border size and color. I got mine to cut the other day with no white sticker like border. You are right. It takes time to learn it. I'm still getting acquainted with mine. :)
Karen you have given me my next project! I have to learn how to do that ASAP! Thanks!
Post a Comment